I’ve been getting requests from readers for extended sizes of the “Baby Dress with Sleeves” pattern—perfect for creating something beautiful and timeless to welcome the cooler months!
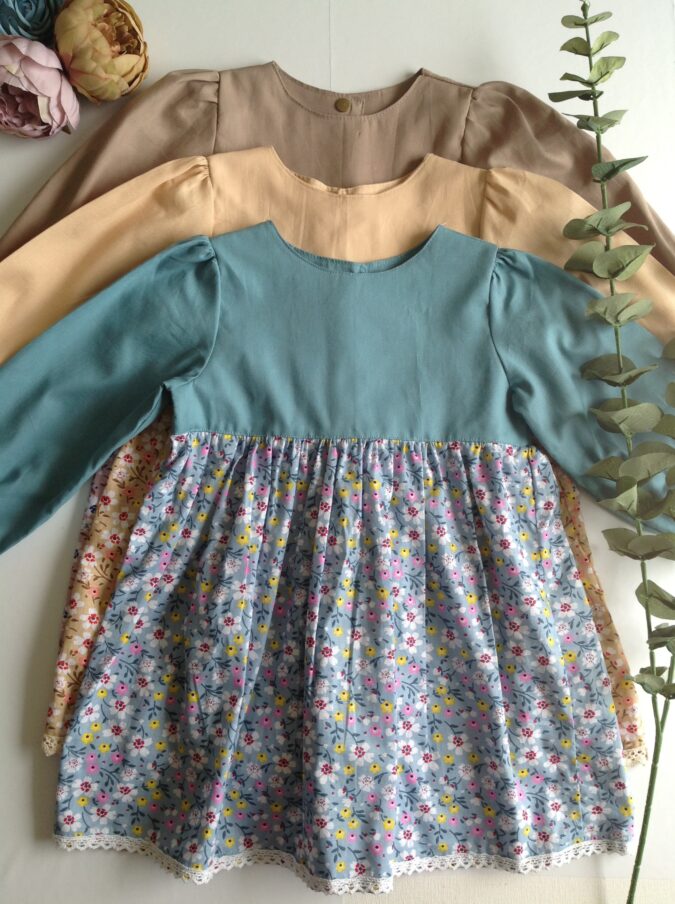


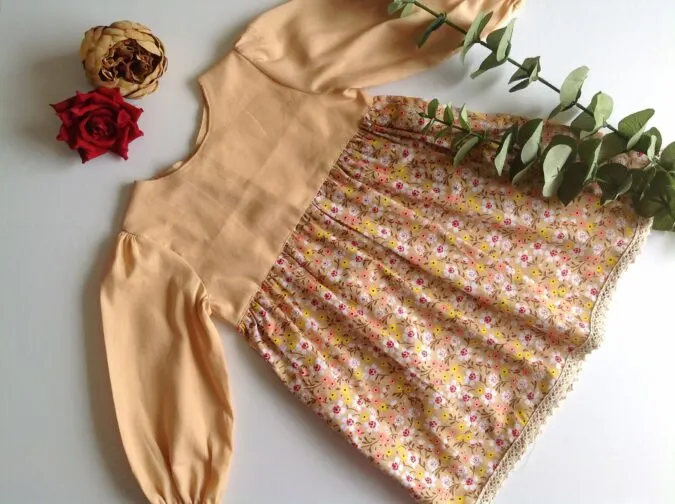

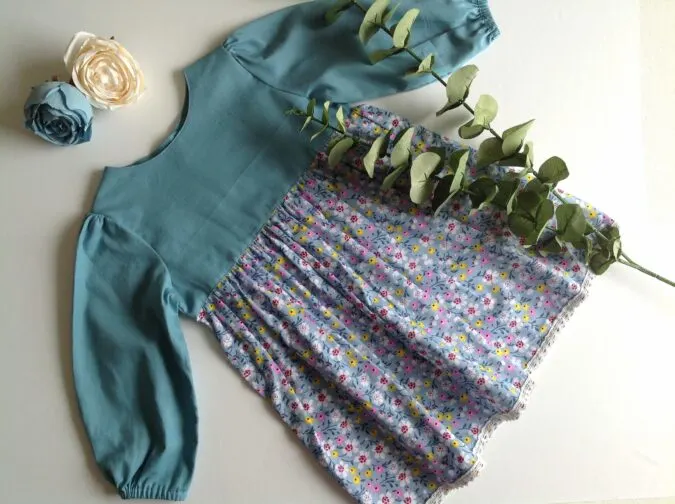
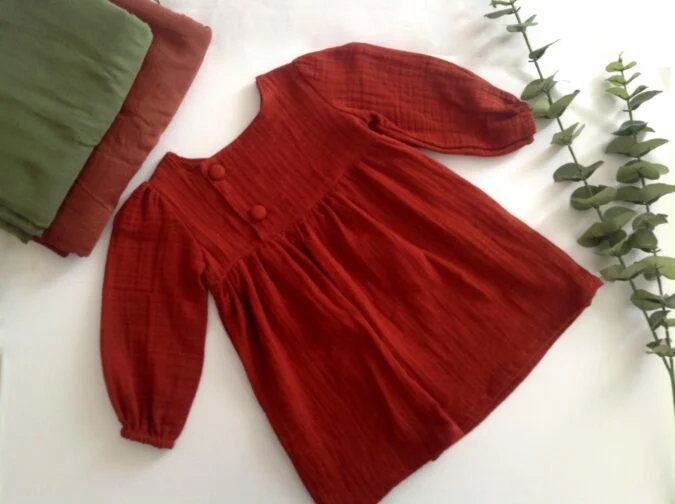
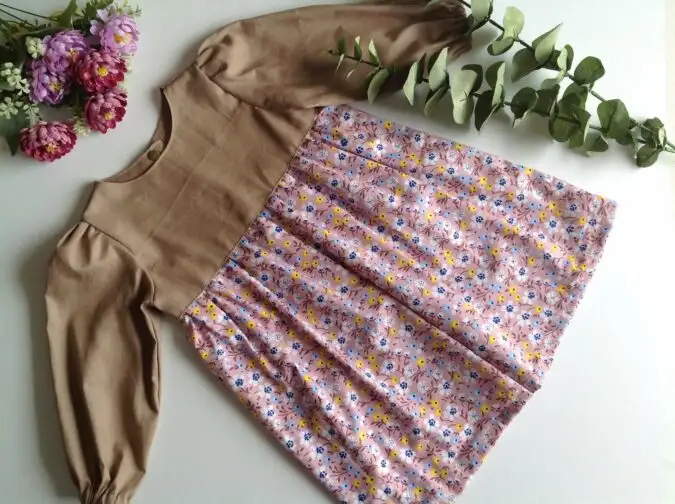
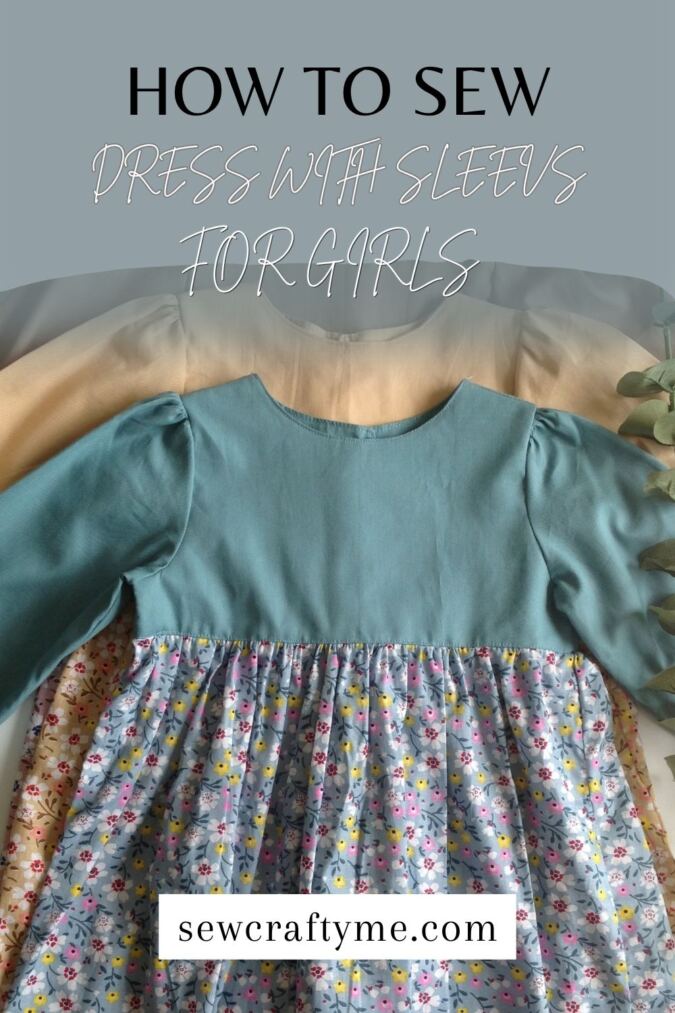
The pattern includes both short and long sleeve options and features a clean, simple design with a classic yoke. Its plain style makes it a great canvas for adding trims, embroidery, and other personal touches.

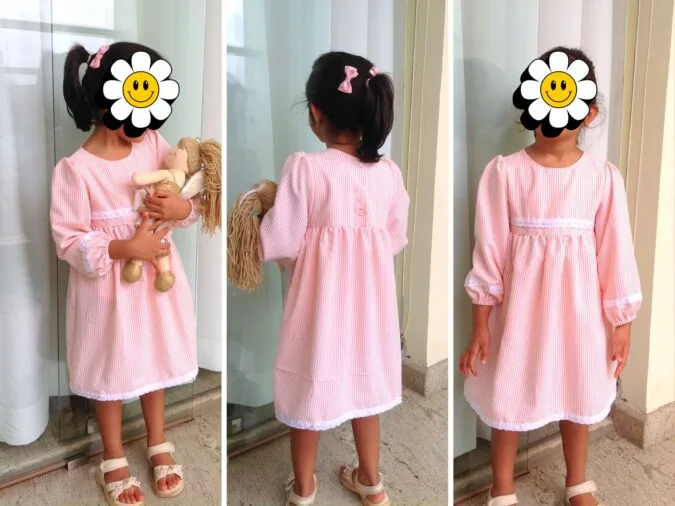
Take a look at the pattern on the little model—our tester has added some charming trims for an extra-cute touch. Let’s dive in!”
If you would like to sew th Juniper dress with a side- open yoke and plenty of opportunities for customization, click on the picture below:
Girl’s Classic Dress Sewing Pattern with Sleeves
Materials Required:
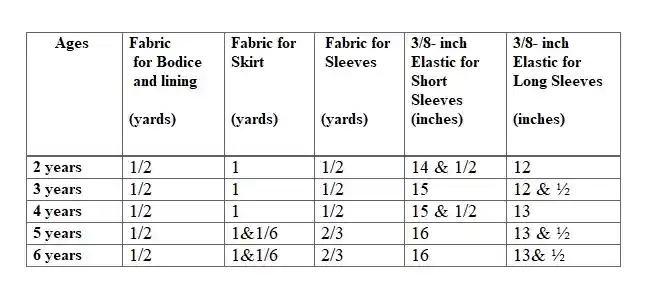
1) Medium weight cotton fabric for the bodice, skirt and sleeves- requirement specified in the table- 2 below.
2) 4 pairs of KAM snaps in matching color (or if you know how to sew buttonholes, you may use ordinary buttons too.
3) Sewing Notions.
4) 3/8- inch elastic- requirement specified in the table-3 below.
5) Pattern pieces. * Enter your e-mail address and click the subscribe button to download the template automatically.
I suggest you read the entire pattern once before starting to get a general idea
All the fabrics used here are of 44/45 inches width.
The fabrics shown here are only for illustration purposes and as such may vary from the original.
The seam allowance is 3/8 -inch unless otherwise specified.
*****Pinch to zoom the tables
Size Chart
Table-1

Approximate Finished Measurements.
Table-2

Material Requirements
Table-3

Measurements
Table-4
Measurements
**The dress is supposed to hit below the knee. Change the length of the skirt piece, if you would like it shorter or longer.
In the table below, “W” stands for the width and “L” stands for the length of the fabric piece to be cut.

Table-4

Sewing

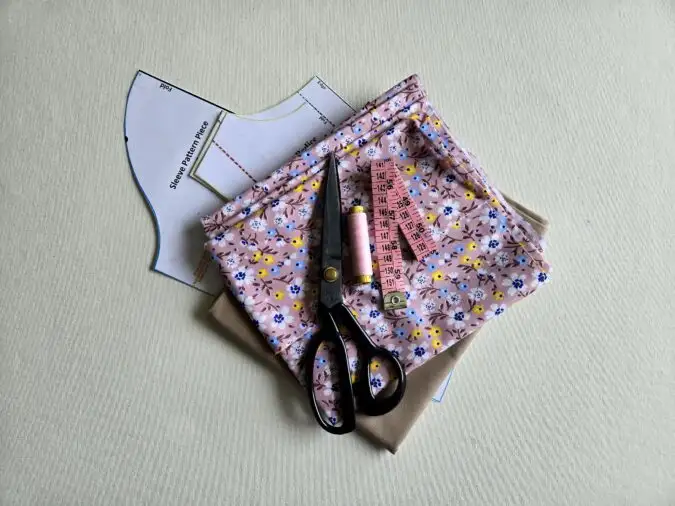
Gather the supplies.

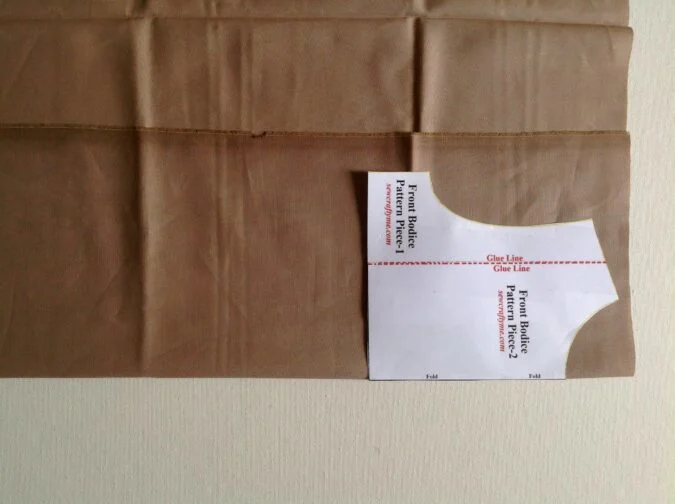
Cut the pattern template for the front bodice, fold the fabric to fit the width of the template and place the template on the fold. Mark around it and cut to get the front bodice piece. Repeat the steps to get the front lining piece.

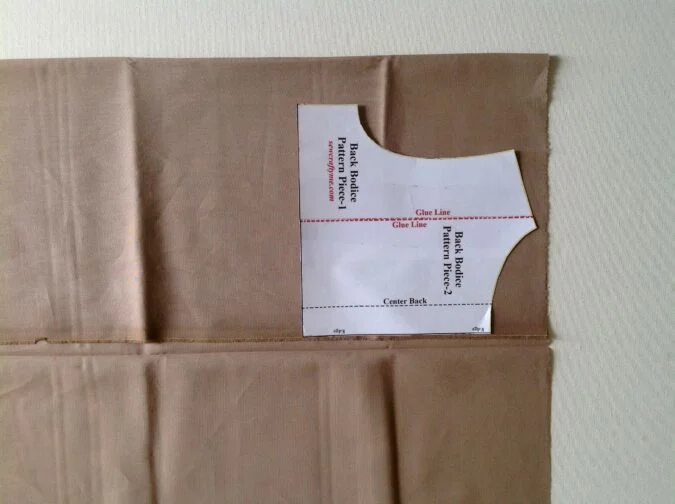
Next, cut the back pattern template and keep it along the edge of the folded fabric as shown in the picture. Mark and cut to get two pieces of the back bodice.
Repeat the steps to get two more of the same piece (for the back lining).
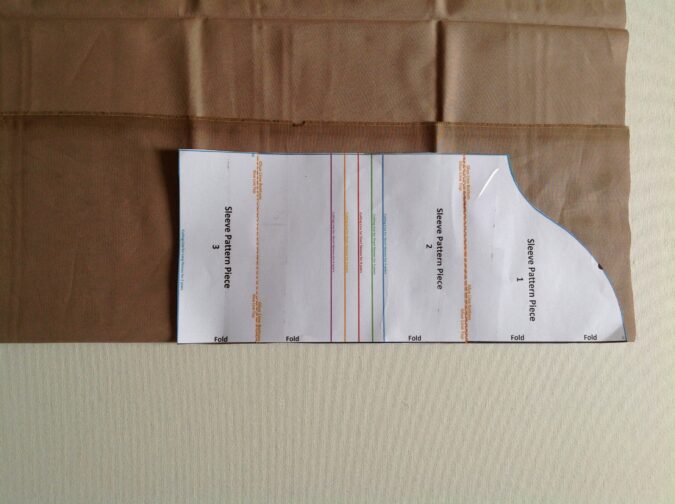
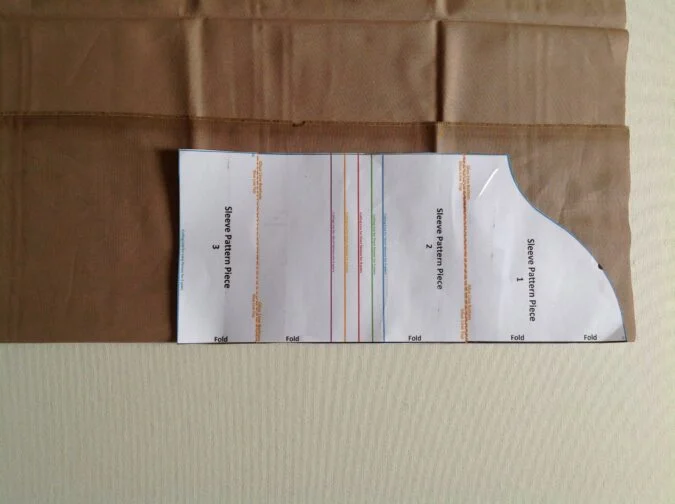
Also cut your two sleeves using the respective templates (** Transfer the marks for the gathers on to the sleeve).
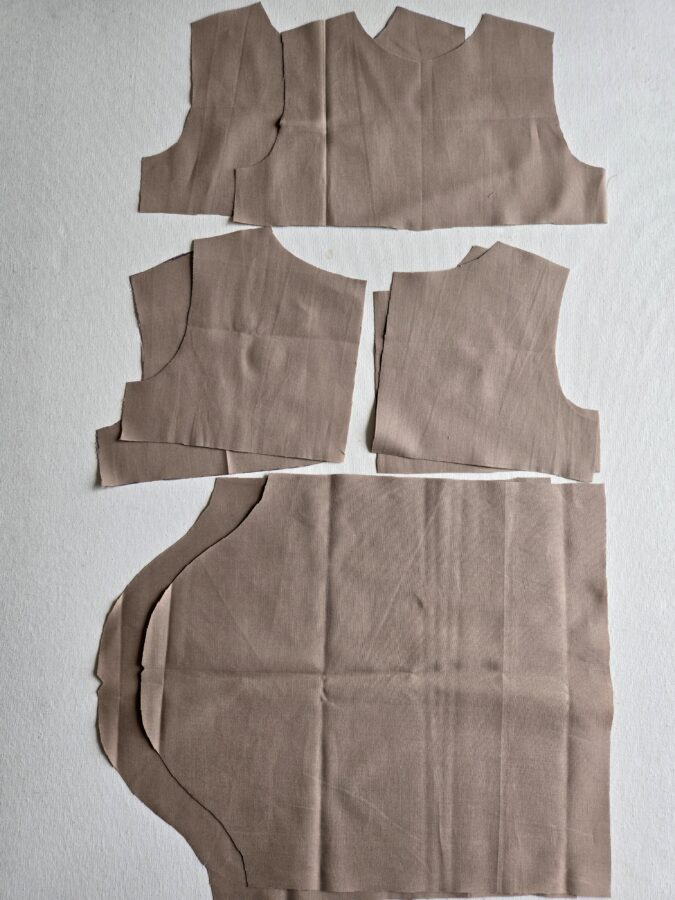
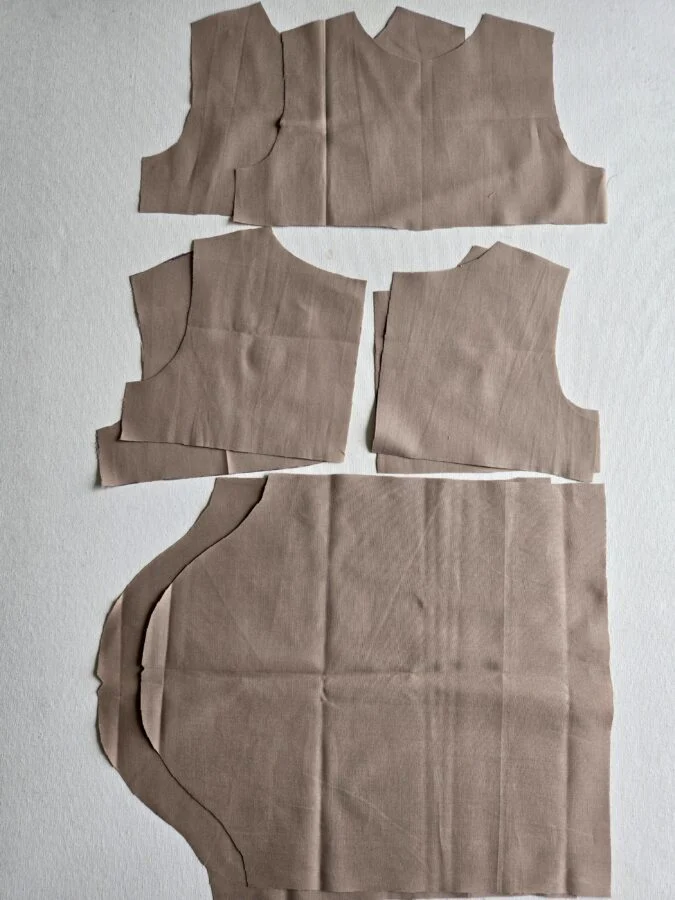
You will get your front bodice, back bodices, lining and sleeve pieces like the above.
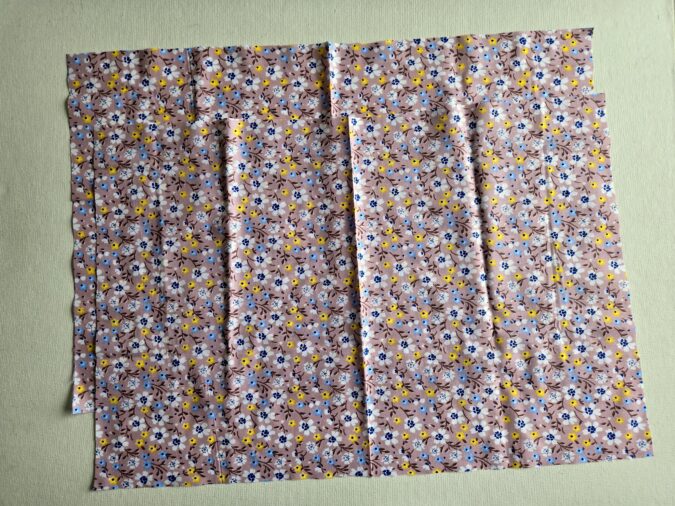
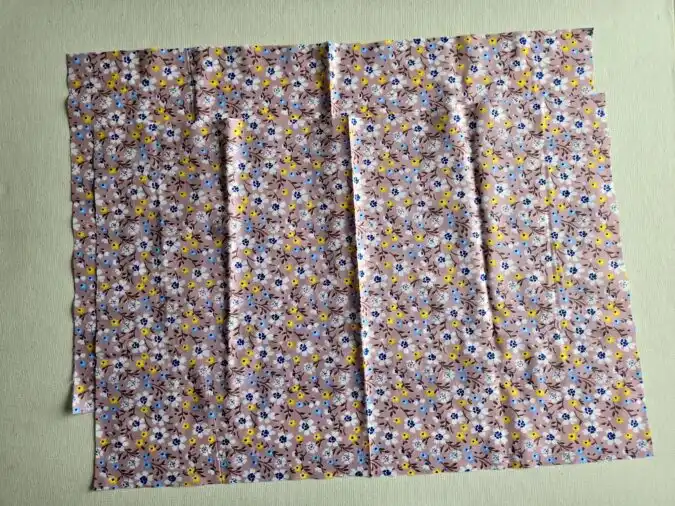
Cut your skirt pieces, referring to table-4 above.
Let’s start sewing.

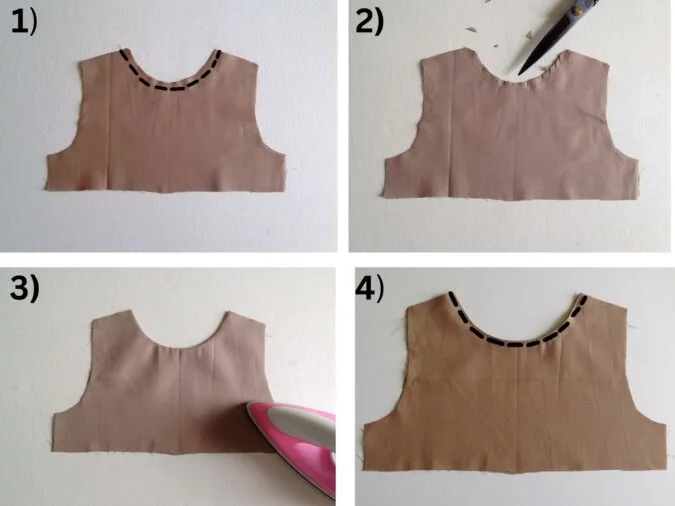
1) Take the front bodice and the front lining pieces, layer them with the right sides together, aligning the edges and sew along the neck, leaving a 3/8-inch seam.
2) Clip the curves and cut the corners to reduce the bulk in the seam.
3) Turn over to the right side and press flat.
4) Topstitch around the neck to make it clean and crisp.
Next, we finish the back bodice pieces.


1) Take one of the back bodice pieces and a lining piece, layer them with the right sides together, aligning the edges and sew along the button edge (center back) and neck, as marked by the black line. Repeat the same with the remaining back bodice and lining pieces.
2) Clip the corners and edges as you did for the front bodice.
3) Turn over to the right side and press
4) Topstitch along the neck and center back.
Next, we join the front and back bodice pieces together.
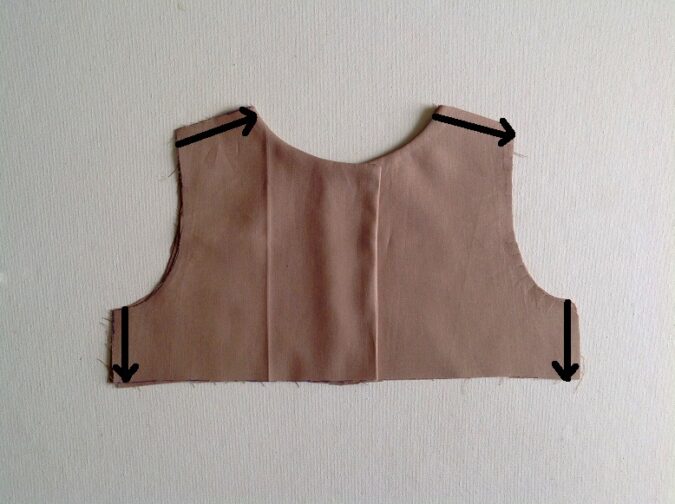
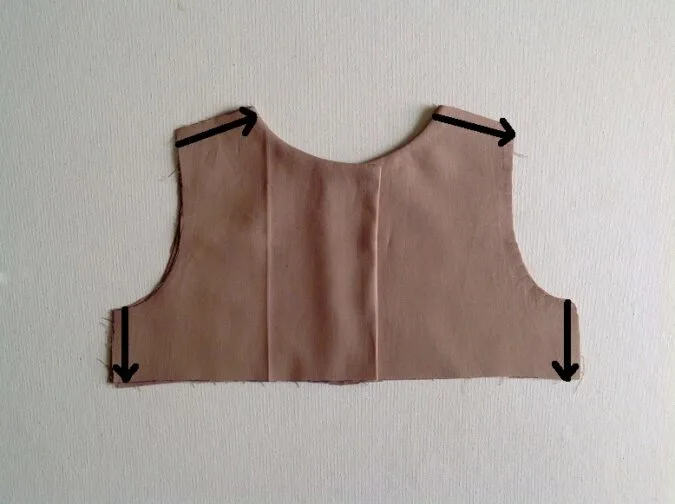
Layer the front and back bodices, with the right sides together, lining up the side seams and shoulders (you will notice that the back pieces overlap along the center for button opening). Sew the side seams and the shoulders shut.

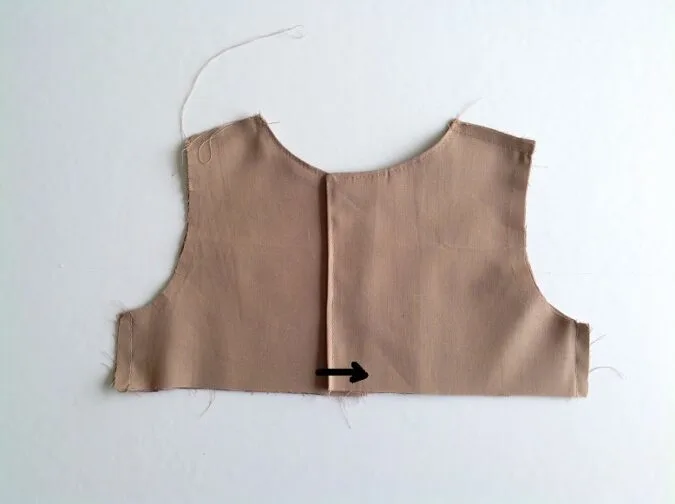
Next, sew the overlapping part of the back bodice shut, 3/8-inch from the lower edge.
Let’s finish the sleeves. For that we first finish the hem that doubles as a casing for the sleeve elastic.
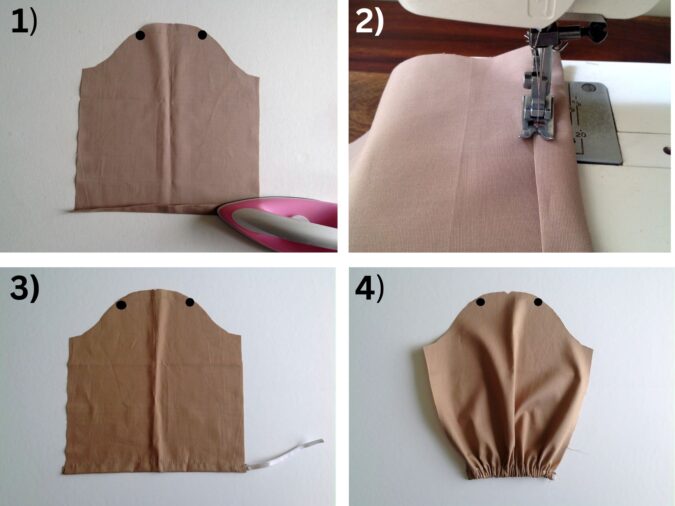
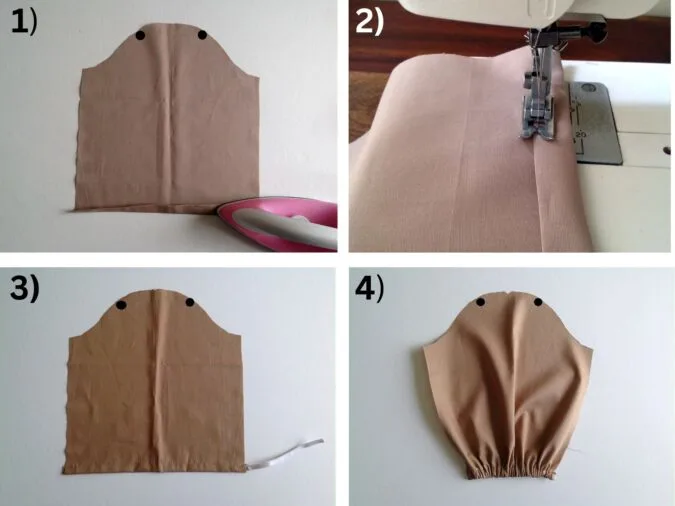
1) Fold the straight edge of the sleeve pieces by 3/8- inch and press. Fold again by ½- inch and press once more.
2) Sew the hem along the edge of the fold.
3) Take the required length of the elastic, referring to the table- 3 above, cut it into 2 equal pieces and insert one of the pieces through the casing formed, using a safety pin.
4) Secure the ends of the elastic by sewing back and forth a few times.
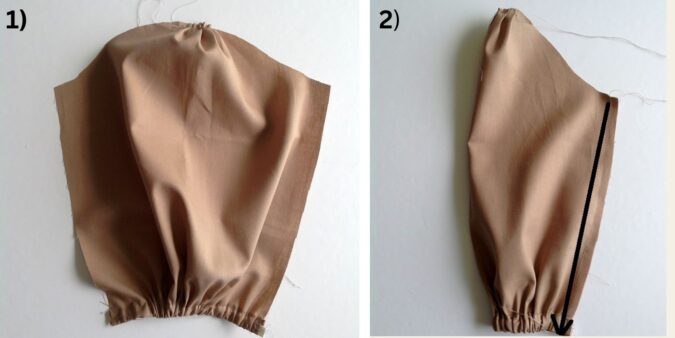
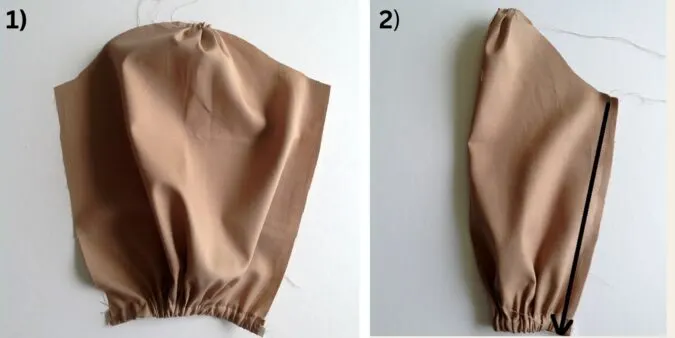
1)To gather the sleeve, sew a basting stitch between the points marked earlier. Pull the thread from the bobbin gently to gather it.
2)Fold the sleeve over, with the right sides together and the edges aligning. Sew it shut along the side edge. Repeat with the other sleeve.
Let’s attach the sleeves to the bodice.
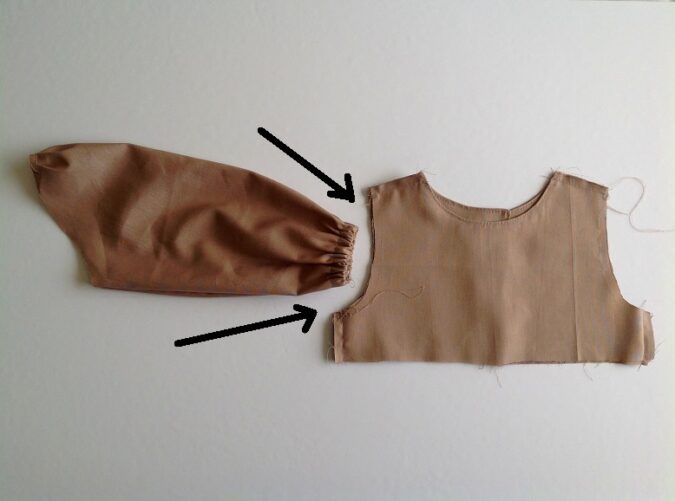
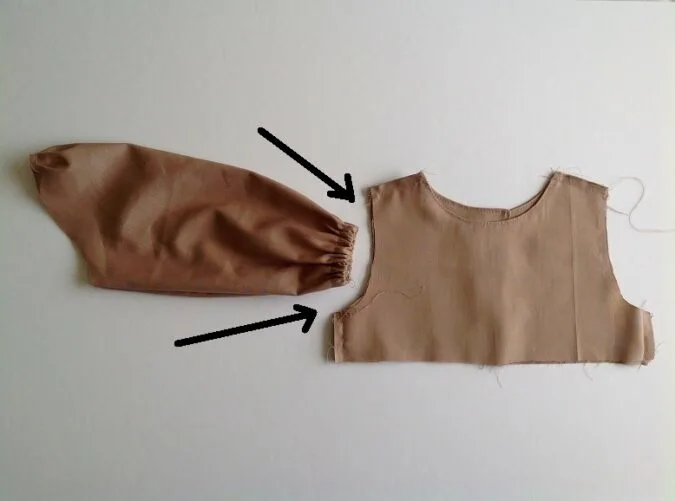
Place the sleeve on its right side and the bodice with the lining facing out. Keep the lower edge of the sleeve facing the armhole and slide the sleeve into the armhole.

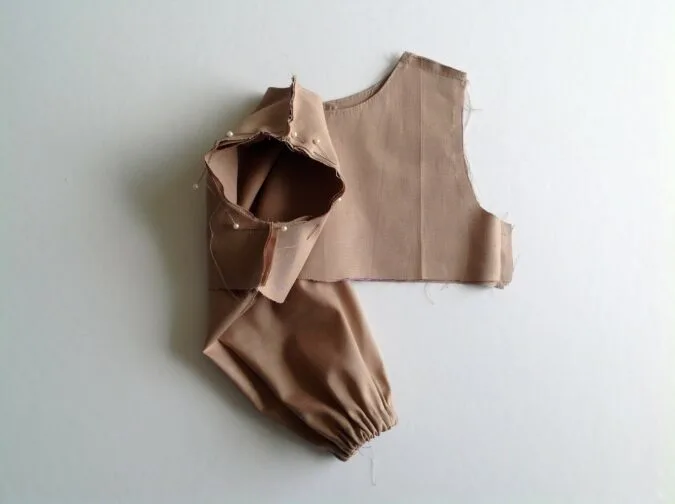
Start lining up the edge of the sleeve with the armhole. Adjust the gathering in the sleeve such that it fits the armhole and the gathers are uniform on either side of the shoulder. Pin the sleeve along the armhole. Bring the machine settings back to normal and sew them together, removing the pins as you go.
Repeat the steps on the other armhole with the other sleeve.
Our bodice is almost done. We move on to the skirt part.
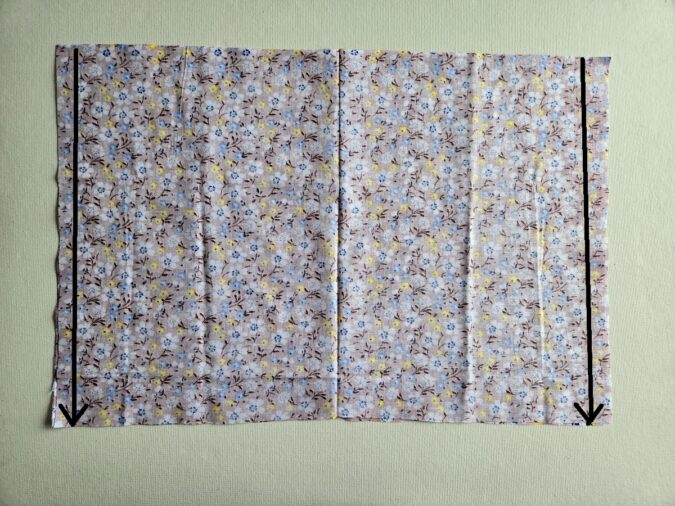
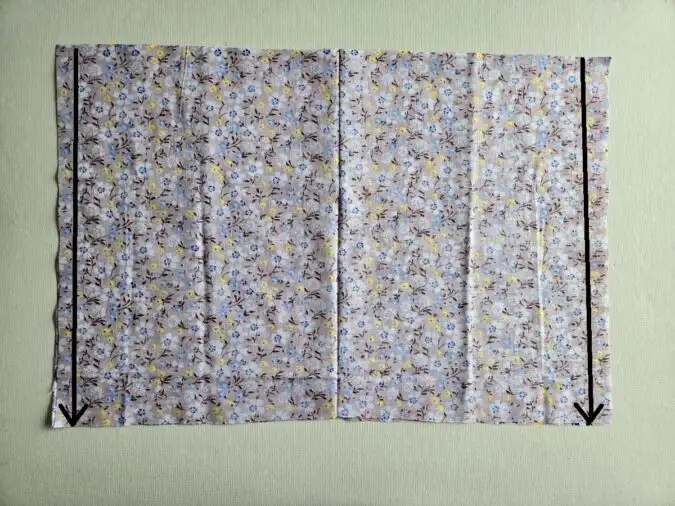
Take the two pieces required for the skirt. Keep the pieces overlapping with the right sides together and sew the side seams shut.

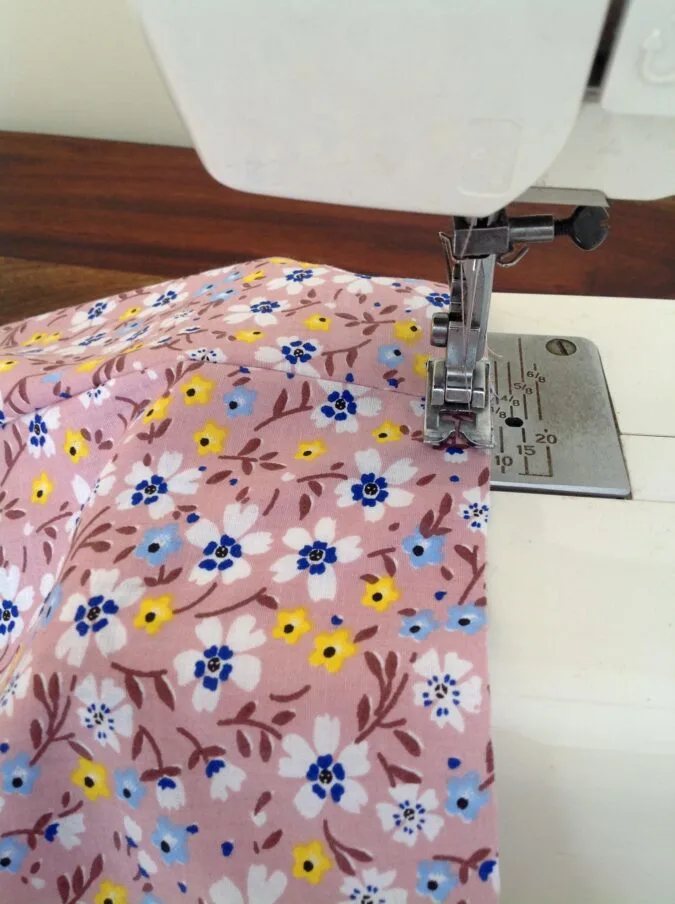
Sew a basting stitch, 3/8-inch away from the top edge of the skirt. Leave a long tail of thread, of about 5 to 6 inches long to pull and gather the skirt.

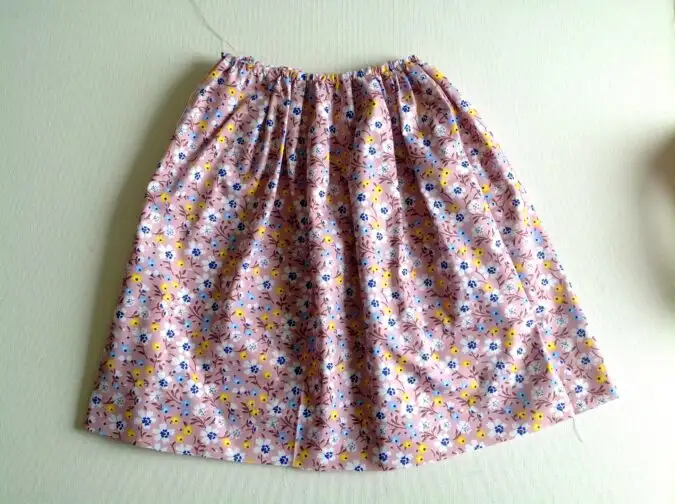
Pull the thread from the bobbin gently to gather the skirt. Adjust the gathering to make it uniform and to match it with the lower edge of the bodice.
Let’s attach the bodice to the skirt.


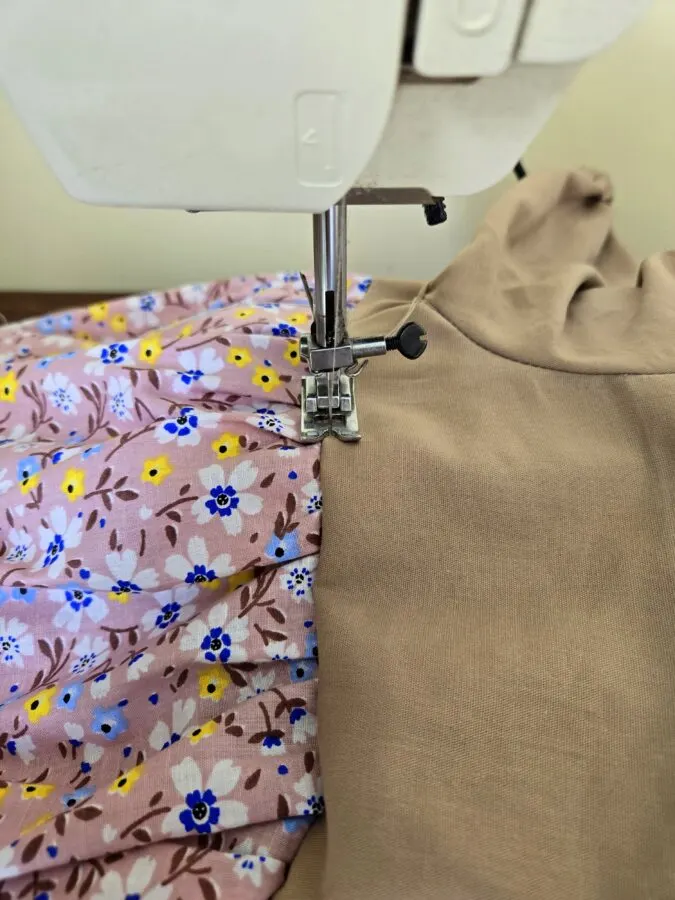
Keep the bodice on its right side and the skirt on its wrong side, with its gathered edge, facing the top edge of the bodice and slide the bodice into the skirt.


Align the raw edges of the two together and pin all around, making sure that the side seams are in line.


Turn the machine settings back to normal and sew the skirt to the bodice. Zigzag to prevent fraying.

Turn over to the right side and topstitch along the seam line of the skirt and bodice to make it look neat and crisp.
Let’s hem the lower edge of the dress.
The few pictures below are for illustration purposes.

Fold the lower edge of the dress twice by 1/2-inch towards the wrong side and press.

Sew down the hem along the edge of the fold.
Next, we attach the KAM snaps.


Starting from the top edge, make markings at 2-inches gap from each other, on the right side of one of the back pieces and attach the KAM snaps. Make markings with a 2-inch gap on the wrong side of the other back piece also and attach the complimentary KAM snaps (picture for illustration purpose).

Cut off the hanging thread and our dress is done!
Pin it for later here,
find the webstory for the post here; Sewing Pattern: Girls’ Traditional Dress with Sleeves
Jessica
Wednesday 8th of October 2025
I was inquiring about the pattern template for the girls classic dress with sleeves
Surayya
Sunday 12th of October 2025
Kindly enter your email address and click the subscribe button in the blue box under the “materials list” section. You will be taken to the pattern download page. Please wait for about 2 minutes for the download button to appear.