Are you a fellow organizing lover? Always looking for ways to keep things tidy without cluttering your desk? Then you’ll love this!

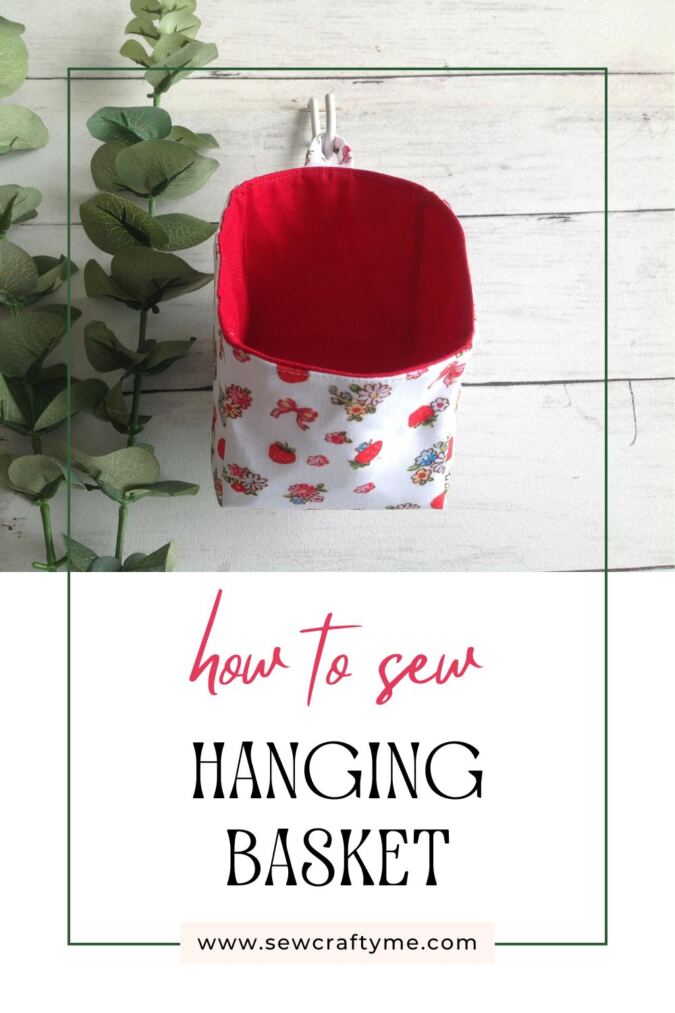
Meet the hanging basket sewing pattern—a quick, easy, and super cute way to store your little essentials. It hangs neatly to save space, adds a handmade touch, and is totally customizable to match your style.

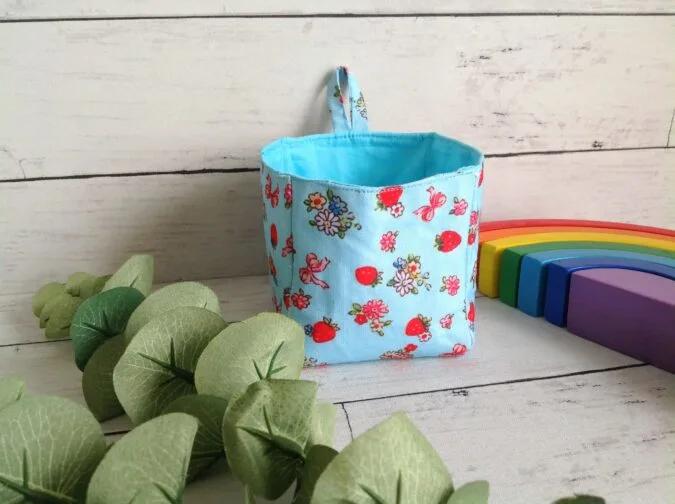


Practical, pretty, and perfect for organizing lovers like you!
Free Hanging Basket Sewing Pattern
Supplies Needed:
Medium- weight cotton fabric for the basket outer- 1/3 yard.
Medium- weight cotton fabric for the basket lining- 1/3 yard.
Medium- weight fusible interfacing- 1/3 yard (you may use heavy- weight fusible interfacing, if you need a sturdier basket.
Sewing notions.

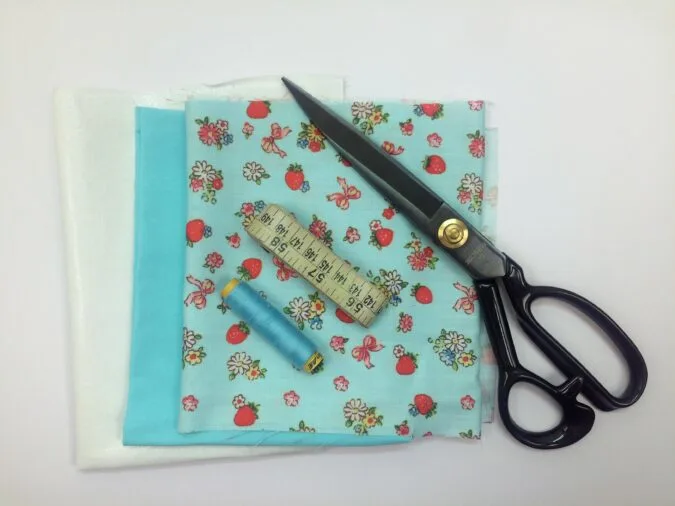
Gather your supplies.
Cutting dimensions:
Cut one outer piece with 12 x 12- inches dimensions.
Cut one lining piece, with the same dimensions as above.
Cut one interfacing piece, with the same dimensions as the above.
Cut one loop piece with 2W x 8L – inches dimensions.

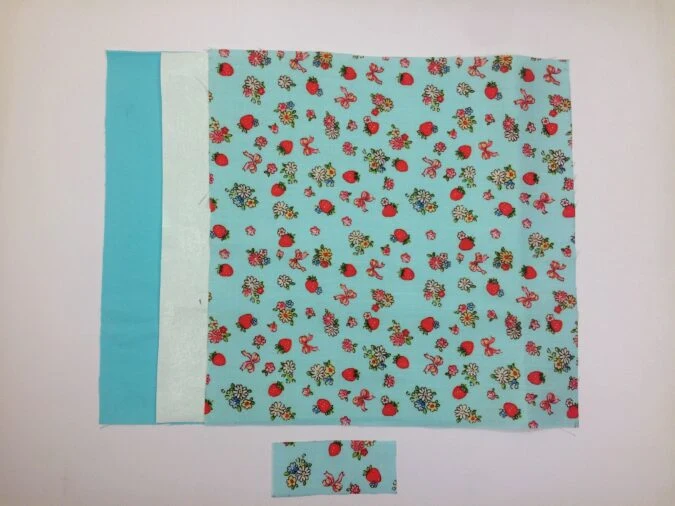
You will get your pieces like this.

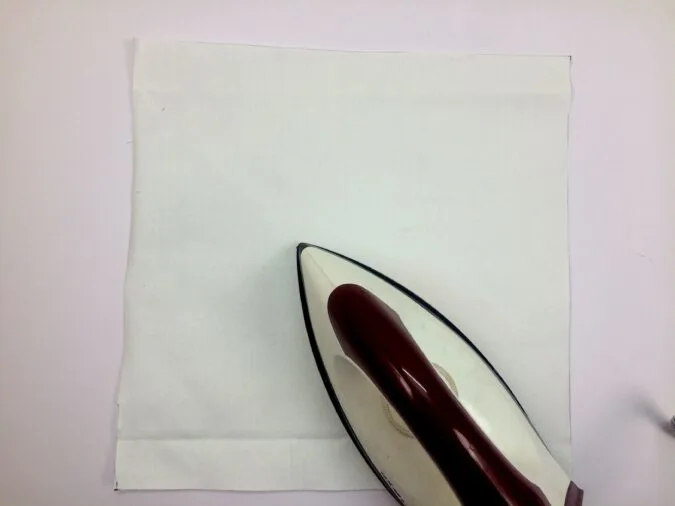
Fuse the interfacing to the wrong side of the outer basket piece, following the manufacturer’s instructions.

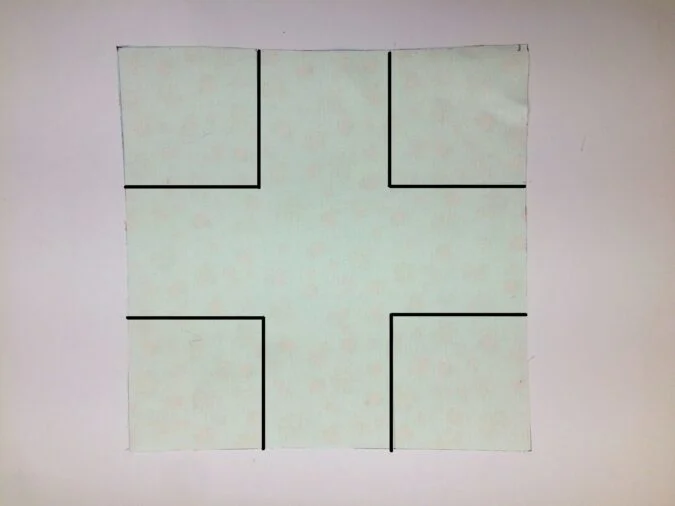
Draw four 4 -inch squares along the corners of the basket outer piece.

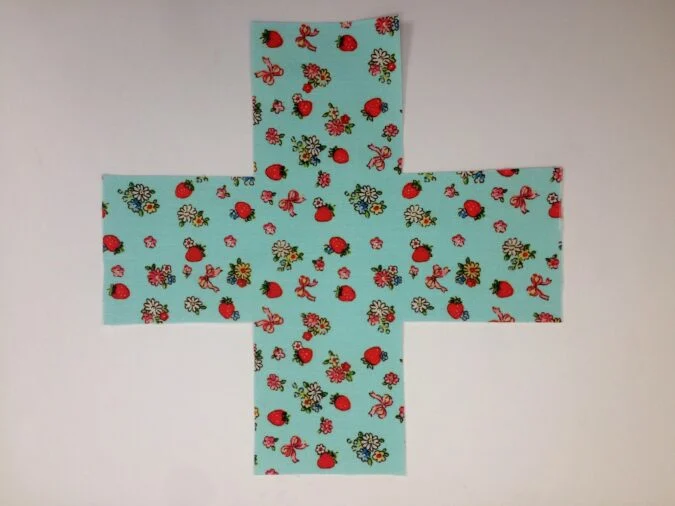
Cut out the squares from each of the four corners to create a plus-shaped piece, as shown above

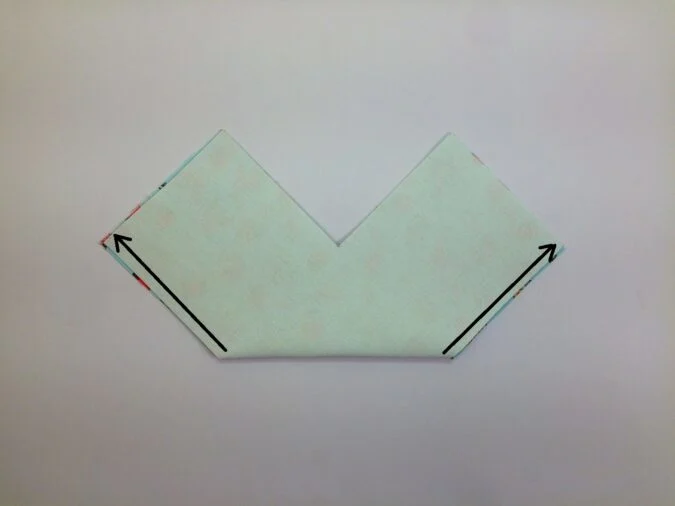
Fold the piece along the diagonal of the small center square, bringing the opposite raw edges together on both sides. Align the edges, pin and sew along both sides.

Next, realign the piece and fold it along the other diagonal of the center square to match up the remaining raw edges. Pin and sew along the edges to join.
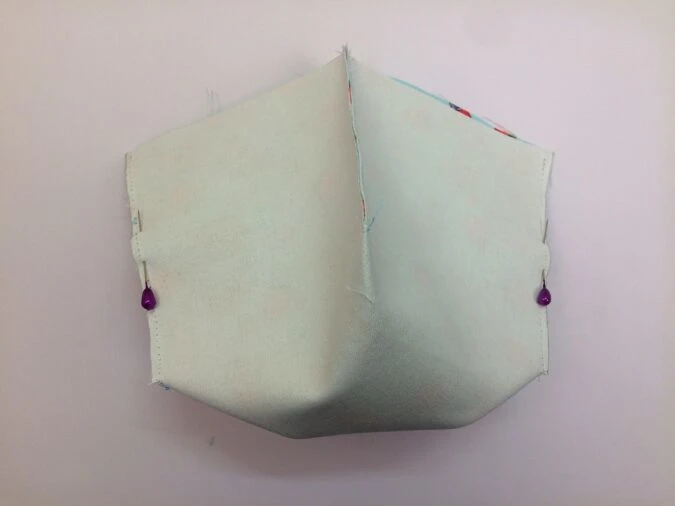
Your basket is now starting to take shape.

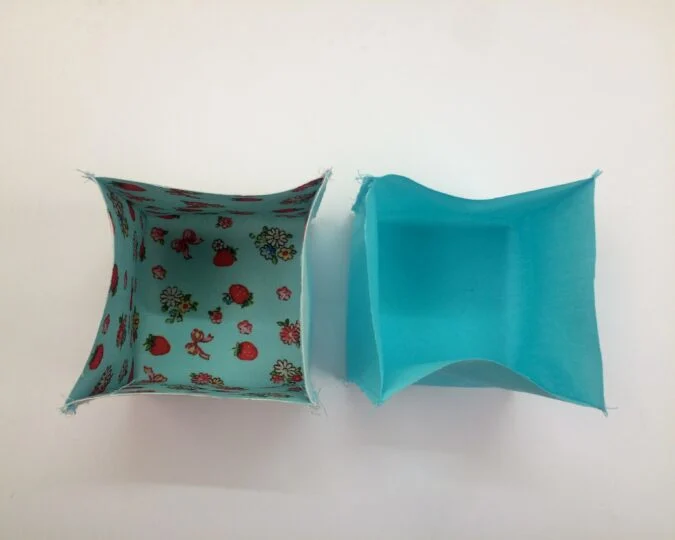
Sew the lining in the same way as the outer.
Next, we prepare the loop for hanging.


Take the loop piece, fold the two long edges towards the wrong side by 1/2- inch and press to set.


Fold it again half, lengthwise and press once more. Sew the loop shut along the edge of the folds.

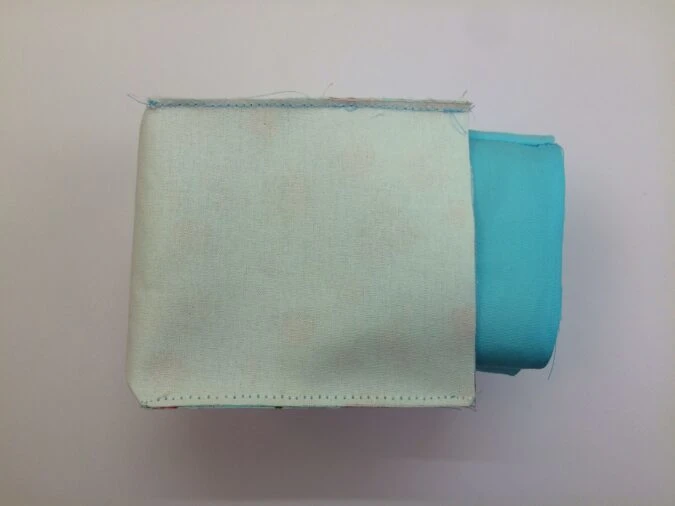
Keep the basket outer on its wrong side and flip the lining over to its right side. Slide the lining in to the outer, keeping the side edges in line.


Align the top raw edges together.

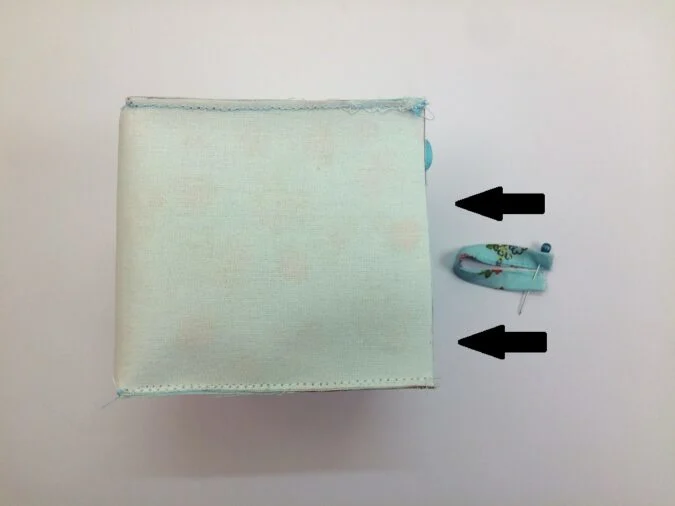
Fold the loop in half and slide it in between the outer and lining, along the center of one of the edges (the loop is now sandwiched between the edges of the outer and lining).

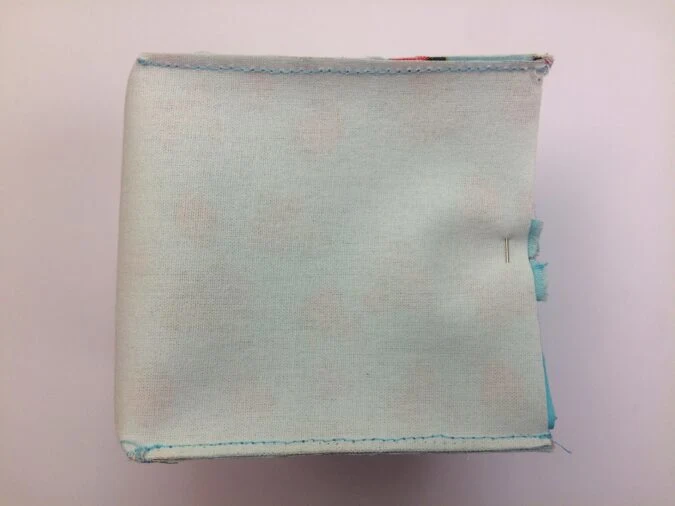
Line up the raw edges of the loop with the raw edges of the outer and lining and pin all around.

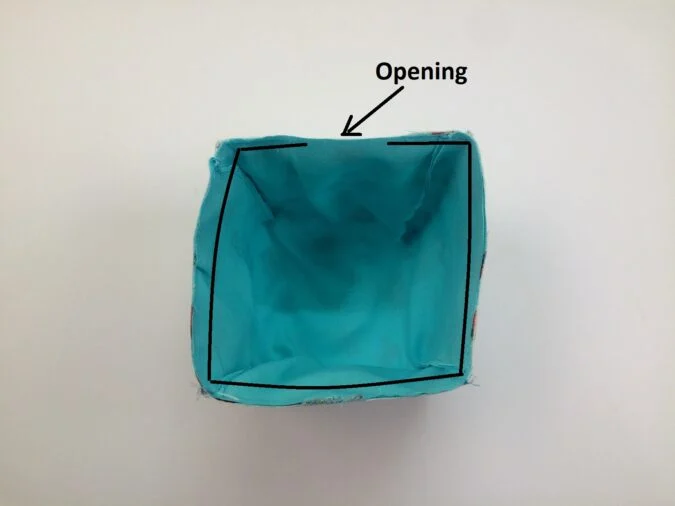
Sew the pinned edges together, leaving an opening of about 2- inches to turn the right side out.


Pull out the right side through the opening.


Keep pulling till the whole of the right side is brought out.

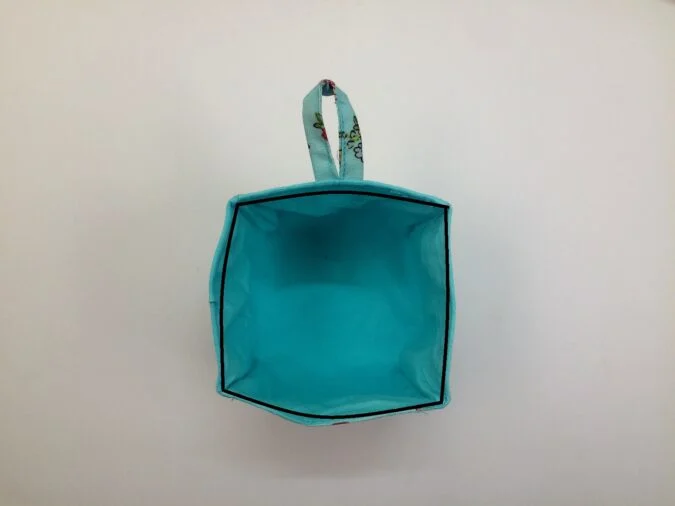
Push the outer into the lining and pull the loop taut. Tuck in the raw edges, then topstitch along the top edge to close the opening and give it a clean, finished look.
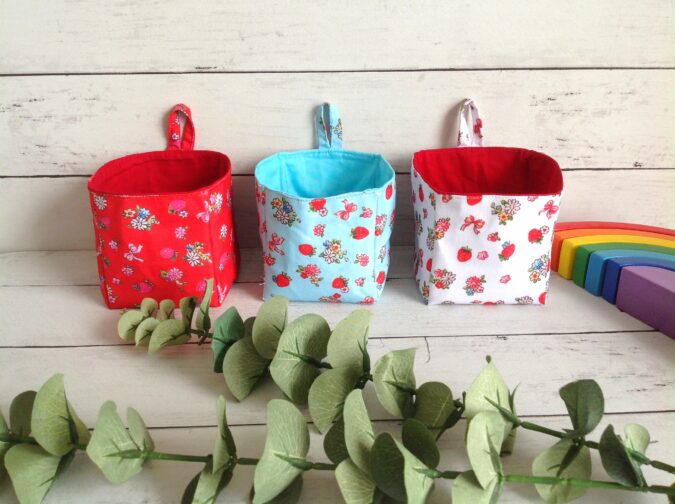
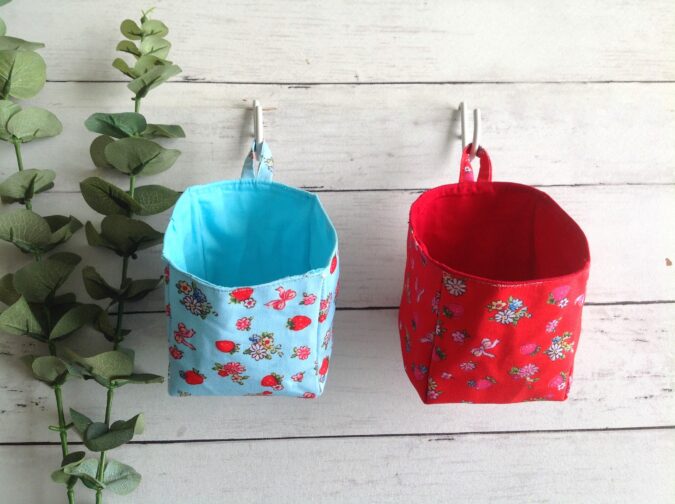
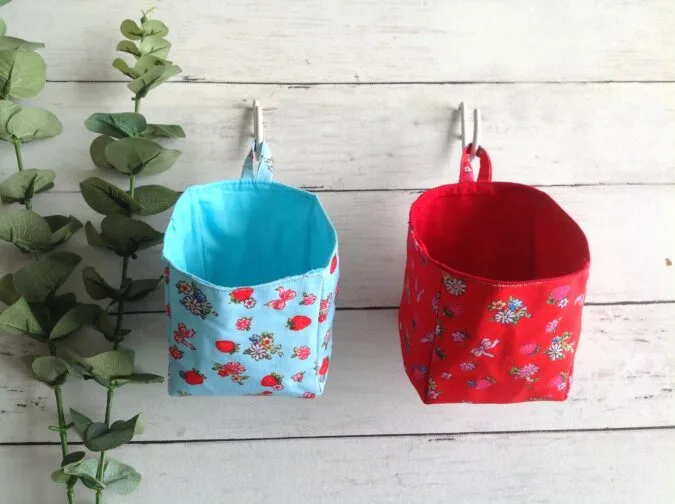
Our hanging basket is ready!
Pin it for later here,