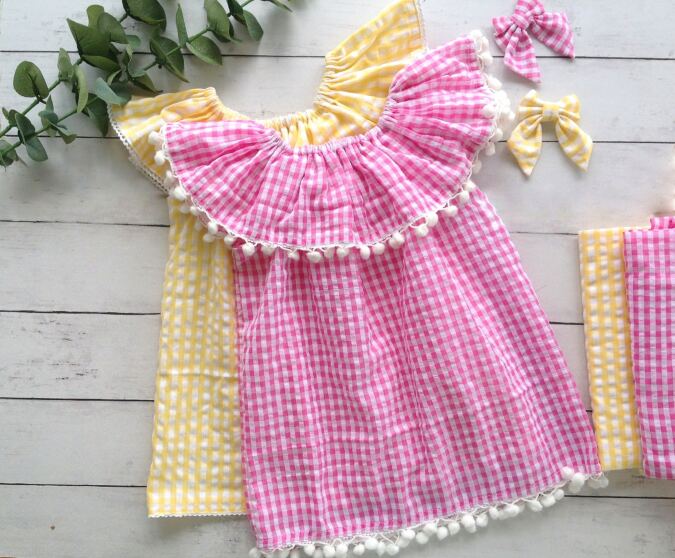
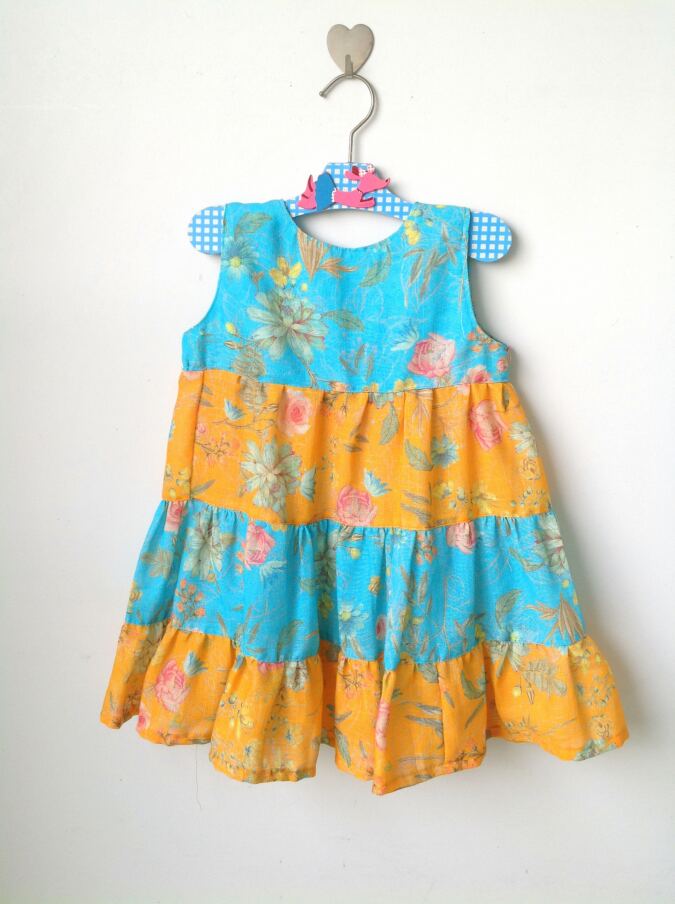
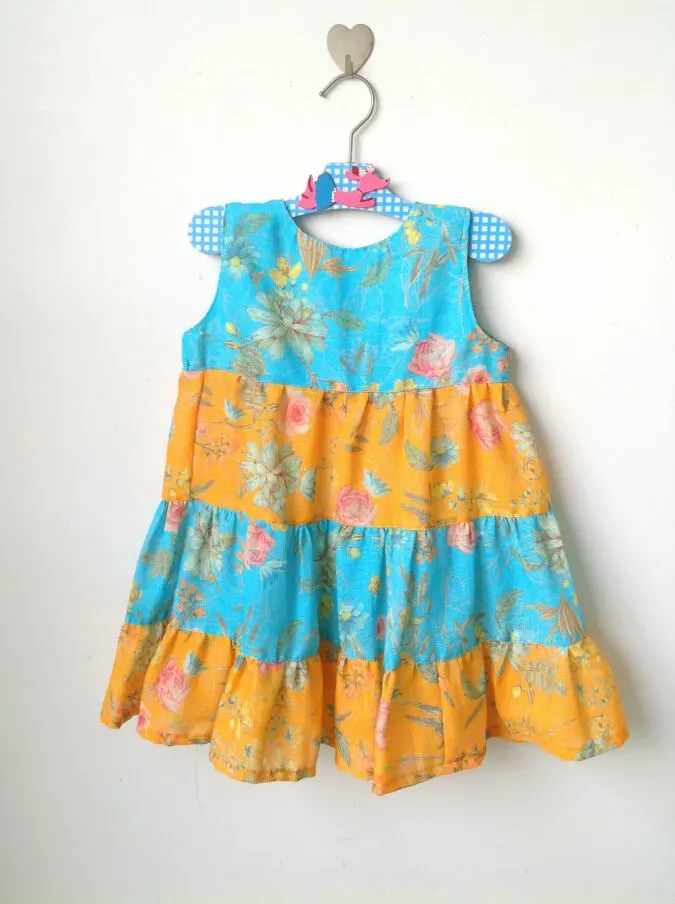
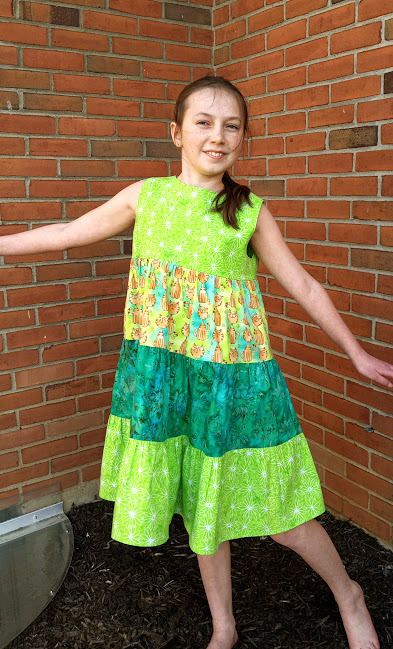
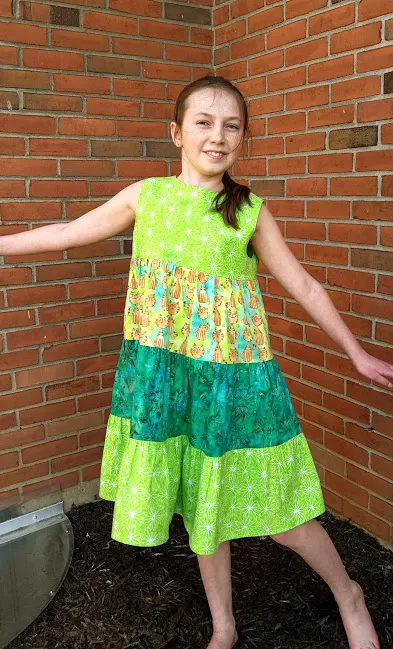
Are you looking for free dress patterns for your little girl this summer? Then sew this colorful tiered dress in bright, summery colors and watch her wear it with style and comfort.

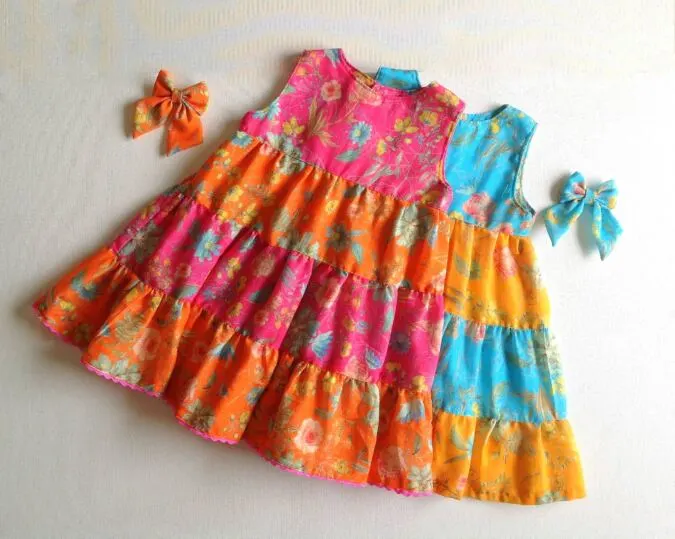

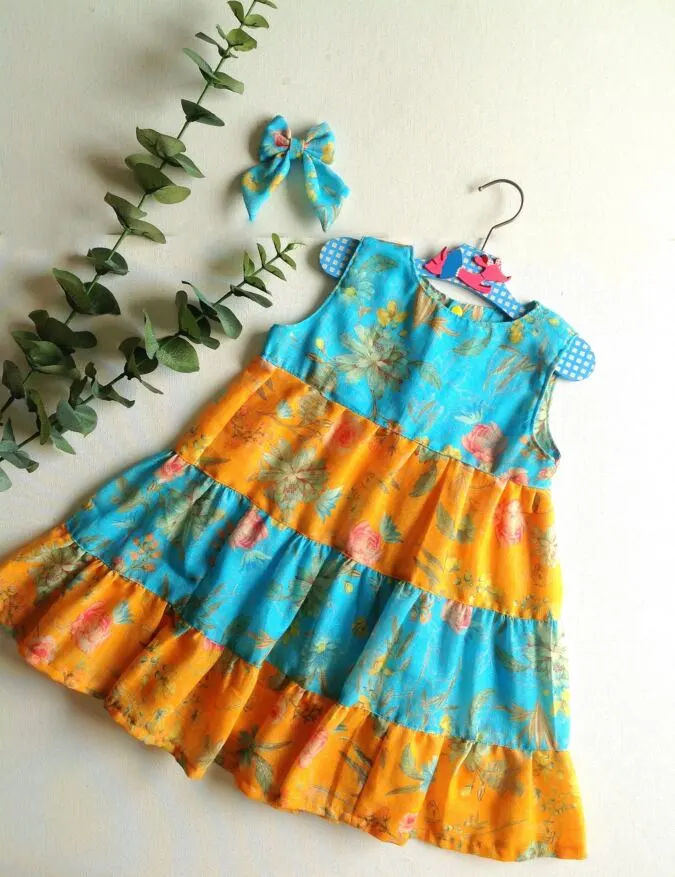
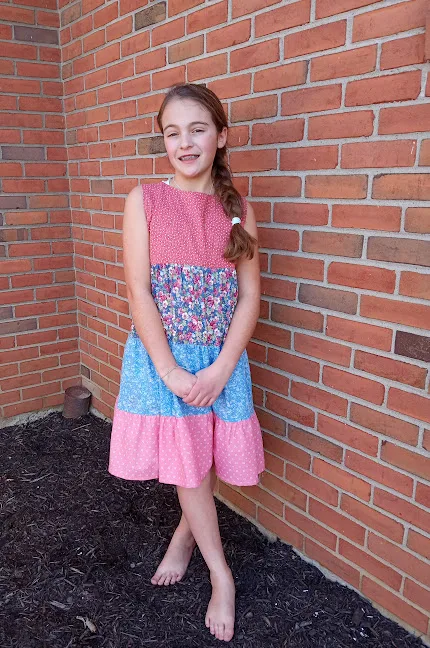
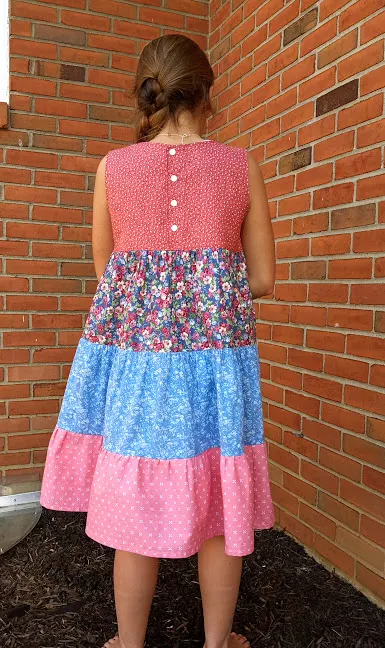
This girls’ dress pattern features a back-open bodice and tiered skirt, giving you plenty of options to mix and match colors and prints. The pattern can even be a great scrap-busting project as well.

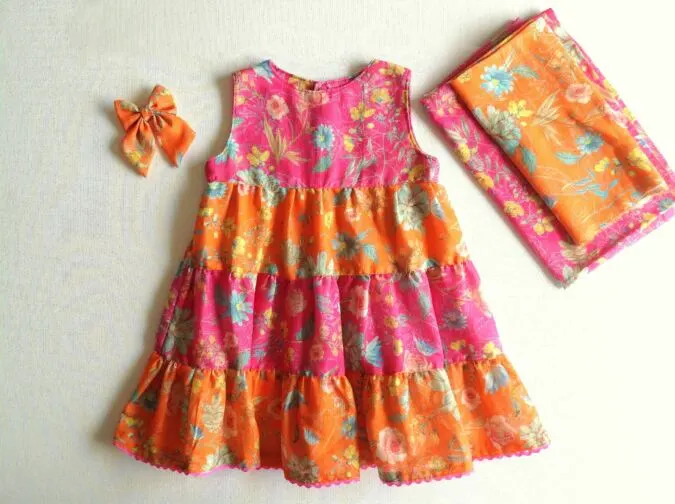
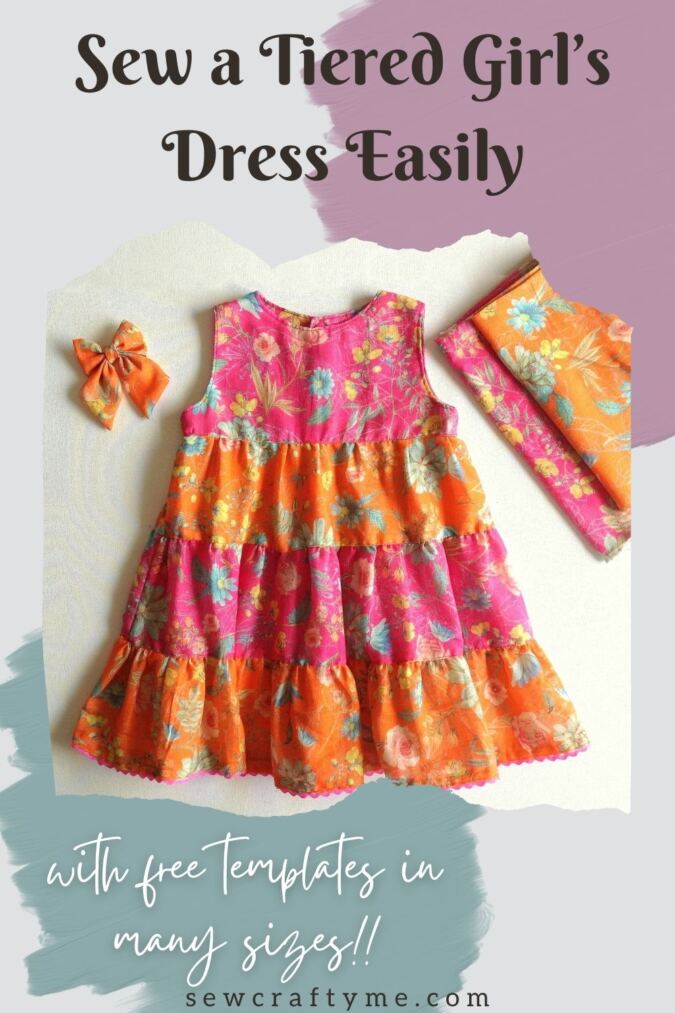
The dress looks amazing without any trims, but adding a line of lace, rickrack, or lace along the hemline or armholes can make it even more girly and stylish. Give your little girl the perfect summer dress with this easy-to-follow pattern.


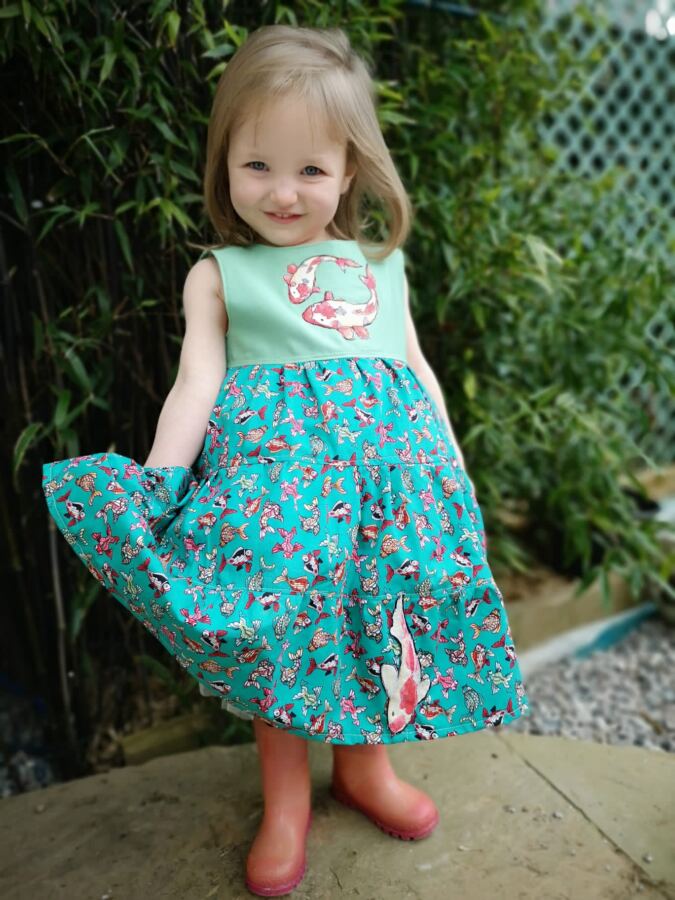

How do you like it on these little cuties?
If you would like to see the easiest ruffled dress pattern for your little girl, click on the picture below:

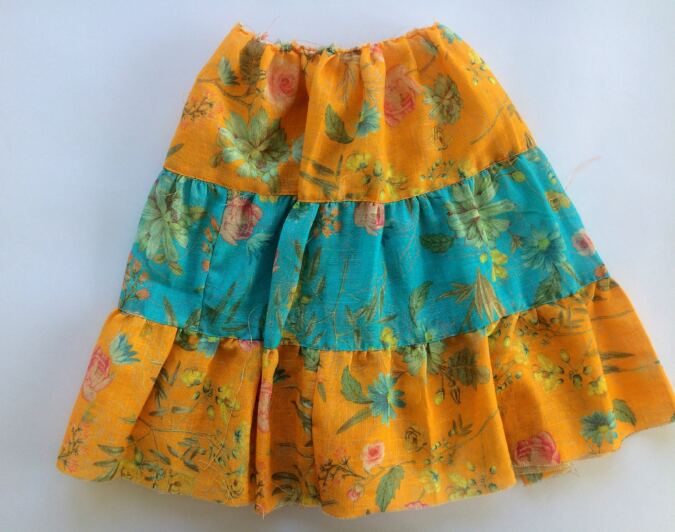
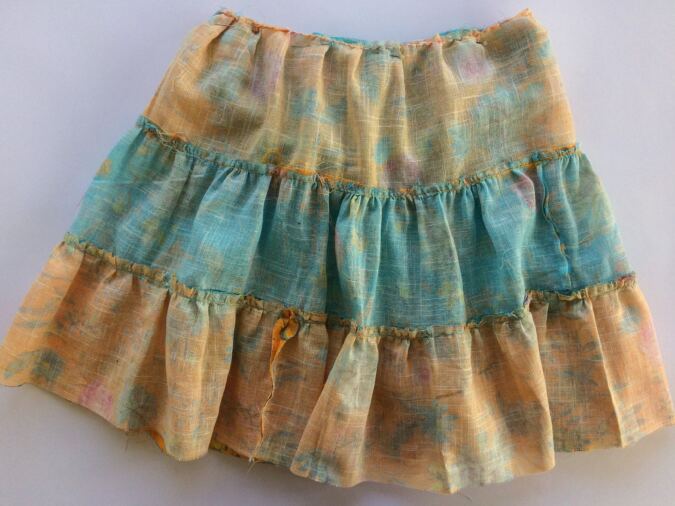
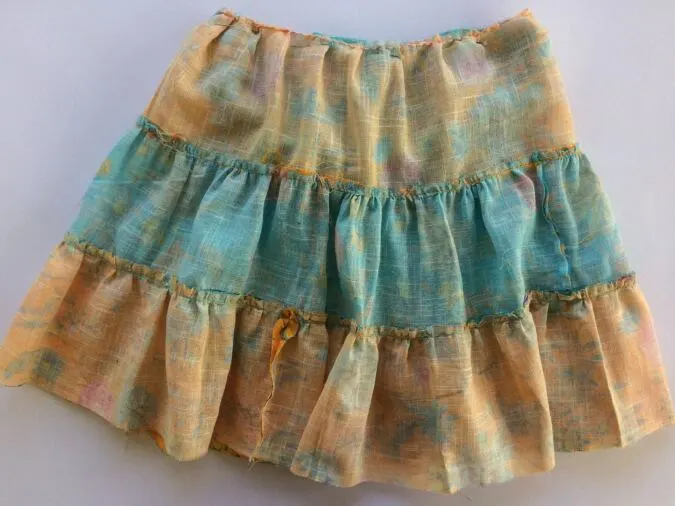
Free Tiered Dress Pattern for Girls
Materials Required
- Medium-weight cotton fabric for the dress bodice and lining- requirements specified in the table-3 below.
- Medium-weight cotton fabric for the skirt tiers- requirement specified in the table-3 below.
- Sewing Notions.
- Fabric Marking Pen.
- Kam snaps or if you know how to sew buttonholes, you may use normal buttons too.
- Pattern pieces. ***Enter your e-mail address and click the subscribe button in the box below to download the template.
All the fabrics used here are 44/ 45 inches in width.
The seam allowance is 3/8 inches unless otherwise specified.
I suggest you read the entire pattern once before starting to get a general idea.
All seams are to be finished by zigzag or serger.
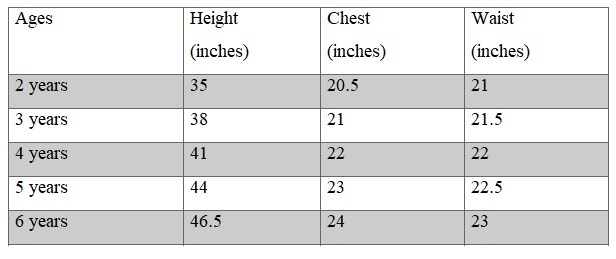
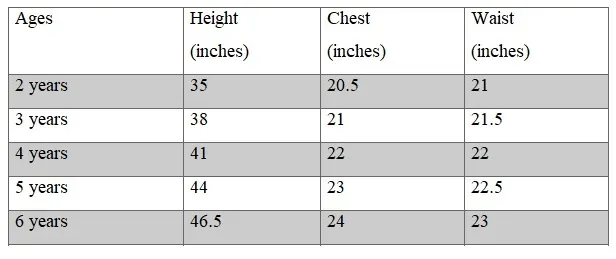
Size Chart
Table-1
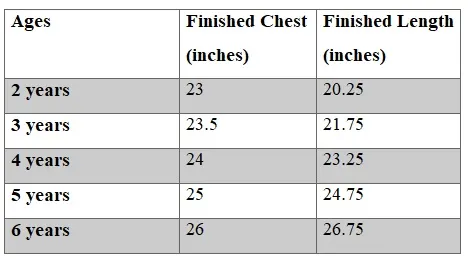
Approximate Finished Measurements.
*Note that the dress has approximately 2 to 3 inches of ease. You may move a size down if you would want a more fitted bodice.
* The dress is supposed to hit just below the knee.
Table-2

Fabric Requirements.
Table-3
**In the table below, I have given the fabric requirements for each tier separately. If you are using the same fabric for all three tiers, just add the requirements for the three tiers together.


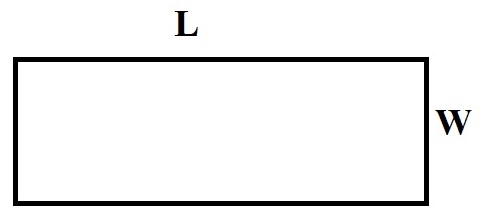
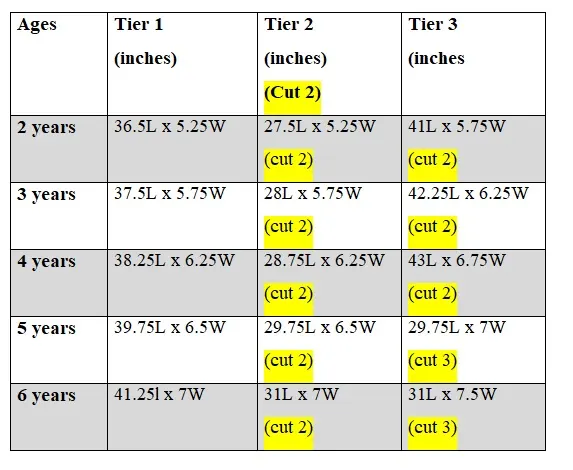
Measurements
In the table below, “L” stands for the length, and “W” stands for the width of the fabric piece to be cut.
Table-4


Sewing

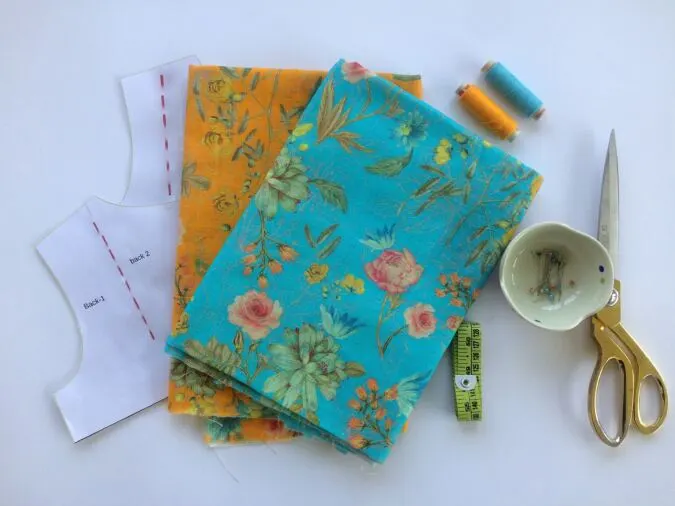
Gather your supplies.
Cut the templates for the bodice front and bodice back from the attached PDF.

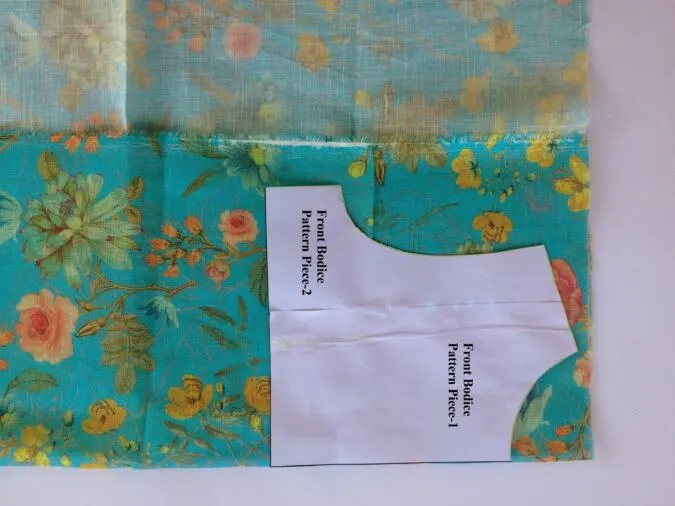
Take the bodice fabric and the template for the front bodice. Fold the fabric to fit the width of the template and place the template on the fold. Mark around it and cut to get the front bodice piece. Repeat the steps to get the front lining.
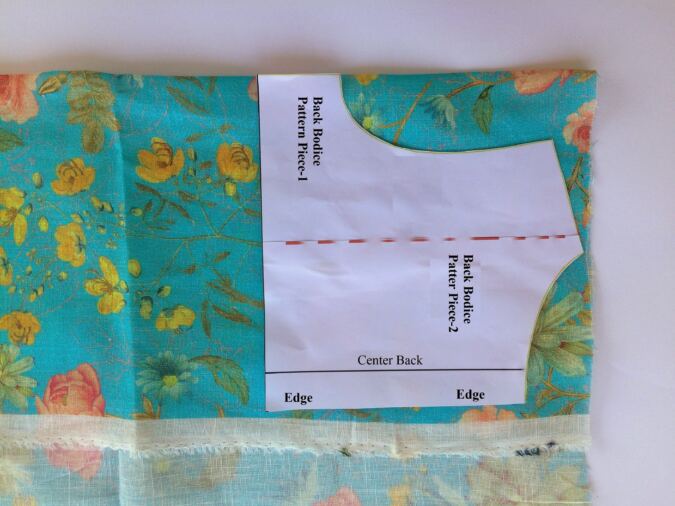

Let’s cut the back bodice. Here again, fold the fabric, but this time, place the template for the back bodice, along the edge of the fabric. Mark around it and cut to get two pieces for the back bodice (the back part of the dress is done in two pieces, for button opening). Repeat the steps to get the back lining pieces.
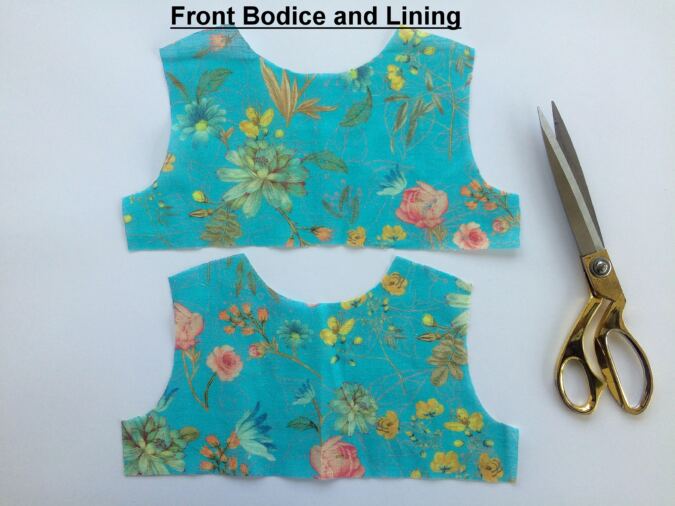
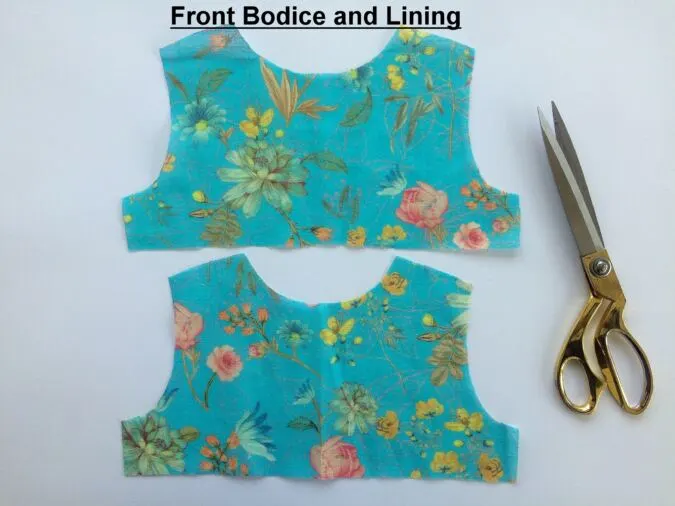
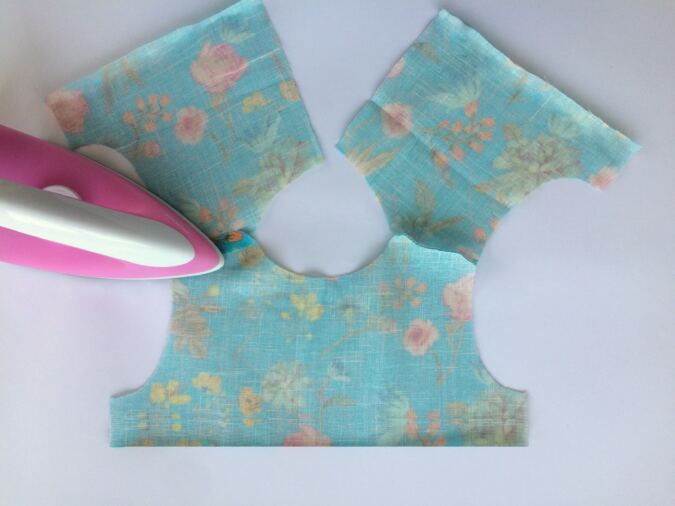
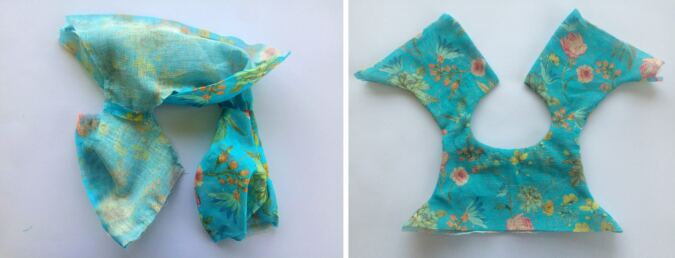
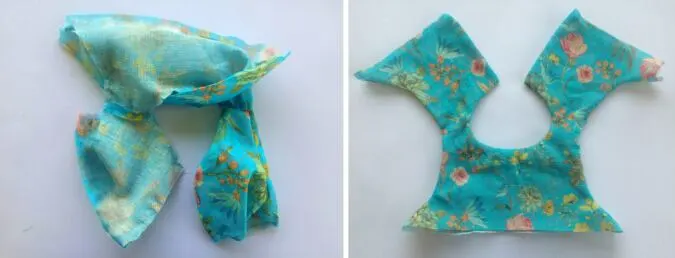
Your bodice-front and lining would look like this.

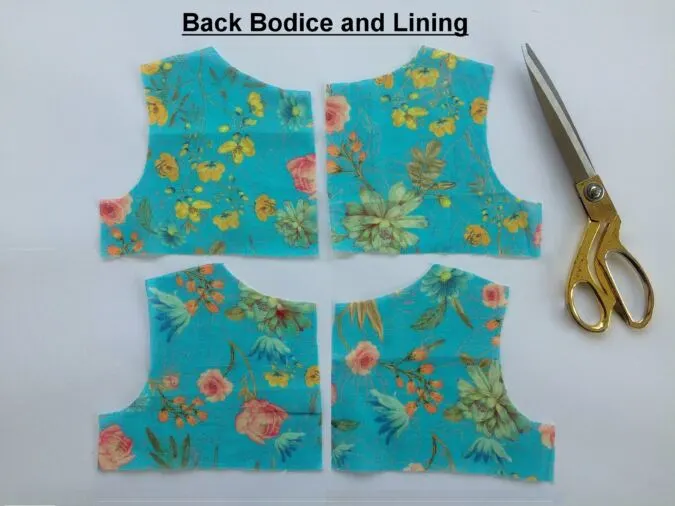
Your bodice –back and lining pieces will look like this.
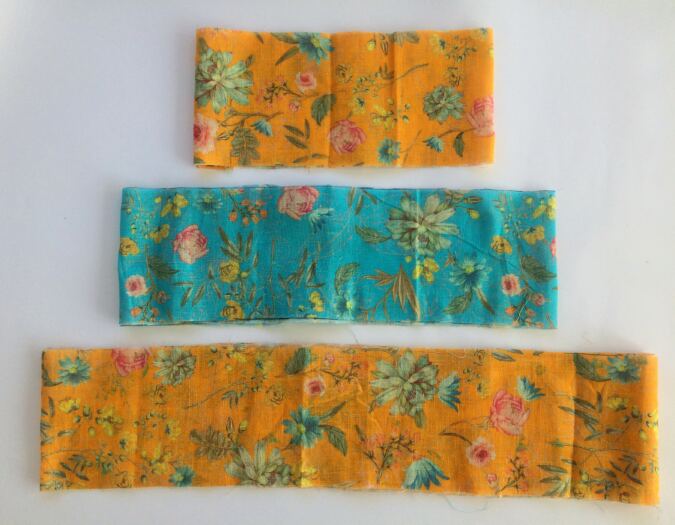

Cut the skirt tier pieces referring to the table-4 above.
Sewing
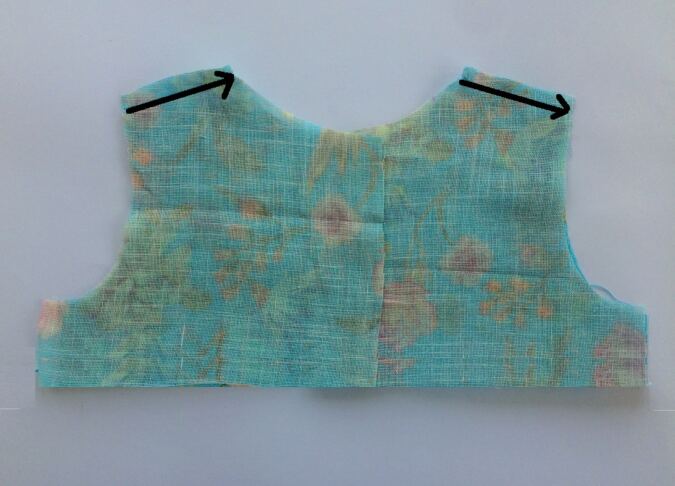
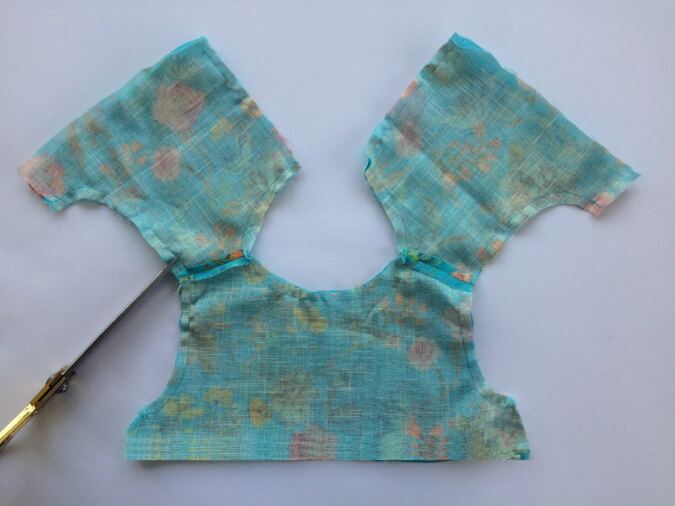
Take the two back bodice pieces and place them over the front bodice piece, with the right sides together, aligning the shoulders and side seams and sew the shoulders shut.

Press the seams flat.
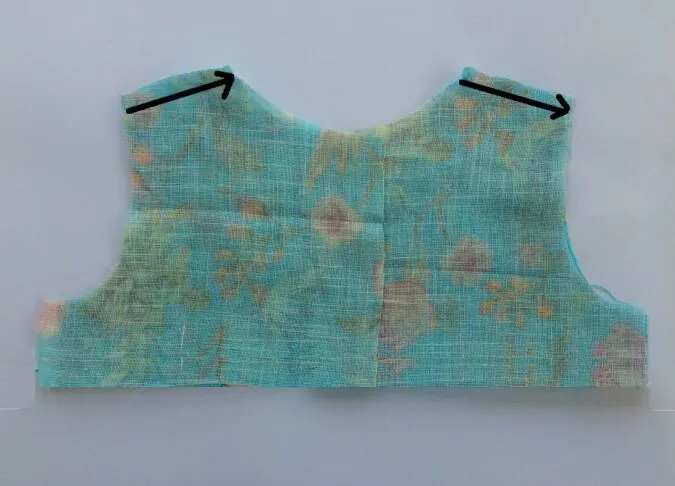
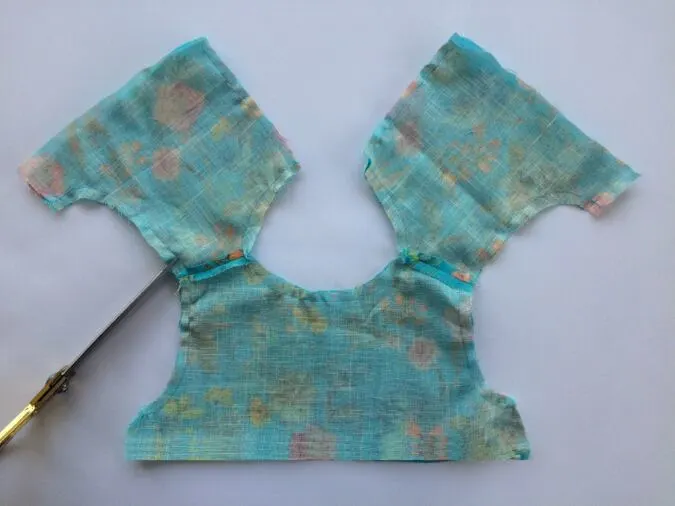
Sew the front and back lining pieces together, just as the bodice pieces.


Place the bodice lining over the main bodice, with the right sides together, aligning the center back, neck, and armholes. Pin and sew along the neck and center back, and also along the two armholes.
Clip the edges and cut the corners.
Pull the right side of the back bodice out. Keep pulling the back bodice on either side, till the whole bodice is turned inside-out.
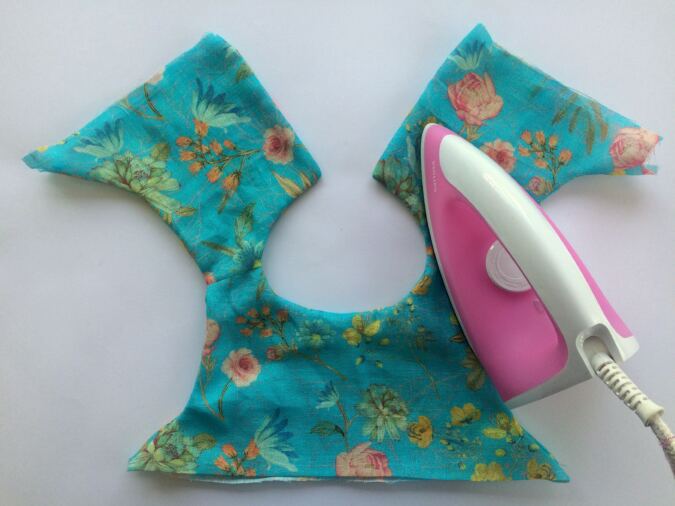
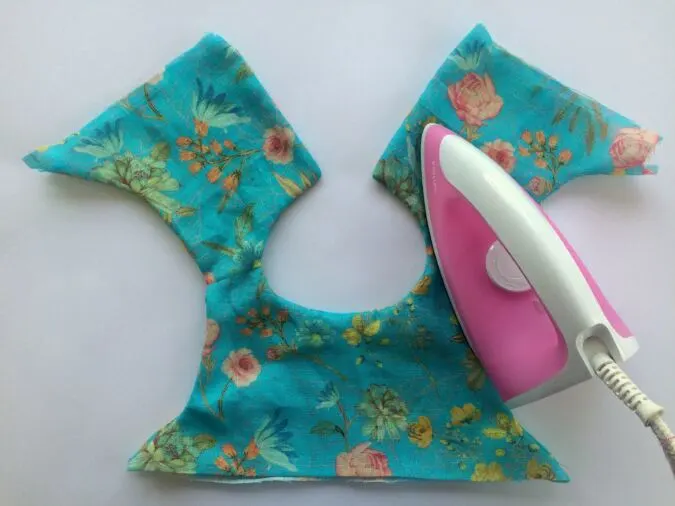
Poke the edges sharp, with the help of your scissors, and press taut.

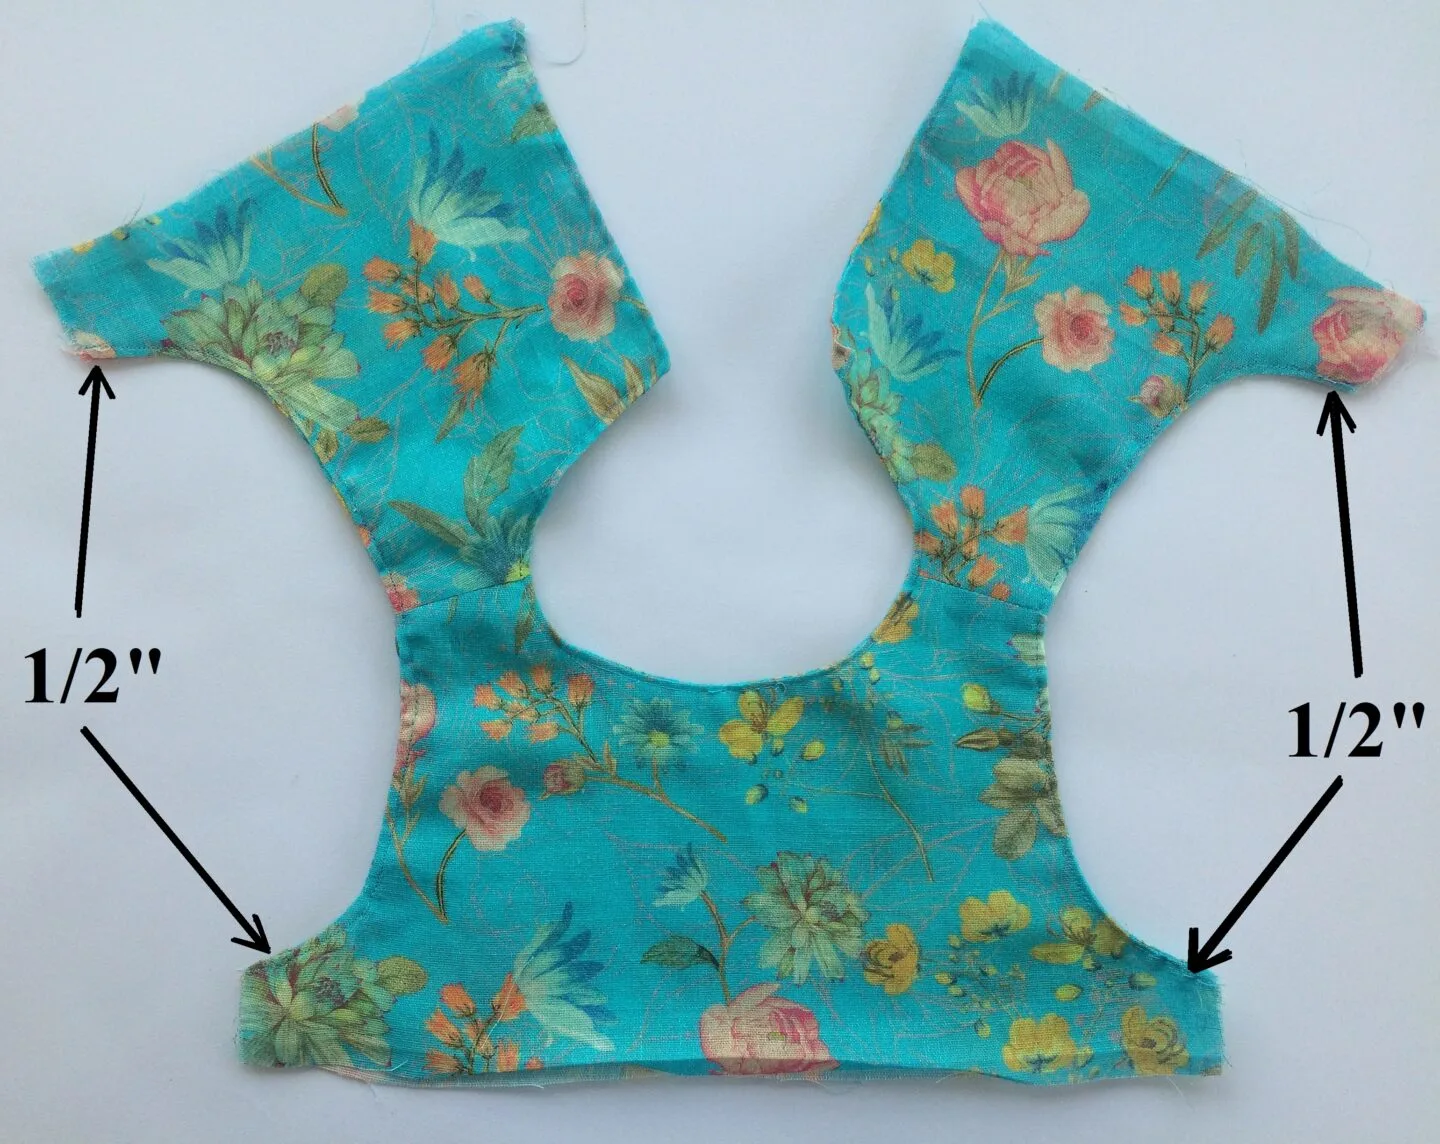
Topstitch along the armholes, neck, and buttonhole edges. *Note that you will need to leave 1/2” along the edge of the armhole while topstitching to sew the side seams smoothly later.
Next, we sew the side seams of the bodice shut.
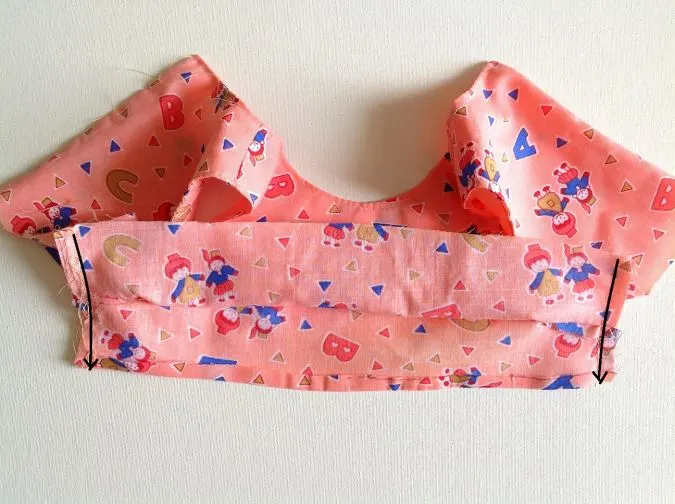
Flip the lining upwards. With the right sides together, align the side seams of the back and front bodices together and the side seams of the front and back lining together. Pin the aligned edges (side seams) together and sew along the pinned edges (picture for illustration purposes).

Clip the bulk at the seam(picture for illustration purposes).
Our bodice is done. We move on to the skirt.

Take the fabric pieces for the third skirt tier, and join them along the short edges to get a closed fabric ring.
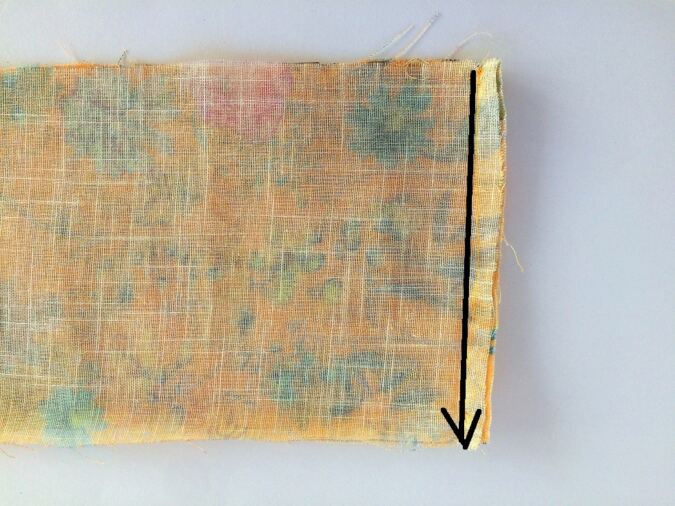
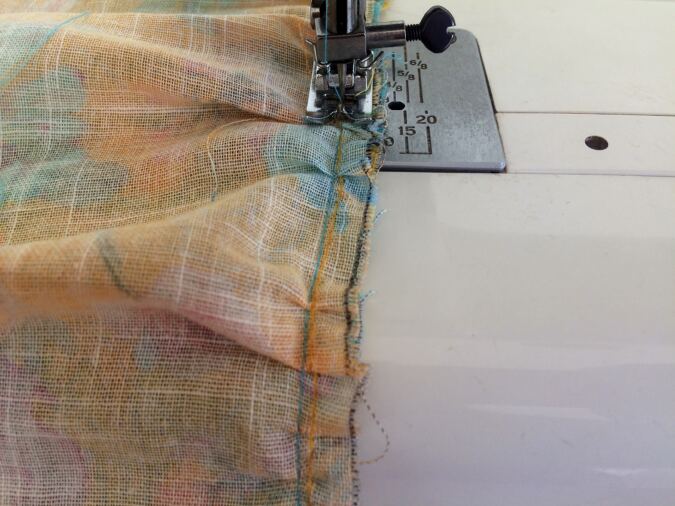
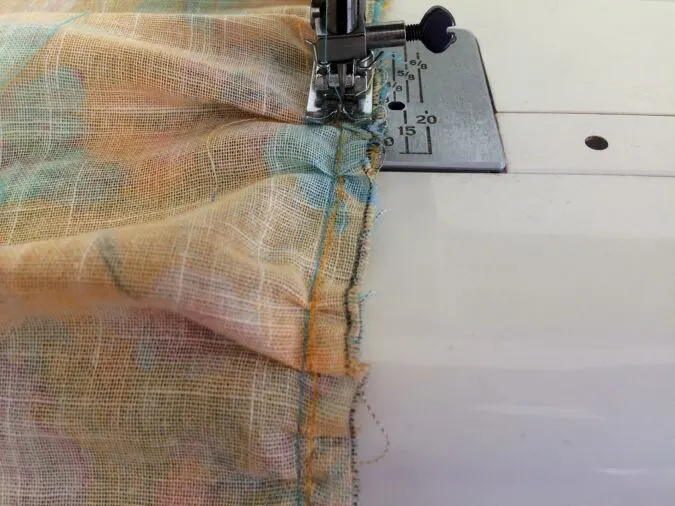
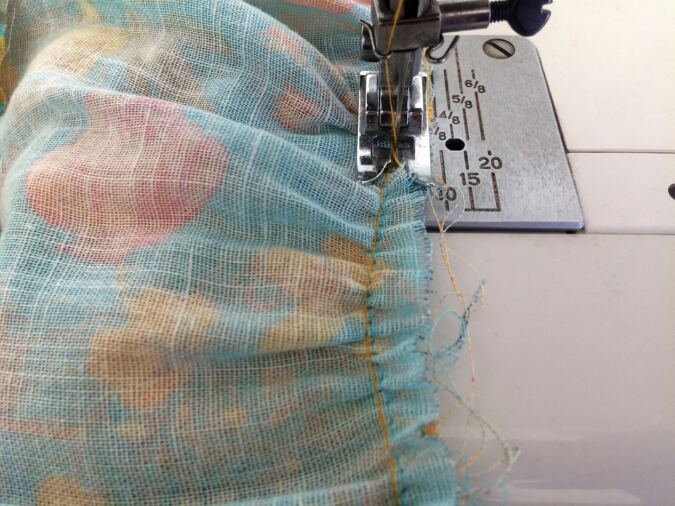
Next, we need to gather it. Turn the upper thread tension of your machine to zero and stitch length to the longest to get a basting stitch.
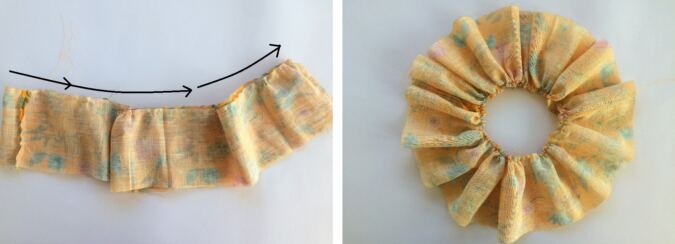

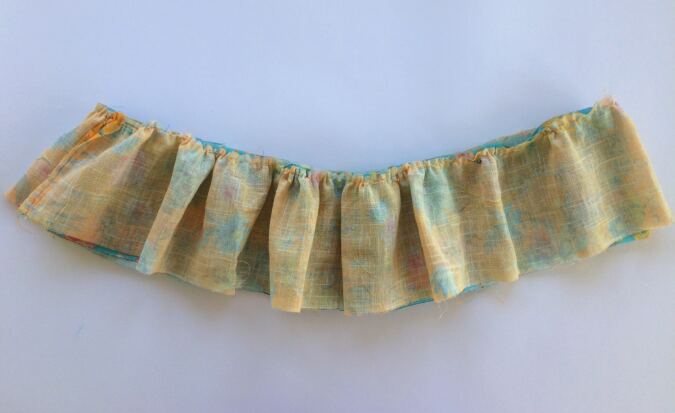
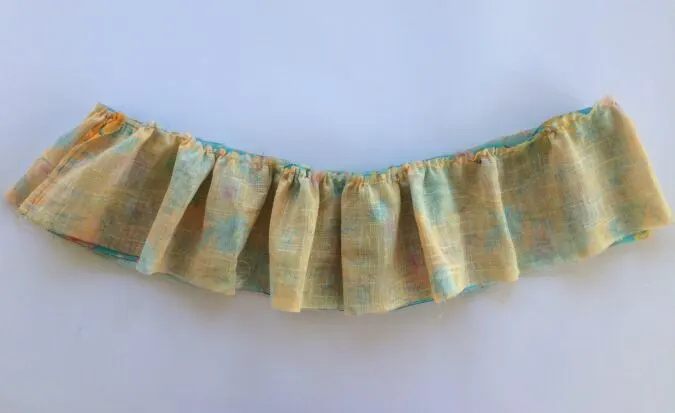
Sew a basting stitch along the upper edge of the skirt tier and gather it.
Adjust the gathering to make it uniform and to fit the lower edge of the second skirt tier.
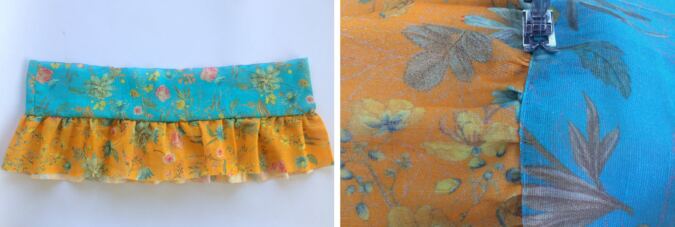
Take the fabric strips for the second tier and join the short edges to get a fabric ring.
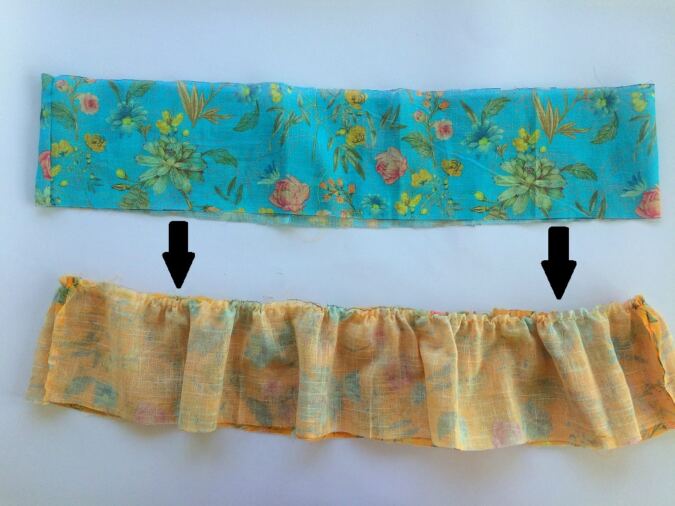

Keep the third (gathered tier) on its wrong side and keep the second tier on its right side above it. Slide the second tier inside the third.
Line up the raw edges of the two together and pin all around, adjusting the gathering to make it uniform as you go.
Turn the machine settings back to normal.
Sew the two tiers together along the pinned edges.

Turn over to the right side and topstitch along the seam line of the two tiers to make it clean and crisp.
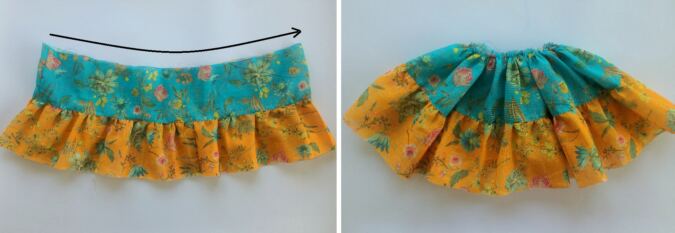
Sew a basting stitch along the upper edge of the second tier and gather it.
Take the first tier and join the short edges to get a fabric ring. Adjust the gathering in the second tier to match the lower edge of the first.


Keep the first tier on its right side, above the second tier (kept on its wrong side), and slide the first into the second. Line up the raw edges and pin all around.

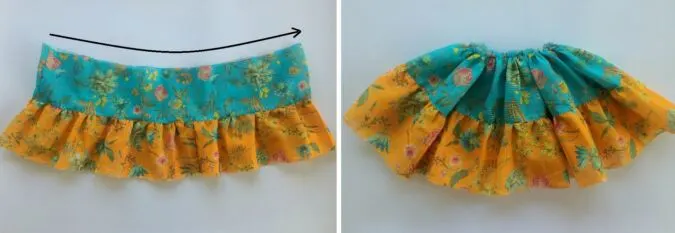
Sew the pinned edges together.

Sew a basting stitch along the upper edge of the first tier and gather it.
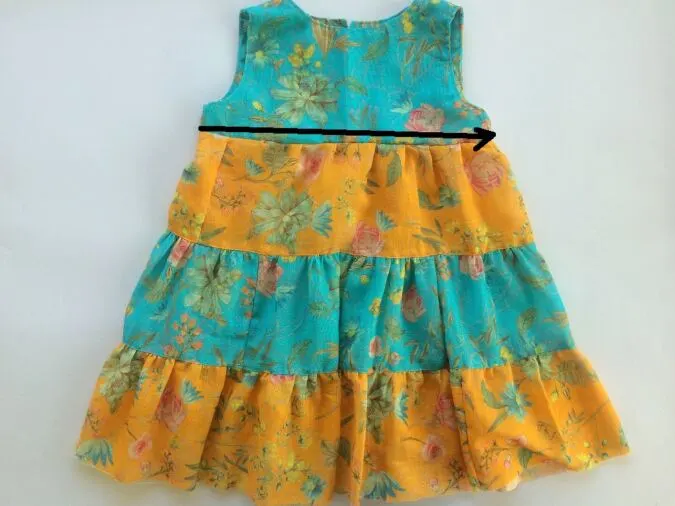
Let’s attach the skirt to the bodice. Adjust the skirt gathering to make it uniform and to match it with the lower edge of the bodice.

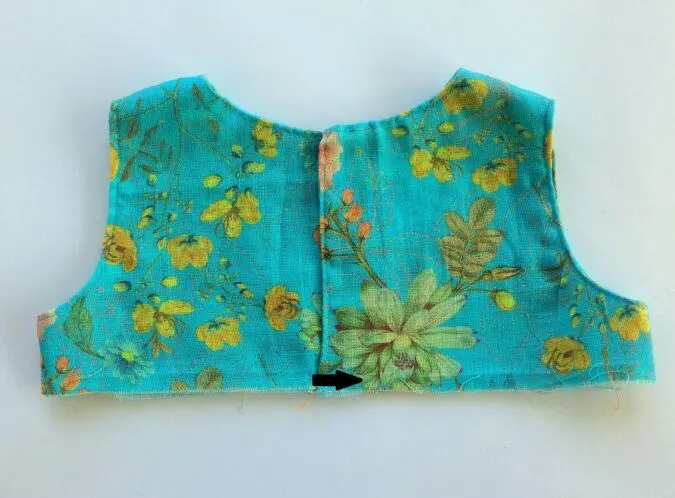
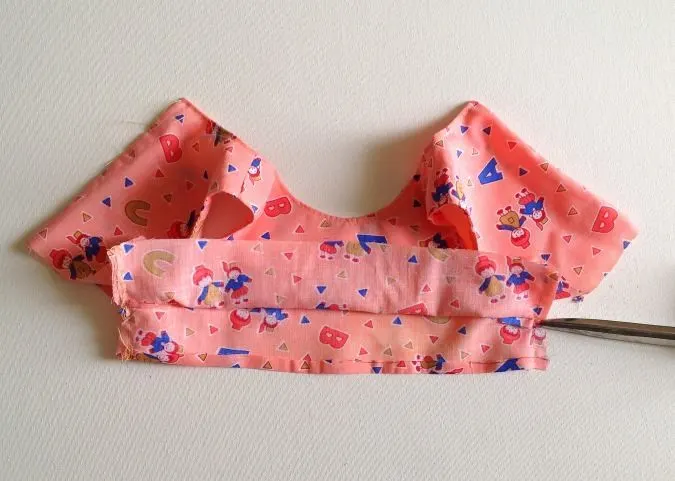
Take the bodice and keep the side seams in place, with the center back edges overlapping and the armholes along the front and back in place. Sew the overlapping edges shut, 0.25- inches above the lower edge.
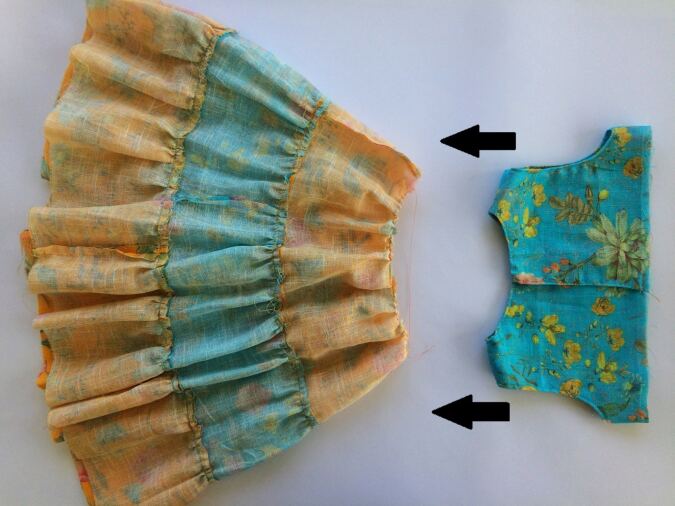
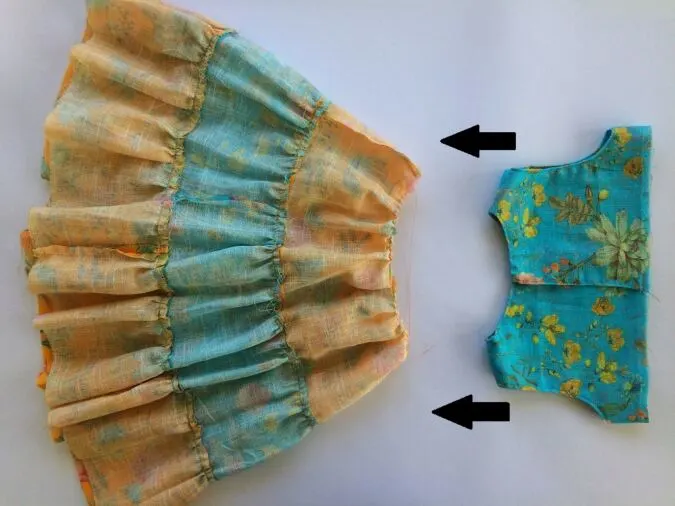
Keep the skirt on its wrong side. Keep the bodice on its right side, with its shoulders facing the skirt, and slide the bodice into the skirt.
Line up the skirt’s gathered edge with the bodice’s lower edge and pin all around.
Sew the skirt to the bodice, removing the pins as you go.

Turn over to the right side and topstitch along the seamline of the skirt and bodice for a neater finish.
We need to hem the lower edge of the dress.

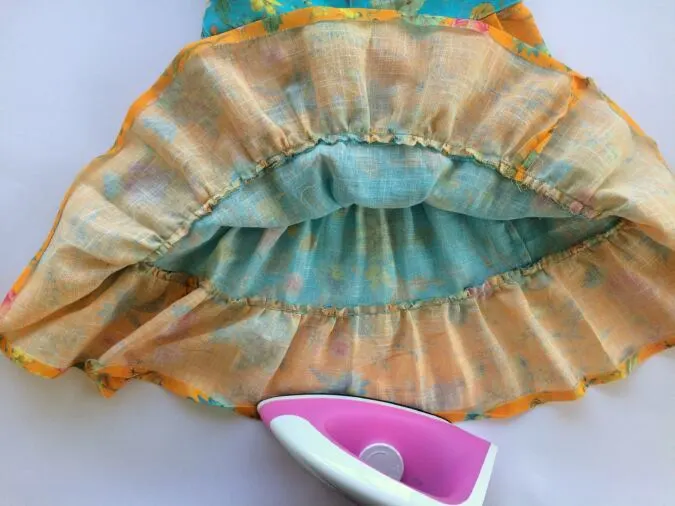
Fold the lower edge of the dress twice by 1/2 inch towards the wrong side and press.

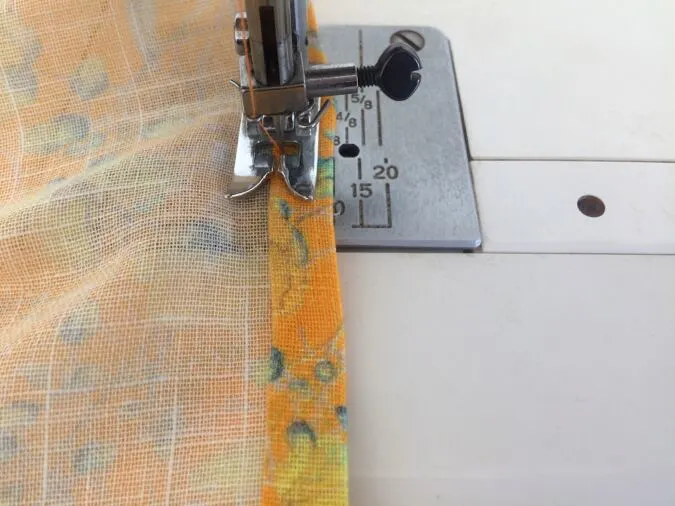
Sew down the hem along the edge of the fold.
Let’s attach the KAM snaps.
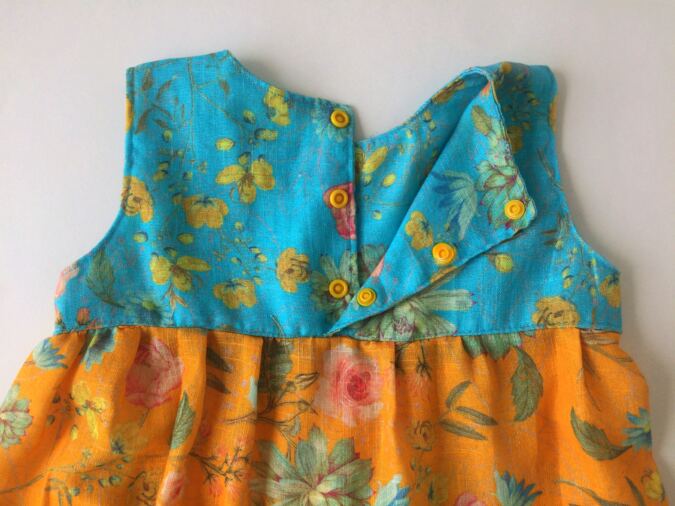

Starting from the top edge, make markings at 2 inches gap from each other, on the right side of one of the back pieces, and attach the KAM. Make markings with a 2-inch gap on the wrong side of the other back piece also and attach the complimentary KAM snaps.
Cut off the hanging thread and our dress is done!
Pin it for later here,
Deborah
Saturday 4th of April 2026
Tiers dress download please
Surayya
Tuesday 14th of April 2026
Please enter your email address and click the Subscribe button to download the template. Kindly wait 2–3 minutes for the download window to appear after subscribing.
Selma
Tuesday 17th of February 2026
Ameiesse projeto. Obrigada! Vou fazer para minhas netas nesse verao.
Surayya
Tuesday 14th of April 2026
Thank you so much! 😊 I’m so happy you liked the project. Your granddaughters are going to love it!
Nalenie
Monday 16th of February 2026
IS THERE ANY SEAM ALLOWANCE IN THE PATTERN AND INSTRUCTIONS FOR CUTTING THE TIERS OR DO i NEED TO ADD AN ADDITIONAL SEAM ALLOWANCE, PLEASE.
Beautiful dress!
Surayya
Tuesday 14th of April 2026
The seam allowance is included in the pattern and you don't need to add it.
Heather
Monday 27th of October 2025
Hello Surayya, I refreshed the page and used another email address and the link worked. Many thanks.
Heather
Monday 27th of October 2025
I have subscribed. A Blue box appears with "Download the Template" but there is no link when I press on it. Can you help me please?