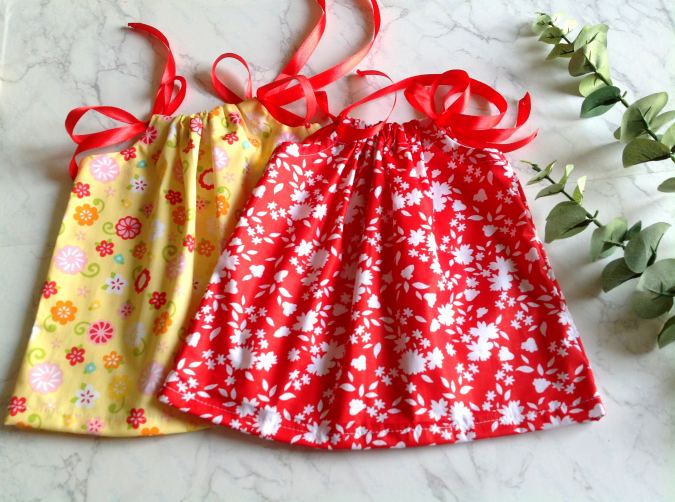
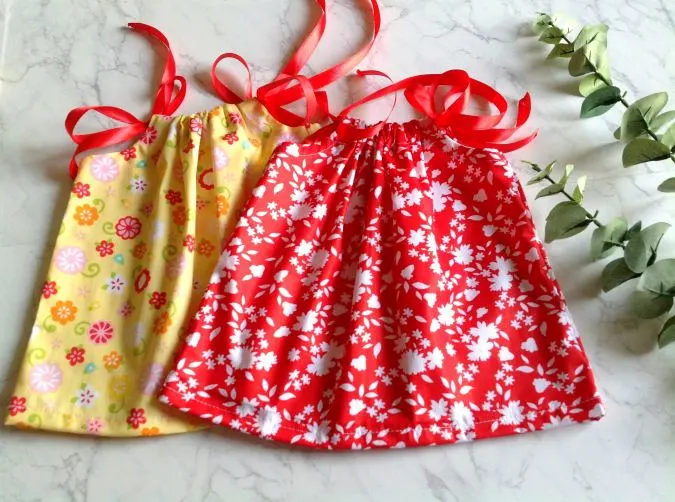
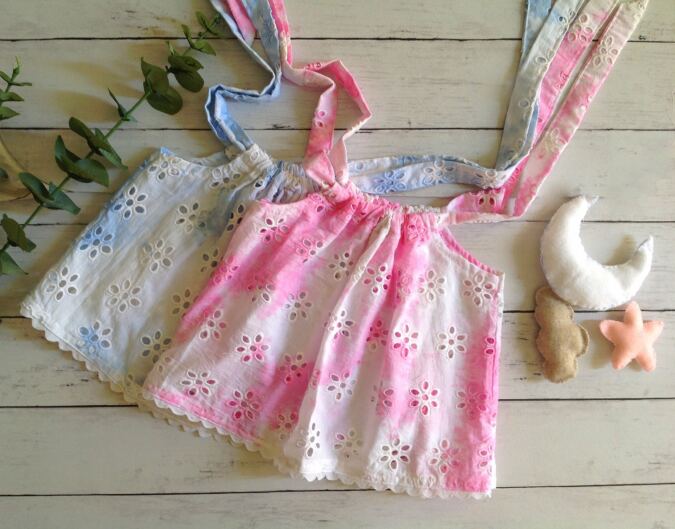
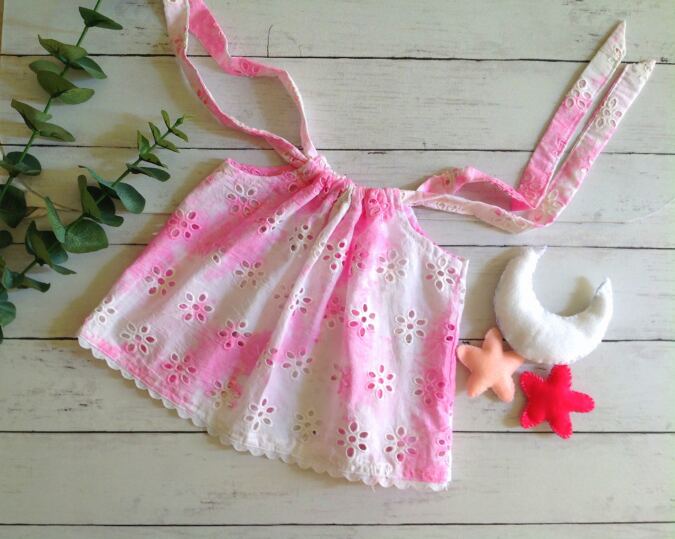
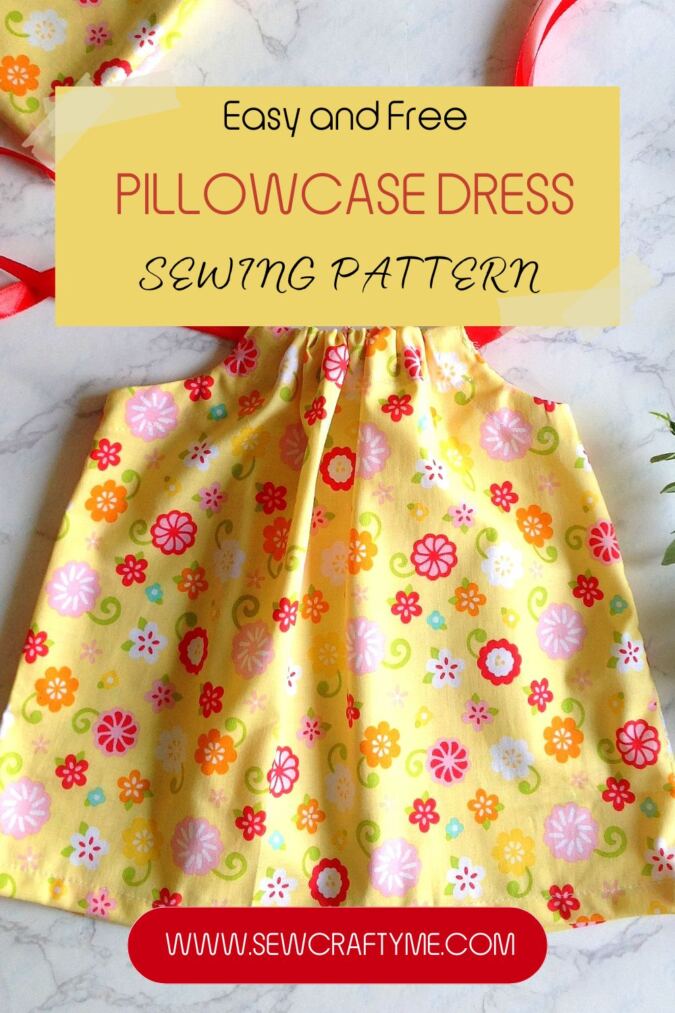
This is a nice and easy pillowcase dress pattern for any novice seamstress. This outfit is so versatile that it can be worn all year round, paired with a tee or turtle neck during fall and winter or as it is during spring and summer. It is simple to sew without any hassles like zippers or buttons.
I know you have seen the pillowcase dress pattern all over the internet but when I have patterns for everything baby-related on my website, I shouldn’t leave out the ever-green pillowcase dress pattern right?


This pillowcase dress design is so easy and cute that mama would love making it and the little one would love wearing it. Here you will find the pattern piece, measurements, and instructions to make it from 6 months to 6 years in size.
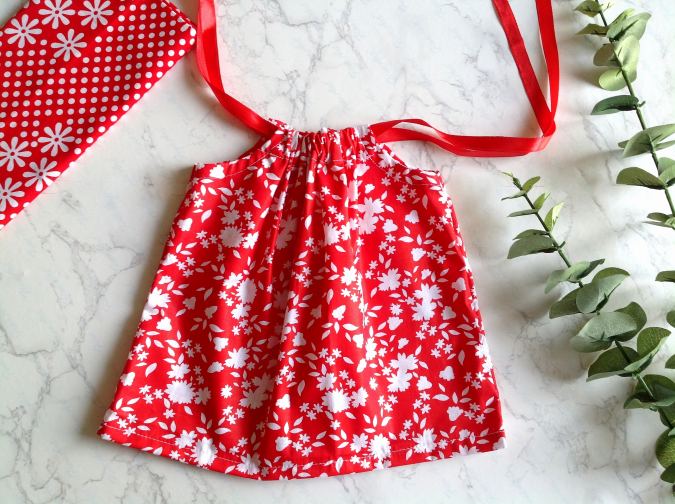
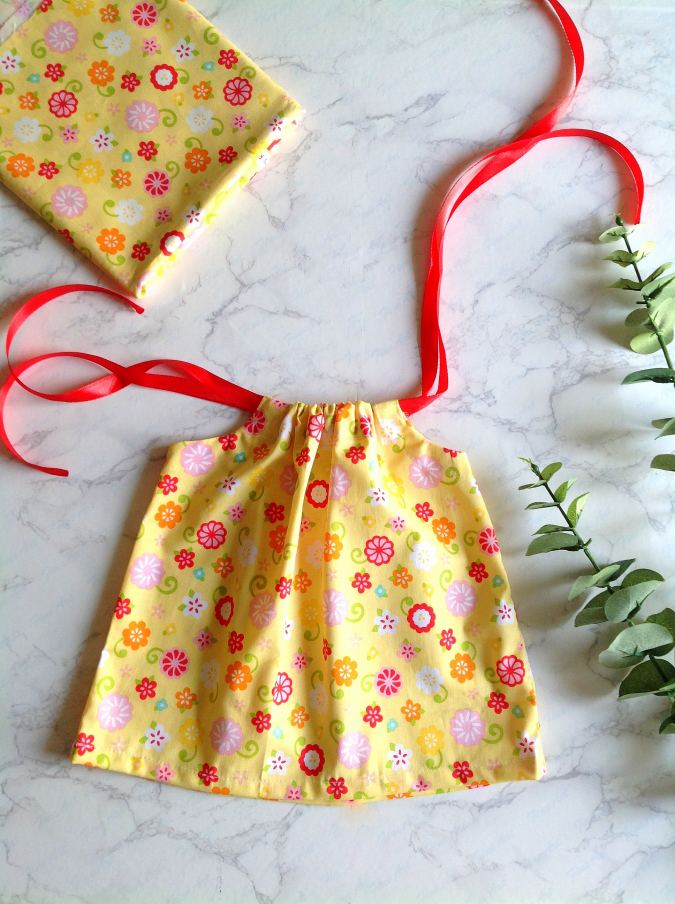
This simple sewing project can be modified in various ways; you can use satin ribbon for the ties or add trims to the bottom if you would like it to be prettier.


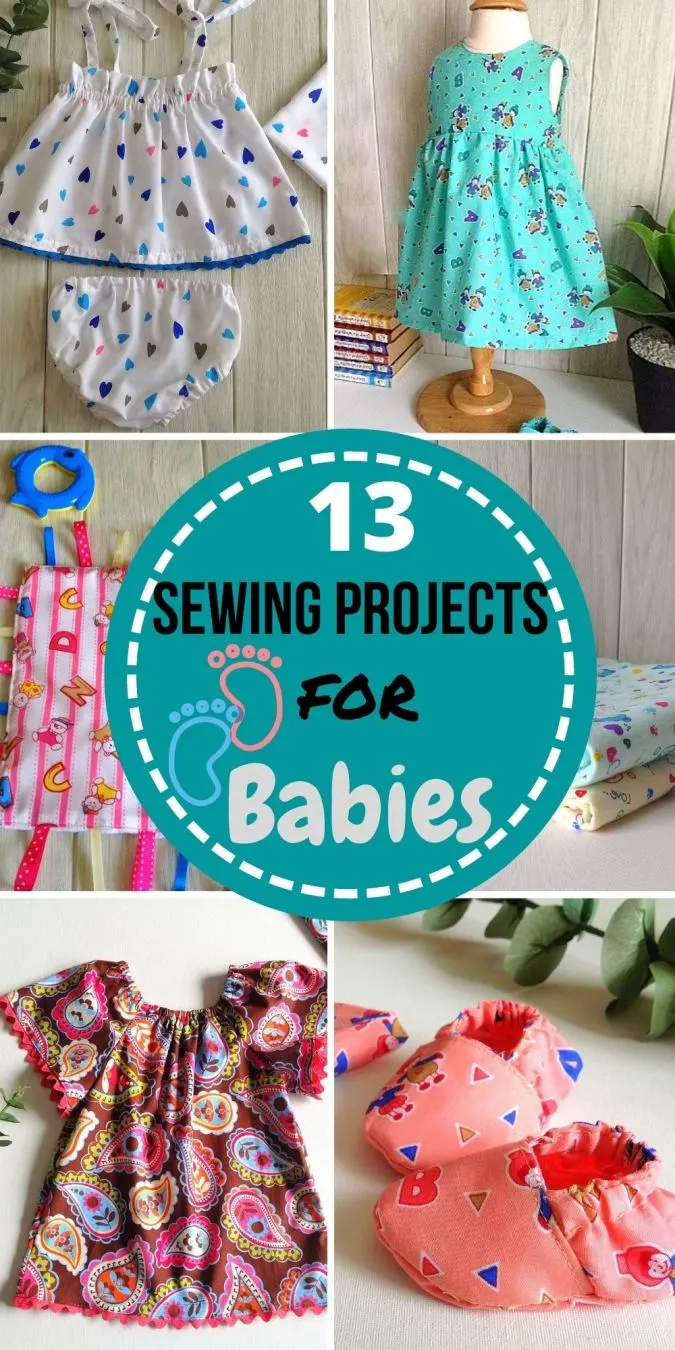
If you would like to see all my baby patterns in one place, click on the picture below:
If you would like to watch a video tutorial on how to sew the pillowcase dress, skip to the end of the page.
Free Pillowcase Dress Sewing Pattern
*Caution: Do not leave your infant unattended with the ties at the neck.
If you would like to purchase the pattern as an ad-free PDF for $ 3.99, click here. The Pattern will be emailed to you within 24 hours of payment.
Supplies Needed:
Medium-weight cotton fabric in any desired print and color for the dress and neckties- requirement specified in the table-2 below.
Single- folded bias tape (optional)- 40-inches.
1- inch satin ribbon (optional)- requirement specified in the table-2 below.
Sewing Notions.
Pattern piece.
*Enter your e-mail address and click on the download button to download the pattern piece.
All the fabrics used here are 44 inches in width.
The fabrics shown here are only for illustration purposes and as such may vary from the original.
The seam allowance is 3/8 -inches unless otherwise specified.
I suggest you read the entire pattern once before starting to get a general idea.
All seams are to be pressed flat
All seams are to be finished by zig-zag or serger
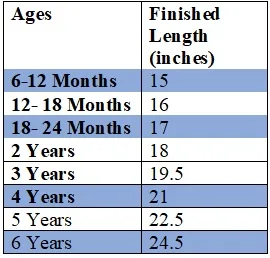
Finished Length:
Table-1
Length is measured from the neck to the hemline.

Material Requirements:
Table-2


Measurements:
Table-3
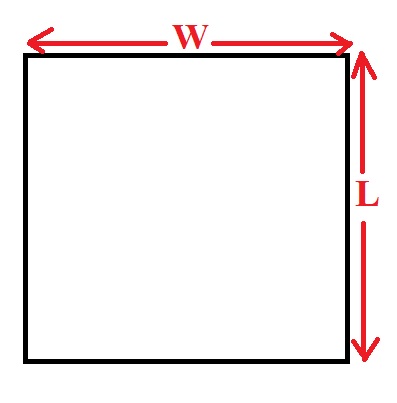
- In the table below, “W” stands for the width and “L” stands for the length of the fabric pieces to be cut.


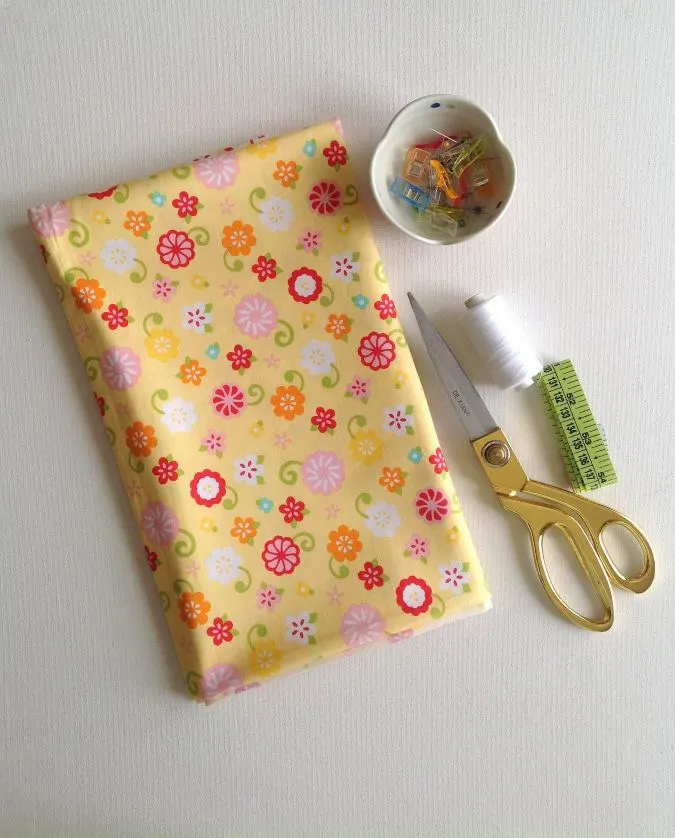
Gather your supplies.
Cut the dress pieces, referring to table-3 above. * Mark the top and side edges to avoid messing up.
Cut the armhole template for your required size, following the directions.

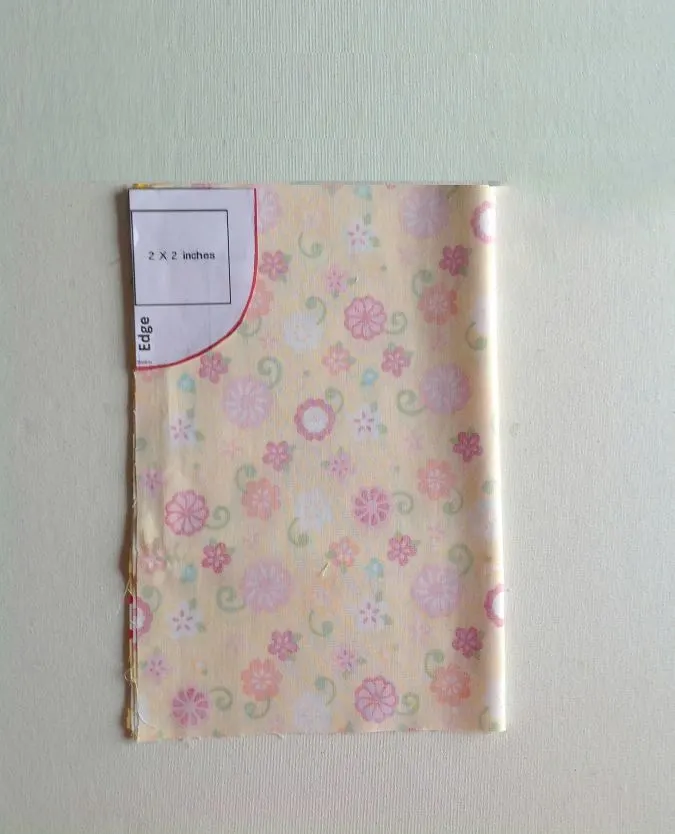
Layer the dress pieces, with the right sides together and lining up the edges. Fold the layer in half, lengthwise and keep the template along the edge. Mark and cut the armhole.

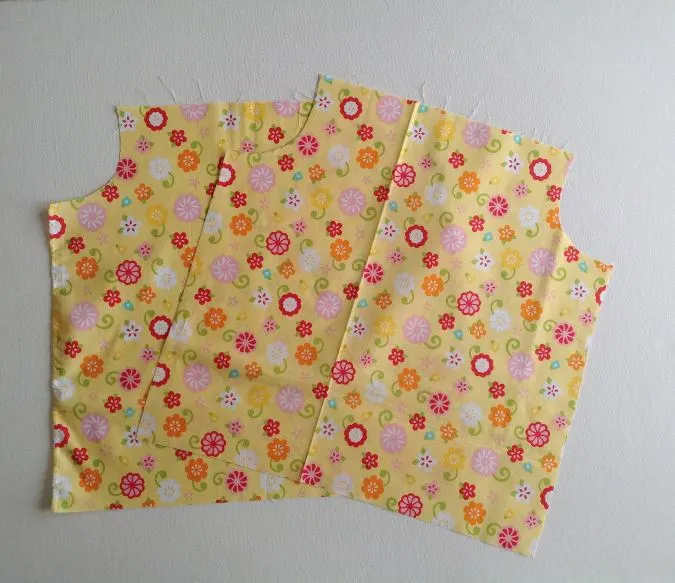
You will get your pieces like this once opened.
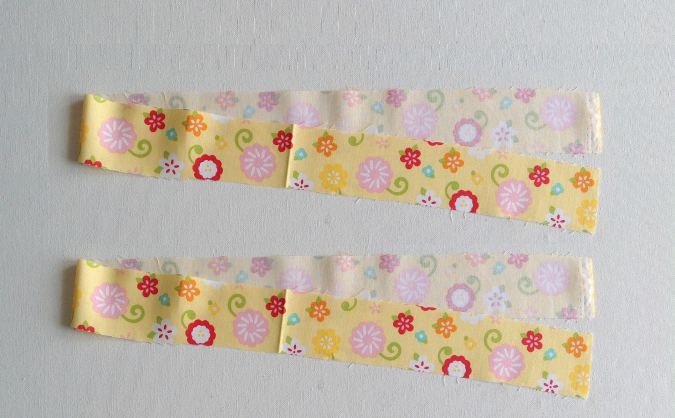
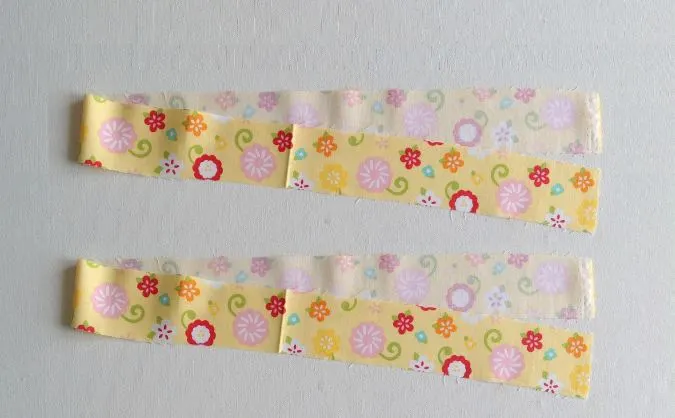
Cut your neck-tie pieces, also referring to the table-3 above (you may use satin ribbon instead).

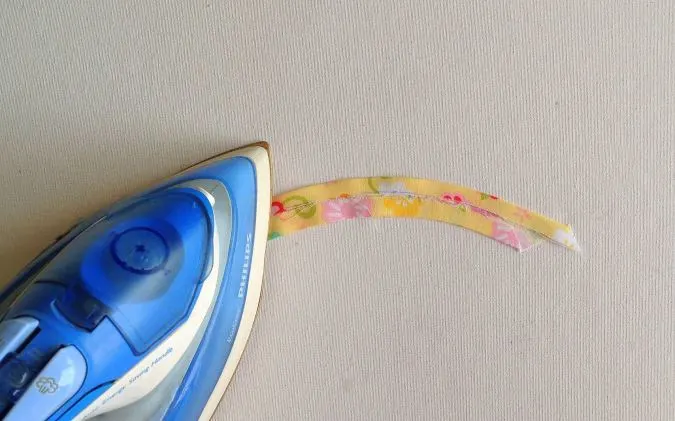
Cut the single-folded bias tape into 10-inch pieces. Take one of the tape pieces, place it slightly curved, and press using plenty of steam (this will make it easy to attach along the armhole curve).
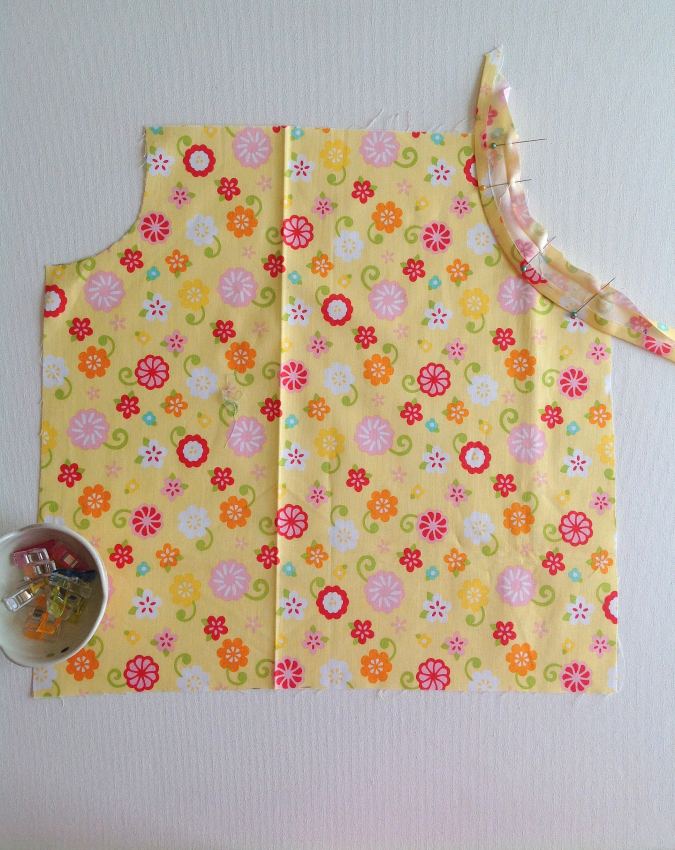

Open one of the folds of the bias tape, line up the raw edge along the armhole, with the right sides together, and pin all along.
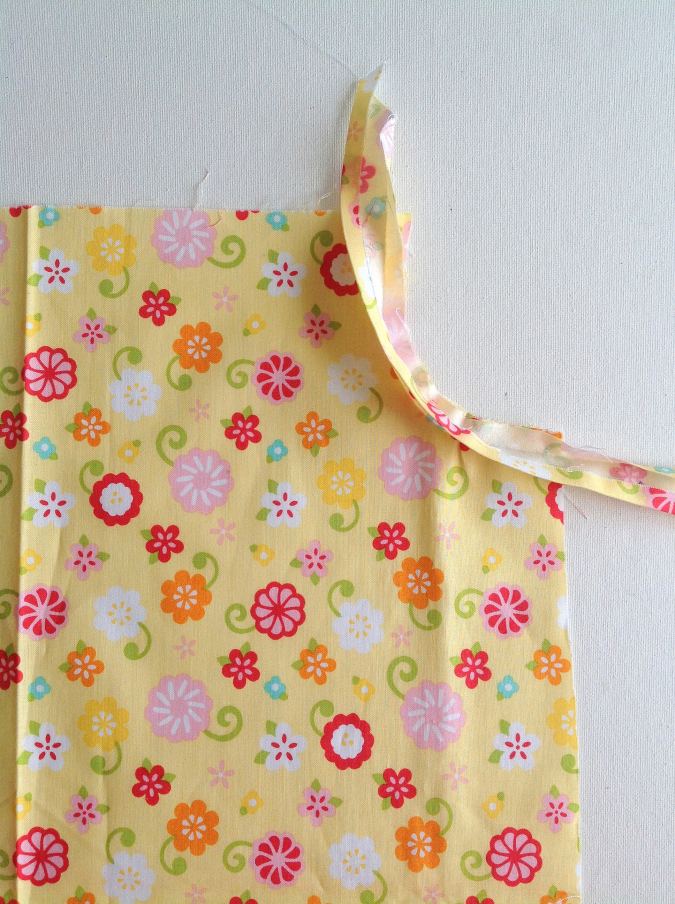
Sew the tape along the armhole, removing the pins as you go.


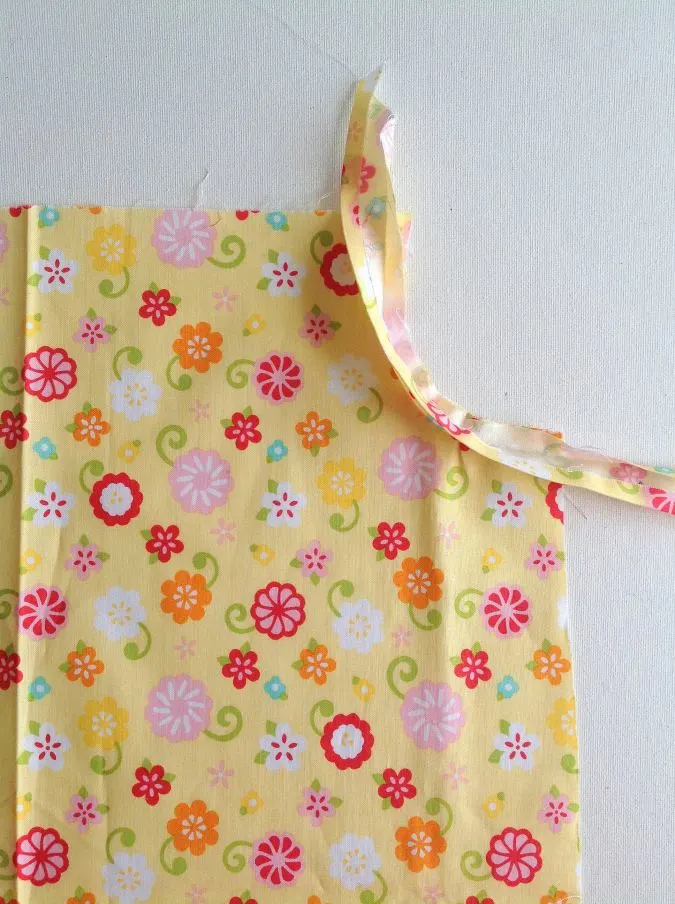
Fold the bias tape completely over to the wrong side of the fabric piece, keeping the fold along the edge intact and pin.


Sew along the pinned edge to finish the armhole. Repeat on the remaining three armholes.
Let’s finish the neckline.
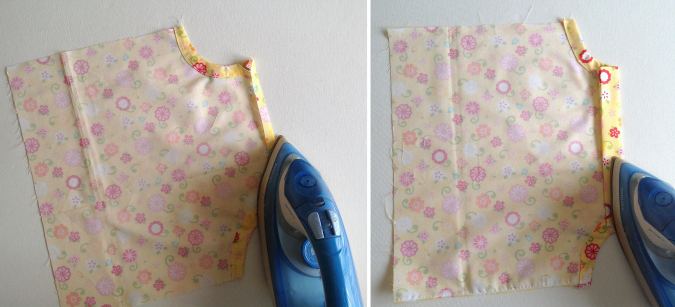
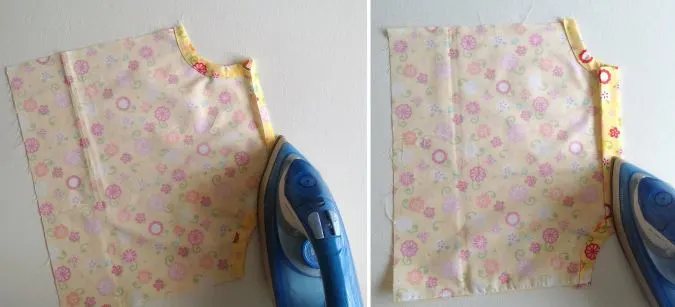
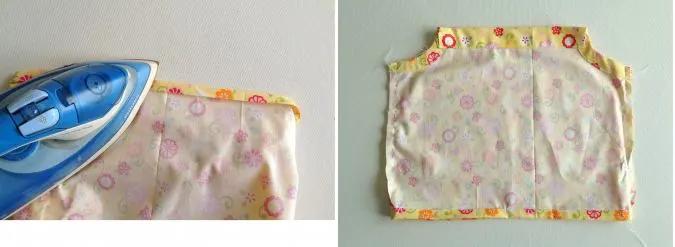
Take one of the dress pieces. Zigzag the raw edge of the neckline to prevent fraying. Fold the neckline by 3/8-inch and press. Fold once again by 1.25- inches and repeat pressing.
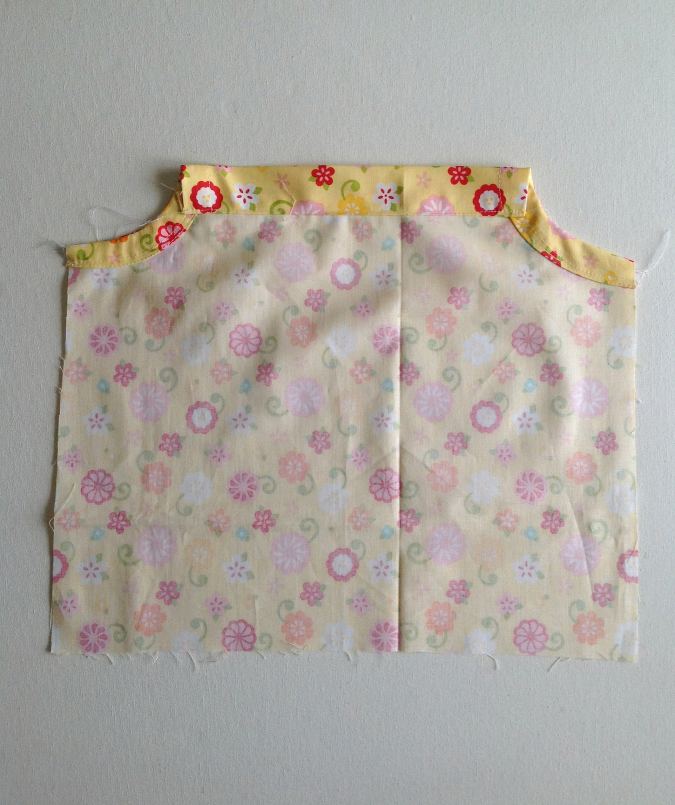
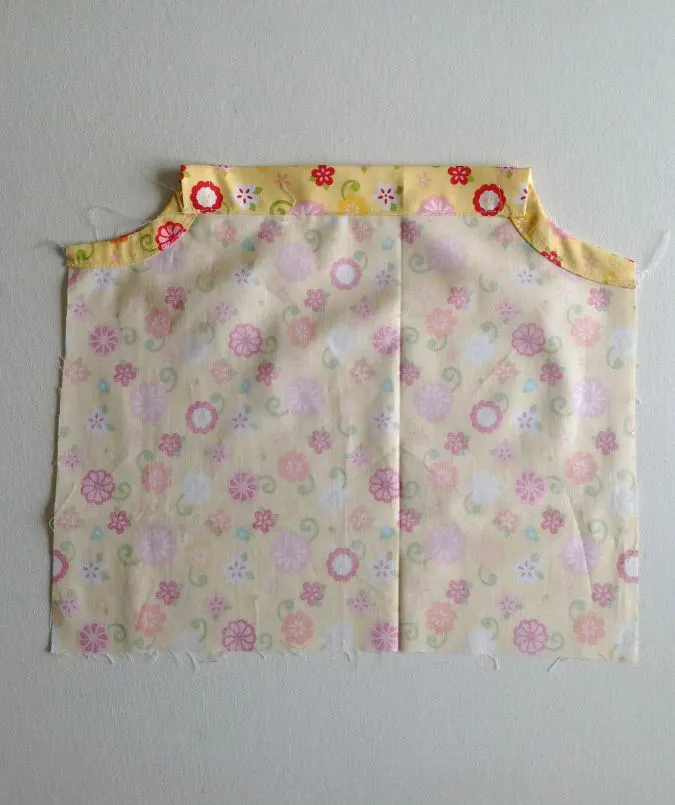
Sew along the edge of the fold to form the necktie casing. Repeat on the other dress piece.
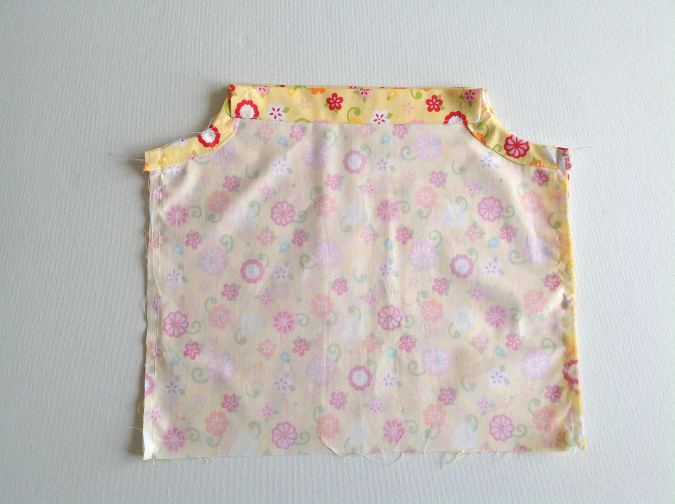
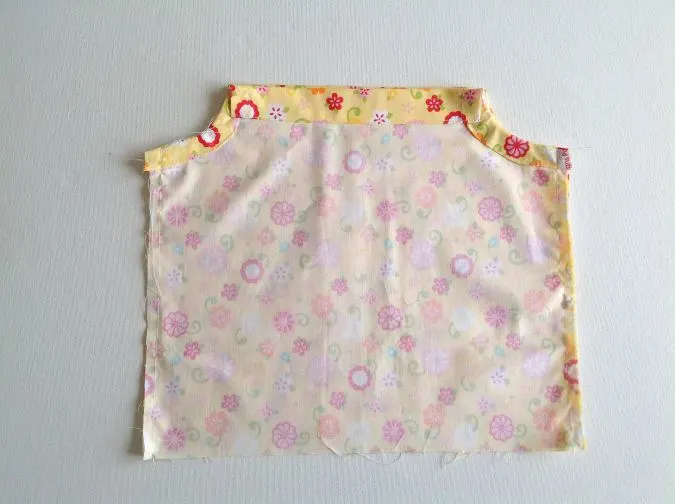
Next, we sew the side seams. Place the front and back pieces of the dress layered, with the right sides together lining up the edges and sew both the side seams.
Let’s do the lower hem.

Fold the lower edge of the dress twice by 1/2-inch and press to set. Sew down the hem along the edge of the fold
Next, we insert the necktie. You may either use a satin ribbon or make the ties as given at the end of the tutorial.
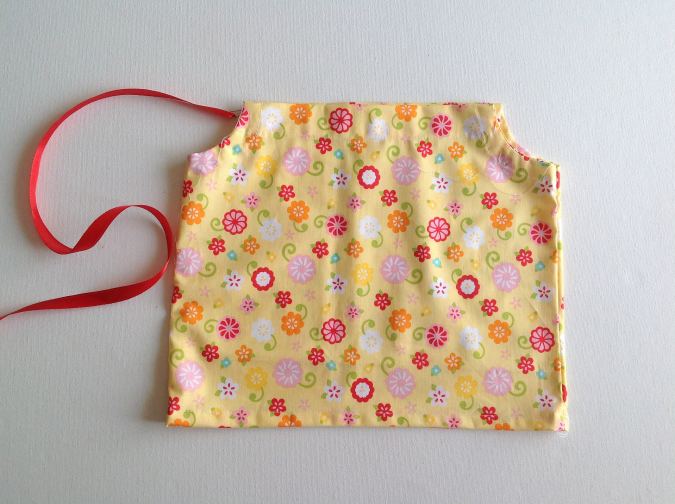
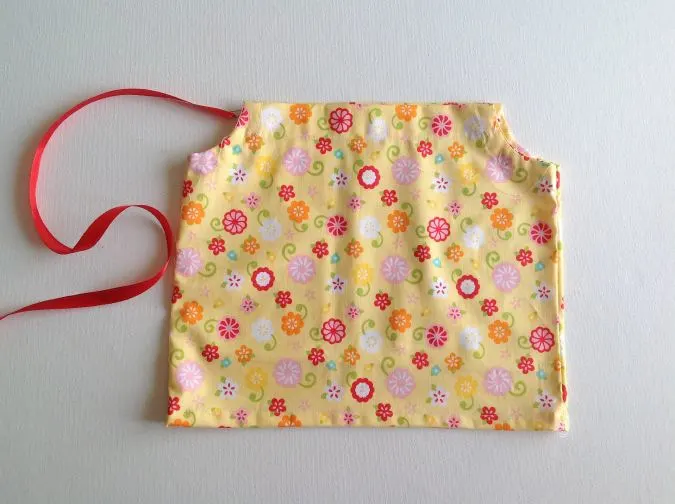
Take the required length of the ties, as given on table-3, and insert it through the neckline casing, using a safety pin. Repeat on the other dress piece. * Note: If you are using satin ribbon, take the length as given in table-2, cut it into two equal pieces, and heat seal the ends to prevent fraying.
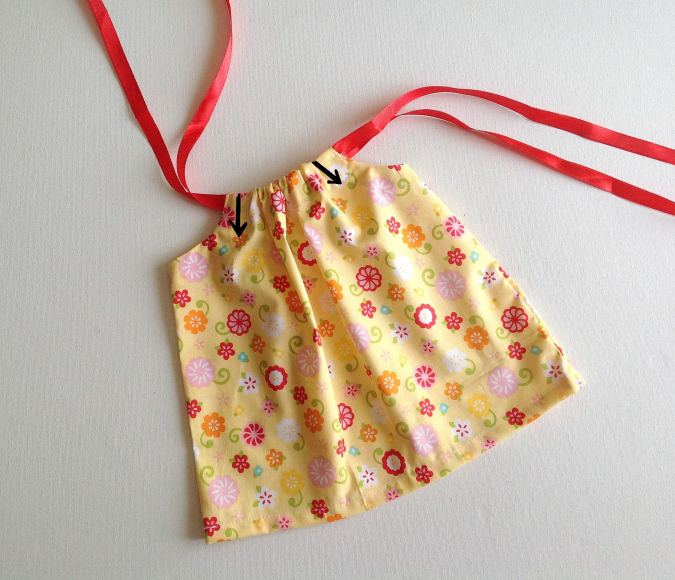

Scrunch the neckline and secure the ties by a straight-line stitch on both sides to set. And, your dress is ready!
Neck- Ties
Let’s do the neck-tie (the pictures below are for illustration purposes). Take the pieces for the neck-tie, referring to table-3 above.
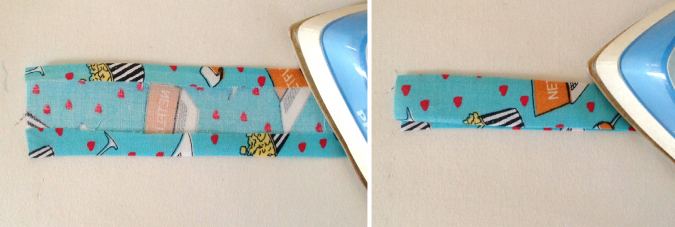
Take one neck-tie piece, fold the two longer edges towards the wrong side by 3/8-inch and press. Fold it again in half lengthwise, with the wrong sides together, and press.
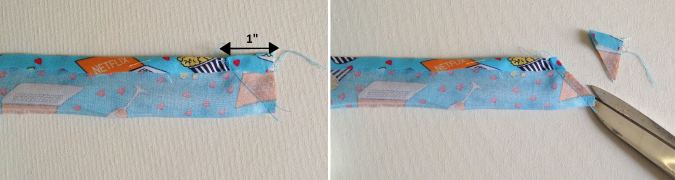
Flip the tie over to the wrong side and sew a straight line, one inch from the end of the open edge to the opposite corner, to make the ends of the tie slanting. Clip the corners with the help of your scissors.
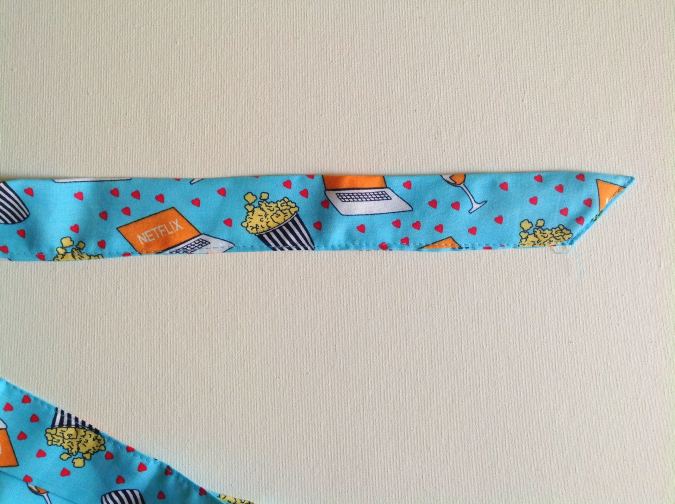
Flip the tie over to the right side, topstitch along the slanting edge and sew the open edge shut. Our tie is ready.
Watch the video tutorial below:
Find the webstory for the post here, Simple Pillowcase Dress Pattern for Beginners If you liked the tutorial,
pin it for later here,
Amy
Saturday 15th of July 2023
I appreciate your pattern
Mani
Saturday 29th of April 2023
I've commented on 15th March as Anula Perera. Thank you again.
Anula Perera
Wednesday 15th of March 2023
Cute and easy to sew. Tks
Teresa
Friday 5th of May 2023
@Anula Perera, how can I get the free pattern ? I want to make my great granddaughter some of these cute summer dresses .
Elizabeth John
Friday 1st of April 2022
Very wonderful ❤