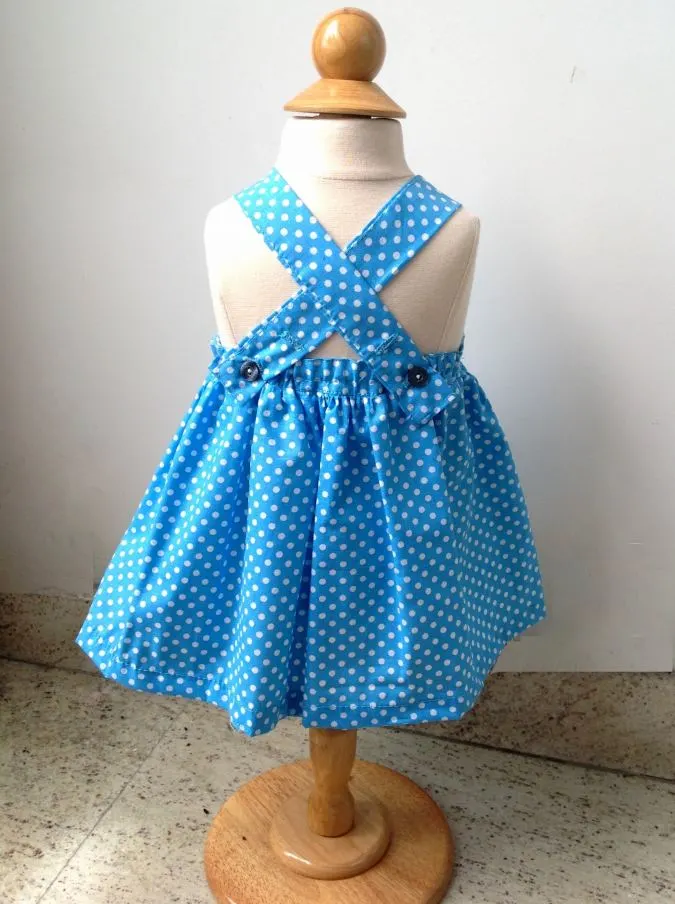
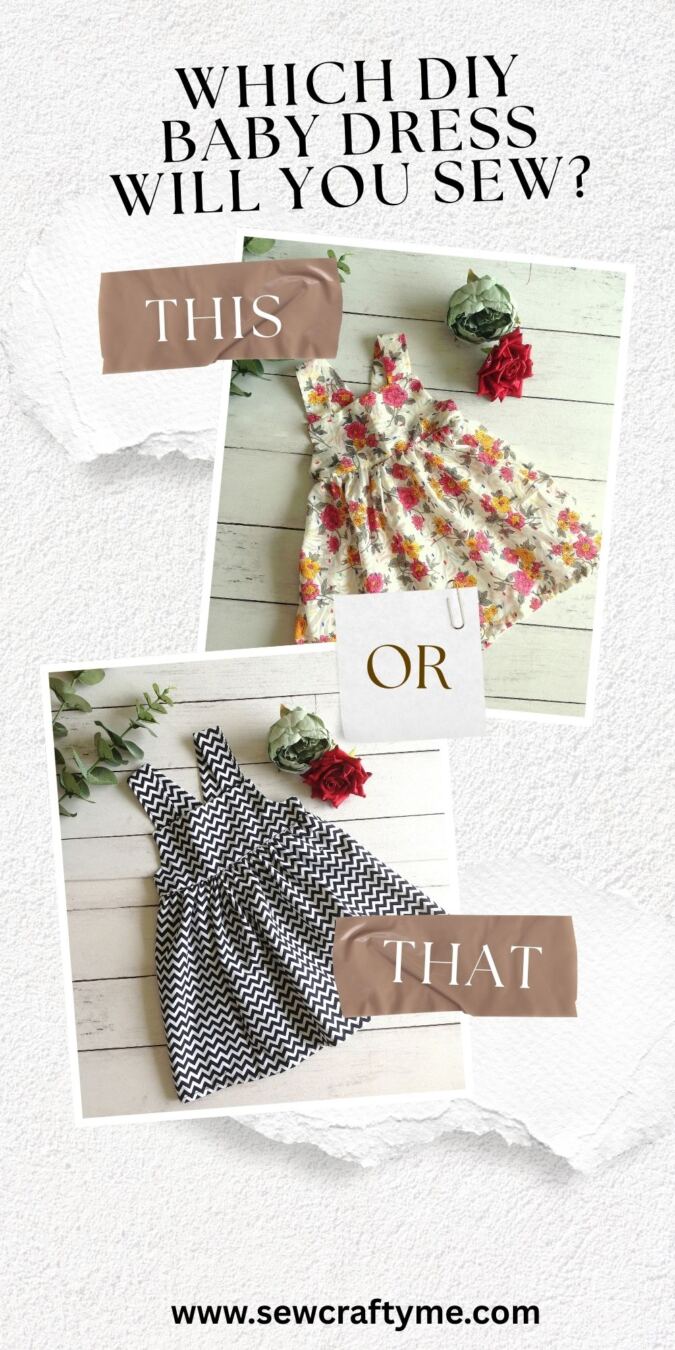
To all my fellow sewists out there, here is something you have been waiting for, a baby sundress sewing pattern! This sundress is perfect if you are looking for a simple clean look for your baby this summer.
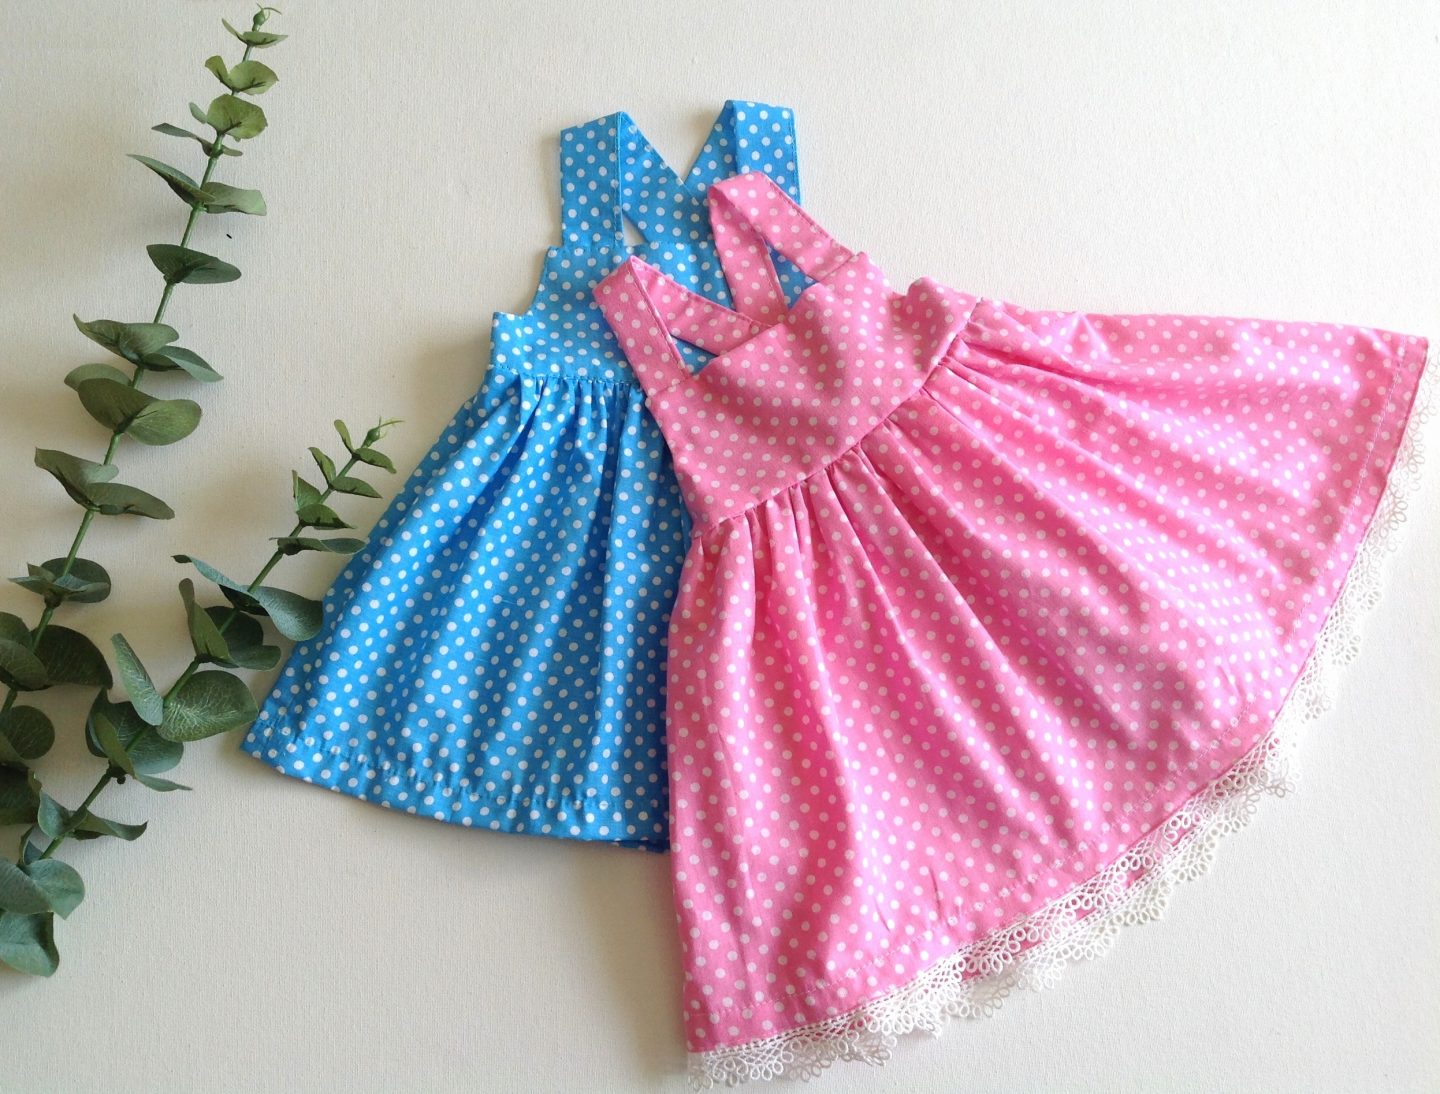

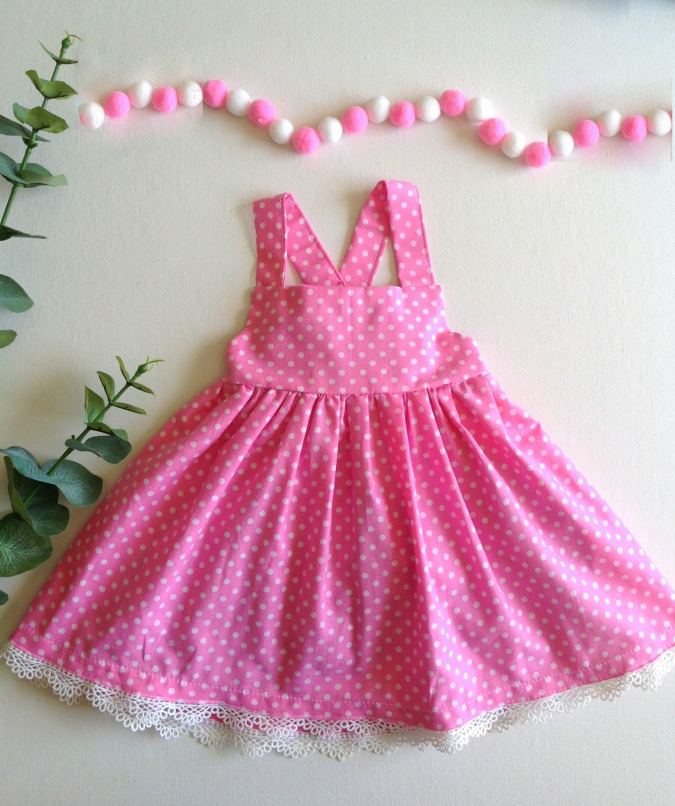
The bareback design and the straps which fasten by buttons give more room for growth. You can even add lace, rick rack, or even a cute bow to make it more adorable. The back bodice with elastic gives the sundress pattern the perfect fit you will love.
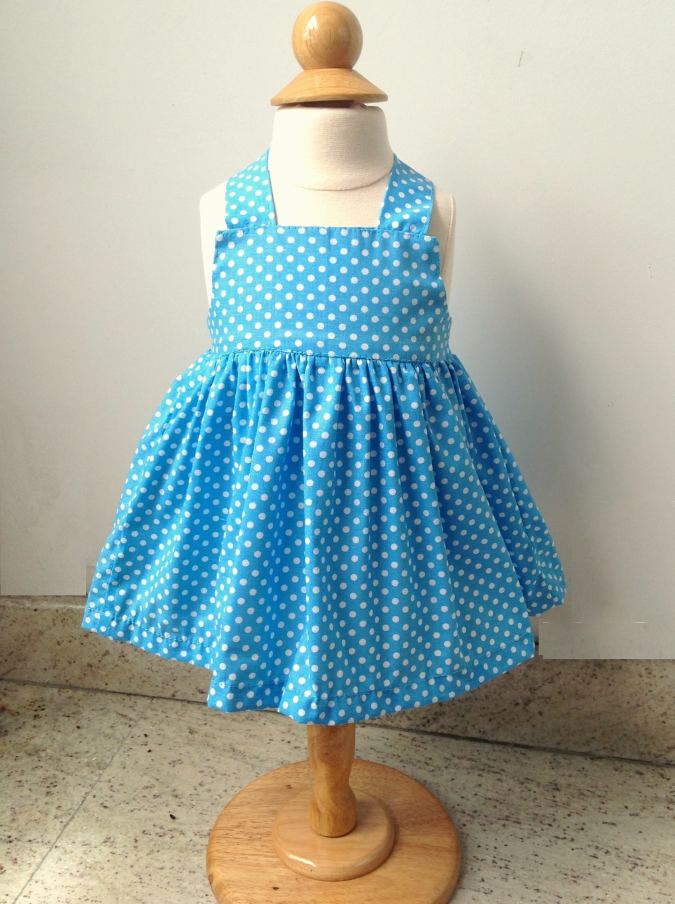


It is the perfect summer dress pattern but you can pair it with a full sleeve t-shirt and leggings to wear during the cooler months. Make it as a top and pair it with my diaper cover or my baby bloomers pattern to make a boutique-style attire.


It is one of the simplest baby sundress patterns that can be tried by beginners as well as experienced sewists alike.
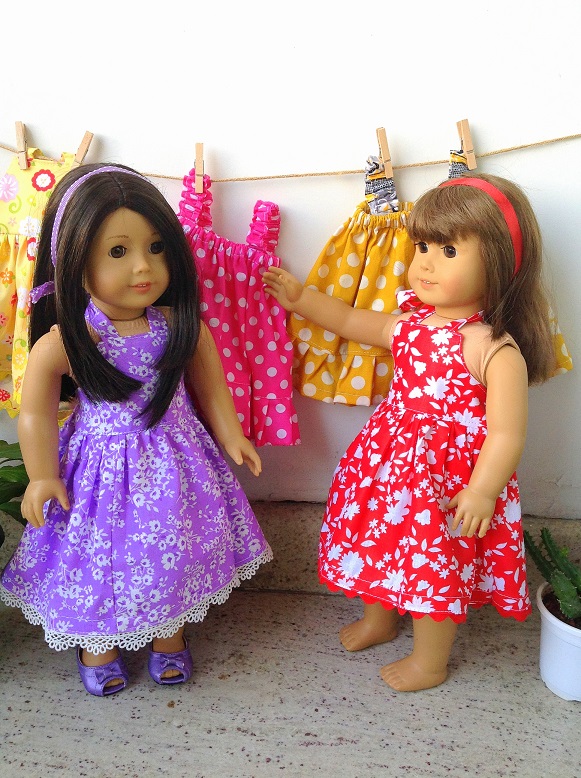
If you would like to sew a doll sundress in midi or maxi length, click on the picture below:

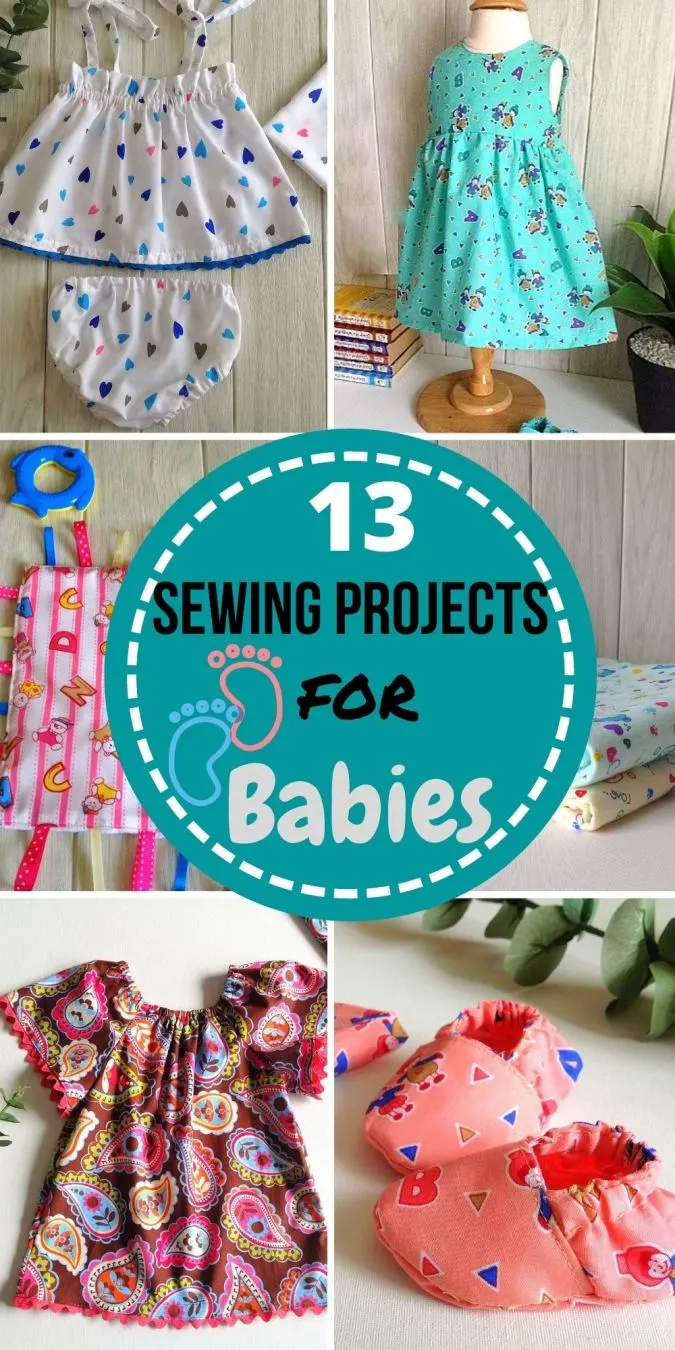
If you would like to see all my baby patterns in one place, click on the picture below:

Free Baby Sundress Sewing Pattern
****If you would like to watch a video tutorial on how to make the baby sundress, skip to the end of the page.
Materials Required
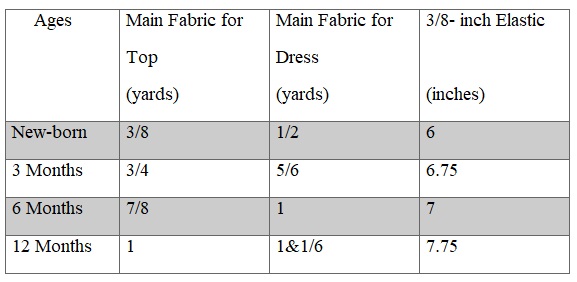
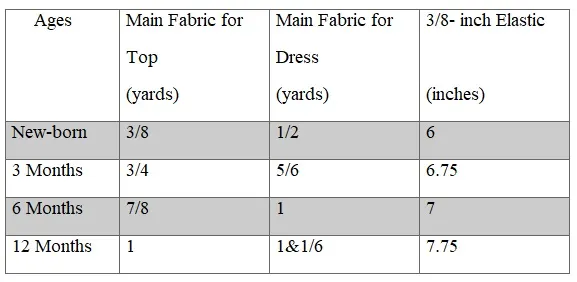
1) Medium-weight cotton fabric for the dress (number of yards specified in the table below)
2) 3/8 -inch elastic (inches required specified in the table below)
3) Sewing notions and a sewing machine.
4) Bodice Template. * Enter your e-mail address and click the subscribe button to start downloading the template automatically.
I suggest you read the entire pattern once before starting to get a general idea.
All the fabrics used here are 44/45 inches in width.
The fabrics shown here are only for illustration purposes and as such may vary from the original.
All seam allowance is 3/8 -inch unless otherwise specified.
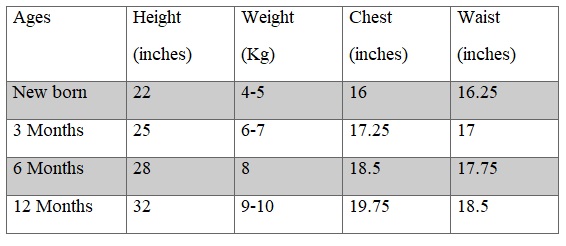
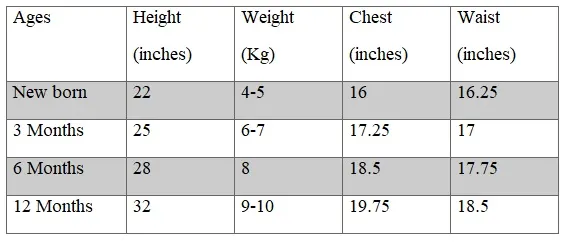
Size Chart
Table-1
- Pinch to zoom for mobile users.
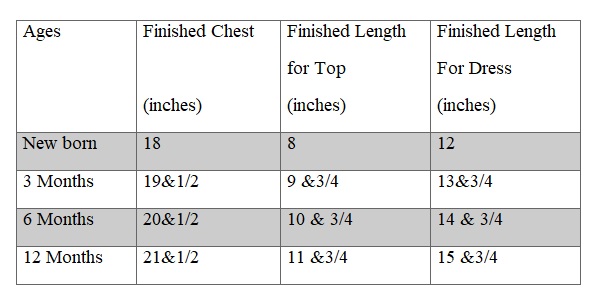
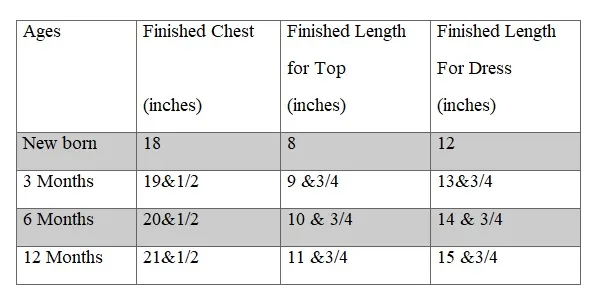
Approximate Finished Measurements.
- The finished length is calculated from the top of the dress to the hem. It does not include the straps.
Table-2.
Material Requirements.
Table-3
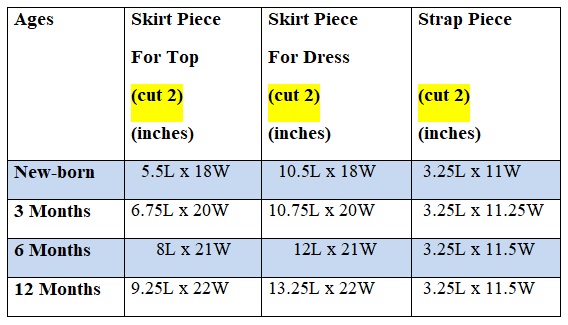
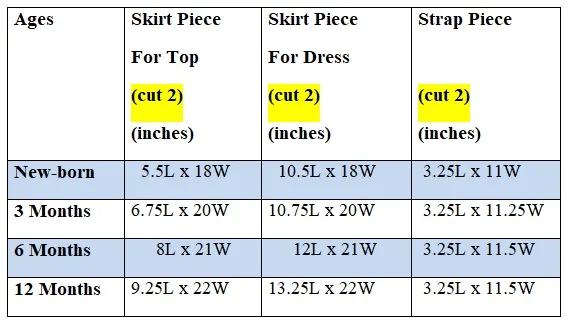
Measurements
In the table below, “L” stands for the length and “W” stands for the width of the fabric piece to be cut.
Table-4


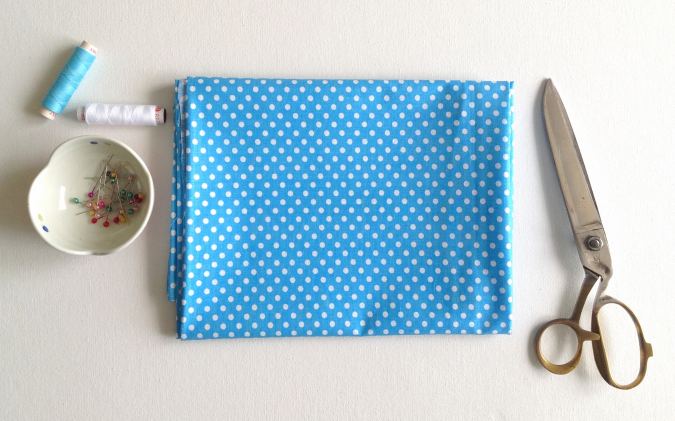
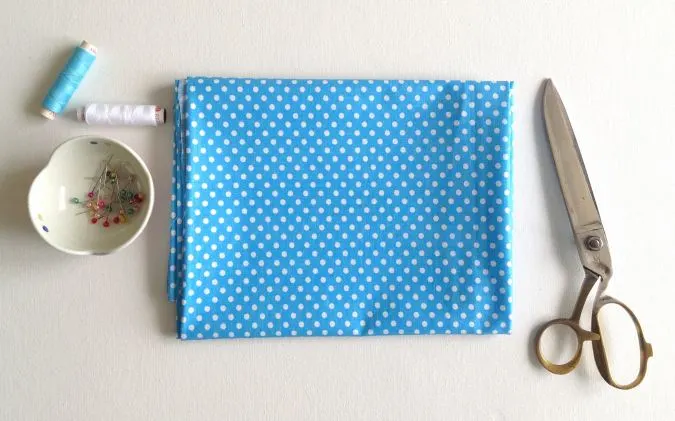
Gather your supplies.
Sewing

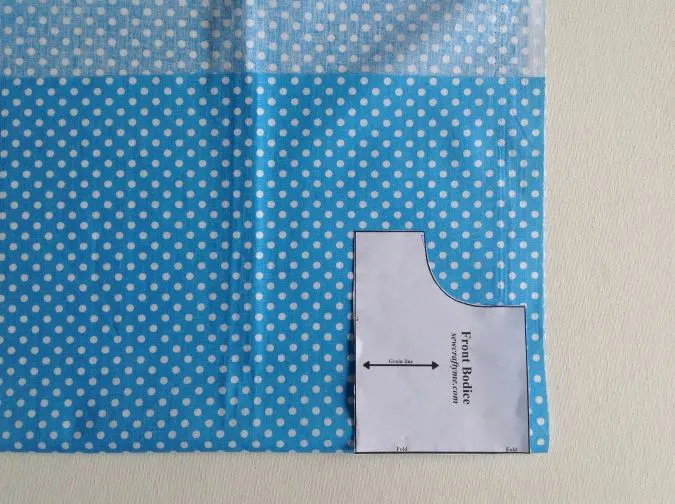
Cut the pattern template from the pdf. Fold the fabric and keep the template on the fold. Mark and cut to get the front bodice piece. Repeat the steps to get one more of the same piece for the front lining.

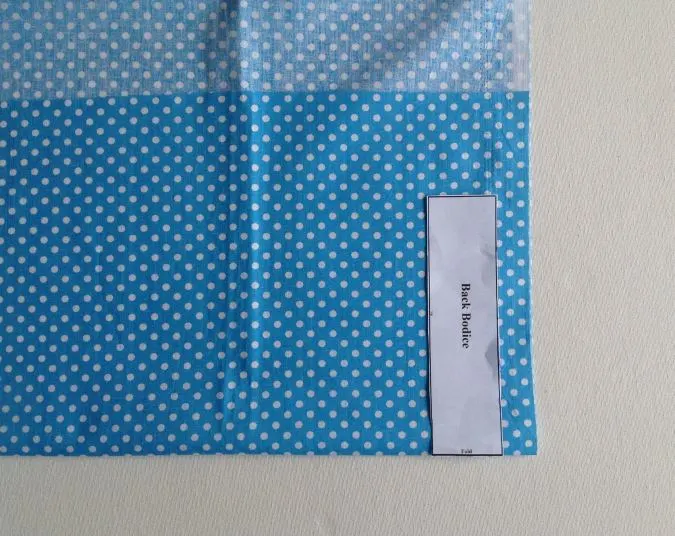
Next, cut the template for the back bodice from the pdf, fold the fabric and keep the template on the fold. Mark and cut to get the back bodice piece. Repeat the steps to get one more of the same piece for the lining.
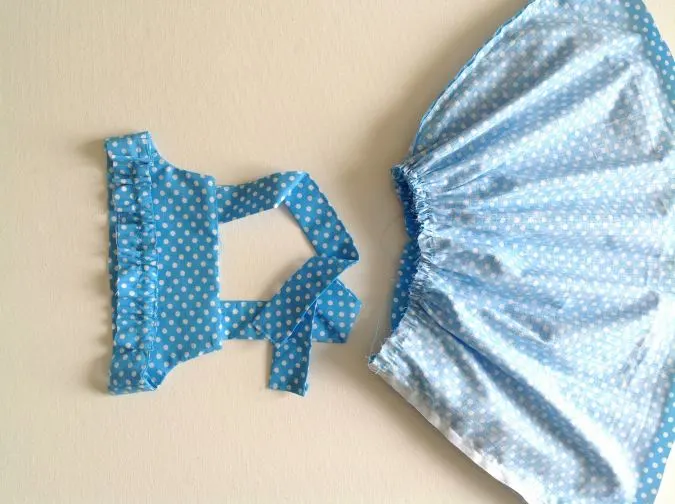
Cut the skirt and strap pieces, referring to the table-4 above.
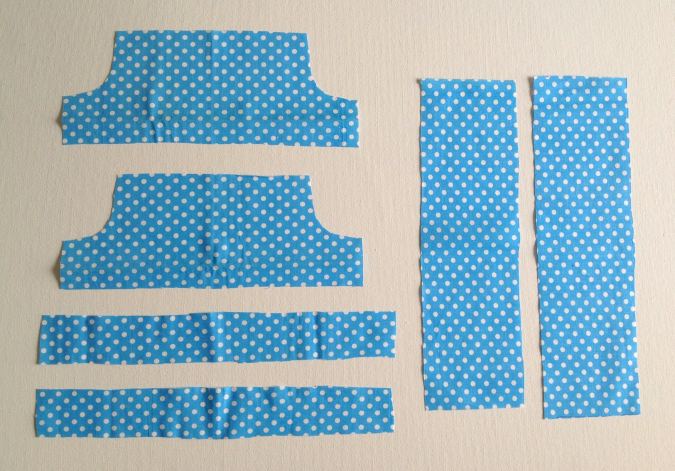

You will get your pieces like the above.
Let’s do the back strap.
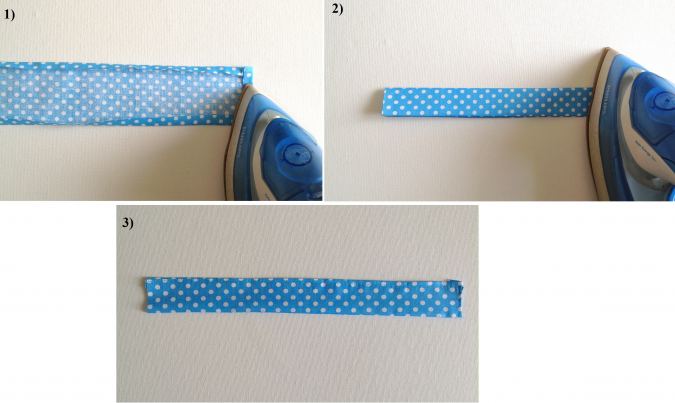

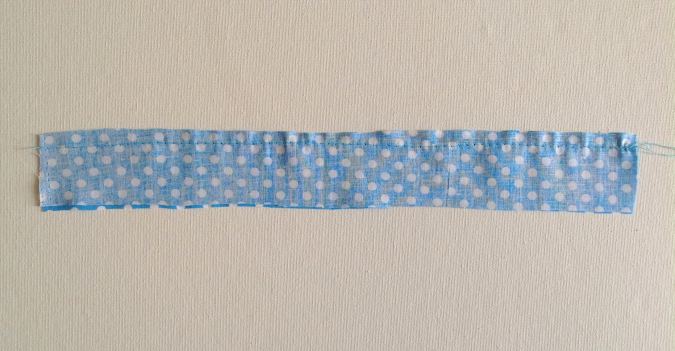
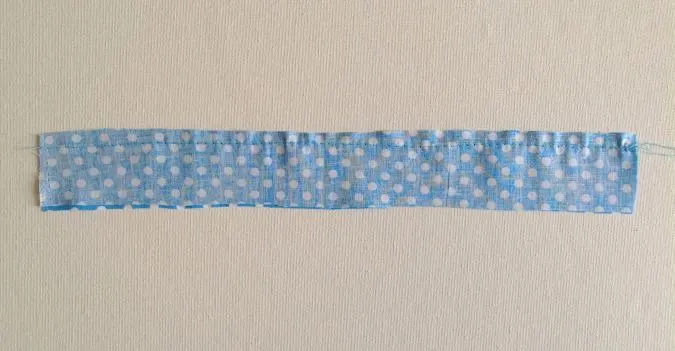
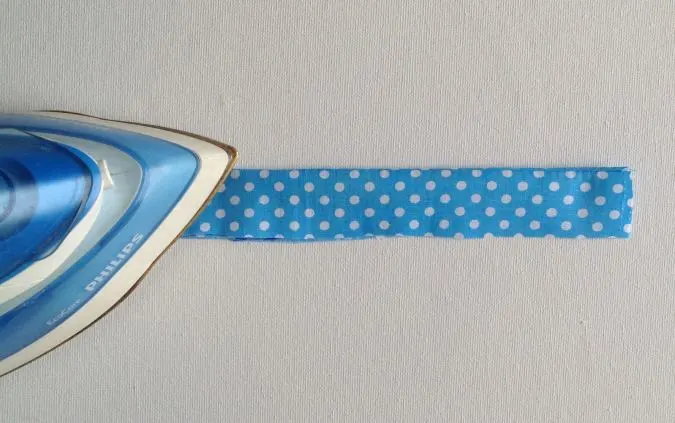
1) Take one of the fabric pieces required for the strap. Fold the two long edges and one short edge towards the wrong side by 3/8-inch and press. 2) Fold it again in half lengthwise, with the wrong sides together, and press. 3) Sew the strap shut along the folded edges. Repeat with the other fabric strip to get the next strap ready.
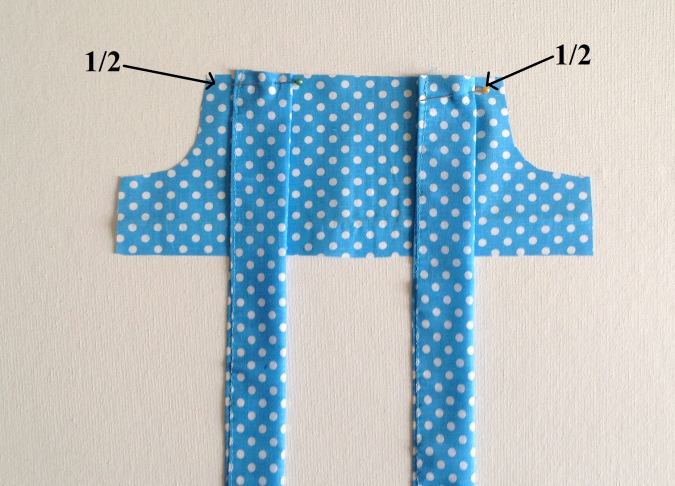

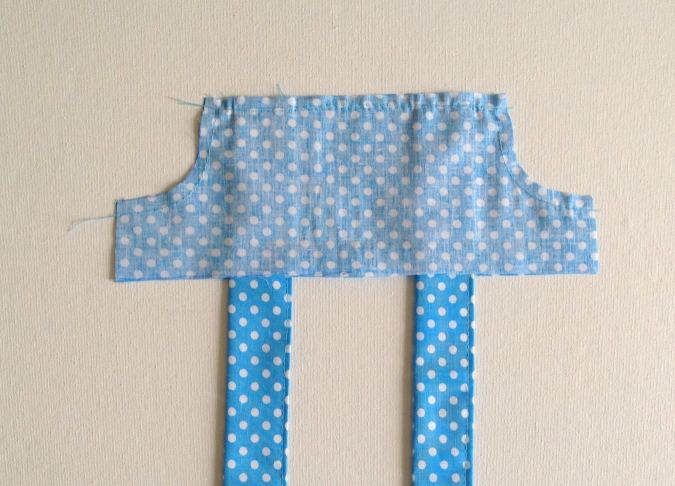
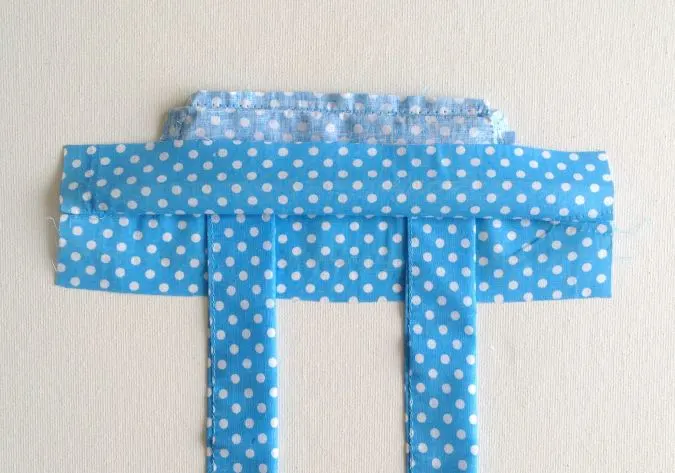
Take the front bodice piece and keep the two straps along the upper edge, leaving ½- inch from the armhole as shown above and pin. Sew the straps to join.
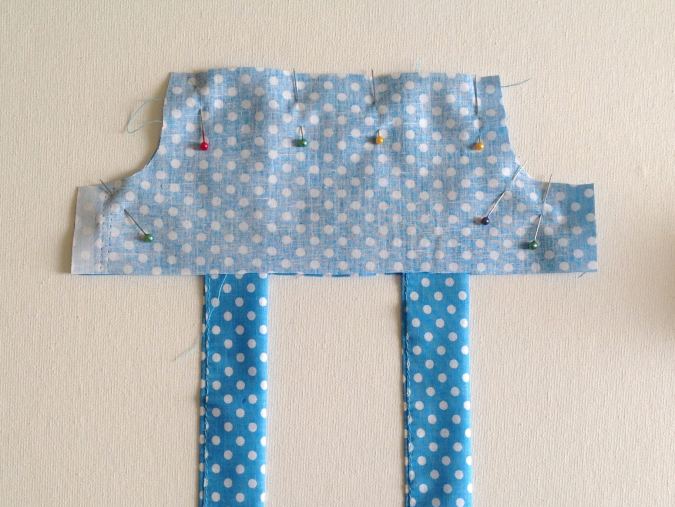
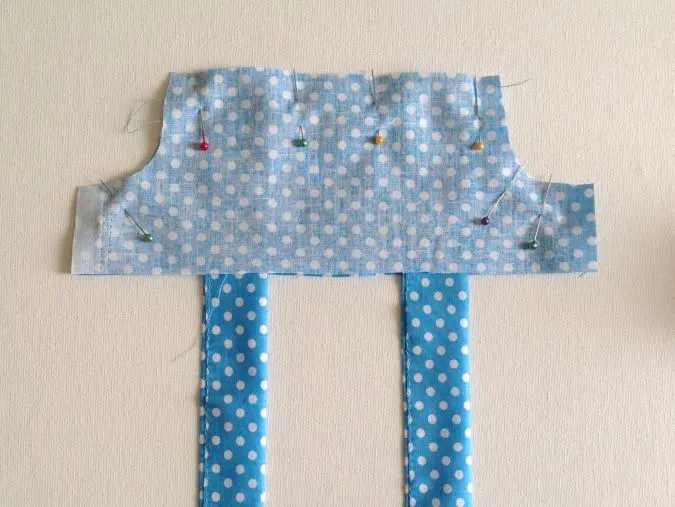
Keep the other front lining over it with the right sides together and aligning the edges. Pin along the top edge and armholes.

Sew along the pinned edges, leaving a 3/8 inch seam.
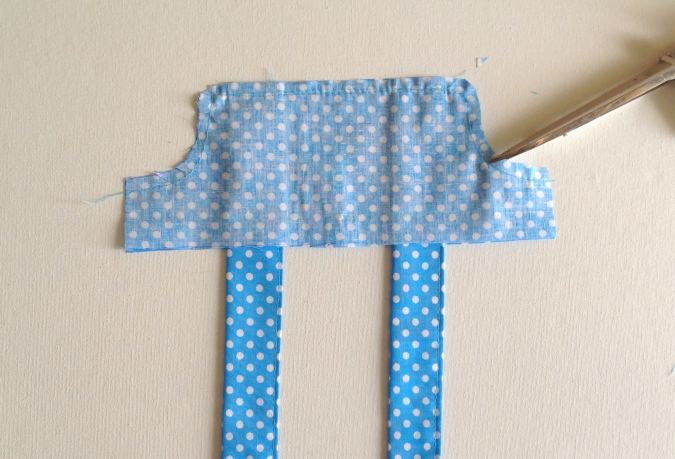

Clip the corners and trim the edges.
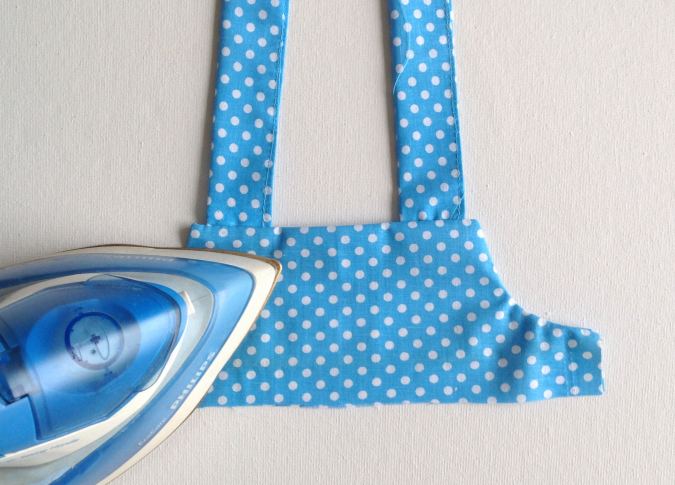
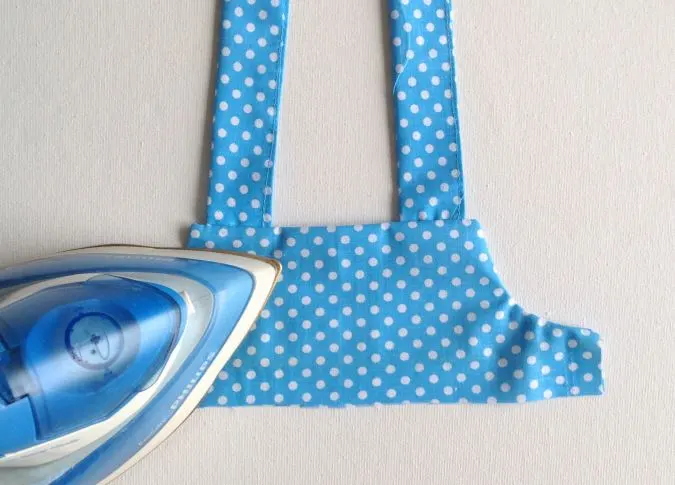
Turn over to the right side, push out the corners with the help of a wooden dowel, and press.
Our front bodice is done, we do the back bodice.
Take the two back bodice pieces and layer them, with the right sides together. aligning the edges. Sew along the top edge, leaving a 3/8-inch seam.

Turn over to the right side and press.
Next, we sew the front and back bodices together.

Flip the front lining upwards to open the side seams as shown above.

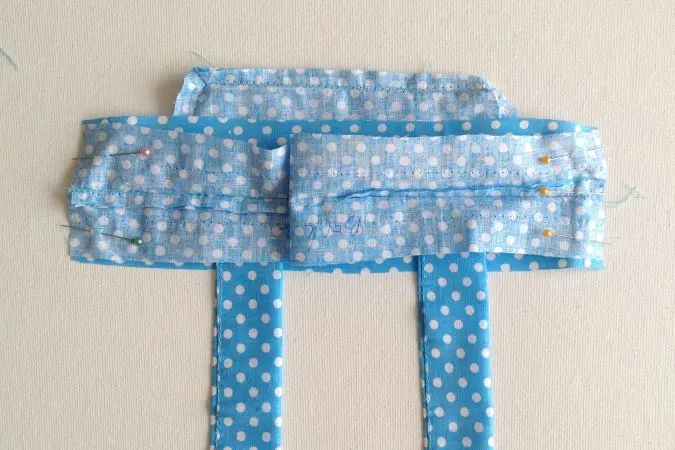
Next, flip the back lining upwards to open the backside seam. With the right sides together, align the side seams of the front and back bodices and pin (note that the back bodice is wider than the front bodice).

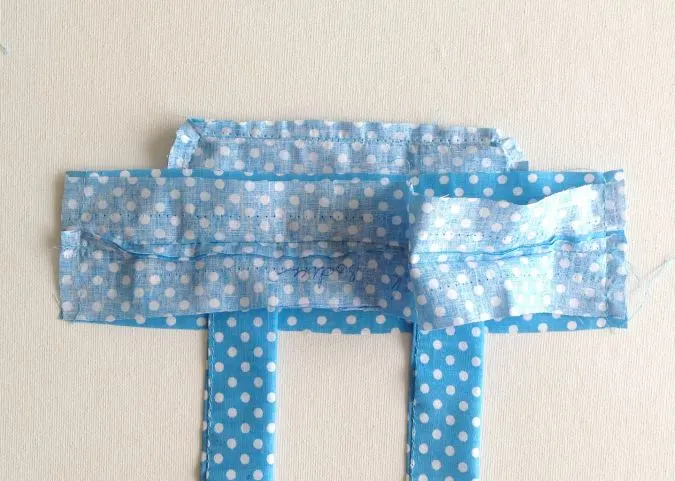
Sew the side seams shut on both sides.
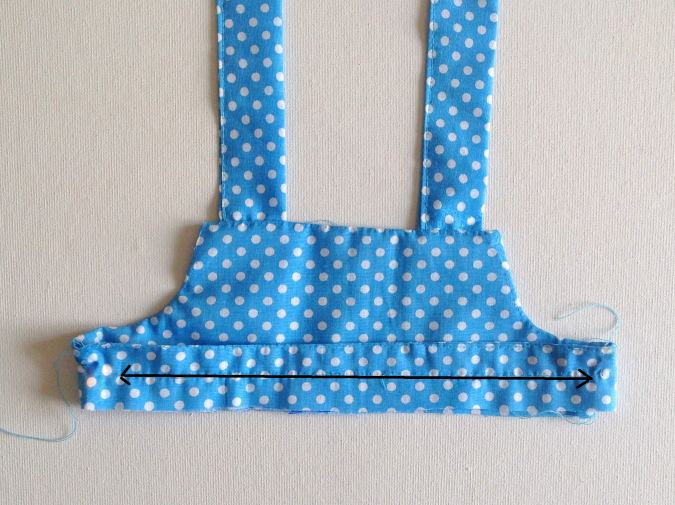
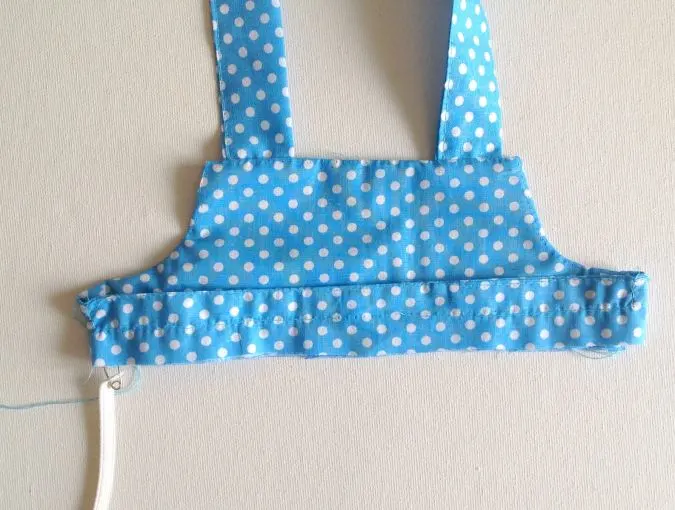
Flip the lining back to bring the right side out. Next, sew a straight line ½ – inch from the top edge of the back bodice, leaving ½- inch from the seam on both sides ( as marked in the picture above). This would form a casing for the back elastic.

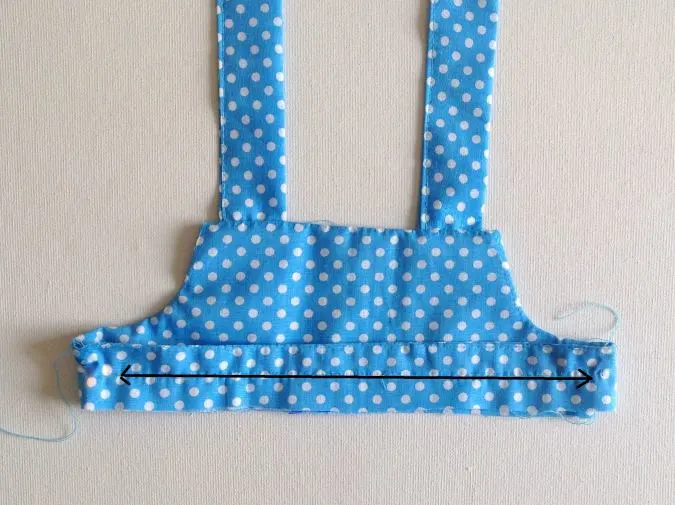
Take the required length of the elastic, referring to table-3 above, and insert it through the casing using a safety pin. Sew back and forth a few times along the ends of the casing to attach the elastic.
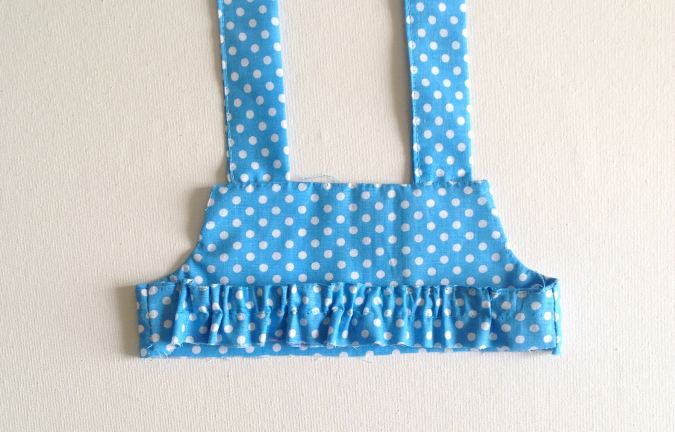

Your bodice back will now look like this (at the back).
We move on to the skirt part.
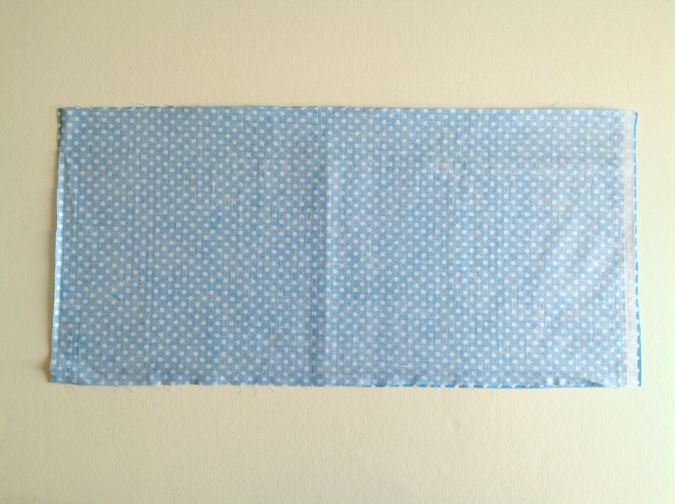
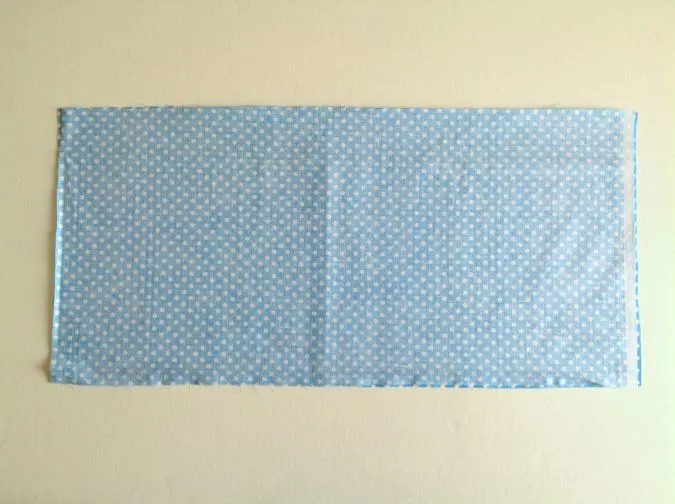
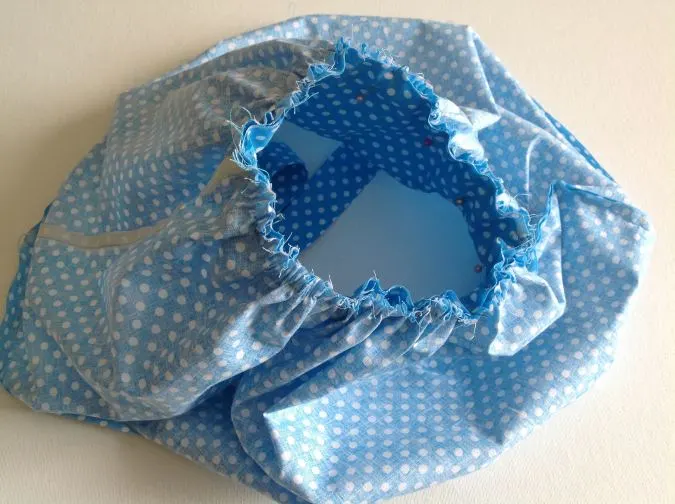
Take the skirt pieces, referring to the table-4 above, and join them along the side seams.
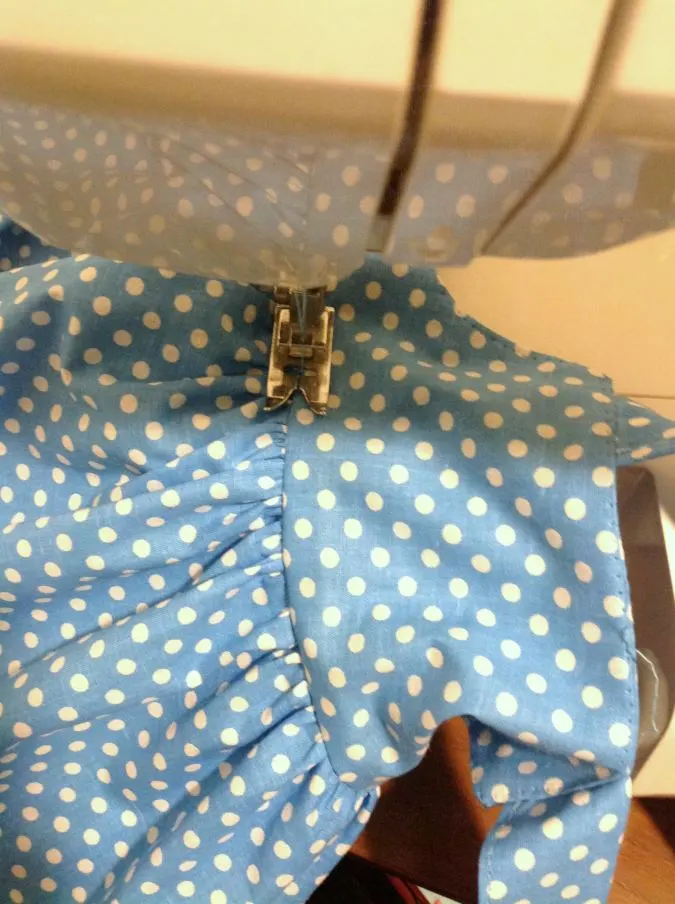
Let’s gather the skirt
Turn the upper thread tension of your machine to zero and the stitch length to the longest to get a basting stitch.
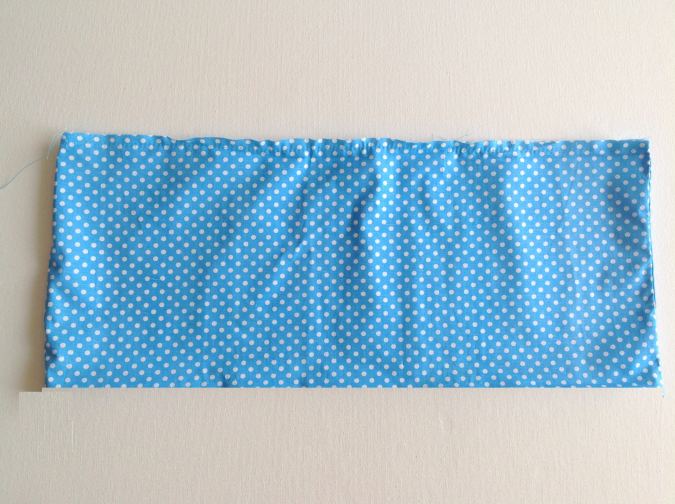
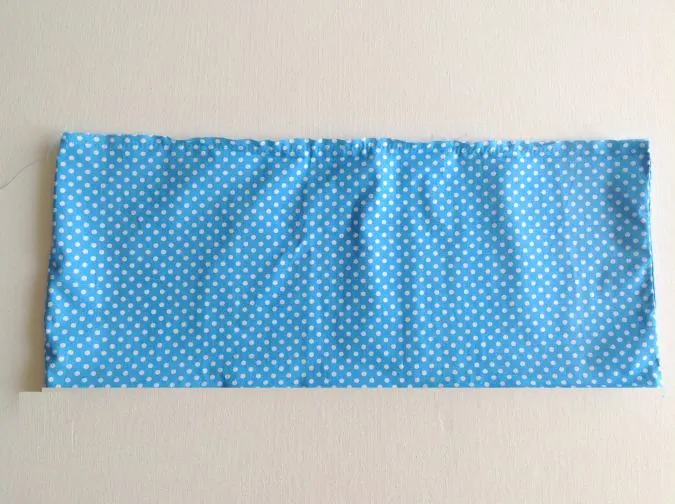
Make a basting stitch 3/8 inch away from the top edge of the skirt. Leave a long tail of thread, 7 to 8 –inches long, to pull and gather the skirt.

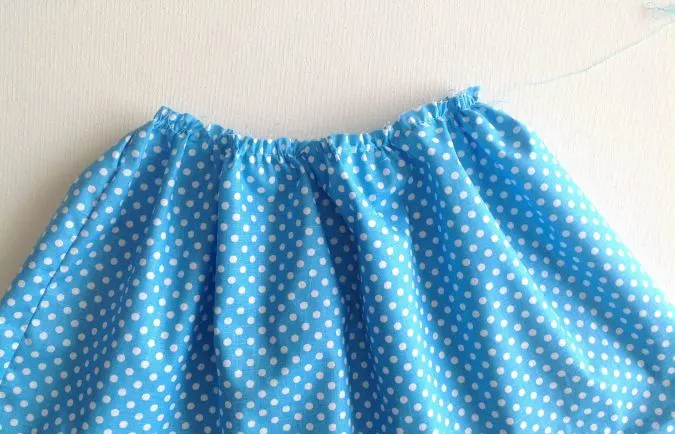
Pull the thread from the bobbin gently to gather the skirt.
Next, we attach the skirt to the bodice.
Adjust the gathering in the skirt to make it uniform and to match it with the lower edge of the bodice part.

Place the bodice on its right side, with the upper edge facing the gathered edge of the skirt. The skirt should be kept on its wrong side. Slide the bodice into the skirt.

Align the lower edge of the bodice with the upper (gathered) edge of the skirt and pin all around, making sure that the side seams fall in line.
Turn the machine tension and stitch length back to normal and sew the skirt to the bodice. Zigzag to prevent fraying.

Fold the waist seam towards the bodice and topstitch along the waist seam to give it a better finish.
Let’s do the hem.
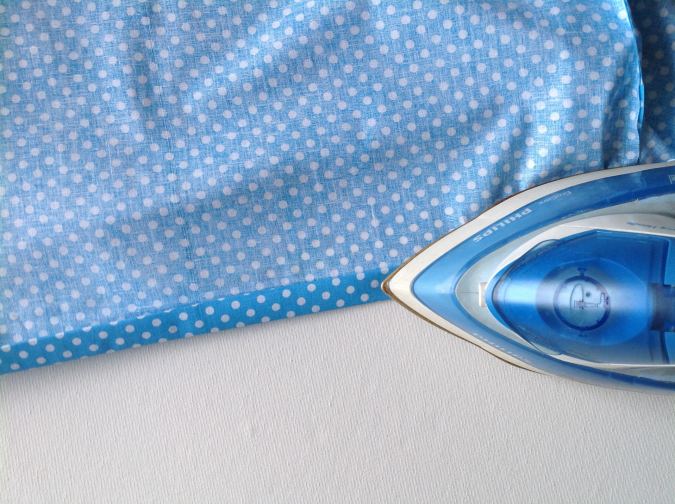

Fold the raw lower edge of the skirt by ½- inch twice and press to set.

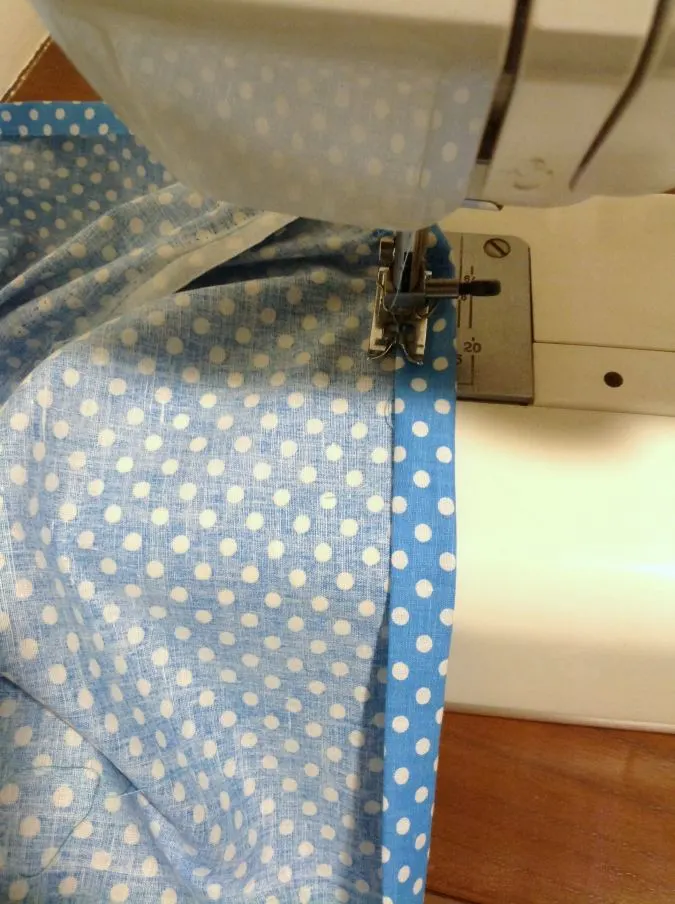
Sew along the edge of the fold.
Next, we do the buttonholes.

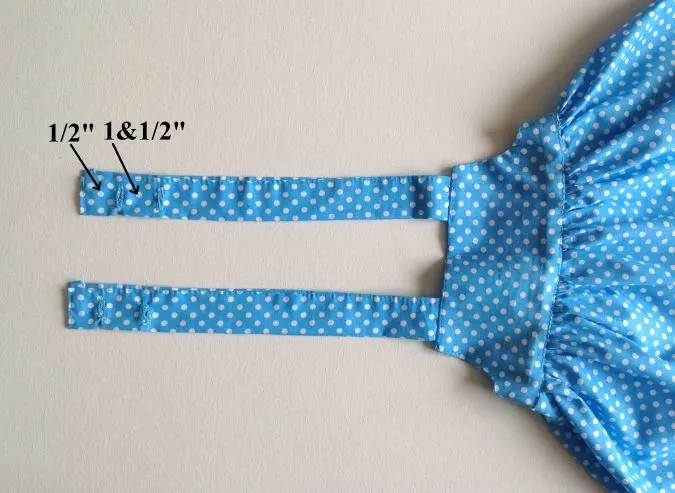
Following the instructions in your sewing machine manual, sew buttonholes, ½ -inch down from the top and at the center of the two straps. Sew a second button hole 1& ½- inch from the first (to allow room for growth).
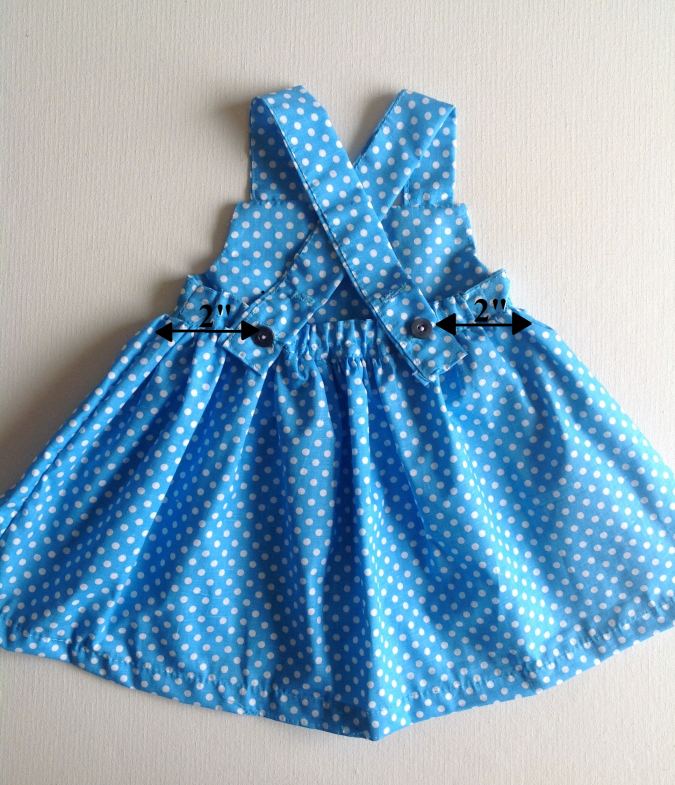
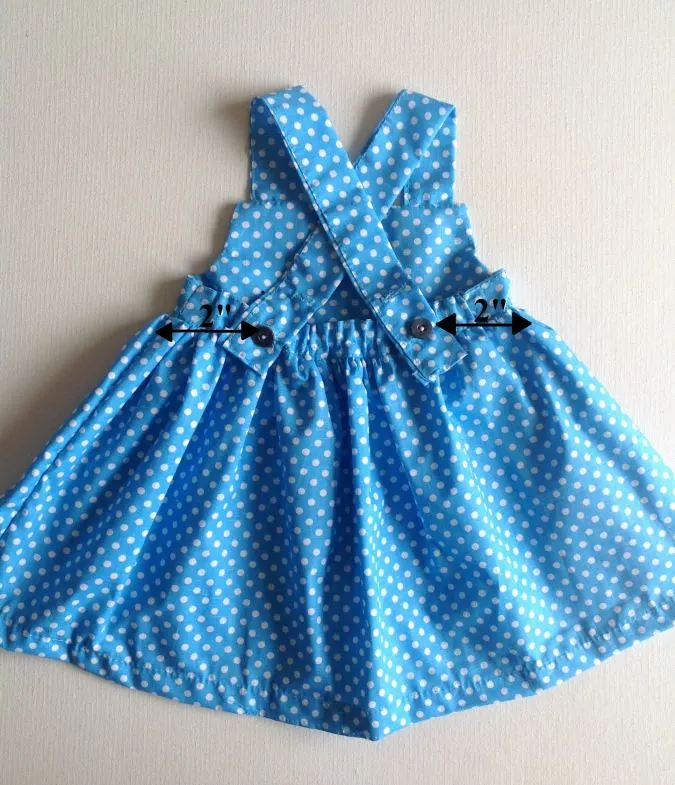
Turn the dress over to the back. Measure 2-inches from the side seam, on either side, without stretching the elastic, and mark the points, just below the elastic casing for attaching the buttons. Hand-sew the buttons on both sides at the marked points. Note that you may adjust the position of the buttons and buttonholes after trying it on your child.
*The strap should be crossed at the back while wearing the pinafore.

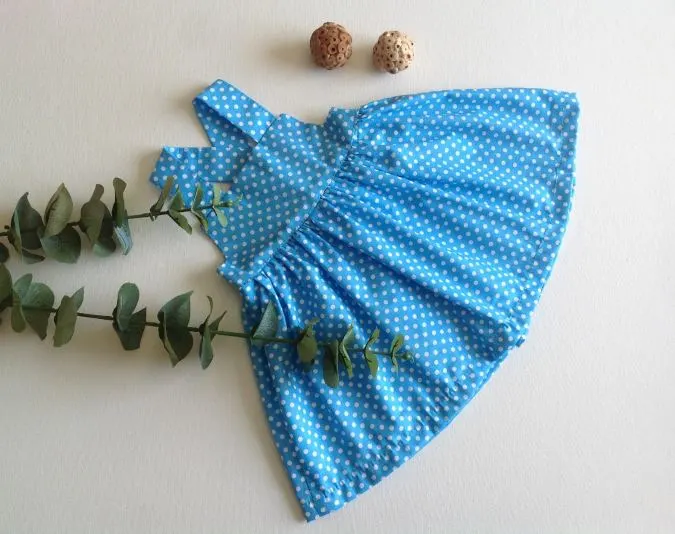
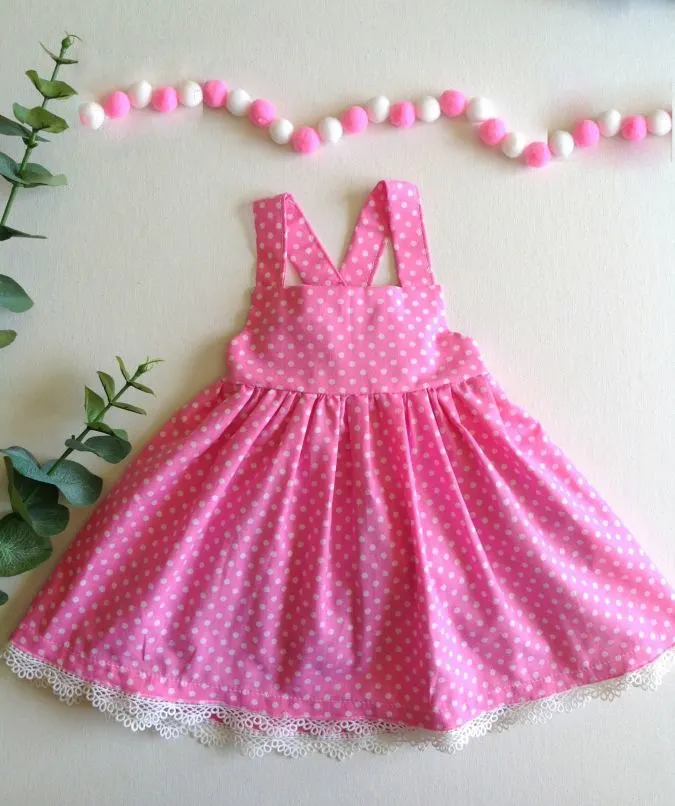
Your baby sundress is done!
Watch the video tutorial below:
 Find the webstory for the post here,
I am so much in love with this free baby sundress pattern. I love the fact that there are multiple ways to accentuate the baby sundress to create variety in a little one’s wardrobe!
Pm
Sunday 12th of April 2026
How do I get more than just the Bodice Template? I signed up as requested but only received the Bodice with the download
Surayya
Tuesday 14th of April 2026
I am sorry the pattern has templates for the bodice only. The meaurements for the other rectangular pieces are given in a table on the pattern page.
Elna
Sunday 19th of January 2025
Lovely dress
Michelle
Sunday 1st of September 2024
I love this little dress. Thank you for the pattern.
Glory
Thursday 9th of May 2024
Beautiful
Sharon
Wednesday 30th of August 2023
What's the point of the elastic at the back? Would this work just as well if I make the back piece the same length as the front piece and don't add the elastic to the back? Thank you
Surayya
Monday 11th of September 2023
The elastic at the back is for a better fit. You can ofcourse make the back piece the same length as the front but it can turn a little loose.