Learn how to sew adorable dolls’ clothes with this easy DIY sewing project. This is a simple doll dress sewing pattern, that will upgrade your little girl’s AG doll wardrobe with minimal effort.
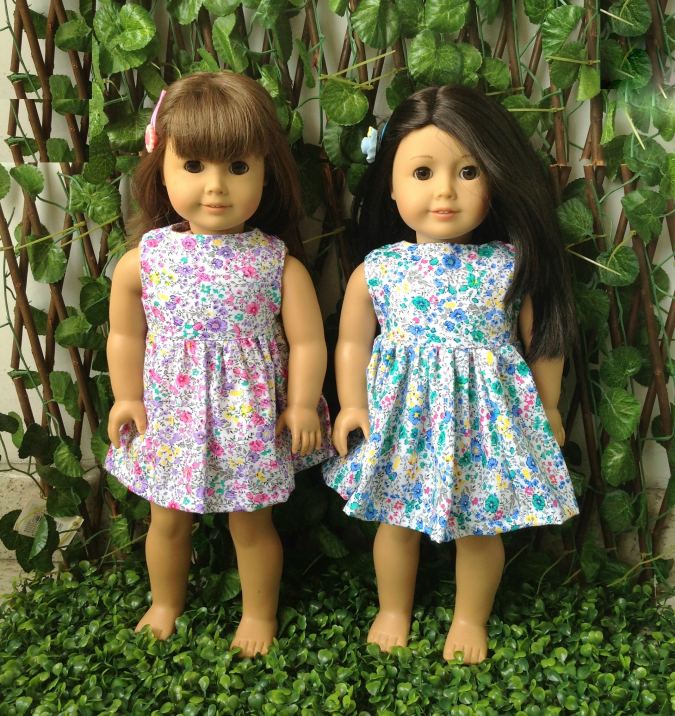


It has been a while since I drafted a doll dress sewing pattern but now I am back with a lovely addition to your little girl’s AG doll closet. It is a classic style doll dress pattern that is sure to add a vintage touch to her collection.
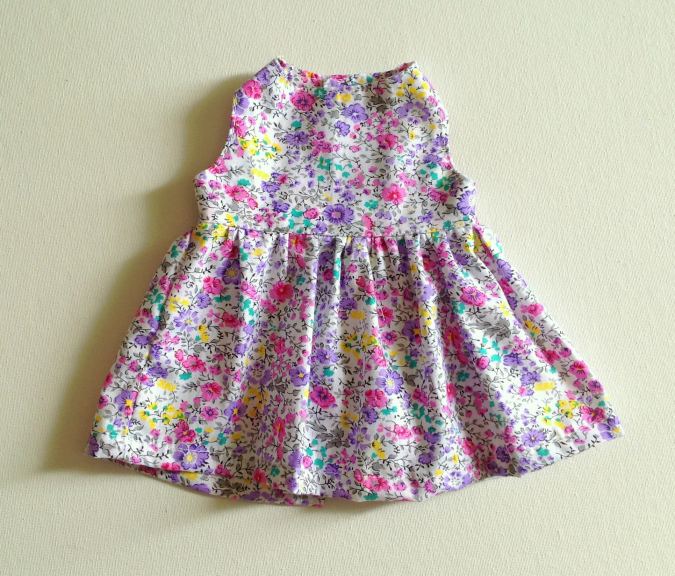
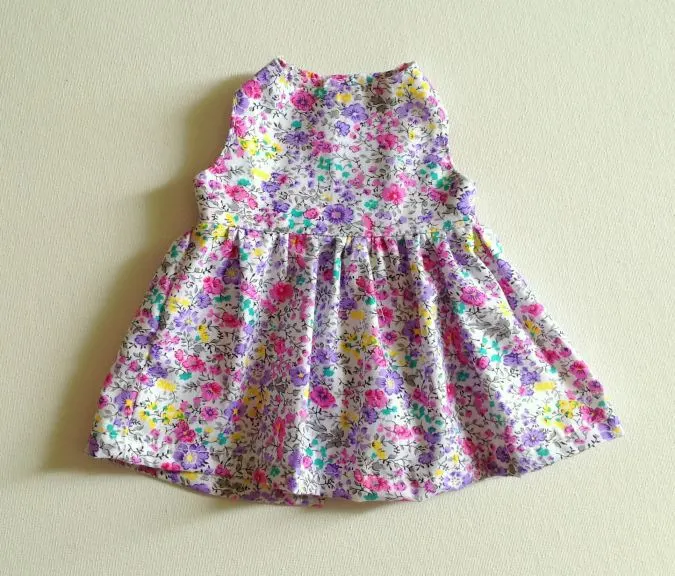
This doll dress with a simple yoke is a replica of my easy baby dress. Now, you can sew matching dresses for your little girl and her doll to let her have fun in the sun!
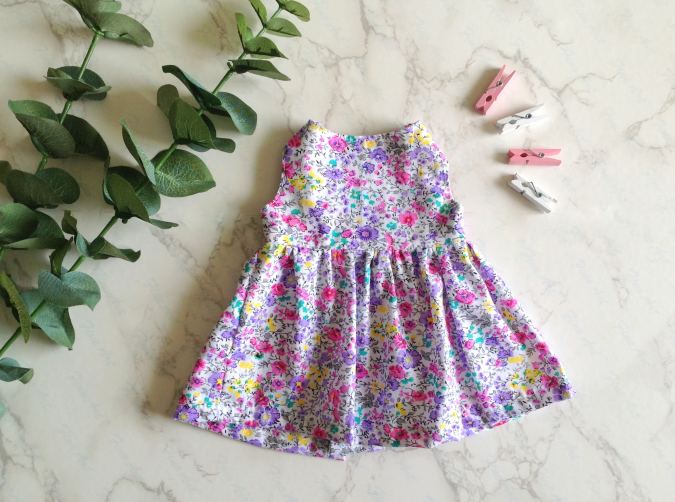

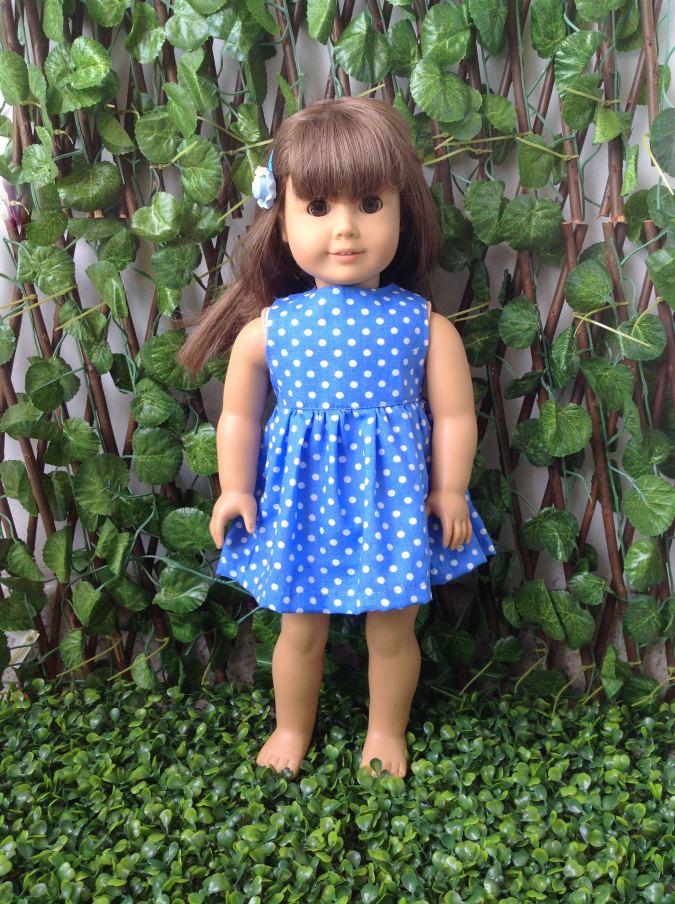
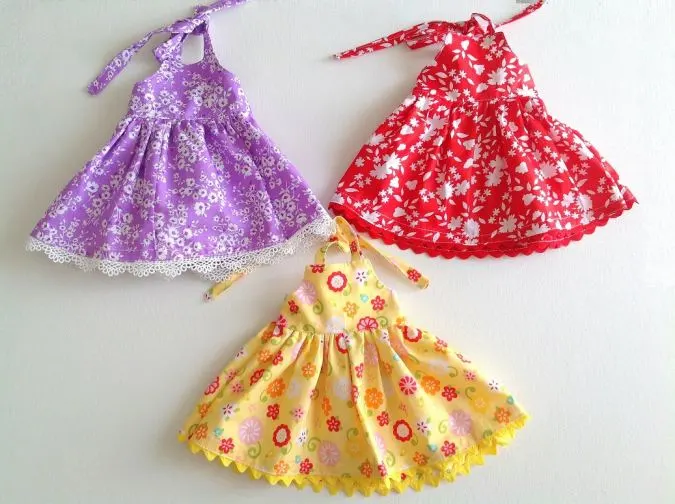
Sew the dress in beautiful summer colors to bring some light and breezy feel to the AG doll’s warm-weather wardrobe. Accent the doll dress sewing pattern with lace or pompoms along the hemline or add a cute little ribbon bow along the waist to turn it into fashionable doll clothes.

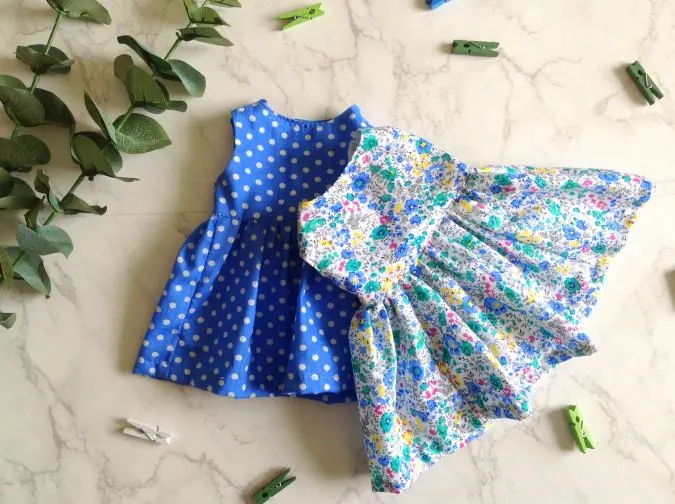
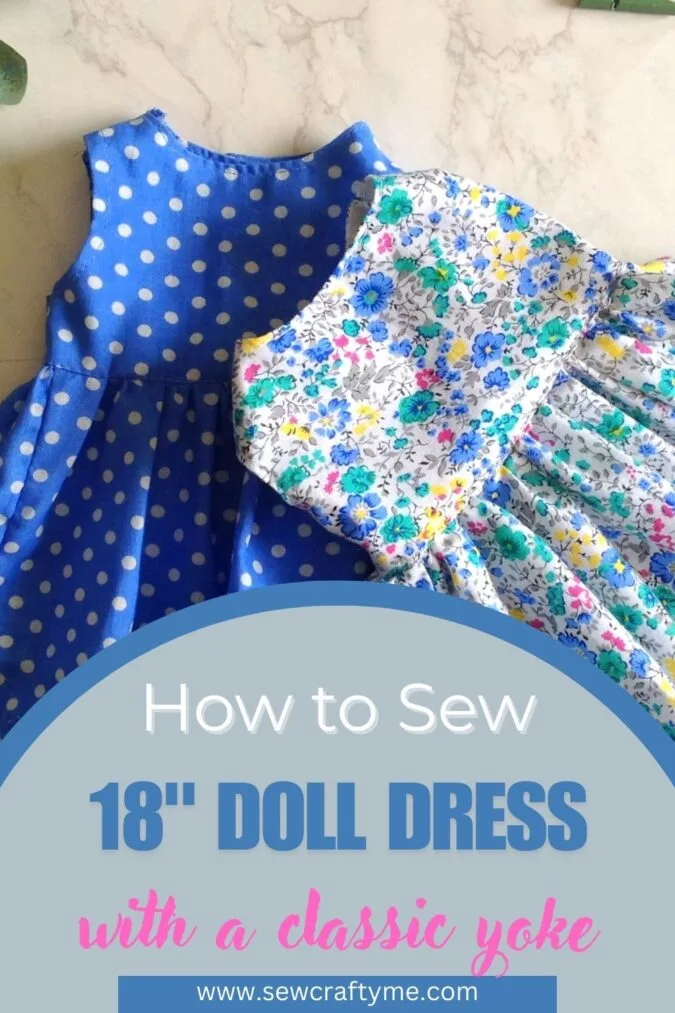
The fully open back that is fastened by Velcro makes the doll dress very easy for on and off. If you have tried my baby dress patterns, I bet it would be easy for you to sew these dolls’ clothes.
For more of my doll dress patterns, click on the pictures below:
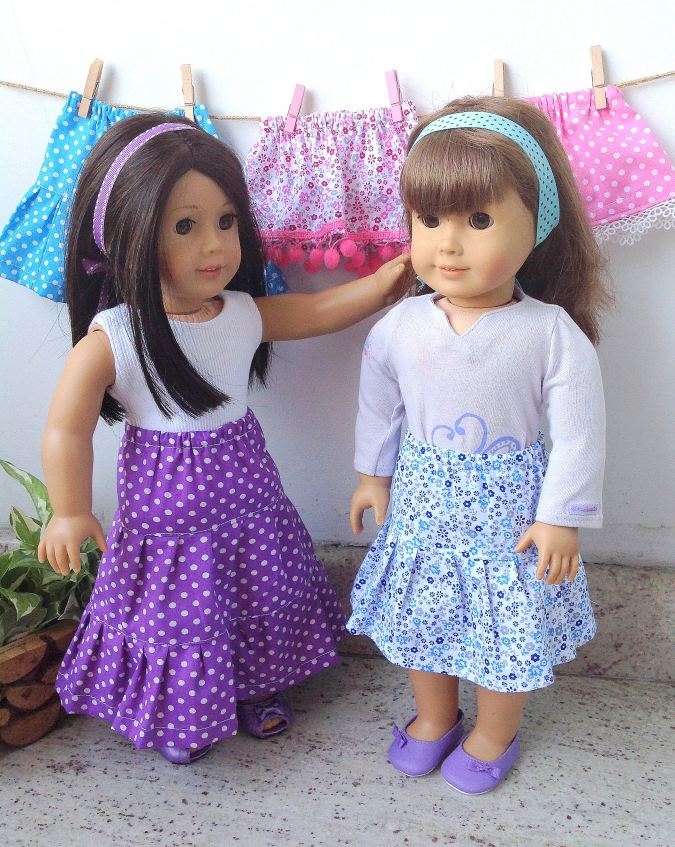

Doll Mini/ Midi/ Maxi Skirt

Doll Midi/ Maxi Dress
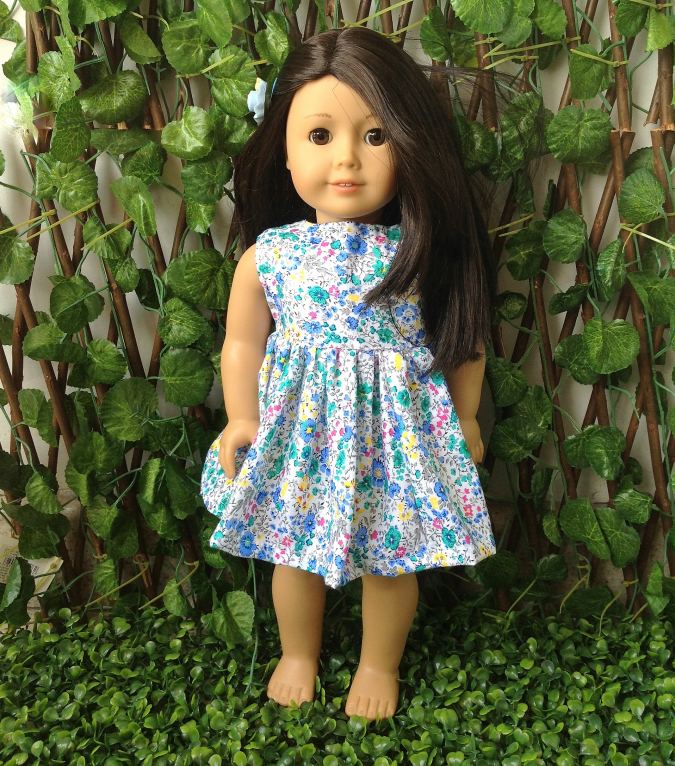
Classic Style Doll Dress Sewing Pattern
*To keep the tutorial easy for my beginner readers, I have made the dress with the seams exposed. If you would like to sew the dress with covered seams, you may follow the steps in my Easy baby Dress Tutorial.
Materials Required:
1) Medium weight cotton fabric scraps for the dress.
2) Velcro pieces or snap buttons for closure- 3 sets.
3) Sewing Notions.
4) Pattern template. ** Enter your e-mail address and click the subscribe button in the box below to start downloading the template automatically.
I suggest you read the entire pattern once before starting to get a general idea
The seam allowance is 1/4 -inch unless otherwise specified.

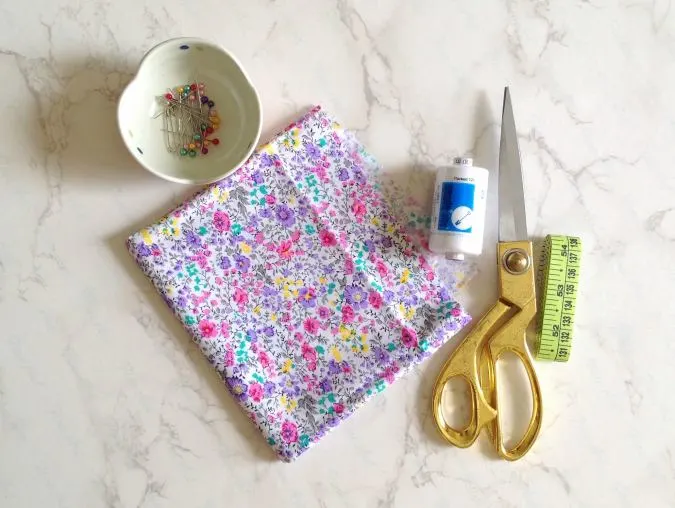
Gather your supplies.

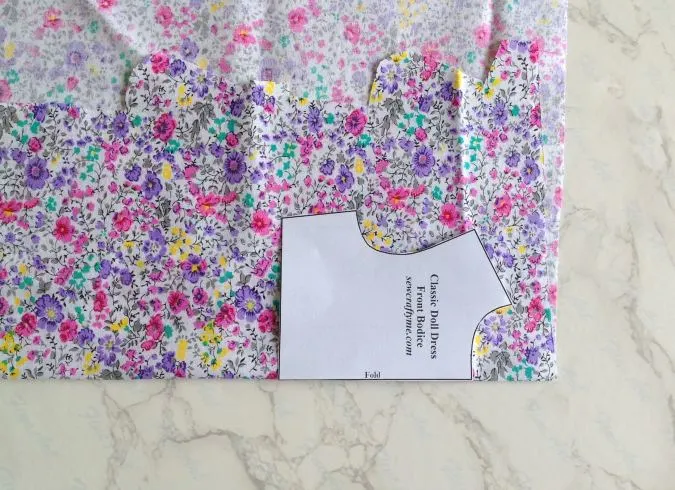
Cut the pattern template for the front bodice from the downloaded PDF. Fold the fabric to fit the width of the template and place the template on the fold. Mark around it and cut to get the front bodice piece. Repeat the steps to get the front lining piece
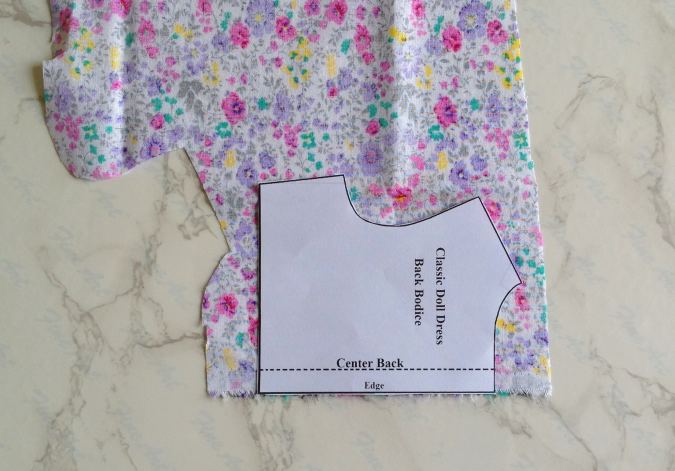

Next, cut the back pattern template and keep it along the edge of the fabric as shown in the picture. Mark and cut to get one piece of the back bodice.
Repeat the steps to get three more of the same piece (one for the second piece of the back bodice and the other two for the back lining).
You will need to cut your skirt pieces with the dimensions given below:
One front skirt piece, 15-inches long and 6.5- inches wide.
Two back skirt pieces, 8.5- inches long and 6.5- inches wide.
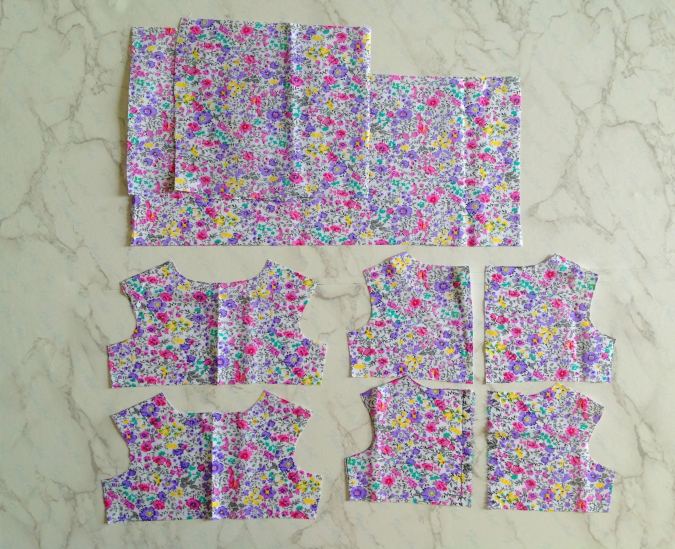

You will get your front bodice, back bodice pieces, lining pieces and skirt pieces like the above.
Let’s start sewing.
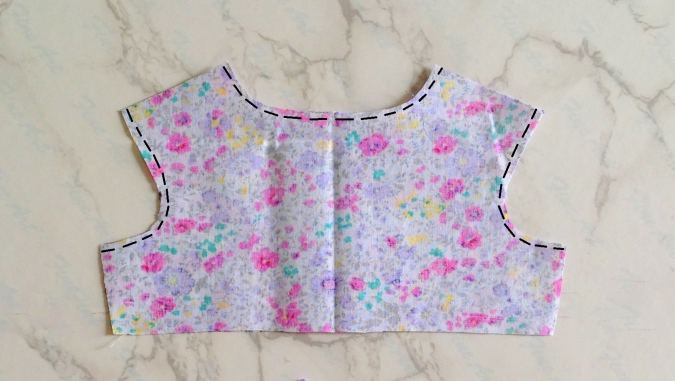
Take the front bodice and the front lining pieces, layer them with the right sides together, aligning the edges and sew along the armhole and neck, leaving a ¼ -inch seam.
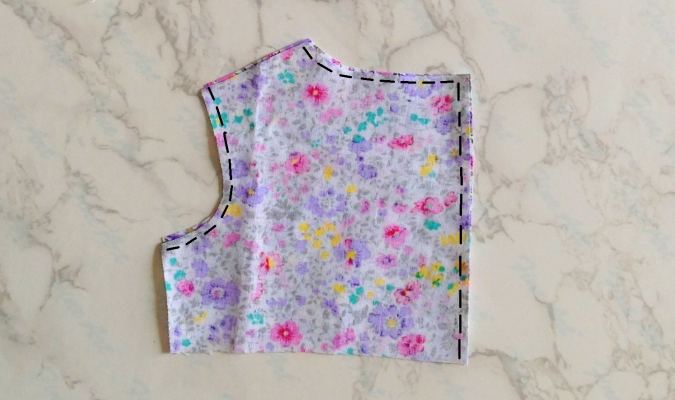
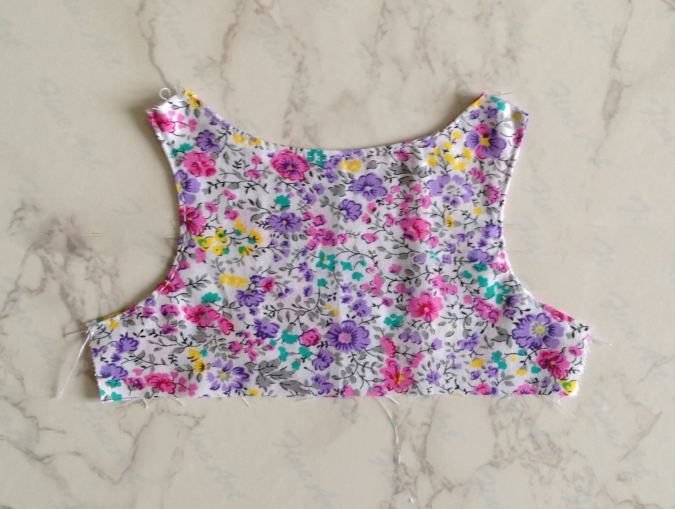
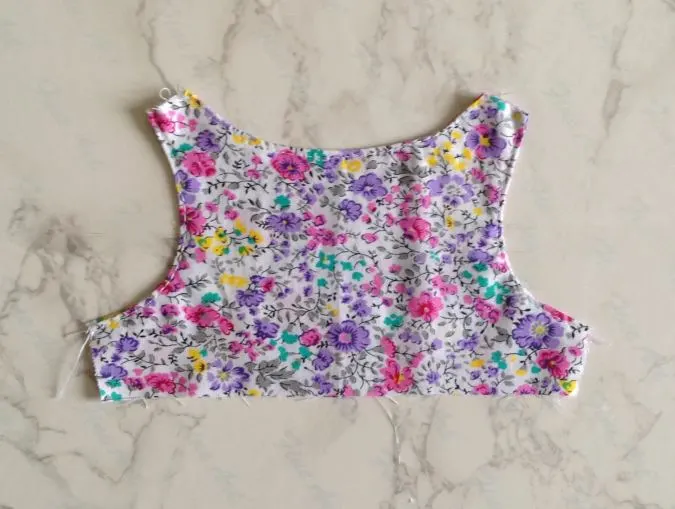
Next, take one of the back bodice pieces and one lining piece, layer them with the right sides together, aligning the edges and sew along the button edge (center back), neck and armhole, as marked. Repeat the same with the remaining back bodice and lining pieces.
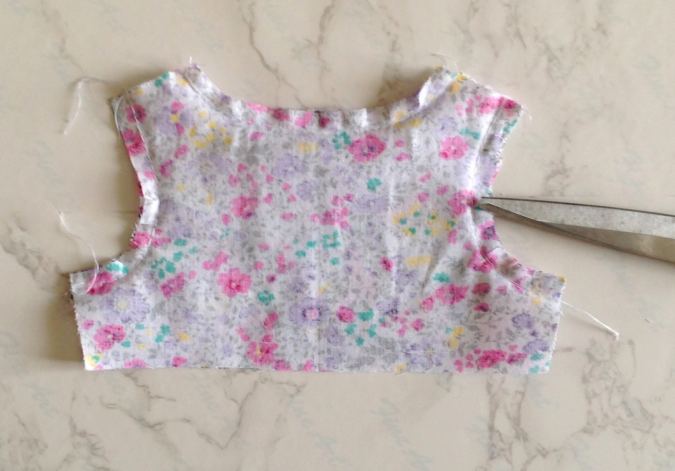

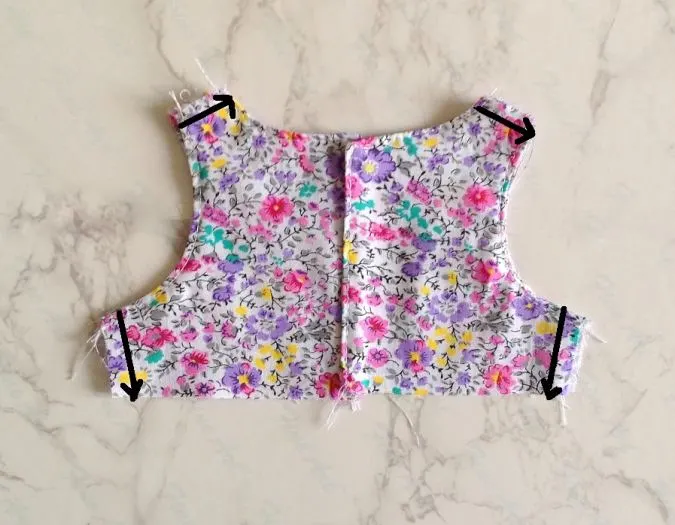
Clip the curves and cut the corners for both the front and back bodices.
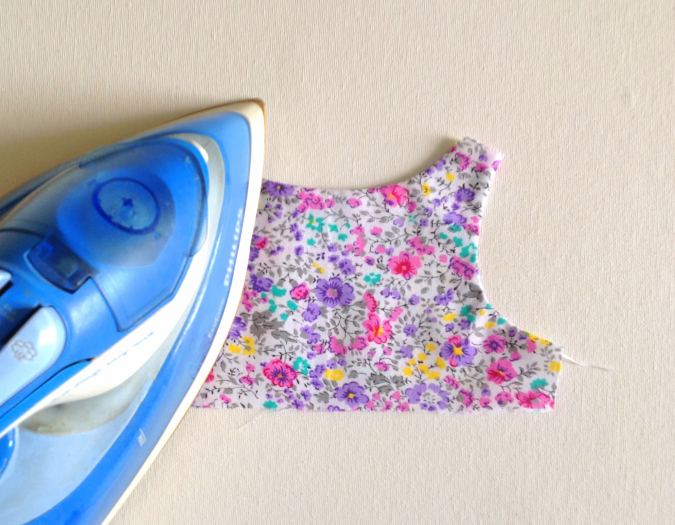
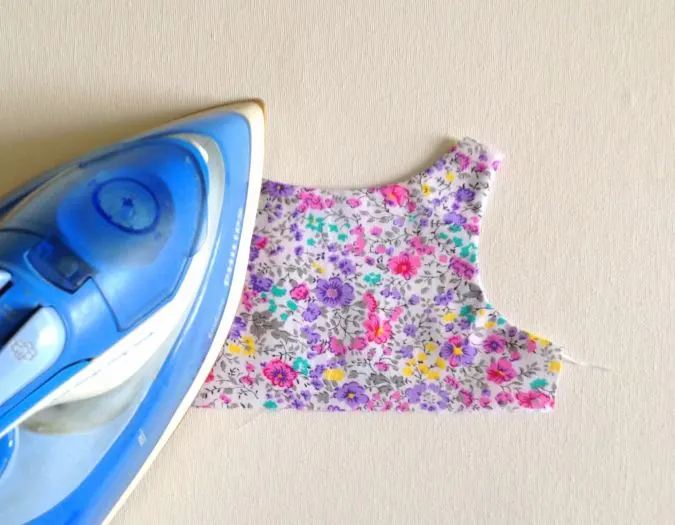
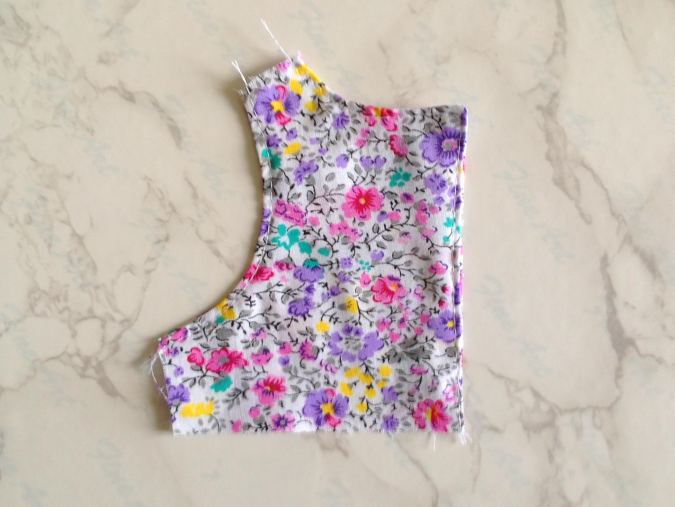
Turn over to the right side and press flat.

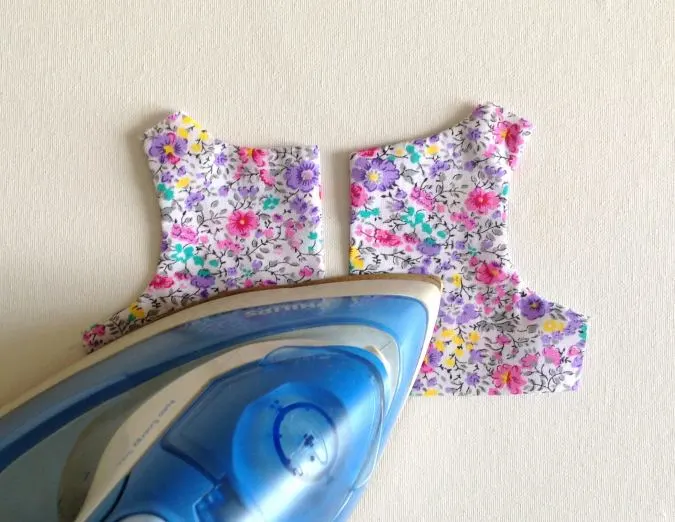
Repeat on the back bodice pieces.
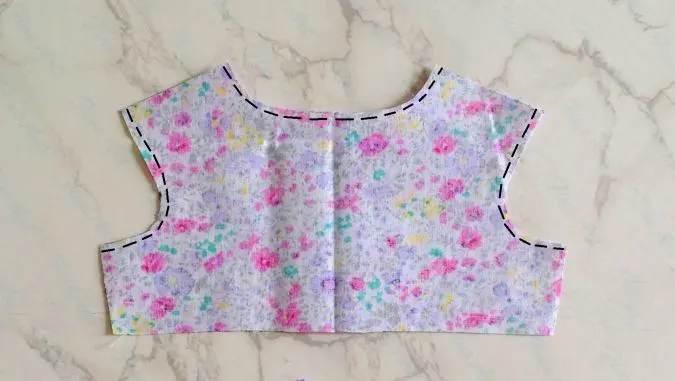
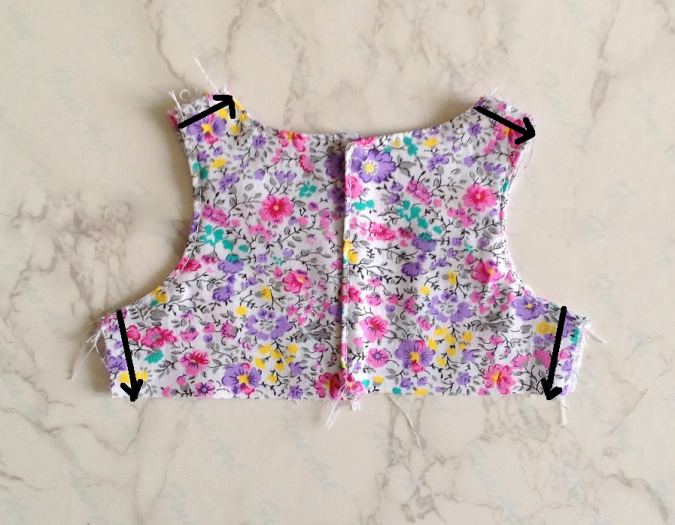
Topstitch along the armhole and neck.

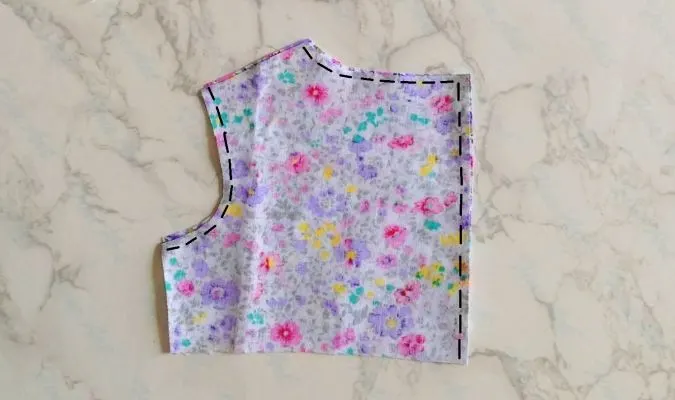
For the back bodice pieces, you will have to topstitch along the button edge too.
Next, layer the front and back bodices, with the right sides together, lining up the side seams. Sew the side seams and the shoulders shut.
Our bodice is almost done. We move on to the skirt part.
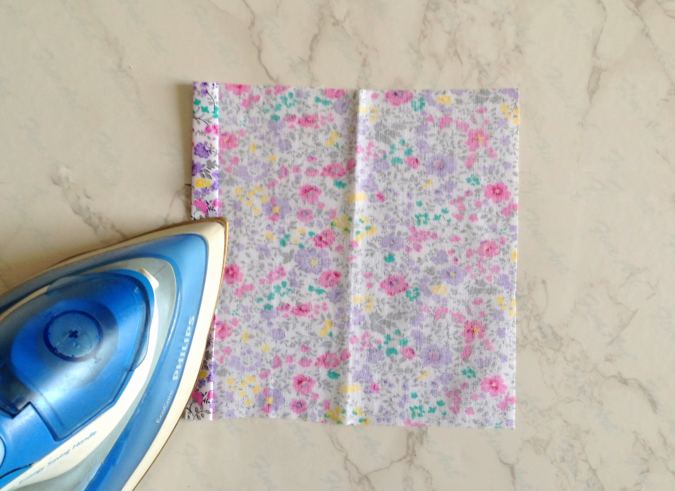
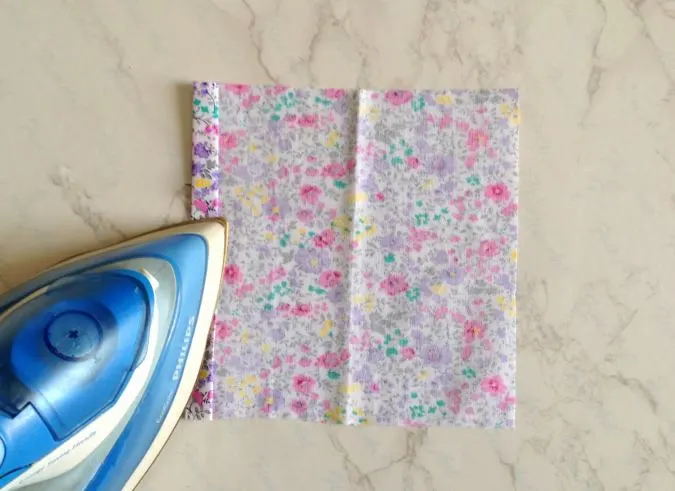
Fold one of the short edges of the back skirt piece towards the wrong side by ½ -inch twice and press. Repeat the steps with the other back skirt piece.
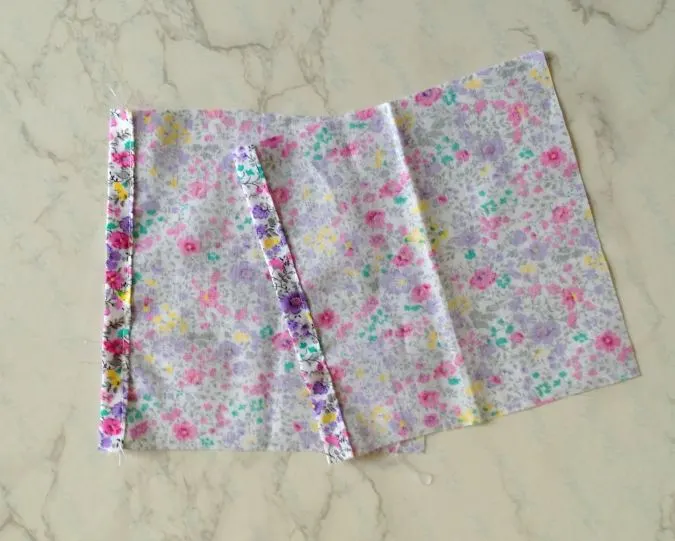
Sew the folds down along the edge.
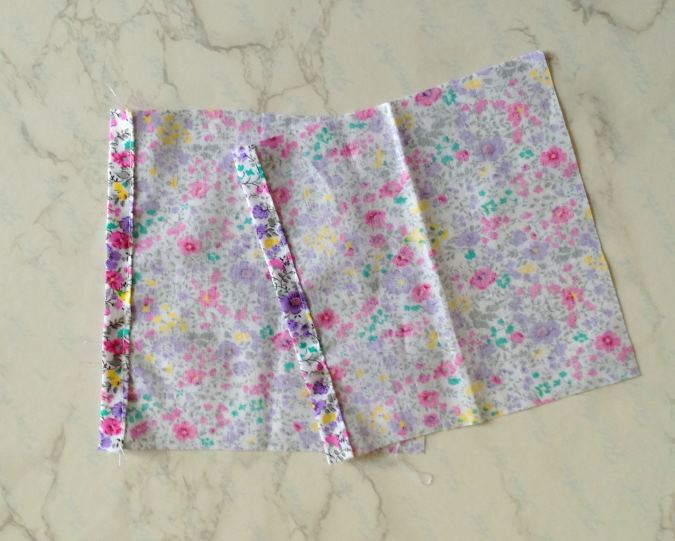
Let’s join the front and back skirt pieces together.
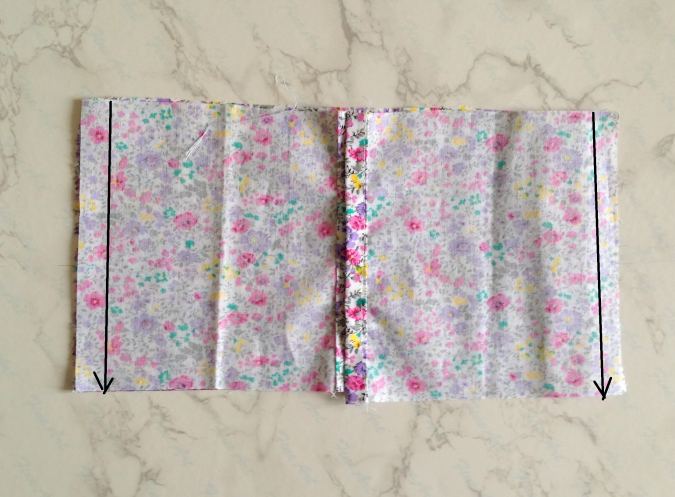
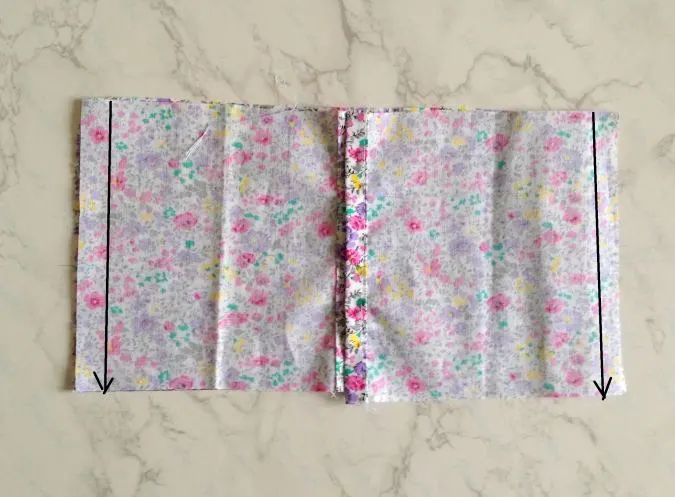
Keep the two back skirt pieces over the front skirt piece, with the right sides together and the edges aligning. Sew the side seams shut on both sides. * Note that the folded edges come along the center.
Next, we need to gather the skirt. Turn the upper thread tension of your machine to zero and stitch length to the longest to get a basting stitch.
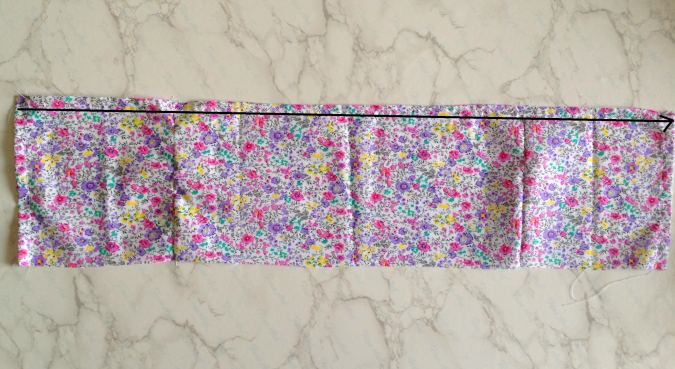
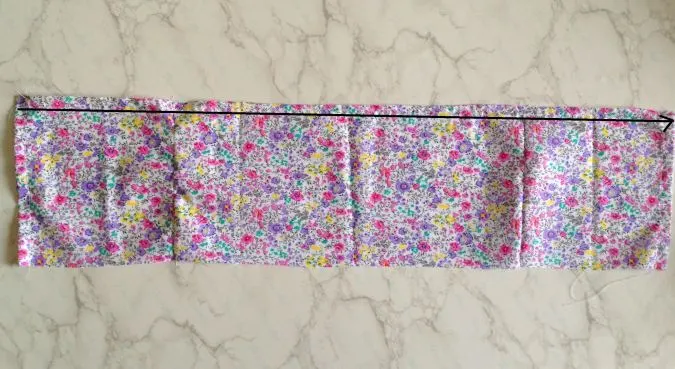
Take the joined skirt piece and sew a basting stitch, ¼ -inch away from the top edge. Leave a long tail of thread, of about 5 to 6 inches long to pull and gather the skirt.
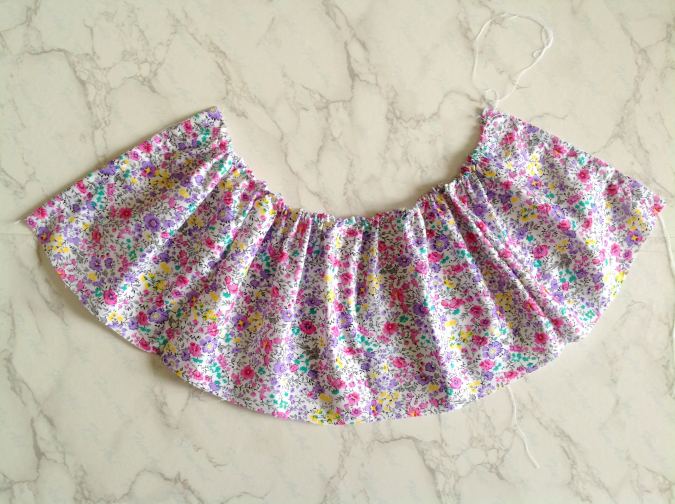
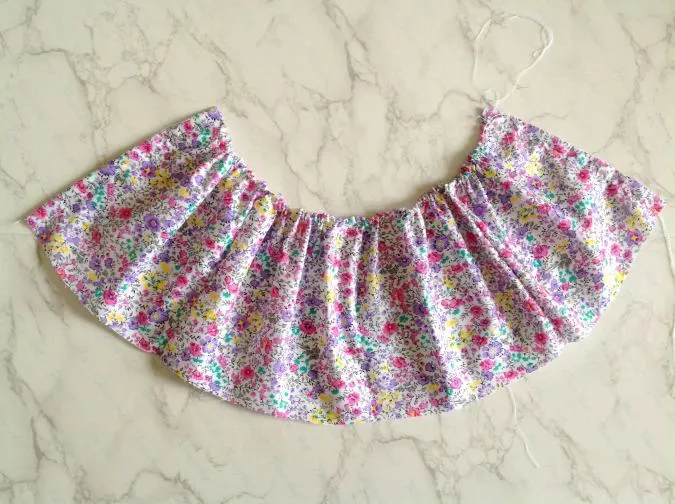
Pull the thread from the bobbin gently to gather the skirt. Adjust the gathering to make it uniform and to match it with the lower edge of the bodice.
Let’s attach the bodice to the skirt.

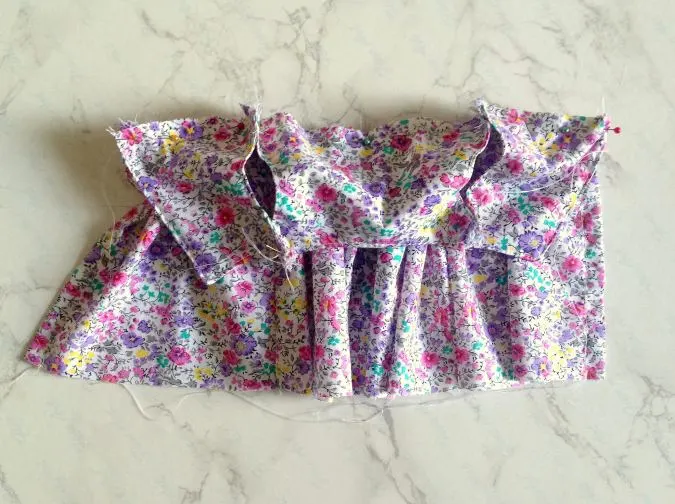
Line up the ruffled edge of the skirt along the lower edge of the bodice, with the right sides together and pin all along. Make sure that the side seams fall in line while pinning.

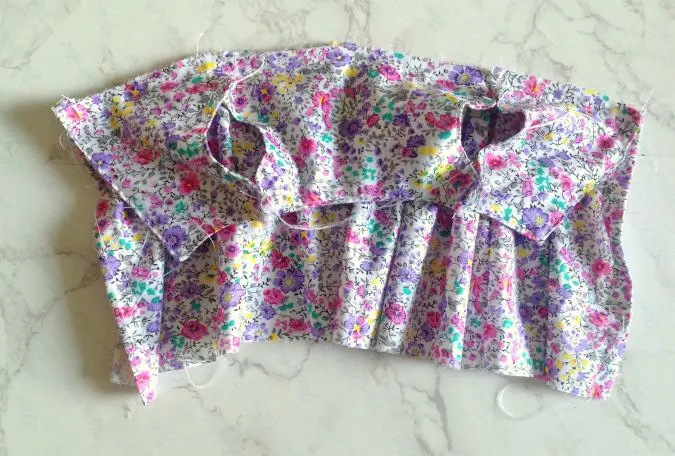
Turn the machine settings back to normal and sew the skirt to the bodice. Zigzag to prevent fraying.
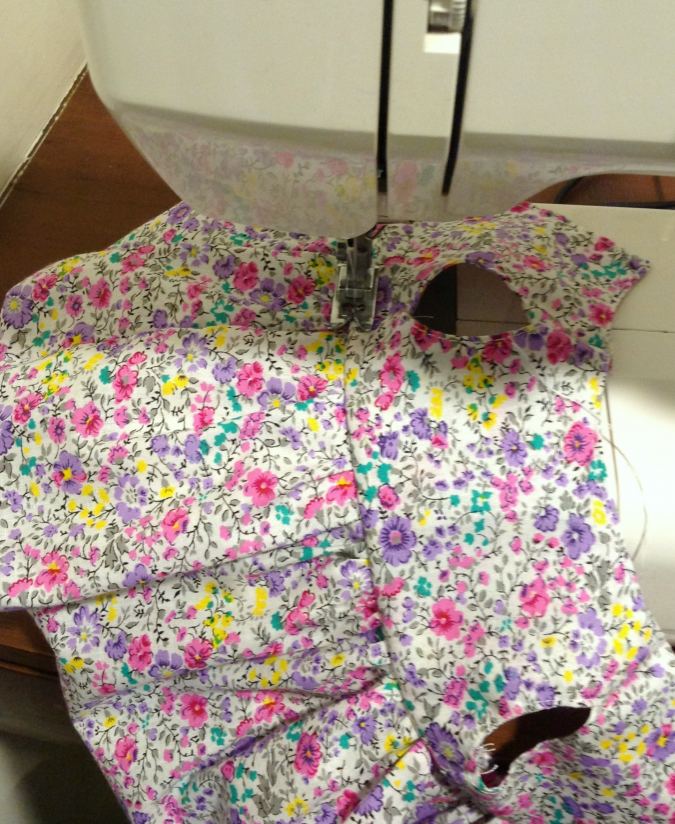
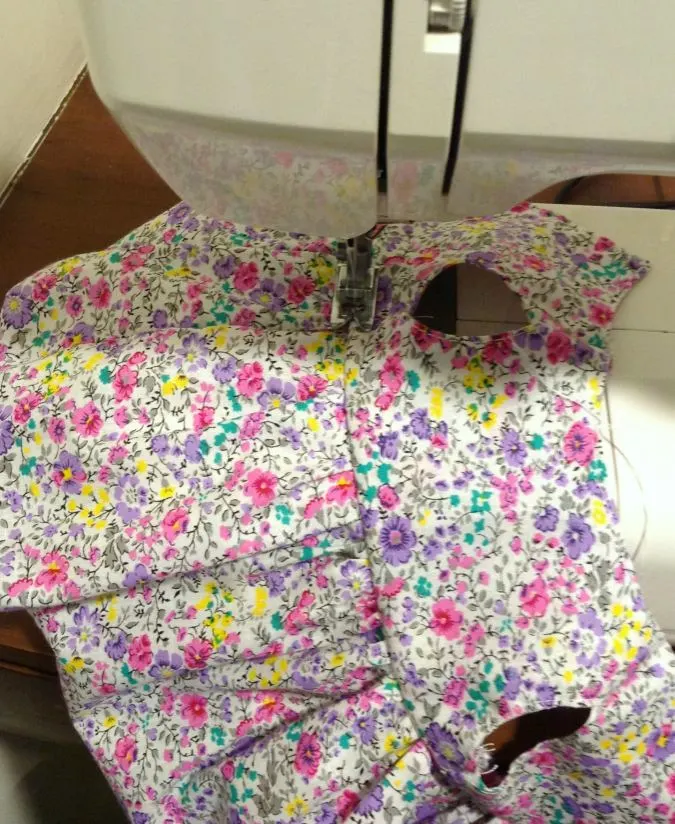
Turn the dress over to the right side and topstitch along the seamline of the bodice and skirt for a cleaner finish.
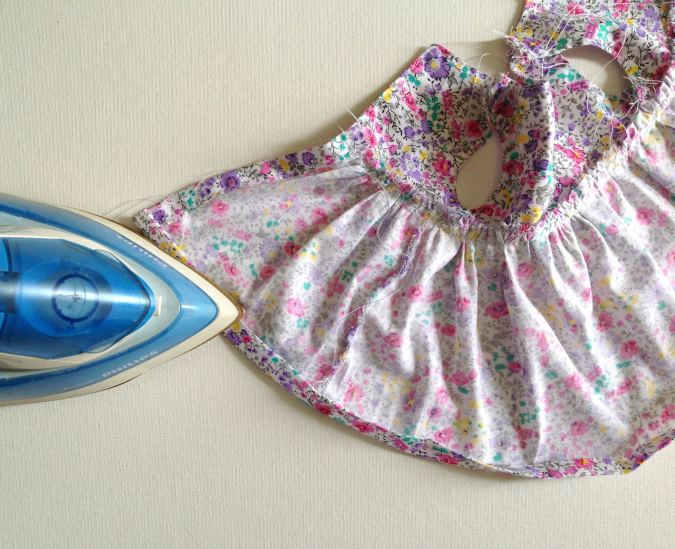

To hem the lower edge of the dress, fold the edge twice by 1/2 -inch towards the wrong side and press to set.
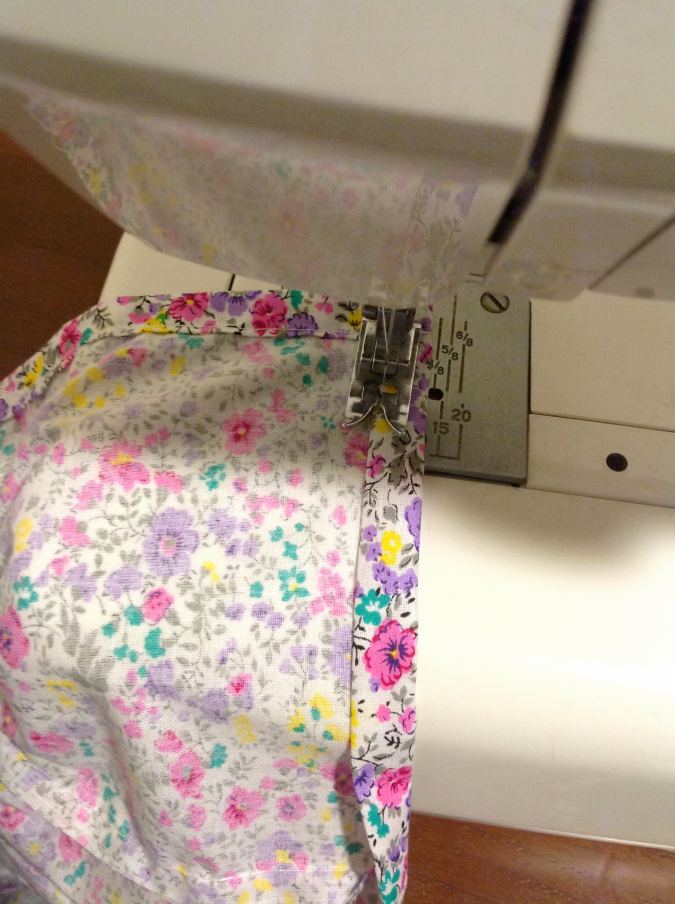
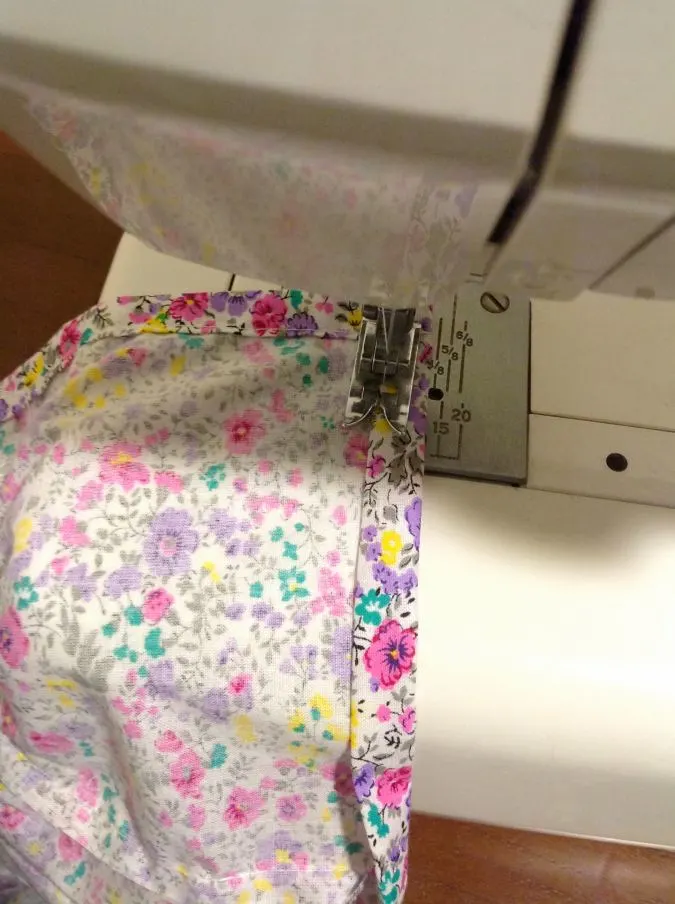
Sew the hem down, along the edge of the fold.
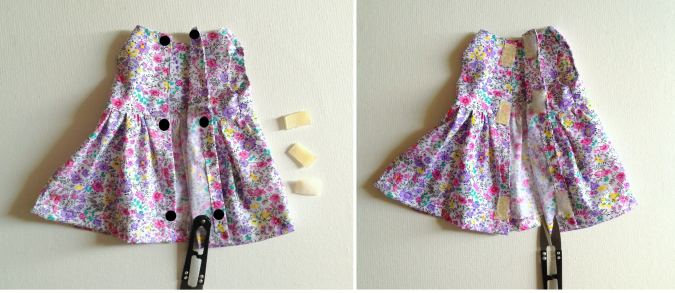
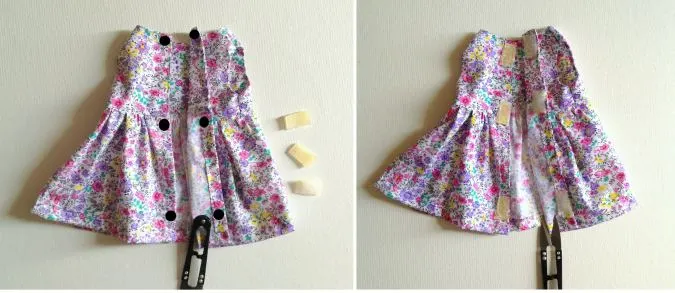
Next, we need to attach the velcro. Starting from the top edge, make markings at 1.5 -inches gap from each other, on the right side of one of the back bodice pieces, and sew the velcro. Make markings with a 1.5 -inch gap on the wrong side of the other back bodice piece also and sew the complimentary velcro pieces. Alternatively, you may use snap buttons too.
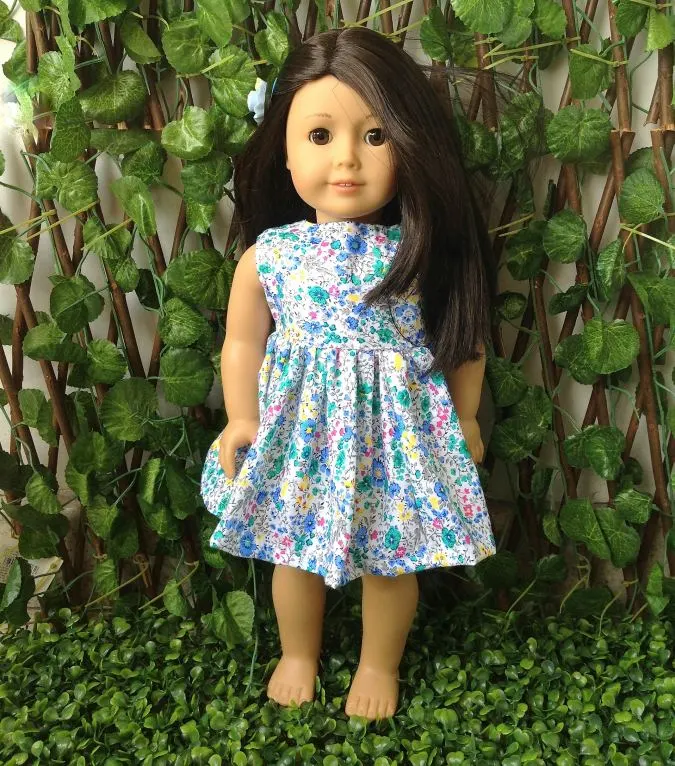
Our classic style doll dress is ready!
Find the webstory for the post here, Free Sewing Pattern fro a Classic Doll Dress
For more doll patterns, click here.
For more free patterns, click here
Pin it for later here:

Carlye
Monday 24th of February 2025
I’m a beginner/intermediate level and I found this pattern to be so approachable and fun! My daughter has loved all of the variations we’ve come up with, and it’s a great way to use all of our cute scraps. Thank you for sharing!
Surayya
Saturday 8th of March 2025
That’s so lovely to hear! 😊 I’m so glad you found the pattern fun and easy to work with. It’s the best feeling when you can get creative and make something your little one loves!
Glenda
Monday 28th of October 2024
where are the free patterns? I see the insturctions but no pattern to print
Surayya
Saturday 2nd of August 2025
Kindly enter your email address and click the subscribe button in the blue box under the “materials list” section. You will be taken to the pattern download page. Please wait for about 2 minutes for the download button to appear.
Heather
Thursday 20th of October 2022
Such a great tutorial. Thank you for sharing.
Surayya
Thursday 20th of October 2022
You are welcome! Glad you liked it :)