Who doesn’t love headbands? Headbands are one of the most desirable head accessories for little girls. What more can you ask for, when you can make them in matching fabrics with her outfits? Compliment her designer outfit with this fabric headband and let your little girl look stunning this season!
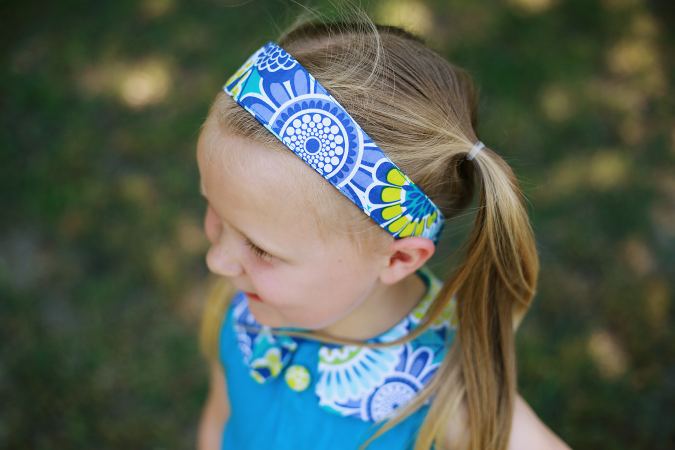


This is a very easy sewing pattern for a headband, which can be made with your leftover fabric scraps. With an elasticized back, this headband gives a perfect fit and is easy for on and off. This tutorial will help you how to make a headband from baby to adult size.
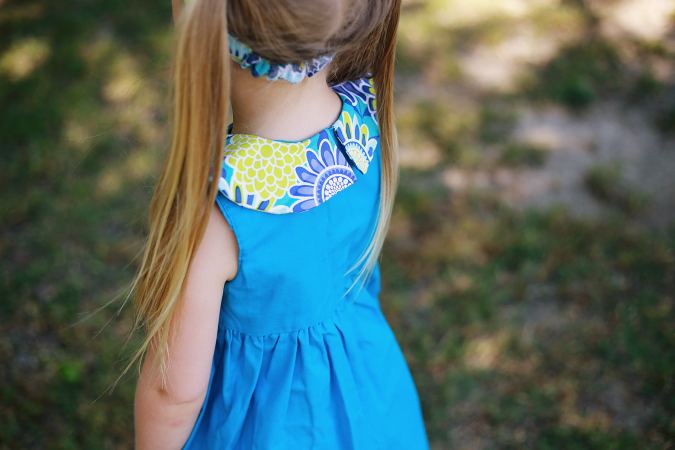

You can make them simple and reversible if you use a different fabric on both sides or you can embellish the headband with a fabric bow to make it look more adorable. Find the bow tutorial here.
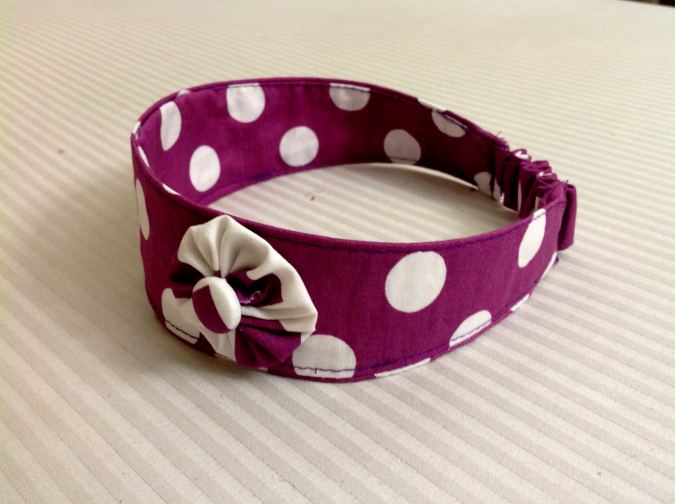
Or you can add fabric yoyos, fabric-covered buttons, flowers and more.
Sewing Pattern for Headband
Headband Sizes
| Ages | Head Circumference
(inches) |
Approximate
Finished Headband Size (inches) |
| Newborn | 13-14 | 12 |
| 0-6 Months | 14-17 | 13 |
| 6-12 Months | 15-18 | 14 |
| 1-3 Years | 18-20 | 17 |
| 3-12 Years | 20-22 | 18 |
| Teen/Adult | 22-24 | 20 |
Materials
Two pieces of fabric for the main body of the headband.
One piece of lightweight or medium weight fusible interfacing.
A Coordinating fabric piece for the elastic covering at the back- cut 2.
3-inches of ½-inch elastic.
Sewing
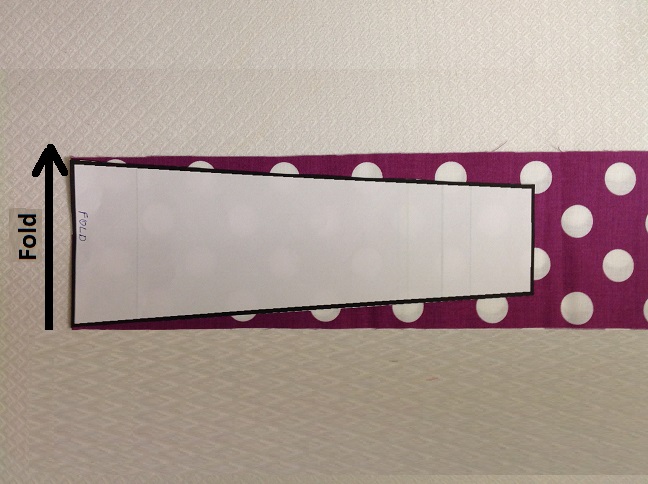

Take the fabric piece, fold it widthwise and place the template on the fold. Mark around the template and cut to get the main headband piece. Repeat the steps to get the headband lining.
Cut a piece, using the same template from the interfacing.
Cut two pieces of fabric, using the template for the elastic covering.
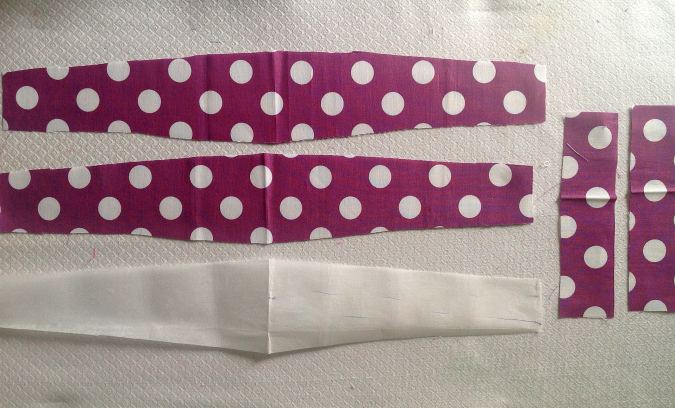

You will get your pieces like this.

Fuse the interfacing on the wrong side of the fabric, following the manufacturer’s instructions.
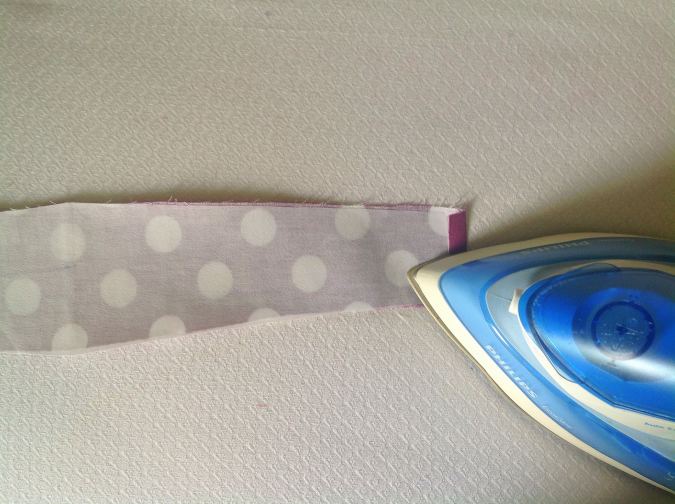

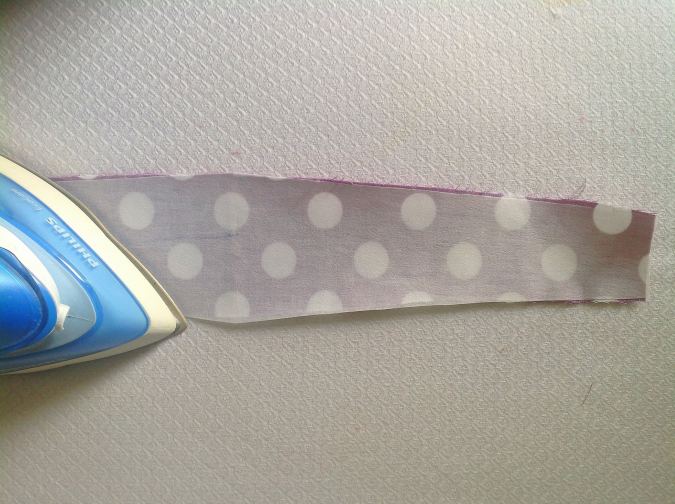
Fold the two shorter ends of the main headband piece by ½- an inch, towards the wrong side and press down as shown above. Repeat on the lining piece.
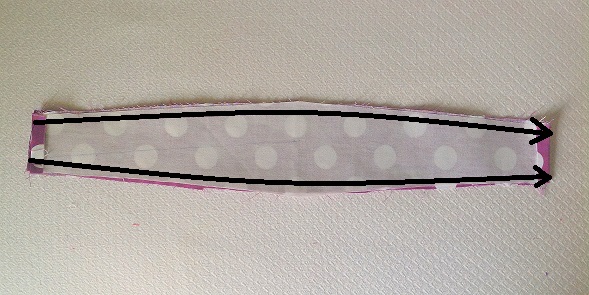
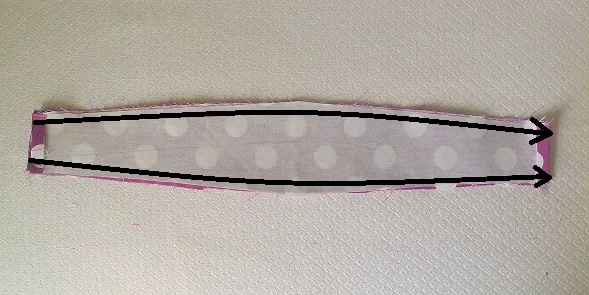
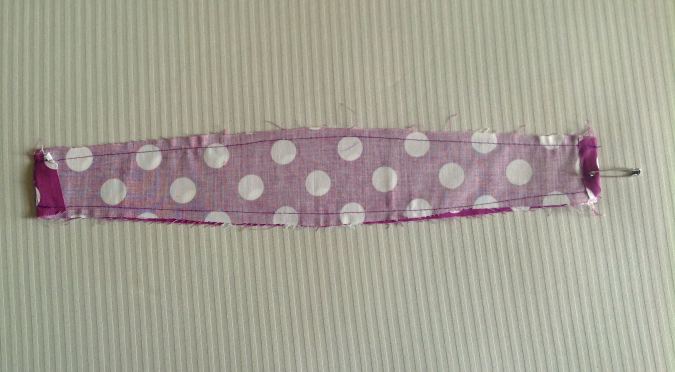
Layer the headband pieces, with the right sides together, lining up the edges and sew along the two longer edges leaving a 3/8- inch seam allowance. Make sure to reinforce at the beginning and end by stitching back and forth a few times.
Trim the edges to reduce the bulk in the seam.
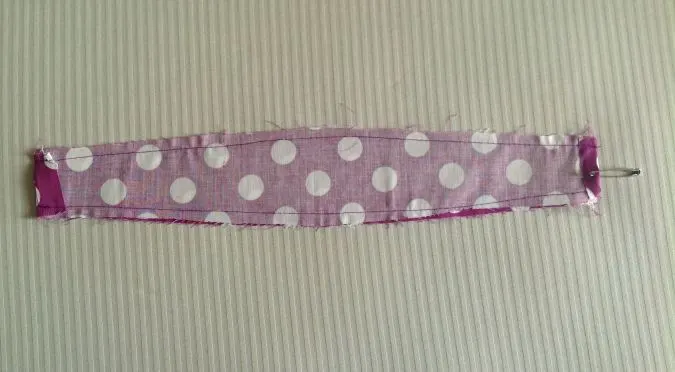
Next, turn the band inside out using a safety pin as shown above.
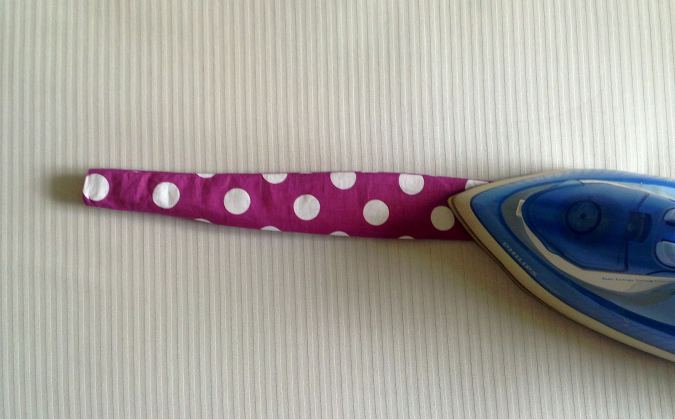

Press to make it neat and crisp.

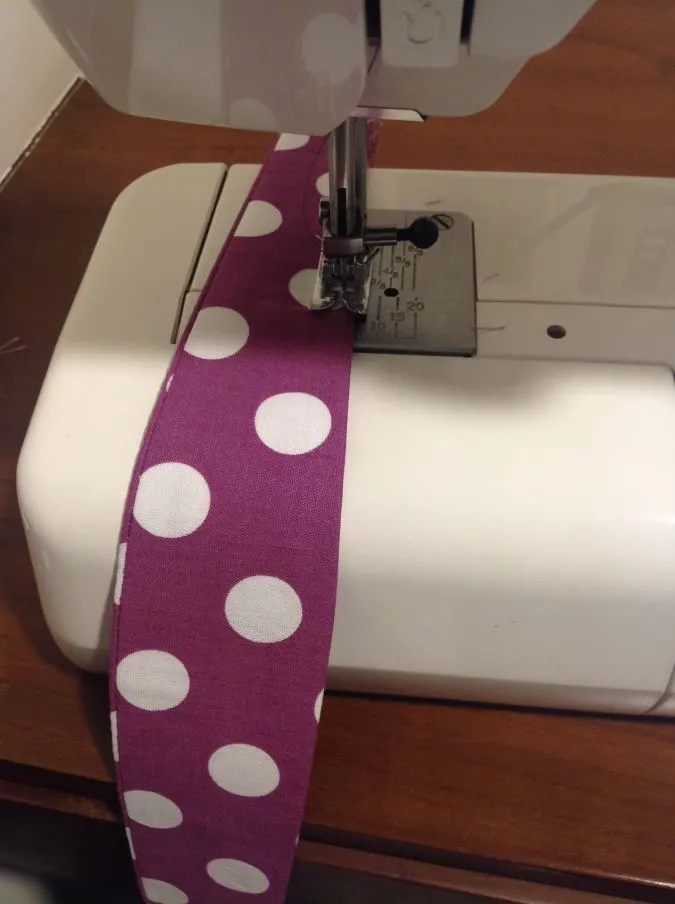
Topstitch along the two longer edges, be careful not sew the shorter sides shut.
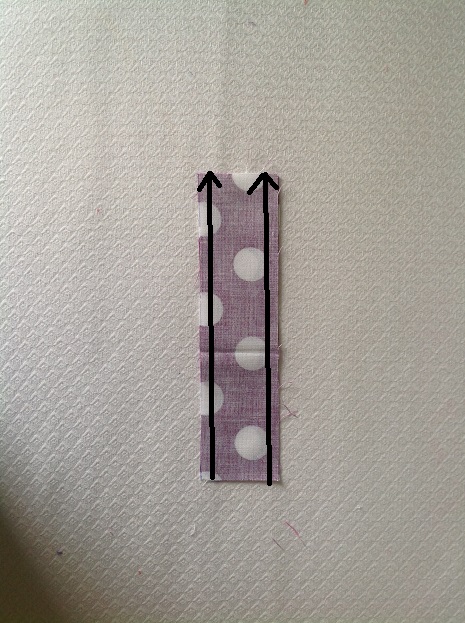
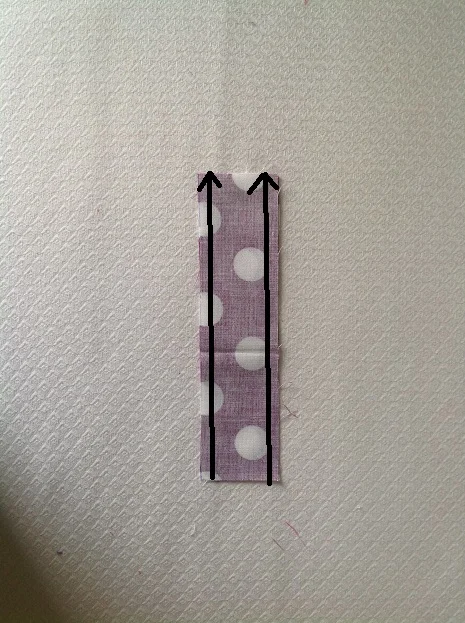
Take the two elastic covering pieces and layer them with the right sides together, lining up the edges. Sew along the two longer edges, taking care not to sew the shorter sides shut.
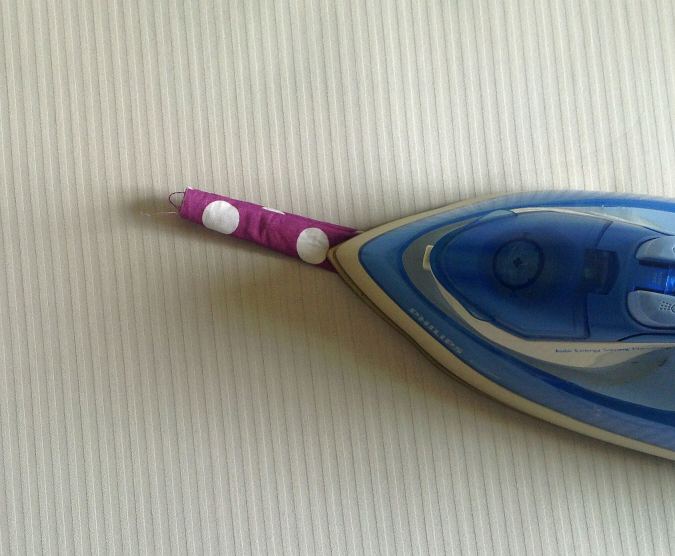
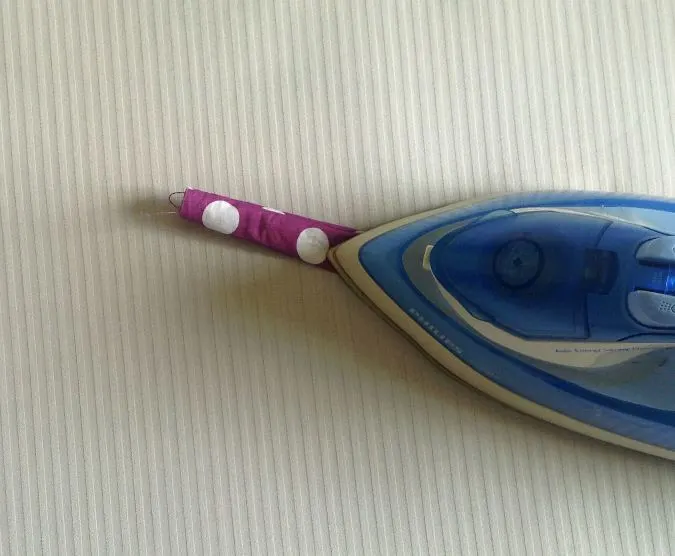
Turn the piece inside out using a safety pin and press taut. Topstitch along the two longer edges.
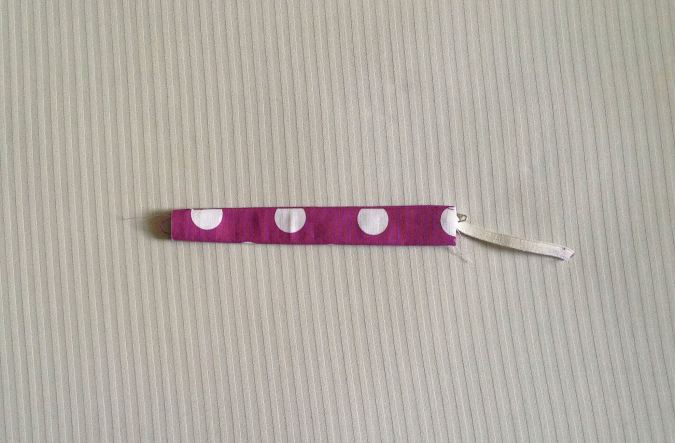
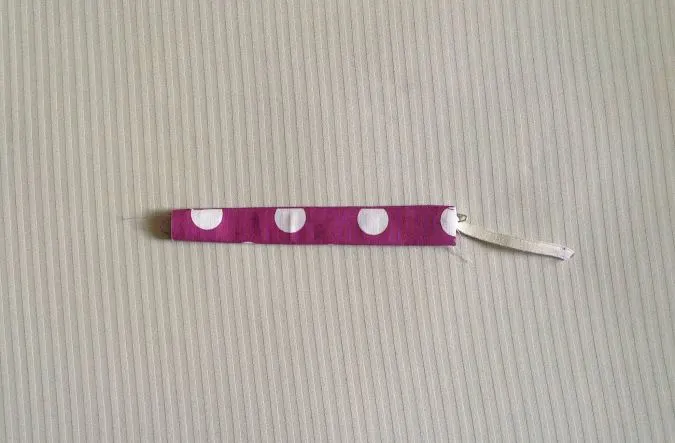
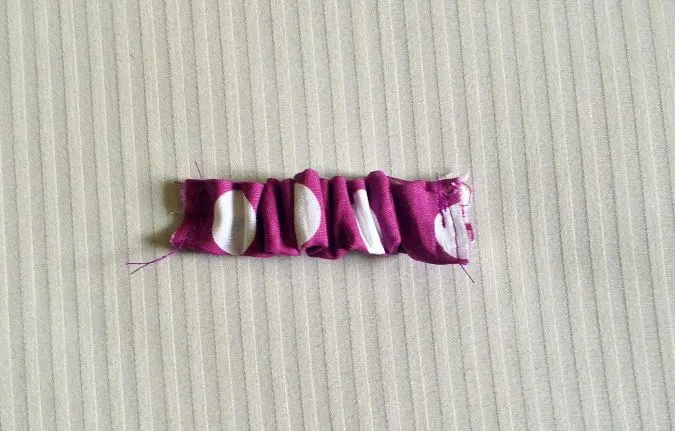
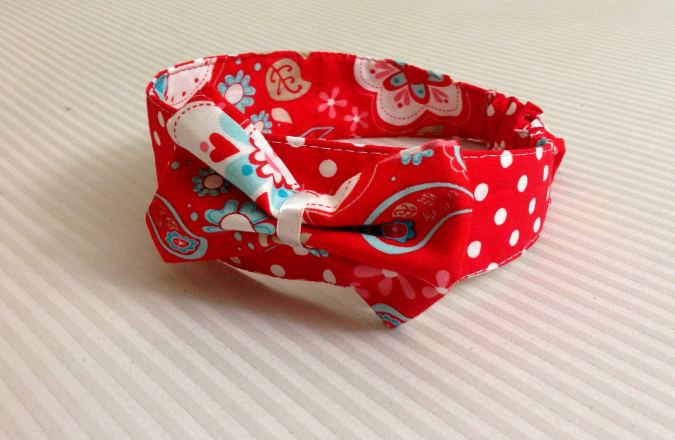
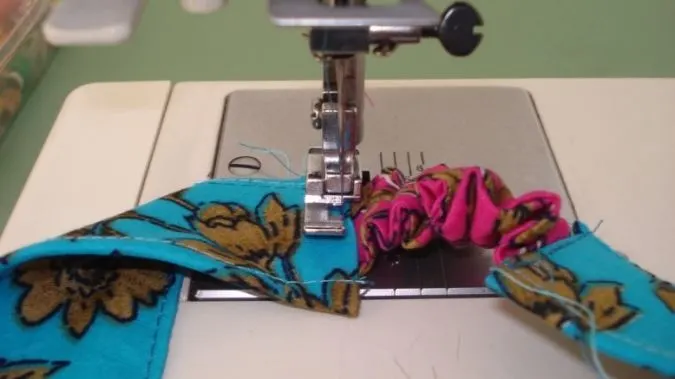
Take the required length of the ½- inch elastic and insert it through the shorter side using a safety pin. Secure the ends by stitching back and forth at the ends.

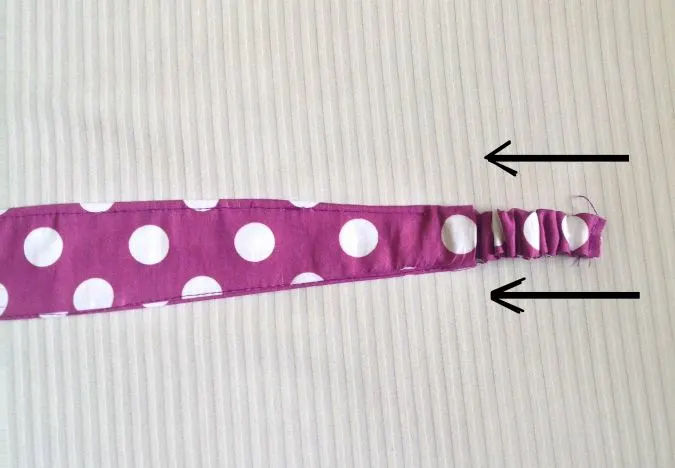
Slide the elasticized piece into the opening on one side of the headband and sew as close to the edge as possible. Secure by stitching back and forth a few times.

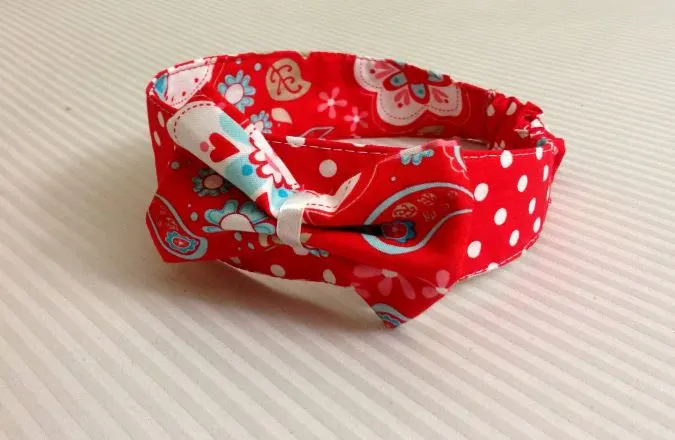
Repeat on the other side (picture for illustration purpose).
Just cut off the hanging threads and our hairband is ready.
If you would love to see more girl’s patterns, click here.
If you would love to see more free patterns, click here.
Pin it for later here,

