I love DIY hair clips and I have been making them right from my childhood days. I have made hundreds of them when my girls were little. Of course, all of them didn’t reach the perfection I desired. Made in matching colors with the outfits my girls wore, they were cute to look at and they always won accolades from people around.


Now, with the sea of internet knowledge and all the supplies, we can find around us, I could make my hair accessories in a number of ways, in a number of styles and of course with precision and perfection.


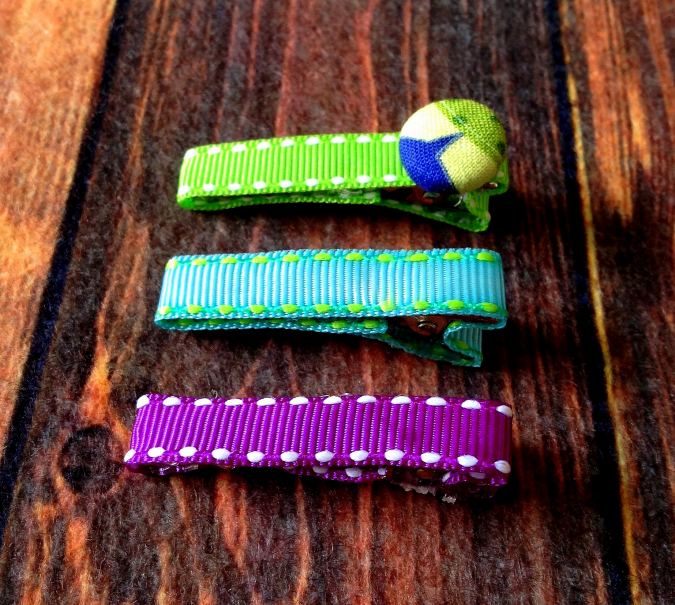

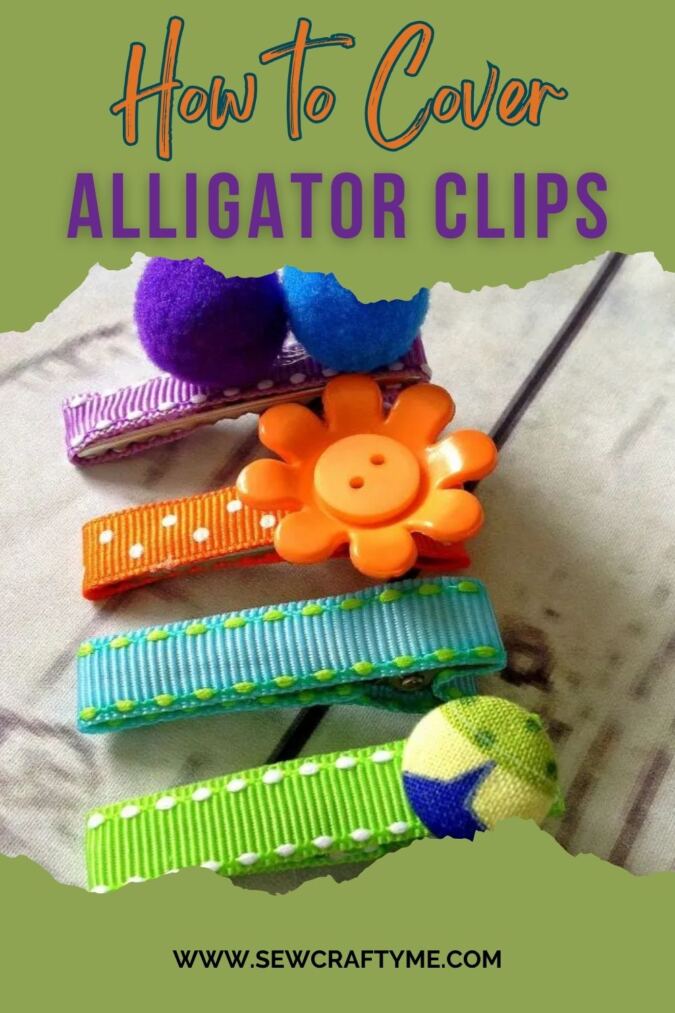
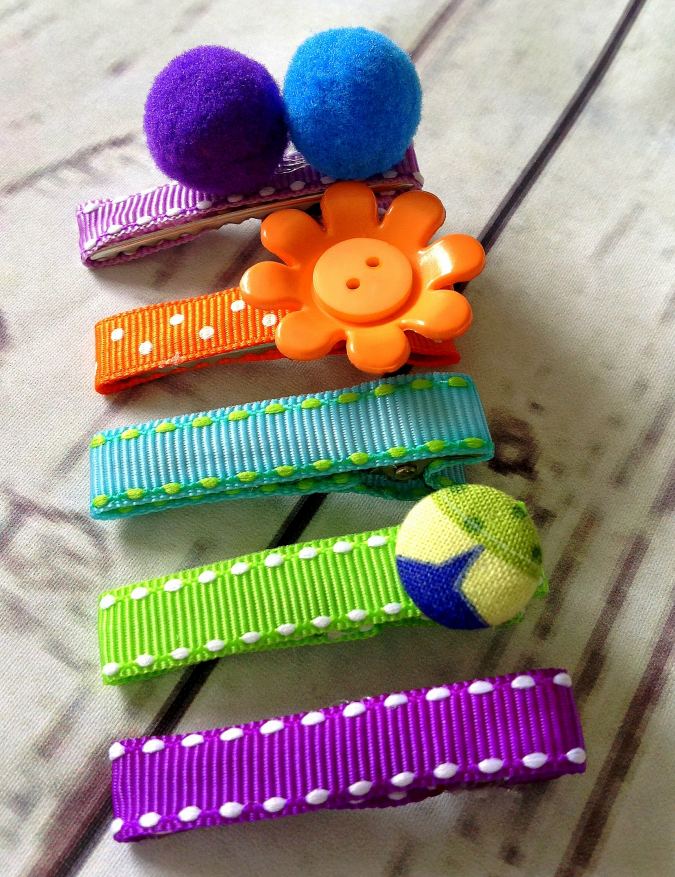
This DIY hair clips tutorial will teach you to line alligator clips in minutes. Lining these clips give them a splash of color, make them matching with the dresses and also opens door to adding a variety of embellishments. You can add plastic buttons, fabric buttons, bows or even pompoms. All these help to spruce up the hair clip collection of your little girl!
DIY Hair Clips
Supplies
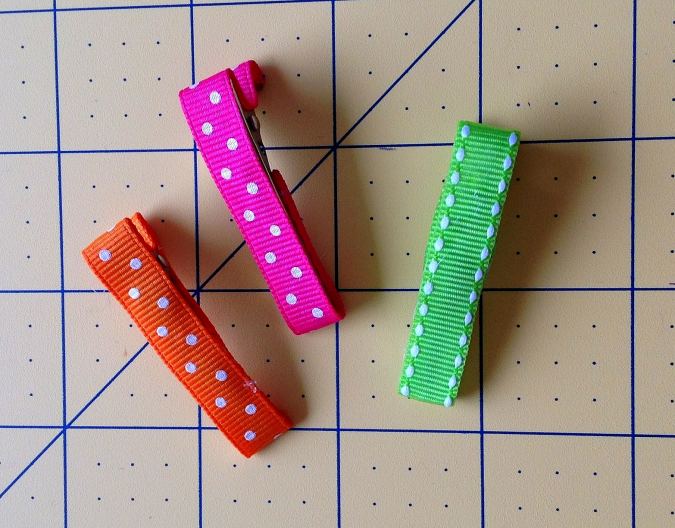
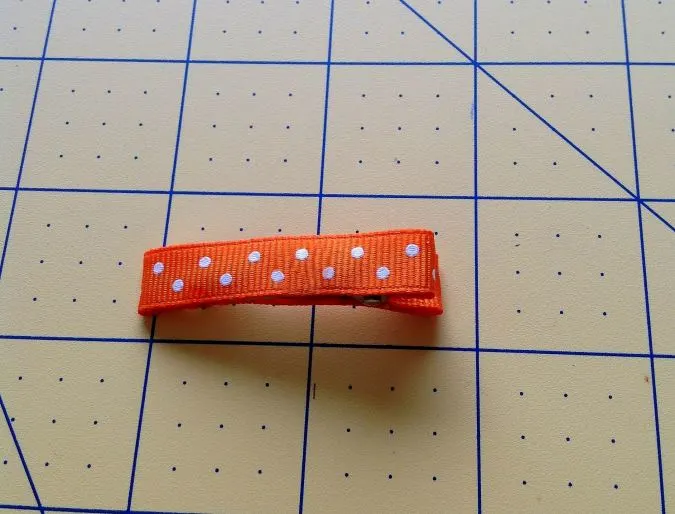
Alligator Clips ( I used the 1.75- inches long ones).
3/8-inch gross grain ribbon.
Hot glue gun.
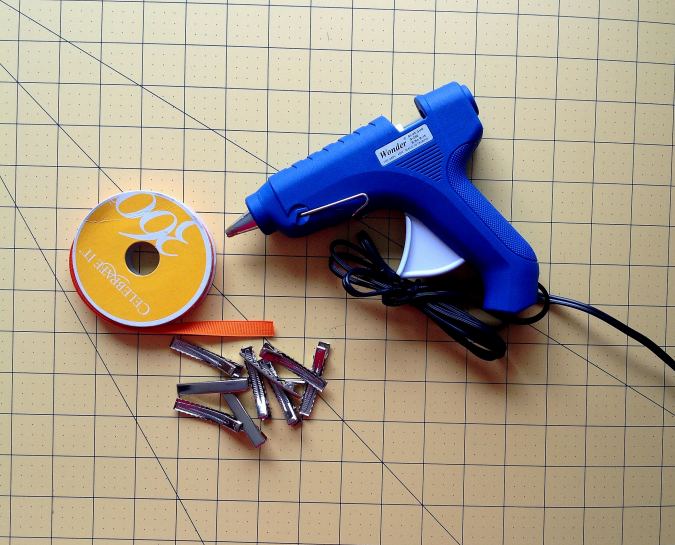
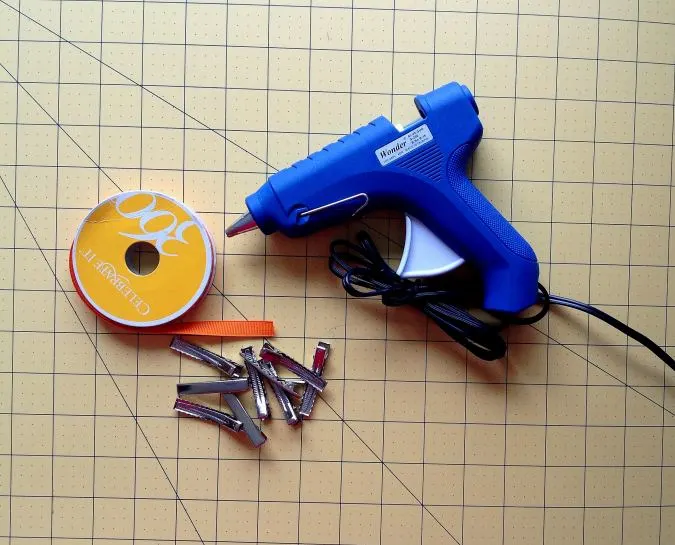
Gather your supplies.

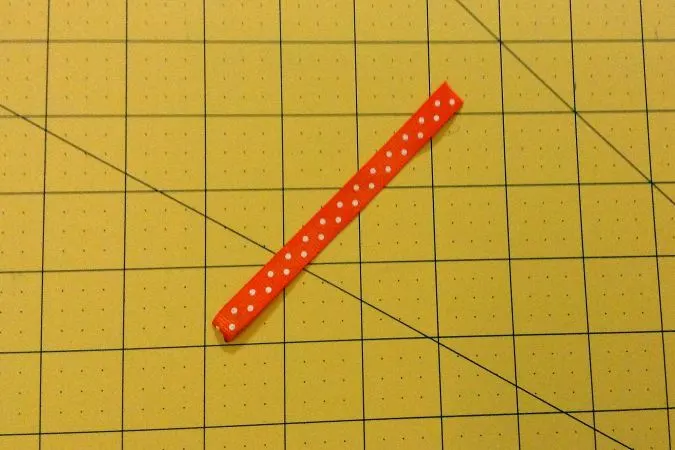
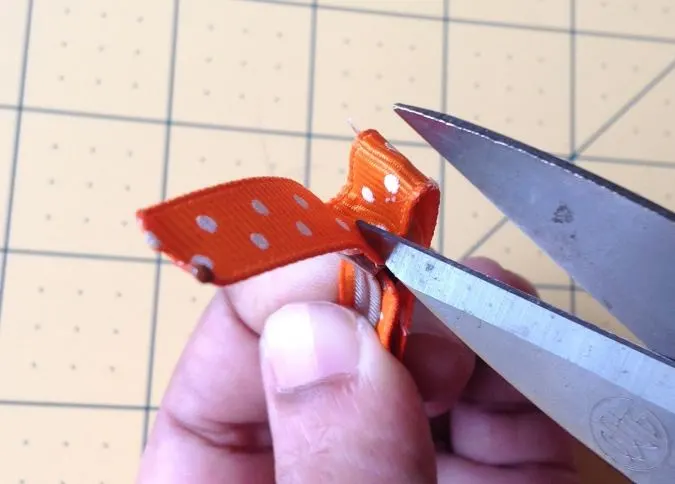
Cut 4.5- inches of the ribbon and heat seal the ends.

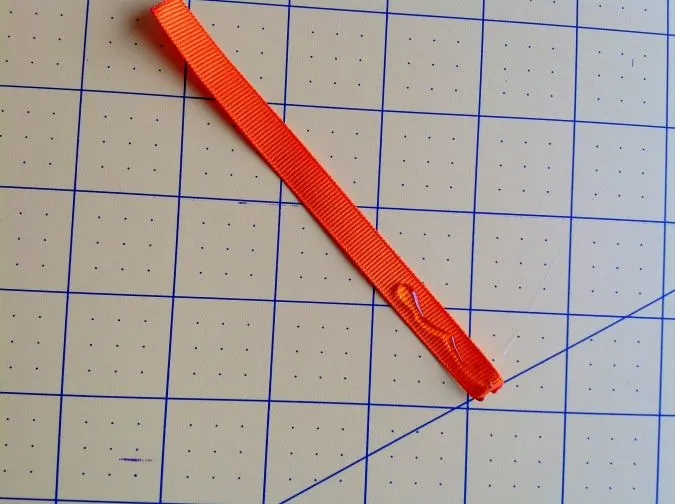
Apply hot glue to about 1.5- inches of the satin ribbon, on its wrong side.

Pinch the alligator clip open and glue the satin ribbon to the underside of the top part of the clip. Run your finger over the ribbon to smoothen any wrinkles. Close the clip.

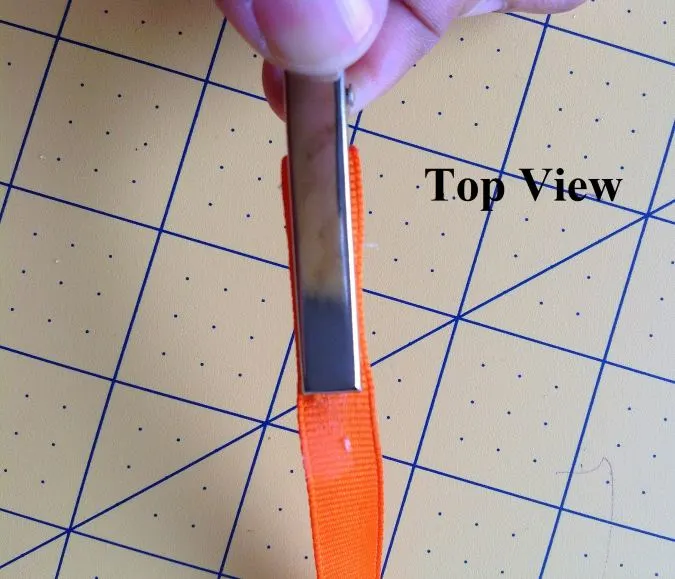
Apply glue all along the top part of the clip. Fold the satin ribbon over to the upper side of the clip and again smoothen with your hands to eliminate any wrinkles.

This is how it will look like from the side.
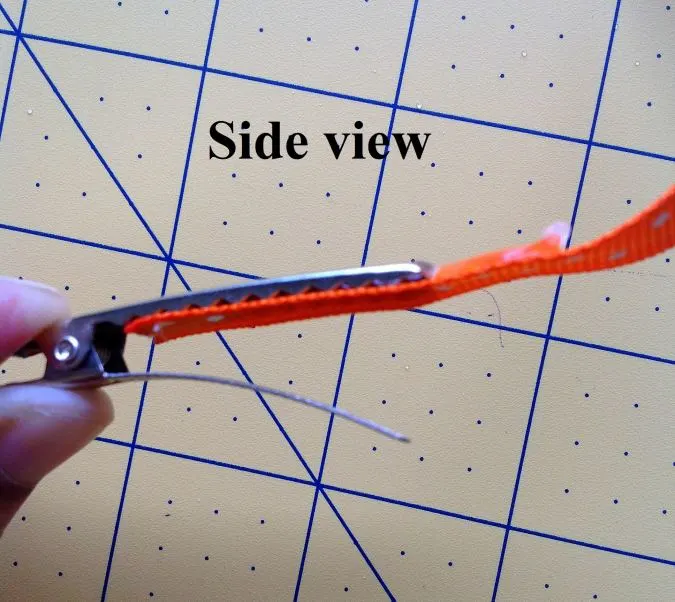
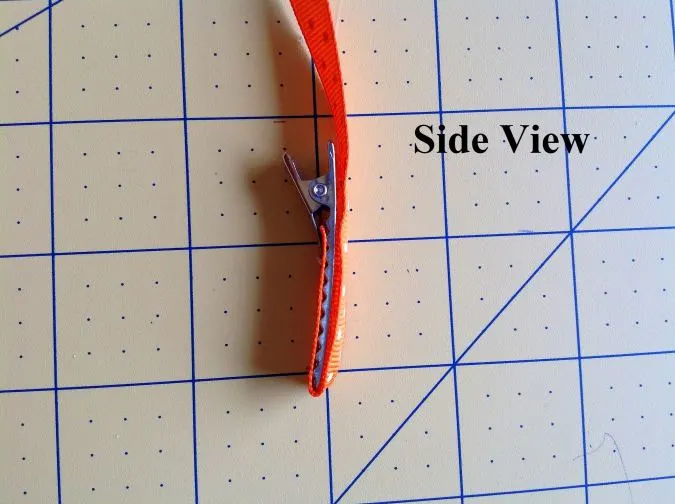
Apply glue on about ½- inch more of the satin ribbon. Fold the ribbon around (down and up) the hinges. Use a sharp object like thread cutter or scissors to push the ribbon neatly inside and glue in place.
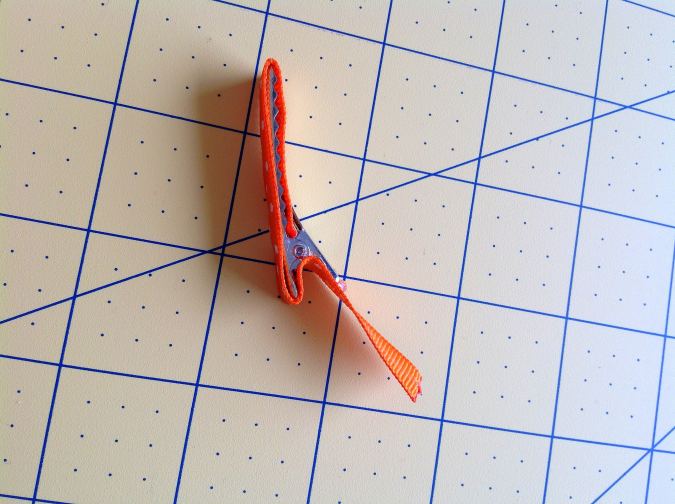

This is the view from the side.

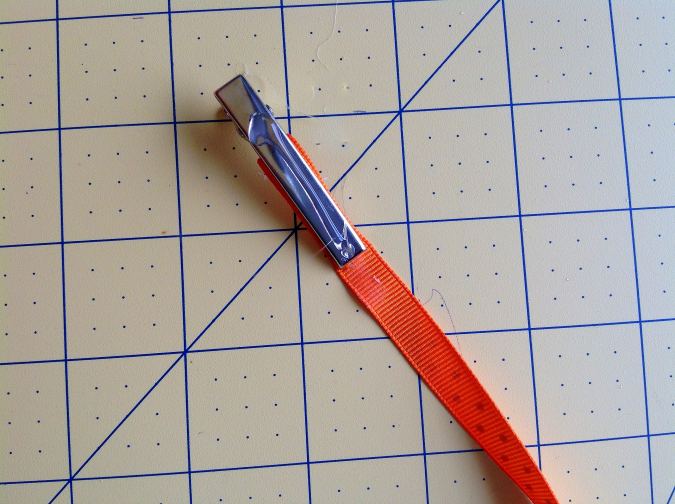
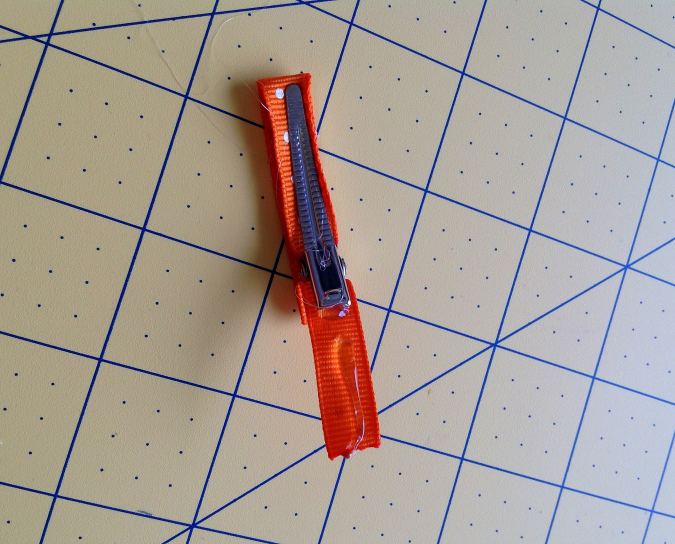
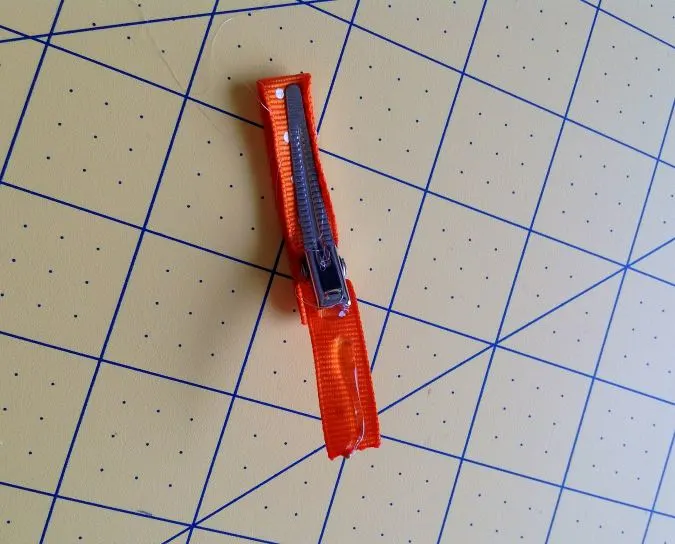
Apply glue to the remaining part of the satin ribbon and glue it to the underside of the clip

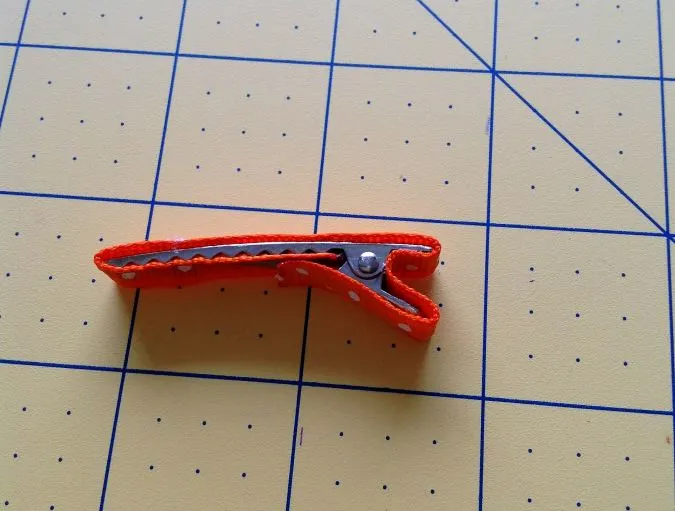
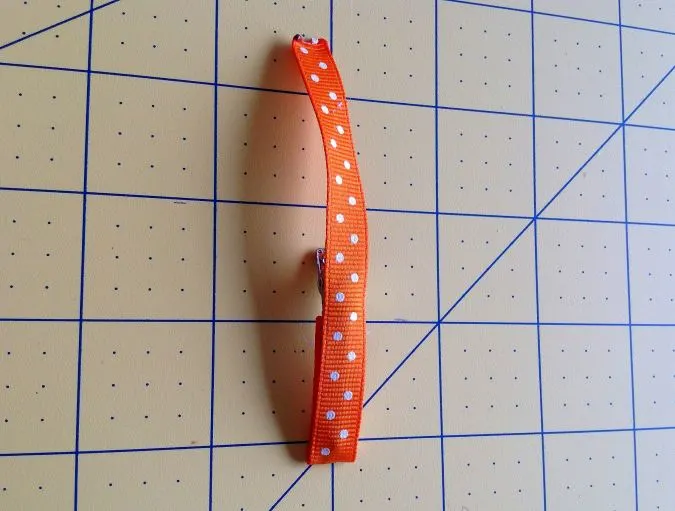
Your Clip is ready!
Have a look at the webstory for the post Make DIY Hair Clips: Easy Way to Line Alligator Clips
For more scrap busting project, visit allfreesewing.
Pin it for later here,