This is the pot holder sewing pattern that you need to make! This pumpkin-shaped potholder is perfect for your Fall kitchen décor and is a great gift idea!
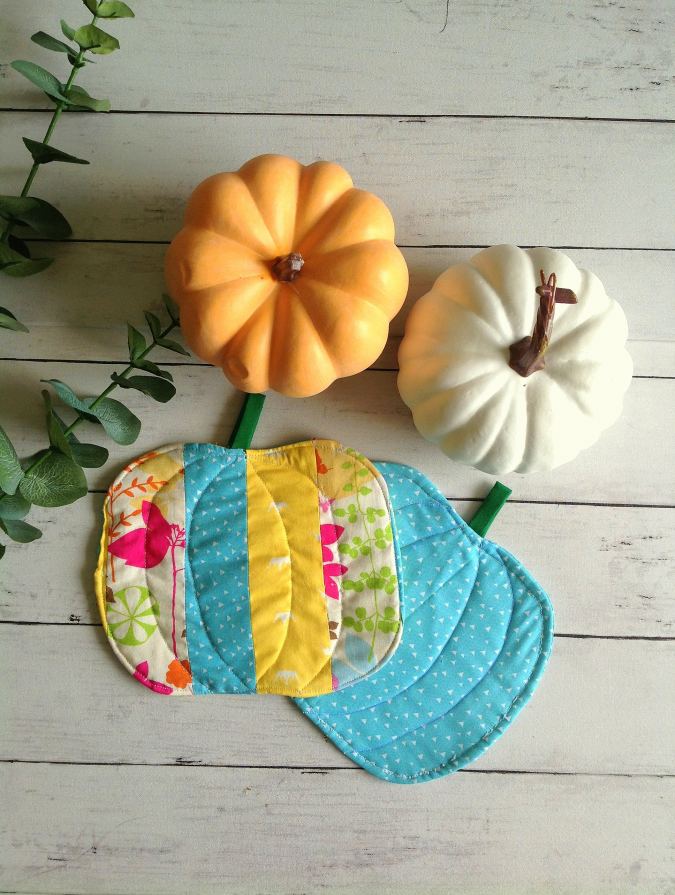

This pot holder sewing pattern would help elevate your kitchen and dining experience and make your everyday chores a little brighter. These rustic eye-catching pumpkin potholders will look great in your kitchen for Fall.

These DIY potholders can be made with two or three layers of cotton batting on the inside and cotton fabric on the outside for maximum heat insulation. The pumpkin stem is made of loops that can also be used for hanging the potholder.
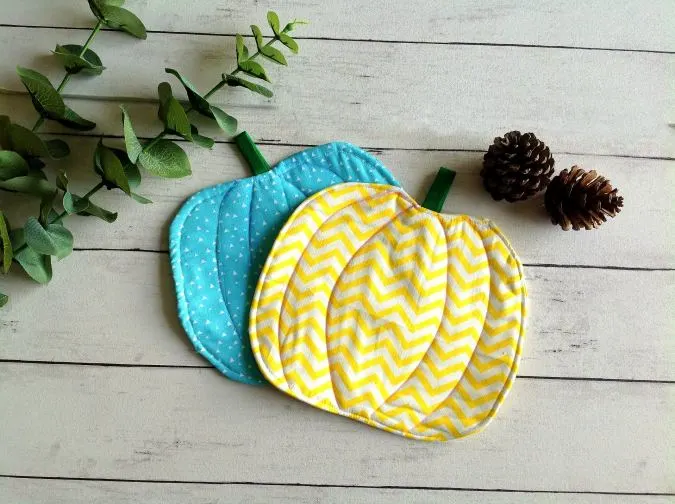
Choose the colors of Fall to match the Fall theme in your kitchen. You can even join your fabric strips together and sew a great-looking potholder!

These potholders can also be used as a hot pad, mug rug, furniture protector, Fall theme kitchen décor, and more. This sewing tutorial on how to sew a potholder comes handy when you intend to make great gifts for anyone who just loves to decorate for Fall
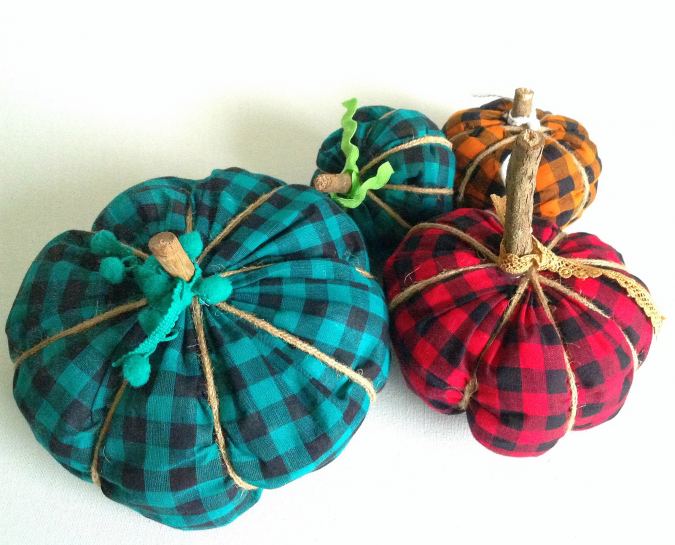
Would you like to see how a plaid fabric pumpkin is made in minutes? Click on the picture below:
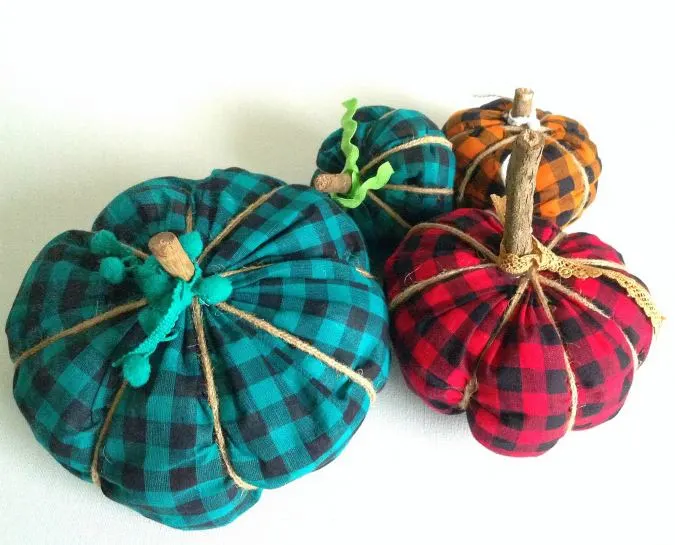
Easy Pumpkin Pot Holder Sewing Pattern
Supplies Needed:
Medium weight cotton fabric for the potholder front and back- 1/4 yard.
A small piece of green cotton fabric for the pumpkin stem.
100% cotton batting- 1/4 yard.
Sewing Notions.
Pumpkin Template.

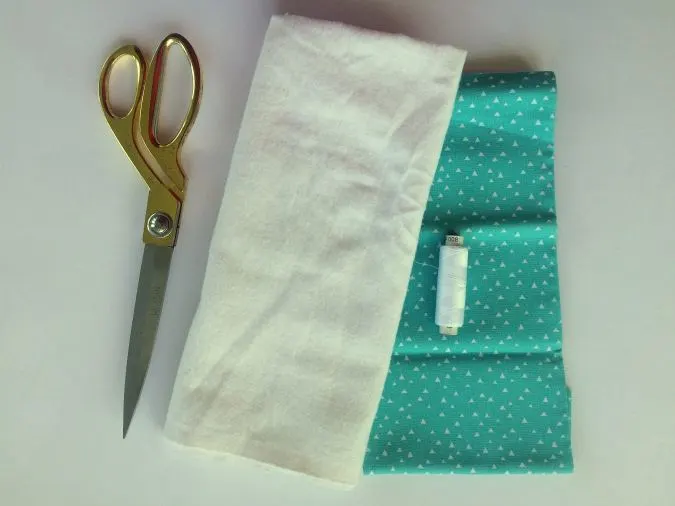
Gather your supplies.
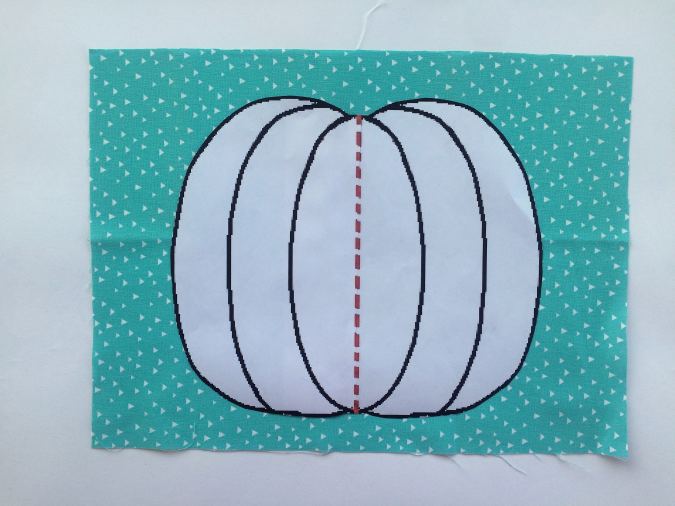
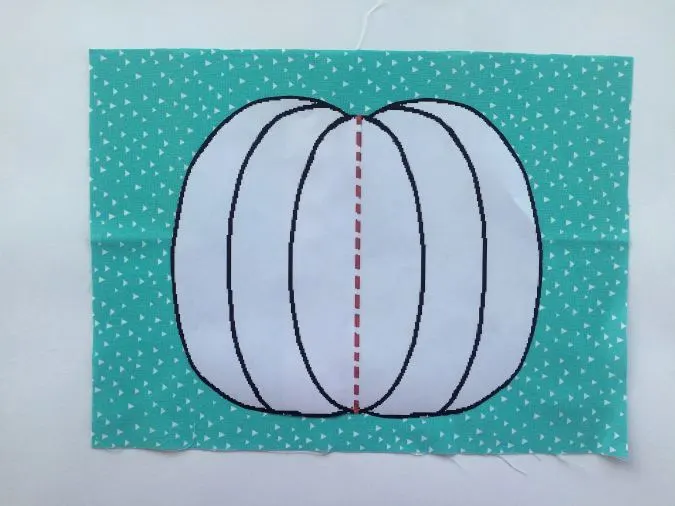
Cut the pumpkin template and place it over the fabric.
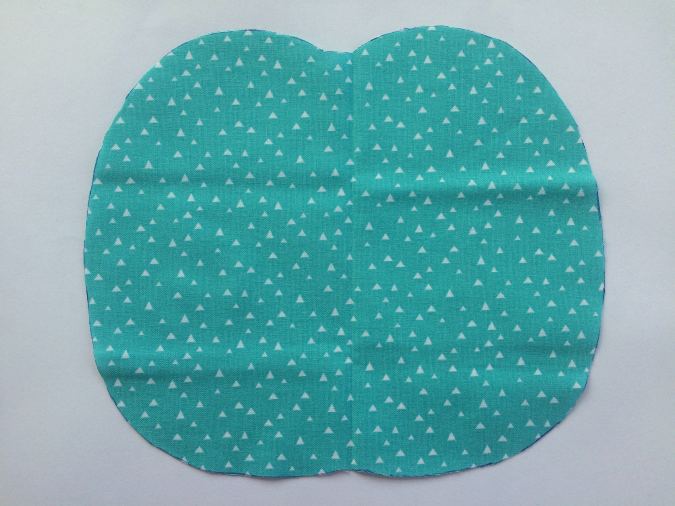
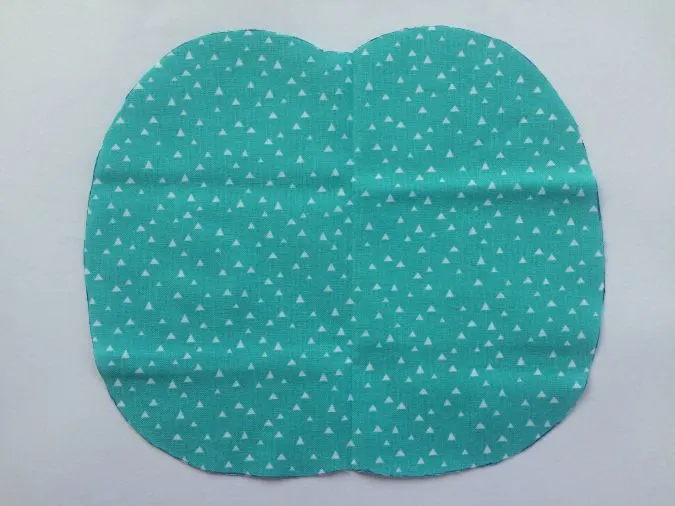
Draw around the fabric and cut to get the front piece of the potholder. Repeat to get the back piece of the potholder. You need to cut two pieces from the batting too.
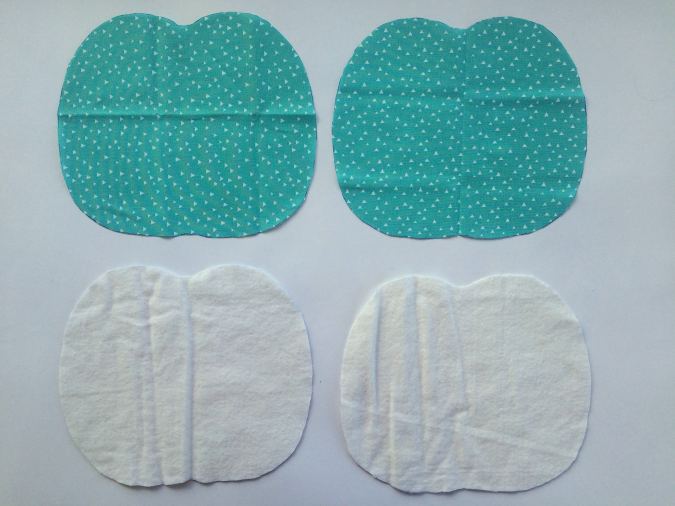
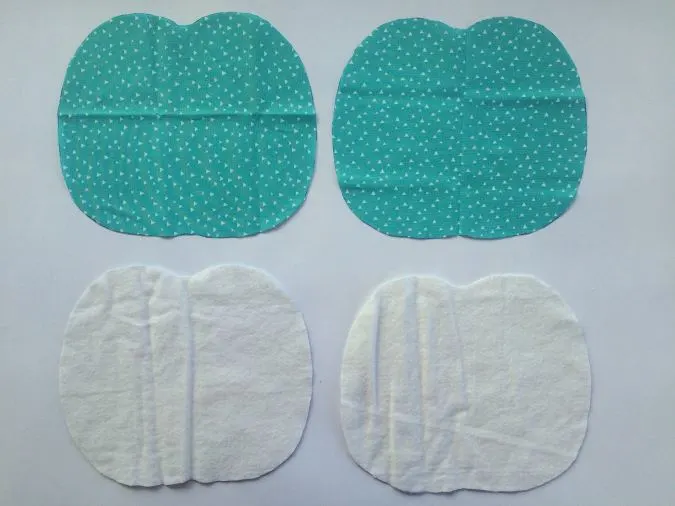
Your pieces would look like this once cut.
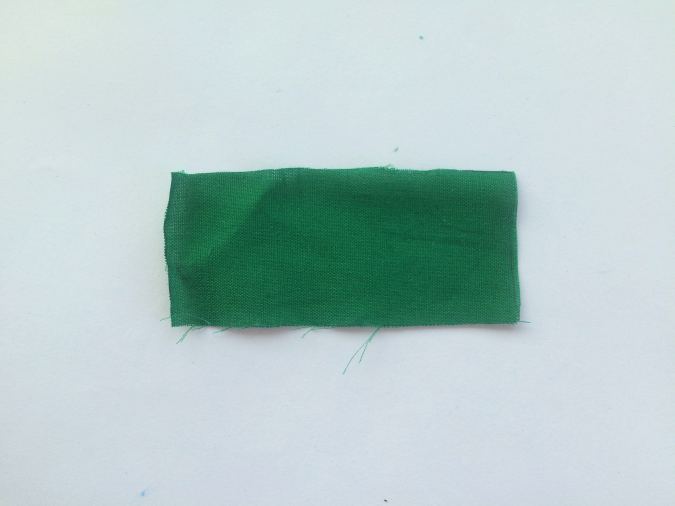
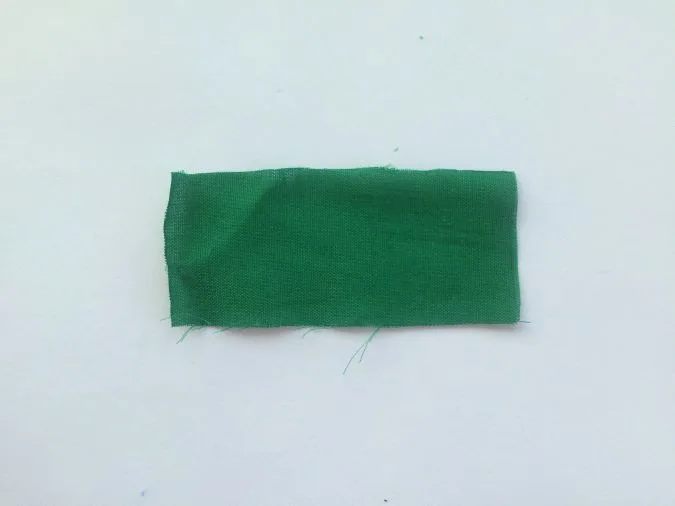
Also cut a 5” x 2” rectangle from your green fabric.
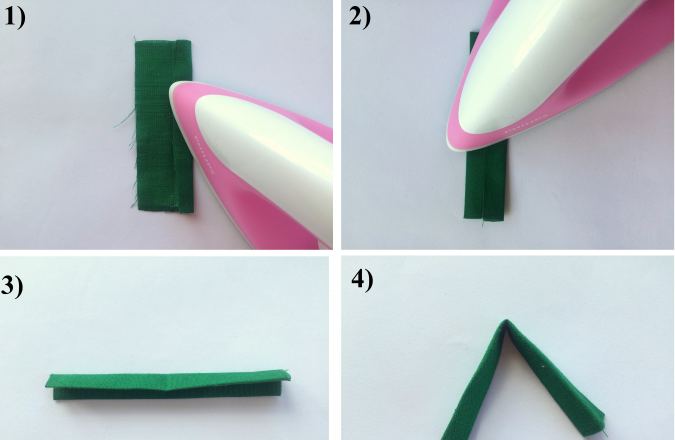
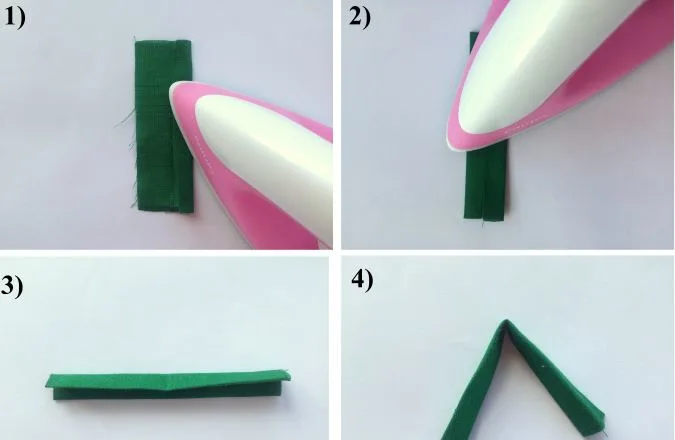
1) Fold one of the long edges of the green fabric piece by 1/2- inch towards the center and press. 2) Fold the other edge by 1/2 inch and press once more. 3) Fold it lengthwise in half once again and press to set. 4) Next, fold it to get two equal halves. Your pumpkin stem is ready.
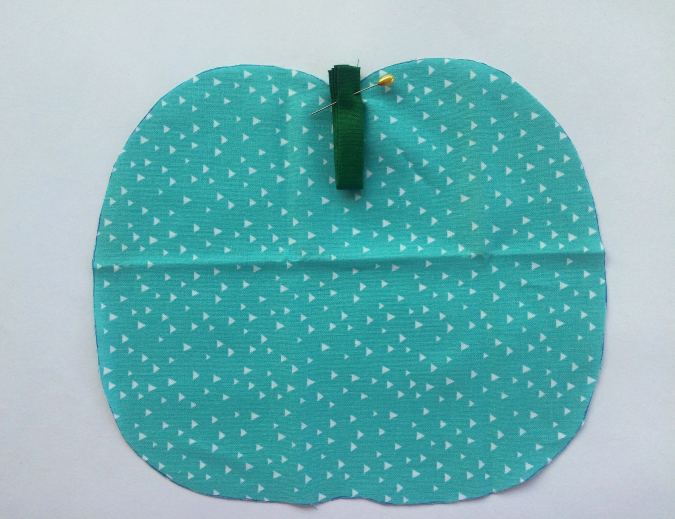

Take one of the pumpkin pieces and pin the stem at the top center, on the right side of the fabric. * Make sure to catch both edges of the loop while you pin.
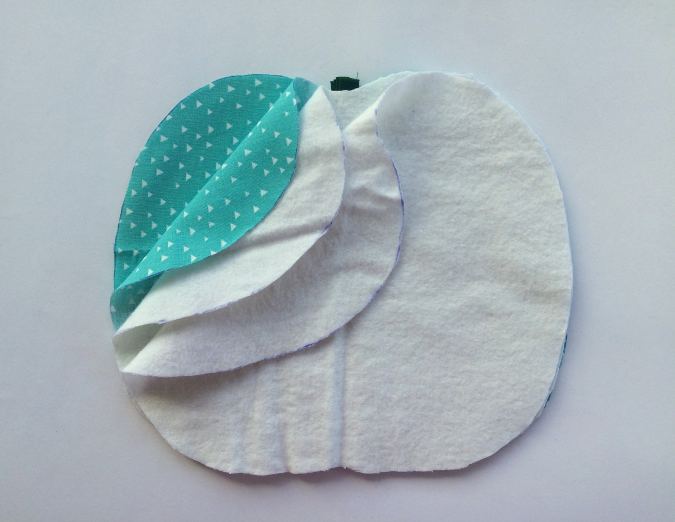

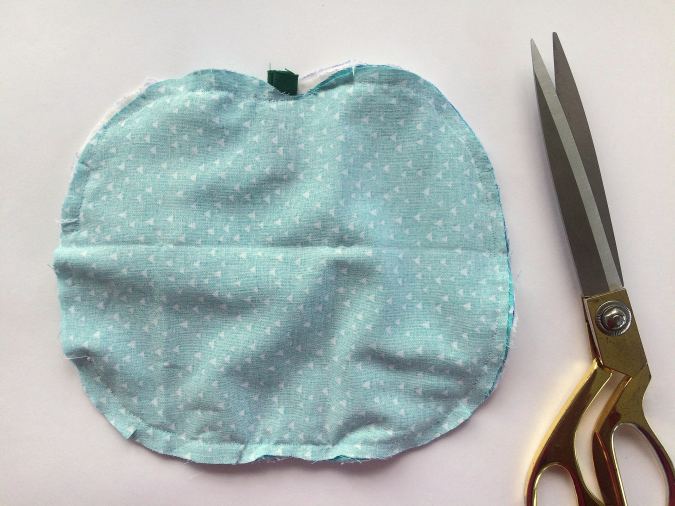
Next, place the potholder back over the front, with the right sides together, followed by the two batting pieces. Make sure that the edges are lined up correctly.
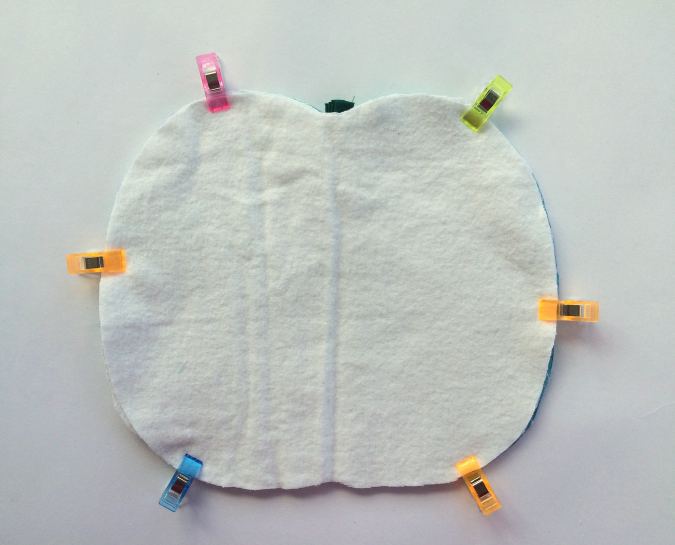

Pin or clip around the edges.

Sew around the edges, leaving a gap of about 2- inches to bring the right side out.
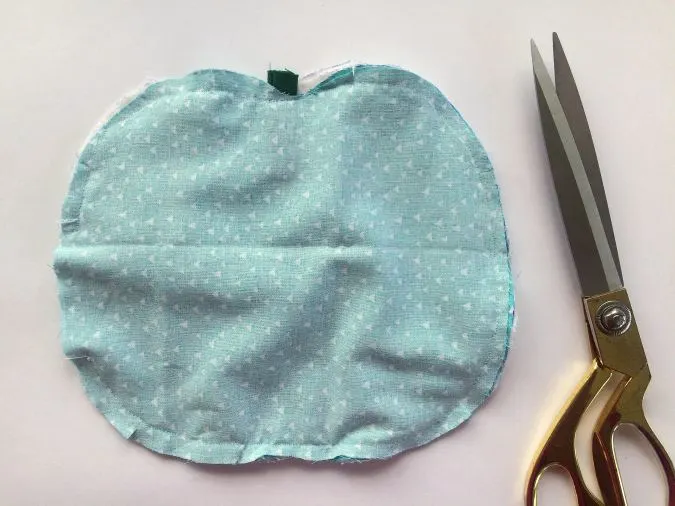
Notch out the curve with the help of your scissors.

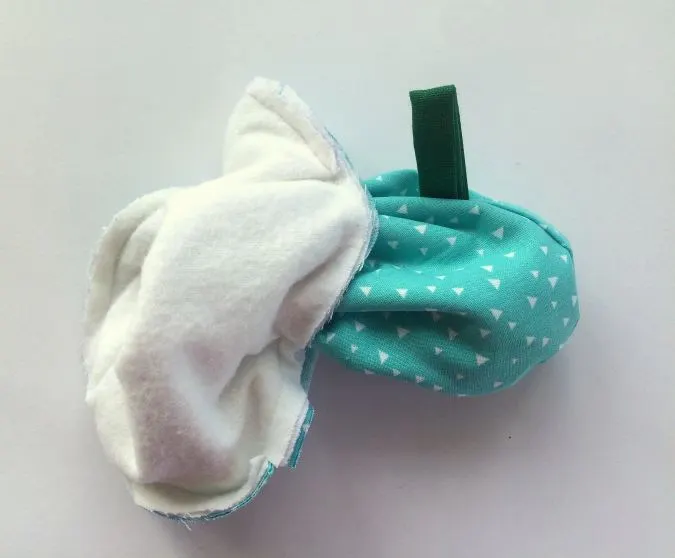
Pull the right side out through the opening.

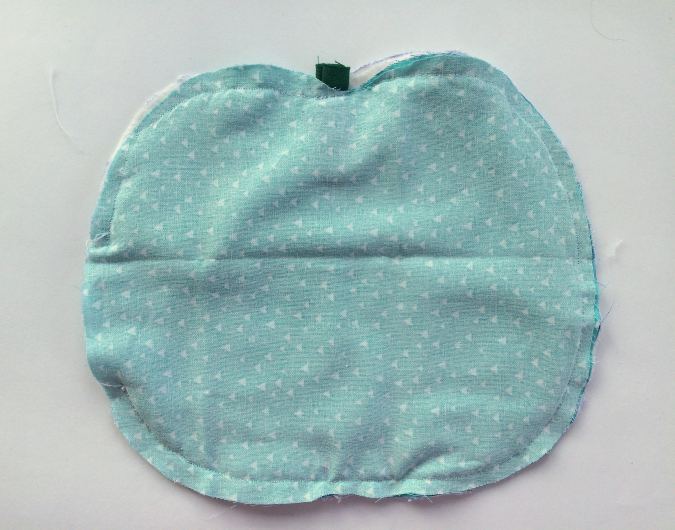
Keep pulling till the whole of the potholder is turned inside-out. Pull out the stem taut and press to make it clean and crisp.

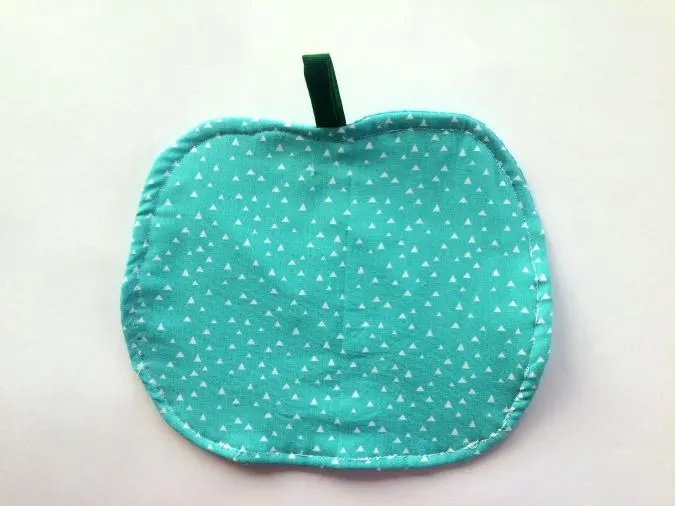
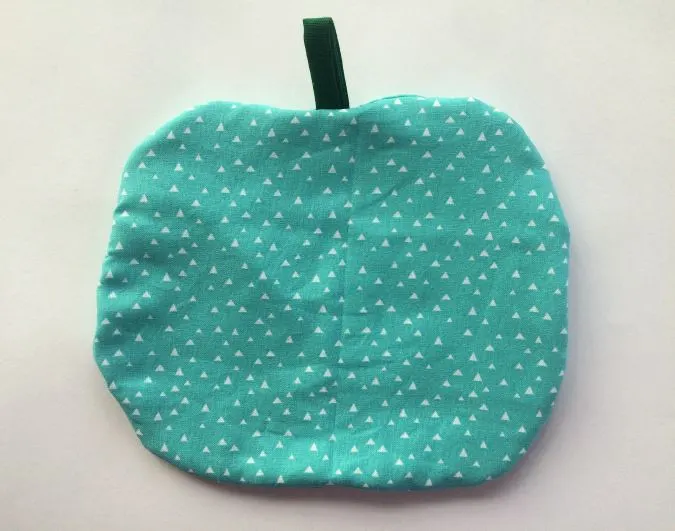
Tuck in the raw edges of the opening and topstitch all around.
Next, we sew over the pumpkin to make the segments.
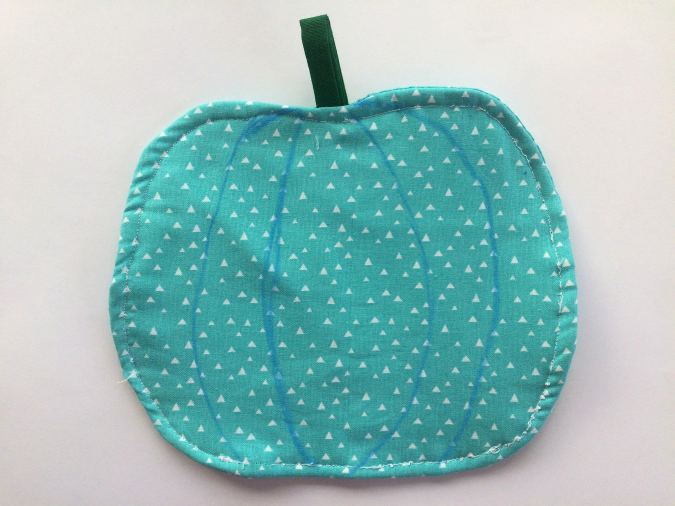

You may either trace the segment lines from the template or draw them yourself.
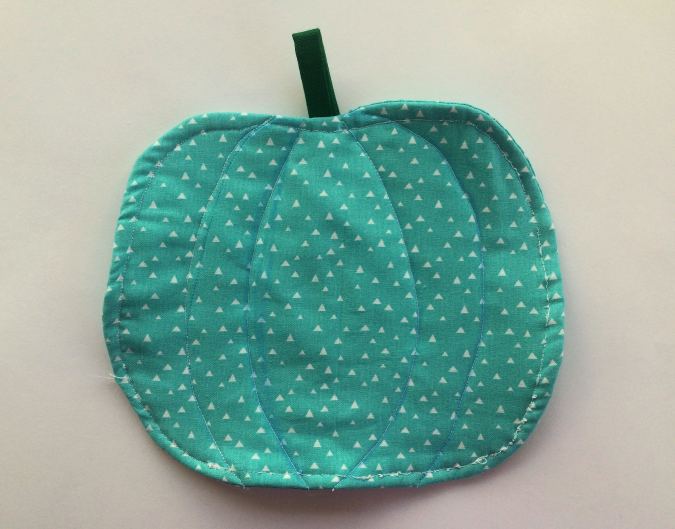
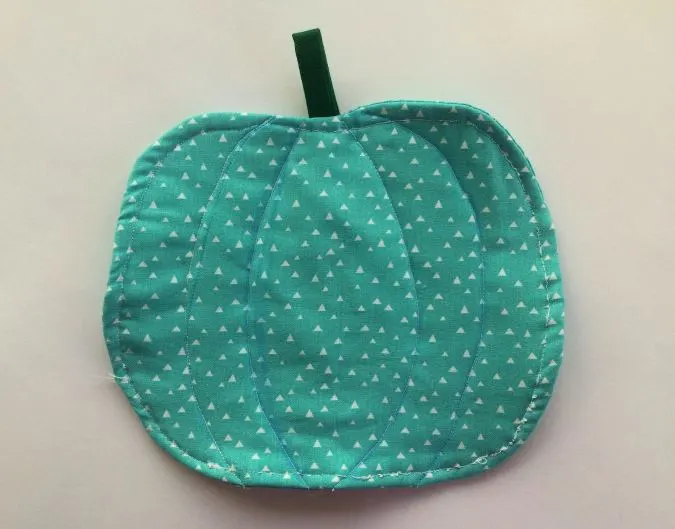
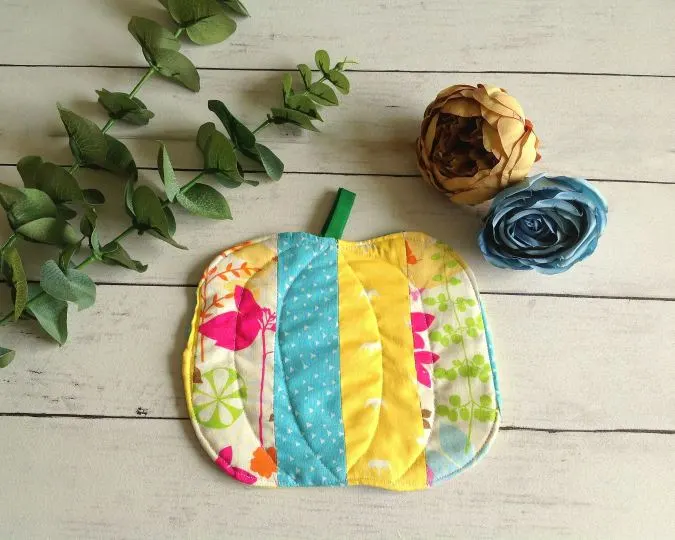
Sew along the lines to mark the segments and your pumpkin potholder is ready for use.
Find the webstory for the post here, DIY Pumpkin Pot Holder Pattern: Beginner Friendly
Pin it for later here,


Watch the video tutorial below:
Jean
Friday 24th of November 2023
So cute and easy.
Erin Hettige
Monday 26th of September 2022
Thank you very much for sharing.
Adetoyinbo Aderonke
Saturday 24th of September 2022
Thanks for sharing your knowledge and skills with me. This so helpful and just easy to make. Keep it up ma'am.
Surayya
Saturday 24th of September 2022
Thank you; I'm happy you enjoyed it!