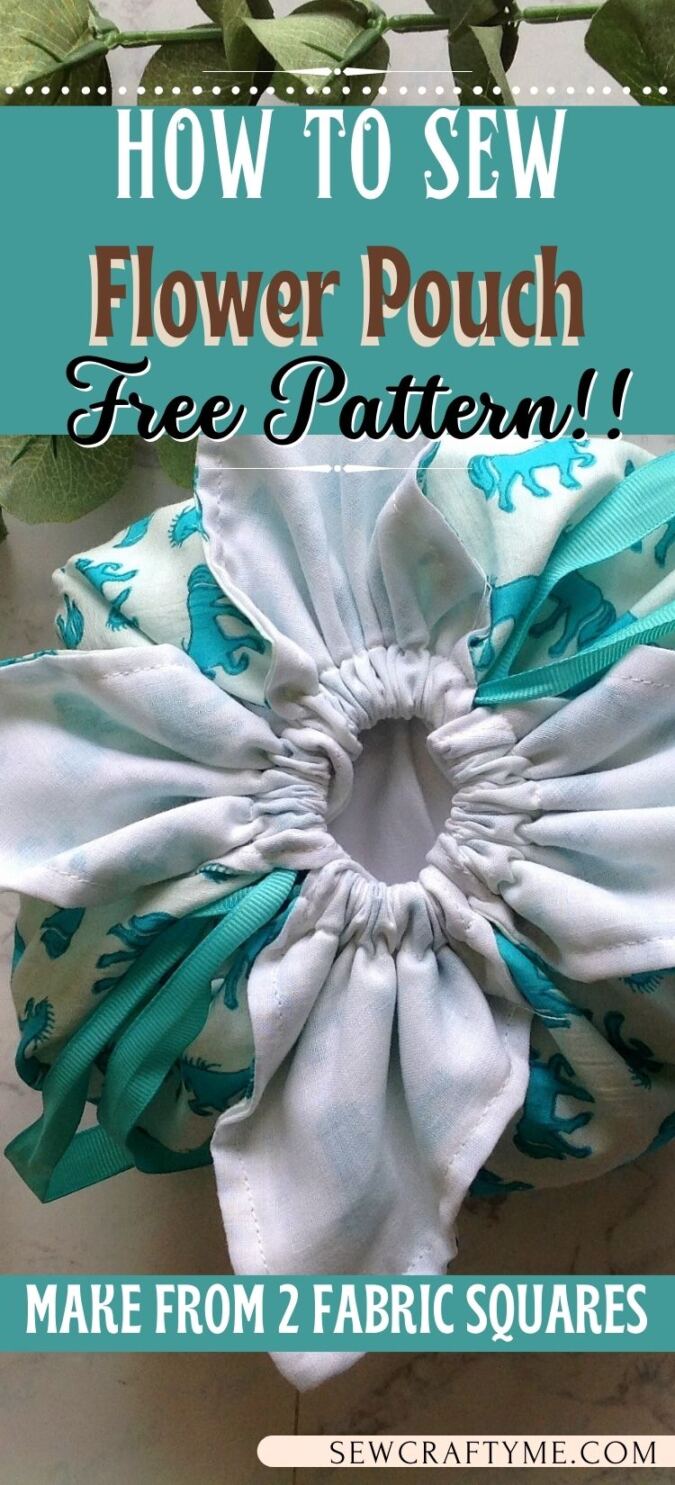
This sewing pattern for a flower drawstring pouch is all you have been looking for to store and carry your makeup supplies easily. This is a simple sewing project, that is perfect for a beginner seamstress.
Do you find it hard organizing, arranging, carrying, and later searching for your makeup supplies when you travel? Well, here is a flower pouch with a drawstring into which you can dump them all together and close them securely by just pulling the cords!

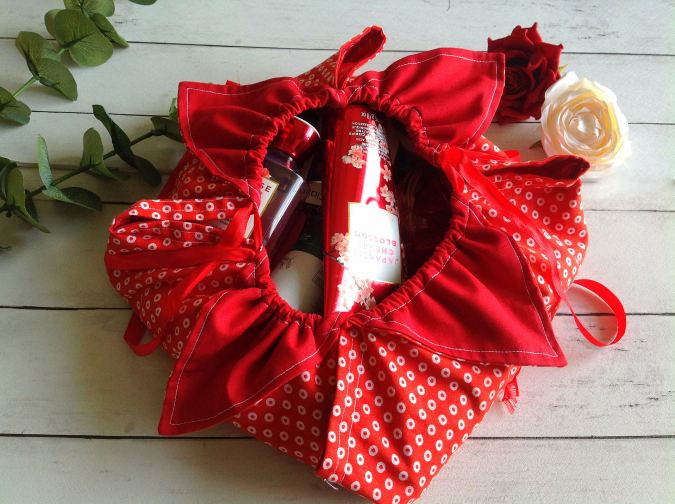
No searching, no hassles; just it push it open and all your supplies would be right there before your eyes.

Can you believe that this flower makeup pouch is made from just two squares of fabric? You read it right, you can make them from just two squares of fabric and a few stitches.

Just learn a few folding techniques, just sew a few stitches and you get this awesome makeup pouch that closes to look like a flower. Isn’t that awesome?
Sewing Pattern for a Drawstring Make-Up Pouch
Supplies Needed:
Medium-weight cotton fabric for the bag outer- 2/3 yard
Medium-weight cotton fabric for the bag lining- 2/3 yard
1/2- inch satin ribbon- 56- inches
Sewing Notions
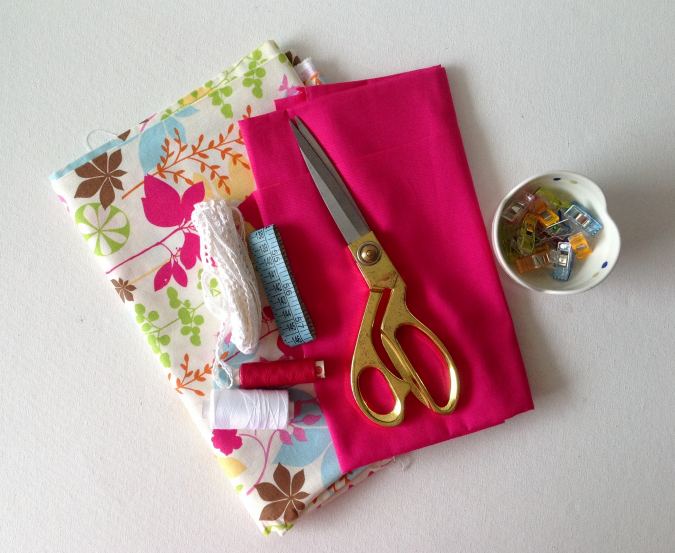

Gather your supplies.

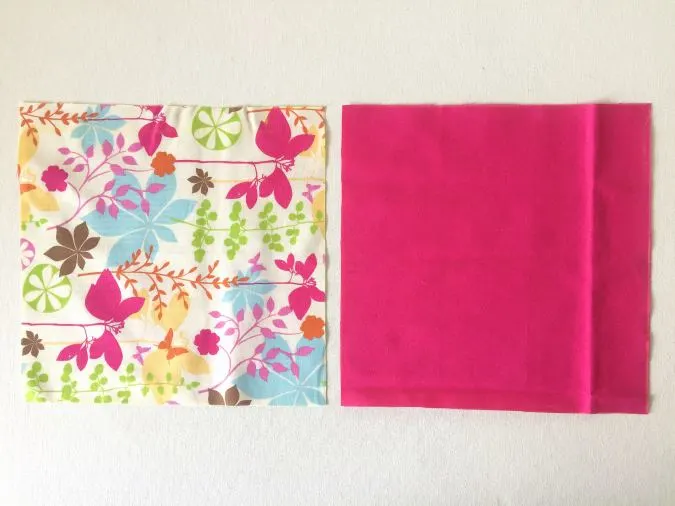
Cut 21.75” x 21.75’ squares from the outer and lining pieces.
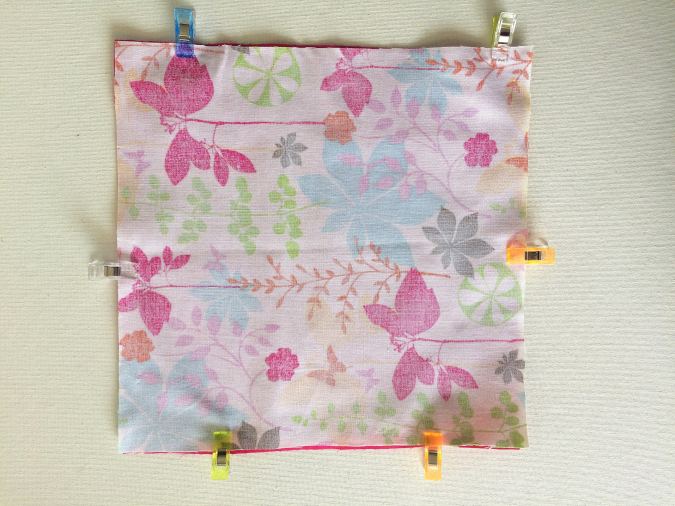
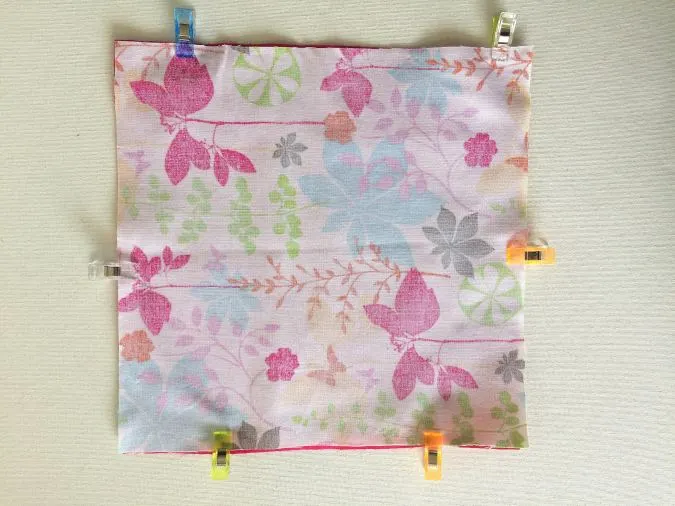
Layer the bag outer and lining pieces, with the right sides touching and lining up the edge. Pin or clip all around.
Using a seam allowance of 3/8-inch, sew around the edges. Leave a gap of 3- inches to turn the right side out.
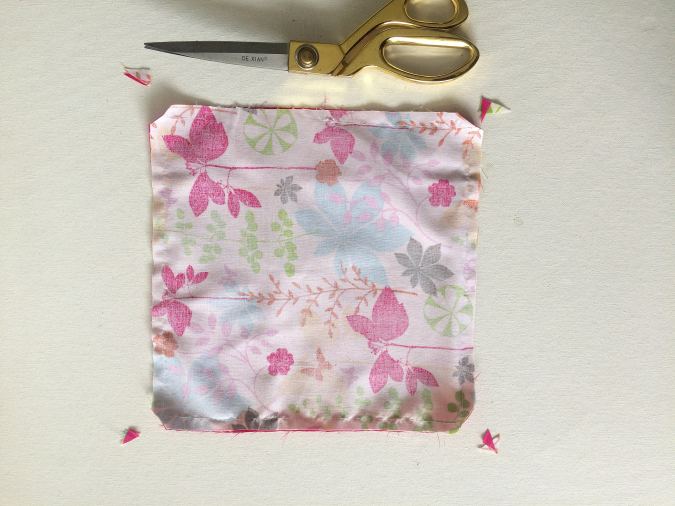
Cut the corners to reduce the bulk in the seam.
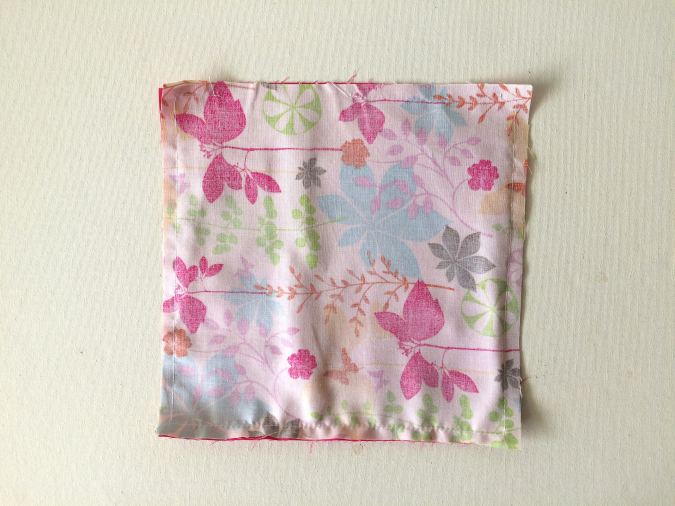
Bring the right side out through the opening.
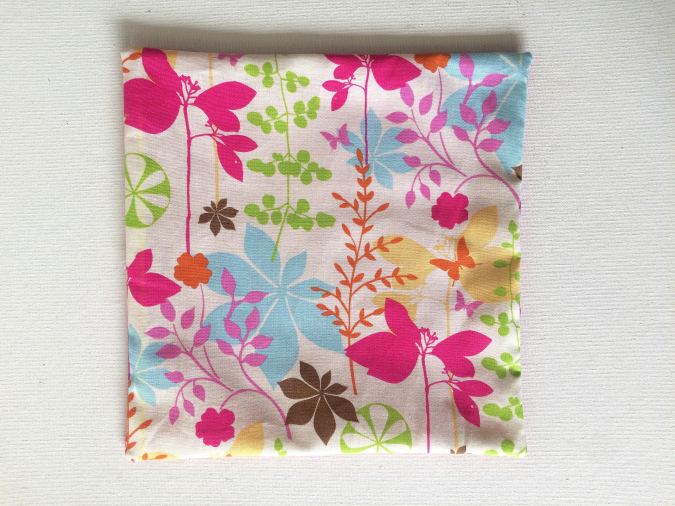

It would look like this.
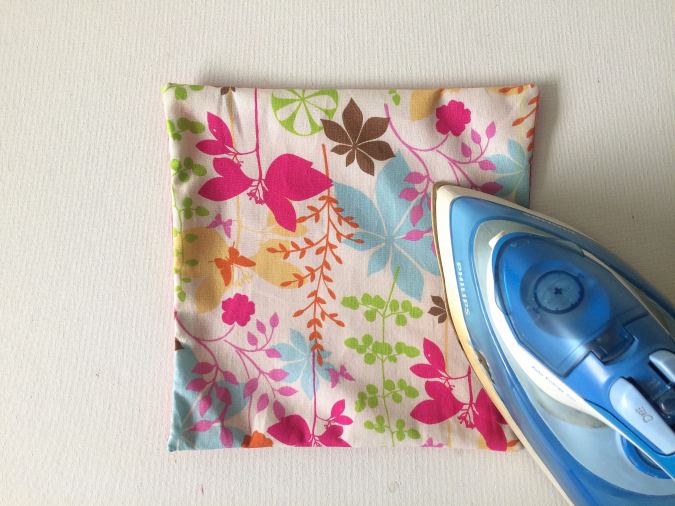
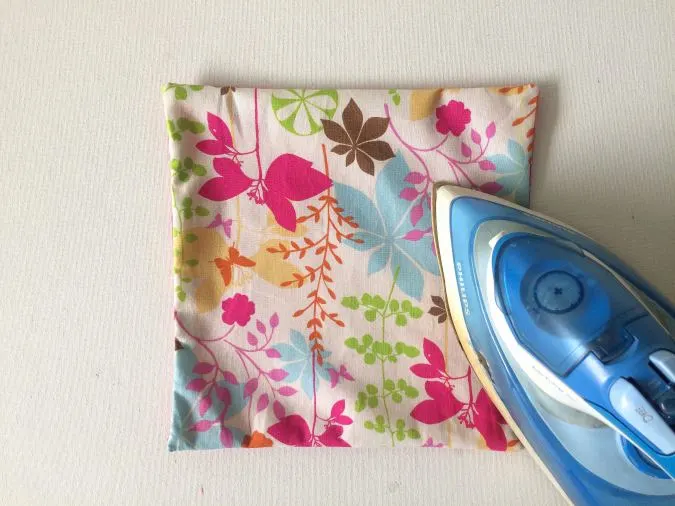
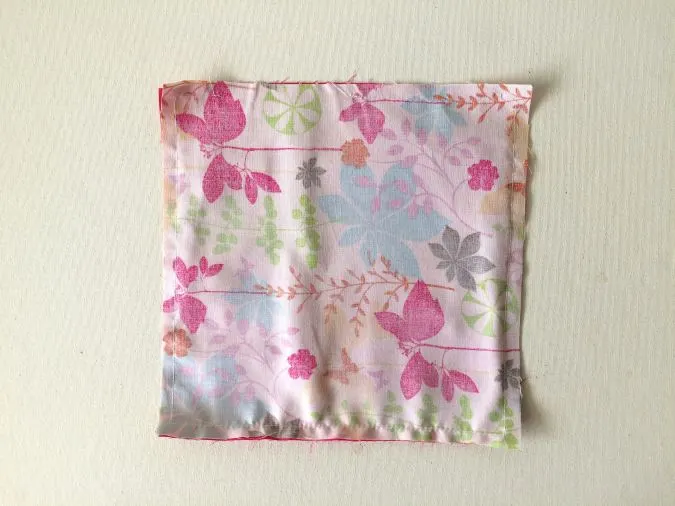
Tuck the raw edges in and press to make it neat and crisp.
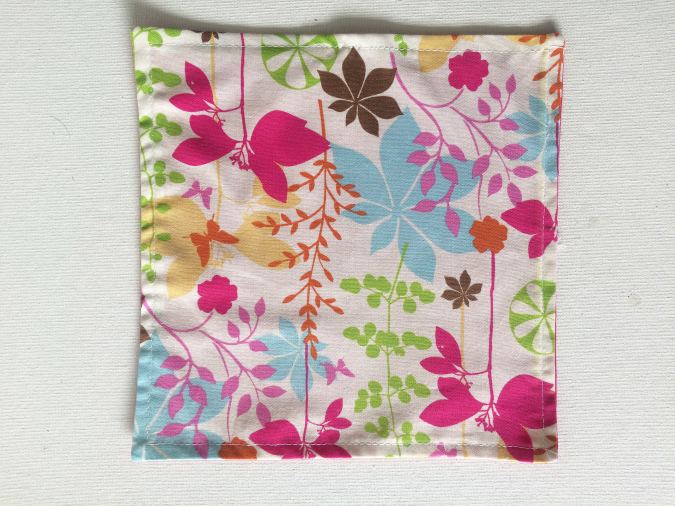
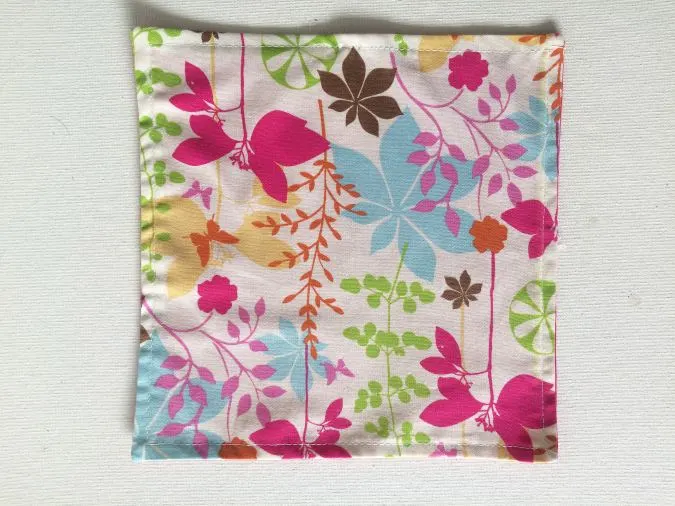
Topstitch around the edges.
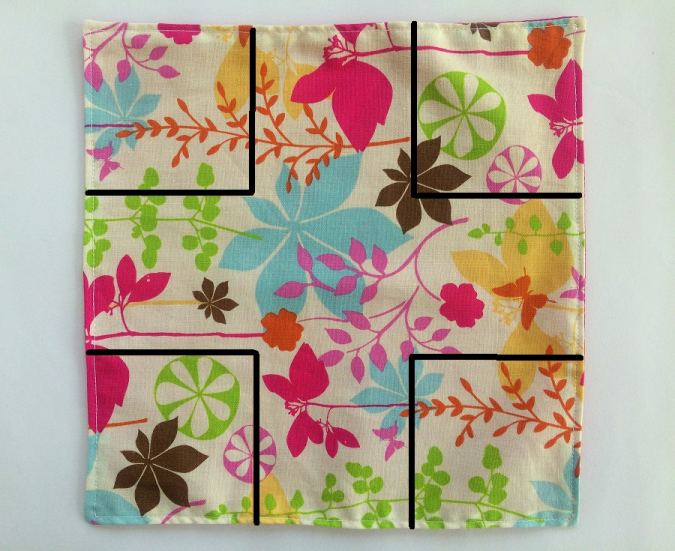

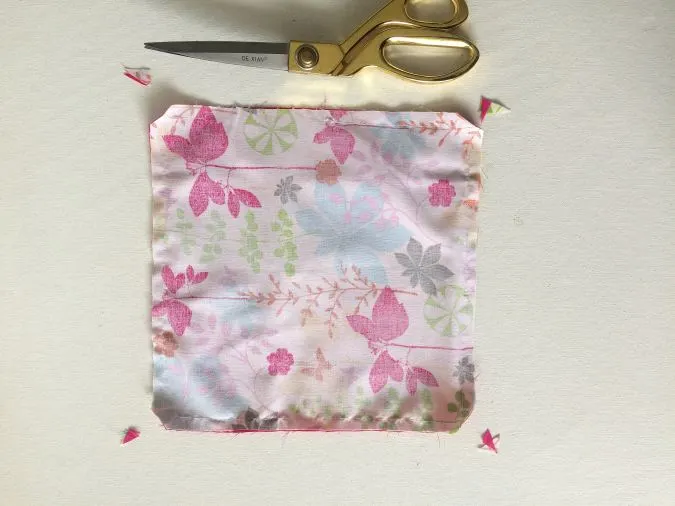
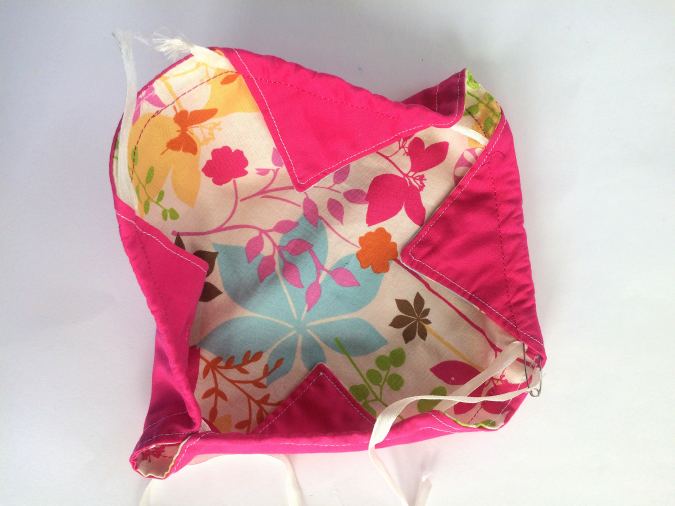
Mark 7- inch squares on all four corners as shown above.
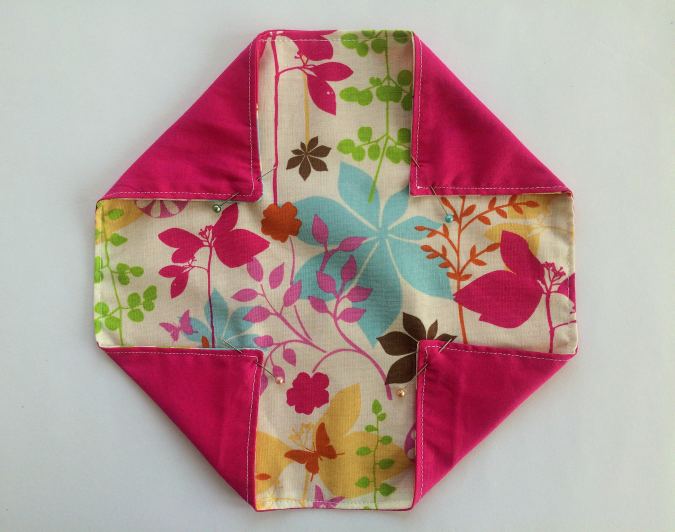

Fold the corner inwards, along the diagonal of the marked square, and pin to secure the fold.
Repeat on all 4 corners.
Next, we make the casing for the ribbon drawstring.
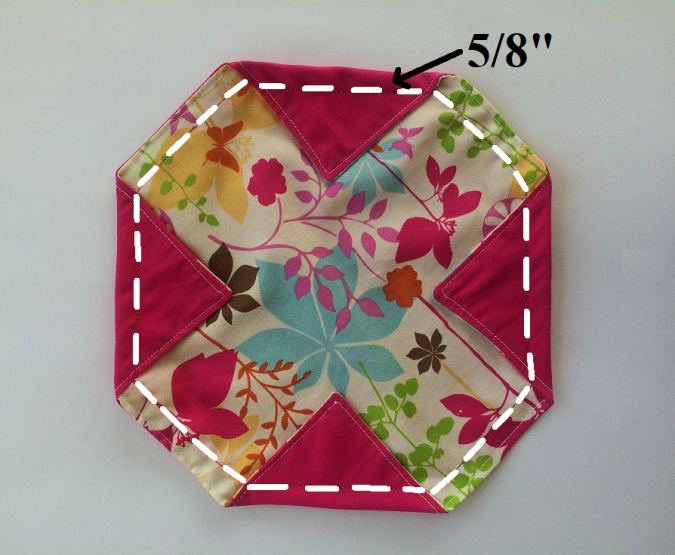

Sew all around, leaving 5/8- inch from the edges.
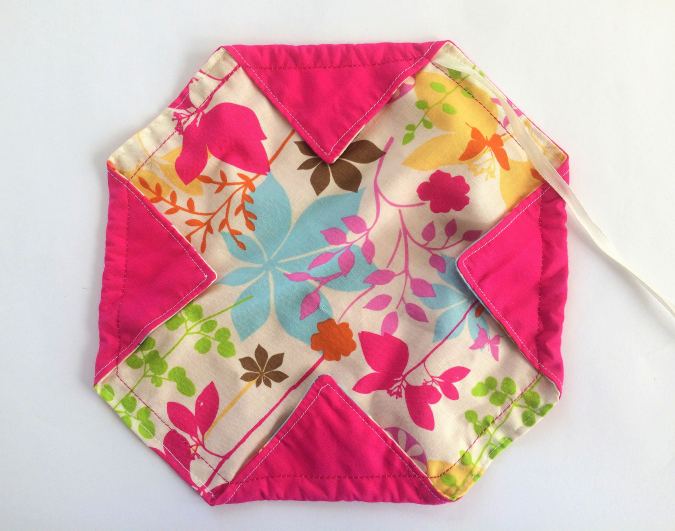

Cut the satin ribbon into 2 equal pieces. Take one of the pieces and start inserting it through one of the casings.

Continue inserting through all 4 casings till the ribbon comes out to meet the other end.
Next, we insert the other ribbon piece.

Take the next ribbon piece and insert it through the casing, opposite to where you had started earlier. Continue inserting it through the rest of the casings till it reaches where you have started.
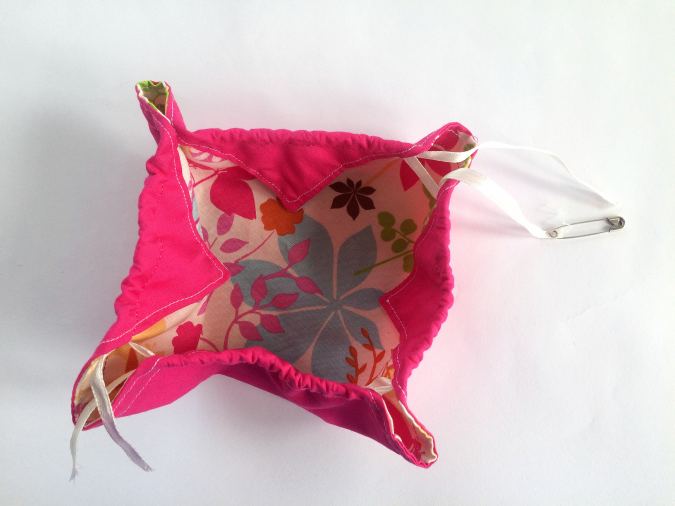

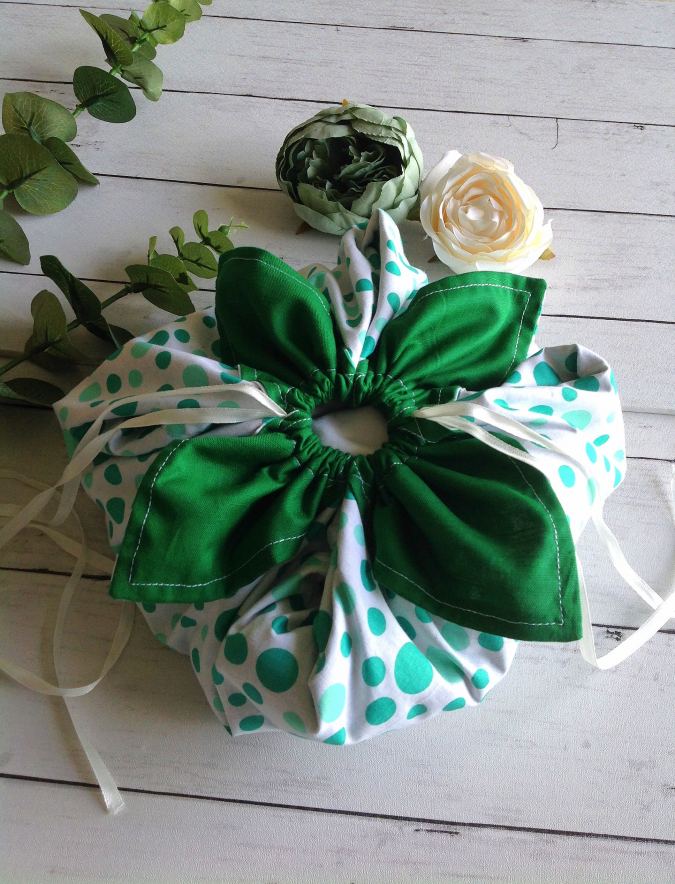
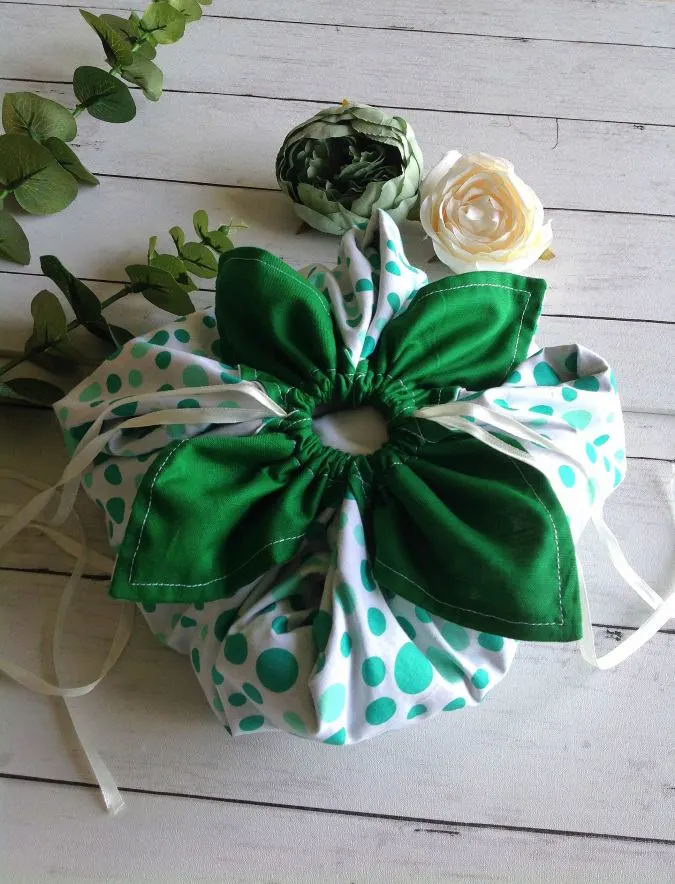
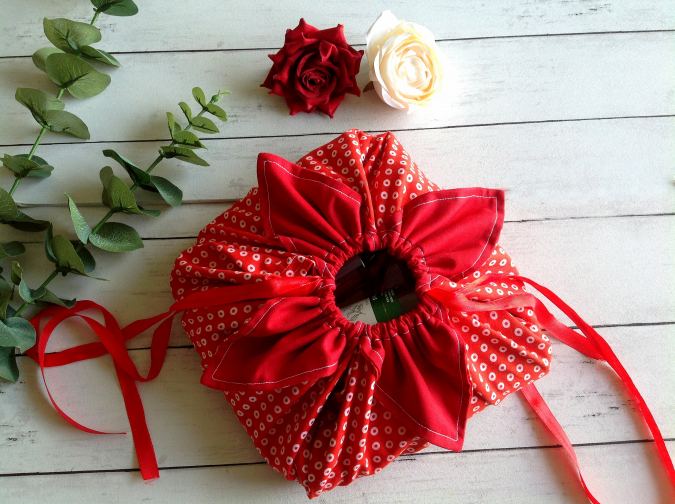
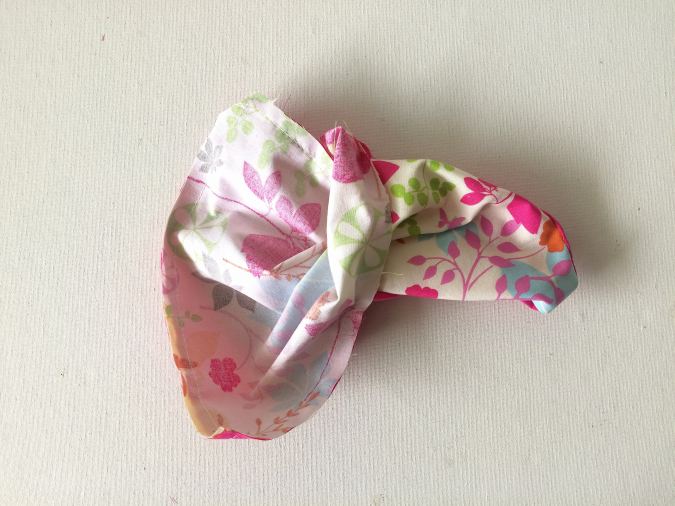
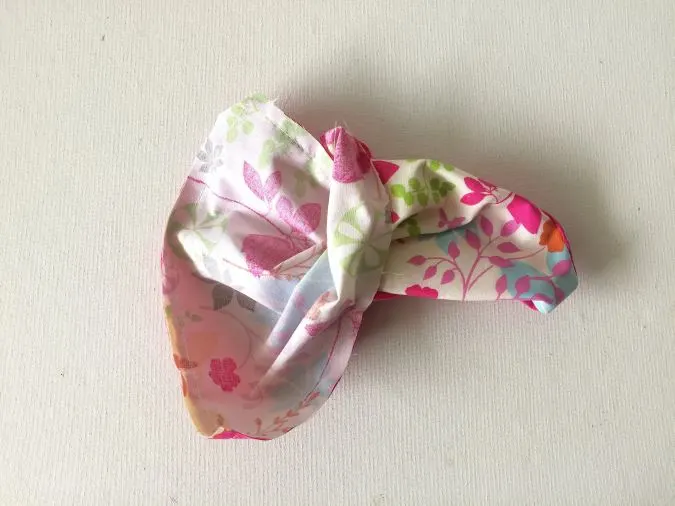
This is how it would look once done.
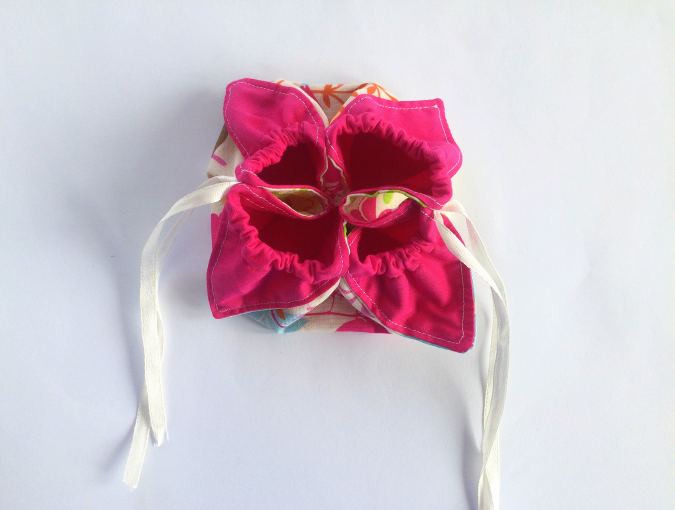

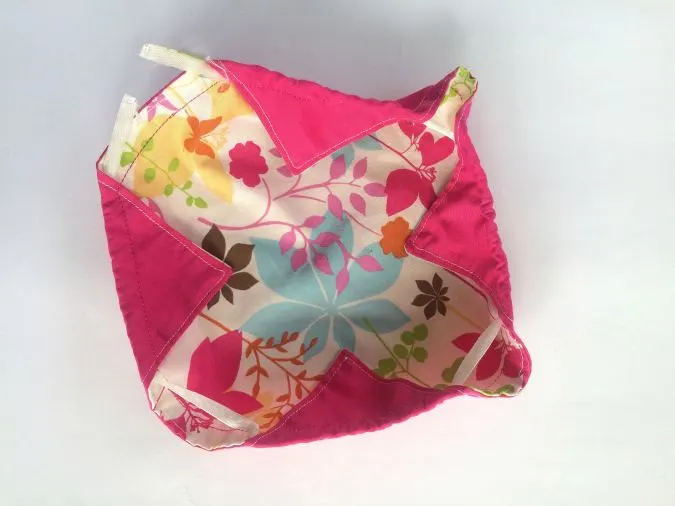
Pull the drawstring on both sides and your makeup pouch closes like a flower!
Find the webstory for the post here, Simple Drawstring Pouch Pattern for Make-Up
Pin it for later here,
Farah
Thursday 16th of January 2025
I love this project.
Lesley
Sunday 21st of July 2024
Just made one - easy and cute!! But I can’t get mine to completely close when i pull the strings.
Melanie
Wednesday 29th of November 2023
I have to make this!
HULDA
Thursday 20th of October 2022
love this pattern