I’ve released a bunch of summer patterns for kids, but it’s time to switch things up for winter! So far, I’ve only shared beanies, berets, scarves, and blankets. But I think it’s time for something new: a unisex kids’ coat pattern.

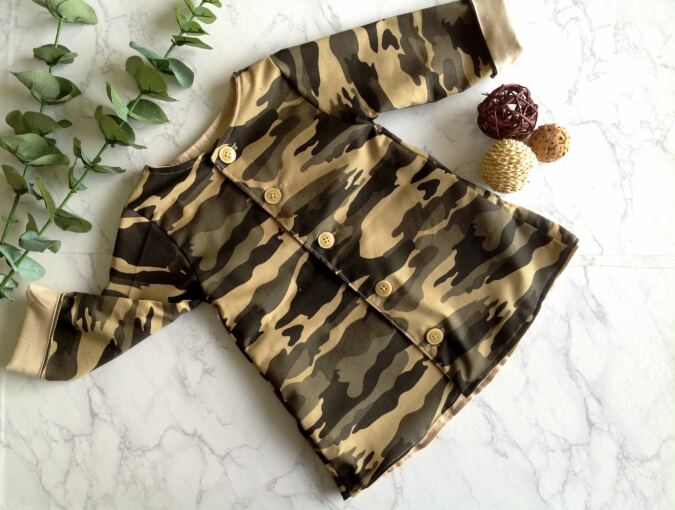

This coat design is super versatile, so you can choose any fabric you like to make it perfect for different seasons. And if you’ve sewn my girls’ dresses with sleeves, you’ll find this coat pattern a breeze.


Join me as I guide you through the process of sewing this versatile kids’ coat pattern, available in sizes 1 to 10. Let’s create a cozy and stylish piece together!
Easy Kid’s Coat Sewing Pattern
Materials Required:
1) Heavy- weight cotton, flannel or fleece fabric for the coat outer- requirement specified in the table-2 below.
2) Medium- weight cotton fabric in a coordinating colour and print for the coat lining- requirement specified in the table-2 below.
3) Ornamental 1-inch wooden or plastic buttons- 2 to 3 numbers (Optionally you may used fabric covered buttons or KAM snaps).
4) Sewing Notions.
5) Pattern Tempate. * Enter your e-mail address and click the subscribe button to download the template automatically.
*****Pinch to zoom the tables
Finished Measurements:
Table-1


The fabrics shown here are only for illustration purposes and as such may vary from the original.
The seam allowance is 3/8-inch unless otherwise specified.
I suggest you read the entire pattern once before starting to get a general idea.
All seams are to be finished by zigzag or serger.
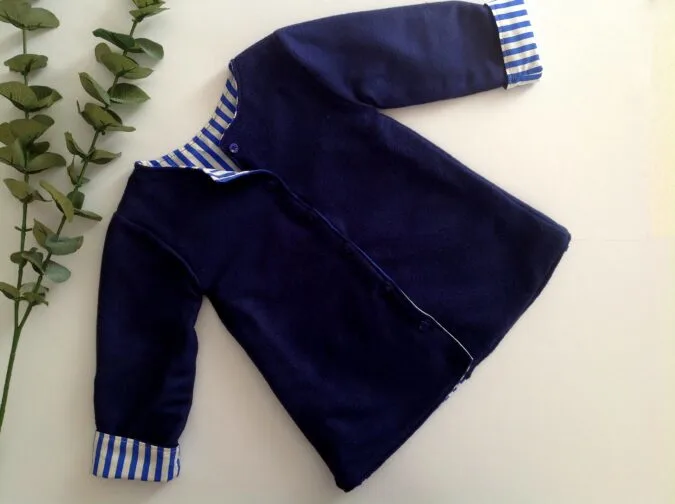
Choose a contrasting and bright fabric for the lining since the cuff, pockets and ruffle are done with the lining fabric.
All seams are to be pressed flat.
Fabric Requirements:
Table-2


Gather the supplies.


Cut the coat front pattern template according to the required size. Fold the fabric to fit the width of the template and keep it along the edge as shown above. Mark it and cut it out. You get your coat front pieces.


Next, cut the back pattern template, fold the fabric to fit the width of the template and keep it on the fold as shown above. Mark it and cut it out. You get your back piece.
Let’s move on to the sleeve.


Cut the pattern template for the sleeve, fold the fabric to fit the width of the template and keep it along the fold as shown above. Mark and cut the sleeve piece. Repeat the steps to get one more of the same piece.


You will get your bodice pieces and sleeve pieces like this.


Repeat the steps on the lining fabric to get the bodice and sleeve pieces for the lining.
Let’s put the coat outer pieces together.


Keep the front pieces over the back piece, with the right sides together and aligning the shoulders and edges. Sew along the shoulders as marked by the lines above.


Press the seams open.
Let’s attach the sleeve.


We need to mark the center of the sleeve. Fold it in half lengthwise, aligning the edges and make a small notch at the midpoint of the curved edge (picture for illustration purposes).


Next, place the sleeve on the bodice with the right sides together and aligning the center notch of the sleeve with the shoulder seam as shown above.


Pin the entire curved edge of the sleeve along the armhole, starting from the center.


Sew the sleeve to the bodice, removing the pins as you go. Repeat the steps on the other armhole and sleeve.


Align the edges of the sleeve together and the side seams together. Sew the coat shut starting from the lower edge of the sleeve to the armhole and down the side seams as marked above.


Put the lining pieces together in a similar manner.


Fold the lower edge of the coat outer and lining towards the wrong side by ½- inch and press.
Let’s sew the coat outer and lining together.


Place the coat outer on its wrong side and the lining on its right side.


Keep the lining inside the outer coat such that the right sides are together.
Insert the lining sleeves inside the sleeve of the outer coat. Align the neckline and the front edges together and pin.


Sew along the neckline and the two front edges as pinned.


Line up, pin and sew the lower edges of the coat outer and lining together, keeping the folds intact and leaving 6 to 7- inches to pull the right side out.


It would look like this.


Clip the corners and make small notches along the neckline to reduce the bulk in the seam. Be careful not to cut through the stitches.


Slip your hand through the opening and pull the right side of the coat out.


It would look like this, with the sleeves of the outer and lining separate.


Push the lining sleeves into the sleeve of the coat outer. Poke out the edges and corners with the tip of your scissors. Press the edges and the neck taut.


Topstitch along the neckline and the front edges to make it neat and crisp. Tuck- in the raw edges and topstitch around the lower edge too.
We move on to the sleeves.


Fold the lower edges of the sleeves of the outer and lining by ½- inch towards the wrong side and press.


It should be like this.


Sew the sleeve shut, aligning the edges together (picture for illustration purposes).


You may turn the lower edge of the sleeve up by about 1 & ½” (or more) if required to expose the lining fabric and form a cuff.
Next we do the button holes and sew on the buttons.


A quarter inch down from the top edge, make markings equidistant from each other on the left front piece for the buttonholes. Make complementary markings on the other (right) front piece also for the buttons. Sew the buttonholes following the instructions on your sewing machine. Note that buttons of 1 to 1.5 inch width look best on coats. Sew the buttons onto the right side where the markings are done.


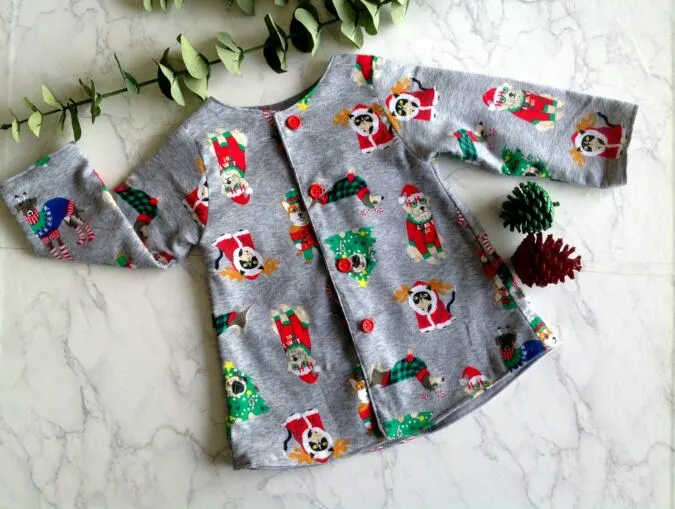
Your coat is ready!
Find the webstory for the post here; Beginner Friendly: Easy Peasy Kid’s Coat Pattern
Pin it for later here,