

Do you have little kids or teenagers at home? Then, definitely you have a lot of little things to tidy up and organize. These DIY fabric baskets are a great way to quickly clear away the clutter. You can quickly dump the items in the basket and clear the space.


Or if you are a crafter, chances are that you have a lot of little things on your table, and arranging those little things is necessary to tidy up your craft room and to organize and do your work quickly.
In that case, you definitely need a lot of organizers, both wall hanging and tabletop.
These storage baskets are great to store your spools of thread, your tiny scraps, and a lot of other things. They can be made in different colors and sizes to suit your requirements.


You can also use these DIY reversible fabric baskets to store your other household items. They are so easy that you can make a number of them in one go.


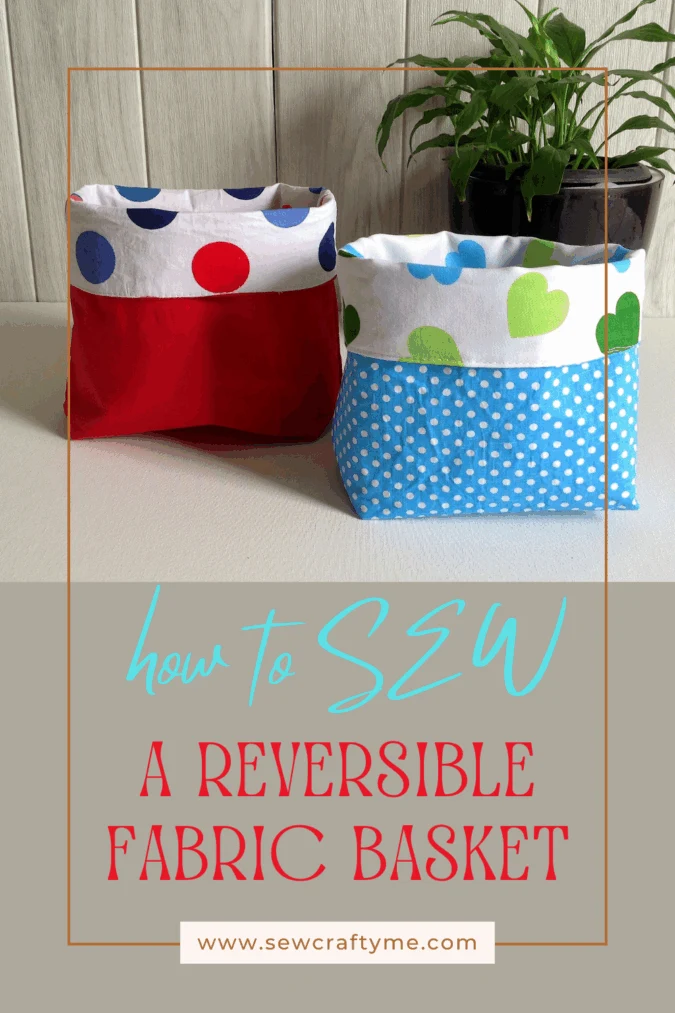
These DIY fabric storage baskets are cute and useful. They are easy to sew and are reversible too! Turn the basket inside- out and you have a totally different one!
If you would like to make a quick wall organizer with embroidery hoops, click here:


DIY Reversible Fabric Baskets
Medium- weight cotton fabric for the basket outer- 1/3 yard.
Medium- weight cotton fabric for the basket lining- 1/3 yard.
Medium- weight fusible interfacing- 1/3 yard (you may use heavyweight fusible interfacing if you need a sturdier basket.
Sewing notions.


Gather your supplies.
Cutting dimensions:
Cut 2 pieces, 10-inches wide and 10- inches long from the outer fabric.
Cut 2 pieces, again 10- inches long and 10- inches wide from the lining fabric.
Cut two interfacing pieces, with the same dimensions as the above.
- Your finished basket will be approximately 8- inches tall before folding. Change the dimensions if you need a smaller or larger one.


Cut your fabric and interfacing pieces according to the dimensions given above.


Fuse the interfacing pieces to the wrong side of the outer basket pieces, following the manufacturer’s instructions.


Layer the two outer pieces with the right sides together. Pin the edges, leaving the top edge open. Sew along the pinned edges.


Repeat the steps with the two basket lining pieces.


Next, align the side seam with the bottom seam of the basket and sew a line 2” from the corner as shown above. Make sure to reinforce the stitches at the start and finish.


Repeat the steps on the other corner. The wrong side of your basket would look like this. You can see that the bottom of the basket is now boxed.


Trim the seam at the corner to 3/8- inch.
Repeat the steps with the lining.


Keep the basket outer on its right side and flip the lining over to its wrong side. Slide the outer into the lining, keeping the side edges in line.


Align the top raw edges together and pin.


Sew the pinned edges together, leaving an opening of about 2- inches to turn the right side out.


Pull the basket outer through the opening.


Keep pulling till the whole of the basket outer is brought out.


Push the outer into the lining.


Press the top edge to make it neat and crisp (picture for illustration purpose).


Topstitch along the top edge to make it neat and to close the opening.


Fold the upper edge by 2- inches and your basket is ready!
Pin it for later here,

Have a look at the webstory for the post here, Whip Up Reversible Storage Baskets: A Simple Sewing Tutorial
For more of my free patterns, click here.
For hundreds of free patterns and DIYs, visit allfreesewing.com.
Paula
Wednesday 1st of November 2023
I've made different sizes of these.
Uses: ~ I roll up wash cloths & face towels & stand them up in two (different sizes). Looks good! ~ I roll up leftover pieces of fabric & stand them up in here; kept on my fabric shelves in the sewing room, they're a decorative look as well as not having to find a place to keep odd sized extra 1 yard (or?) pieces. ~ Gifting uses - made with baby patterned fabrics & full of shower gifts. Perfect for a rolled up sleeper, a onesie, baby washcloths, socks, etc. Moms like having a 'basket' they can keep in the baby's room for lotions, hair bows, bootees, etc ~ even a good cover for an old & ugly -but still good- planter. Makes the whole plant look new!
also - if anyone has any of those stiff store bought place mats that they NEVER use (Crate & Barrel or Pottery Barn, etc), those are great for making these - Found some brand new at the thrift store once & did it. beautiful!
Surayya - I love your patterns; they're always simple, useful, always a good looking end product & much appreciated! Thank you!
Surayya
Saturday 18th of November 2023
Thank you so much, that made my day :)
Lyn
Friday 18th of August 2023
Is there an actual pattern to print or just measurements to make your own on all your pattern offers? Thank you!
Mary
Thursday 28th of April 2022
Thank you so much for the tutorial. The fact that it is reversible makes it doubly wonderful.
Valerie
Wednesday 6th of April 2022
Wonderful patter, instructions! I have taught my sister to so using this tutorial, and I am heading out to teach three more friends how to sew using this tutorial. And of course I have made several on my own as gifts and for myself. Wonderful simple project, I needed a fat quarter project and this is it!
Surayya
Thursday 7th of April 2022
Thank you! Comments like these, inspires me to create more :)
Alma Montenegro
Tuesday 12th of October 2021
Thank you for sharing, I have learned to do so many things with your good tutorials.
Surayya
Tuesday 12th of October 2021
Thank you! It made my day!