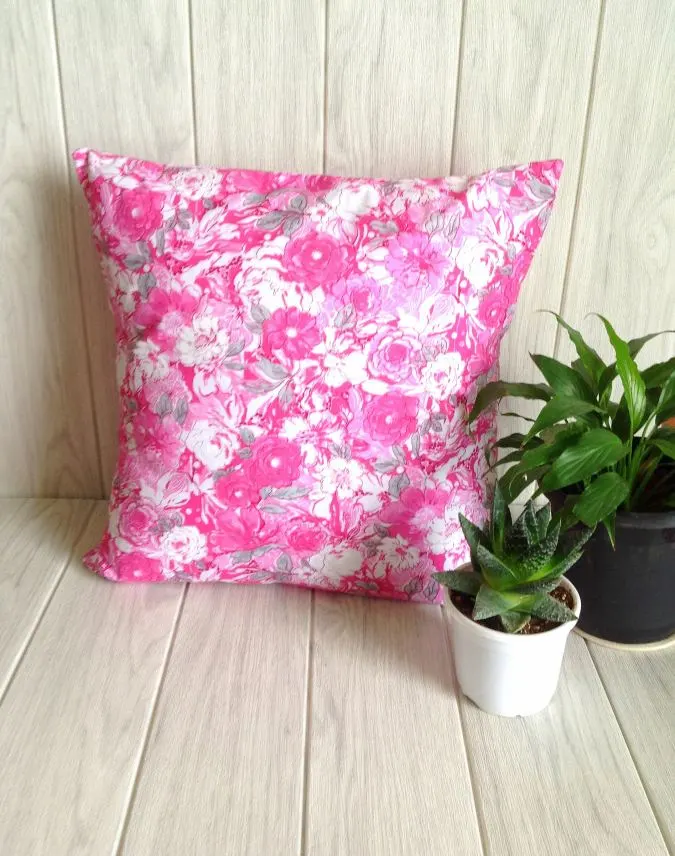
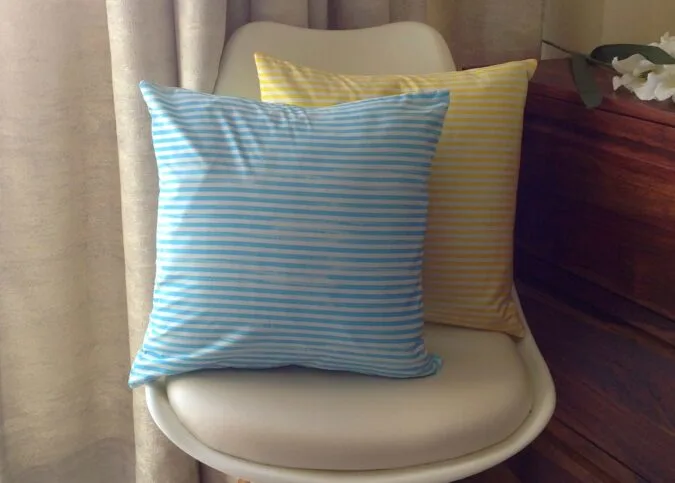
Pillow covers have come to my rescue whenever I needed a quick makeover for my home. I love throw pillows everywhere; in my sofas, armchairs, bed and so on. Just sew a few straight line stitches and you are done. Change the type, the color and the design of the fabric and you get a variety of throw pillows.

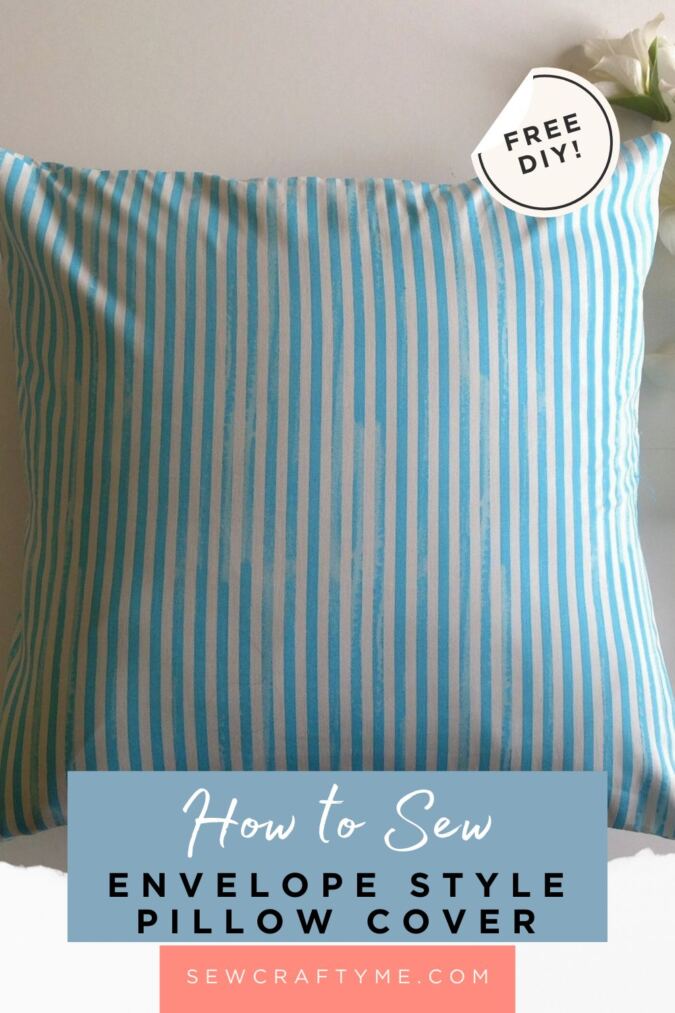
Here I will teach you how to sew envelope style pillow covers and upgrade your home on a budget. This easy sewing project will teach you how to make pillow covers in minutes. They require very little fabric and very little of your valuable time.


I love cotton and linen to sew my pillow covers. You can make these pillow covers in any fabric you like. Adding trims like pompoms, rickracks, and lace add more glam to the pillow, without much of a hassle.

This easy pillow cover pattern requires very little sewing and they have an envelope style closure, which frees you from the task of attaching zipper or buttons. Doesn’t that make this DIY pillow cover sewing tutorial, the perfect choice for a beginner?
How to Make Envelope Pillow Covers
Supplies Needed:
Medium to heavy-weight cotton fabric or home décor fabric- 1/2 to 3/4 yard, depending on the size you want to make.
Sewing Notions.
Pillow Foam.
- Note that the measurements are for a snug fit pillow. You may increase the length and width by 1 inch if you need the cover to be loose.
Cutting Dimensions:
In the table below, “L” stands for the length and “W” stands for the width of the fabric piece to be cut.
| Pillow Size | Front Panel
(inches) |
Back Pieces(cut 2)
(inches) |
| 14 Inch | 15L x 15W | 11L x 15W |
| 16 Inch | 17L x 17W | 12L x 17W |
| 18 Inch | 19L x 19W | 13L x 19W |
| 20 Inch | 21L x 21W | 14L x 21W |
- The table above gives the cutting dimensions for four different pillow sizes. If you have a pillow of a different size, you can use the directions below to calculate the dimensions required.
Front piece Length- Length of the pillow + 1- inch.
Front Piece Width- Width of the pillow + 1- inch.
Back Pieces Length- Length of the pillow/ 2 + 4-inches.
Back Pieces Width- Width of the pillow + 1- inch.


Gather your supplies.


Cut your front and back pieces.
We need to hem one of the edges of the back pieces.

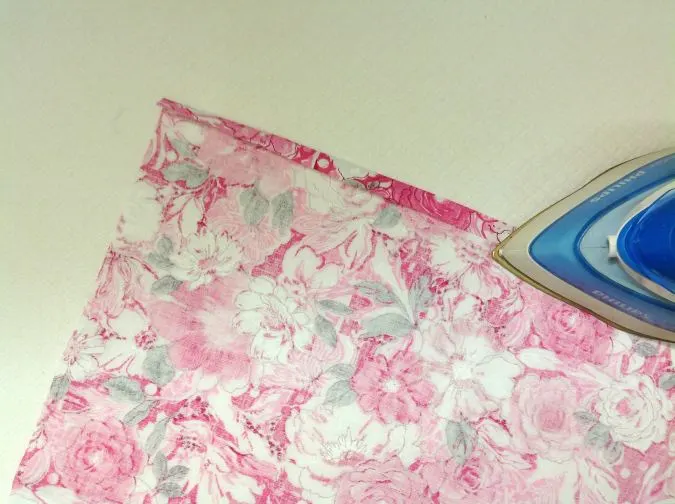

Fold one of the longer edges of both the back pieces twice by 1/2 – inch towards the wrong side and press to set.


Sew down the hem along the edge of the fold for both the back pieces.
Let’s join the front piece and the back pieces together.


Place both the back pieces over the front piece, with the right sides together, aligning the raw edges and pin all around. Note that the hemmed edge of both the pieces should come along the center.


Sew along the pinned edges , leaving a 1/2- inch seam.


Clip the corners.


Bring the right side out through the opening at the back.


Poke the corners out.


The backside of the pillow would look like this.


Your envelope style pillow cover is ready.


Push your throw pillow into the cover.


And you are done!
To view more of my free patterns, click here.
To get more free patterns, visit allfreesewing.com
Find the webstory for the post here, Easy DIY: Sew an Envelope Pillow Cover
Taylor
Saturday 19th of July 2025
Just made this as my very FIRST sewing pattern! My pillow was 16x12 so had to do some math, but it turned out great! Super easy to follow (even for a super beginner lol).
Lynda
Thursday 8th of December 2022
I would like to make a 20” pillow cover with cotton on the front and Minky on the back. Would I need to make any special accommodation for the Minky fabric or would these measurements work. Thank you. Lynda
Alaska Raven
Thursday 9th of May 2024
@Surayya, Good to know- thank you! I have used Minky for baby blankets with flannel or fleece on the other side, but due to not being able to use a walking foot, your suggestions help a LOT!
Alaska Raven
Thursday 9th of May 2024
@Lynda, Everything I have ever read about minky says to USE A WALKING FOOT. Makes sense except my machine is 43 years old (I cannot get rid of it, as it's all metal construction, works fine & after taking it apart 4 years ago, I found it DIDN'T need cleaning, dusting or oiling!!). So I cannot find a walking foot to fit. If you don't use one? Go slow, be careful, & be grateful that Minky doesn't unravel like woven fabrics (cotton) does! : )
Surayya
Thursday 8th of December 2022
Minky is a stretchable fabric and so you may use a basting spray around the edge of the Minky. Also while sewing, keep the cotton layer on top. These steps may prevent the fabric from stretching and make sewing easier.