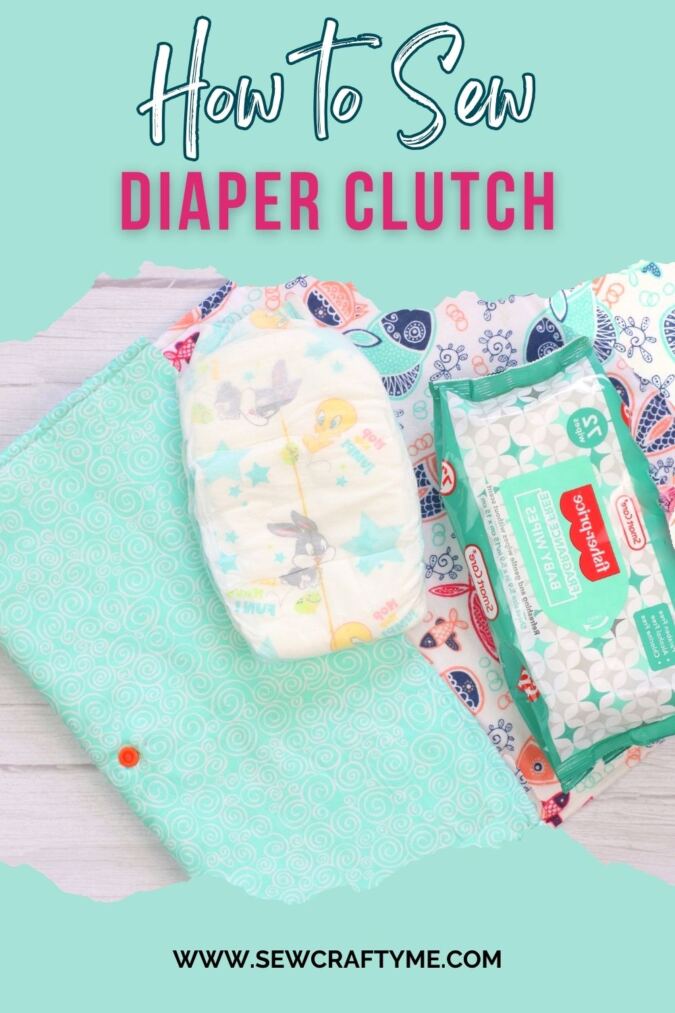
Learn how to make adorable diaper clutches with this easy diaper clutch and changing mat sewing pattern. These are extremely handy for a new mom and can make useful handmade gifts.


When it comes to sewing for babies, the items you can sew are endless. Babies need a ton of items and all of them are very much needed for a new mom to help ease her job of looking after her little one.


When my kids were babies, I had done a lot of traveling and I had all the things necessary for easy travel. I had to change their diapers in my car or even at the airport and had it not been for this two-in-one diaper clutch pattern, that changed to a nappy mat, I would have found it extremely hard for the diaper changes.
I easily slipped down some diapers and a diaper wiper pack inside the clutch and carried it in my handbag. That way I could avoid carrying an extra handbag for my baby.

The store-bought diaper clutches were often not up to the mark and the ones I had didn’t serve the dual purpose I required. That is how I designed my own quick and easy diaper clutch and changing mat pattern.

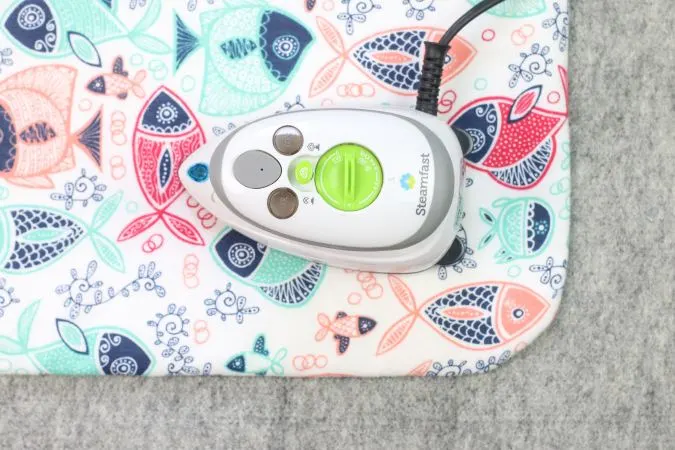
I designed this tutorial on how to make a diaper clutch to be sewn effortlessly with the fabric I liked. Here I have used flannel for the inner part for the baby’s comfort. You can easily toss it in your washing machine and get it cleaned.
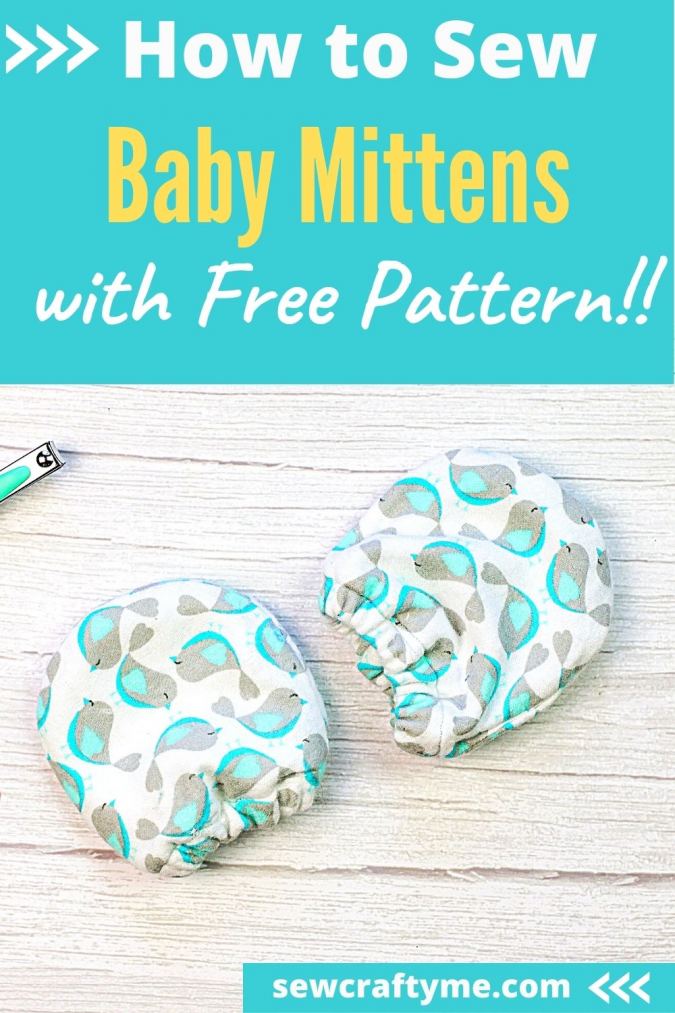
If you would like to learn how to sew cute little baby mittens, click on the picture below:

You can follow the written pattern below or purchase an ad-free PDF for just $ 2.99. Add to cart here. The pattern will be emailed to you within 24 hours of payment.
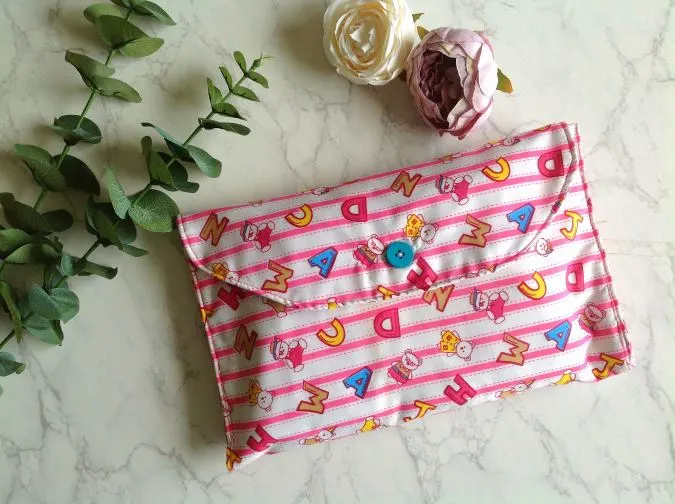
Easy Diaper Clutch and Changing Mat Pattern
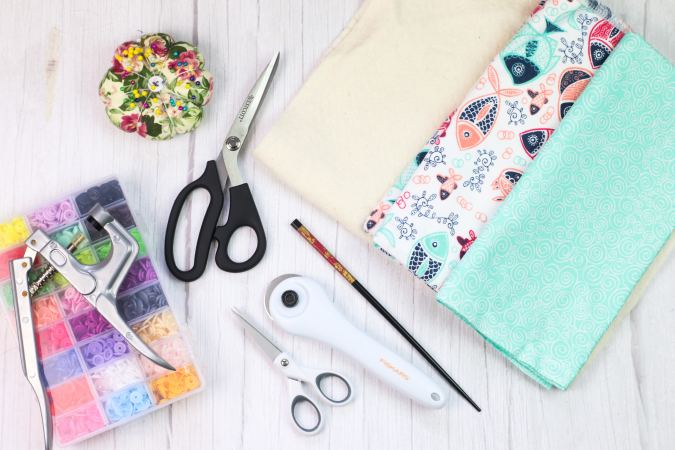
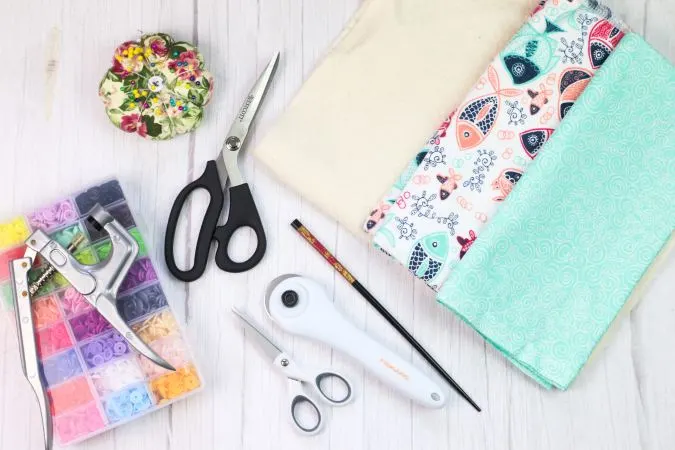
Supplies:
- Cotton fabric- 7/8 yard
- Flannel fabric- 7/8 yard
- Cotton quilt batting (I use Warm & Natural Brand)- 7/8 yard
- Sewing Machine
- Matching thread
- Fabric marking pen
- Sewing pins or clips
- Scissors
- Turning tool
- Cutting mat and ruler, measuring tape or ruler
- Kam snaps kit
- Skill Level: Beginner
- Approximate time to complete: 30 minutes
- Approximate cost to make: $2.75
- Finished size: 23”x13”
Instructions for Making the Clutch:
Gather your supplies.
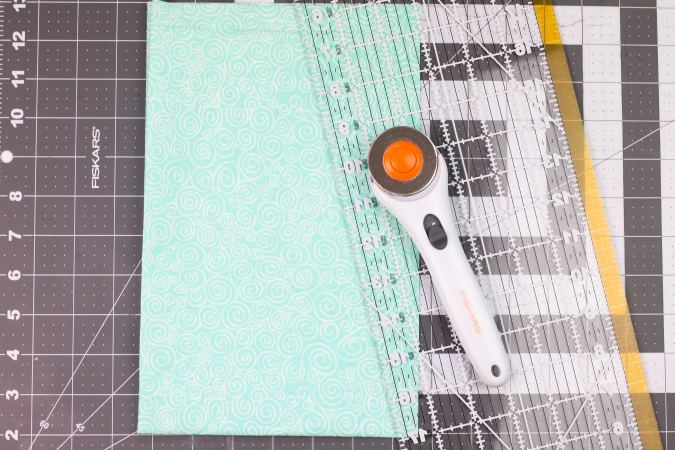

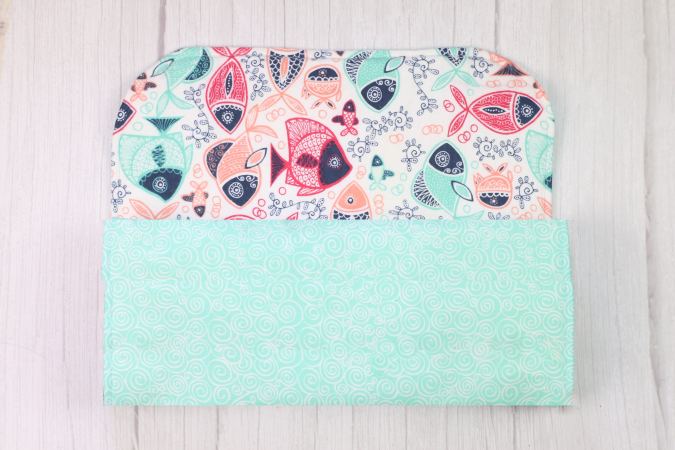
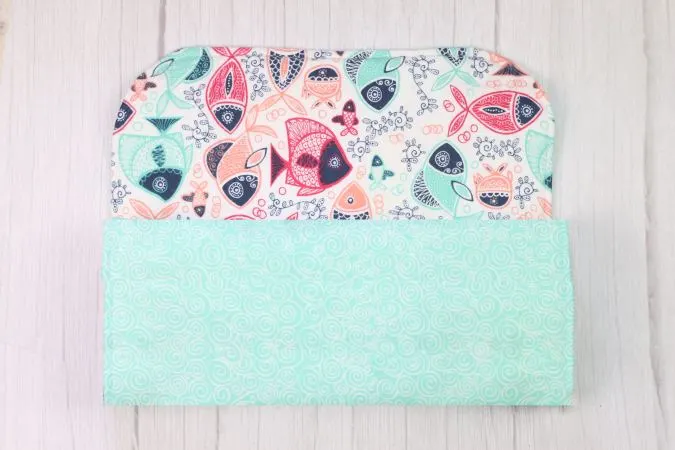
Cut (1) 31 x 14” piece of each of your fabrics and the batting.
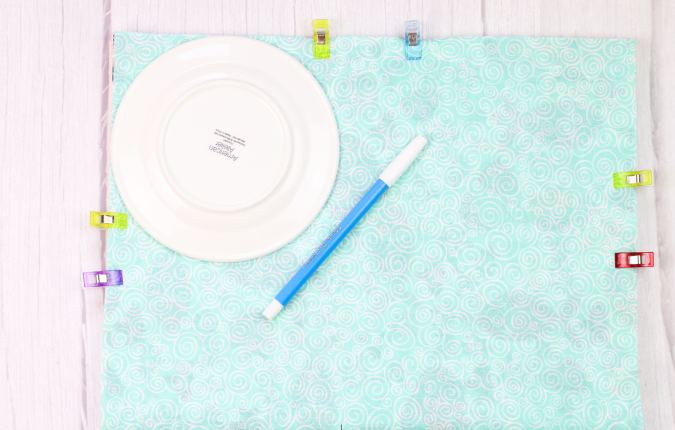
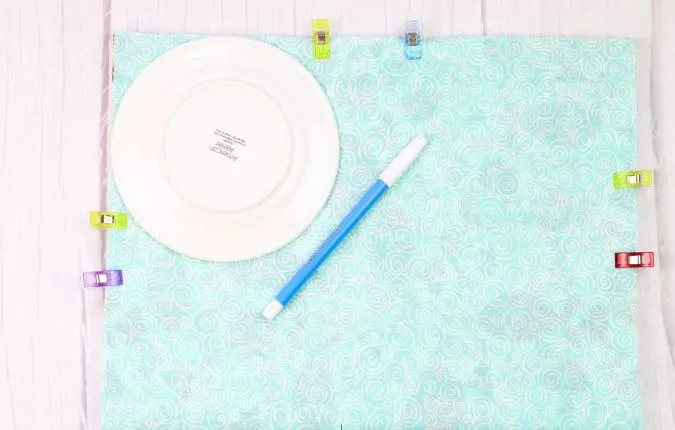
Layer your fabrics and batting on top of each other, making sure the edges are lined up evenly. Take a small dessert plate and place it on the corner, and using your fabric marker, trace around the edge, making a rounded corner.
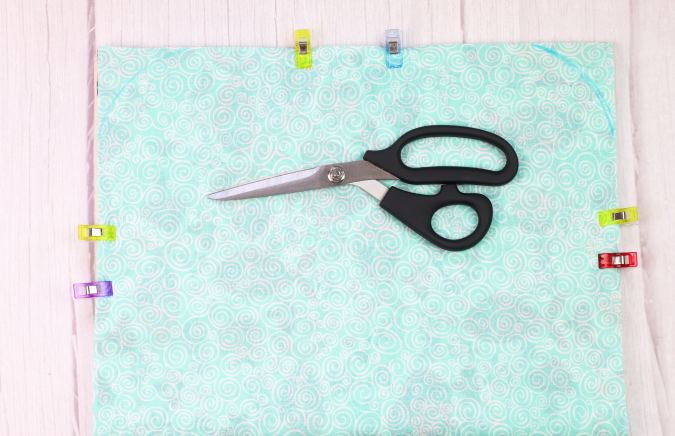

Repeat on the other side. Cut the rounded ends off each side.
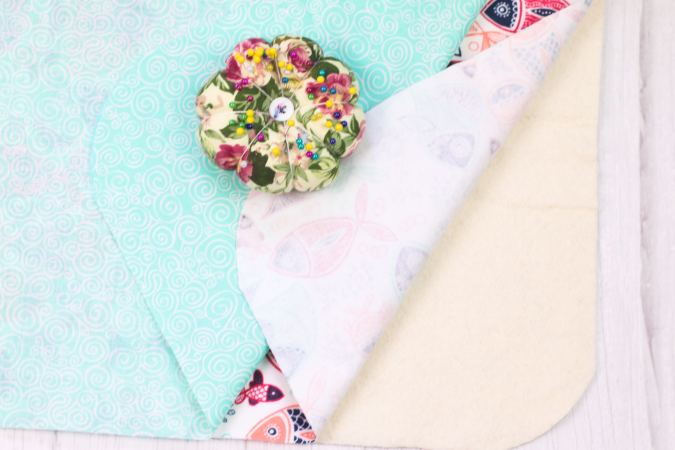
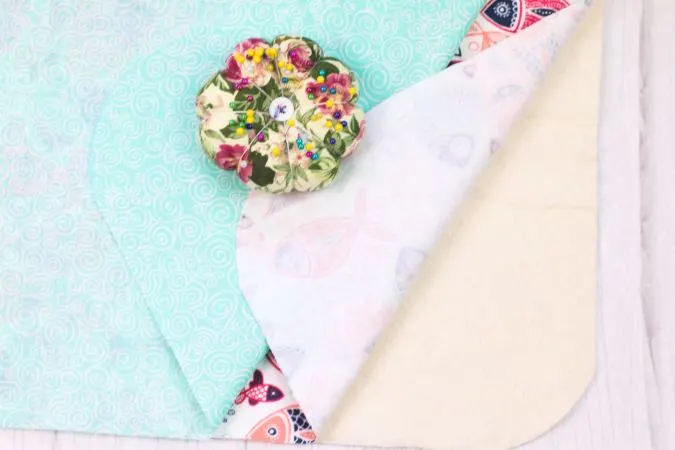
Layer your fabrics as follows: cotton batting on the bottom, flannel fabric right side facing up and the cotton fabric right side facing down (so the print fabrics have right sides facing each other).

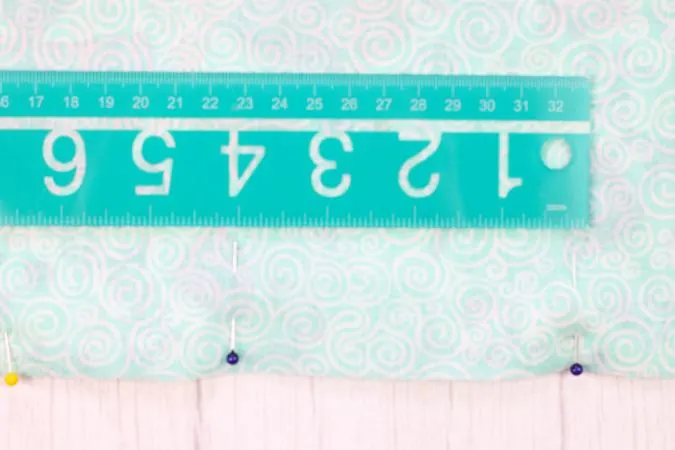
Pin together, leaving a 3-4” gap for turning the right side out.
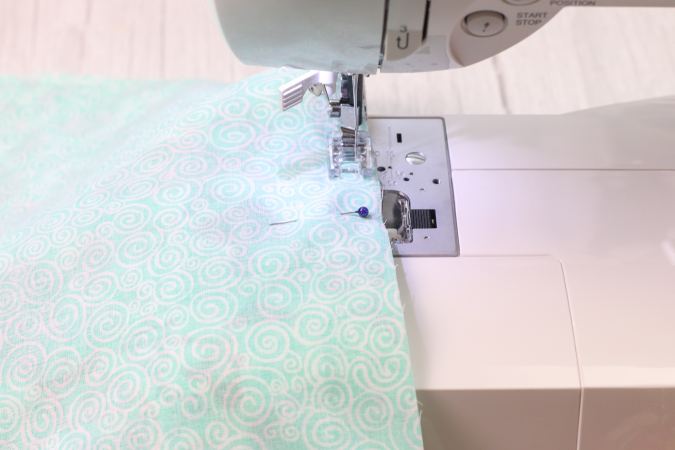
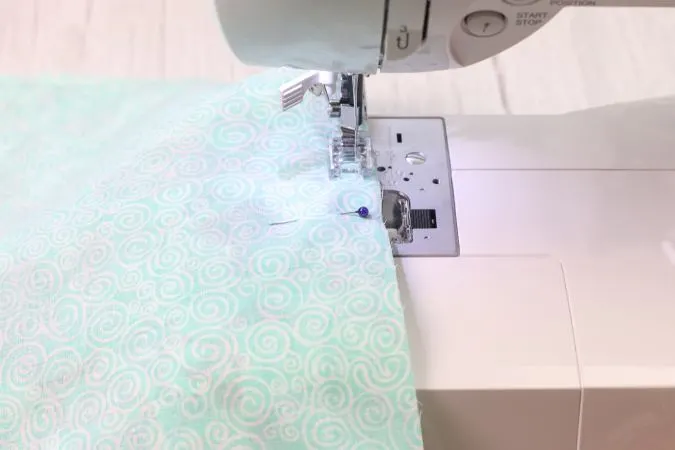
Using a ½” seam allowance, sew all the way around, remembering to leave your gap. a 3-4” gap for turning.

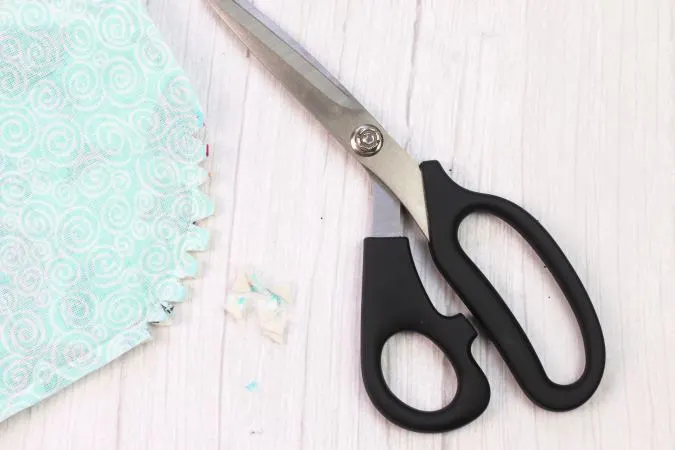
Clip the corners.

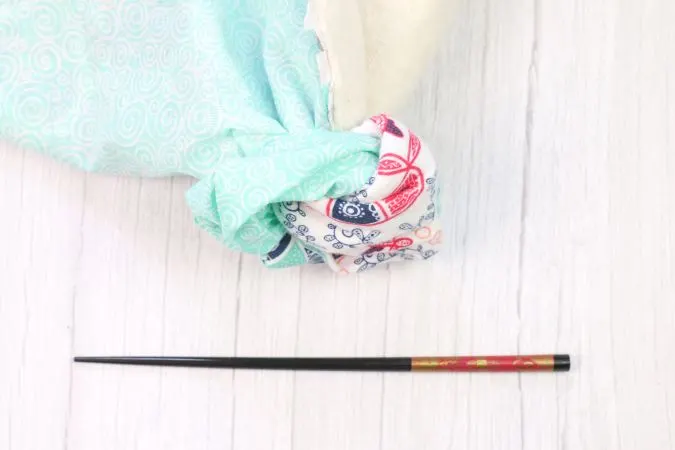
Slide your hands in between the right sides of the fabrics. Using your turning tool, turn your diaper clutch right side out and push out the corners.
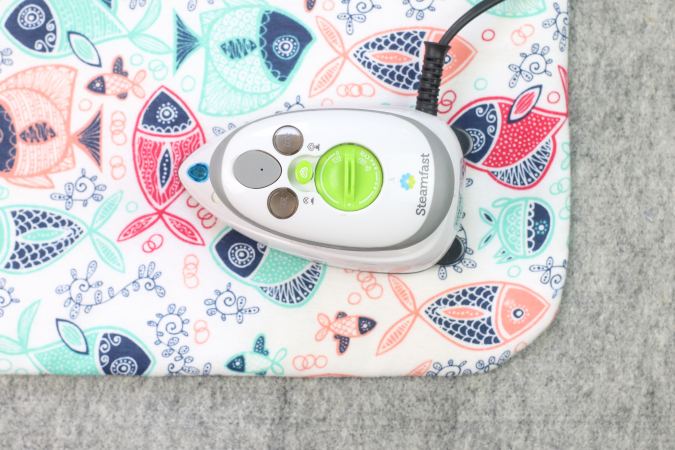
Press with a warm iron.
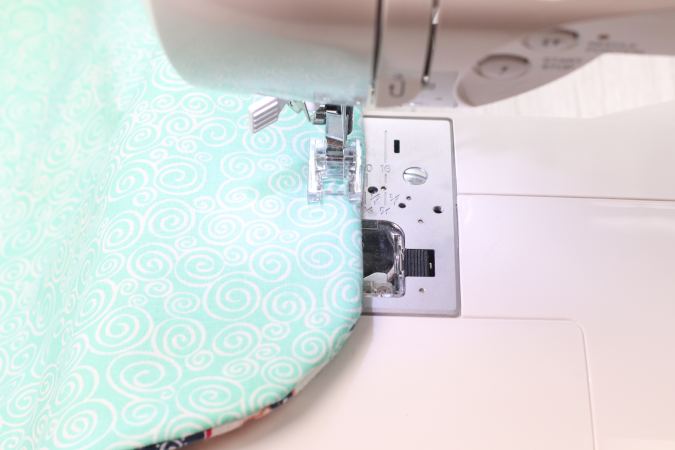

Using a ¼” seam allowance, topstitch around the entire diaper clutch.
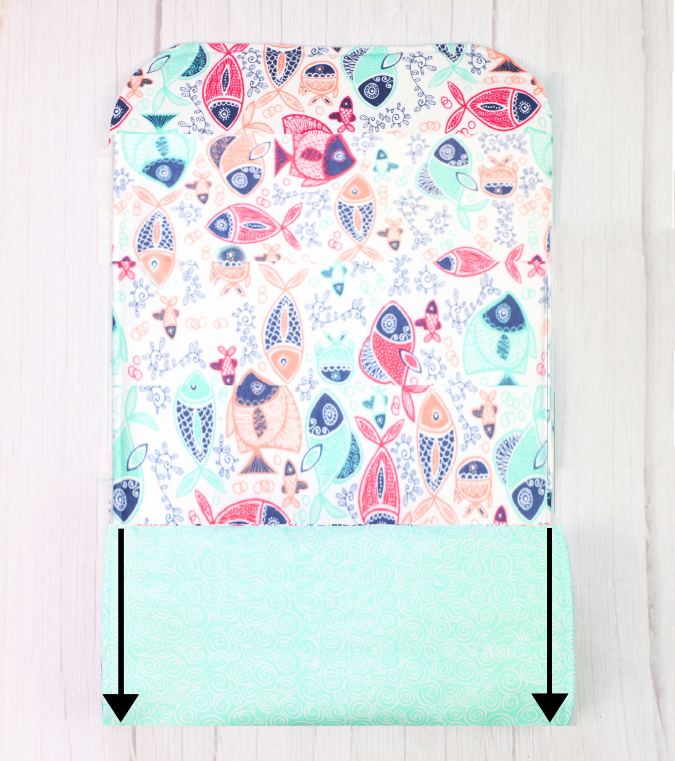
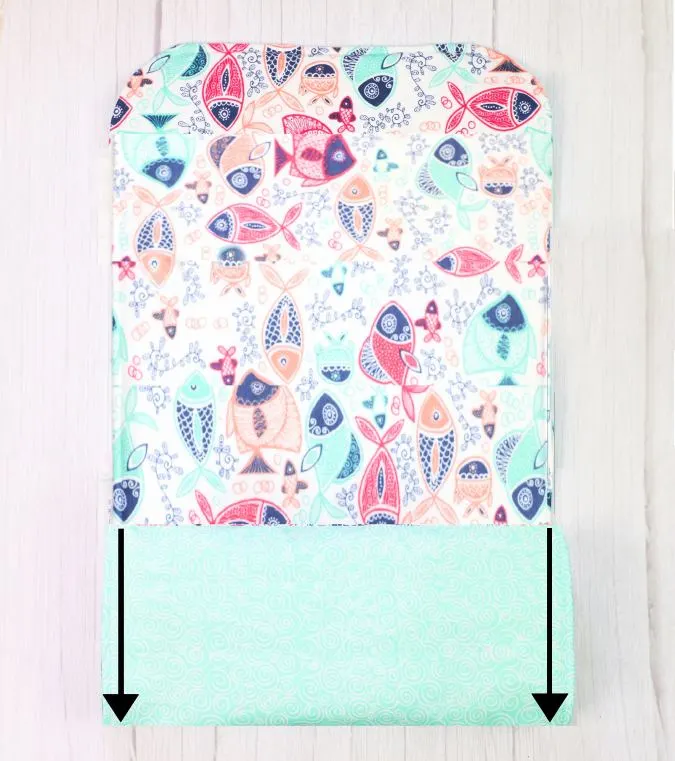
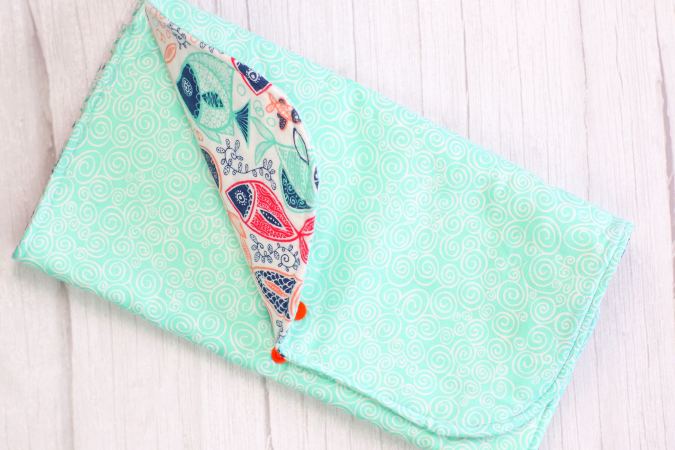
Fold the straight edge up by 7- inches. Pin and sew the sides shut to form the pocket for the diapers and the diaper wipes. * Make sure to reinforce the stitches at the start and finish.
Instructions for Placing and Attaching The Snaps:
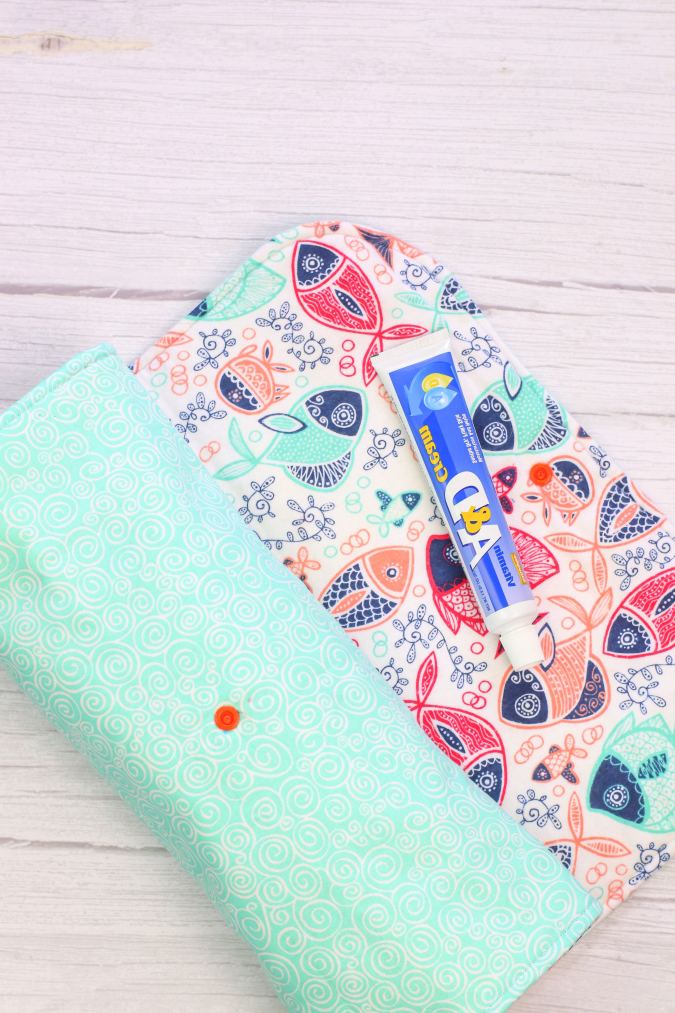
Place 2 diapers and your diaper wipes pack inside the pocket and fold up once more. Next, turn the clutch so it is horizontally placed in front of you on a flat working surface.
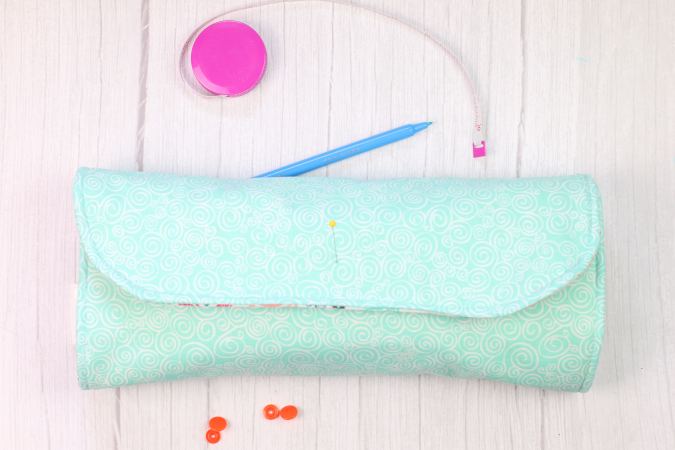
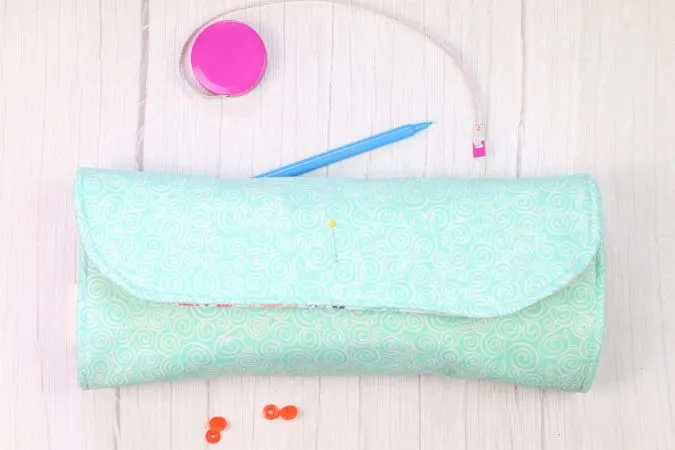
Fold over the curved edge towards you. I call it the flap. Using a ruler or tape measure find the middle point of the flap and mark it with your fabric marker. Now measure about 2” from the bottom of the flap and line those two points up. This is where the flat part with a pointed end (it looks like a tack, or top of your snap will go. Using a pin, push the point through the fabric of the marked spot. Using your fabric marker, mark the spot where the pin touched on the layer below the flap. This is where the snap with the one has a hole that goes up (like an outie belly button).
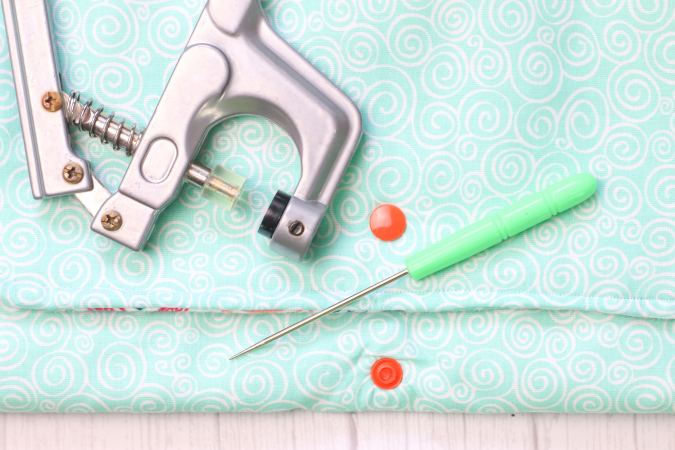
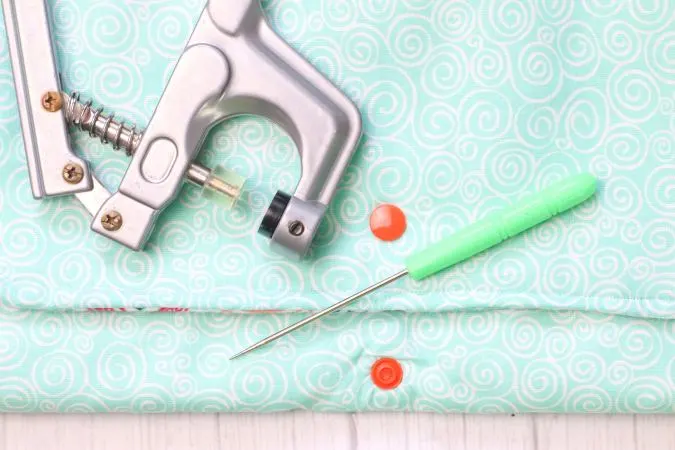
Next, you are going to install the Kam snaps. For each layer, you will need four plastic Kam snaps; two have a flat end with a point and two will have a hole. One that goes down (like an innie belly button), and one has a hole that goes up (like an outie belly button).
Your kit also comes with an awl, which is a tool with a handle with a sharp point and a hand-held press. Push the awl through the fabric of the flap, making a small hole. Place the snap, which is the flat piece with the point on it, with the point coming into the hole towards the inside of the diaper clutch, with the flat end facing the outside of the clutch. Place one of the snaps with the hole (it doesn’t matter which) on top of the point of the snap, and using the hand-held press, squeeze the snaps together. Repeat on the other side but reverse the side you have the snap and hole. If you need help, you can use the tutorial on the KAM website.


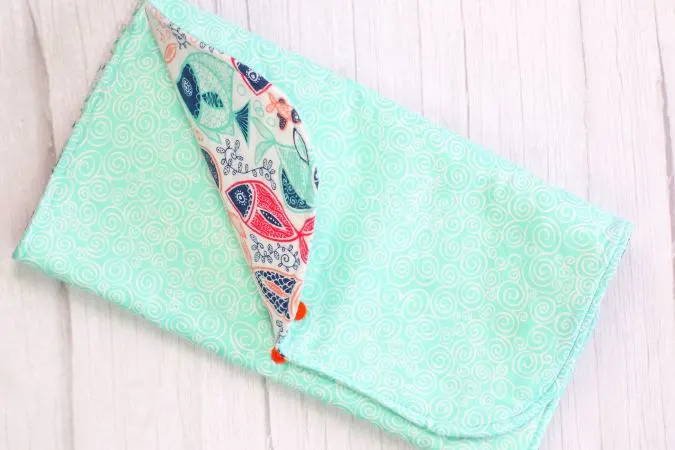
Your easy diaper clutch and changing mat is done!
Find the webstory for the post here, Sew Your Dream Diaper Bag: Multifunctional & Stylish
PIN It for later here,