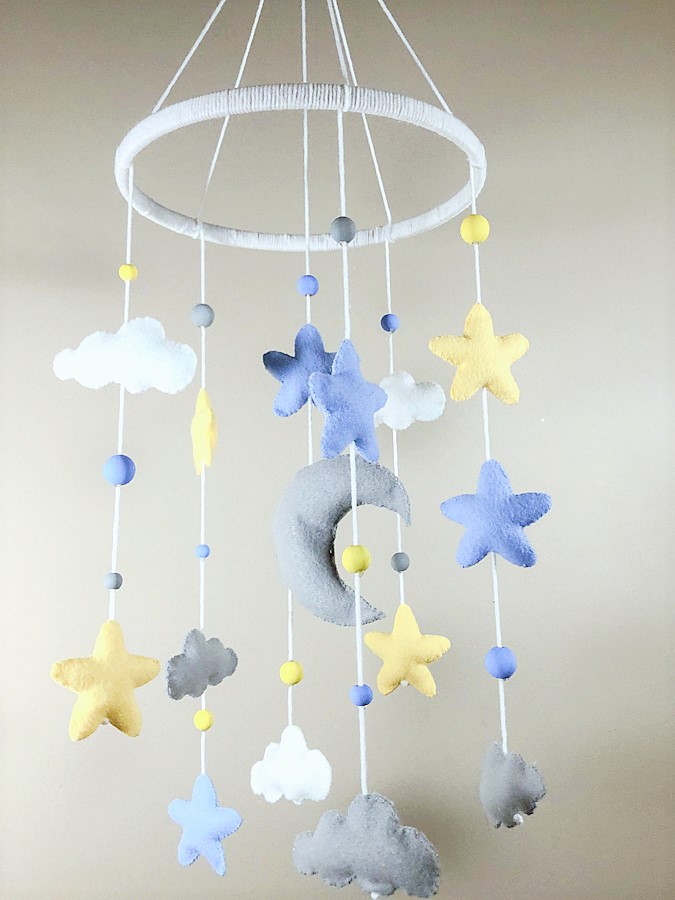
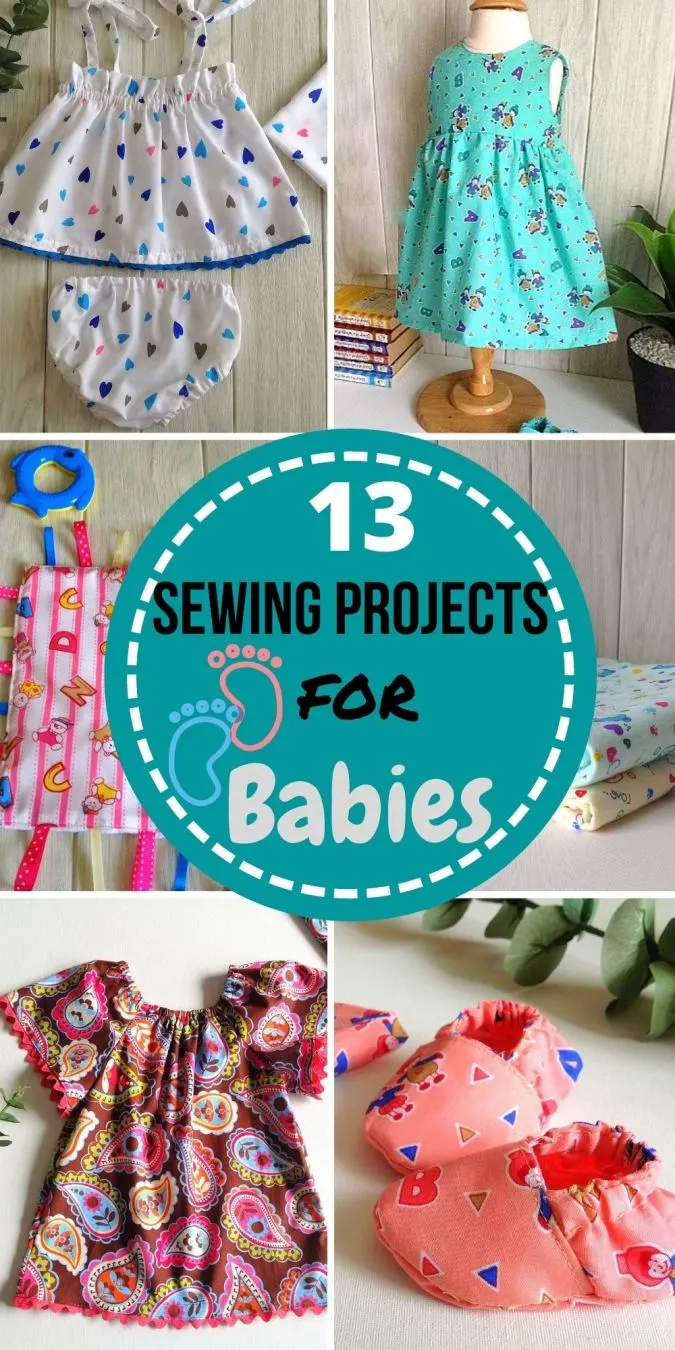
I have to confess, ever since I saw the first DIY baby mobile on Pinterest, I’ve wanted to make one. There are lots of fun themes out there, but I have always loved the simple night sky theme for a baby nursery. So today, I’m sharing a DIY felt crib mobile project featuring stars, clouds, and a crescent moon.


I like the way wood beads break up the texture of the project, so I also painted some to match the colors of the felt I was using.
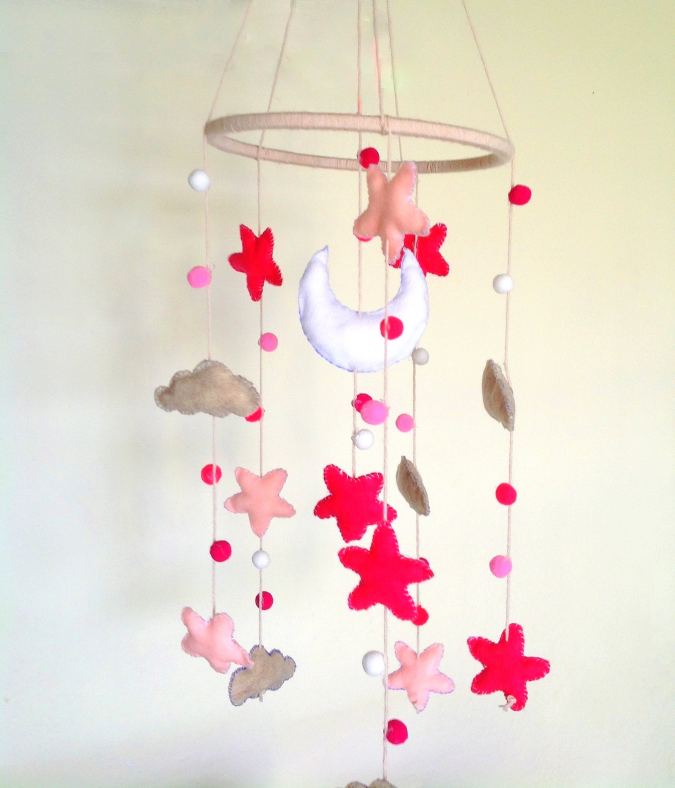
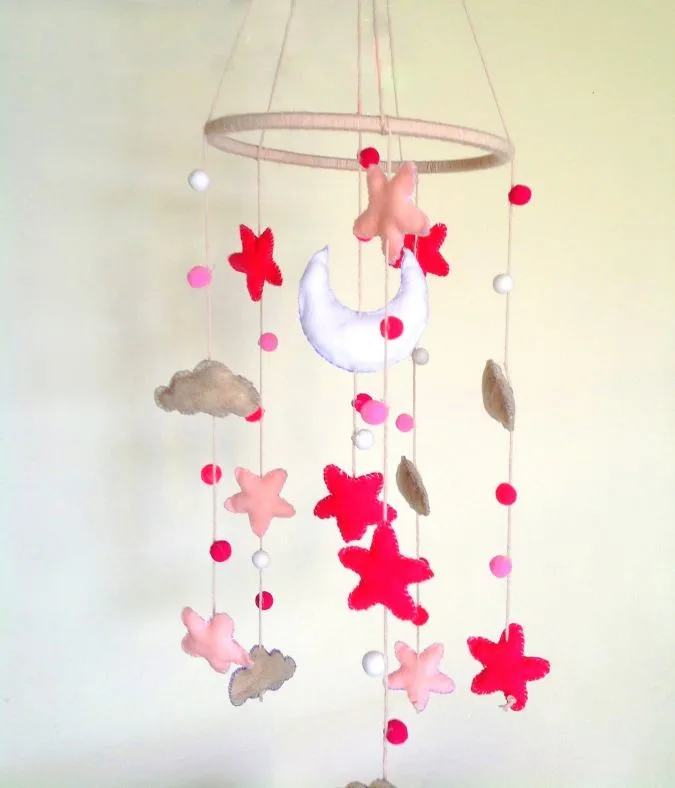

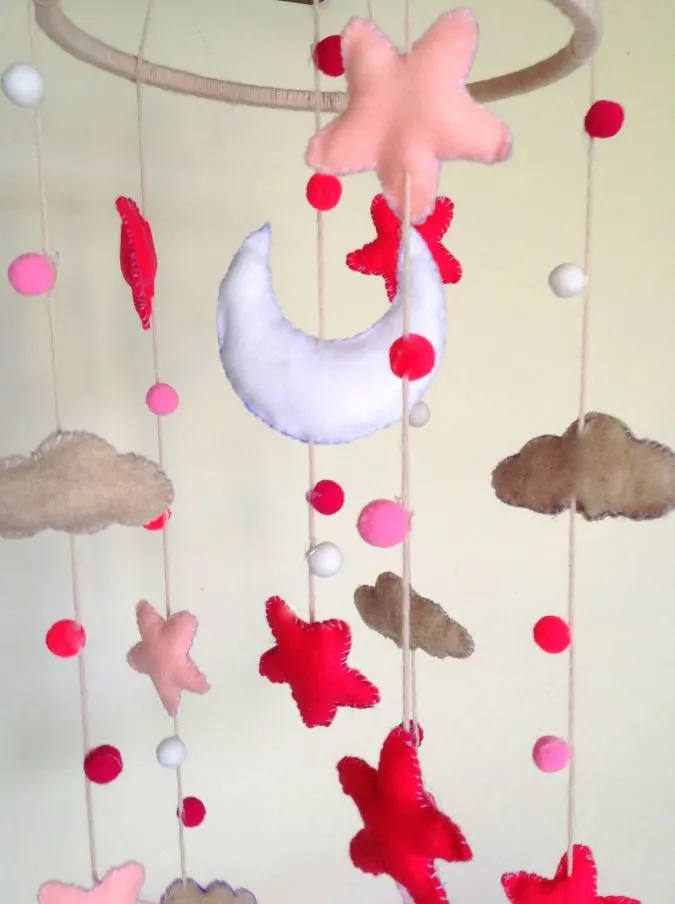
Here I have replaced the wooden beads and used felt pompom balls instead. Look how beautiful it has turned out!
If you would like to see all my baby patterns in one place, click on the picture below:

Ready to make one DIY felt baby mobile for yourself? Let’s get started!
DIY Felt Baby Mobile
Supplies for this Project
Embroidery hoop – 10-12”.
Yarn.
Hot glue gun/ glue sticks.
Wooden beads.
Matching Acrylic craft Paint.
Paintbrushes.
Felt.
Scissors.
Matching thread.
Small sewing needle.
Large needle for yarn.
Polyfill fiber for stuffing.
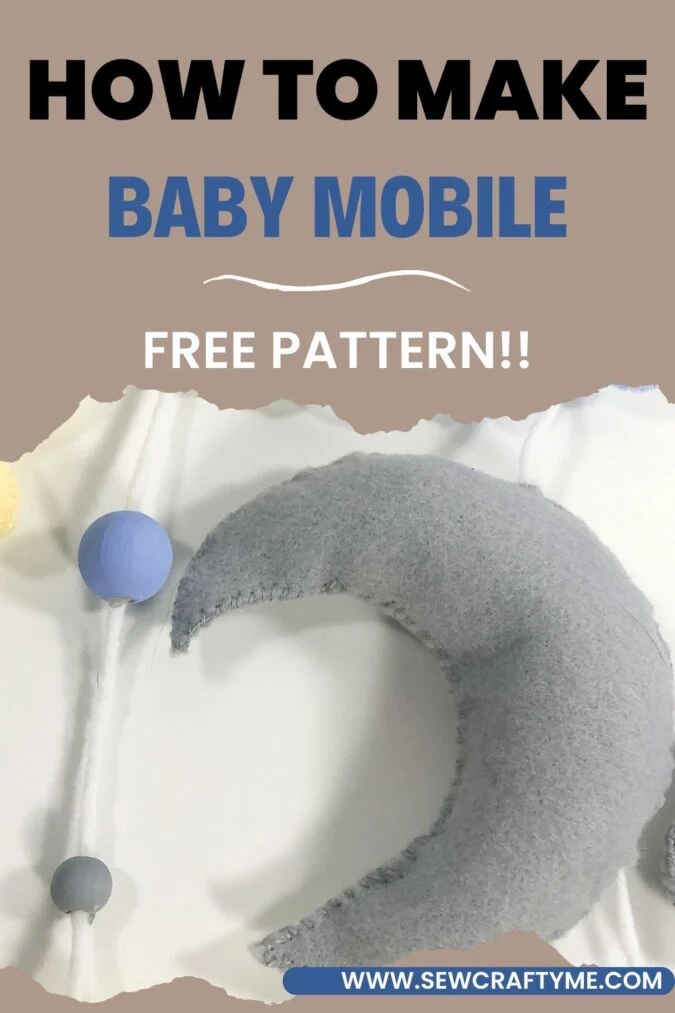
Moon, cloud, and star pattern templates:
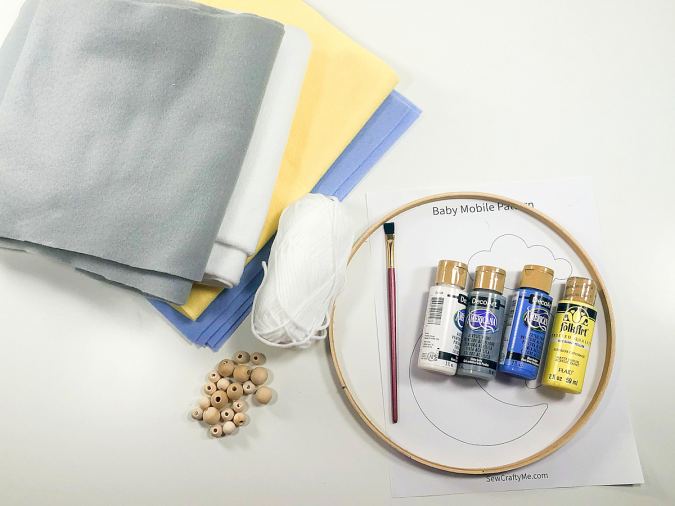
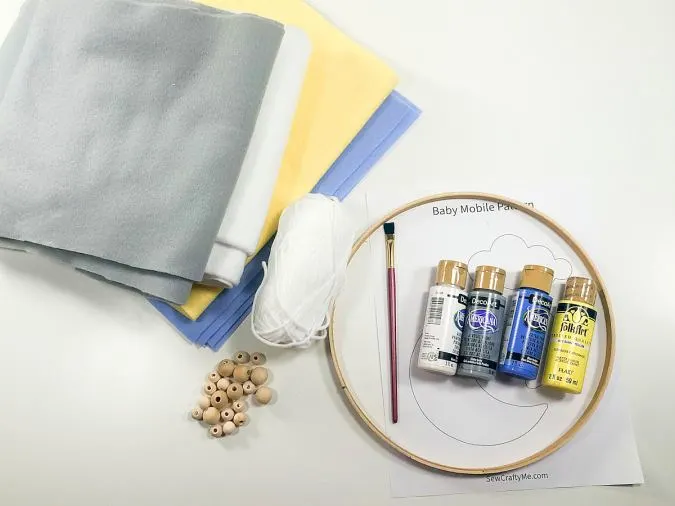
Gather your supplies.

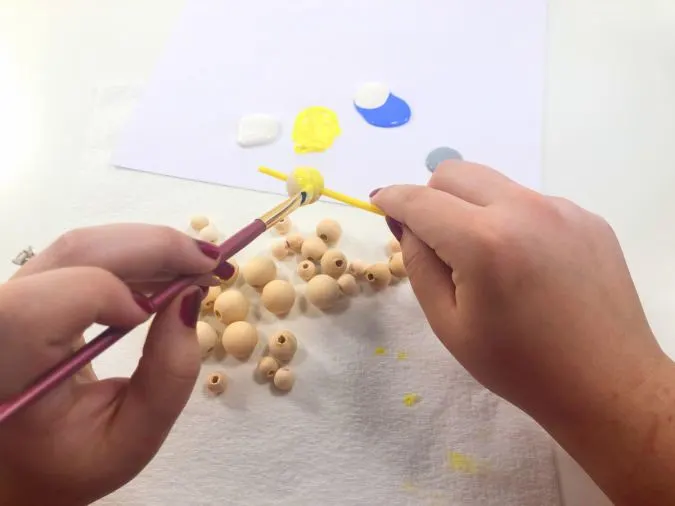
Start by painting the wooden beads to match your felt. It’s easiest to do this by sticking a skinny dowel or paintbrush into the hole and rotating it as you paint.
I painted extra for mine since I didn’t know how many I wanted to use and I had plenty extra. I only ended up using about 20 of them.
Next, print and cut out the pattern.

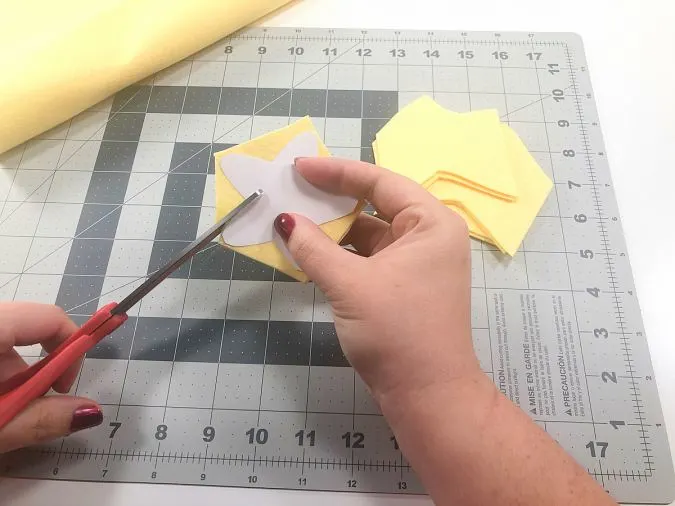
Use the pattern to cut two moons, ten clouds, and fourteen stars. Make sure you have an even number of each color star and cloud. You’ll be matching them up to sew together.

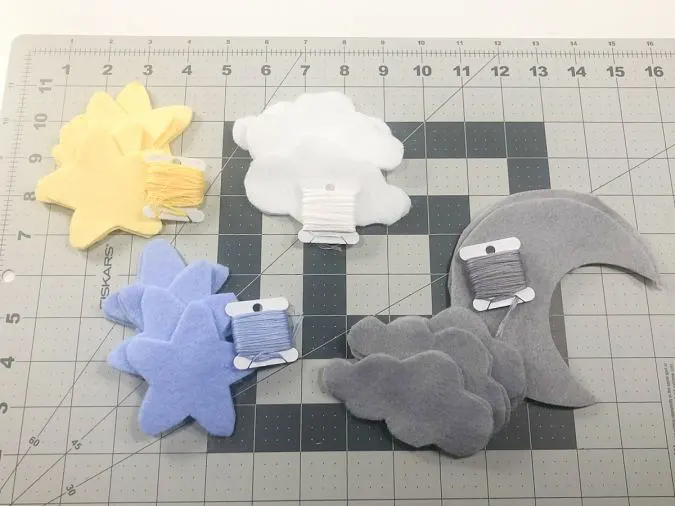
You should have something like this.
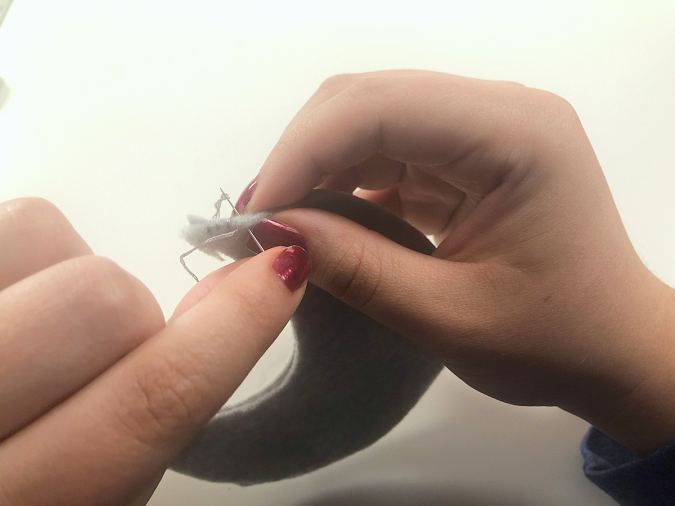
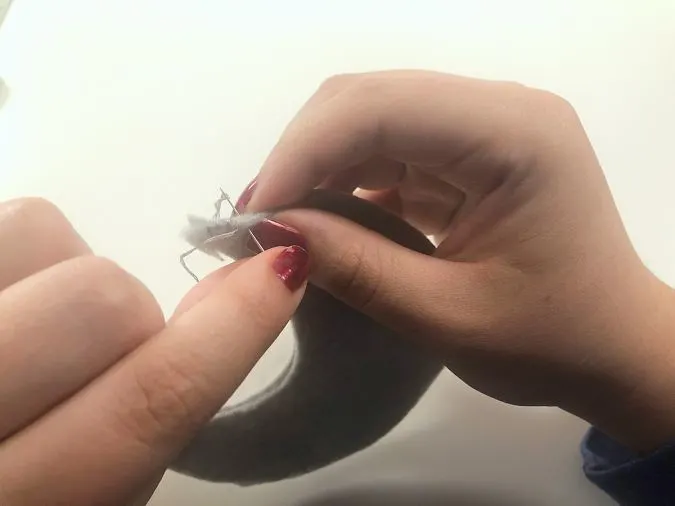
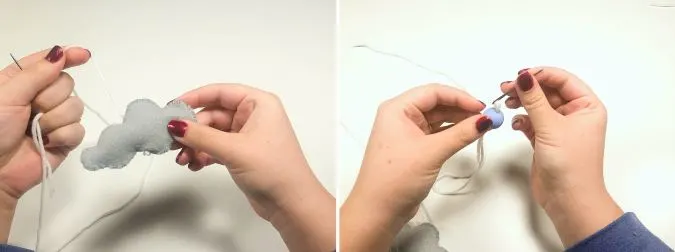
Tie a knot at the end of your thread and start sewing a whip stitch around the edges. Do this most of the way around each piece, leaving a small hole for stuffing.
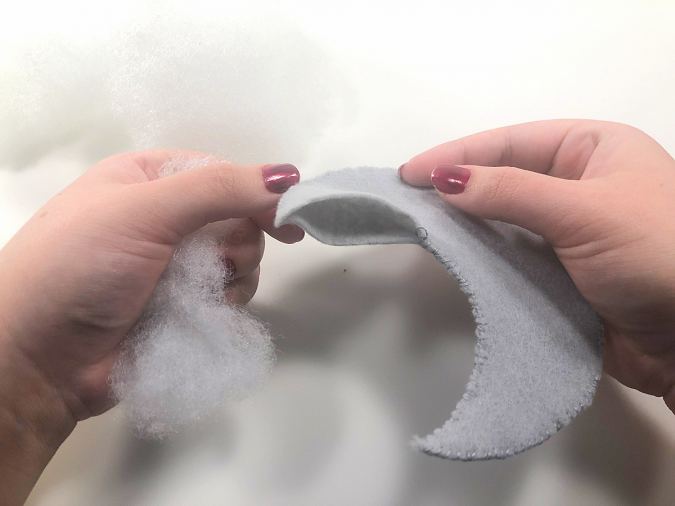

Stuff some polyfill into the piece until it’s as thick as you like, then continue whip stitching to finish off the piece. Tie a knot to secure the thread, then tuck it inside the felt to hide the ends.
Continue sewing and stuffing the felt pieces until they are all ready to string.
Next, cut six pieces of yarn that are about five feet long each.
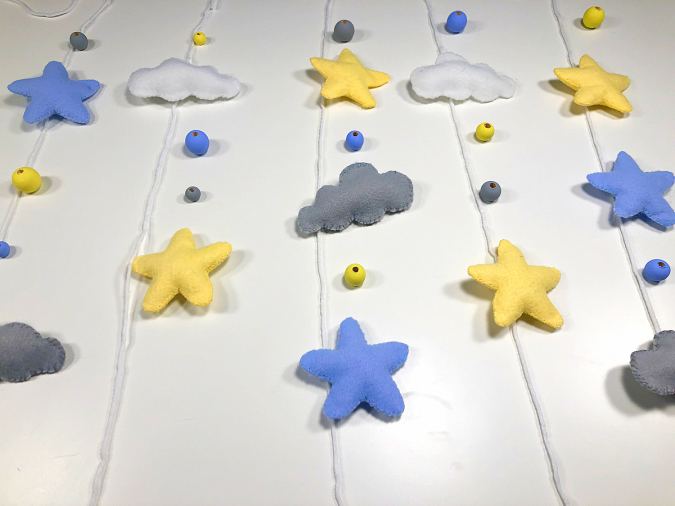

Lay them out in columns and arrange the felt shapes and beads along each strand until you are happy with how it looks. (Take a picture in case things get shuffled around!).
Now it’s time to attach them to the yarn strands.
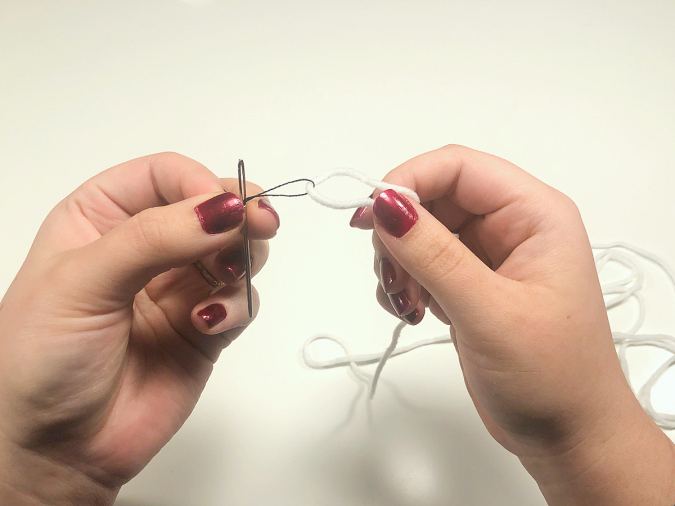
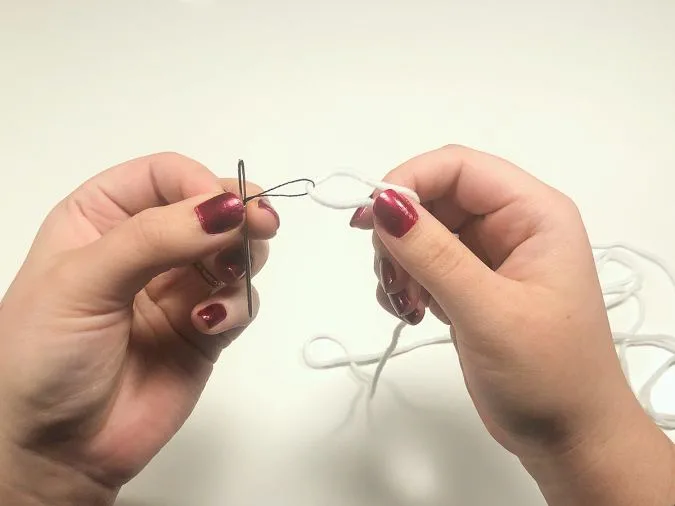
It can be a bit difficult to thread the yarn into your needle, but if you can’t get it, you can just use a spare piece of thread as a needle threader, like this!

Tie a double knot at the end of your yarn, and start running it through your felt shapes and beads from bottom to top.

Once each strand is threaded, lay them out on the table again so that the bottom ends are uneven.

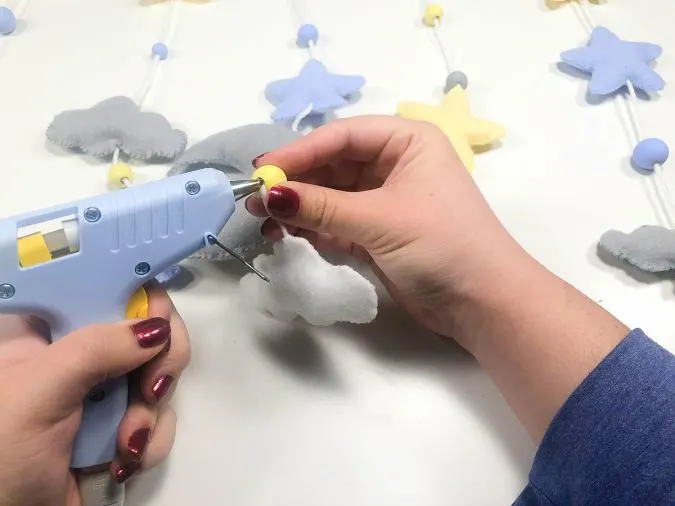
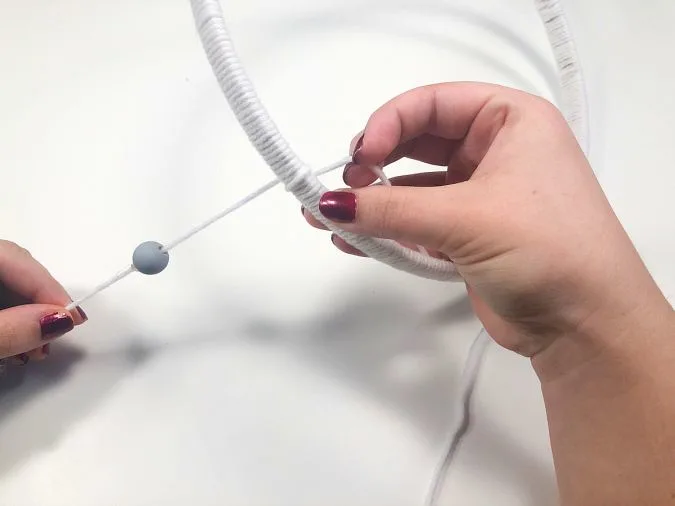
Make sure the spacing looks good, and then put a dab of glue on the inside of each bead so it stays in place while it’s hanging.

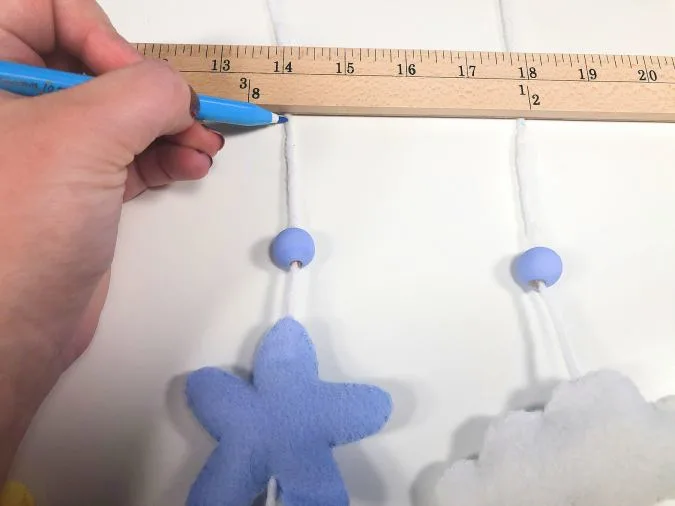
Next, use a straight object to make a line straight across the yarn, just a couple of inches from your highest bead or felt. Mark each strand with a pencil or water-soluble sewing marker.
This is how you know where to connect each strand to the embroidery hoop so that the ends stay how you arranged them.

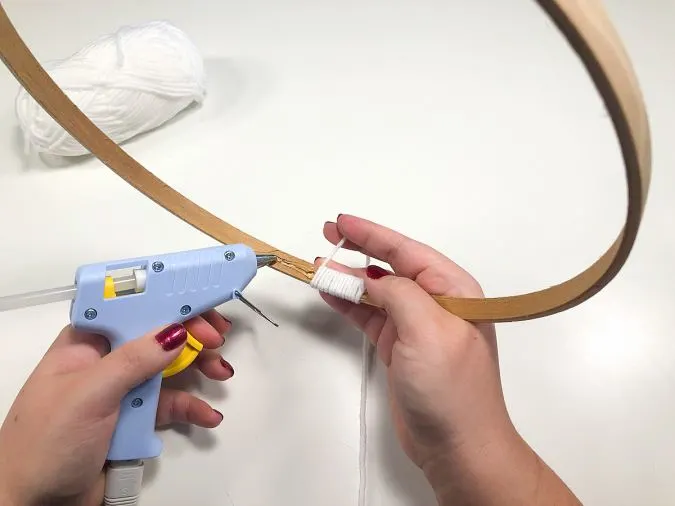
Next, wrap the embroidery hoop with yarn all the way around. Use hot glue on the inside of the hoop so that the yarn doesn’t slide around and create gaps.

Next, one of your finished strands and wrap it around the hoop at the spot you marked earlier. Use a small dab of glue on the inside to hold it in place while you place the others.
Do this for all five of the strands that DON’T have a moon. (That one will hang down the middle.) Make sure they are spaced out evenly around the hoop before you glue them.
Next, take the long, empty ends of the yarn and hold them up above the center of the hoop. Adjust your grip on the strands until the hoop hangs flat instead of at an angle, and none of the strands have extra slack.
Slide the middle strand in place between your fingers and pull it up or down until it is the correct height compared to the rest of the strands. (Your pencil mark should line up with the height of the hoop.
Tie a knot with a loop into the 6 strands and cut off the extra yarn.
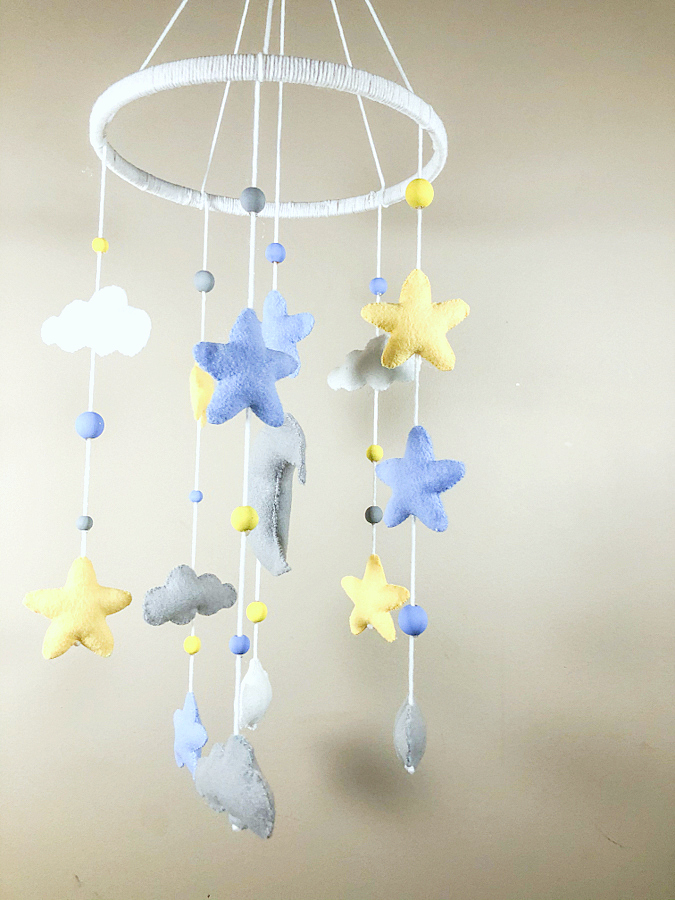

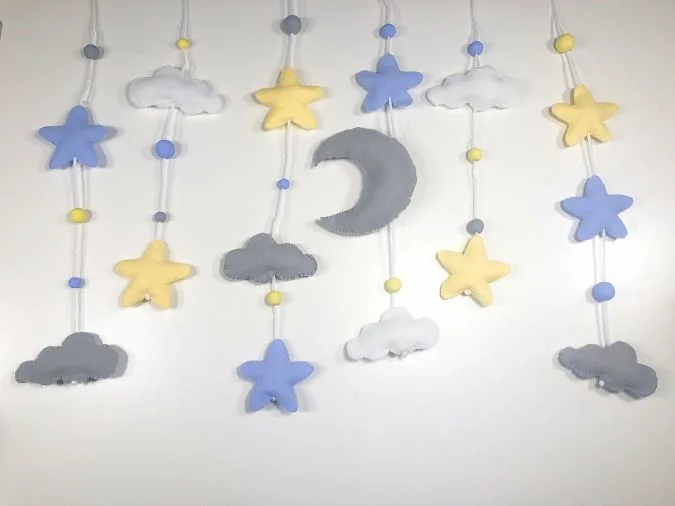
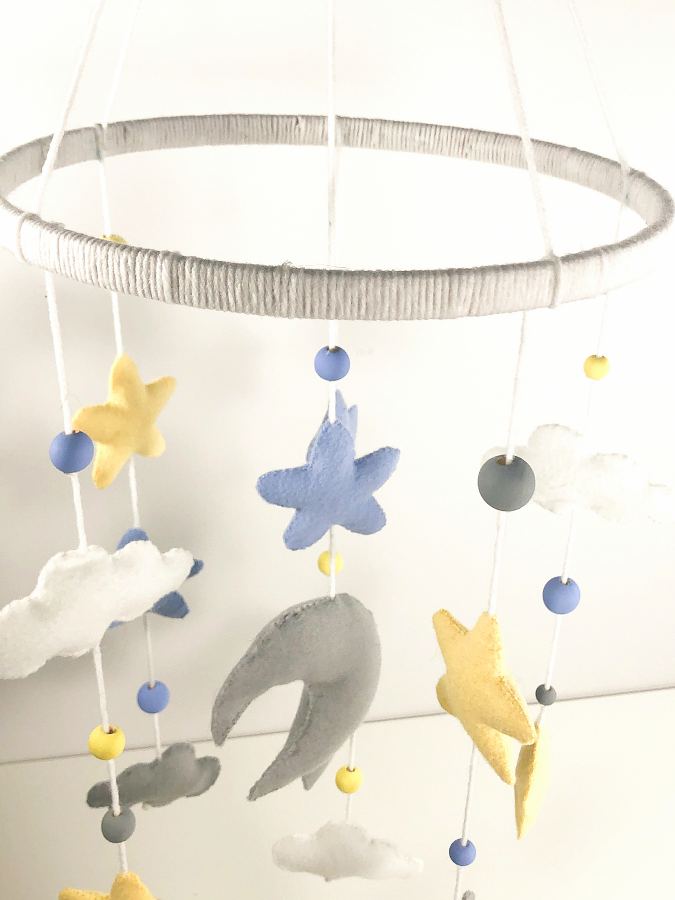
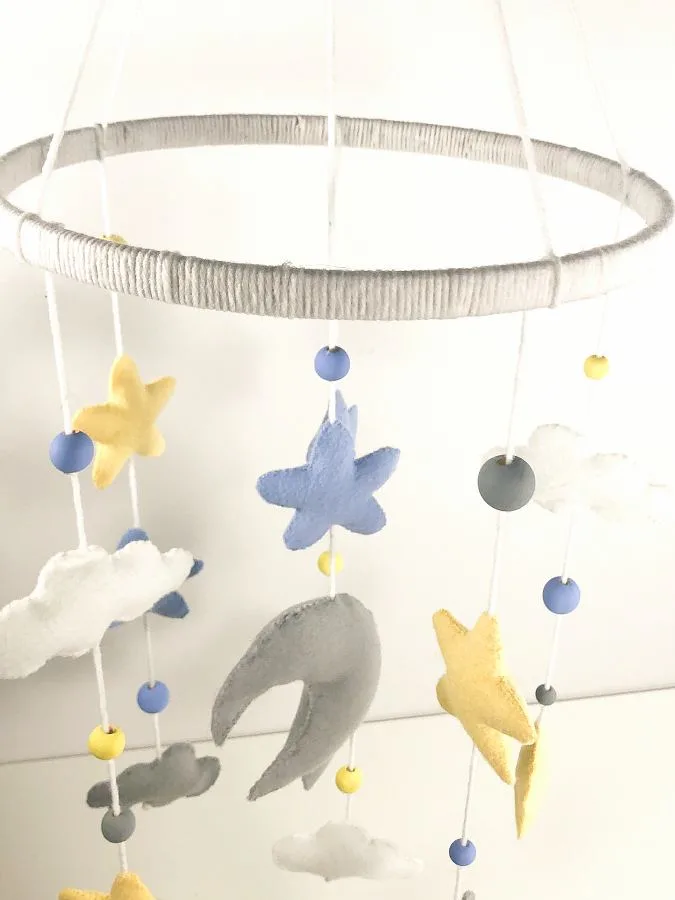
And there’s your cute homemade DIY baby mobile!
Have a look at the webstory for the post here, Sweet Dreams DIY: Stars and Moon Felt Mobile
Pin it for later here,

I just love the stars and clouds combination of this DIY baby mobile. This tutorial is so versatile that you can customize it to the colors of your nursery.