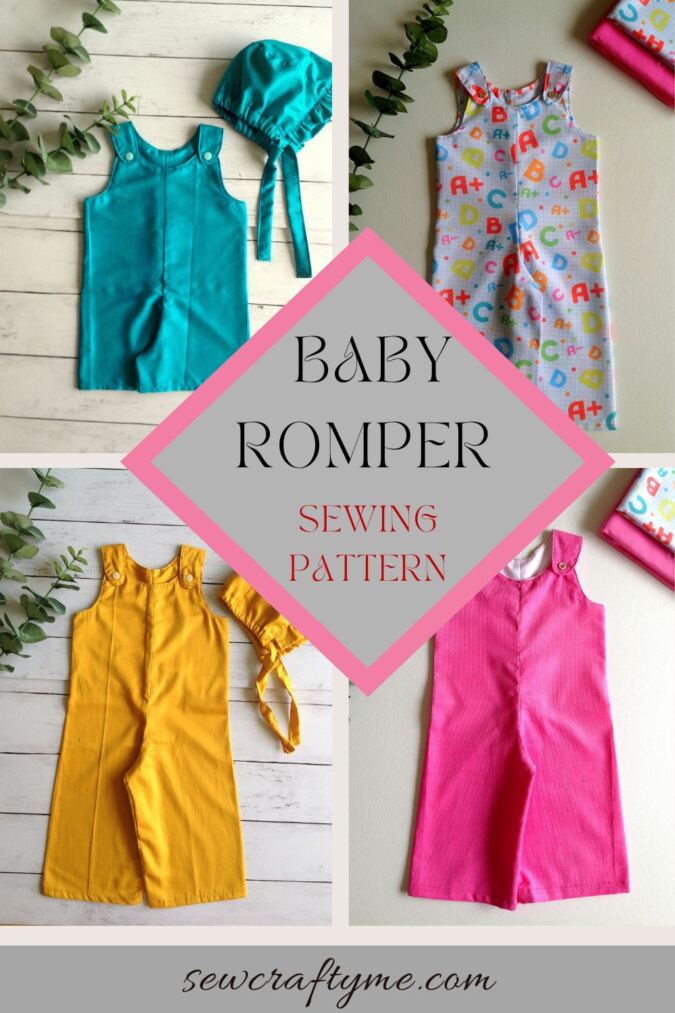
Here is another baby romper pattern from me, but this time for baby girls as well as baby boys. This is a very simple romper pattern that can be made from just two fabric pieces and in just 5 steps. In fact, this is one of the easiest of all the romper patterns.

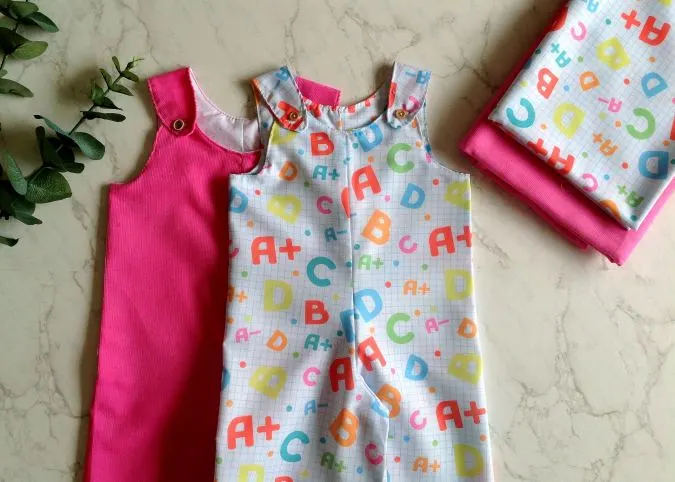
This is a romper pattern suitable for all seasons. You can make it as shortalls for summer or as longalls to be paired with a full sleeve tee- shirt for the colder months.

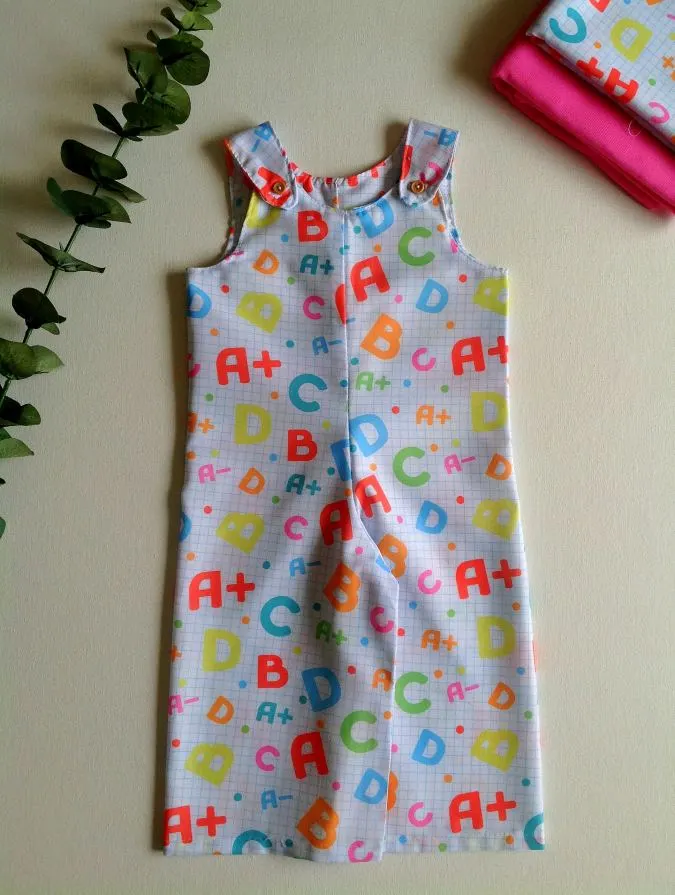
This romper sewing pattern comes with shoulder buttons for closure and as such, it is very easy on and off. That makes it the perfect choice when you plan to sew for a baby.


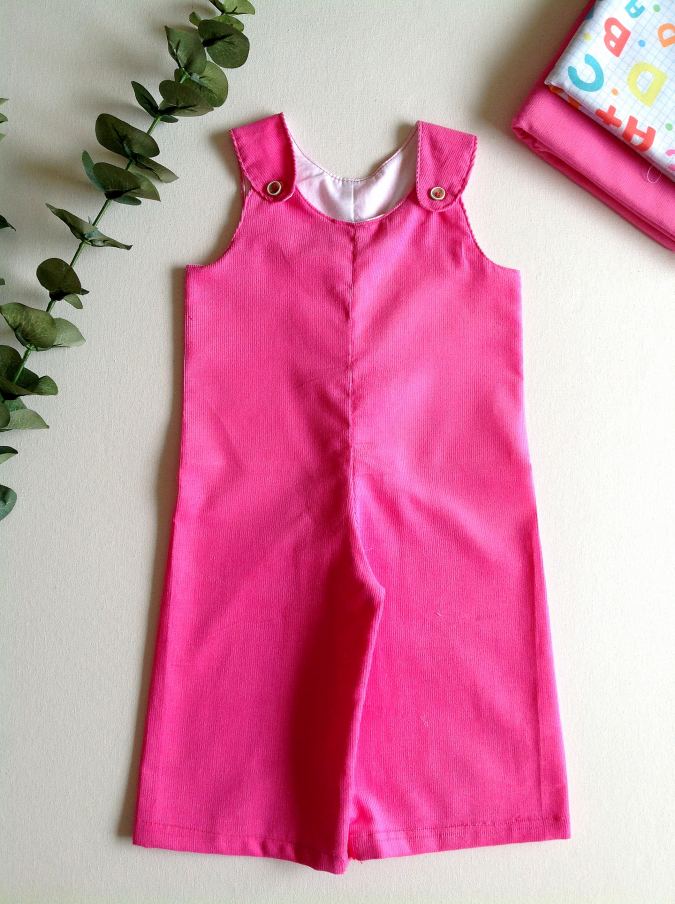
This free baby romper sewing pattern is very easy to experiment with and customize. You can cut solid colors from one piece and cut the other piece from coordinating printed fabric to make stylish rompers that look like store-bought ones.

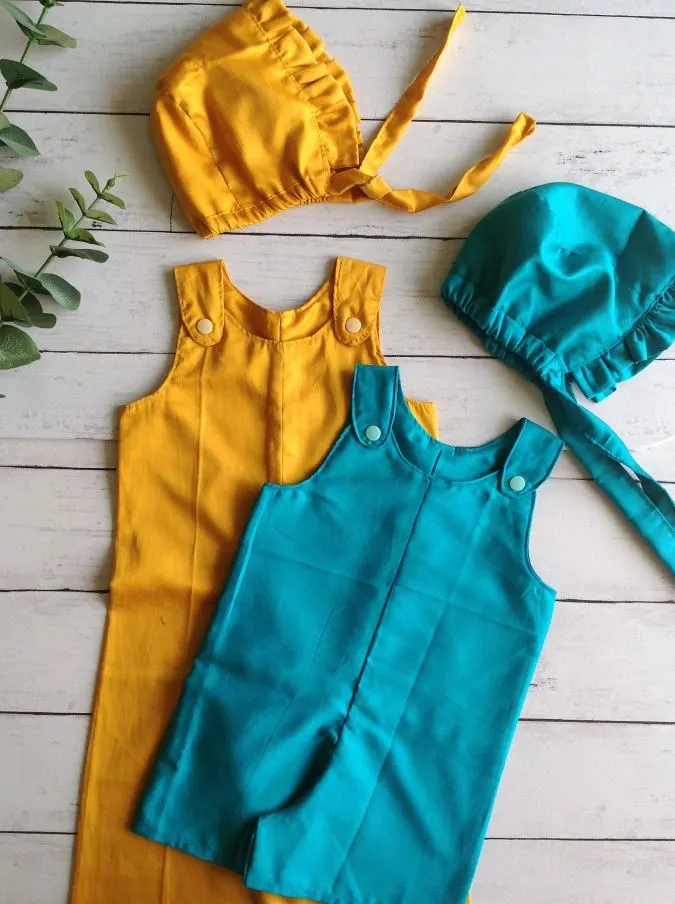
Look at the above baby rompers as shortalls and longalls, I made matching ruffled bonnets too! Doesn’t the pair look like perfect gifts for new moms?
Try out this free romper pattern; it is simple and fun. It is also one of the few baby sewing projects that’s so easy that even a beginner seamstress may complete it with satisfying results.
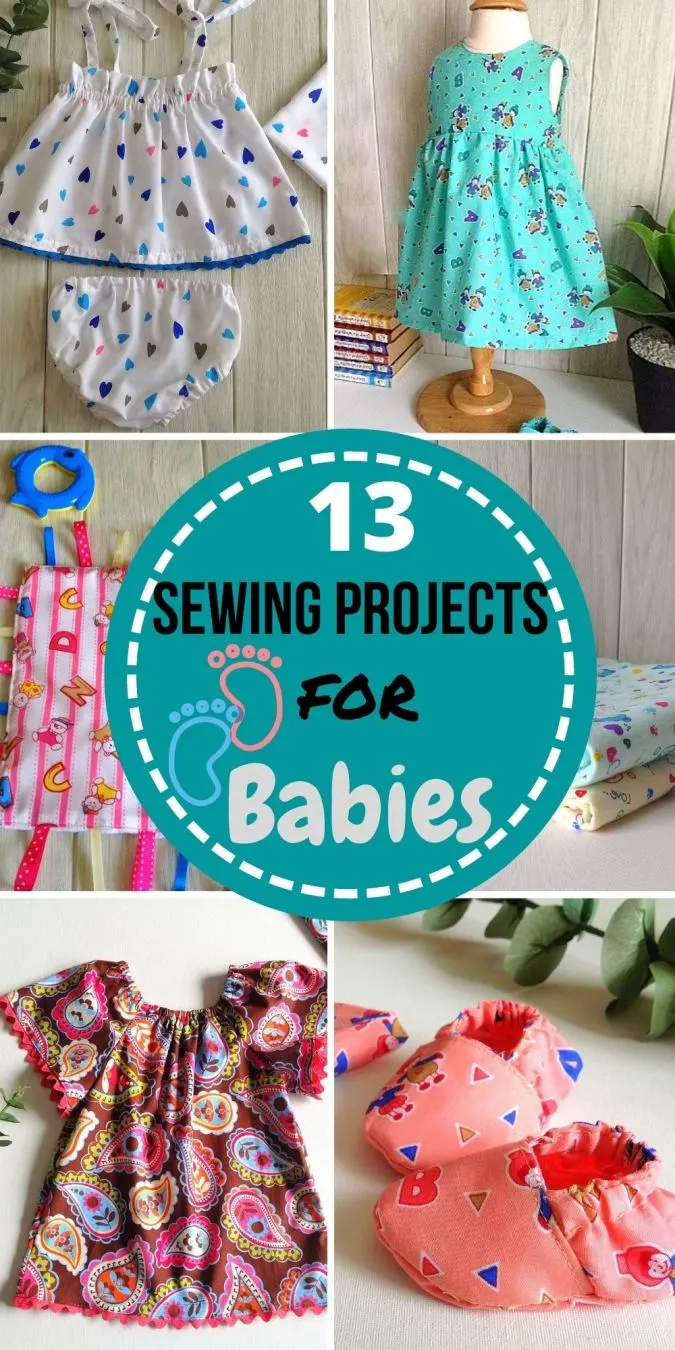
If you would like to see all my baby patterns in one place, click on the picture below:

Easy Baby Romper in 5 Steps
***Skip to the end of the page, for the video tutorial***
Materials Required:
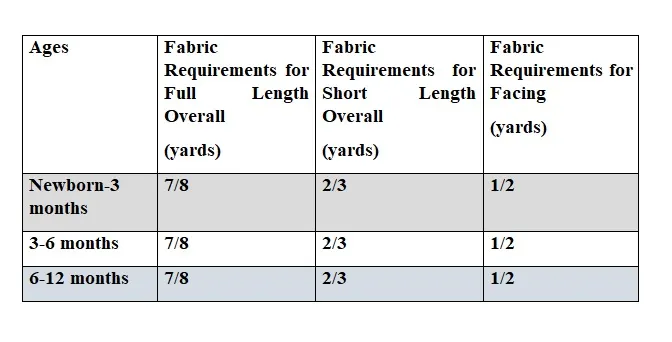
- Fabric for the overall body- you may use medium weight plain or printed cotton fabric, denim, or corduroys-requirement specified in the table-1 below.
- Fabric for the facing- requirement specified in the table-1 below.
- Ornamental buttons for the shoulders-2.
- Sewing Notions.
- Pattern Template.
All the fabrics used here are 44/ 45 inches wide.
The fabrics shown here are only for illustration purposes and as such may vary from the original.
The seam allowance is 3/8 -inch unless otherwise specified.
I suggest you read the entire pattern once before starting to get a general idea.
All seams are to be finished by zigzag or serger.
Fabric Requirements
Table-1
- Pinch to zoom for mobile users.

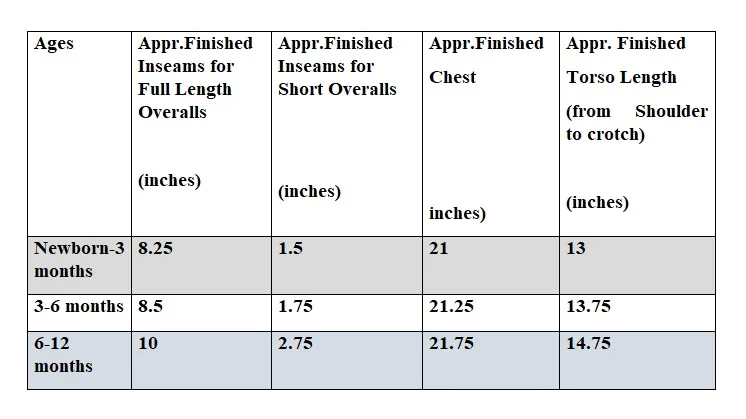
Approximate Finished Measurements
Table-2

Cutting Layout for All Ages.


Take the fabric required for the overall and facing.
Step-1: Cutting The Pieces


Cut the template for the overall from the PDF. Keep the template on the right side of the fabric and mark around it. Cut along the marked line to get one of the pieces for the overall. Repeat the steps on the wrong side of the fabric to get one more of the same piece.


Your overall pieces would look like this (one is the mirror image of the other).

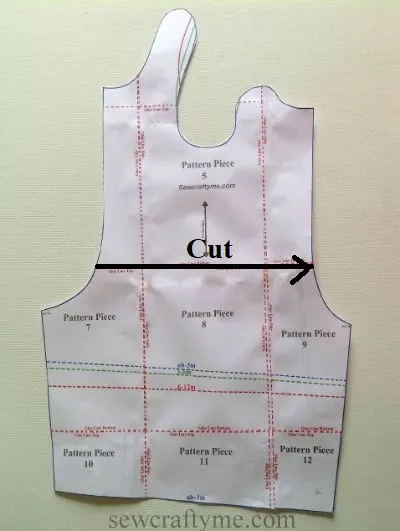
Next, we need to cut the facing for the overall. For that, we use the same template but we cut it short along the first glue line to make a shorter template.


Keep the template on the fabric and cut the facing pieces; again one on the right side and the other on the wrong side of the fabric. Your facing pieces would look like this.
Step-2: Sewing The Center Seams


Keep the two pieces of the overall layered, with the right sides together and aligning the edges all around. Sew along the two sides, starting from the lowest point on the neck to the crotch as shown above.
We move on to the facing pieces.


Take the two pieces for the facing and sew them together just as we did with the overall body pieces. Zigzag all around the lower edge of the facing to prevent fraying.
Step-3: Sewing The Overall and Facing Together


Turn the overall over to the right side and realign it such that the two seam lines fall in the middle, in line with each other. Similarly, place the facing with its wrong side out and slide the overall into the facing.


Align the neck and the armholes of the two pieces together and pin all around.


Sew around the pinned neck and armholes, removing the pins as you go. Now the overall body and facing pieces are sewn together.


Snip the edges to reduce the bulk in the seam.


Flip the facing over to its right side and push it into the wrong side of the dress. Poke out the edges using a mildly sharp object like the tip of a dowel or ruler (picture for illustration purpose).


Press the edges to make it neat and crisp.


Topstitch around the neck and armholes.
Step-4: Finishing The Lower Hem


Align the overall such that the seams come along the sides. Next, fold the lower edge of one of the legs twice by ½-inch and press. Repeat the steps on the other leg.


Sew the hem down on both legs.
Step-5: Finishing The Inseam.


Align the hemmed lower edges and also the inseams of the overall. Start sewing from one of the lower edges, up the inseam to the crotch, and down the other inseam till the other lower edge as marked above. Here again, reinforce the stitches at the start and finish.
Our overall is almost done, we need to do the buttonholes and sew the buttons.


Measure 1-inch from the curved edge of the backstrap and mark the line for the buttonhole, leaving equal space on both sides. Sew the buttonholes following the instructions on your sewing machine. Mark a point 1-inch below the front strap, leaving equal space on both sides. Hand-sew the buttons on both sides at the marked points. Note that you may adjust the position of the buttons and buttonholes after trying it on your child.


This is how it would look like when the straps are buttoned.

Our baby romper is done!
Find the video tutorial below:
Pin it for later here,
I love how this baby romper pattern turned out and can’t wait to see your version! Make sure to share it with us!
Emily
Friday 15th of August 2025
Hi excited to make these but I just paid for the pattern (the payment went through) and no pdf has come through? What should I do? Thanks
Surayya
Saturday 16th of August 2025
Hello, The pattern has been emailed. Kindly check your inbox.
Mazzella
Wednesday 3rd of May 2023
Thank you for these. I love your work, and I can't wait to try them all. 💗
Rose
Tuesday 28th of March 2023
Love the romper pattern will definitely give it a try. thank you for sharing.
MADELEINE NORMAN
Tuesday 26th of July 2022
I am waiting for my pattern download for the baby overalls. Thank you
Surayya
Tuesday 26th of July 2022
The pattern has been e mailed.
Vicki
Wednesday 29th of June 2022
How do I get the pattern
Surayya
Thursday 30th of June 2022
Kindly enter your e-mail address and click the subscribe button in the blue box above to download the pattern pieces.