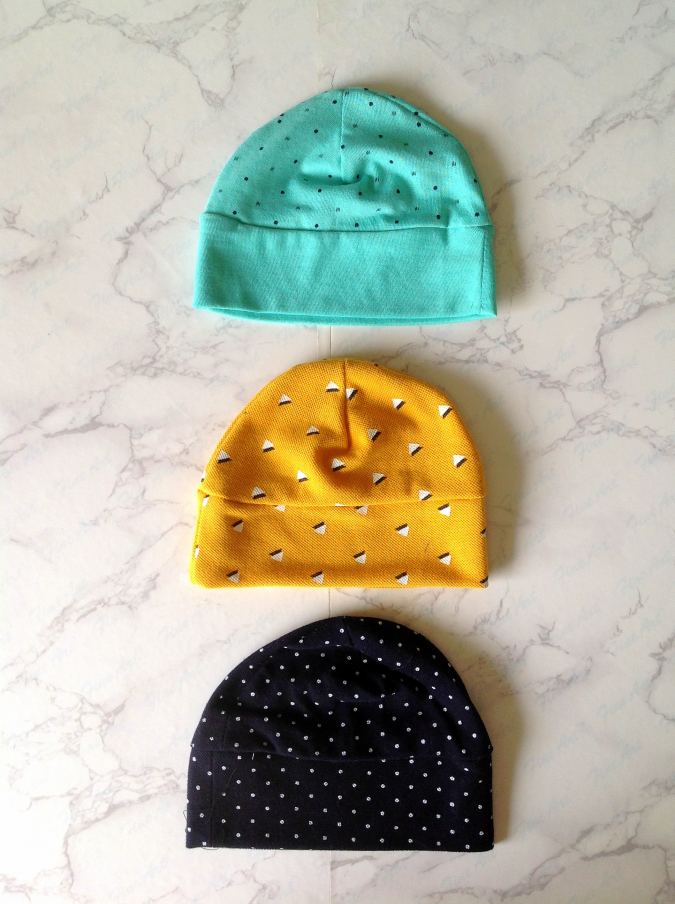
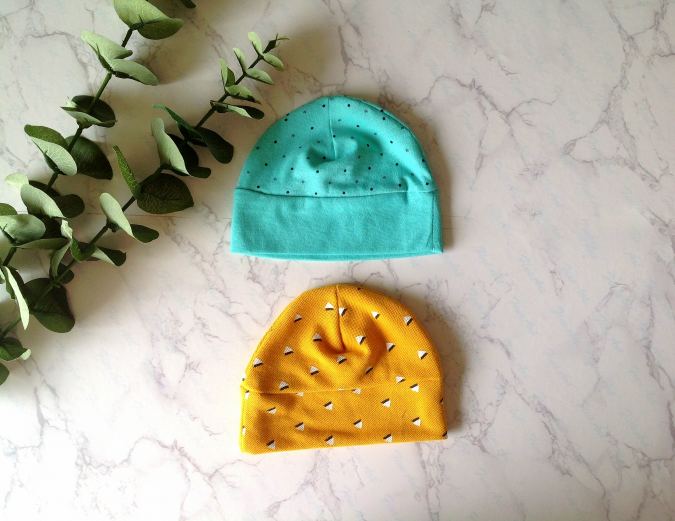
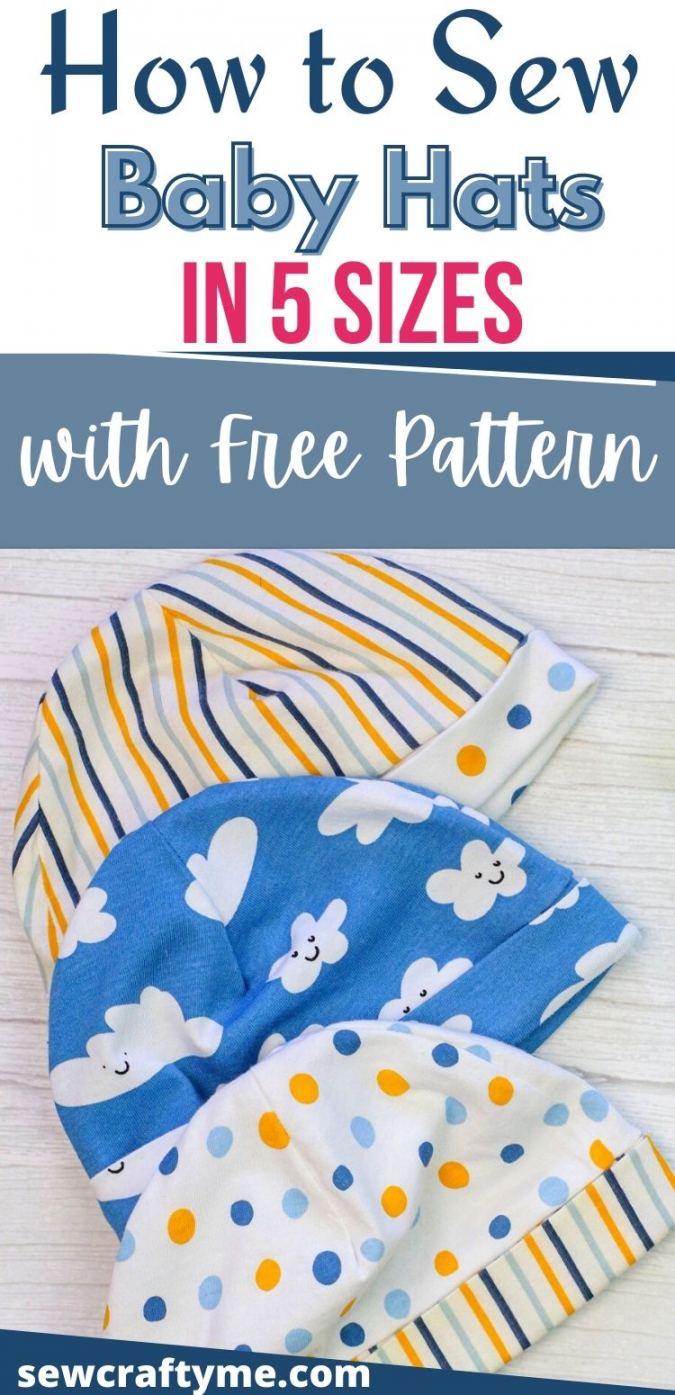
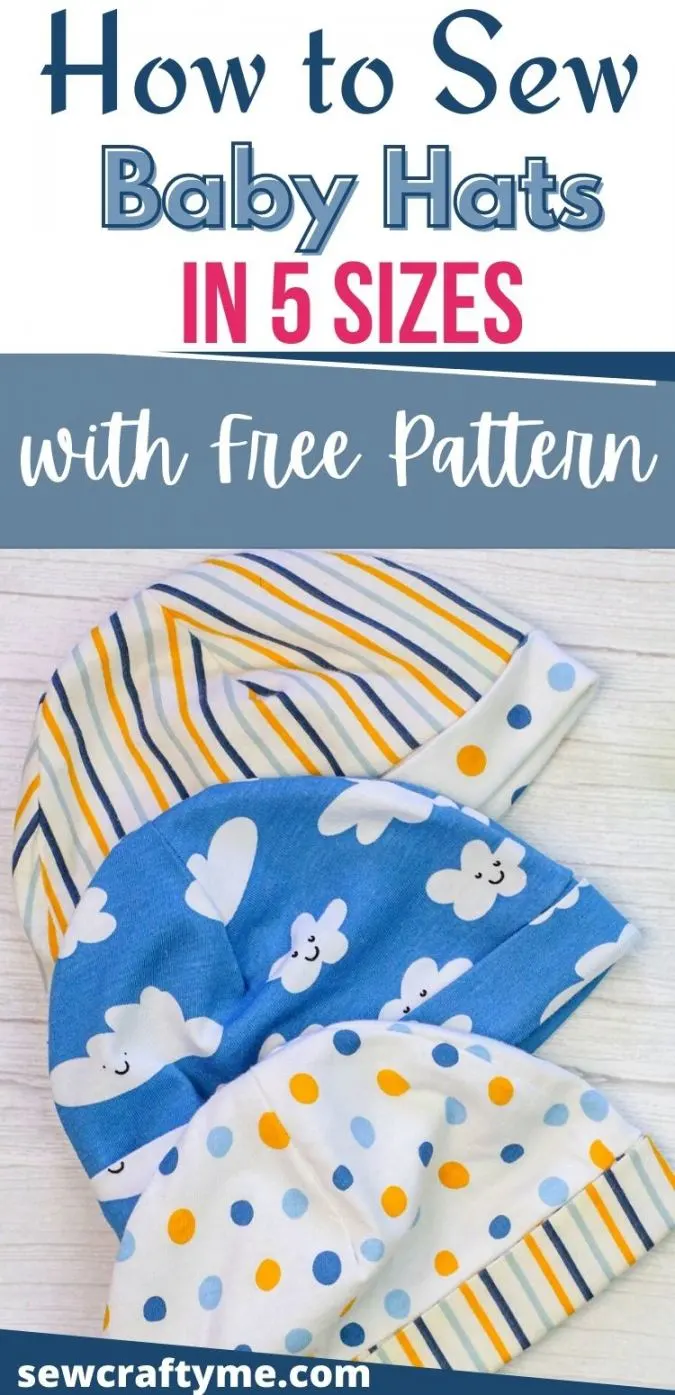
If you are looking for the perfect baby shower gift, here is an easy baby hat sewing pattern for you! This DIY baby hat comes from preemie to 24 months in size and can be made in just 4 steps!


So, I have been releasing patterns after patterns for babies. As I have stated earlier, there are endless things you can sew for babies and now I have come up with another necessary item for your little cutie, an easy DIY baby hat.


If you are wondering how to sew this easy baby hat, I will show you how to make it in just 4 steps. And, if you have trouble sewing with knits, don’t worry I will give you all the instructions to make sewing with knits a breeze for you.
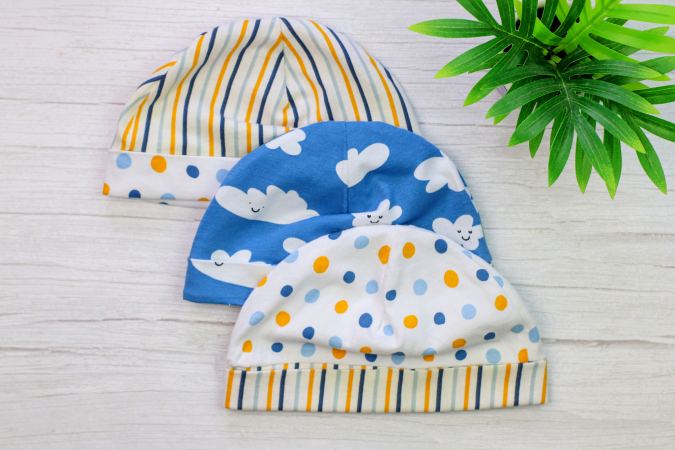
This easy baby hat sewing pattern comes in four sizes. If you know how to sew a curved seam, you are skilled enough to sew one quickly! You can recycle your old t-shirts to sew hats for your little one. In fact, you will get prettier colors and prints by doing so!
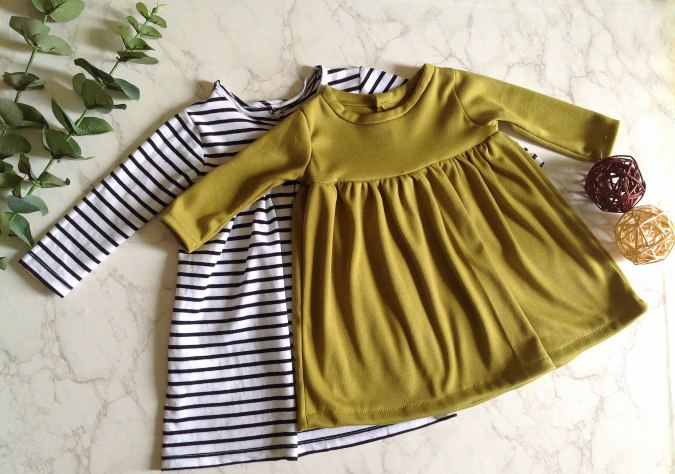
If you would like to sew a knit dress for your little one, click on the picture below:

You can follow the written pattern below or purchase an ad-free PDF for just $ 3.50. The PDF includes templates and measurements for five sizes, starting from Preemie to 24 months. Add to cart here. The Pattern will be emailed to you within 24 hours of payment.
Easy Baby Hat Sewing Pattern/ Sew in 4 Steps
Guidelines for Sewing with Knits.
- Spread out your knit fabric on a large flat surface for cutting. This prevents it from getting stretched and distorted.
- Secure the pattern pieces by using ballpoint pins or pattern weights. This would keep the knit fabric underneath from moving and would keep it in place.
- Use polyester thread or a cotton-polyester thread to allow for stretch.
- A ball-point needle is a must for sewing with knits.
- Use a narrow zigzag stitch for necklines, armholes, and hems. You may use a straight stitch for the side seams. Try stitching on a double layer of scrap before sewing on your actual fabric.
- Take care not to stretch the fabric while sewing. Hold the fabric up to keep it flat near the machine. If you have an option in your machine to reduce the pressure of the presser foot, that would be great too.
- Since knit fabrics do not ravel, you don’t need a serger. But if you need a professional finish and you have just an ordinary machine, you may go ahead and use the zigzag for the finish.
- *All the fabrics used here are of 58- inches width. You may require extra if your fabric is not as wide as this.
- *The fabrics shown here are only for illustration purposes and as such may vary from the original.
- *I suggest you read the entire pattern once before starting to get a general idea
Supplies:
- ¼ yard of jersey knit or interlock knit fabric (or any other knit fabric with a 4- way 50% stretch ($7.49 per yard at Joann = $1.87 per ¼ yard))
- Sewing Machine
- Ballpoint needle for knit fabrics
- Matching stretch thread
- Sewing pins or clips
- Standard sewing scissors
- Cutting mat and ruler, measuring tape or ruler
- PDF Baby Hat Pattern. * Enter your e-mail address and click the subscribe button to start downloading the template automatically.
Skill Level: Beginner
- Approximate time to complete: 20-30 minutes
- Approximate cost to make: $0.94 (you can make 2 hats from ¼ yard of fabric for the 6-12 months and smaller)
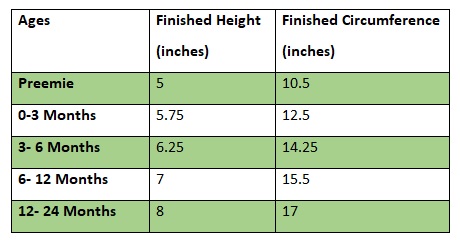
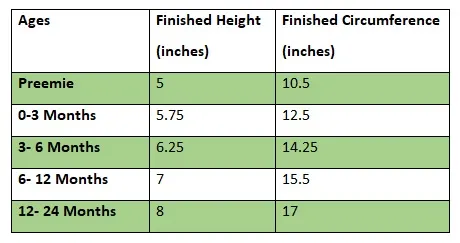
Approximate Finished Measurements (Hat Band Unfolded)
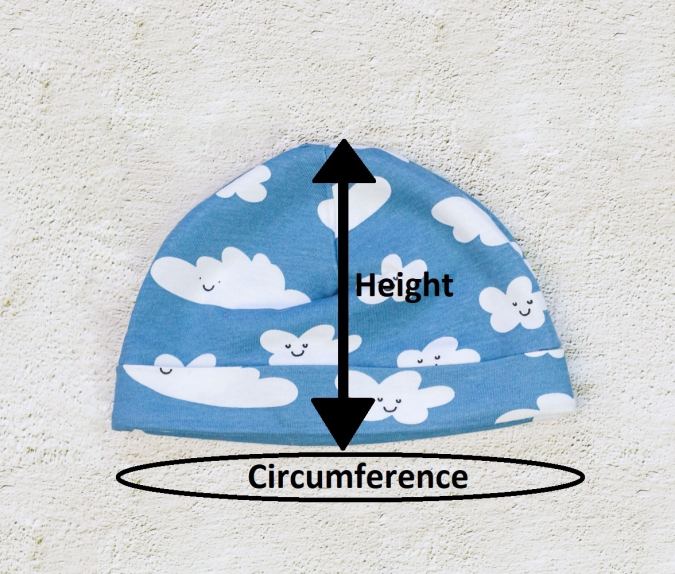
Table
Instructions:
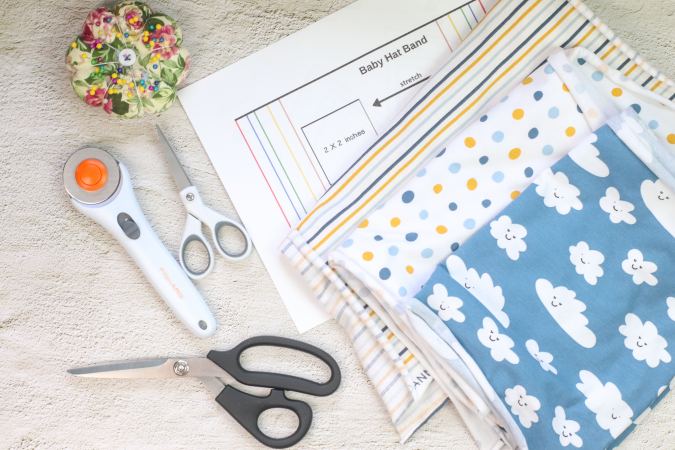
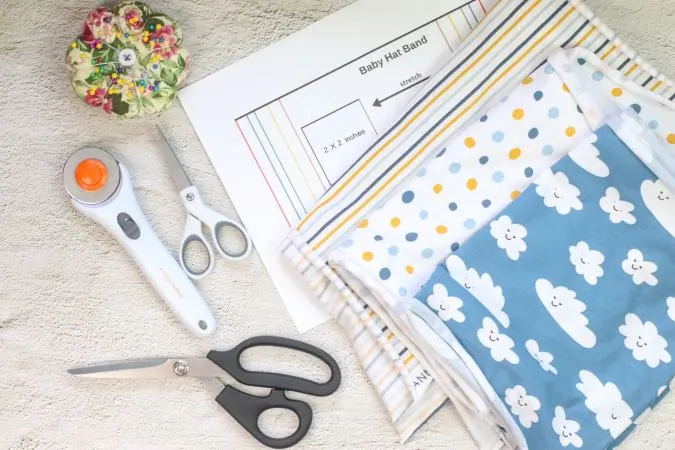
Gather your supplies
Step-1 Cutting The Pieces

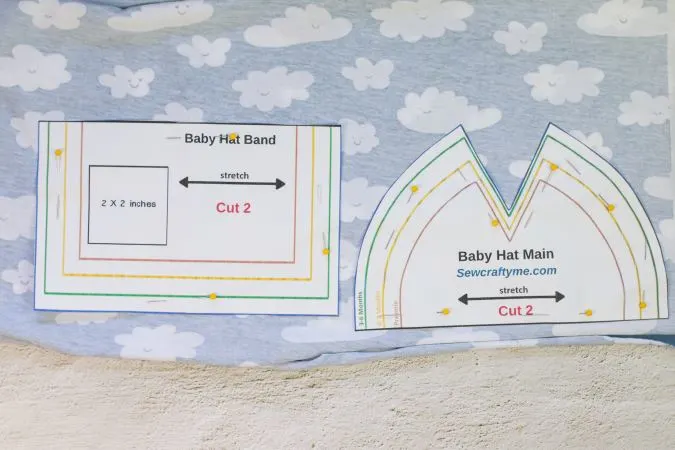
Place the pattern pieces on the fabric and cut (2) pieces of the Baby Hat Main and (2) pieces of the Baby Hat Band.
Step-2 Preparing The Baby Hat Main
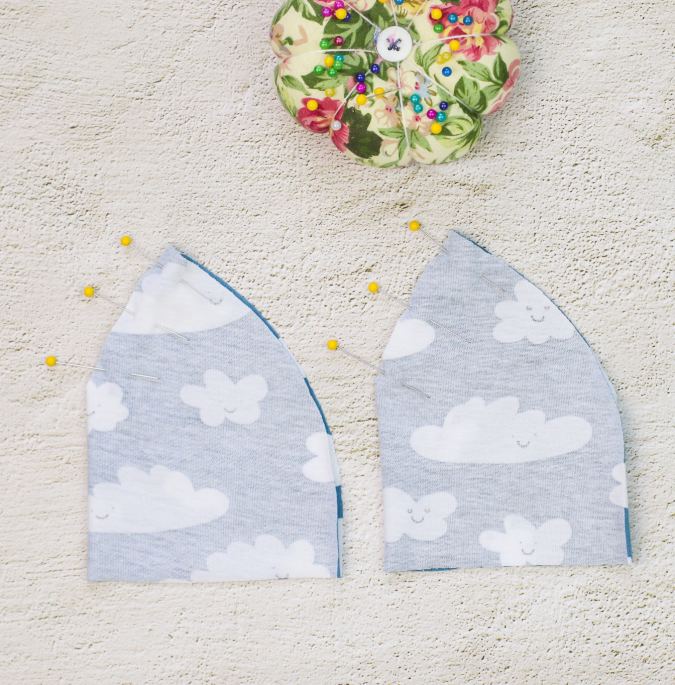
With right sides facing together, fold the Baby Hat Main pieces in half with the slanting edges lined up and pin. Sew along the slanting edge to create a dart. * The dart would give a three-dimensional shape to the hat.

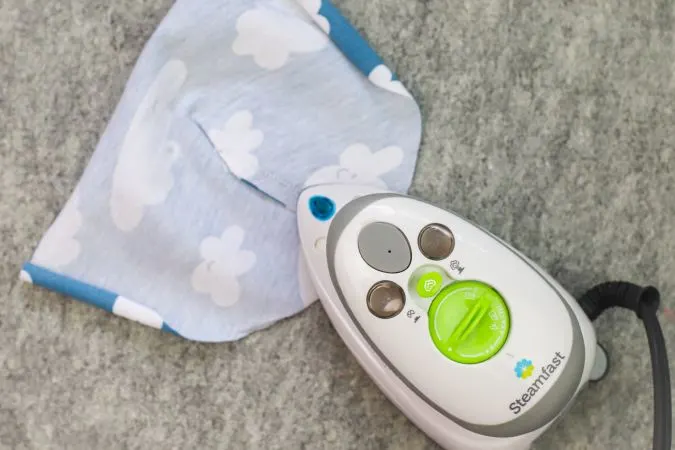
Using a warm iron, press the dart on the Baby Hat Main piece to one side.

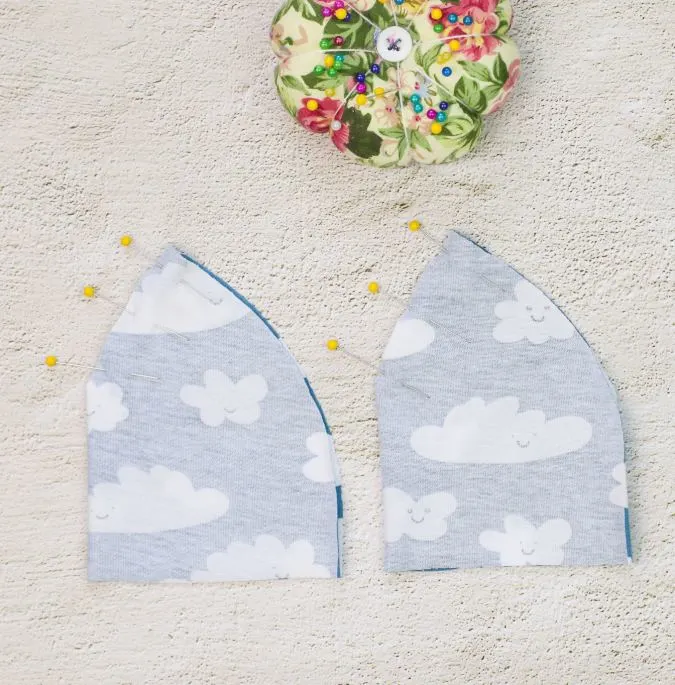
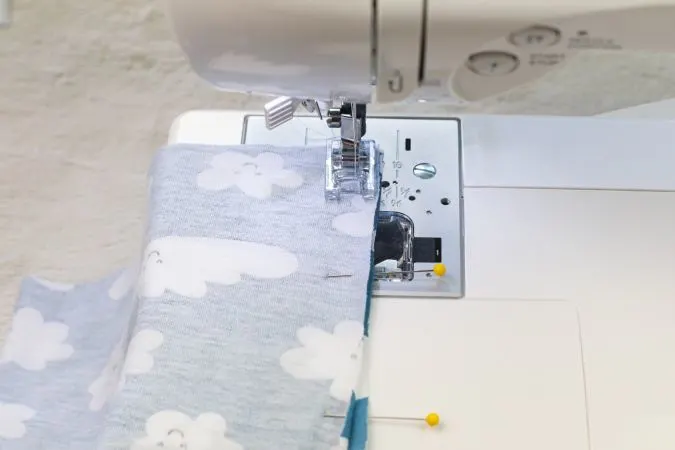
Place the Baby Hat Main pieces with right sides together, lining up the darts and the curved edges. Pin or clip together along the curved edges.
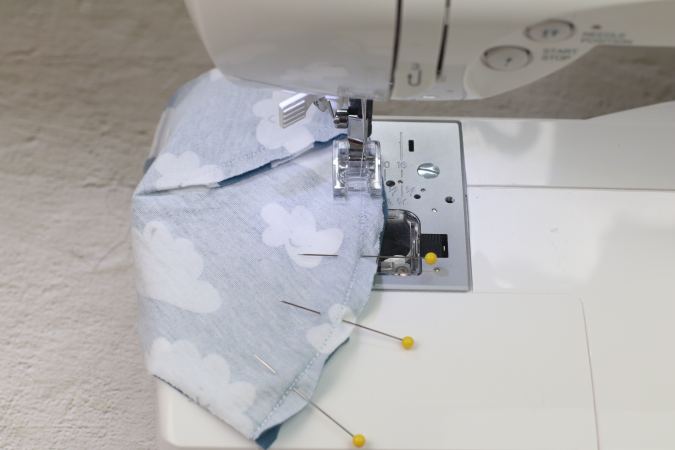
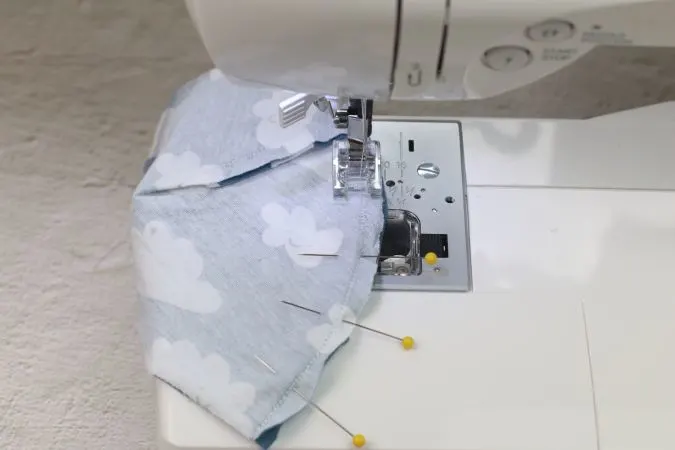
Using a ¼ ” seam allowance, sew around the pinned section of the Baby Hat Main piece.
Step-3 Preparing The Baby Hat Band
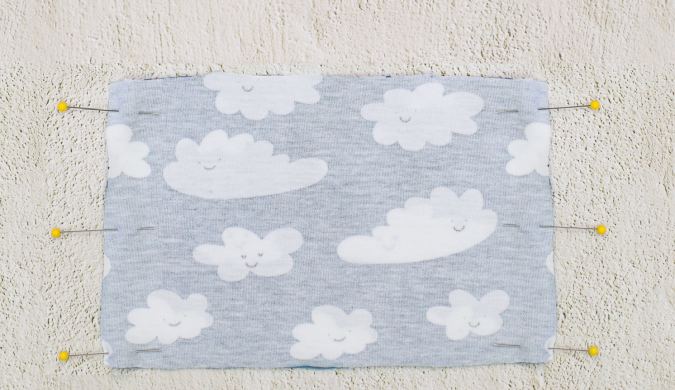
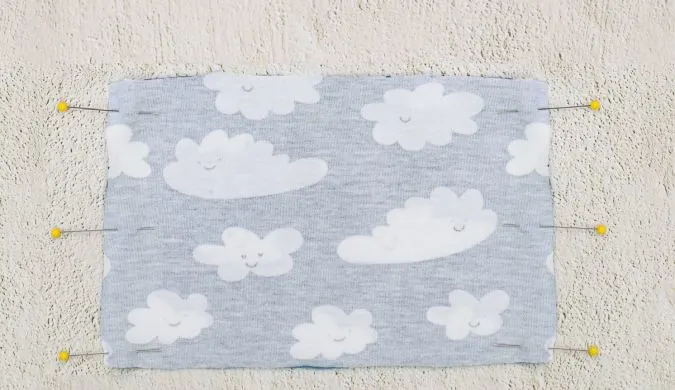
Layer the Baby Hat Band pieces with right sides together, lining up the raw edges. Pin along the two short edges.

Using a ¼ ” seam allowance, sew along each of the pinned sections of your pieces. You will get a fabric tube.
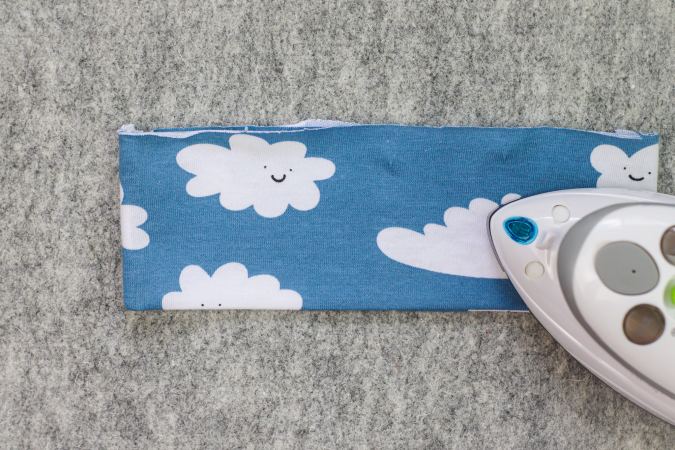

Using a warm iron, press open the seams. Next, fold the hat band in half lengthwise with wrong sides together and raw edges touching. Using your warm iron, press all the way around.
Step- 4 Attaching the Baby Hat Band to The Baby Hat Main
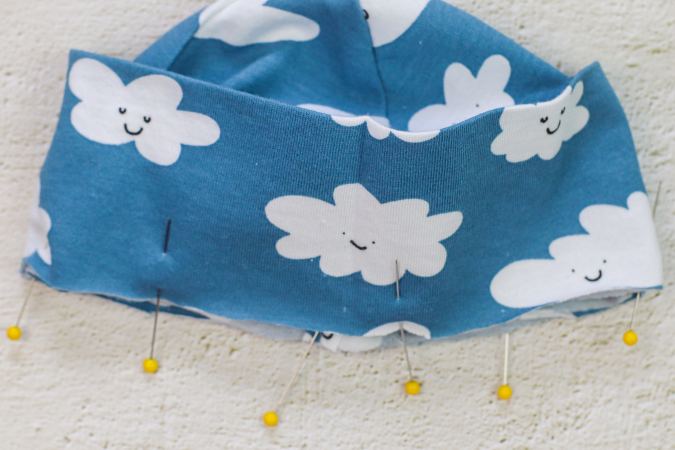

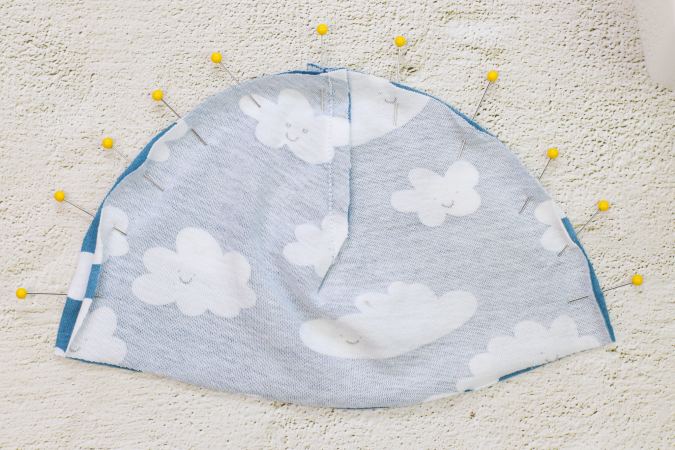
Turn your hat right side out. With the folded edge of the Baby Hat Band facing the top of the Baby Hat Main, pin the band to the hat with right sides facing and raw edges touching. I first lined up my seams on the band to the seams on the hat and pinned around from there.
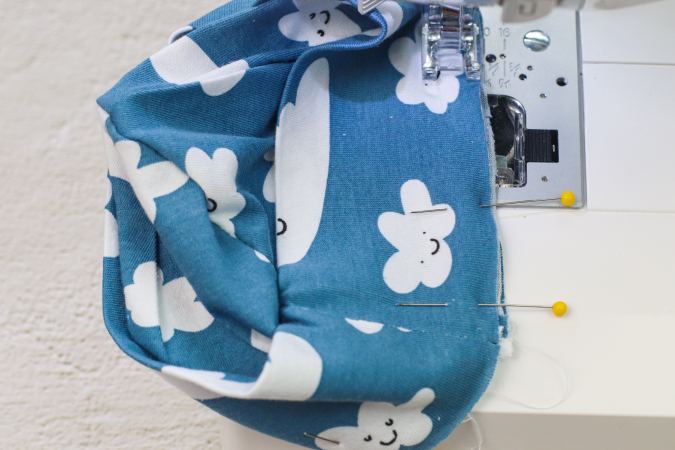
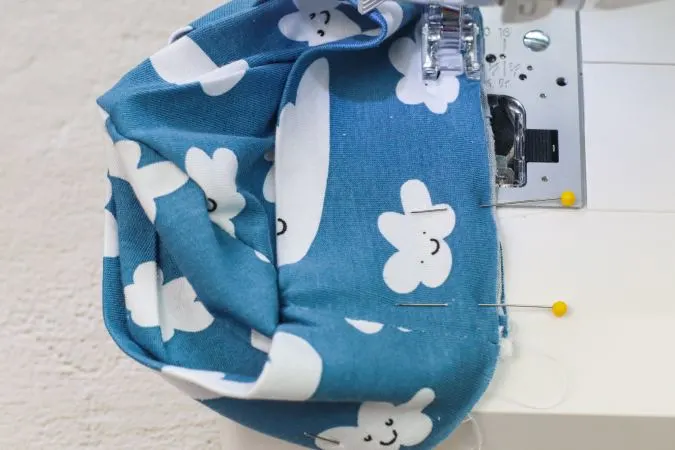
Using a ¼ ” seam allowance, sew all the way around the pinned area, connecting the band to the hat.

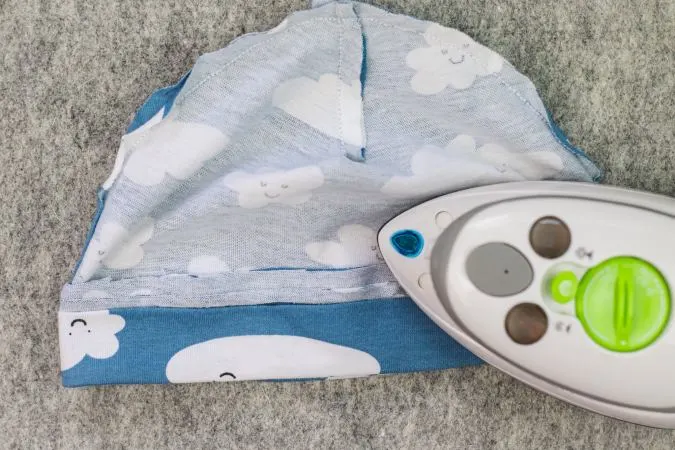
Press the seam allowance between the band and the hat open and then bring the right side of the hat out.

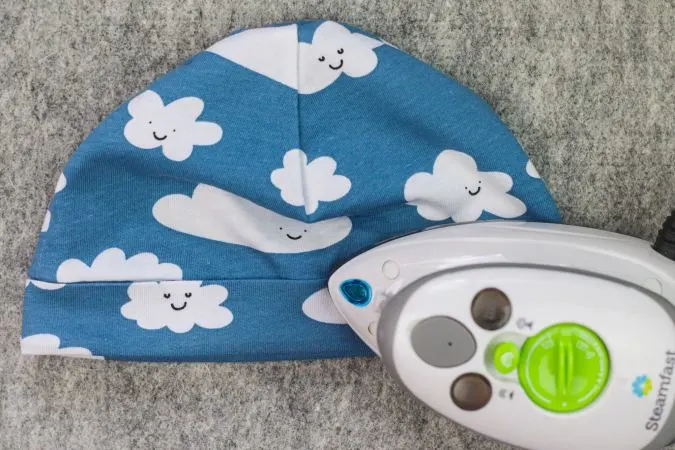
Fold the band so it touches the seam where the band meets the hat and press with a lot of steam.
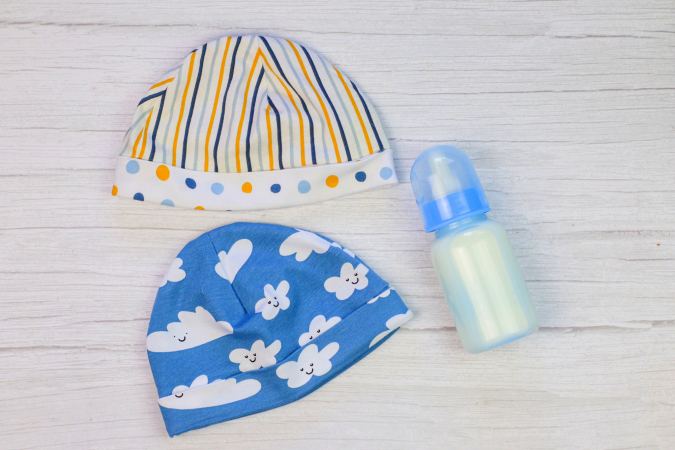

Enjoy our easy baby hat!
- Tip: You can make your little one wear the hat with the band unfolded for a slouchy look or with the band folded for a more fitted look.
Find the webstory on the post here, Quick 4-Step Baby Hat Sewing Tutorial
Pin it for later here,
You are all finished. Give the baby hat to a friend’s baby or make a few for your own!
Tracey Wright
Wednesday 8th of November 2023
Couldn’t print the pattern for this hat downloads ok but when l print it on my printer it’s prints out blank. Wanted to make one for a baby present to give tomorrow they do look lovely though
Alma Montenegro
Tuesday 9th of August 2022
Thank you for sharing, have made a lot of this cute little hats for presents.
Christine
Friday 3rd of September 2021
The hat looks so cute. Can't wait to try it!
Surayya
Friday 3rd of September 2021
Thank you, glad you liked it!