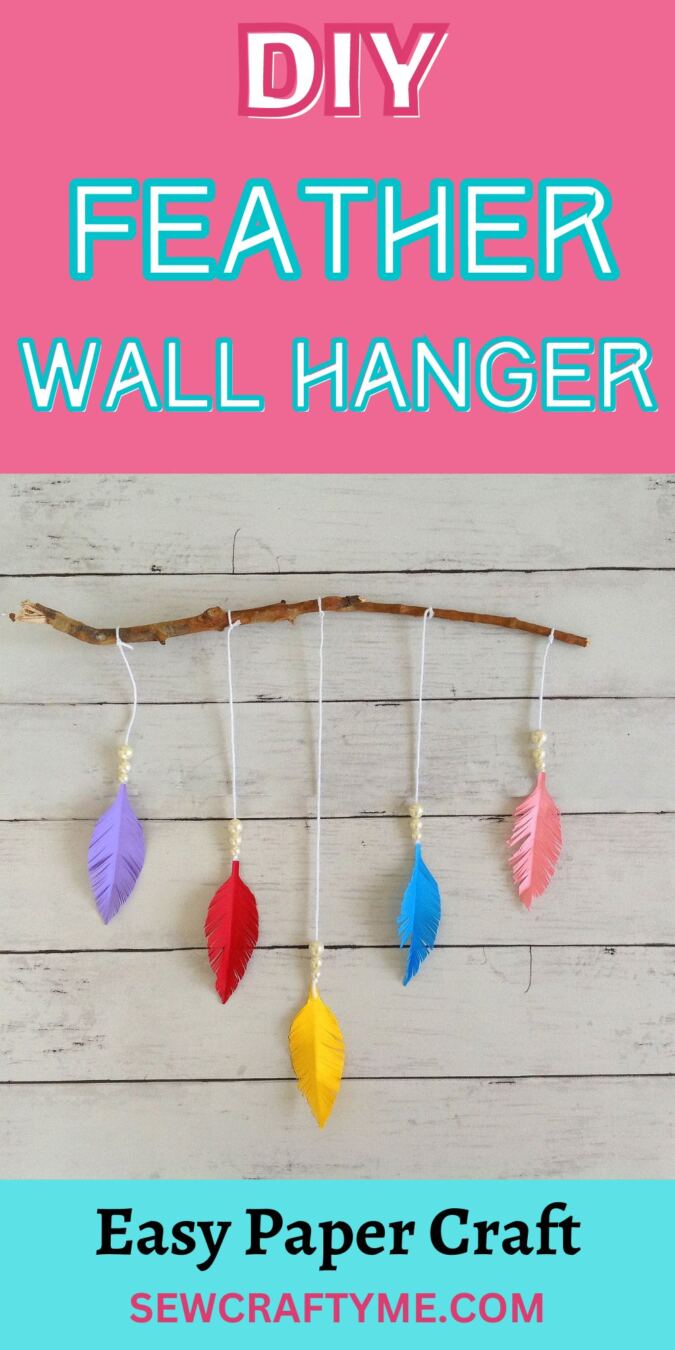
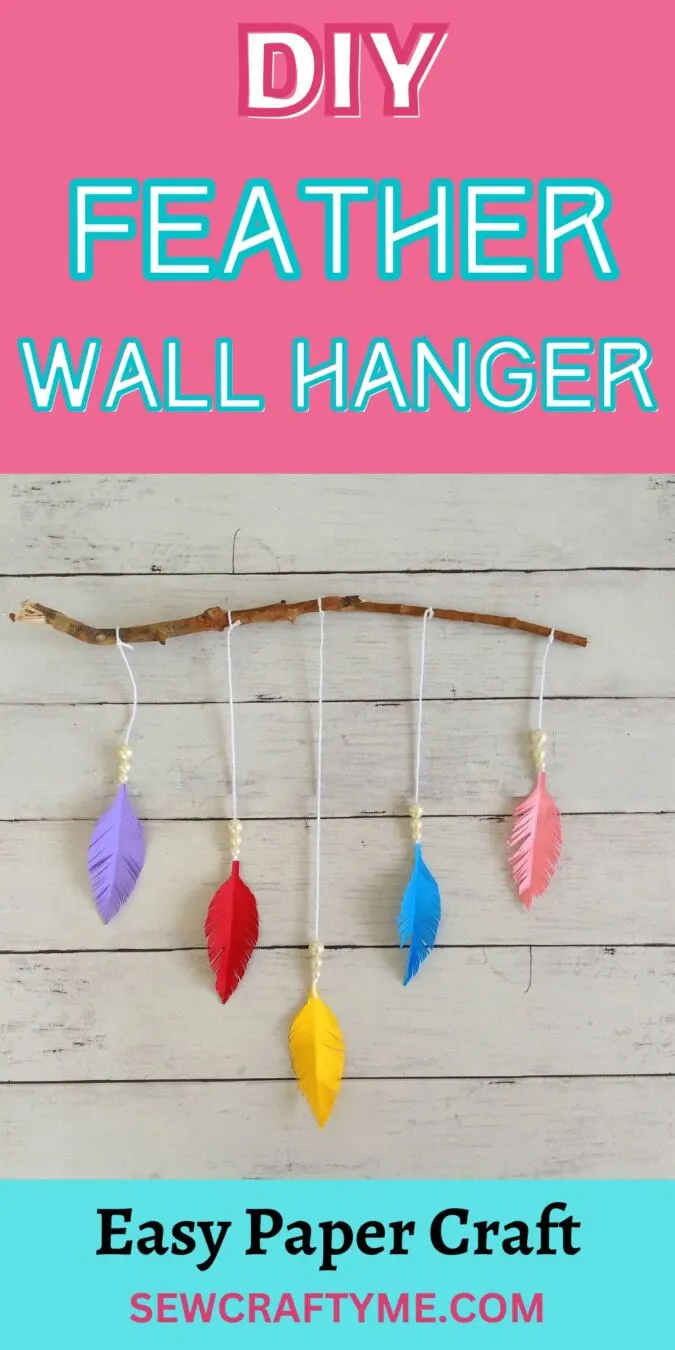
I am delighted to share this tutorial for creating a paper feather DIY wall hanging with you. It’s a craft project that both kids and adults can enjoy.
These feather wall hangings can be made for a variety of purposes, such as decorations for a baby nursery, or kid’s room or even as colorful decorations for a baby shower or birthday. The feathers are suspended on yarn and can be adjusted to your desired spacing.
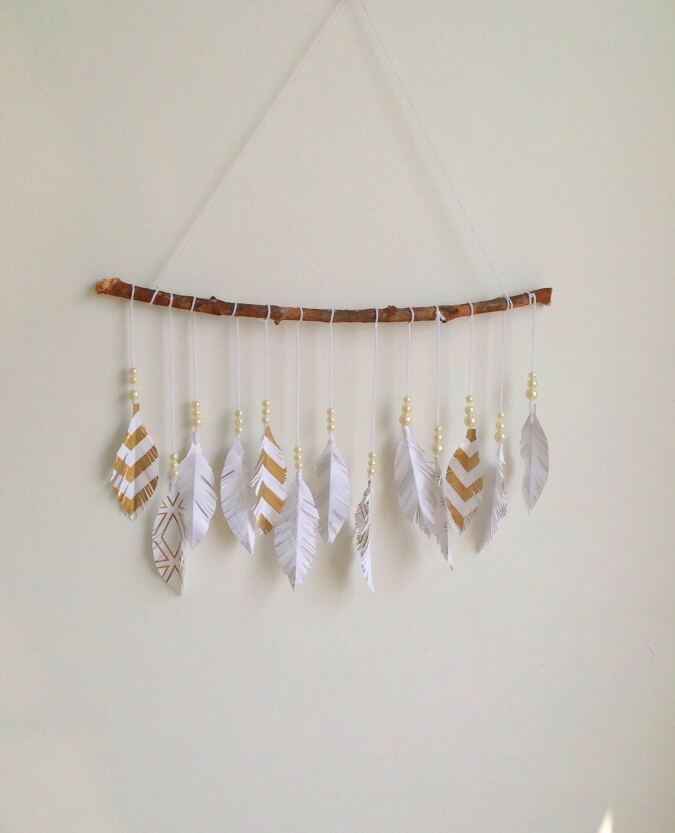
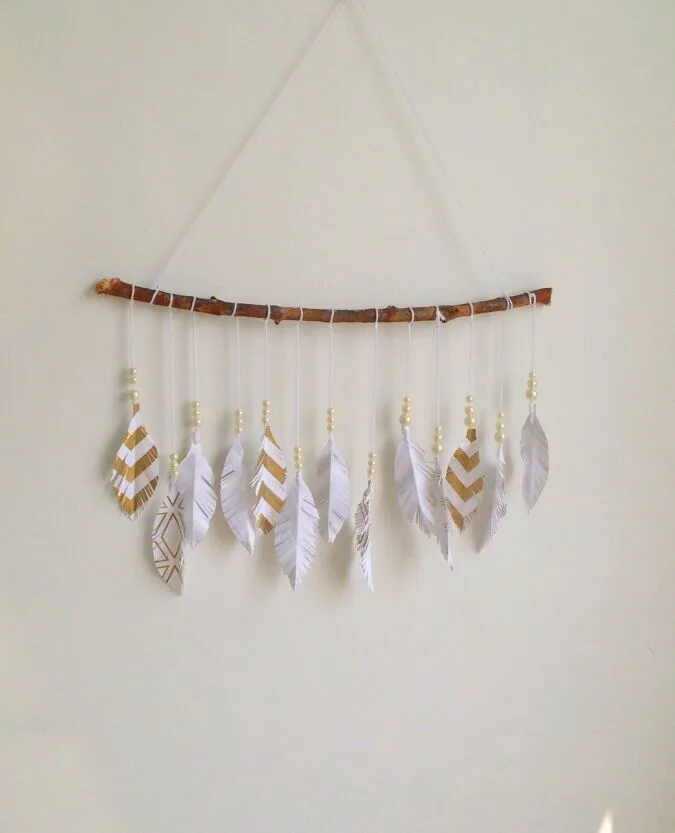
Here I have used cardstock paper with a beautiful golden design to create this feather hanging. The end result is a stunning wall-hanging piece that will bring life and energy to your living room, bedroom, and more.
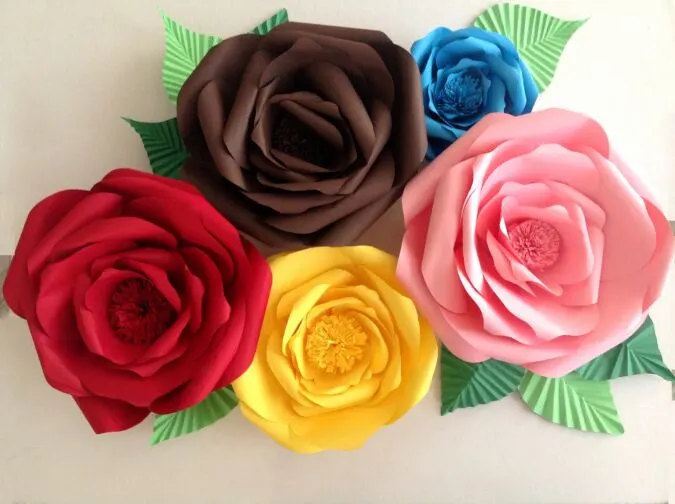
Would you like to see how easy it is to make large paper flowers? You don’t even need a cutting machine to make one! Click on the picture below to have a look at the tutorial.

DIY Paper Feather Wall Hanging
Supplies Needed:
Cardstock paper in 5 colors.
Crochet or knitting yarn.
A piece of twig, approximately 1/2 yard long.
Ornamental beads- 15 numbers.
Glue gun.
Scissors.
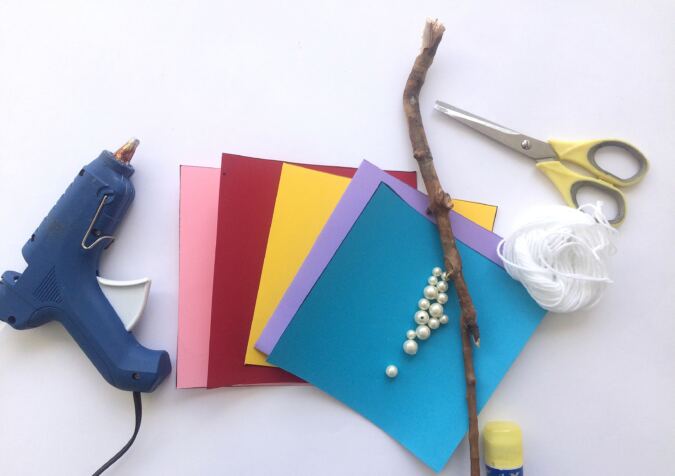
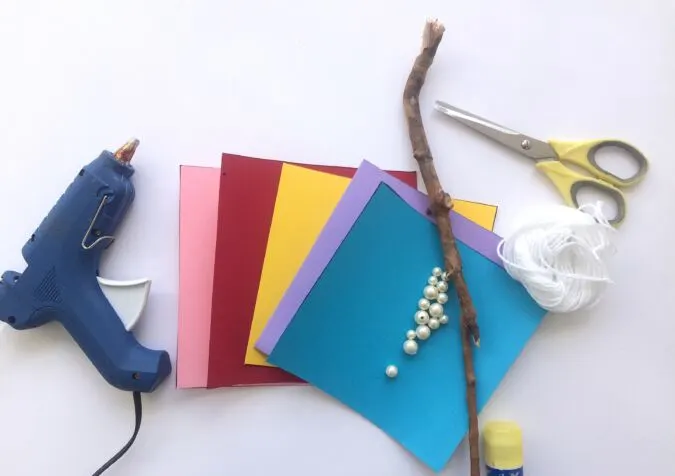
Gather your supplies.
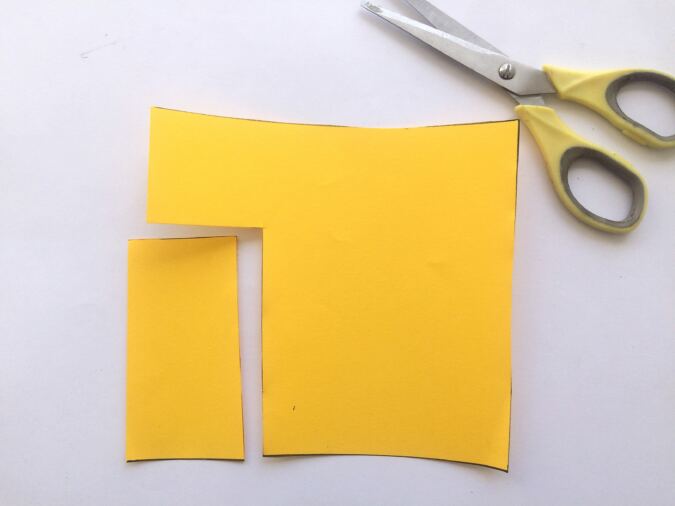

Cut one piece 1.25 inches wide and 4 inches long from the cardstock paper.
Repeat on all five colors of cardstock paper.

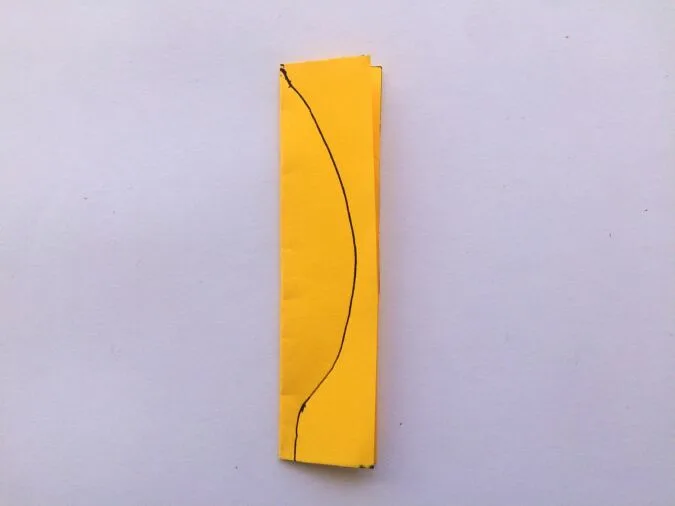
Take one of the paper pieces and fold it in half lengthwise. Draw the shape of a half feather on it. Fat in the middle and tapering at the end.


Cut along the line to get the feather piece.
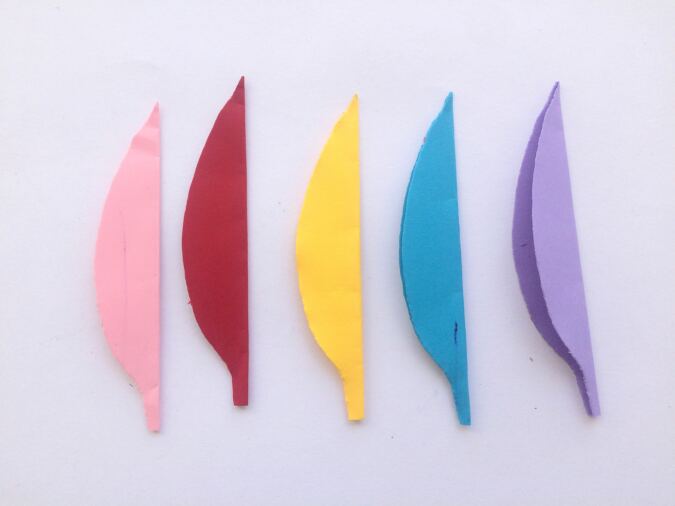
Repeat on all the colors of the cardstock.

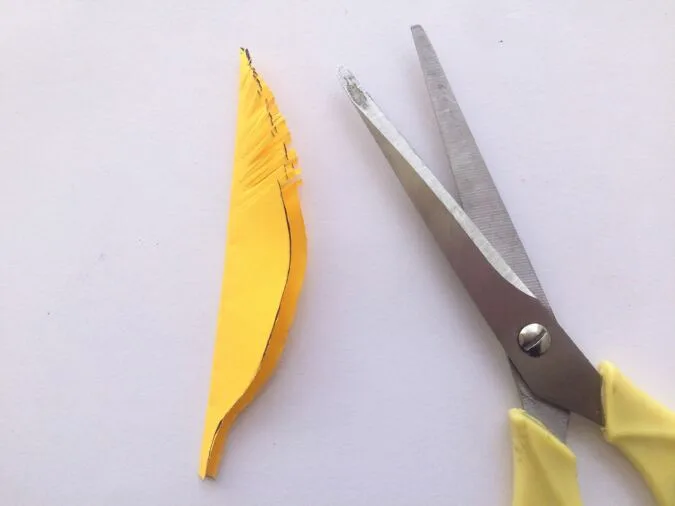
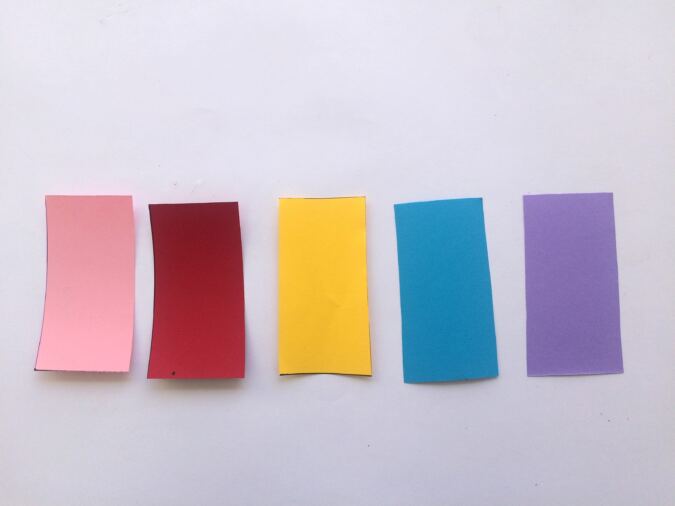
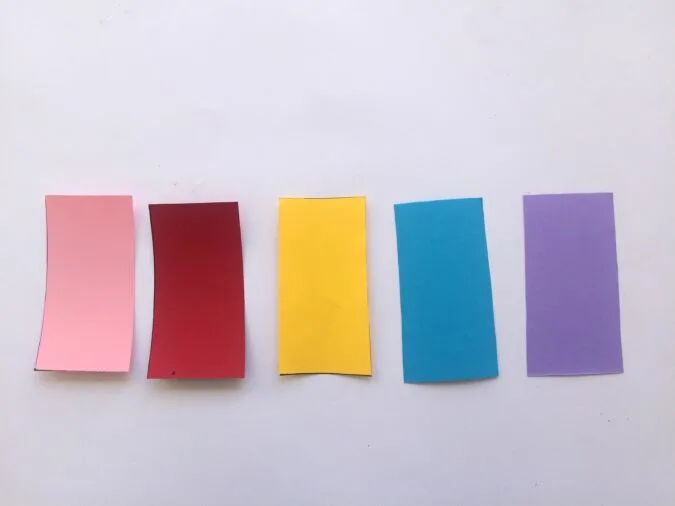
Cut fringes along the entire curved edge of the piece. Make the cuts as close as possible to get narrow fringes.
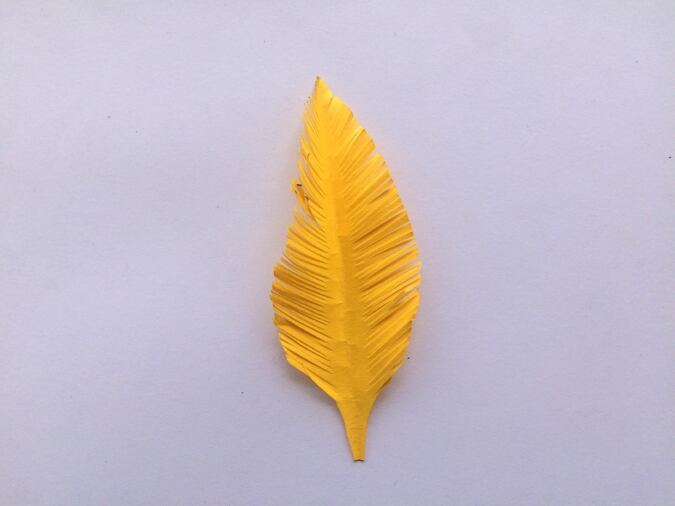
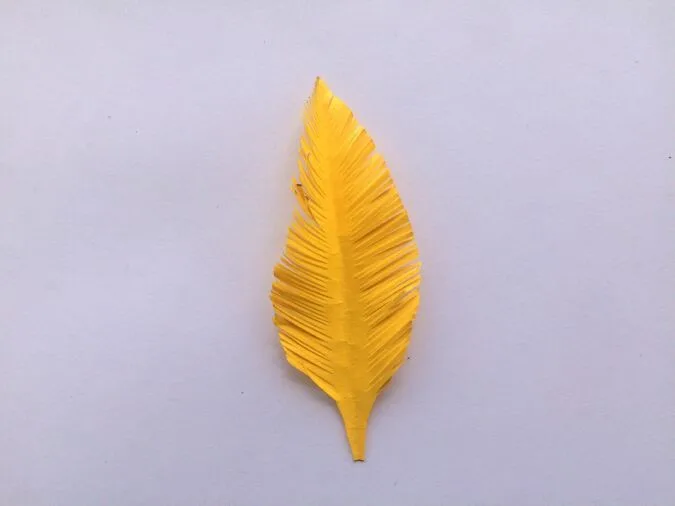
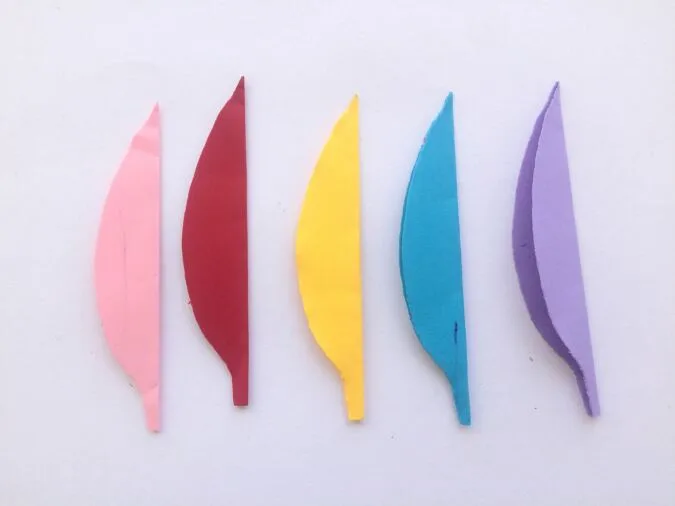
This is how it would look once opened.
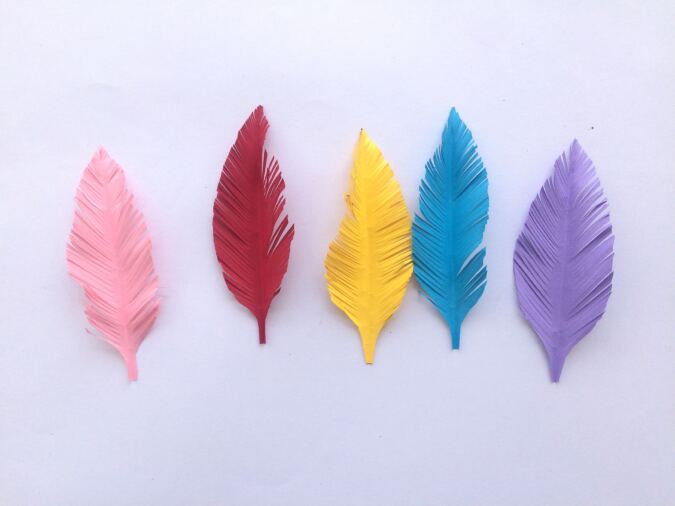
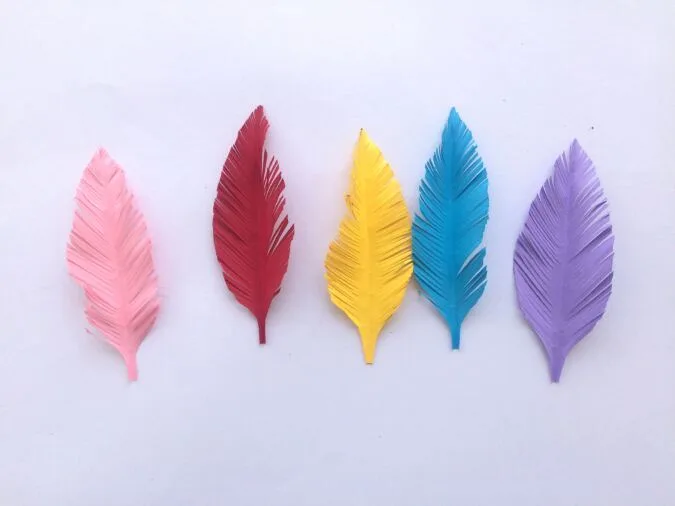
Repeat on all 5 colors.
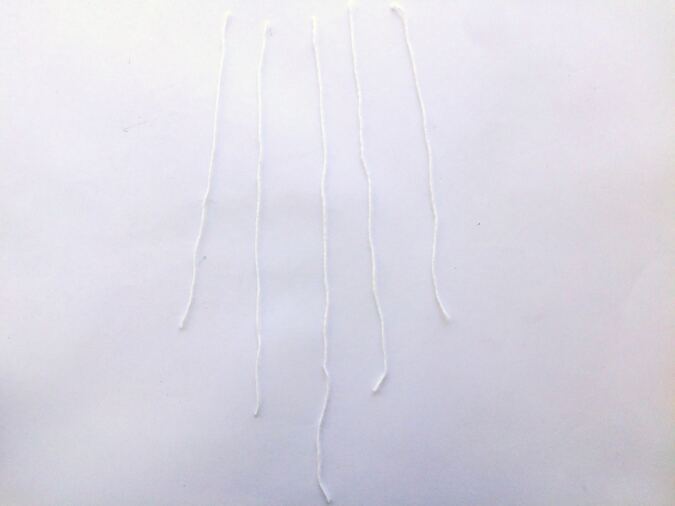
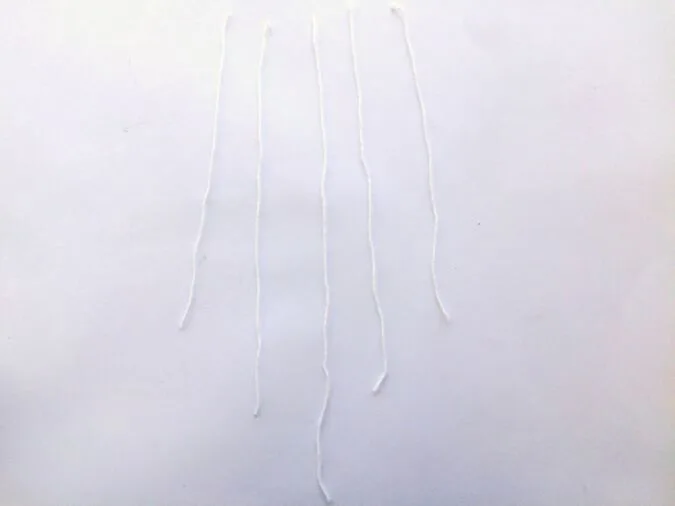
Take five pieces of yarn. You will need one piece 8- inches in length, two pieces 6 -inches in length, and two pieces 4- inches in length.

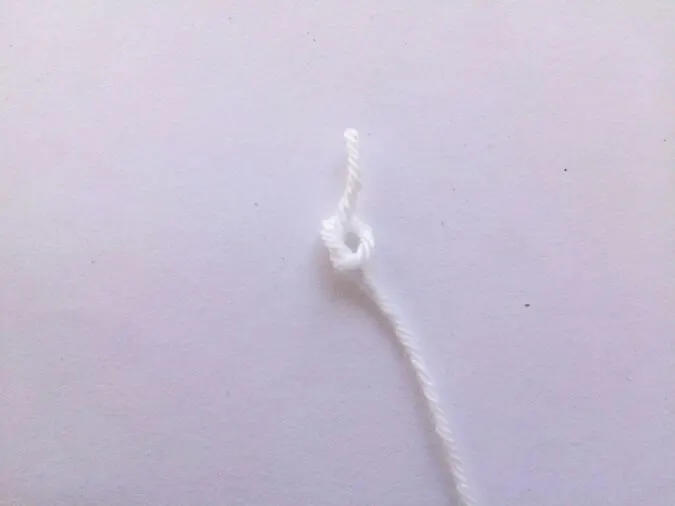
Take the longest yarn piece and tie a knot at one end.
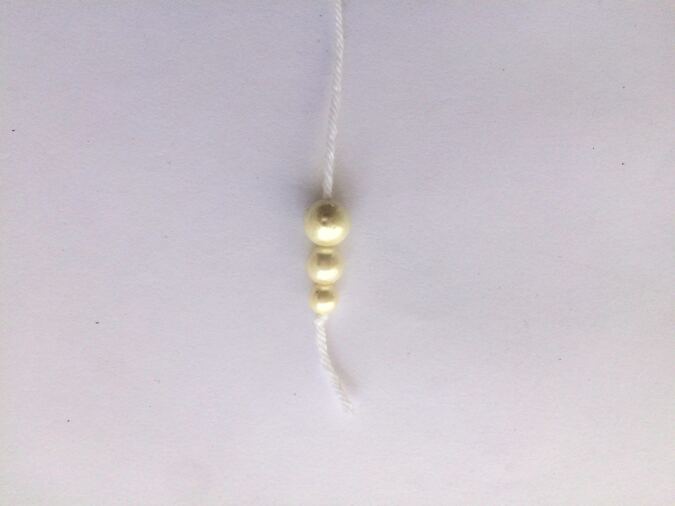

Thread three beads through it.
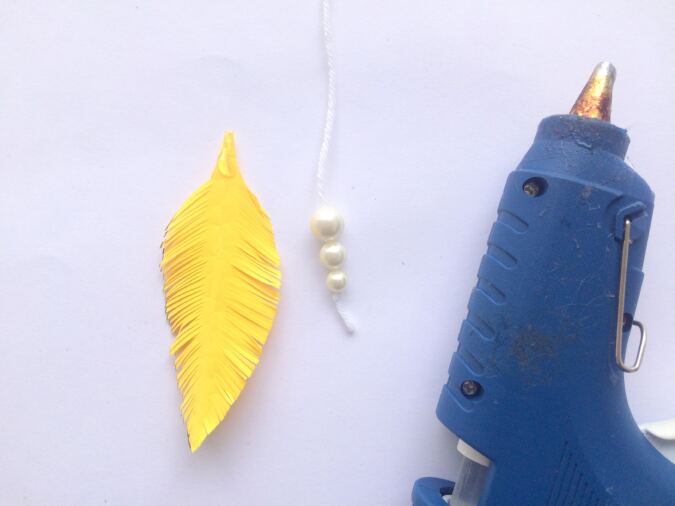
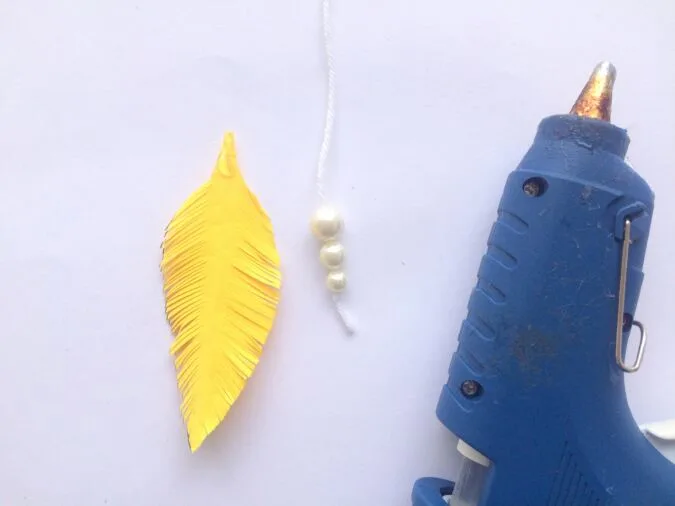
Apply hot glue on the underside of the shaft of the feather and attach the small part of the yarn, beyond the beads over it.
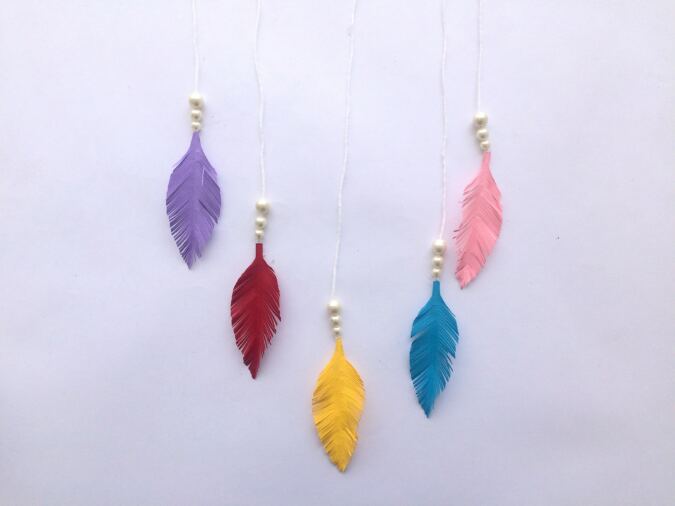
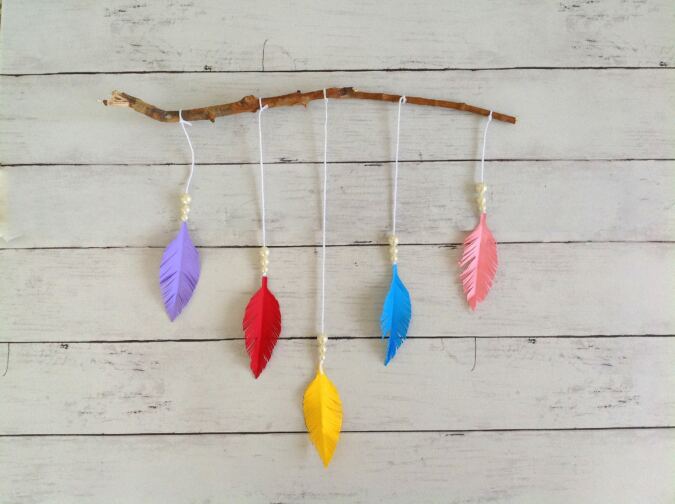
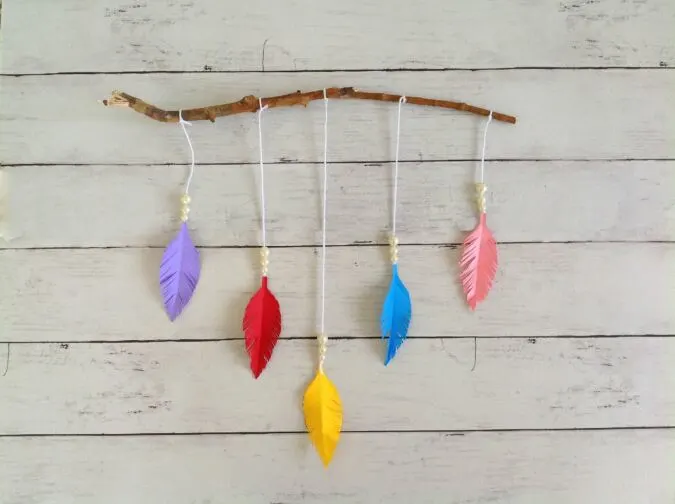
Repeat the steps on the remaining feather and yarn pieces. Arrange them in a similar order as shown above.

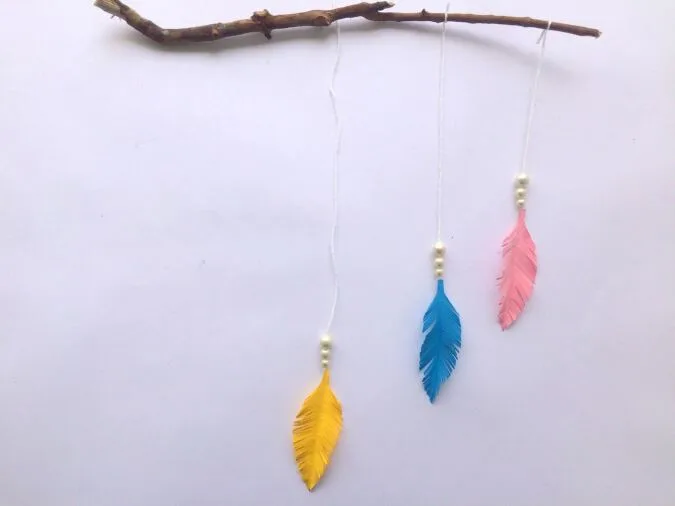
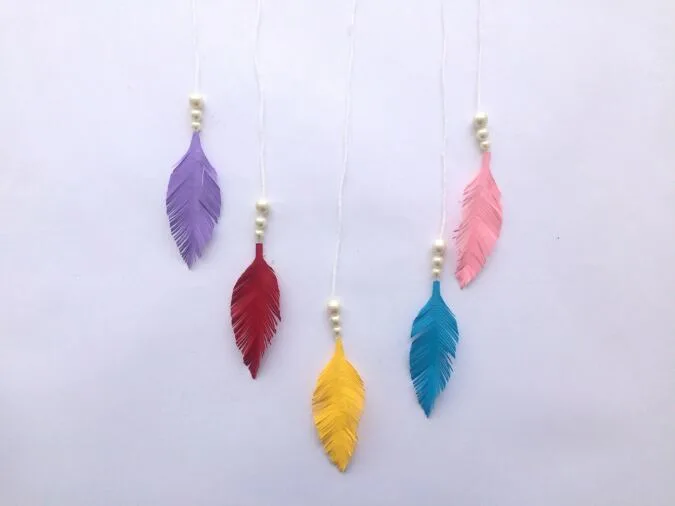
Tie the free end of the yarn on the twig, starting from the longest yarn, followed by the next shorter one, and then the next.
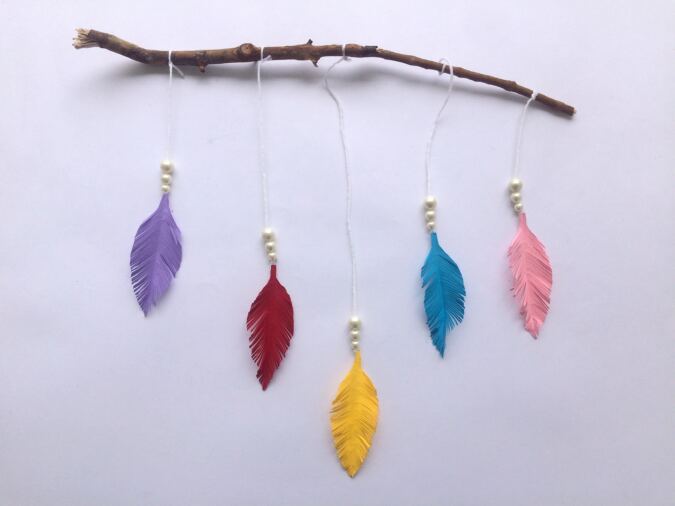
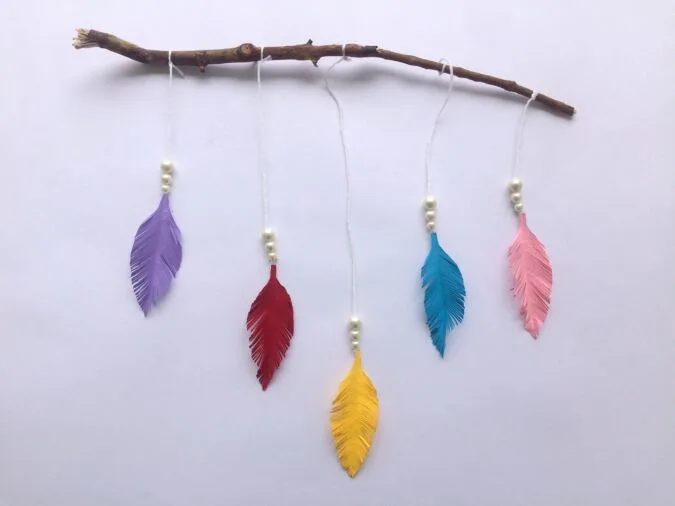
Repeat on the other side and your paper feather wall hanger is ready.
Pin it for later here,