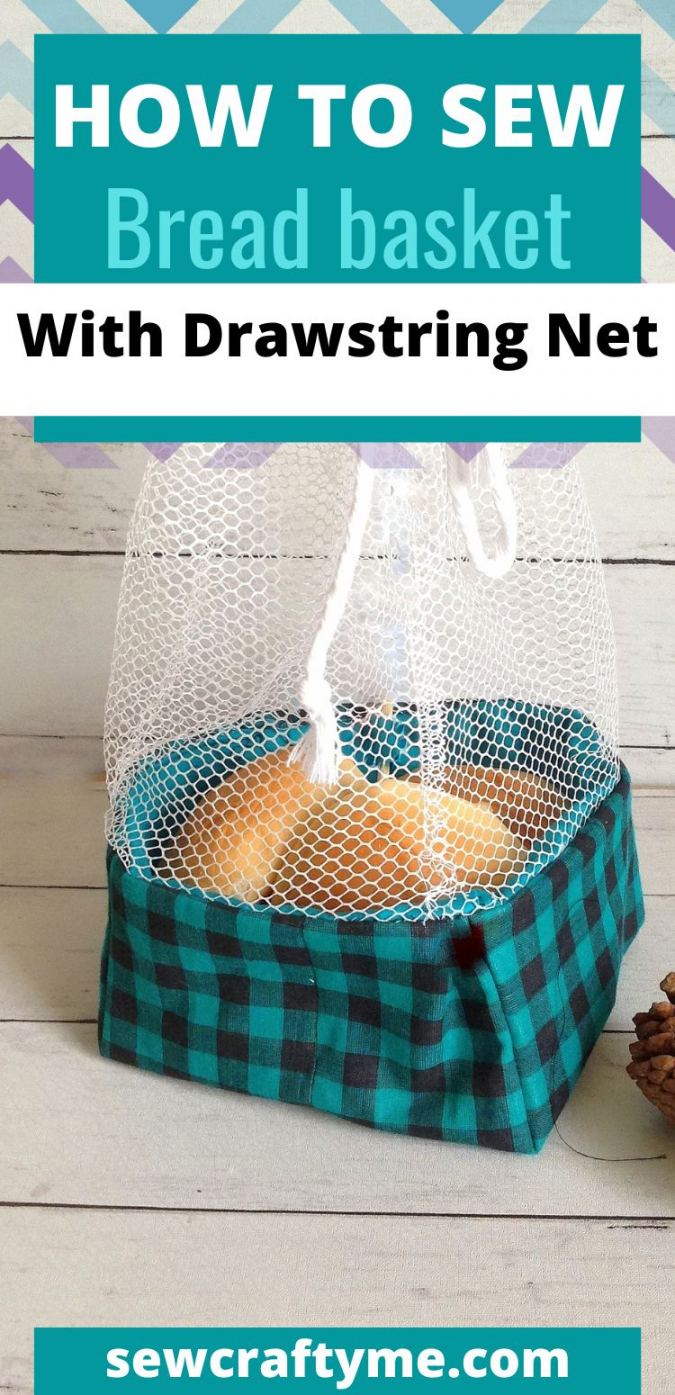
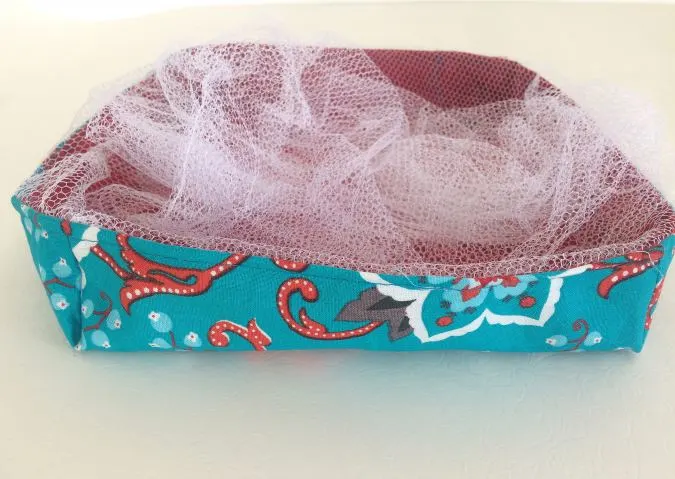
This simple DIY bread or bun basket sewing pattern is the ideal decoration for your home, this holiday season. This basket retains its shape and can adorn your table to serve bread, buns, or even bakery goods. It can also be used to store cosmetics, toiletries, nuts, and craft tools.
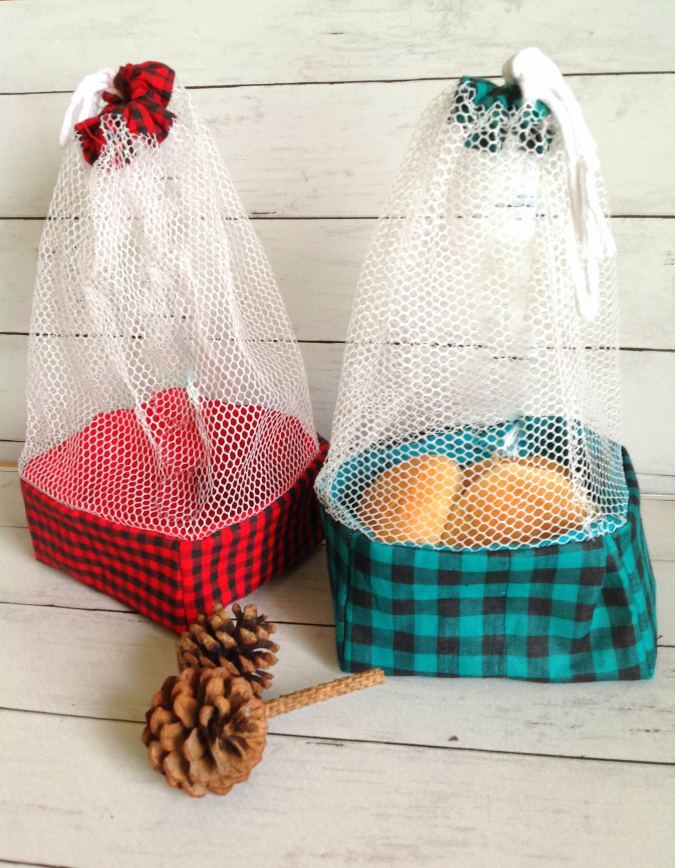

The bread basket sewing project with a drawstring net closure is practical and sustainable. You can use it for serving your bread or even as a gift basket for holiday gifts.


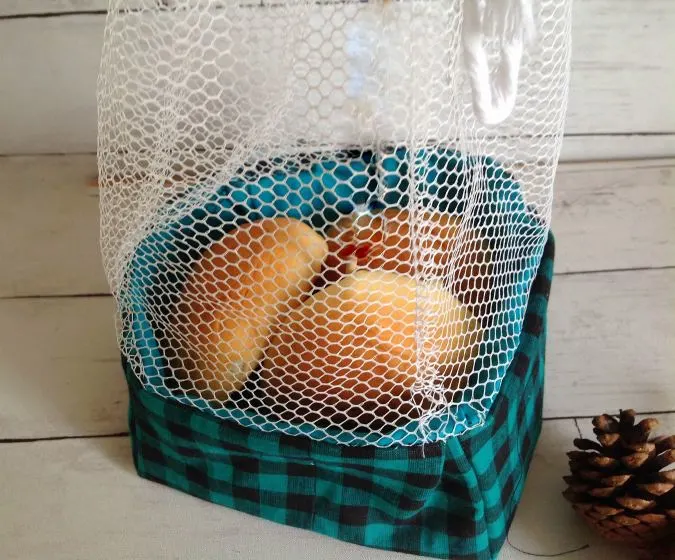
You may store your bread, rolls, and buns in the bread basket in addition to transporting them!
The drawstring closure allows you to use the bunbag as a bread basket in addition to using it as a replacement for a paper bag.
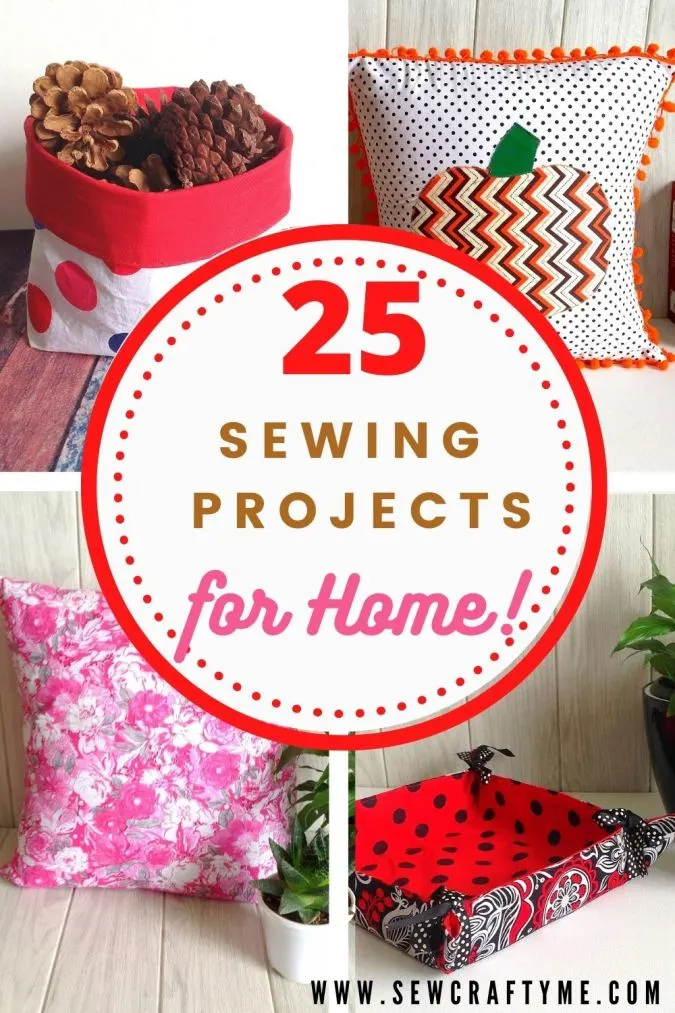
If you would like to have a look at more sewing projects for your home, click on the picture below:
Bread Basket with Drawstring Closure
Supplies Needed:
Medium-weight cotton fabric for the box outer and lining- 1/3yard to 1/2 yard each, depending on the size of the basket you are making.
Heavy-weight fusible interfacing- 1/3 yard to 1/2 yard, again depending on the basket size.
Stiff net-1/4 yard.
Double-folded bias tape- 3/4 to 1.5 yards.
3/8-inch satin ribbon or 1/4- inch yarn cords for closure- 32-inches.
Sewing Notions.

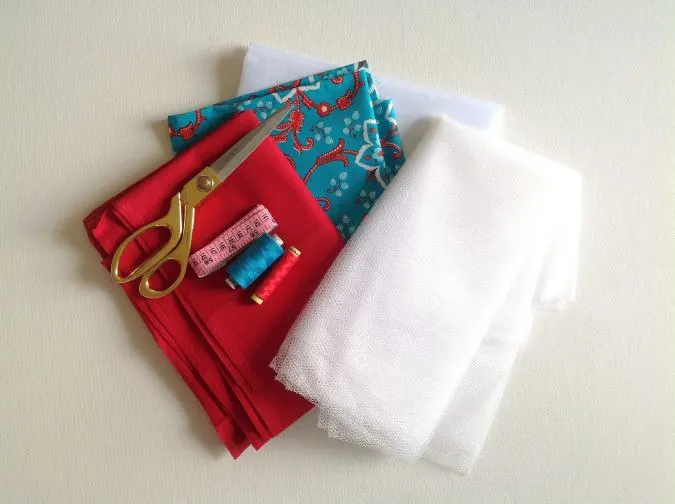
Gather your supplies.
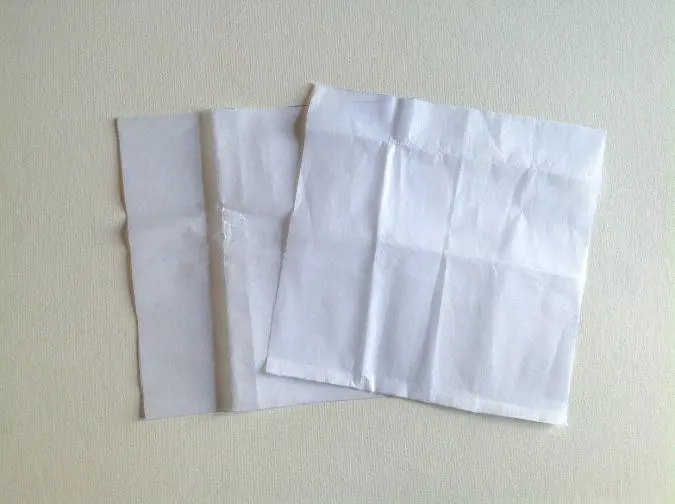
Cutting Dimensions:
Small Size:
Basket outer and lining-12 x 12 inches.
Interfacing- 12 x 12 inches (cut 2).
Stiff net- 25.75 x 8 inches.
Bais tape-25.75 inches.
Medium Size:
Basket outer and lining-15 x 15 inches.
Interfacing- 15 x 15 inches (cut 2).
Stiff net- 33.75 x 8 inches.
Bias tape- 33.75 inches.
Large Size:
Basket outer and lining- 18 x 18 inches.
Interfacing- 18 x 18 inches (cut 2).
Stiff net- 45.75 x 9 inches.
Bias tape- 45.75 inches.


Cut one piece each from the basket outer and lining fabric, referring to the measurements above.

Cut two pieces from the interfacing, again referring to the dimensions above.

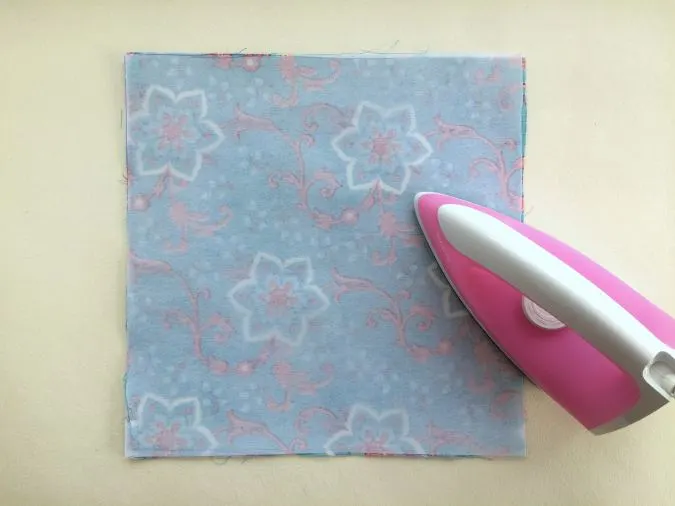
Take the basket outer piece and fuse the interfacing to the wrong side of the fabric, following the manufacturer’s instructions. Start pressing from the center and slowly outwards to avoid wrinkles.
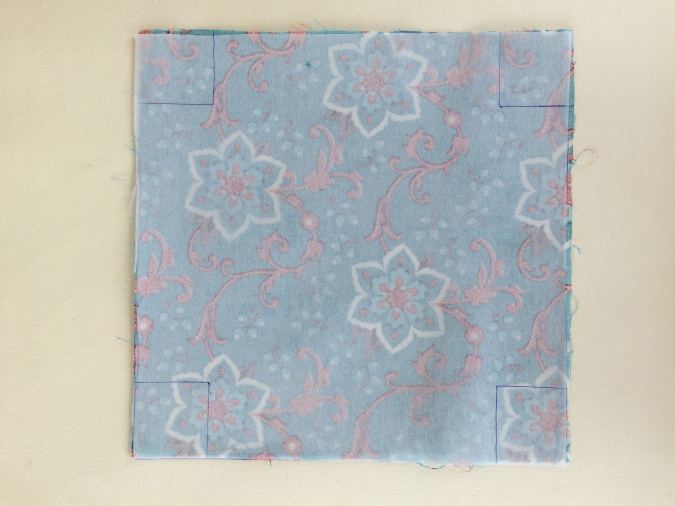
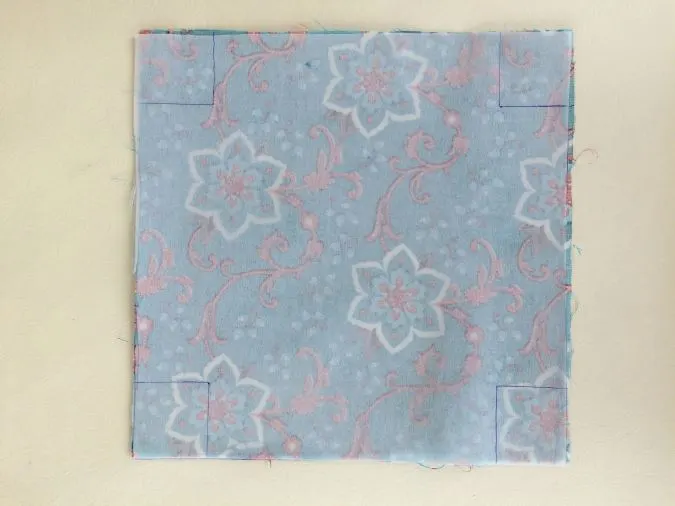
Turn the outer piece over to the wrong side and draw four squares, measuring 3” x 3” on all four corners.


Fold the edges along the diagonal of the square and sew it shut along the sides.

This is how it will look like.

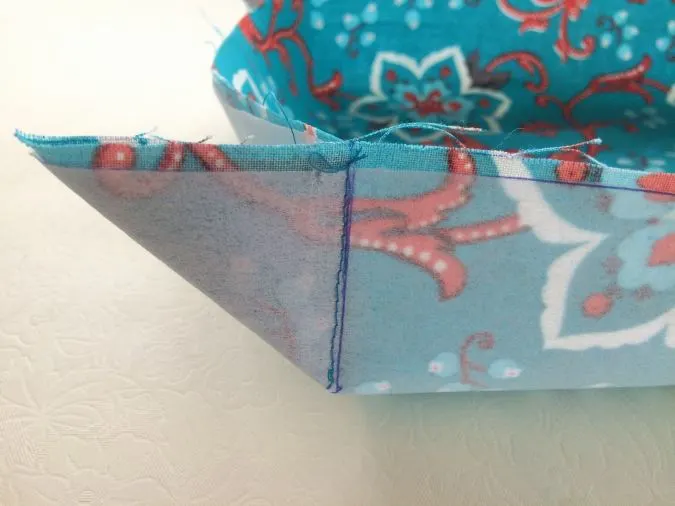
Repeat on all four corners. Your bread basket has started to take shape.
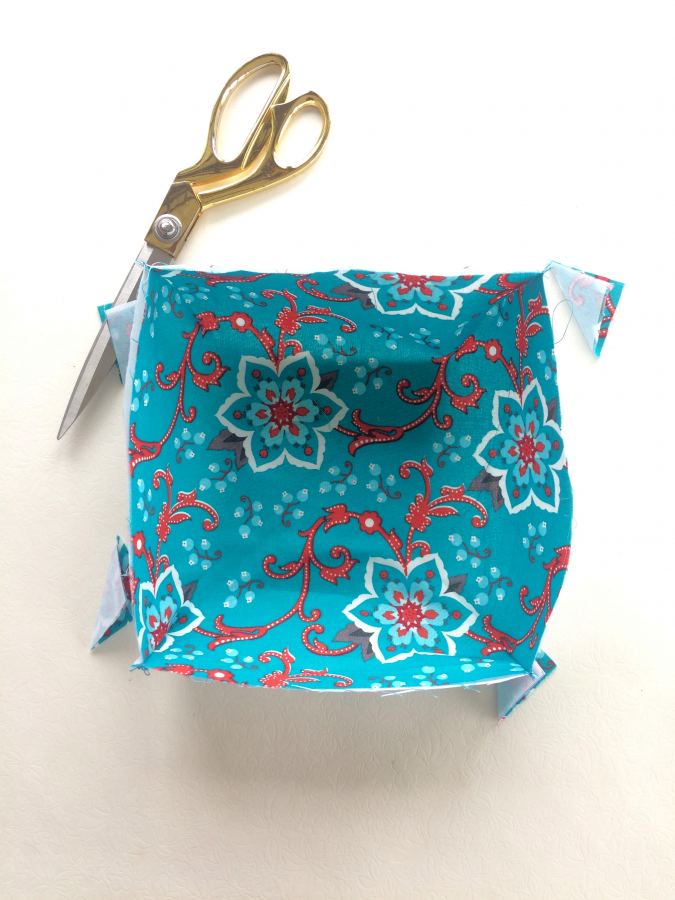

Cut off the extra on all corners, leaving a seam allowance of 3/8- inch. Your box outer is ready.
Fuse the interfacing to the lining piece and work on the corners like the main piece. Here again, cut off the extra on all corners, leaving a seam allowance of 3/8- inch.
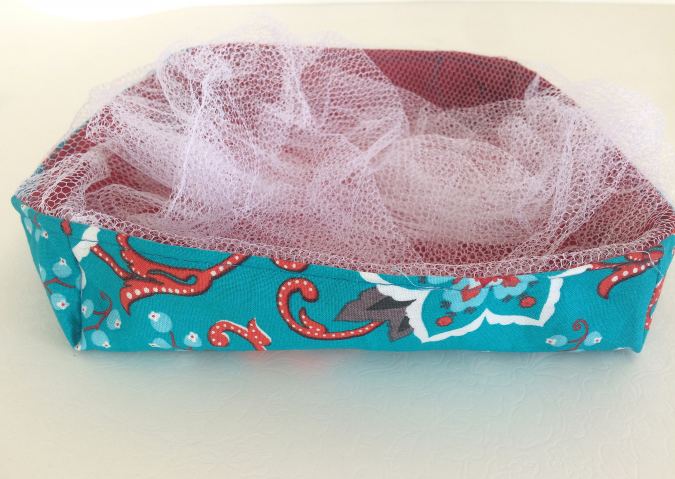
Next, we move on to the net.
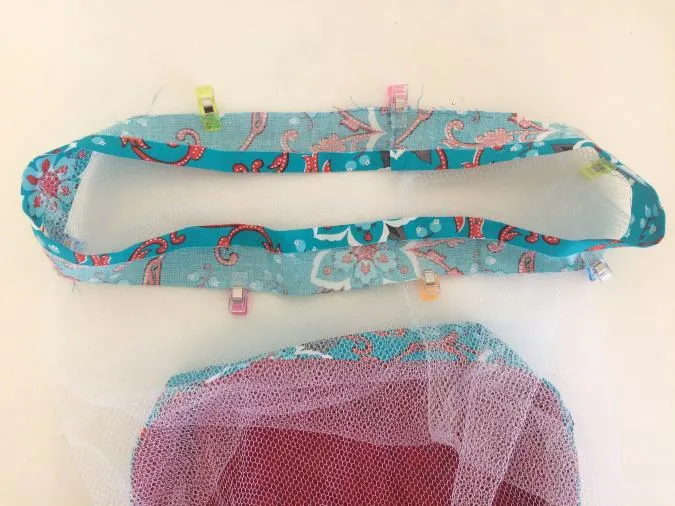
Cut the net piece, again referring to the measurements above. Fold it in half lengthwise and sew it shut along the edge.
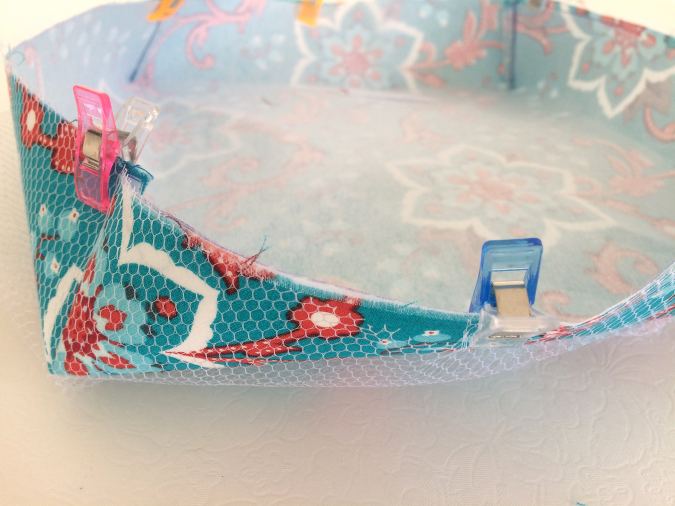
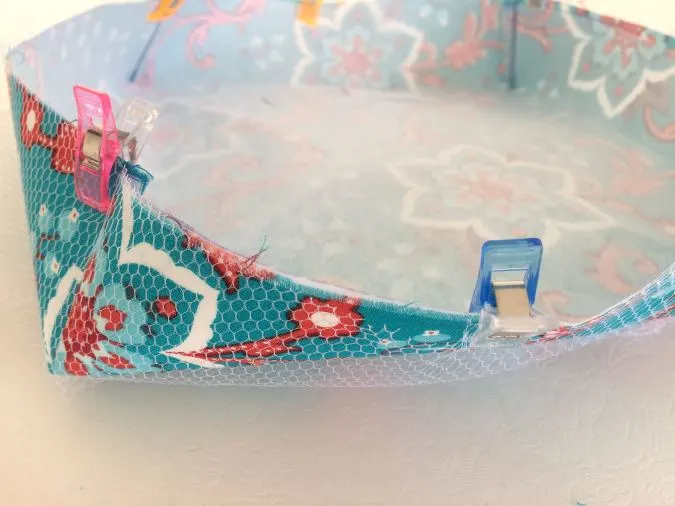
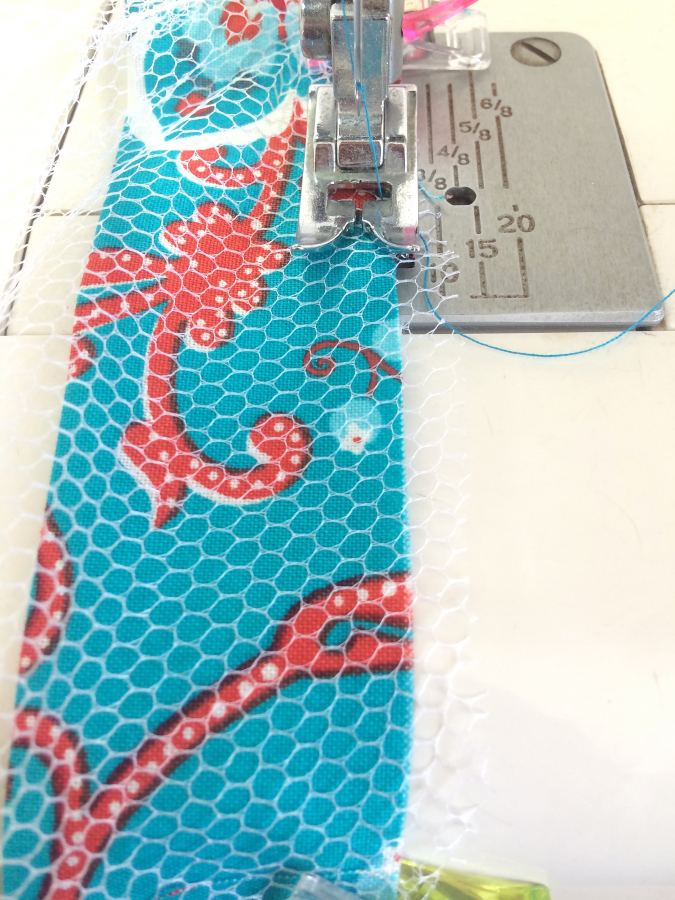
Next, line up the edge of the net tube along the upper edge of the basket upper and clip them together, all around.

Sew the net to the outer.
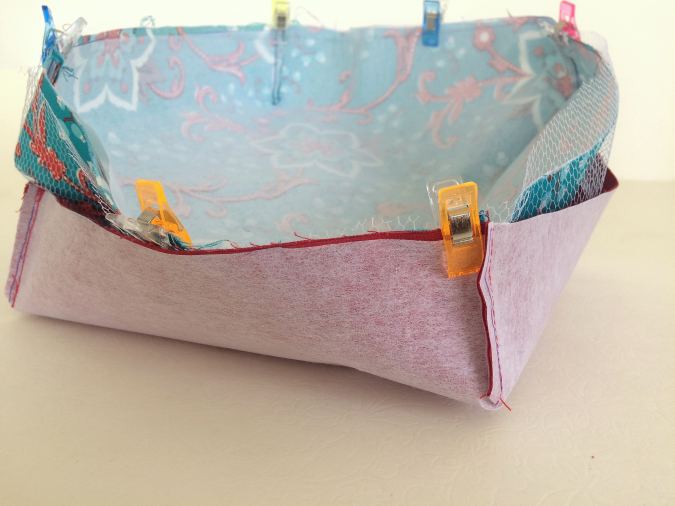

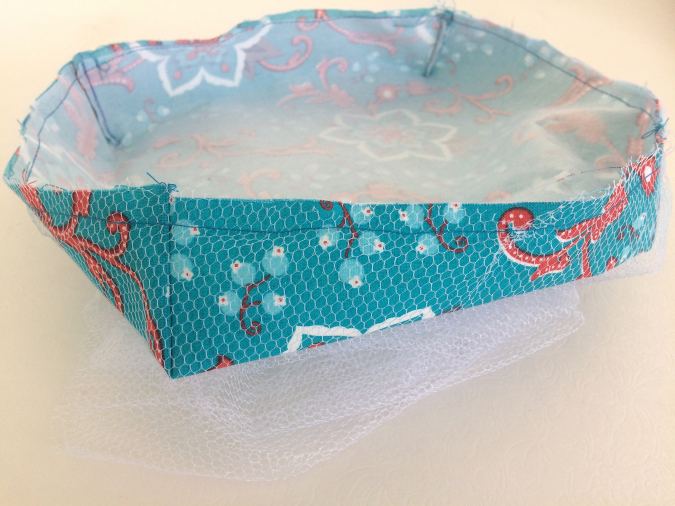
Place the basket outer inside the basket lining, with the right sides touching, and clip the edges all around. The net is sandwiched between the outer and lining.
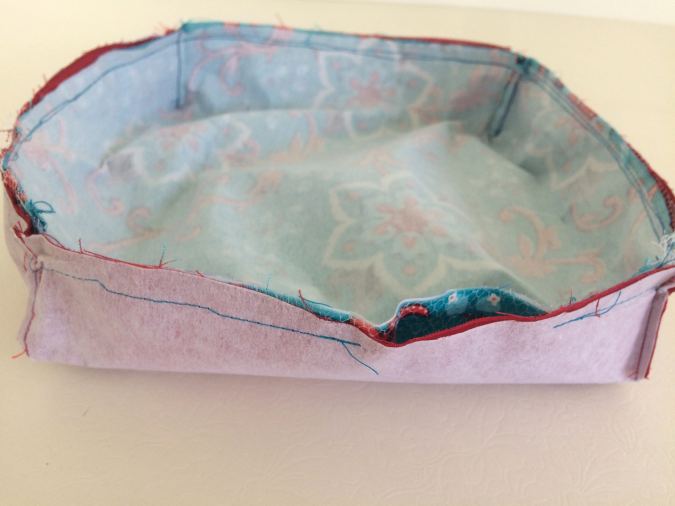

Sew around the clipped edge, leaving a small opening to bring the right side out.
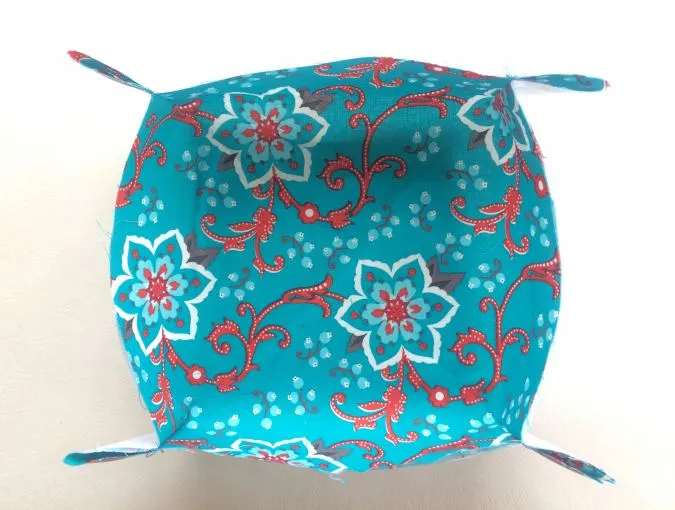
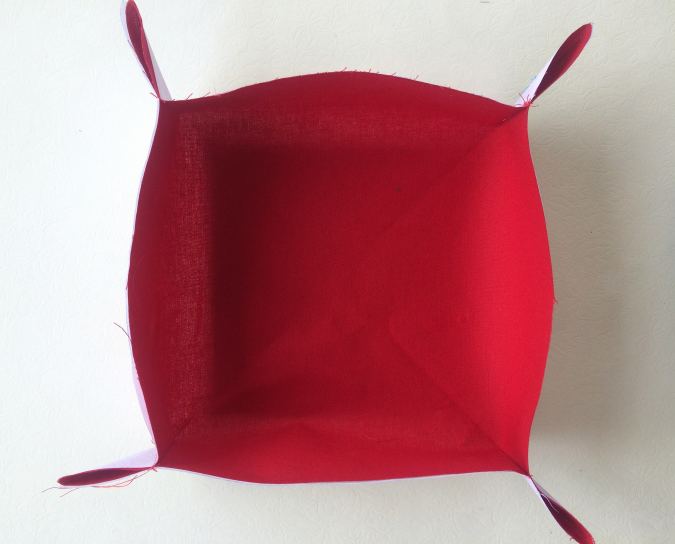
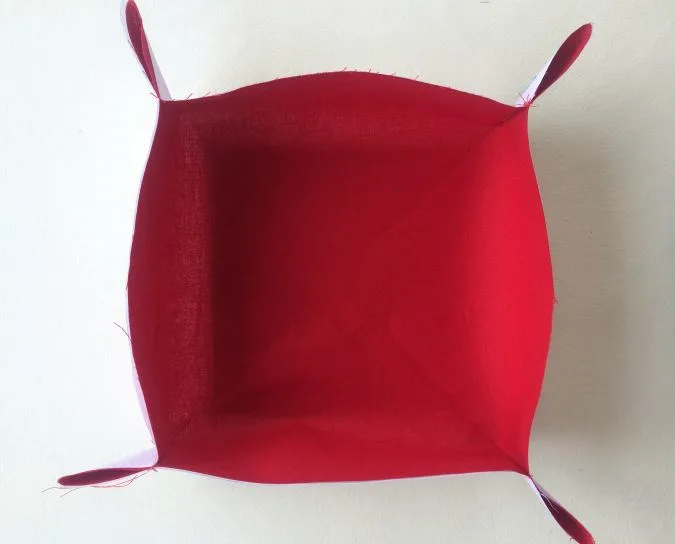
Pull the right side out through the opening and push the lining into the outer( picture for illustration purposes).
This is how it should look like.
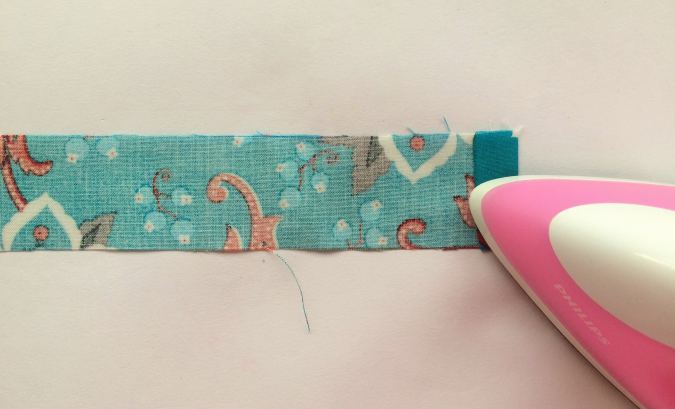

Next, we attach the casing for the drawstring. Take the required length of the bias tape, referring to the measurements above. Fold the two short edges by 3/8 inch and sew down to finish the raw edges.

Open the folds along one of the long edges of the bias tape and line up the edge along the edge of the net, along the outside, and pin or clip all around.

Sew the bias tape to the net.

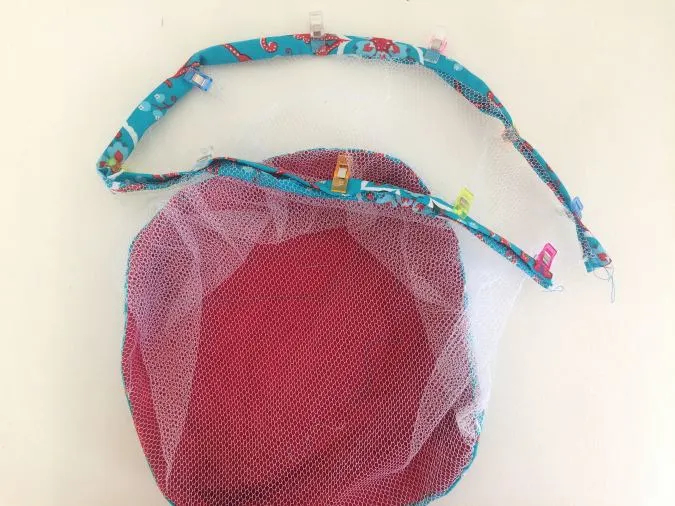
Fold the bias tape over to the inside of the net and pin or clip all around.


Sew the bias tape shut along the edge of the fold. Our casing for the drawstring is ready.

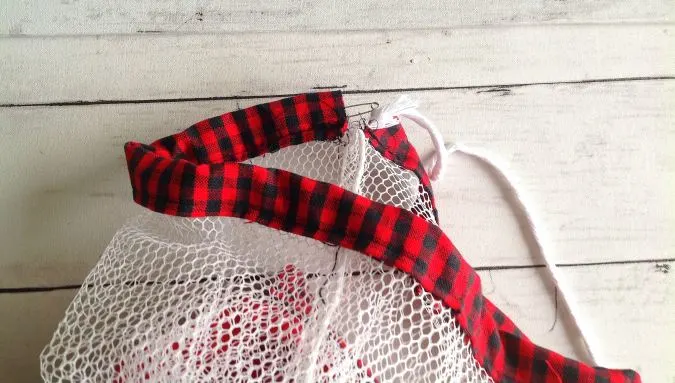
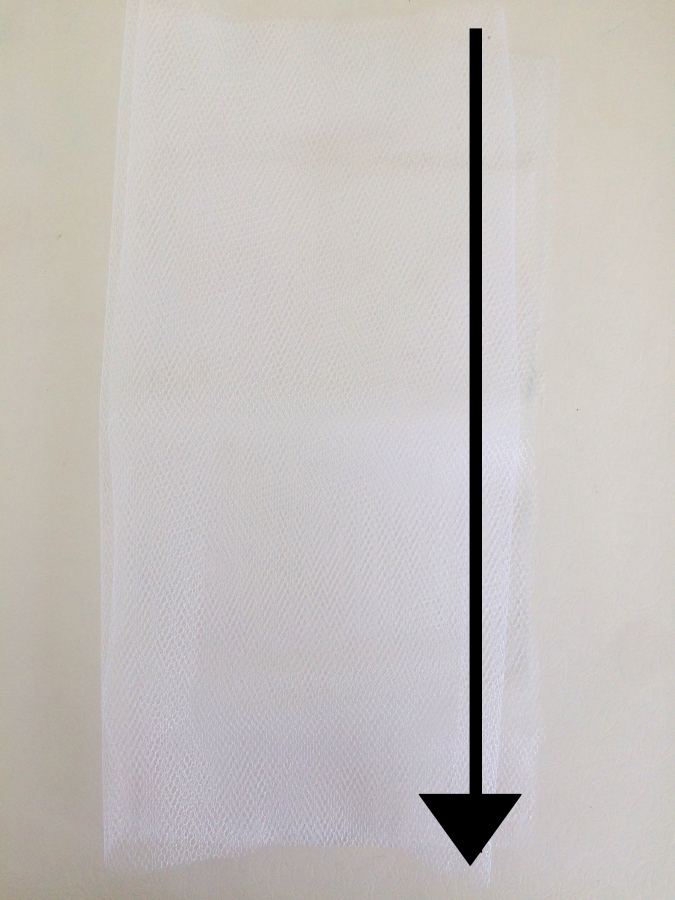
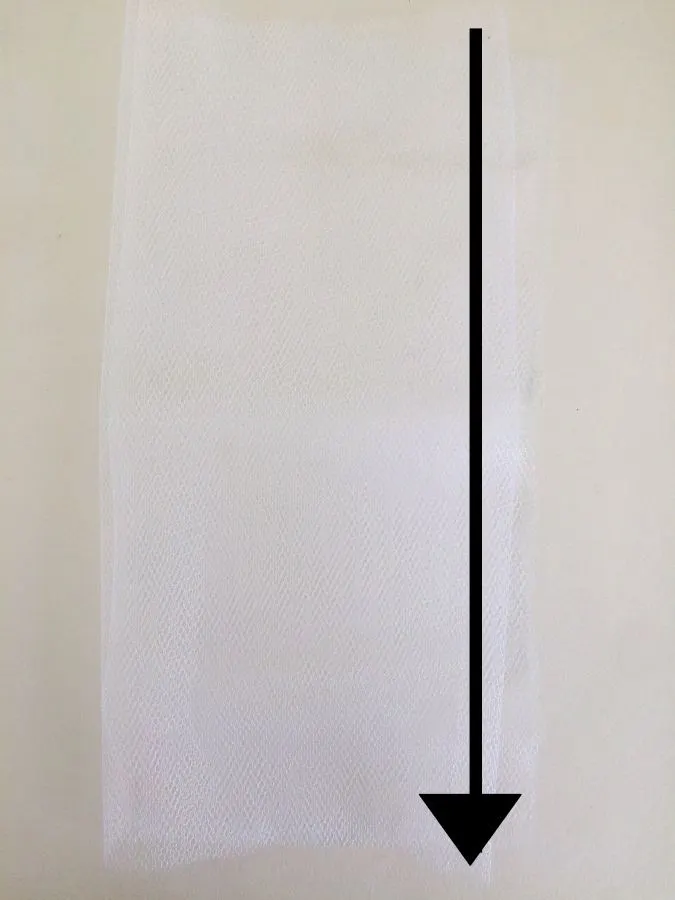
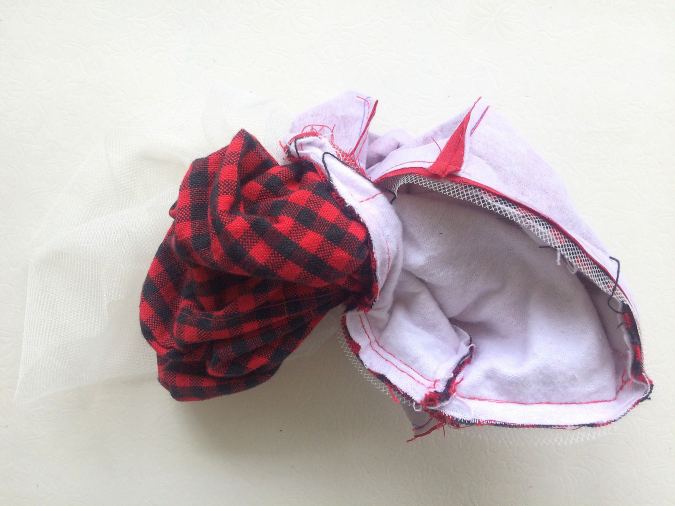
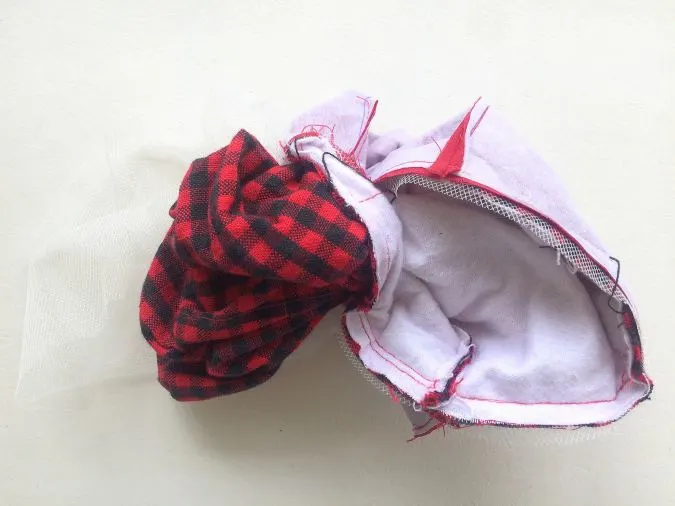
Next, take the required length of the drawstring. Here I have used a 3/8- inch satin ribbon and insert it through the casing using a safety pin (picture for illustration purposes).
find the webstory here; The Perfect Bread Basket with Secure Drawstring Closure
Pin it for later here,