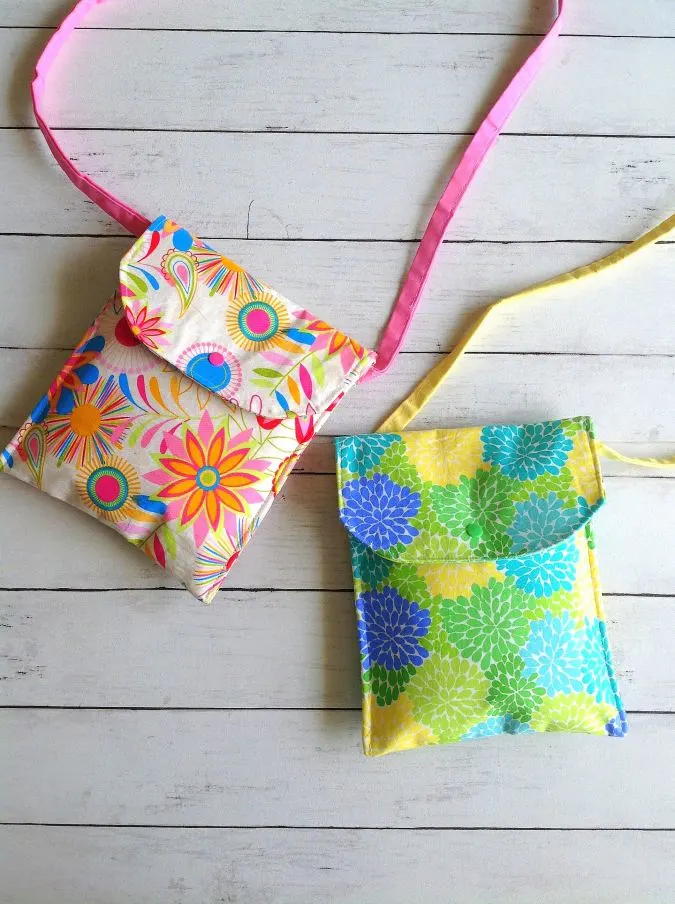
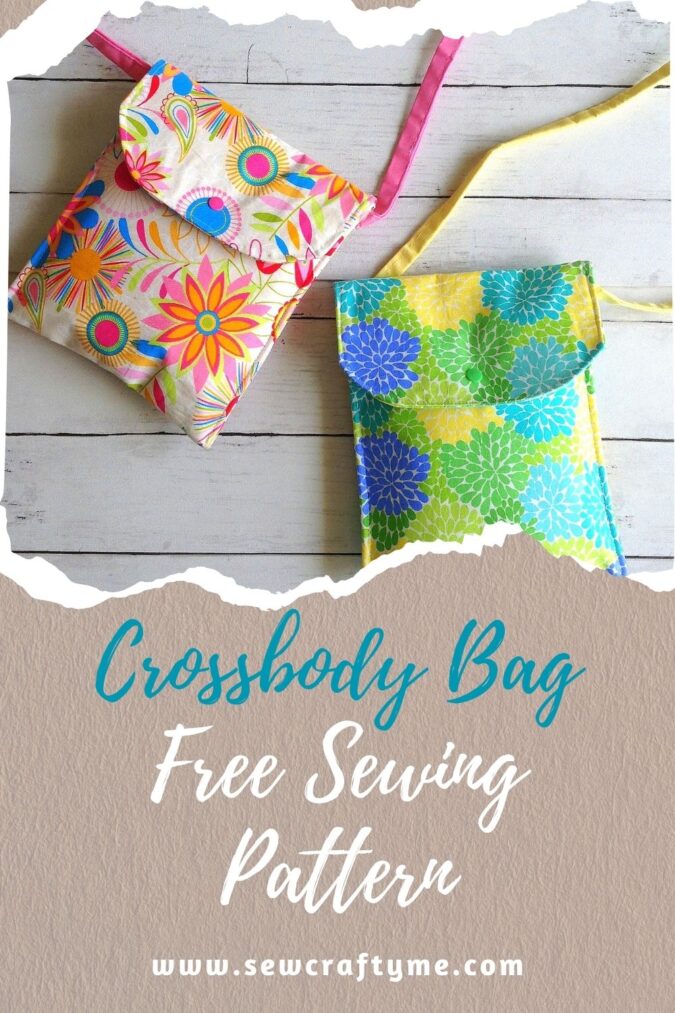
This is the easiest DIY cross-body bag pattern you will find. You just need a rectangular piece of fabric, a piece of interfacing and a pair of KAM snaps to whip up this awesome bag!

Don’t you just love to walk hands-free every time you walk out of your house? Count me in the same wagon! Women’s clothes rarely come with enough pockets and this DIY crossbody bag could be the perfect solution!

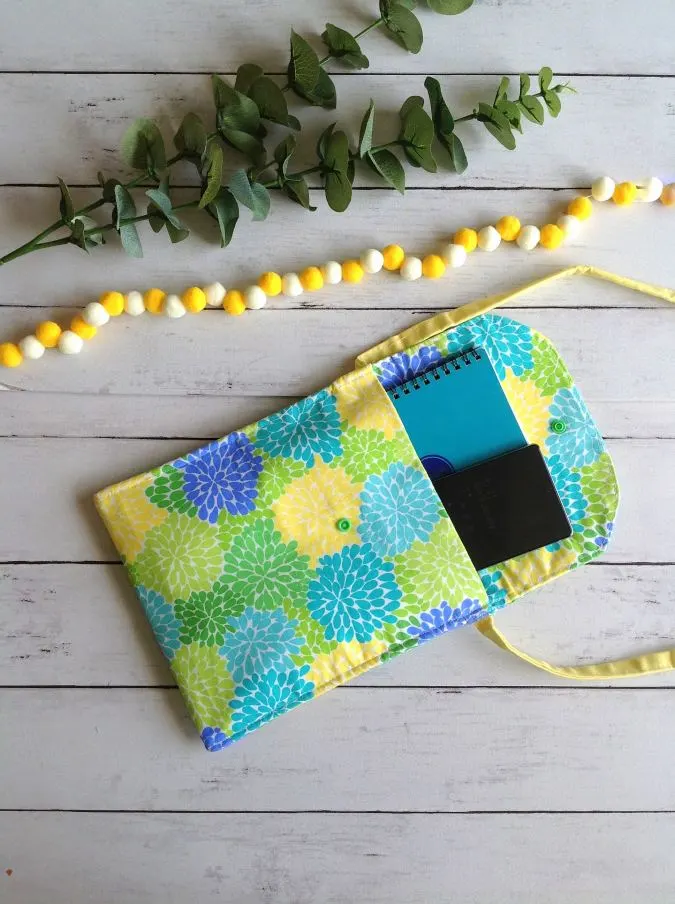
This is one of the bag patterns for sewing. that has enough room to stuff in your phone, credit cards, a notepad and some makeup essentials.

I have made mine in a summery print fabric and i just love the look of it! It is just perfect to be paired with a flowy white dress for a breezy evening walk. With this small accessory in the right print you can amp up your OOTD!

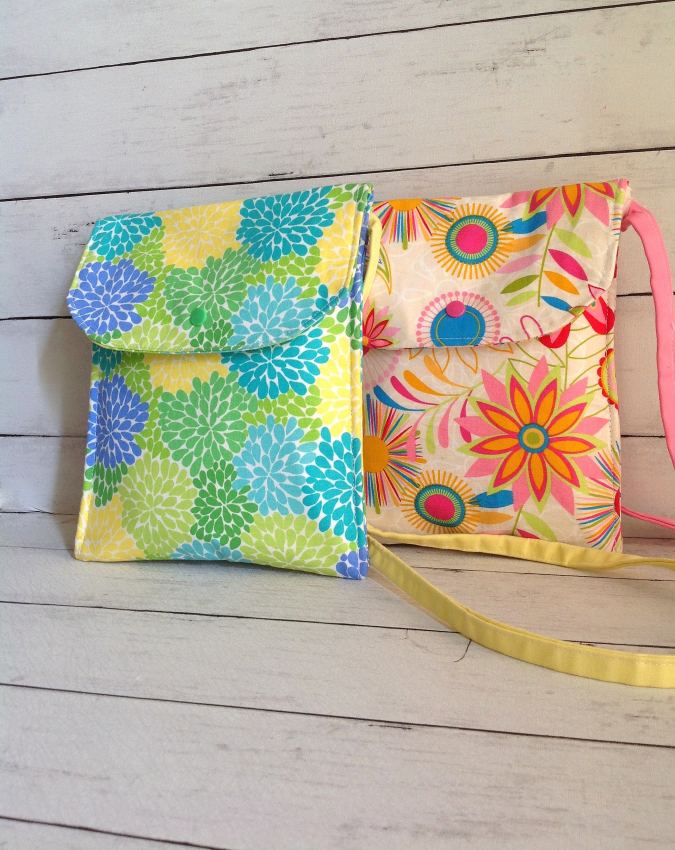
And, you don’t need a lot of fabric to whip up this free sewing pattern for a bag. You can easily make it from your leftover fabric scraps and make a matching cross-body bag with your outfit.
***The seam allowance is 3/8- inch unless otherwise specified.
The Easiest Pattern for a DIY Cross-Body Bag
**Find the video tutorial at the end of this page**
Supplies Needed
Medium-weight cotton fabric for the bag- 1/4 yard (here I have used a 54- inch wide fabric.
Medium-weight cotton fabric in a coordinating color for the strap- 1/8 yard.
Medium-weight fusible interfacing- 1/3 yard.
KAM snaps.
A circular object like a mason jar lid (for tracing the curve)
Sewing notions.
Let’s get started!

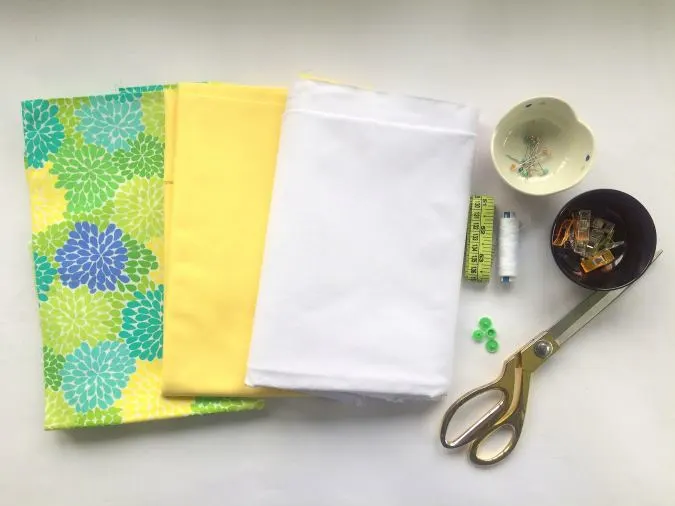
Gather your supplies.
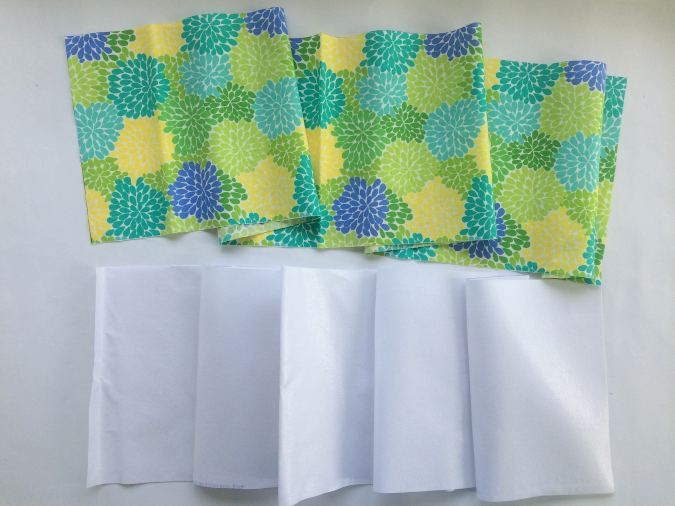
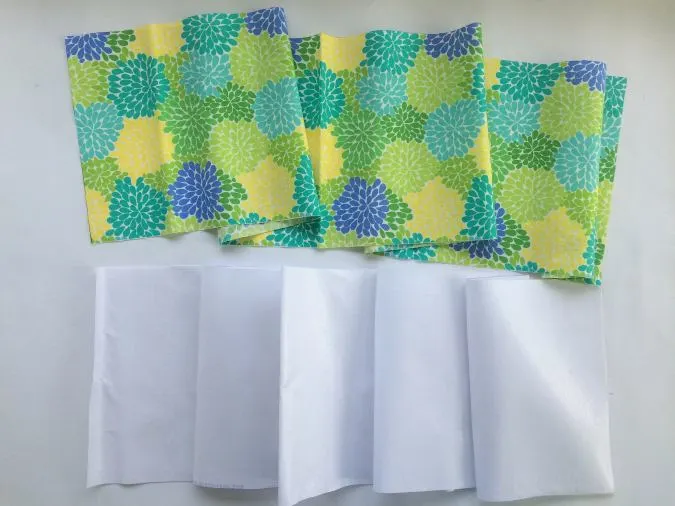
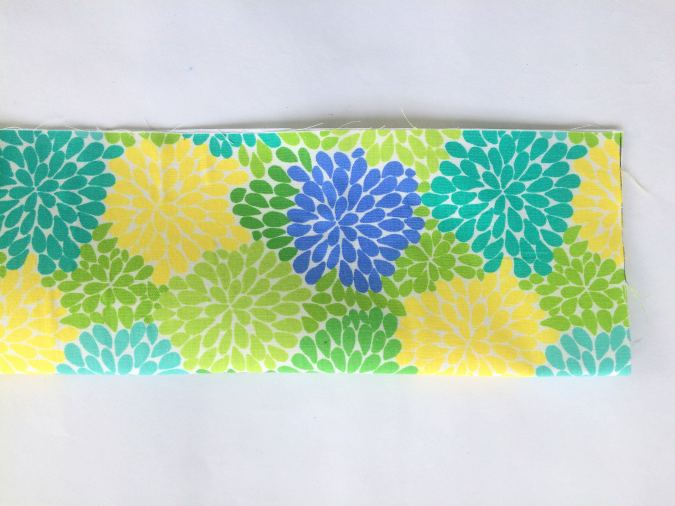
From the main fabric, cut one piece. 8.75- inches wide and 49 inches long for the body of the bag. Cut the interfacing with the same measurements.
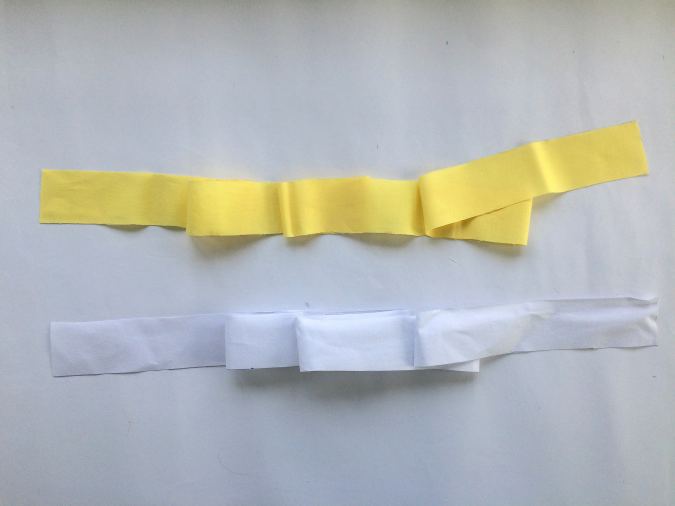

Cut the strap piece 2 inches wide and 46 inches long. Cut the strap interfacing with similar measurements.
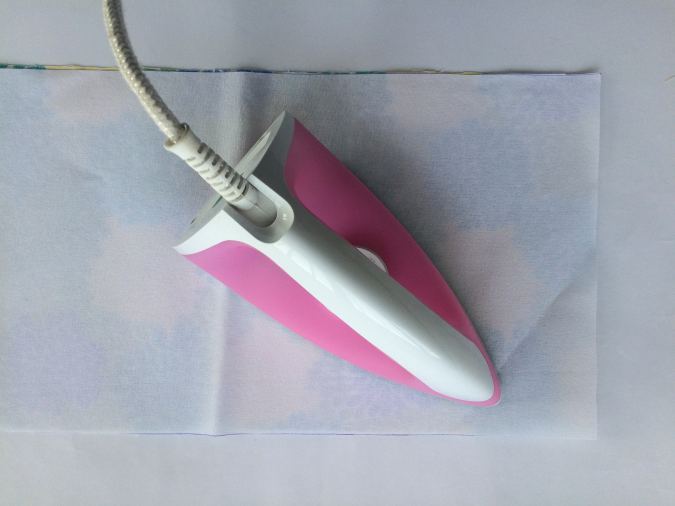
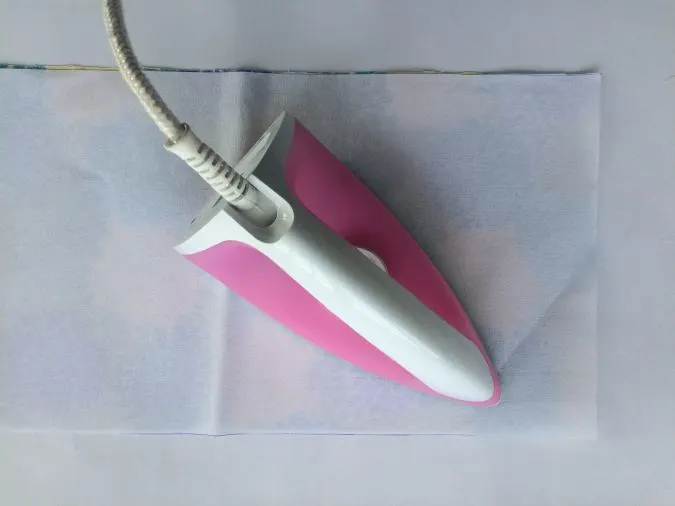
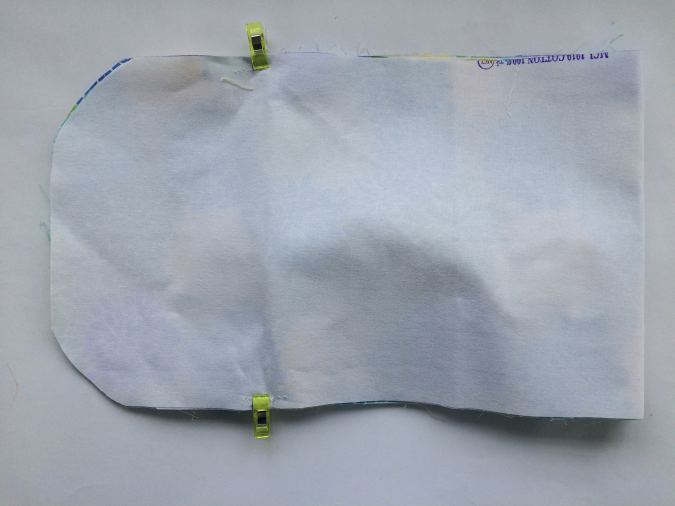
Fuse the interfacing to the wrong side of the bag piece following the manufacturer’s instructions.

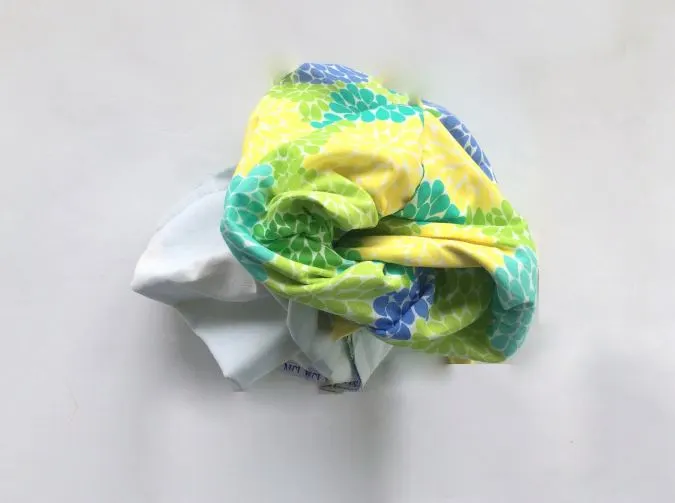
You will get something like this.

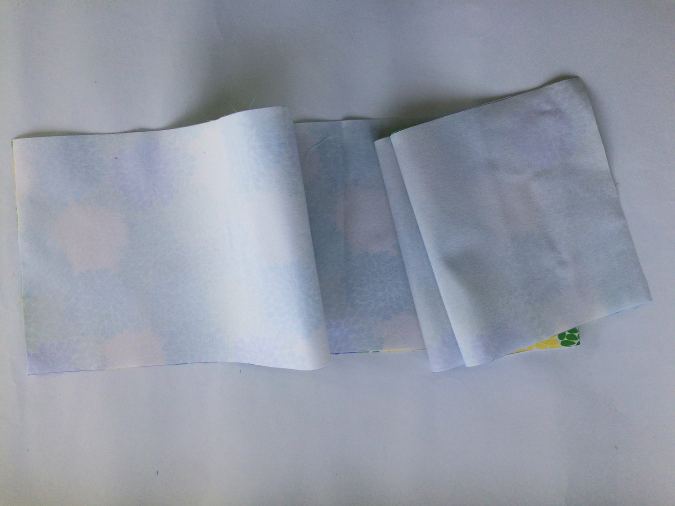
Fold it in half lengthwise.
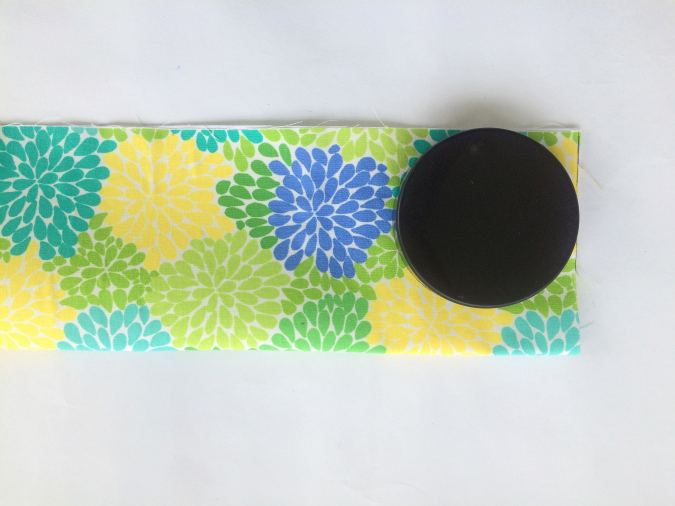

Place a circular object (I used a mason jar lid here) and place it along the corner. Trace the curve along the corner.
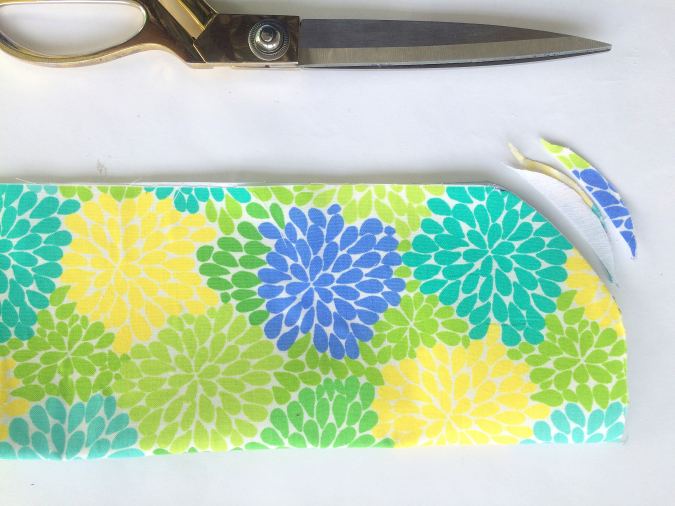

Cut along the marked curve. This is to give curved edges to the closure of your bag.
Repeat the same with the corners on the opposite side as well.
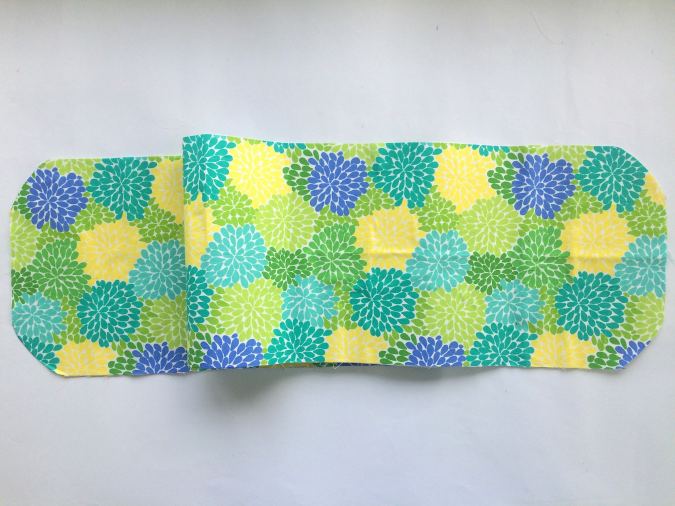

Open the folded main body piece. You now have four curved corners.
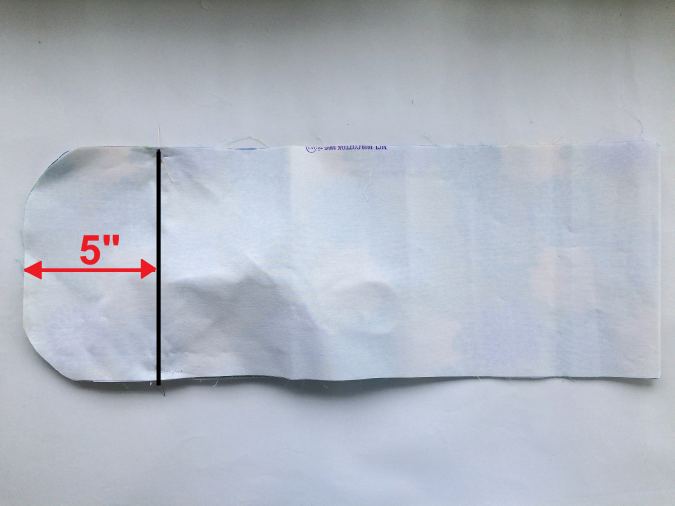
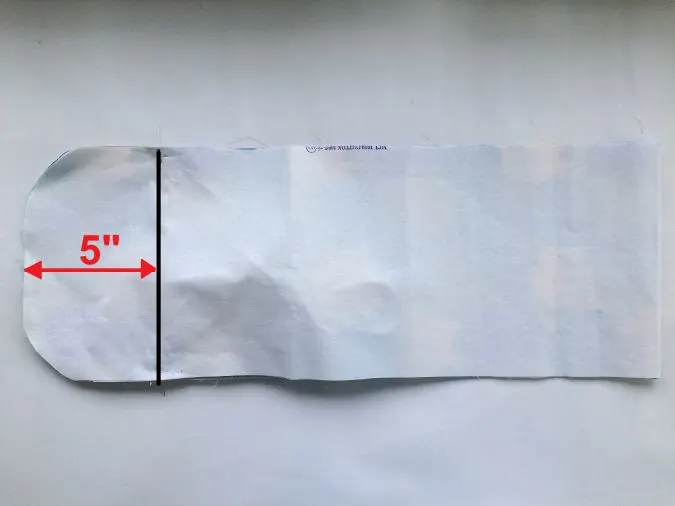
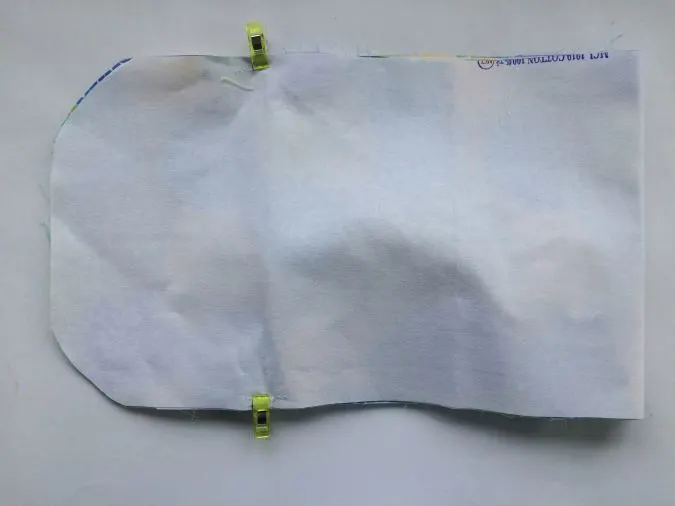
Fold the bag piece in half widthwise, lining up all the edges. Draw a straight line, 5- inches from the curved edge.
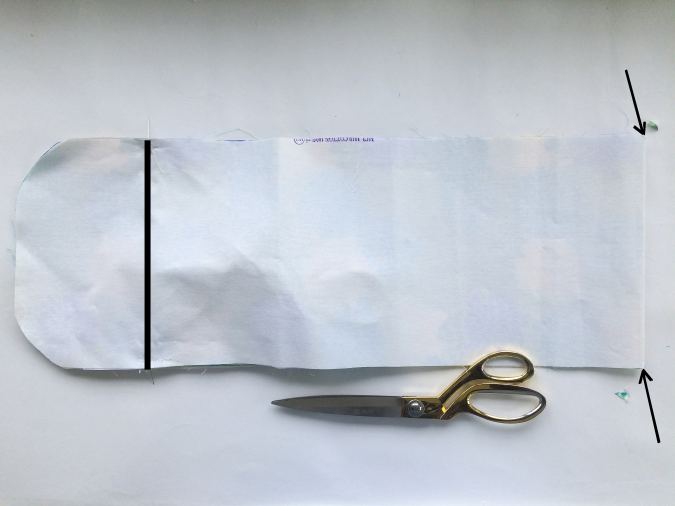

Clip off the two corners of the folded edge and hand press the fold to form a crease along the fold.
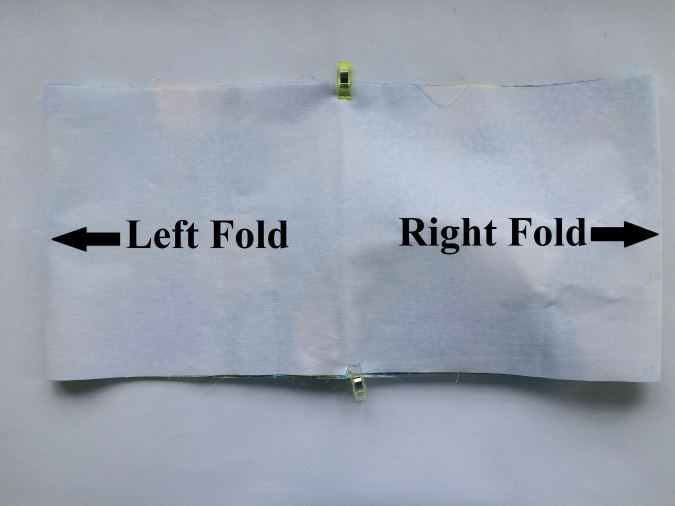
Pull the two layers of fabric apart with your hands and bring the crease to line up with the marked line below. Pin or clip in place. Now you have one fold along the right and another fold along the left of the crease (the curved edge is underneath the left fold). Clip the fabric layers together.
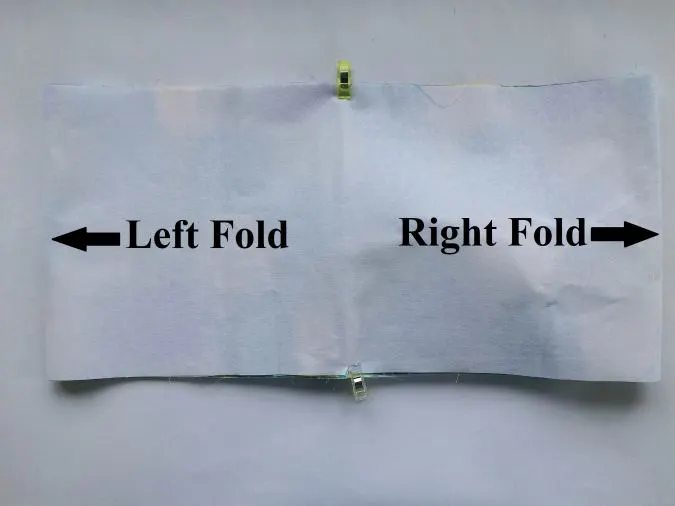
Flip the fold on the left, over the fold on the right. Include this fold in the clips to secure.
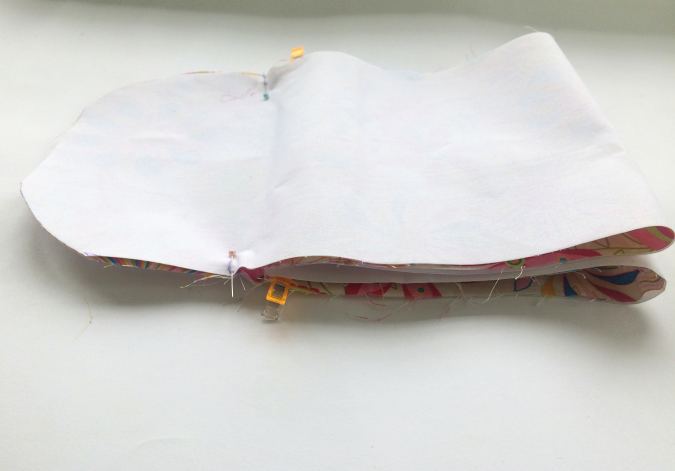

This is how it would look like from the side (picture for illustration purposes).
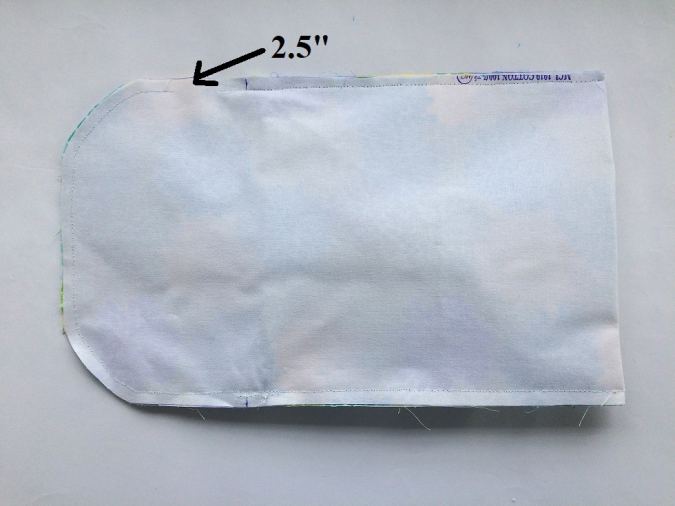
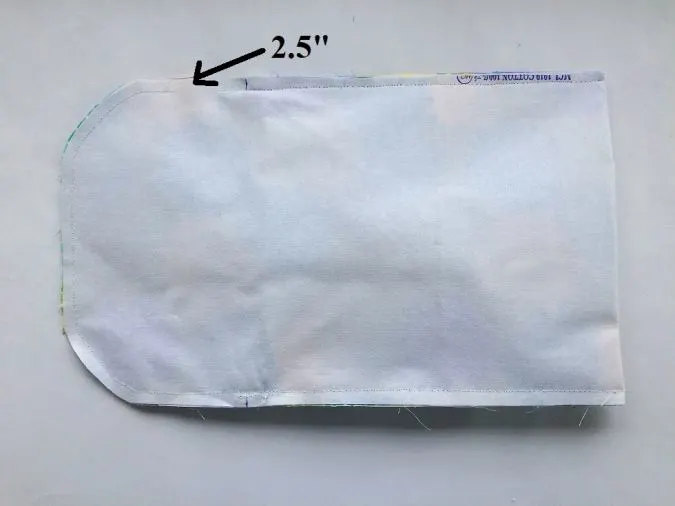
Sew around the edges leaving a 2.5” gap along the side of the closure flap. This is to bring the right side out later.
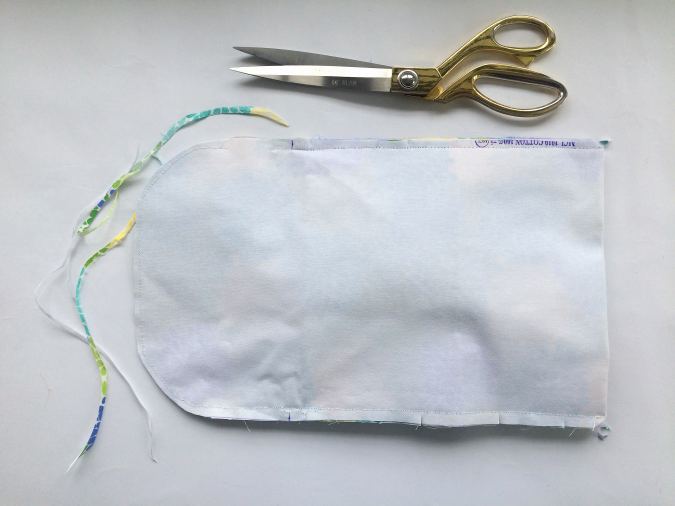
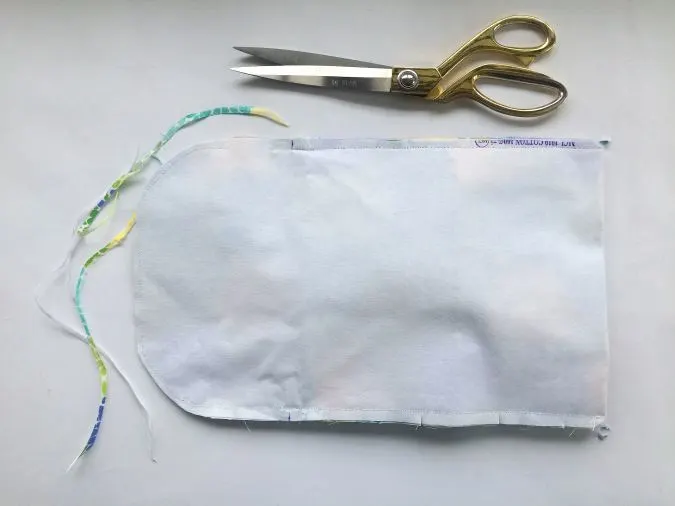
Trim the edges to reduce the bulk.
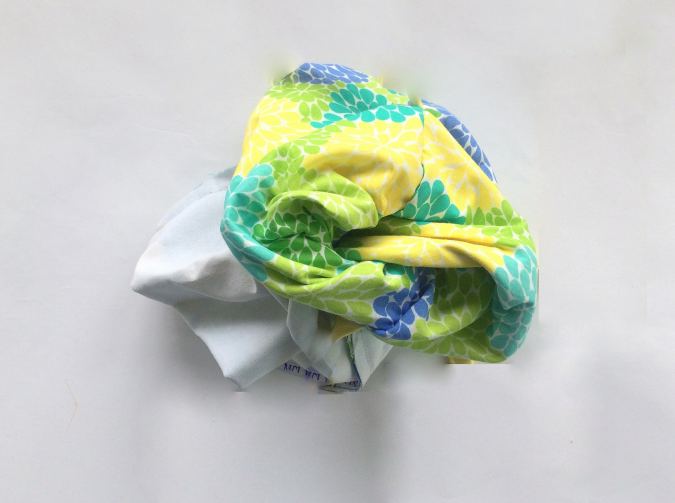
Start pulling the right side out through the 2.5” opening that you left out earlier. Poke the corners out with a help of a wooden dowel.

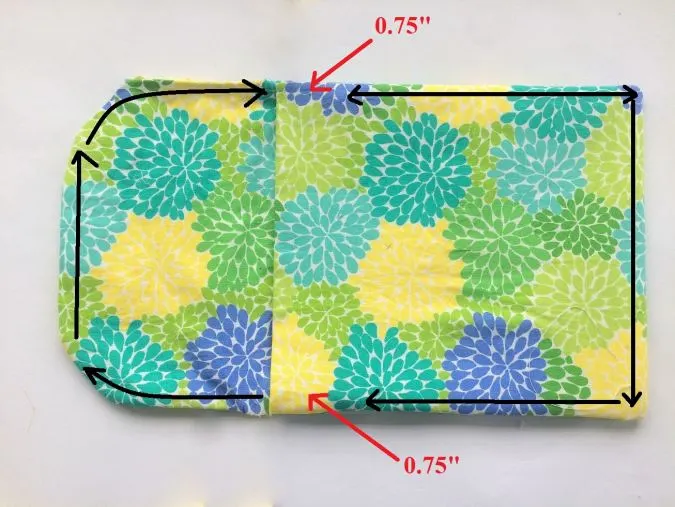
Press the bag, tucking in the raw edges. Topstitch around the closure flap and around the bag body, leaving 0.75- inches at the top for the strap attachment.
Let’s make the strap.

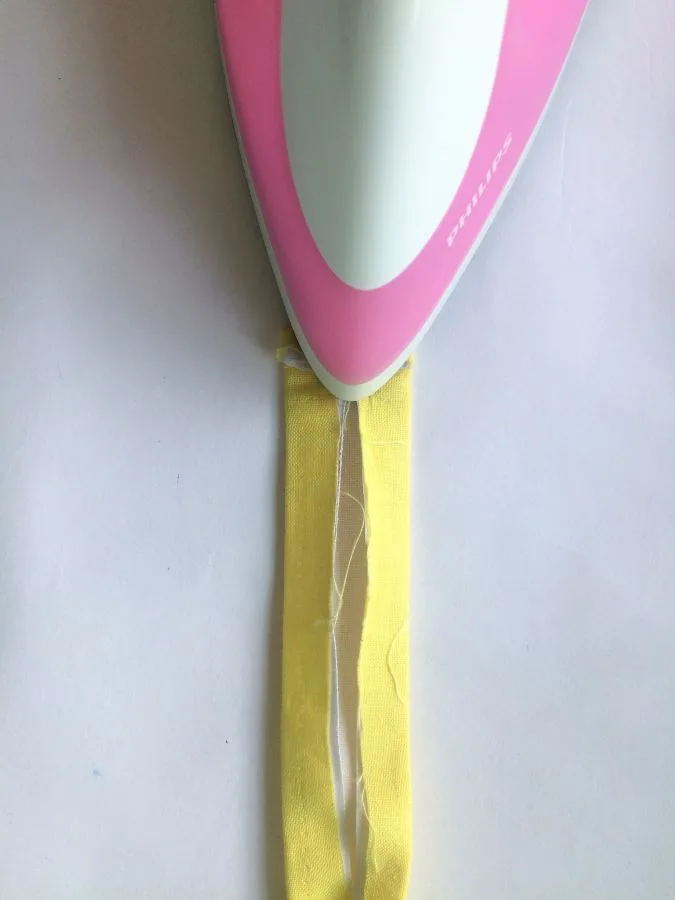
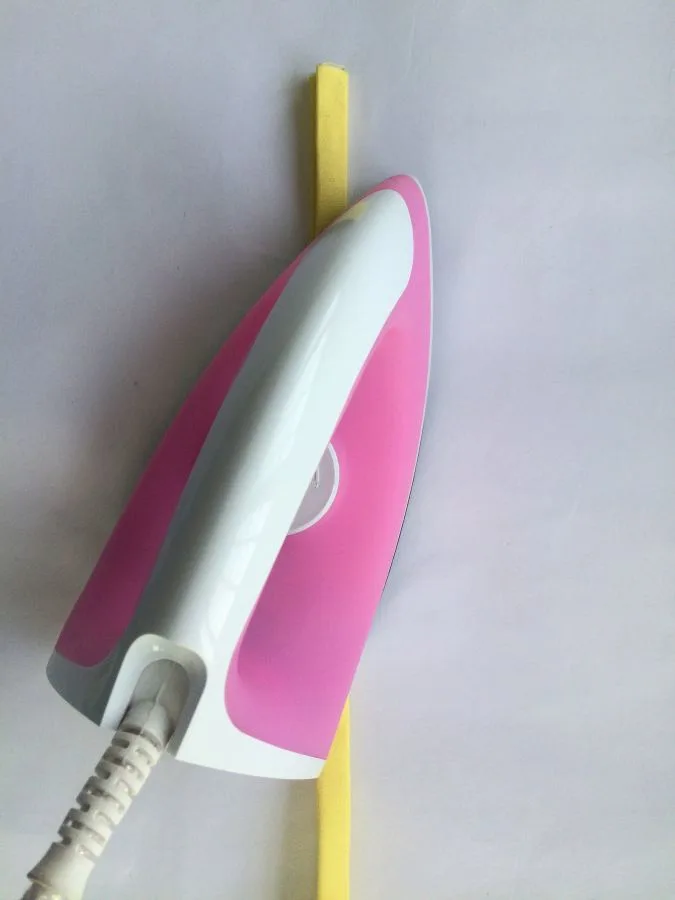
Fuse the interfacing to the wrong side of the strap piece, following the manufacturer’s instructions.


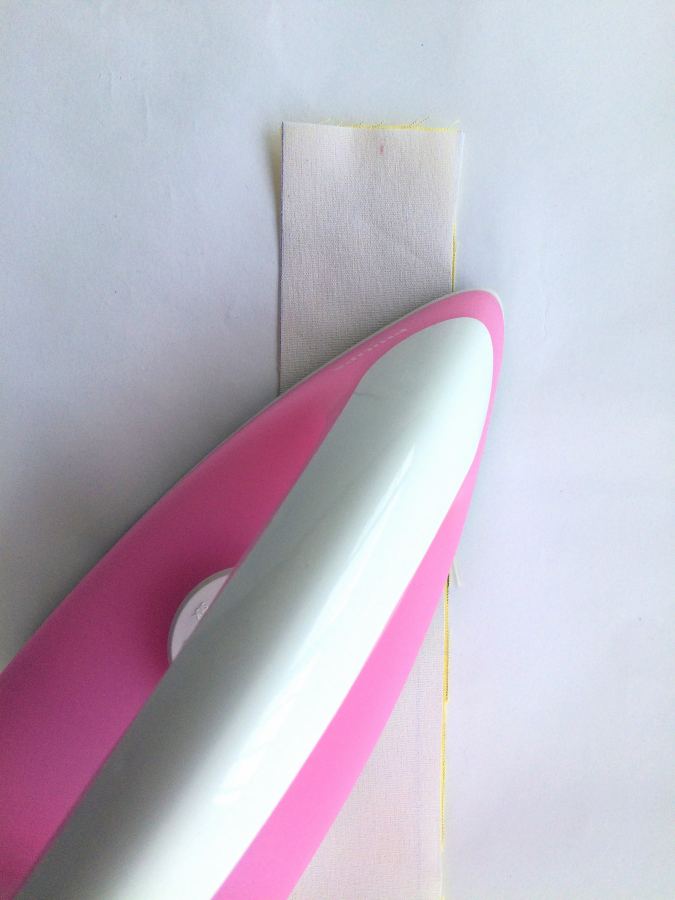
Fold the two long edges of the strap piece by 1/2 inch towards the wrong side and press.
Fold the two short edges by 1/2-inch and press to set.

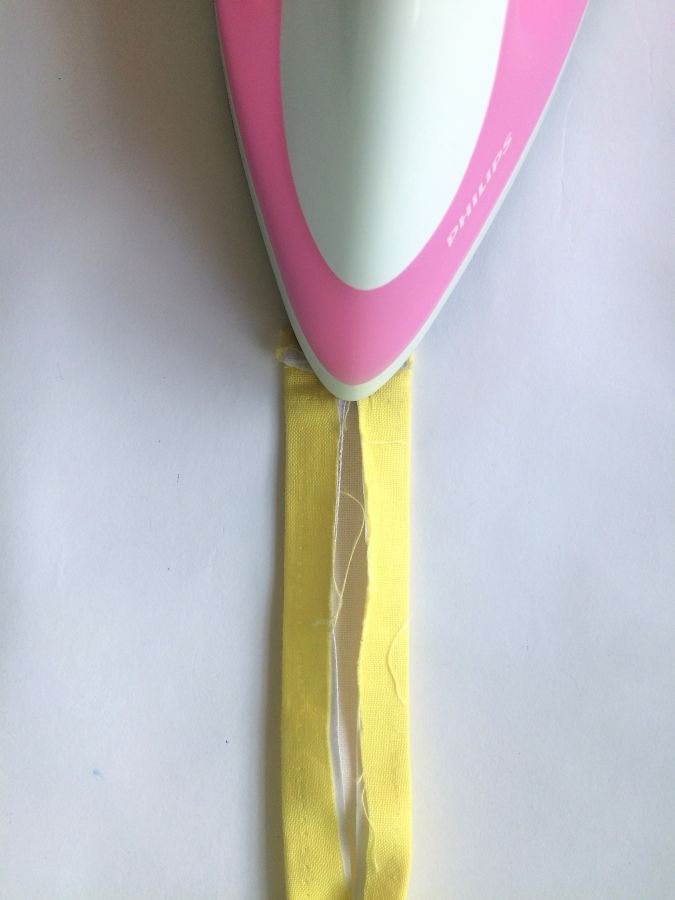
Fold it in half lengthwise and press again.

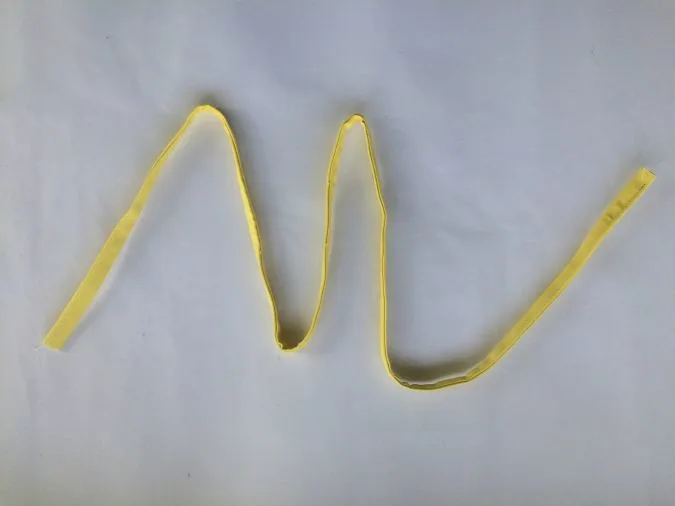
Sew the strap shut around the folded edges. Your strap is ready.
Let’s attach the strap.
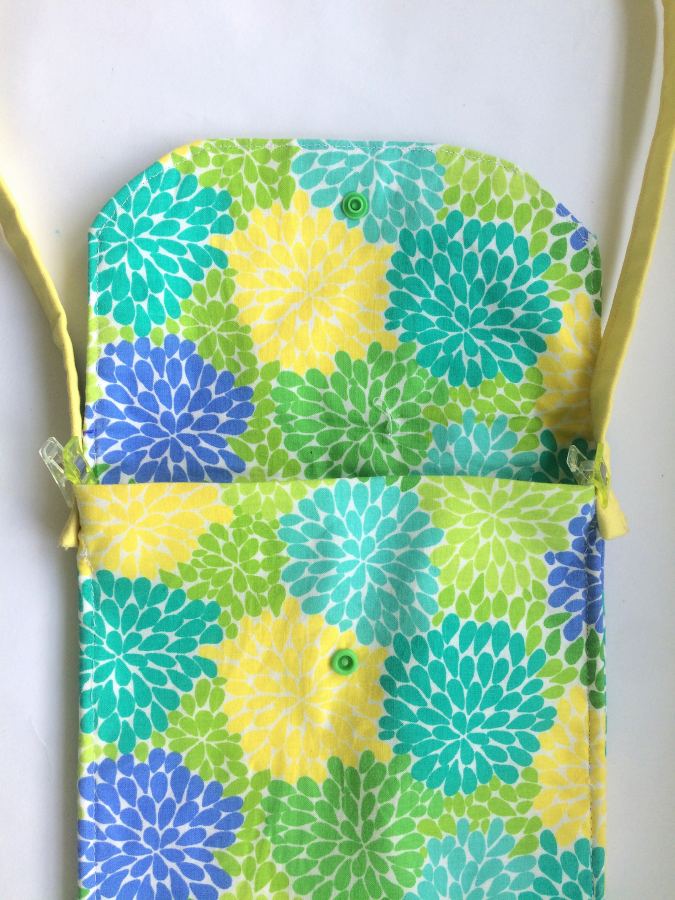

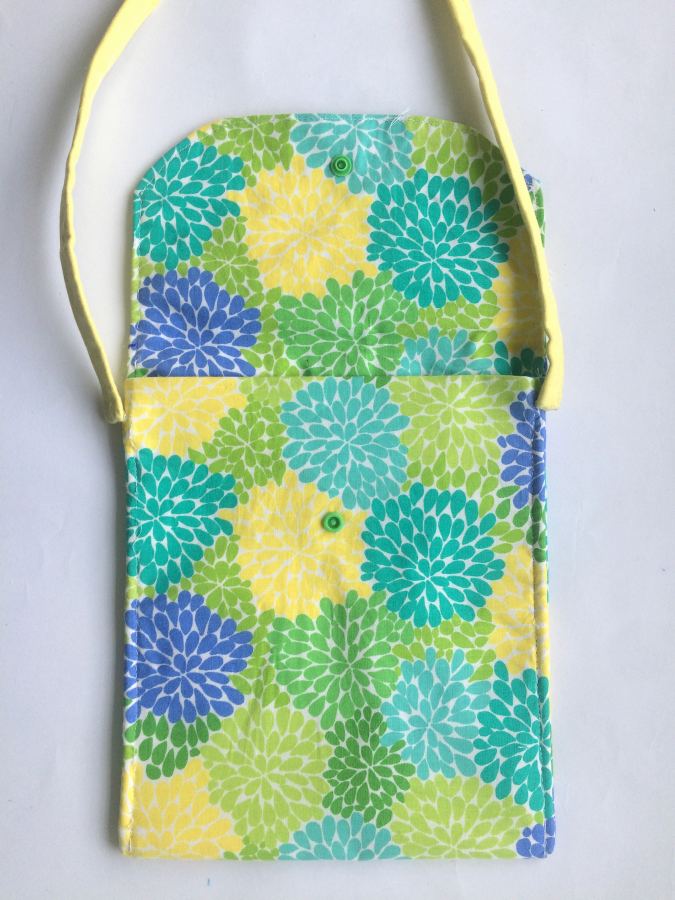
Place the two short edges of the strap, 0.5 inches from the top of the bag, on both sides and pin or clip in place. Sew back and forth a few times to secure.
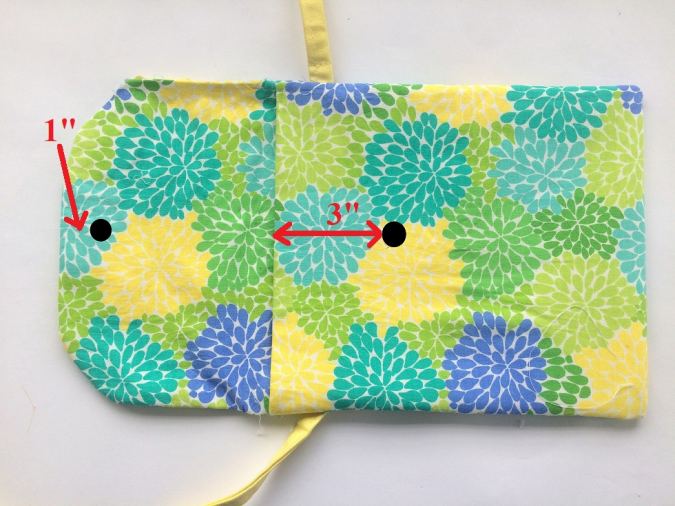

Make a mark 1” from the top edge of the flap and 3″ from the top of the bag. Attach the KAM snaps along the marked points.

Trim off any extra hanging threads and you will have your bag all set to be flaunted!
Wasn’t that a fun and creative DIY project? So, grab your fabric and your sewing notions and get ready to create your own fashionable and functional accessory!
Find the video tutorial below:
Find the webstory for the post here, The Simplest Crossbody Bag Pattern for Beginners
Pin it for later here,

Sandy
Monday 8th of September 2025
I just made one and now I am going to make a few more.
Thank u
Sherry -Ann James
Wednesday 27th of December 2023
It's real easy . Love it. Thank you.
Barbara
Wednesday 30th of August 2023
I 'am going to sew some bags for my grandkids they are so cute
Kyle
Friday 24th of February 2023
I am confused on how to attach the straps directions appear to attach strap from top but picture looks like the side
Kyle
Friday 24th of February 2023
@Surayya, thanks. So it’s on the outside? The picture almost looks like it is sewn into the side seam.
Surayya
Friday 24th of February 2023
You need to attach it to the sides, as shown in the picture.