I have seen a number of ways for t-shirt refashion but adding lace detail seems to inspire me more than anything else. I love adding lace to my outfits. It is something which can uplift anything you wear, without much effort. It is also easy and quick to work with.


If you have an old t-shirt that needs a makeover or you need to add a feminine touch to your new t-shirt that is plain, adding stretchy lace is the perfect choice. Working on the t-shirt bodice may require a certain amount of skill but there is not much of an expertize required to add lace trims to the sleeves.


If you need a quick makeover, this t-shirt refashion can be done in just 15 minutes. No complicated cutting or sewing required. Just take your ready-made lace trims and you are off to go!


Supplies Needed:
Full sleeve T-shirt.
4- inches wide, stretchy lace or elastic lace.
* If you don’t get a lace trim that wide, you can buy stretchy lace fabric and cut it to the width required.
Ball Point Needle.
Matching Thread.
Hand- sewing needle.
Scissors.
Sewing Machine.
Measuring Tape.
T-Shirt Refashion

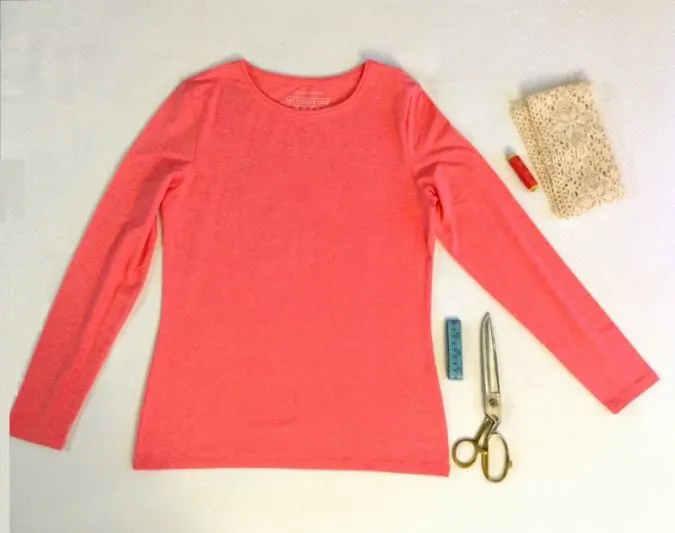
Gather your supplies.

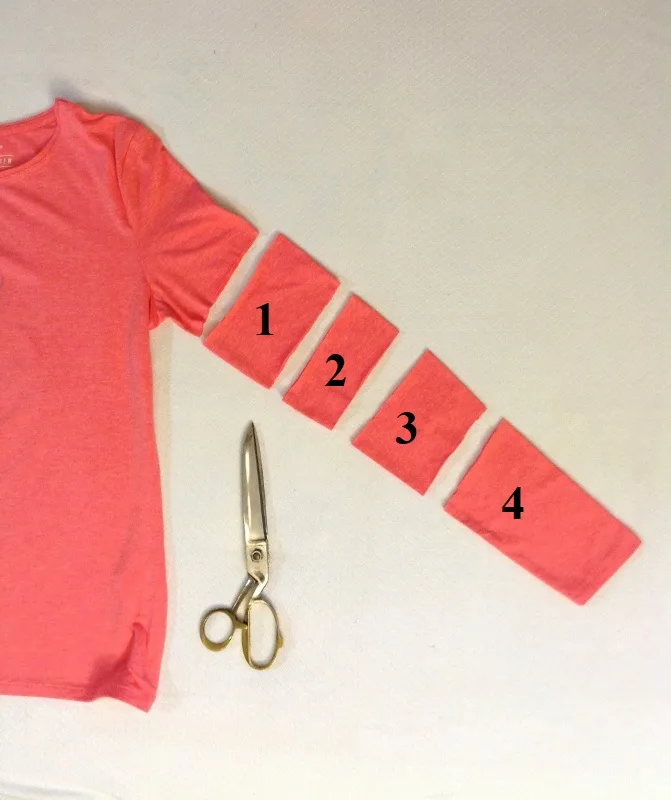
You will need to cut the sleeve into 4 pieces. Leave about 7-inches of the sleeve and make the first cut. Take care to keep the edge straight while cutting. The first piece should be 3.25-inches wide (width of the lace minus the 0.75- inches for seam allowance).
Next, move on to the second cut. The second piece should be 3- inches wide and the third again, 3.25- inches wide.
Let’s cut the lace pieces.


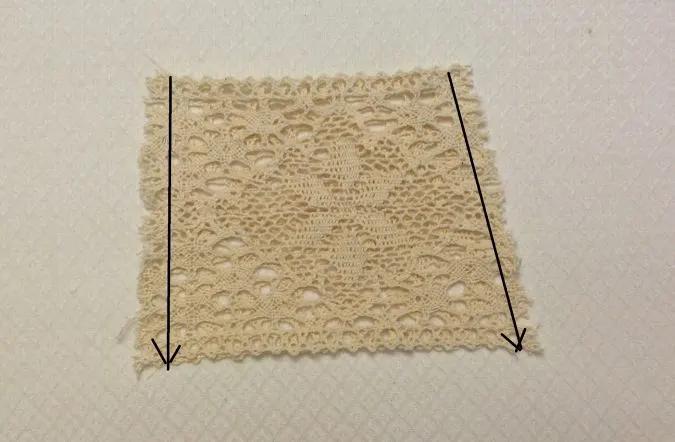
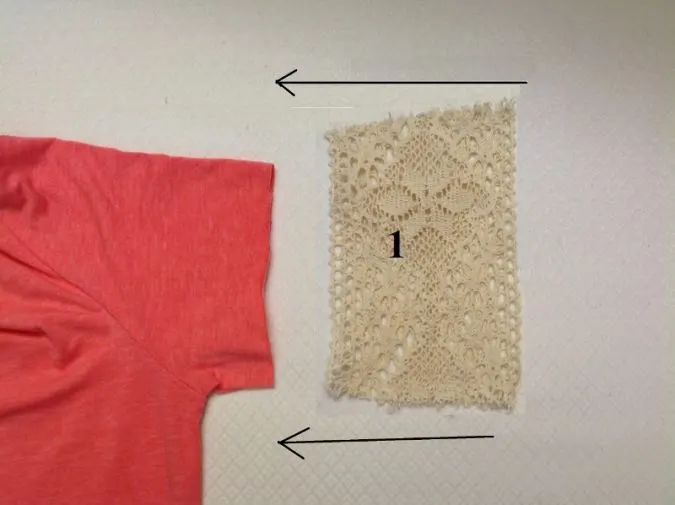
Take the lace, fold it and keep the first sleeve piece above it. Leave 3/8-inch all around and cut the lace pieces. You will get two pieces of lace to replace the first sleeve piece. Note that one edge of the lace is straight and the other edge is slanting. The straight edge comes along the lower edge of the sleeve. Repeat to get one more set of lace pieces for the other sleeve.
Next, take the third sleeve piece and cut two sets of lace to replace it.

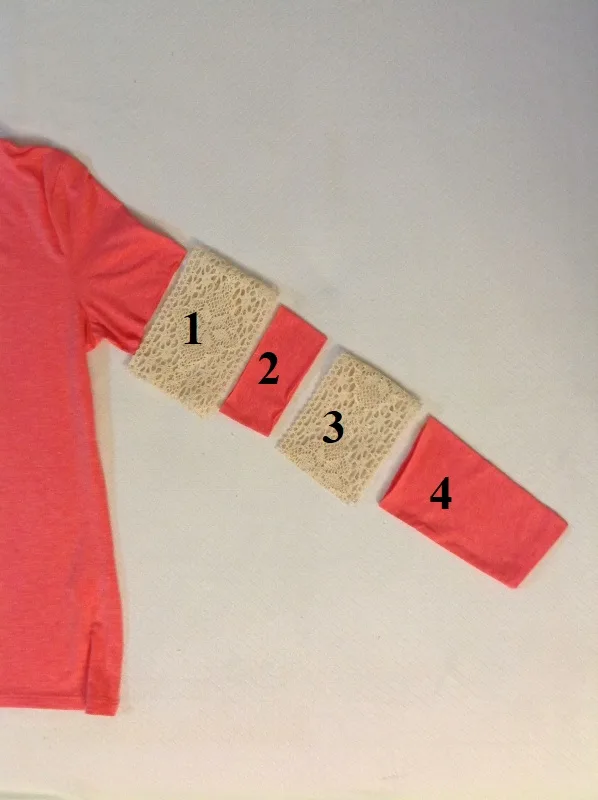
The sleeve and lace pieces will be arranged as shown above. Note that that the first and third sleeve pieces are replaced by the lace.

Take the first set of lace and keep them layered, with the right sides together. Sew them shut along the two edges to get a lace ring. Repeat with all the remaining lace pieces.
Let’s attach the lace to the sleeve.

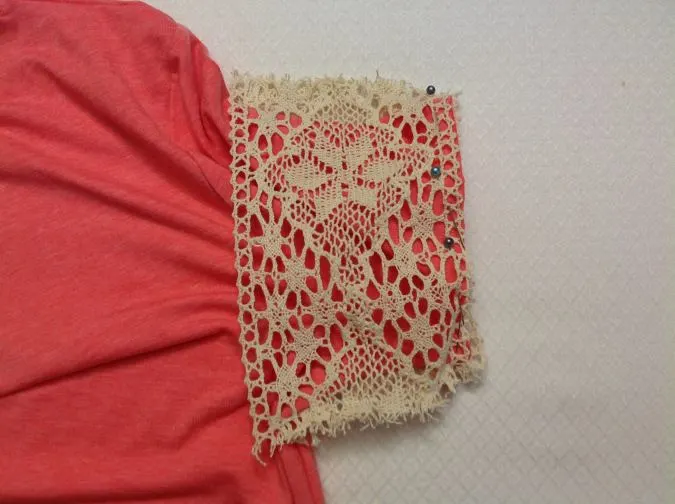
Keep the t-shirt on its right side and the lace on its wrong side. The shorter edge of the lace should face the raw edge of the sleeve. Slide the lace over the sleeve. Align raw edges together and pin all around.


Sew the lace to the t-shirt, using a stretch stitch and removing the pins as you sew.


Attach the second piece to the lace in a similar way. Repeat with the third ring (lace) and continue attaching the last sleeve piece (with the sleeve hem).
We are almost done, we need to make the lace bow.
Take a lace piece, 11- inches long.


Fold it over, with the right sides together. Sew it shut along the side edge. Turn it over to the right side and realign the lace to bring the seam to the center.


Pinch the middle of the bow and gather the center. Wrap a strip of the t-shirt piece tightly around it and hand stitch at the back.

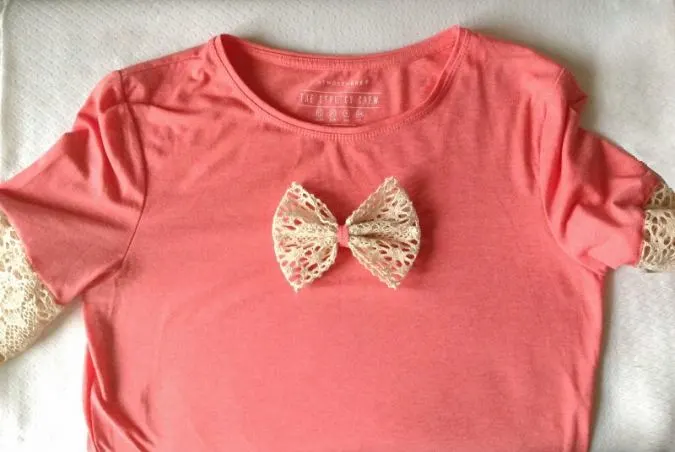
Place the bow in a desired position and hand- sew to secure.


Your lacy t-shirt is ready to be worn!
Find the webstory for the post here,15-Minute T-Shirt Makeover: Fast & Easy Refashion
For more of my free patterns, click here.
For hundreds of free patterns and DIYs, visit allfreesewing.com.