Have you ever been intimidated by gift wrapping? Have you tried wrapping gifts neatly multiple times and failed? Here is a fun tutorial that will teach you how to wrap gifts in not just one, but five ways!
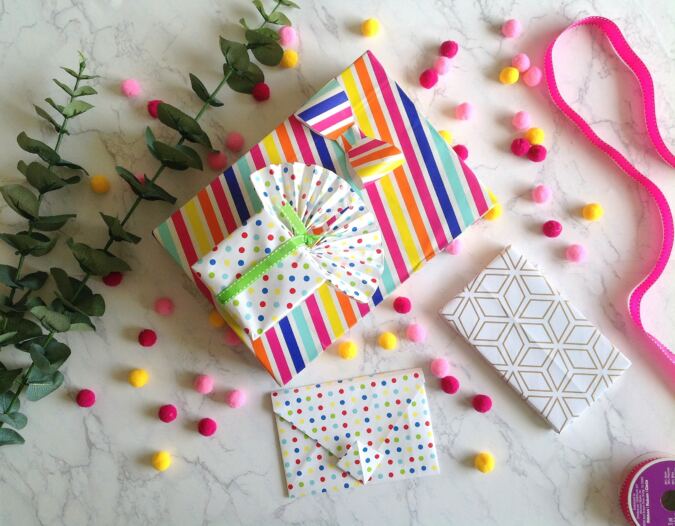


These gift wrapping techniques are easy, fun, and you’ll be surprised at how awesome they look once they’re done. The tutorial includes directions for wrapping gifts in a plain and simple way, as well as ornamental styles like the fan style, envelope style, and shirt style.


You will also receive directions on how to wrap the gift when there isn’t enough paper.
How to Wrap Gifts- Five Ways
In this tutorial on how to wrap gifts, you will learn:
- The basic style on how to wrap gifts.
- The fan style of gift wrapping.
- The envelope style.
- The shirt style of gift wrapping
- And finally, how to wrap gifts when there is less paper.
How to Wrap Gift Box- Basic Style
Supplies Needed:
Gift wrapping paper.
Gift wrap tape.
Double-sided tape.
Scissors.
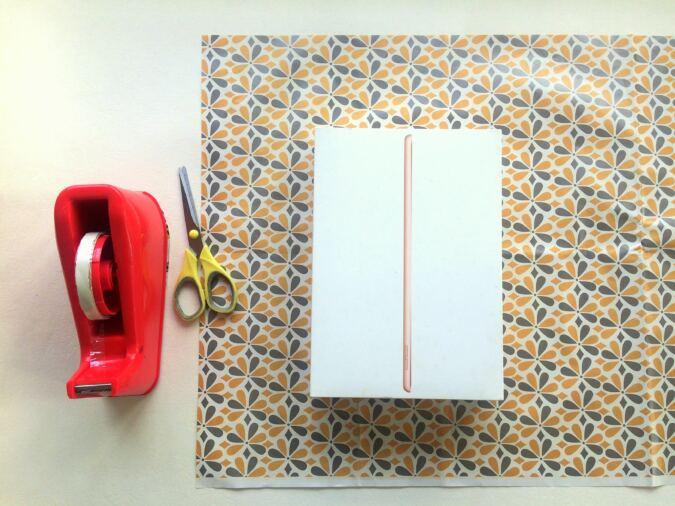

Gather your supplies.
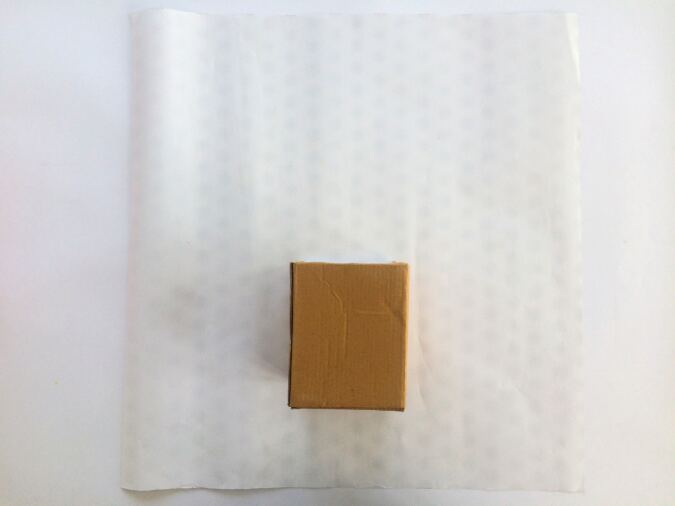
Open the paper roll and place the gift, with the wrong side up.

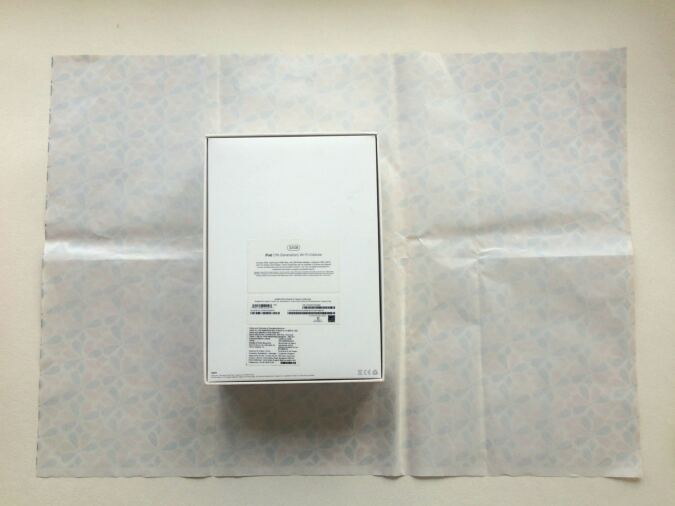
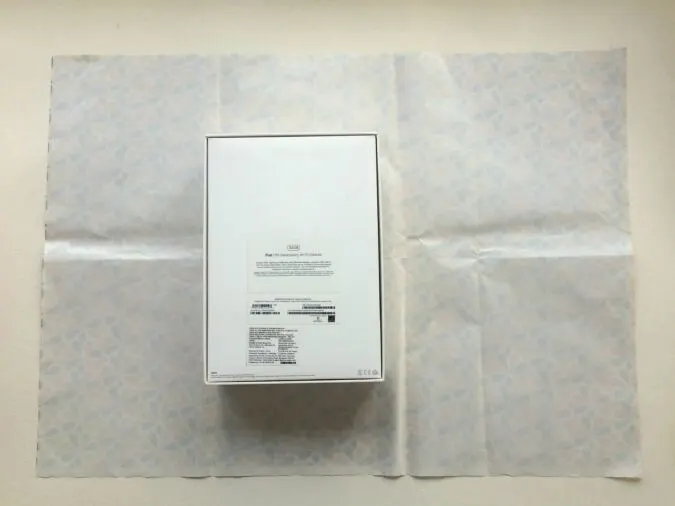
Fold the paper over so that it covers the top and the sides of the box completely.

Leave 3 inches extra and cut the wrapping paper.
On the edges, the paper must cover 3/4th the height of the box.


Repeat on the other end and cut off the extra.

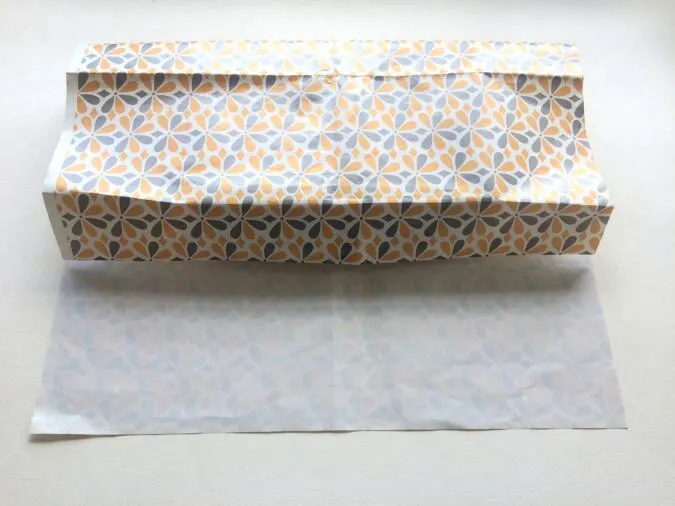
Fold the paper over the box, with the edge of the paper extending by about 1.5 inches, above the box. Secure the ends with regular tape. Gently push the box tight to fit the paper and crease the edge with your hands.


Fold the other edge over the box. Make a crease on the paper, along the edge of the box with your hands. Fold the wrapping paper inward along the crease.


Fold over and use double- sided tape along the inside of the fold to secure the edge.

To finish the ends, fold down the top flap, creating two flaps along the sides. Make sharp creases on the fold with your hands.

Push the box gently to make it fit properly and fold the two side flaps in.


Fold the bottom flap up and secure the folds using double-sided tape. Repeat on the other end.
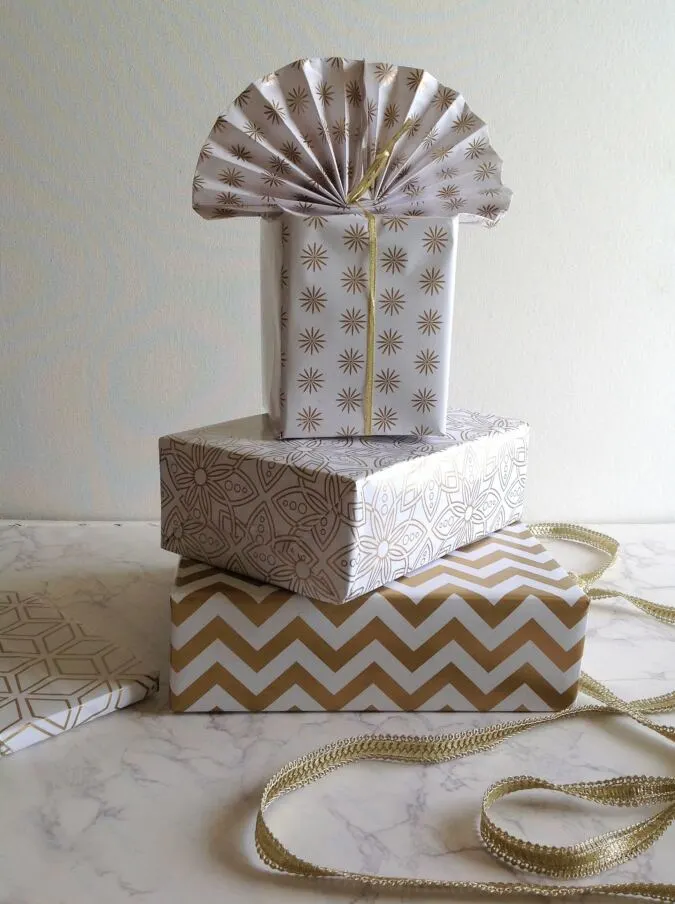
Fan- Style Gift Wrapping
You will need the supplies just like you gathered earlier but you will need some burlap twine or satin ribbon for tying the fan.

Take the wrapping paper and spread it out. Place the box wrong side down on the paper, leaving just 3/4th the height of the box.
Just as you did previously, fold the wrapping paper to cover the box completely and add 4- inches extra (this time I’ve added more inches to ensure the wrap doesn’t come undone while I fold the fan).

Fold the paper over the box, with the edge of the paper extending by about 4 inches, above the box. Secure the ends with regular tape. Gently push the box tight to fit the paper and crease the edge.


Fold the other edge over the box. Secure with a double- sided tape on the inside of the paper.

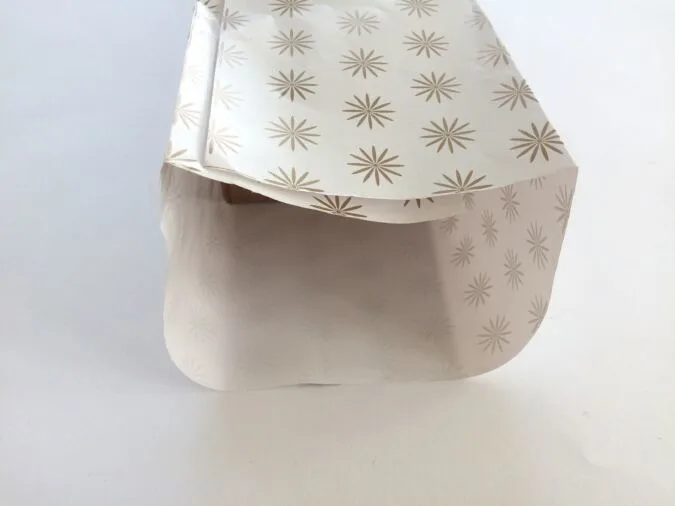
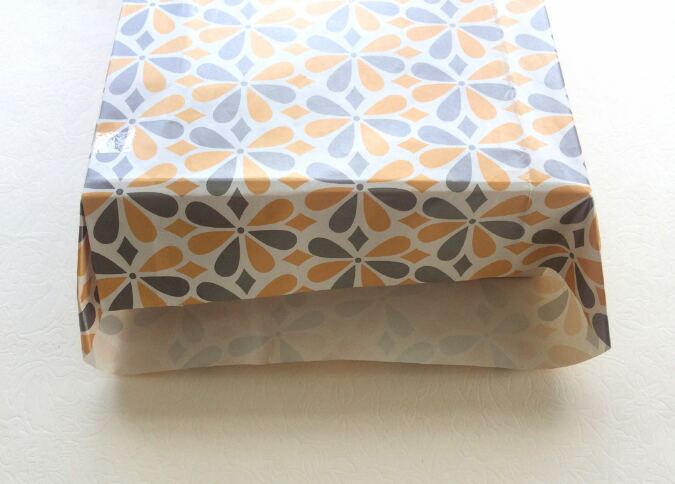
The lower end would look like this.


Push the box gently to fit taut and fold the upper flap inward, to get two flaps on either side. Secure with a tape.


Fold the lower flap inward to get two triangles on the sides. Secure with the tape.
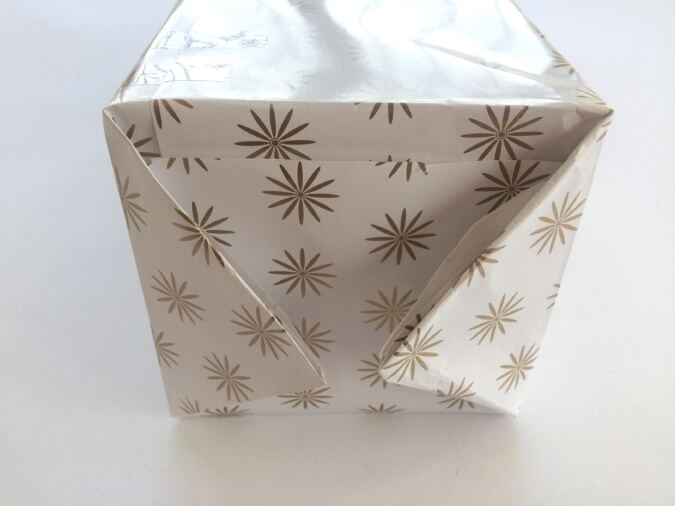

Fold the triangles inward and secure with the tape.


This is how it would look like now.
Next, we need to fold the fan on top.

Flatten the paper by pressing with your hands, starting from the raw edge, to the top of the box. Handpress to form neat creases along the two sides.


Start folding the paper in accordion style from the top and continue downwards, till you reach the top of the box.


Take your preferred tie and slide it under the box. Press the folds close to the box and tie it neat and taut to secure.


Tape the center edges of the fan together, using a double- sided tape.


Your gift wrapping is done!
Envelope Style Gift Wrapping


Take the gift wrapping paper of your desired choice.
You may take the measurements for the square, referring to the details below:
Small:
Finished measurements: 4.75” x 3”
Square dimensions: 8” x 8”-inch
Large:
Finished measurements: 6” x 4”
Square dimensions: 11” x 11”


Measure 11- inches on one side of the paper (for the large envelope) and fold it diagonally to square the paper. Cut along the side to get a square.


Fold the square along the diagonal, with the wrong sides together. Handpress to form a crease along the diagonal and open the paper.


Next, fold one corner to touch the crease along the center.


Fold once again along the center crease, keeping the fold along the corner intact.


Next, fold the right corner towards the center, overlapping the upper corner by ½-inch.


Repeat with the left corner.
Now you can see that the corners intersect.


Open the corner on the left side and handpress to make it flat.


Insert the top corner into the casing formed and your envelope is ready!
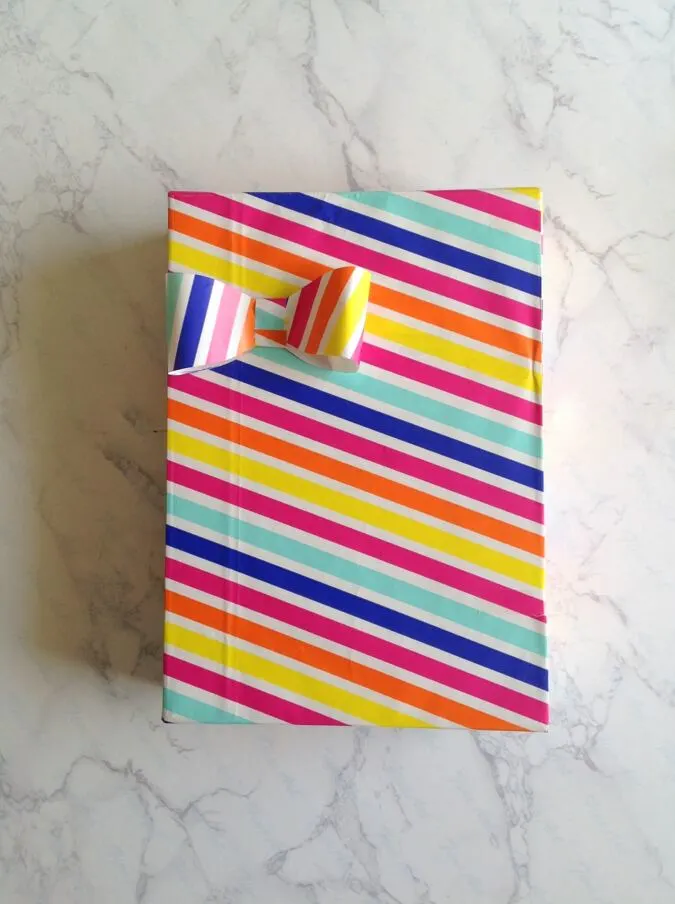
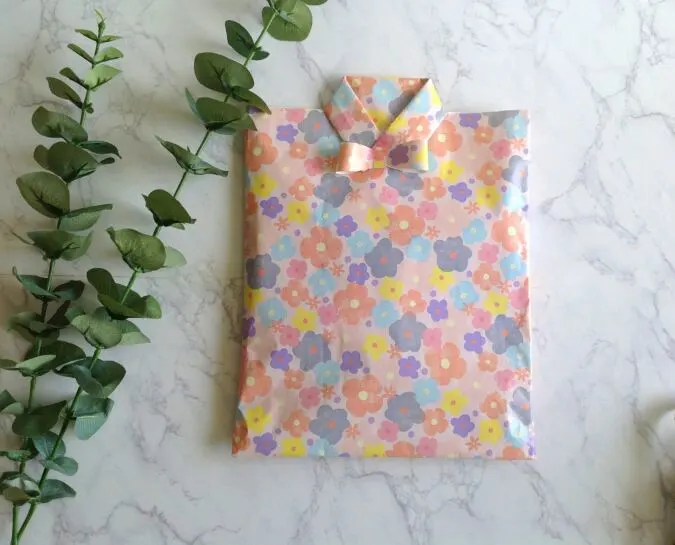
Shirt- Style Gift Wrapping
Gather your supplies just as you did for the earlier styles.
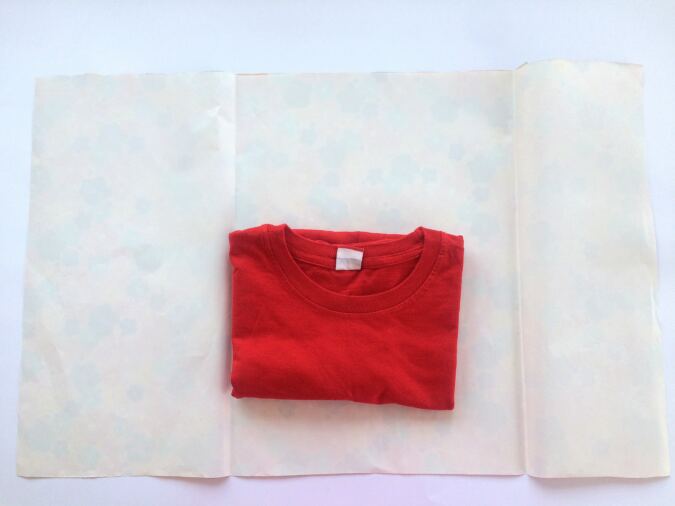

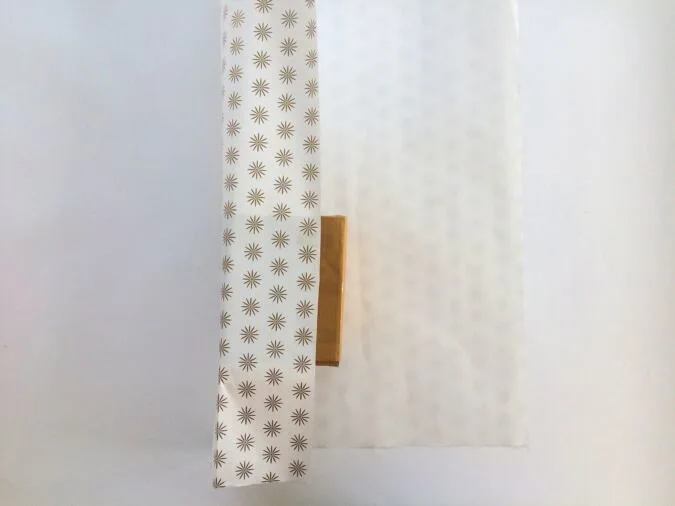
Take the width of your paper a little more than triple the width of your object and length about 3- inches more at the bottom and about 5- inches more at the top. Place the object centered on the paper.


Fold the left edge over, almost covering the object.


Fold the right edge of the paper over and secure using double- sided tape.


Fold the lower edge by approximately ¾- inch twice and secure with a tape.


Fold the top edge down twice by ¾-inch and cut two 3- inch long slits, just under the fold.


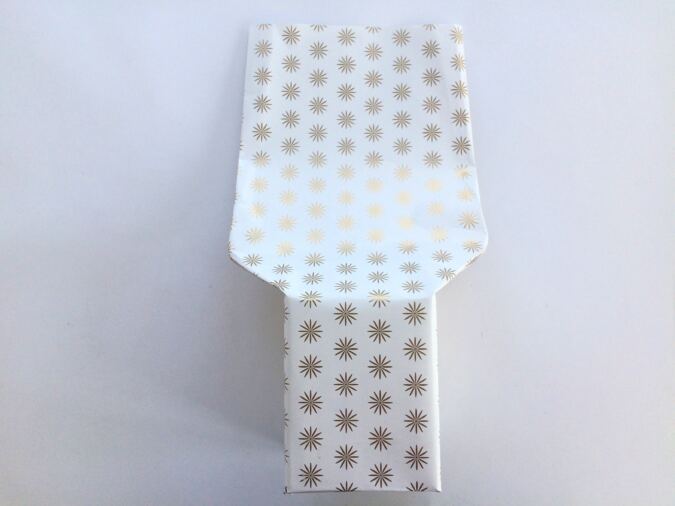
Turn over to the right side.Fold the flap inwards to form a collar and secure with a tape.
Next we make a bow.


1)Take a piece of paper, 6- inches long and 1.5 -inches wide.
2)Fold it and draw a leaf shape on the fold.
3)Cut along the shape.
4)Open and you get two leaves attached along the base.
5)Fold the tip of the two leaves towards the center and glue in place.
6)Take a piece of paper, 3- inches long and ½- inch wide.
7)Wrap it around the center of the bow and glue in place.


Secure the bow to the shirt.
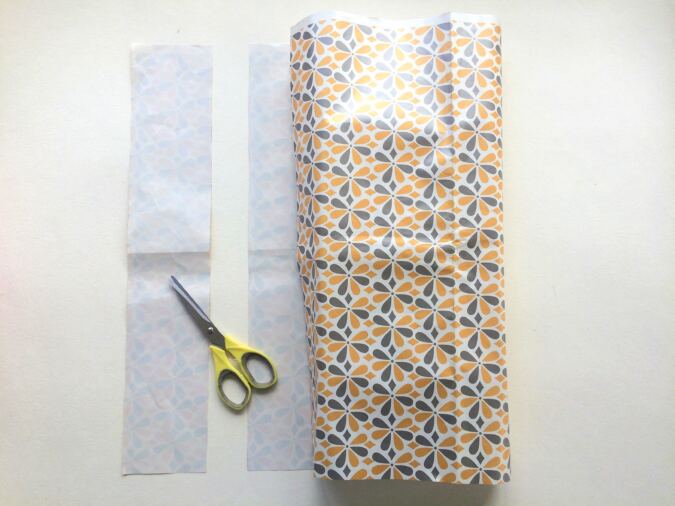
How to Wrap Gifts with Less Paper


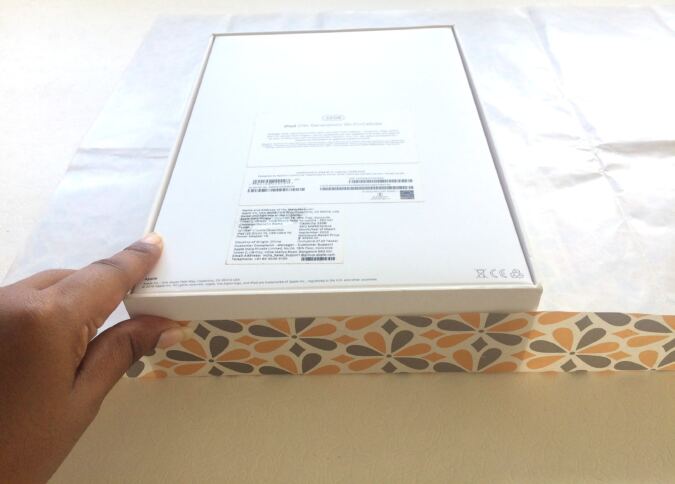
Square the paper as you did earlier and place the box diagonally along the center.


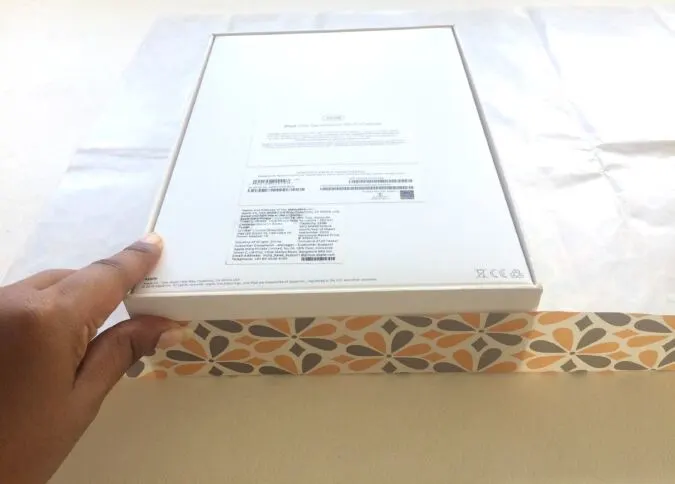
Fold the top edge over such that corner touches the opposite edge. Fold the bottom edge over and secure with a double- sided tape on the inside of the paper.


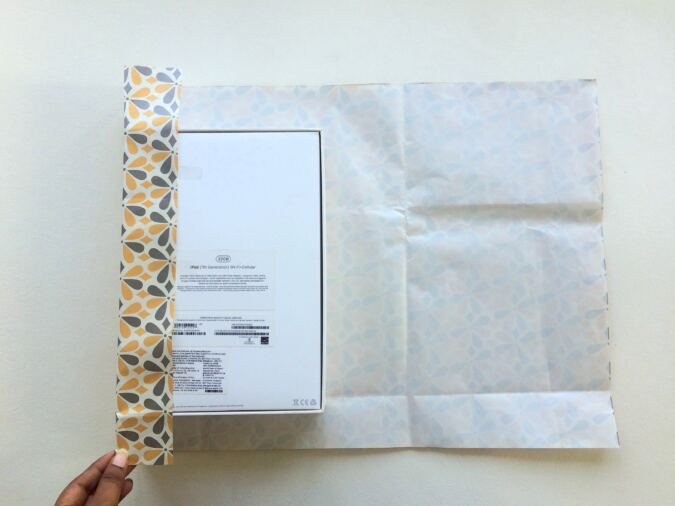
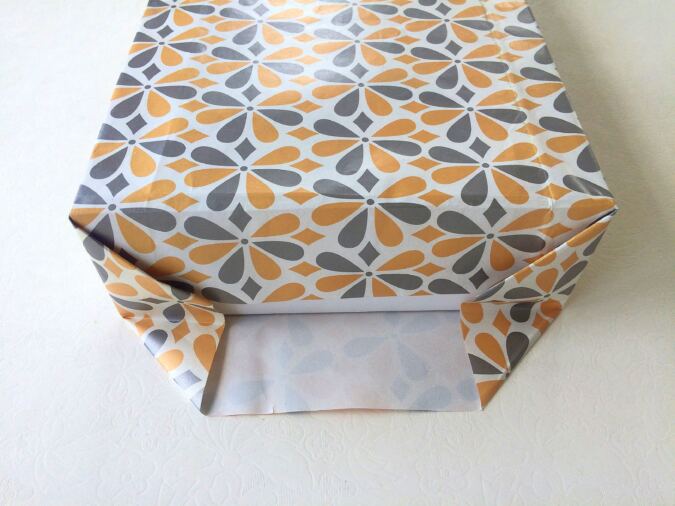
Turn over to the short side edges and fold the corners in.


Next, fold the two edges of the paper the paper.


Fold the corner over the box, push the box gently to make it taut and secure with tape. Fold the other edge over and secure.


You present is wrapped neatly!
Find the webstory for the post here, Gift Wrapping Made Easy: 5 DIY Techniques
Pin it for later here,


Cavell Durdle
Wednesday 15th of November 2023
Very interesting, I’ll try some of these this year with my gift wrapping.🙂