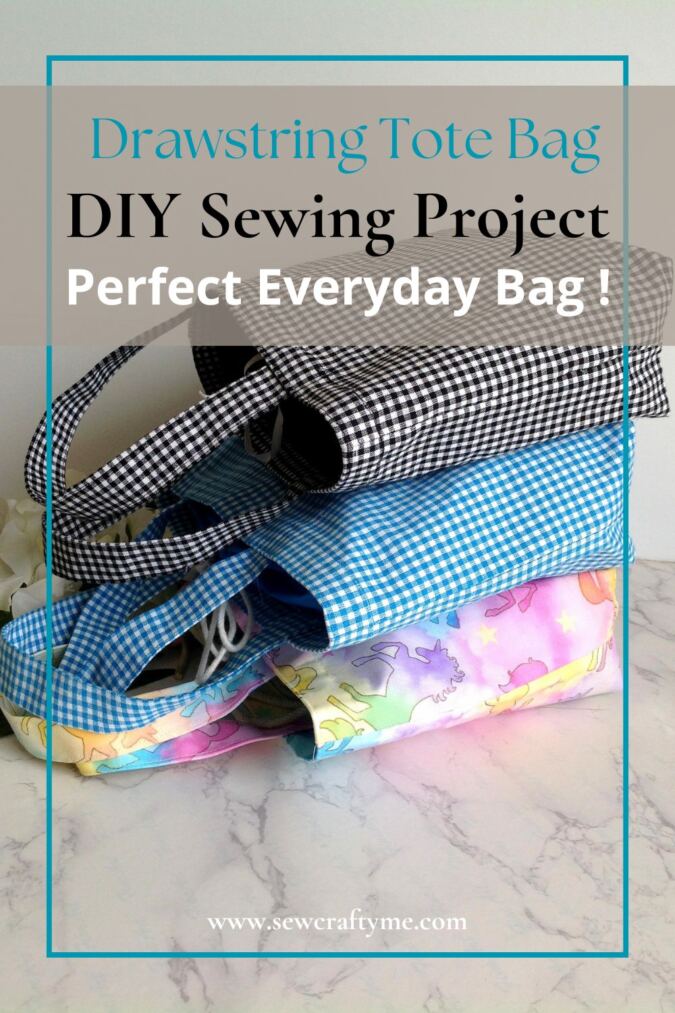
I know I’ve been releasing a lot of tote bag patterns lately — but how many tote bags is too many? Honestly, you can never have enough totes!
So here I am again, with an easy tote bag pattern featuring a drawstring closure.


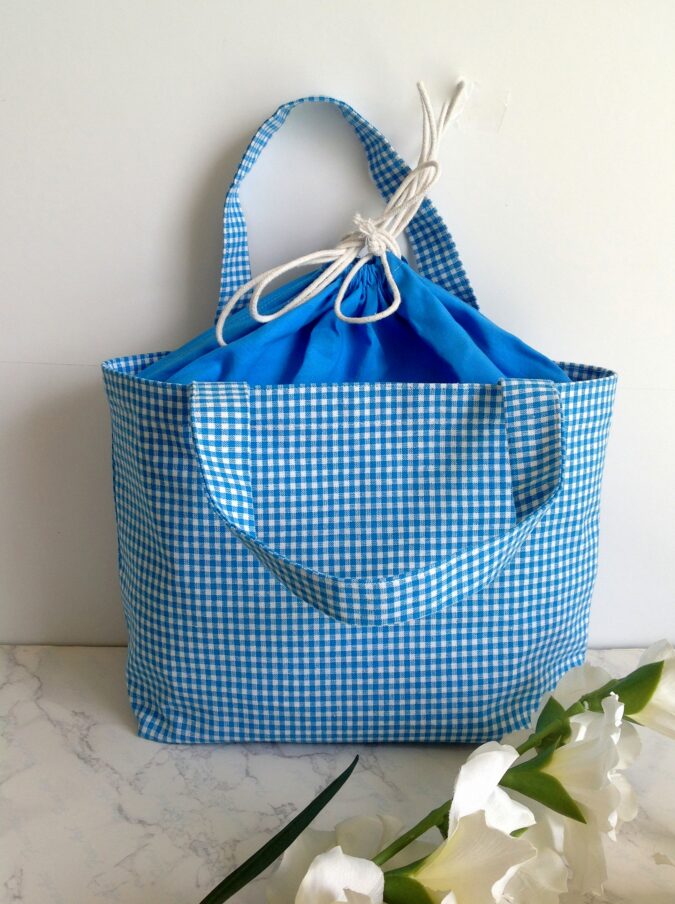
This lovely design doesn’t require any zippers or buttons — just pull the drawstring to close it. Isn’t that awesome? There’s also an inside pocket, perfect for storing your essentials.


Whether you’re making it for yourself or as a gift for someone you love, this tote bag pattern is just as useful as it is easy to make.
Free Drawstring Tote Bag Sewing Pattern
Supplies Needed:
Medium-weight cotton fabric in a desired print and color for the bag outer and straps – 1/2 yard
Medium- weight fabric in a coordinating color and print for the drawstring closure- 1/4 yard.
Medium- weight fabric in a coordinating color for the bag lining and inside pocket- 1/2 yard.
Heavy- weight fusible interfacing- 1/2 yard.
Drawstring for closure (or optionally you may use 1/2- inch grosgrain ribbon)- 50- inches.
Sewing Notions.


Gather your supplies.
For the bag, you will need to cut fabric pieces in the following dimensions:
Main Fabric
Bag outer- 15”W x 13”L (cut 2).
Bag strap- 3”W x 18”L (cut 2).
Drawstring Fabric:
Drawstring Closure- 15”W x 8”L (cut 2)
Lining Fabric:
Bag lining- 15”W x 13”L (cut2).
Bag Inside Pocket- 12”W x 8.5”L
Interfacing:
Interfacing for the bag outer pieces- 14.25W x 12.25”L (cut 2).
Interfacing for the strap- 2.25W x 17.25”L (cut 2).


You will get your main pieces like this.


Lining pieces like this.


And interfacing pieces like this.
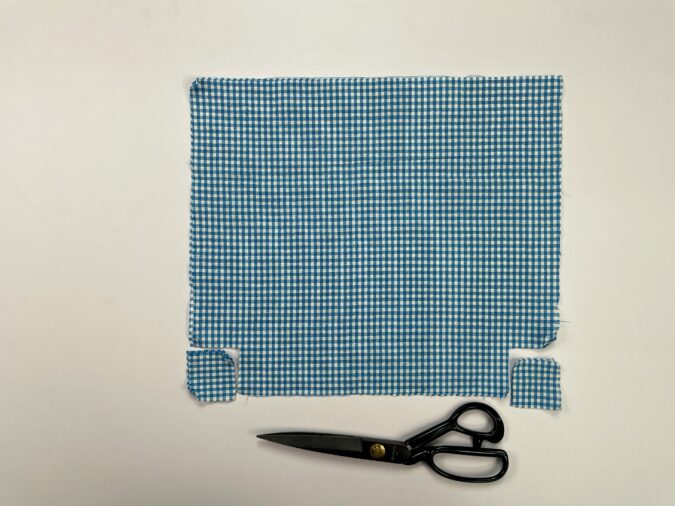
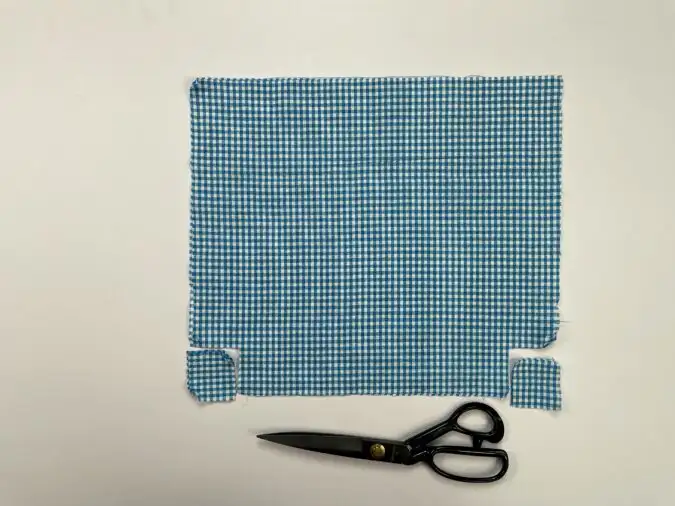
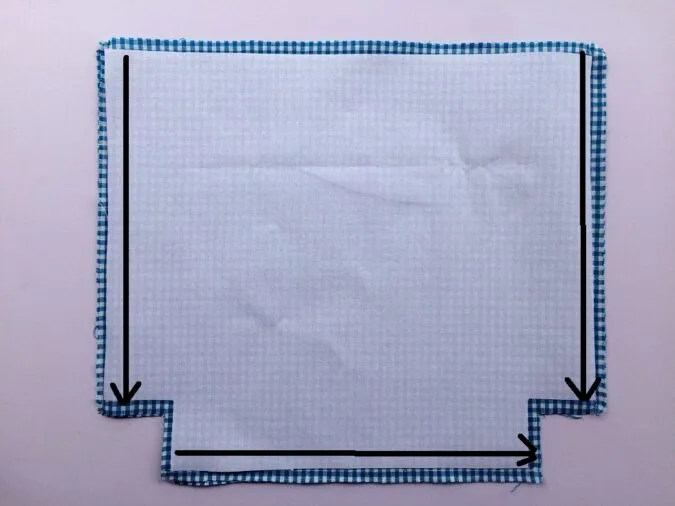
To box the bottom of the bag. We cut off 2” squares from the lower edge, on both sides of both the bag outer pieces.


Repeat the same with the lining and bag outer interfacing pieces.


Fuse the interfacing to the wrong side of the bag outer pieces, following the manufacturer’s instructions. Make sure to leave equal space all around the interfacing while fusing.
Let’s sew the inside pocket.


1) Fold the inside pocket piece in half along the long edge and sew around the open edges, leaving about 2-inches open to turn the right side out.
2) Bring the right side out through the opening.
3) Tuck the raw edges in and press to make it clean and crisp. Topstitch all around to close the opening.


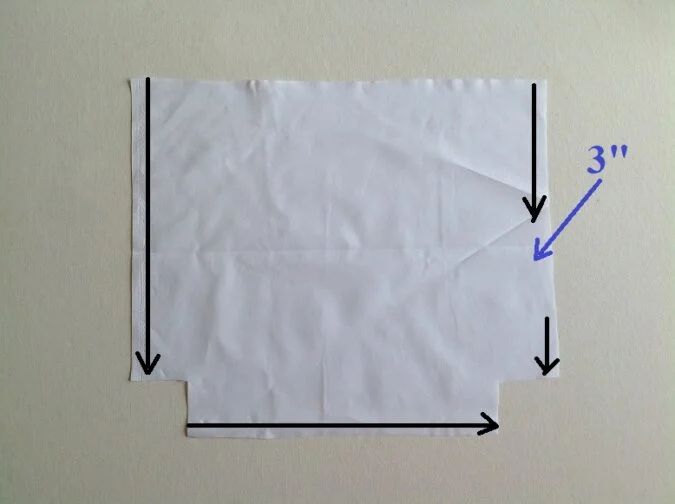
Fold the inside pocket and one of the lining pieces in half and press to make a crease along the center.


Place the pocket on the lining piece, 3- inches from the top and matching the center crease. Sew around the edges, leaving the top edge open.
Let’s join the bag outer pieces together.

Layer the two bag outer pieces, with the right sides together, lining up the edges, and sew along the side and bottom edges to join.
Let’s box the corners along the bottom of the bag.


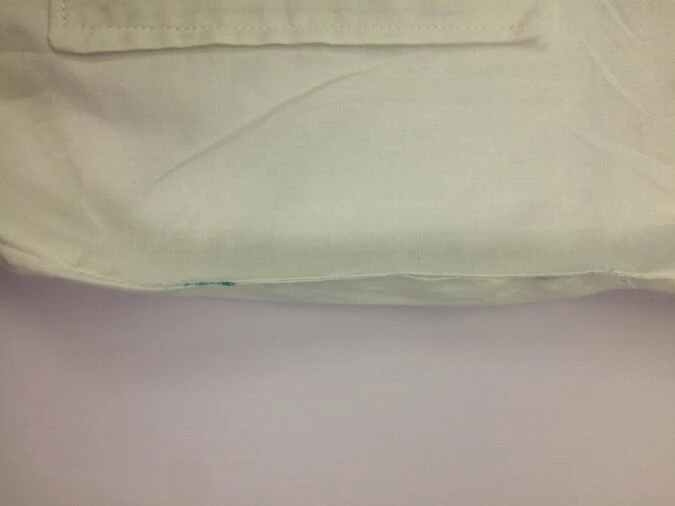
Pinch open the corner and line up the side and bottom seams. Put clips along the aligned seams to hold it in place.


Sew the aligned edges shut, removing the clips as you go. Repeat on the other corner.
Next, let’s join the lining pieces together.

Layer the lining pieces with the right sides together and sew them shut just as the outer pieces but leaving an opening of about 3- inches along the side to bring the right side out later.


Box the corners of the lining, just as the outer.
Next, we prepare the straps.


1) Take the strap piece and fuse the interfacing on the wrong side, leaving equal space all around and following the manufacturer’s instructions.
2) Fold the two long edges and one short edge towards the wrong side by 3/8- inch and press.
3) Fold it in half again lengthwise and press once more.
3) Sew the strap shut along the edge of the folds.
Repeat to finish the other strap.
Next, we prepare the drawstring closure.
Take the two pieces for the drawstring closure and finish the raw edges with an interlock or zigzag stitch to prevent fraying.


Next, layer the two pieces with right sides together, aligning the edges. Sew along the shorter edges, leaving a 0.75-inch gap (on both sides), starting 1 inch down from the top edge, as marked.


Press the seams flat.


Turn over to the right side and sew around the opening in a rectangular shape. Repeat on the other side.


Next, fold one of the longer edges by 1- inch and press to set.


Sew the fold shut along the edge.


Keep both the lining and the drawstring closure right side out. With the folded edge of the closure facing the top edge of the lining, slide the closure over the lining.


Line up the raw edges of the two together and pin all around, making sure that the side seams are in line. Sew the pinned edges together to join.


Find the center of the upper edge of the lining using a measuring tape and mark it. Then, mark two more points, each 2 inches away from the center on either side. Align the short edges of the bag strap with these marked points and clip them in place. Sew the strap to the bag. Repeat with the other strap on the other side.
Now, let’s put the outer bag and the lining together.


Turn the lining over to the wrong side and push the straps and the drawstring closure inside.
Next, turn the outer bag right side out, with its bottom edge facing the lining. Then, slide the lining over the outer bag.


Line up the raw edges of both pieces and clip them together all around, making sure the side seams are aligned.


Sew around the raw edge to join, removing the clips as you go.


Start pulling the right side out, through the opening in the lining.


Keep pulling till the whole of the right side is brought out.

Tuck the raw edges of the opening in and sew it shut along the edge.

Push the lining inside the bag outer.
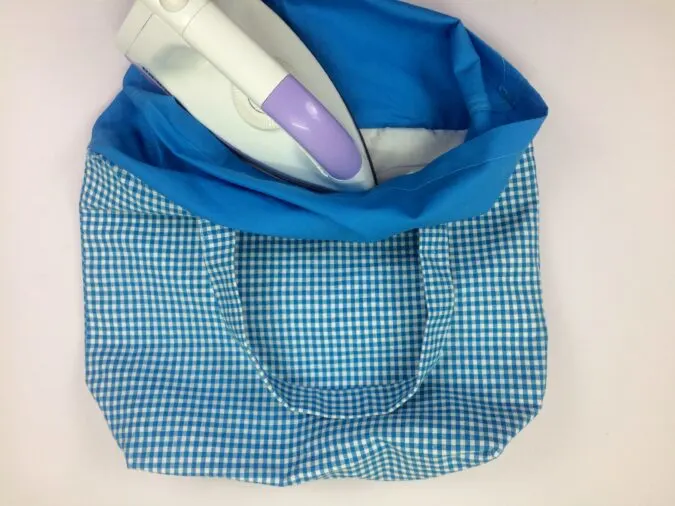
Gently pull the drawstring closure and the lining to smooth them out, then press well to give the bag a clean, crisp finish. Topstitch along the seam line between the closure and the lining to hold everything in place.


With the drawstring closure pulled out, mark a line 2.25 inches down from the top edge of the bag, all around.


Fold the bag inward along the marked line, pushing the drawstring closure and the straps to the inside. Put clips to hold.


Sew along the edge of the fold to secure.


Bring the strap out and turn it upwards. Pin it along the upper edge of the bag. Repeat with the other end of the strap and on the opposite side. Sew all around the upper edge to secure the straps in place and create a clean, crisp finish.
Let’s insert the drawstring.


Cut the drawstring into two equal pieces.
Start inserting the drawstring through one end of the casing, using a safety pin. Continue inserting the drawstring into the casing on the other side, till it comes out.


Next, take the other drawstring piece and start inserting it through the casing from the opposite side. Continue as before. Tie the ends of the string in a knot and pull the ends to close the bag.


Our drawstring bag is done!
Find the webstory to the pattern here DIY Reversible Drawstring Tote Bag Pattern
Pin it for later here,