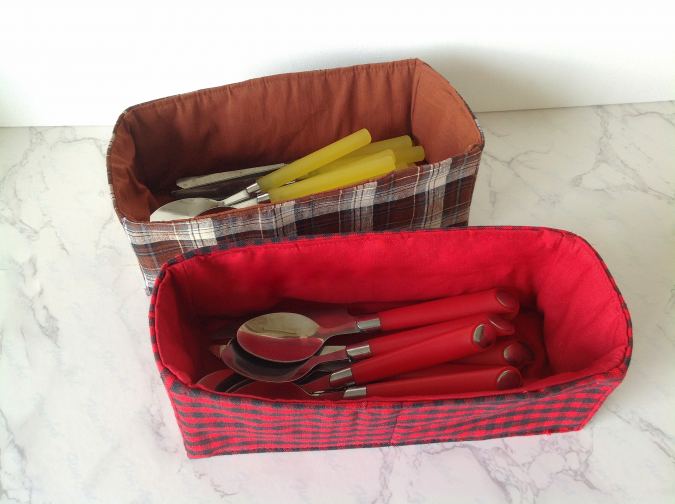
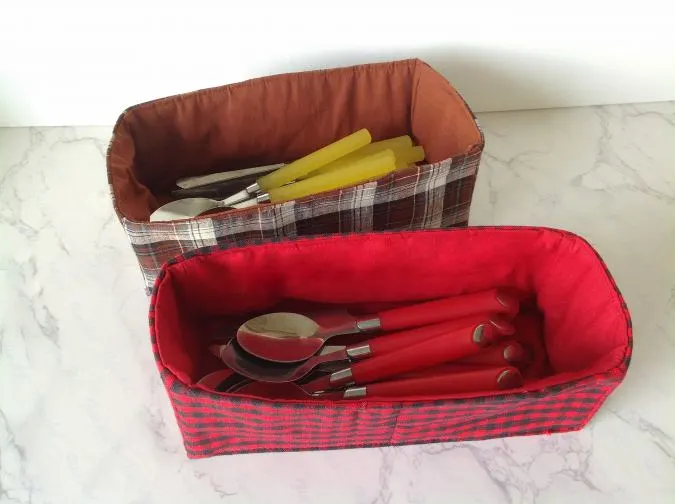
Sew these fabric cutlery boxes to keep your cutleries neat and organized. This fabric bin can be used not only for your cutleries but you can store your sewing supplies, school supplies, and more.

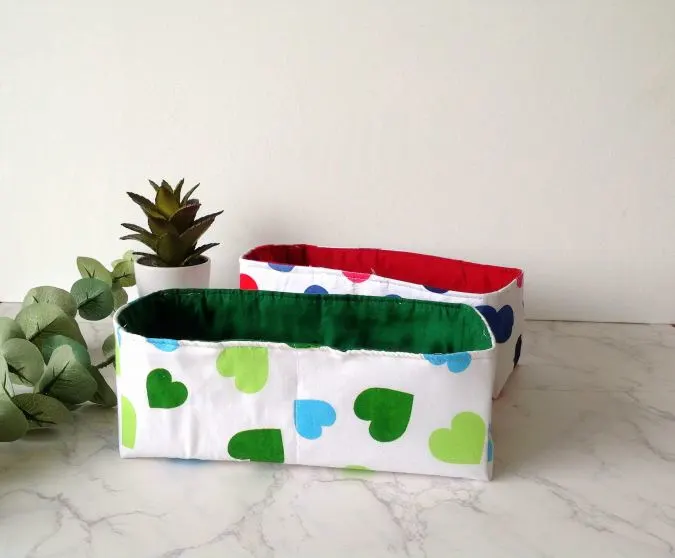

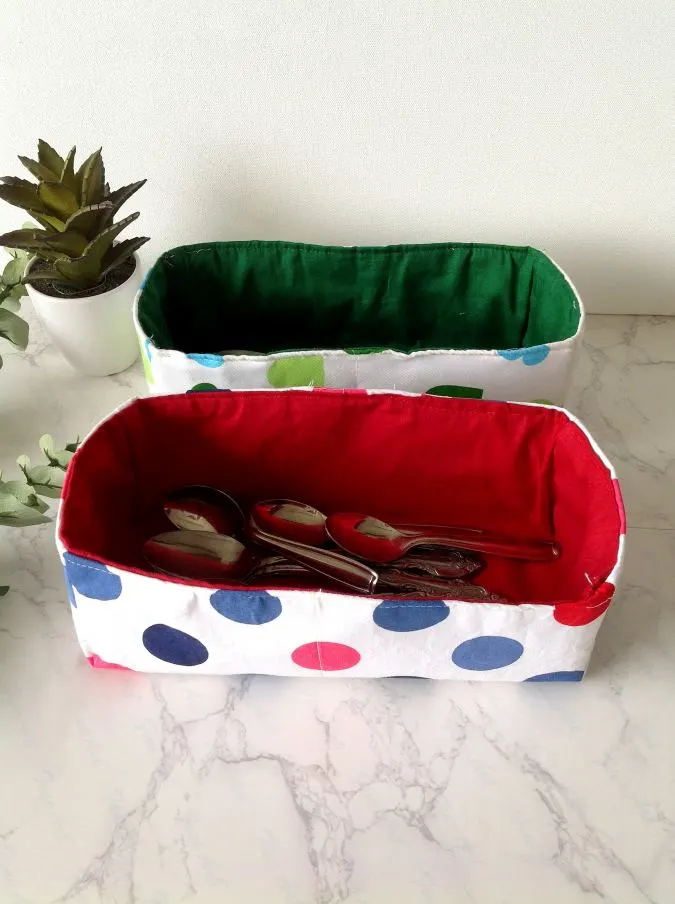
These baskets can be made in beautiful colors to match your home. Use two coordinating fabrics for the outer and lining to make cute and colorful fabric bins that can store your cutleries.


This fabric bin sewing pattern is not as hard as it looks. Its is made from just a few rectangular pieces and it is again one of the projects that a confident beginner can try.
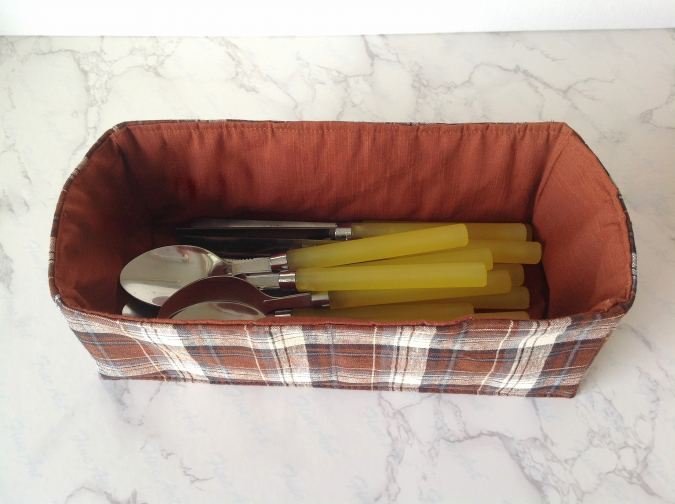
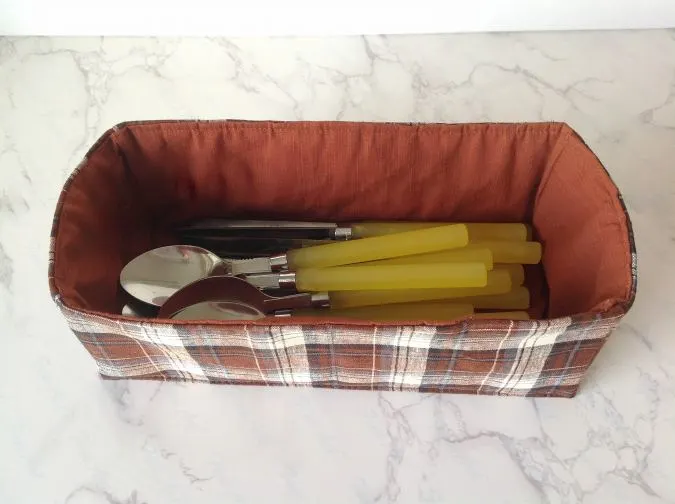
I had so much fun sewing these baskets that I made four of them in a row. I used up some leftover fabric scraps with colorful designs and also some plaid fabric to make these fun fabric cutlery boxes!
Supplies Needed:
Medium-weight cotton fabric for the box outer- 1/4 yard
Medium-weight cotton fabric for the box lining- 1/4 yard
Heavy-weight fusible interfacing- 1/4 yard
Quilt batting to give structure to the box ( I used cotton batting that is 1/8” thick)- 1/4 yard.
Sewing Notions.
Gather your supplies.
You will need:
One piece measuring 18” x 12” from the box outer fabric
One piece with the above measurements from the lining fabric.
Two pieces with the same measurements from the interfacing.
Two pieces measuring 12″ x 3.75″ for the handle.
Also cut one piece, 22” x 16” from the batting.
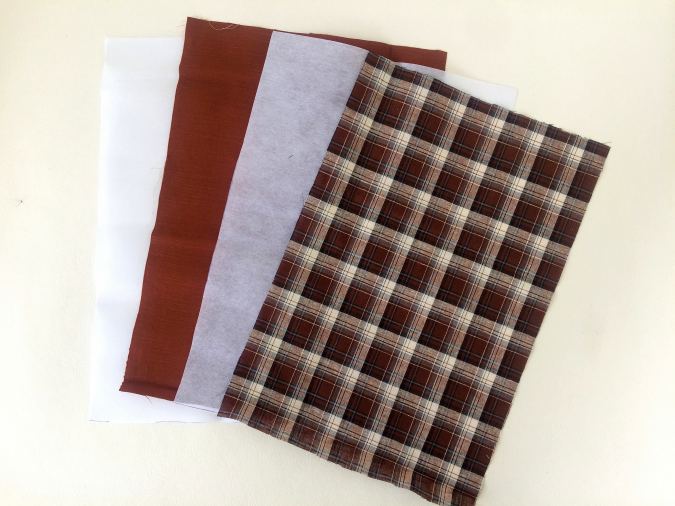

Your pieces will look like this once cut.

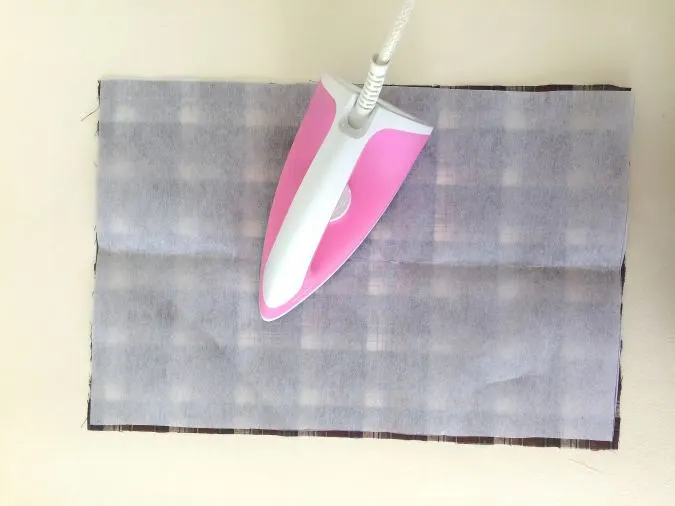
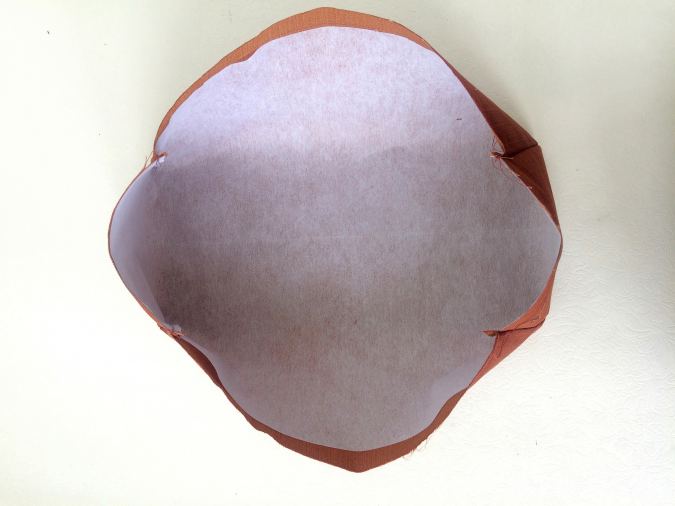
Take the box outer piece and fuse the interfacing to the wrong side of the fabric, following the manufacturer’s instructions. Start pressing from the center and slowly outwards to avoid wrinkles.
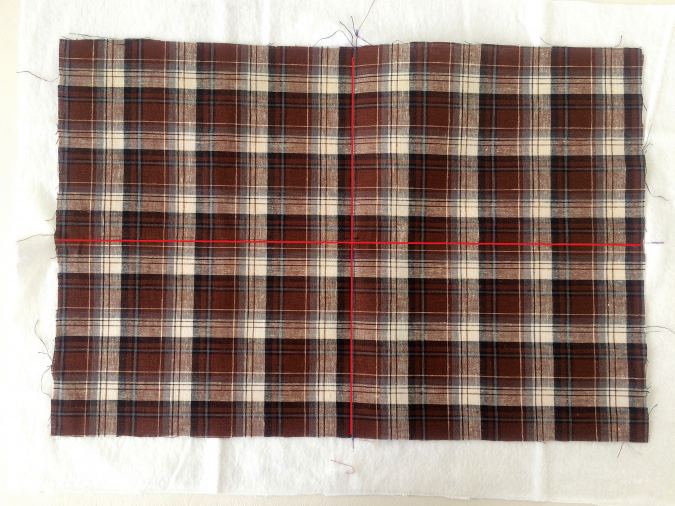
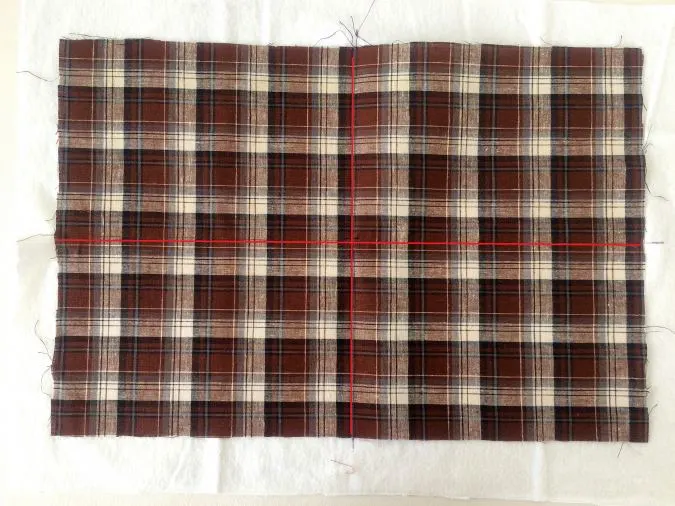
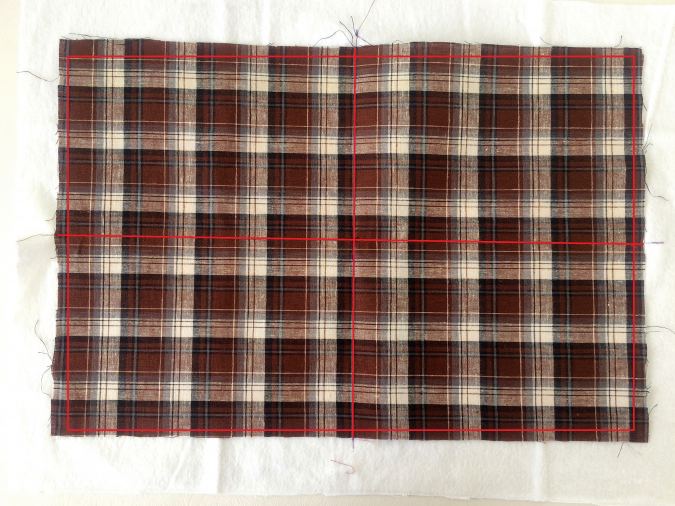
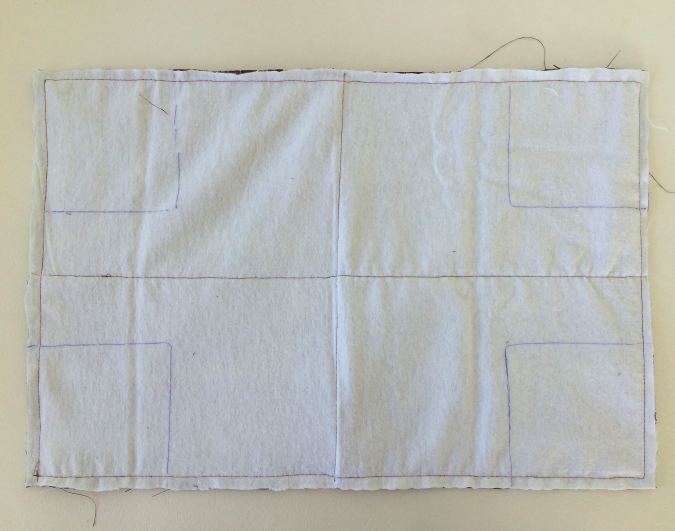
Next, place the fused box outer piece, above the batting, leaving equal space all around. Draw two perpendicular lines passing through the center.
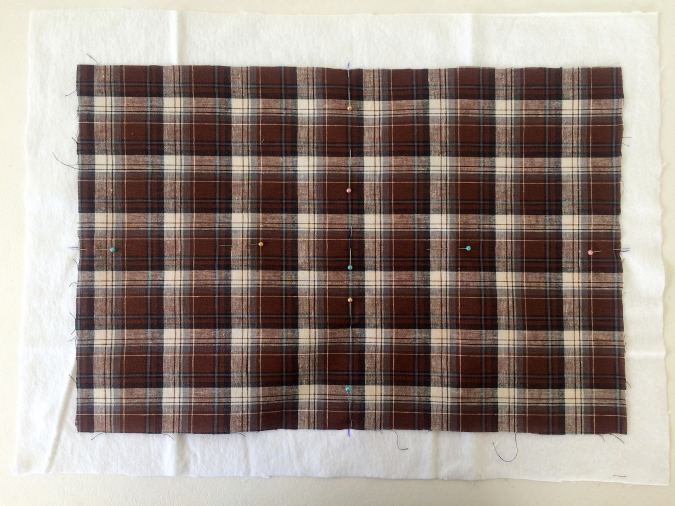
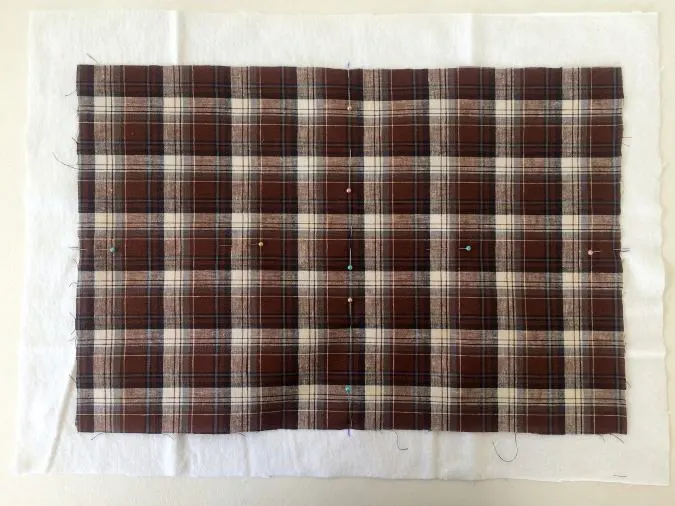
Pin the layers together.

Sew straight stitches along the lines and around the outer piece’s edges.
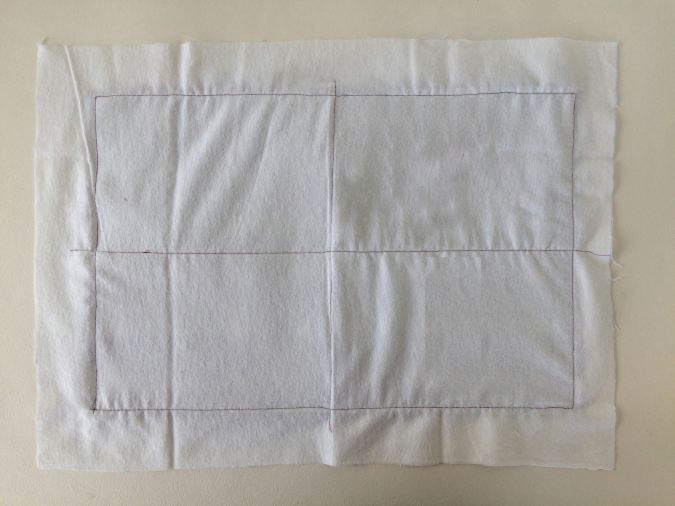
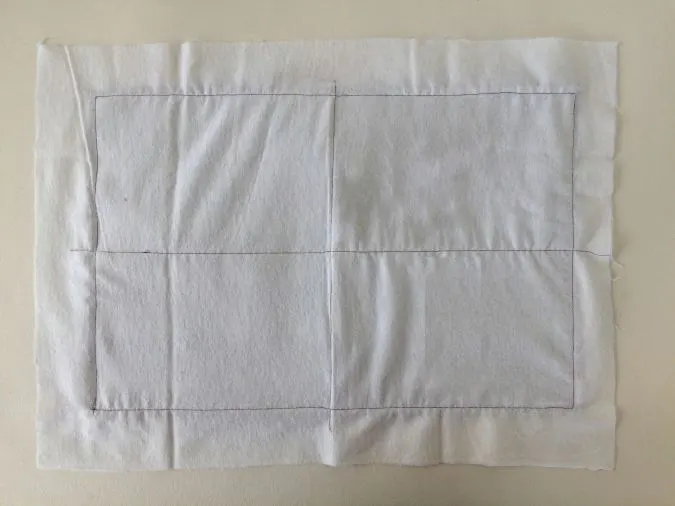
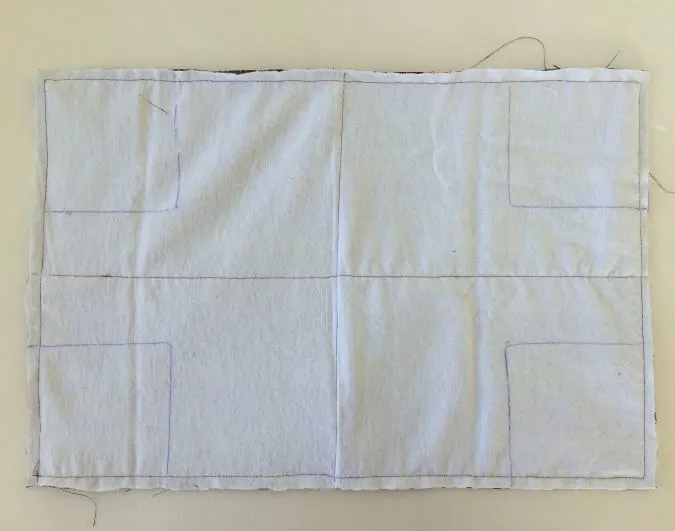
The underside will look like the picture above.

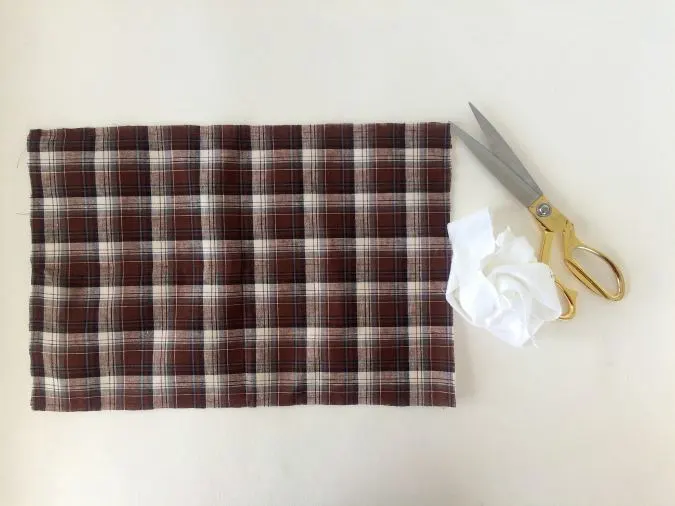
Cut off the extra batting all around.
Next, we need to give shape to the box.
Turn the outer piece over to the wrong side and draw four squares, measuring 4” x 4” on all four corners.
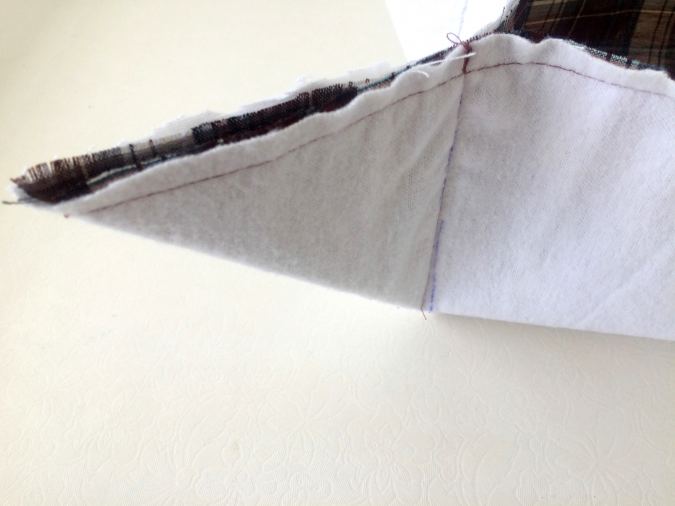
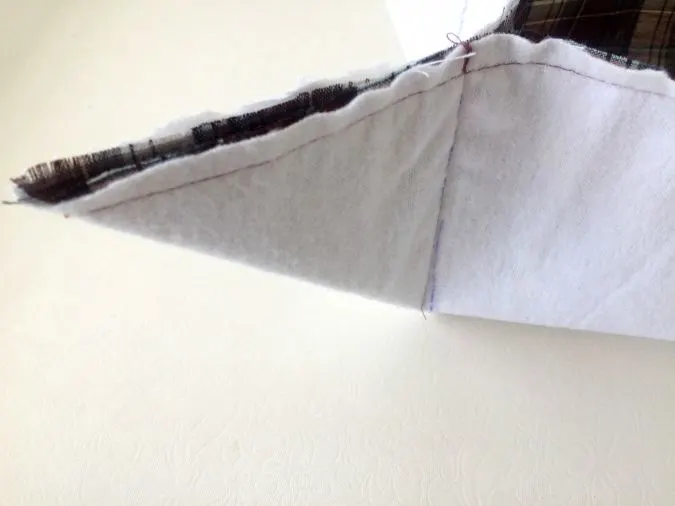
Fold the edges along the diagonal of the square and sew it shut along the sides.
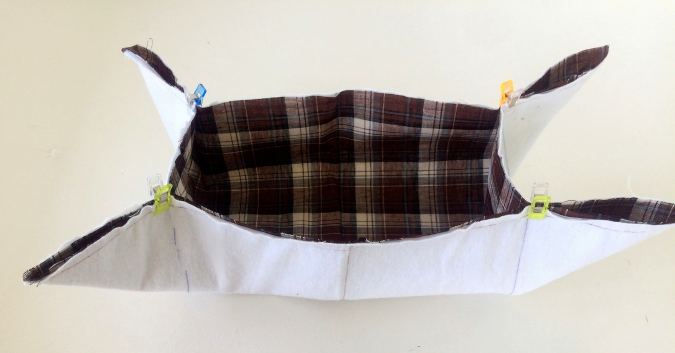
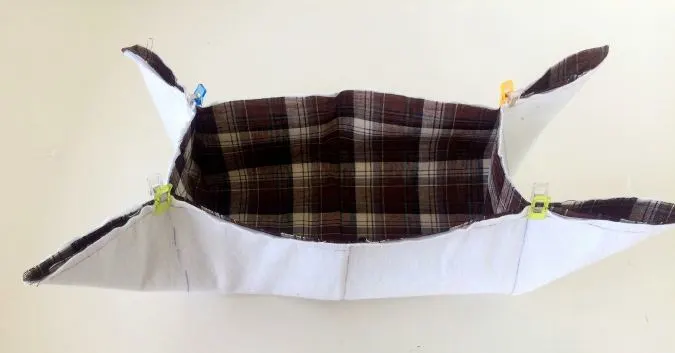
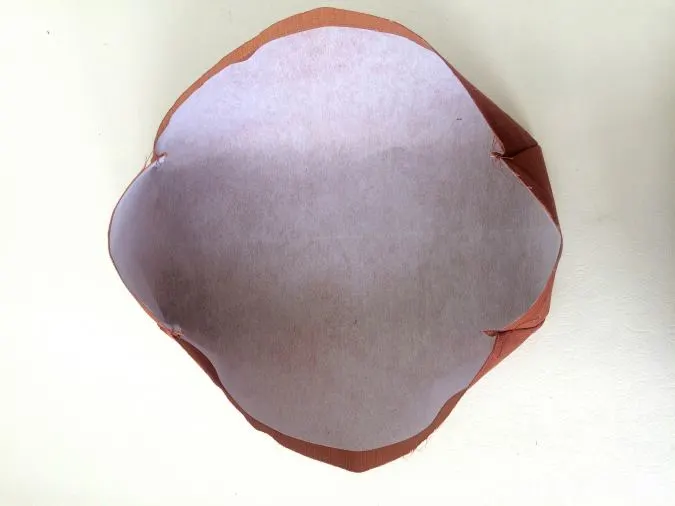
Repeat on all four corners. Your cutlery box has started to take shape.
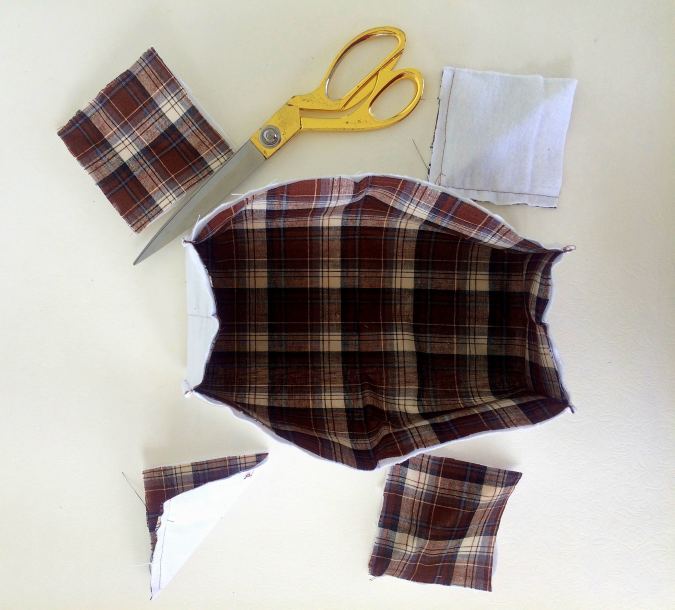

Cut off the extra on all corners, leaving a seam allowance of 3/8- inch. Your box outer is ready.
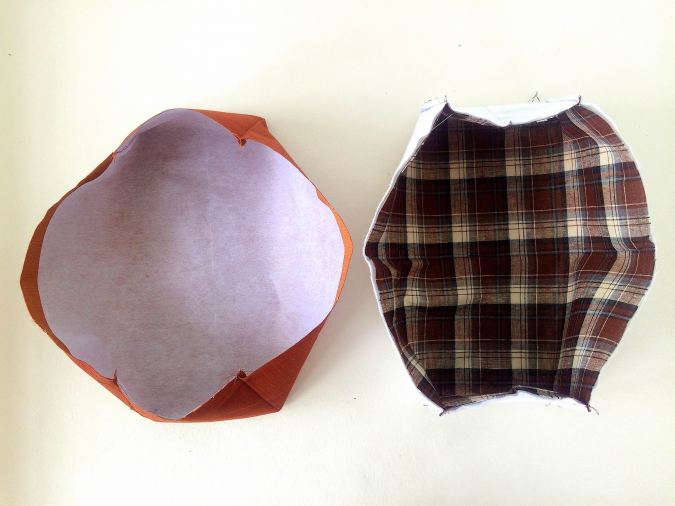
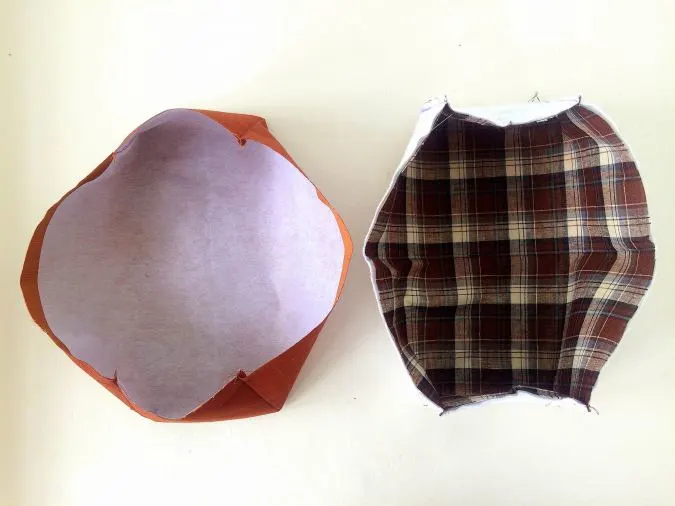
Fuse the interfacing to the lining piece and work on the corners just like the main piece. * Note that here we do not add the batting.
Let’s join the box outer and lining pieces together.
Place the box main with the wrong side out and the lining with the right side out.

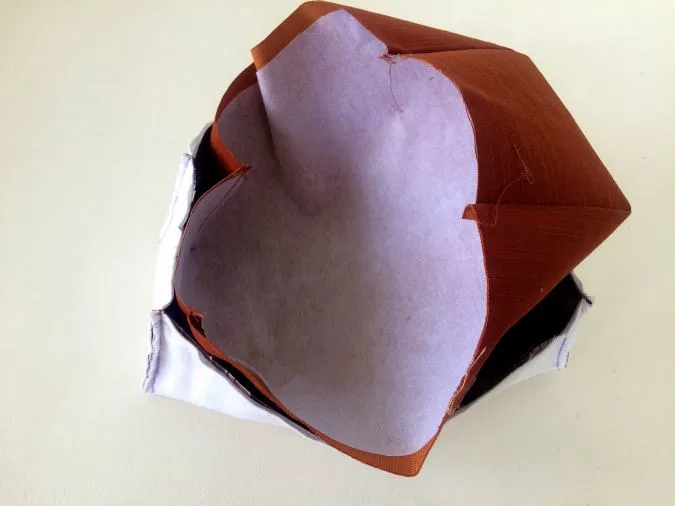
Place the lining inside the box main, with the right sides touching.
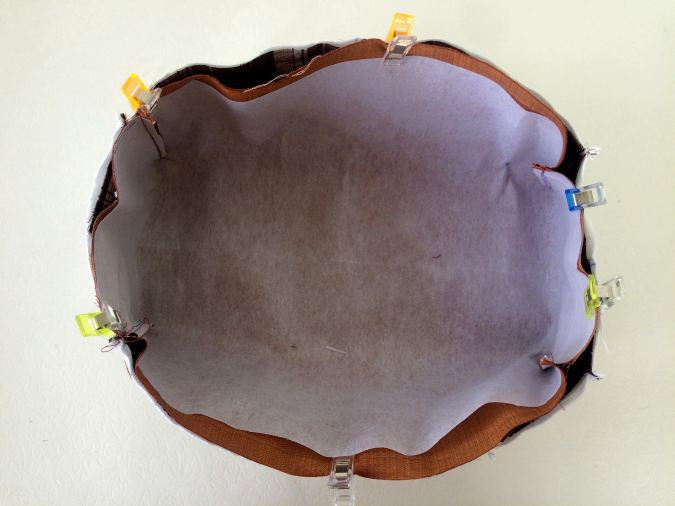
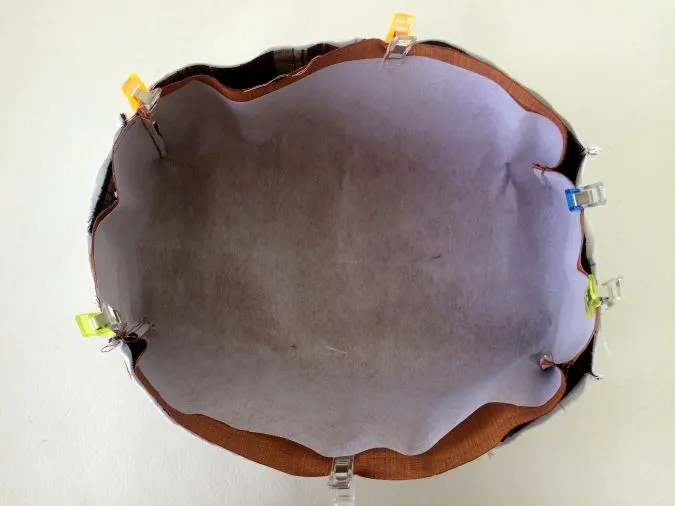
Line up the edges and pin all around.
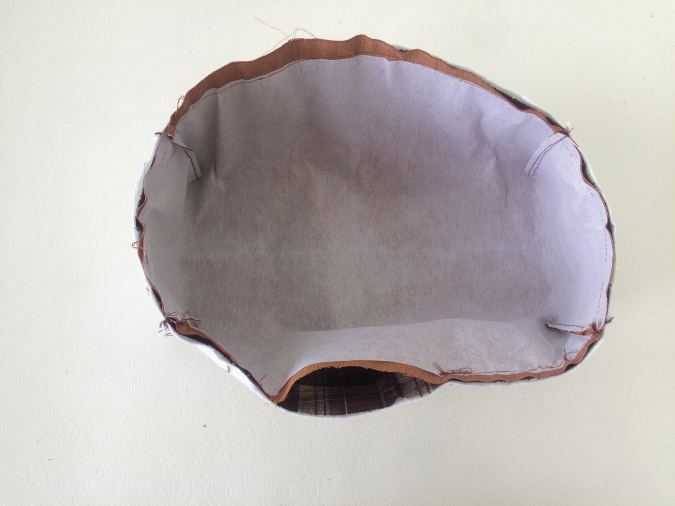

Sew around the edge, leaving a gap of 3- inches to turn the right side out.
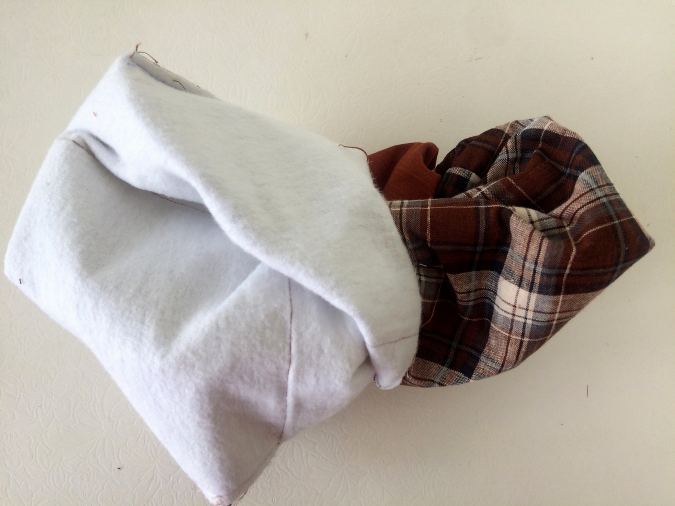

Pull the right side out through the opening.


Push the lining into the box main and level out the wrinkles with your hands.
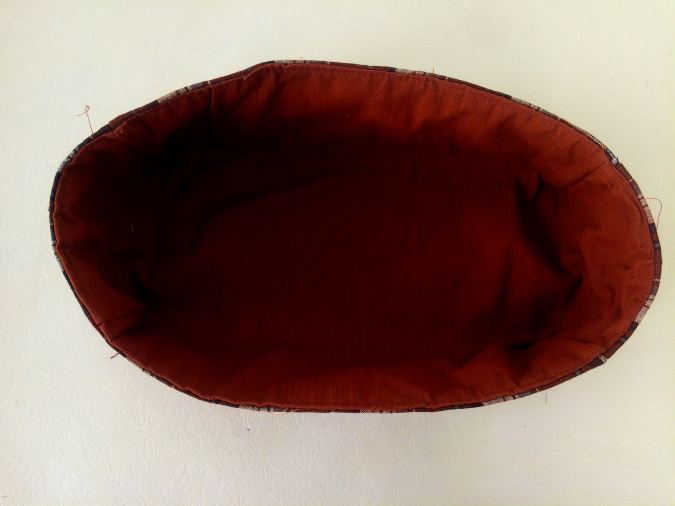

Topstitch around the edges to make it clean and crisp.
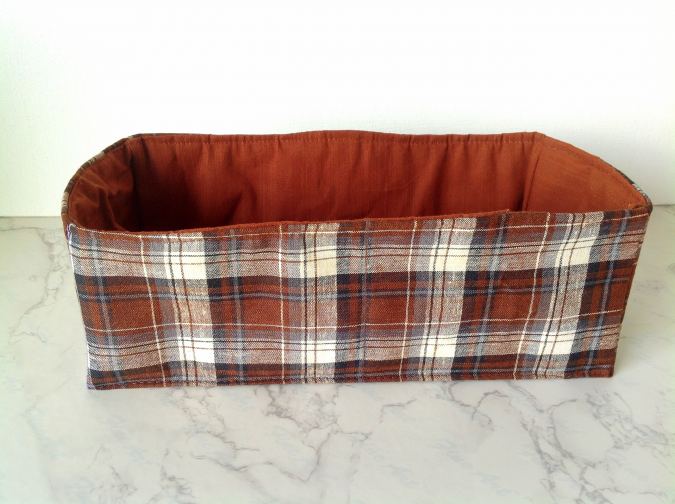

You may handpress the four side edges to hold the rectangular shape of the box (as I did) or you may sew a small pintuck along the four sides if you wish. Your fabric cutlery box is ready for storage!
Find the webstory for the post here, Sew a Stylish Fabric Box for Cutlery Storage