Have the desire to learn how to make friendship bracelets? Look no further! Follow this easy step by step guide and master the art of bracelet making today!
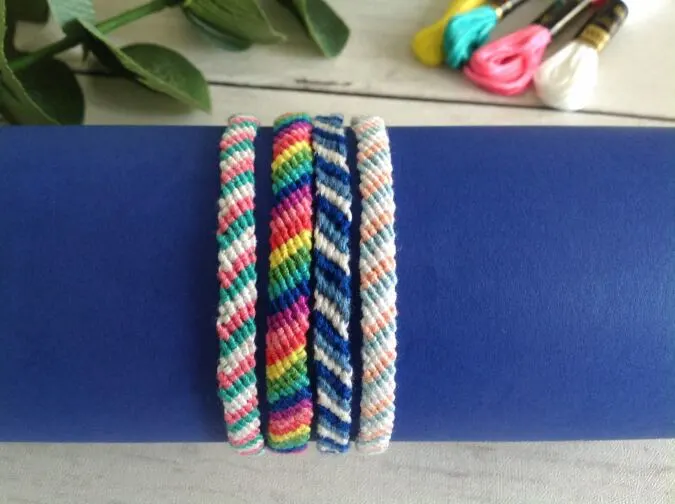
So, I am back with a colorful and fun summer craft that is perfect for both kids and adults. This DIY project is different from other crafts in the sense that you don’t need to cut or glue paper or other materials. Instead, you will tie knots with strings of different types and colors to create beautiful, colorful candy stripe friendship bracelets that can be tied or fastened around your wrist
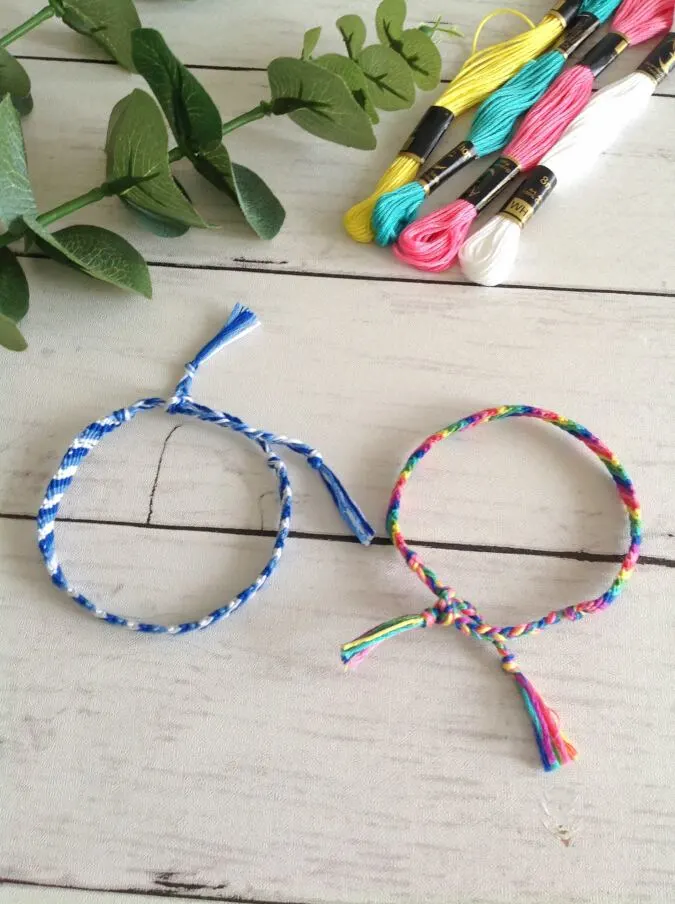
I know that Friendship Day is not until August, but don’t these bracelets look amazing as a summer craft? You could even make a few that are color-coded, keep them ready, and wear them with your friends on Friendship Day!
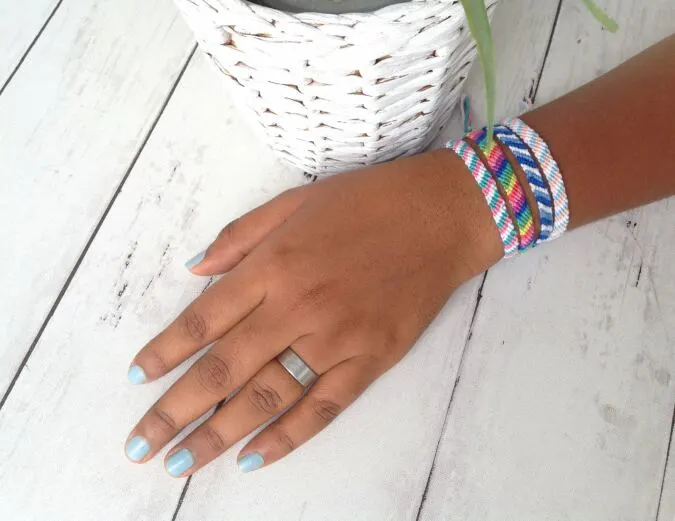
Moreover, friendship bracelets are back in vogue these days, and people seem to wear them as a fashion statement. They are often worn as a token of friendship and kept on until they wear out.
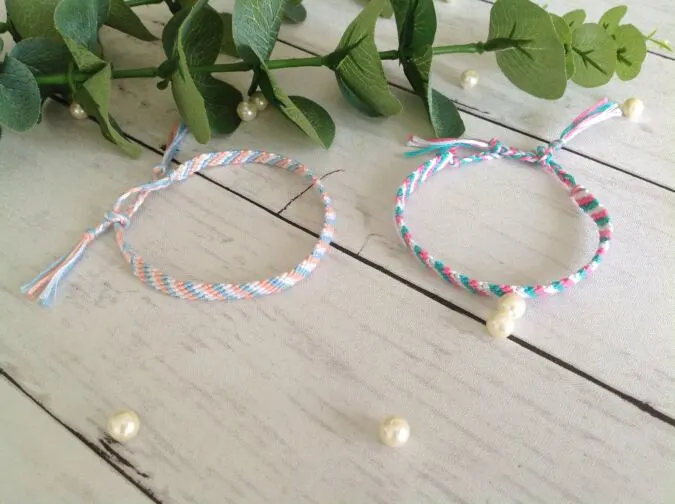
These bracelets make great, inexpensive gifts or can be made just for yourself. You can use embroidery thread, macramé cords, knitting or crochet yarn to make them. Here I have used embroidery thread since I love the look and feel of it.
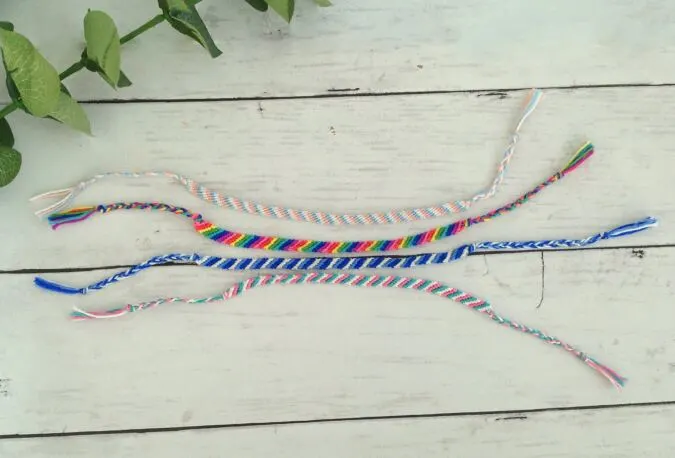
So, how do you make these friendship bracelets? Have a look at the easy and fun tutorial below.
How to Make Candy Stripe Friendship Bracelets
Candy Stripe Friendship Bracelet:
This is a beginner level friendship band pattern . It is made by tying forward knots. This would give you a candy- like striped bracelet with the colors of embroidery floss you use. The larger, the number of strands in each color, the wider the candy stripe would be.
Supplies Needed:
Embroidery floss, macramé cord or knitting or crochet yarn in the desired colors.
Washi tape.
Measuring tape.
Scissors.
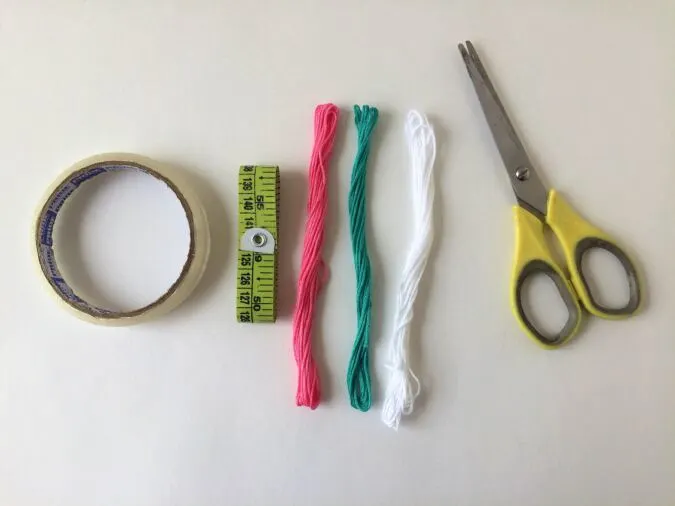
Gather your supplies.
***Here I have made a friendship band that is tied around the wrist. It can be cut off while it wears off.
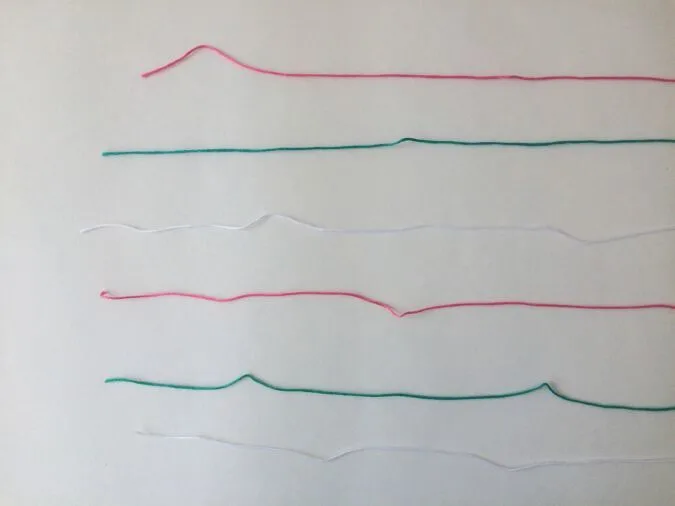
Gather the 6 strands of the embroidery floss, 36- inches long. ( here I have taken two strands in the same color). * Note that the width of the friendship band increases with the number of strands; the more the strands, the wider the band.
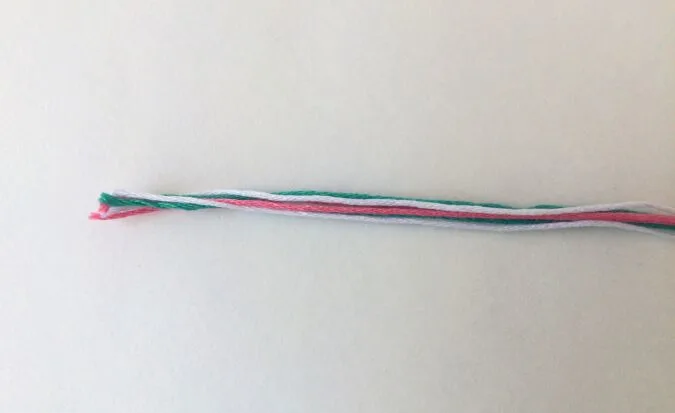
Keep all the strands, lined up together.
Next, we finish the end by a single knot.
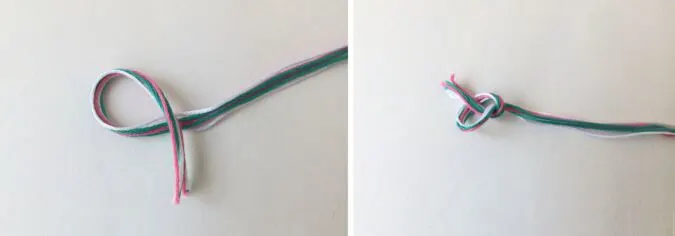
Leave 1/2” from the edge and bring one end over the strand, bring it under the loop formed and then through it.
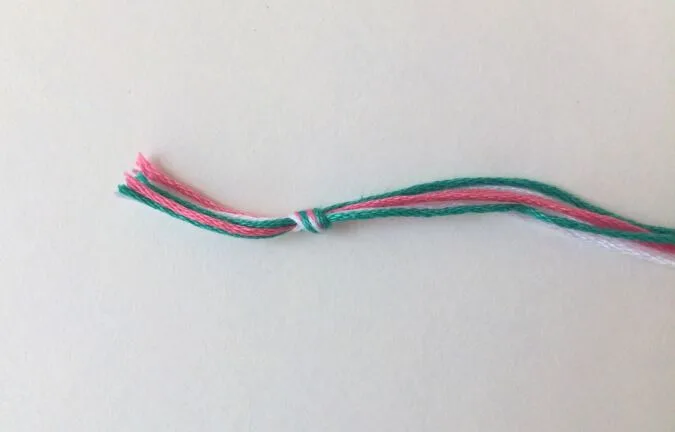
Pull the ends to tighten the knot (the part beyond the knot should be approximately 1/2- inch long).
Let’s braid a few inches of the bracelet before we start our candy stripes.
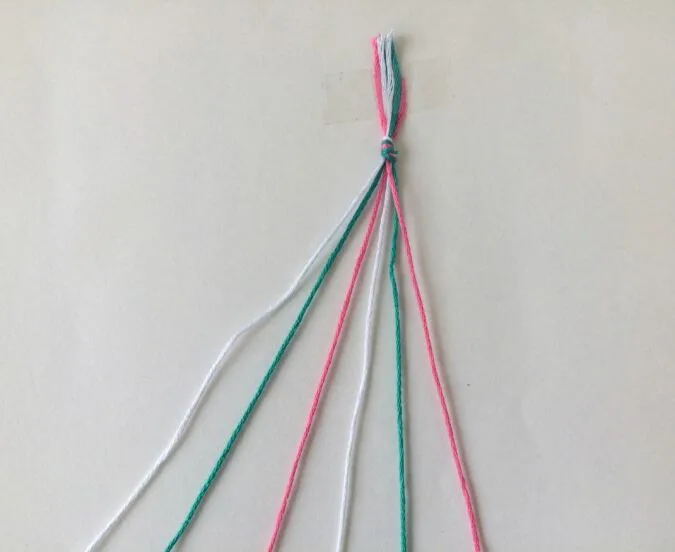
Tape the edge down to your table.
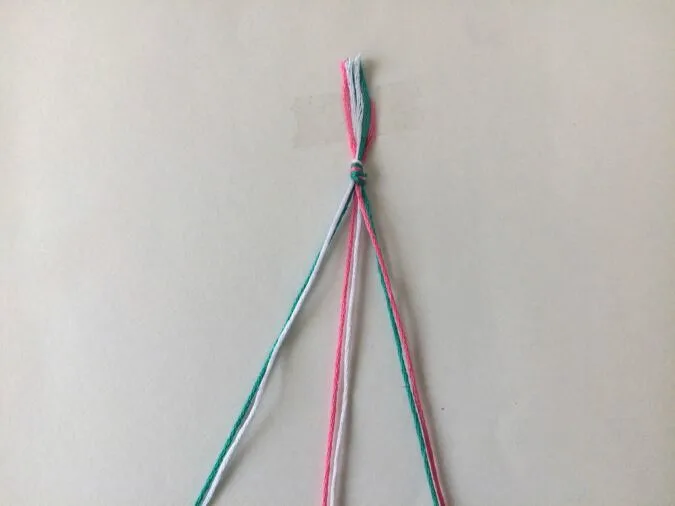
Separate the strands in 3. You may choose to pair the same colors together or pair different colored strands.
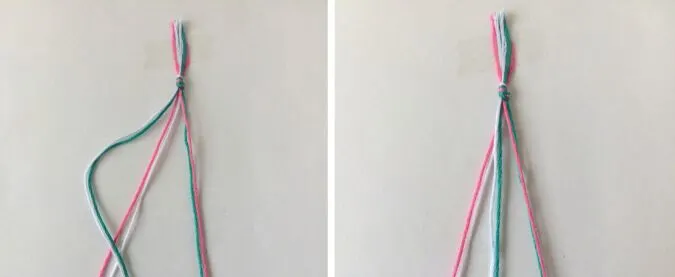
Bring the first strand over the second. Pull the first and second strands tight for the braid to move up close to the knot.
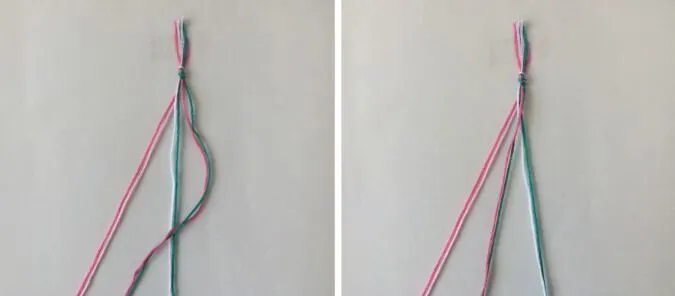
Next, bring the strand on the right, over the strand along the center. Pull both the strand to bring up the braid.
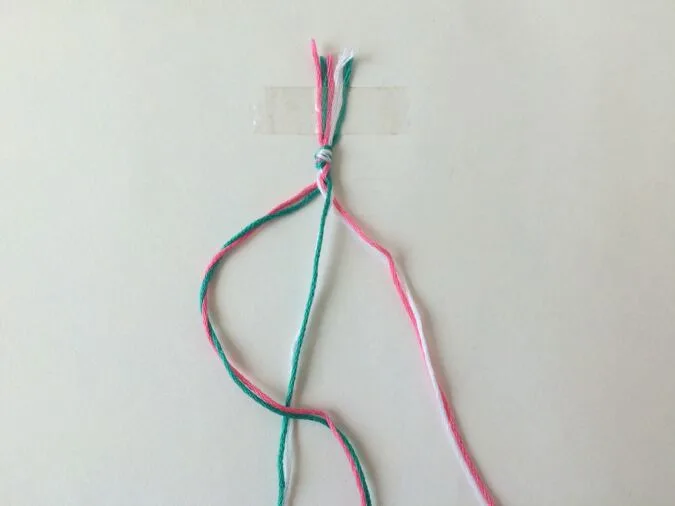
Again bring the strand along the left over the strand on the center. Repeat the process.
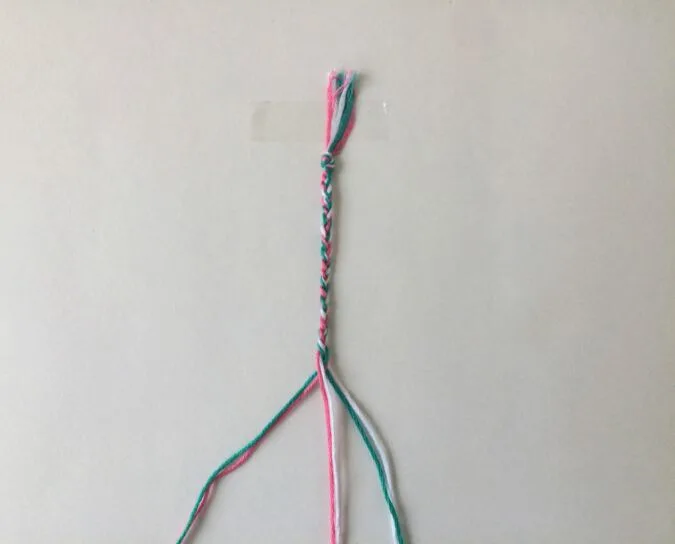
This is how it would look like after a few braids. Continue braiding in this pattern until you get approximately 2.5 inches of the bracelet braided.
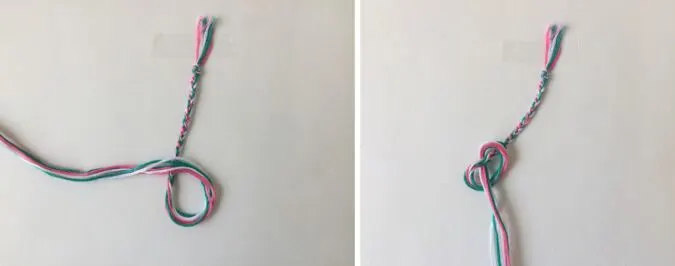
Tie a single knot to secure the braids. Keep it as close to the braid as possible.
Next, we start our forward knot for the candy stripes.
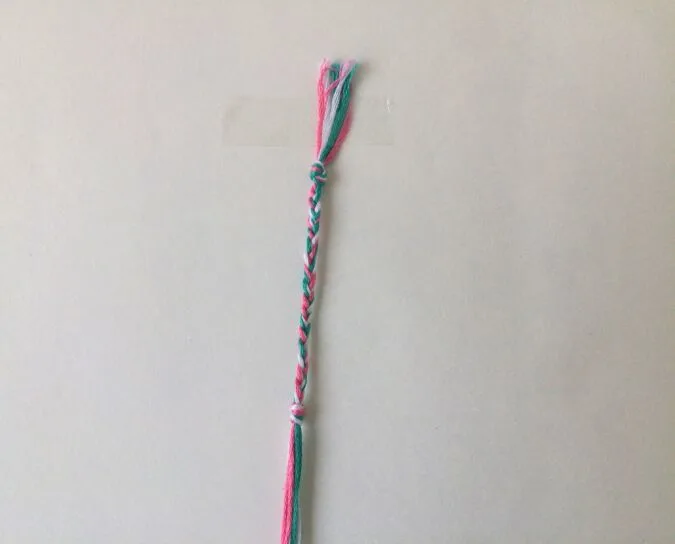
Tape the bracelet down to your table.
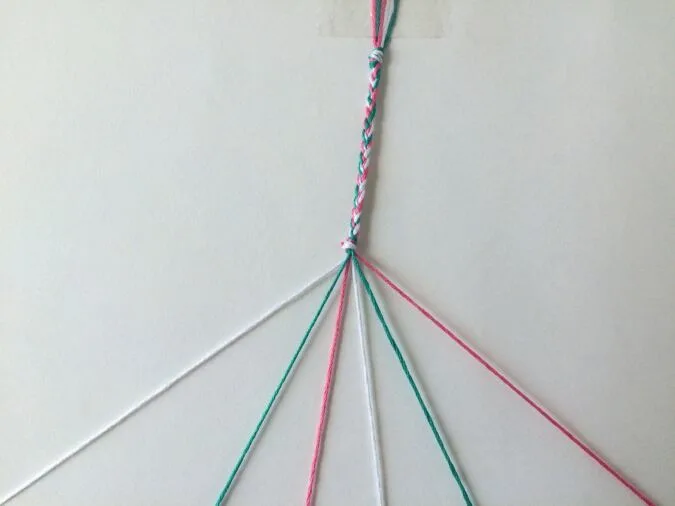
Separate the six strands. Since I used just 3 colors, I separated them in this order to make the tutorial easy to understand: white, blue pink and then white, blue, pink. If you would like to keep your blues together, your whites together and your pinks together, you will get wider candy stripes (as I mentioned at the beginning of the tutorial).
The candy stripes are made by doing forward knot stitches. Basically, you keep knotting the leftmost (first) strand with the subsequent strands, till it reaches the right end and then go back and start with the next leftmost strand.
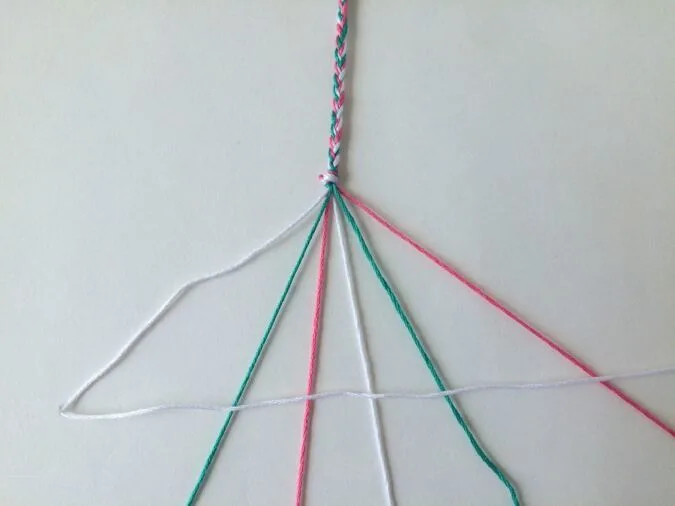
Take your first strand (white), pull it tight and bring it over the second strand (blue) like a “4”.
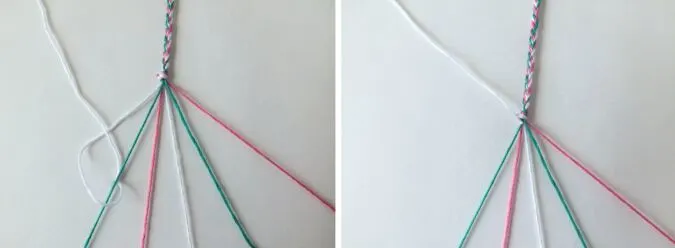
Bring it under and then through the loop. Pull it tight to bring the knot closer to the knot at the top.
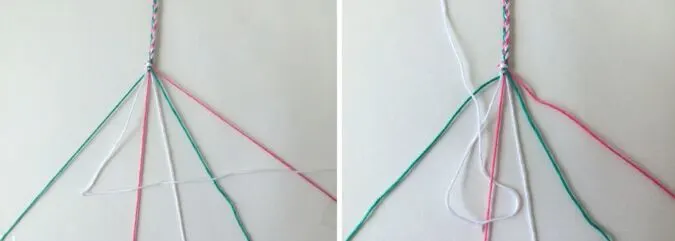
The white color has moved one strand to the right. Next, bring it over the third strand (pink) again in a “4, bring it under and then through the loop. Tighten the knot.
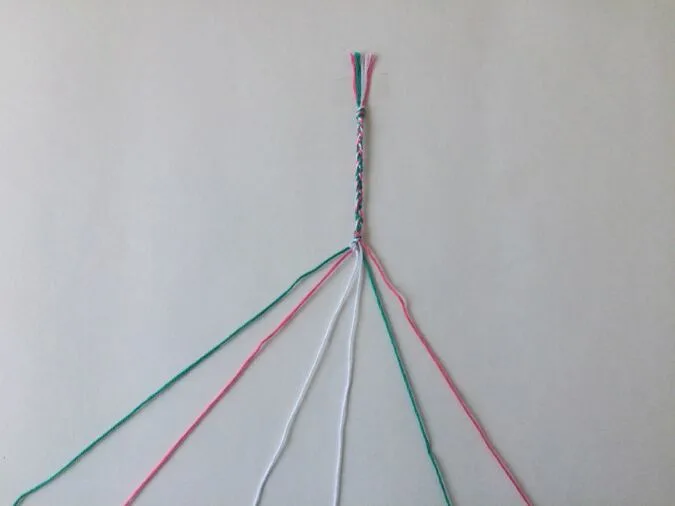
The white color has again moved one strand to the right.
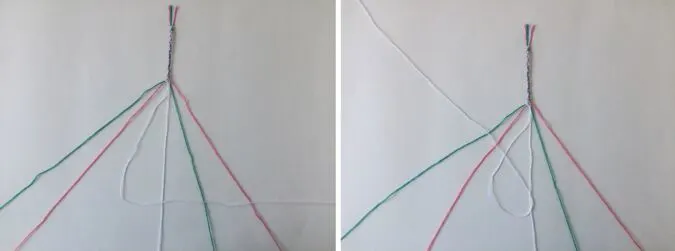
Next, bring it in a”4” over the third strand (white). Then under and through the loop. Pull the strands to move the knot to the top.
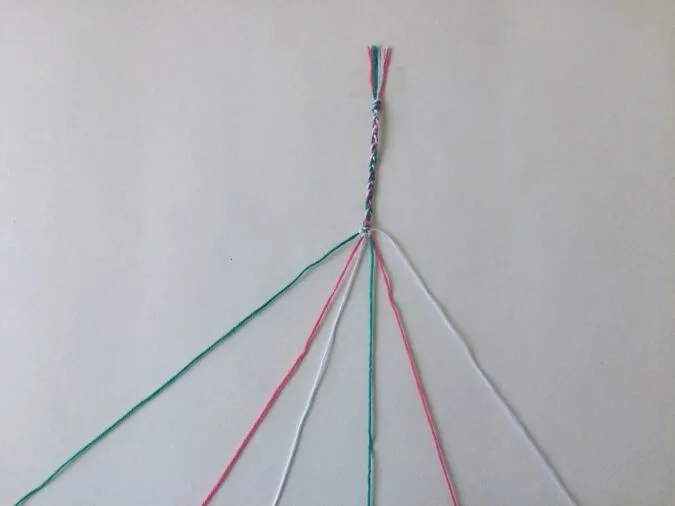
Keep tying the forward knot with the white thread till it reaches the rightmost side.
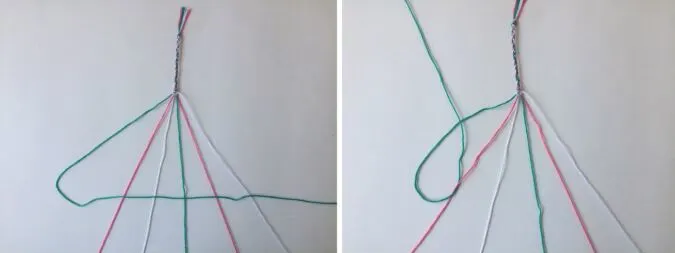
Now we continue the forward knots with the next leftmost thread, here the blue one.
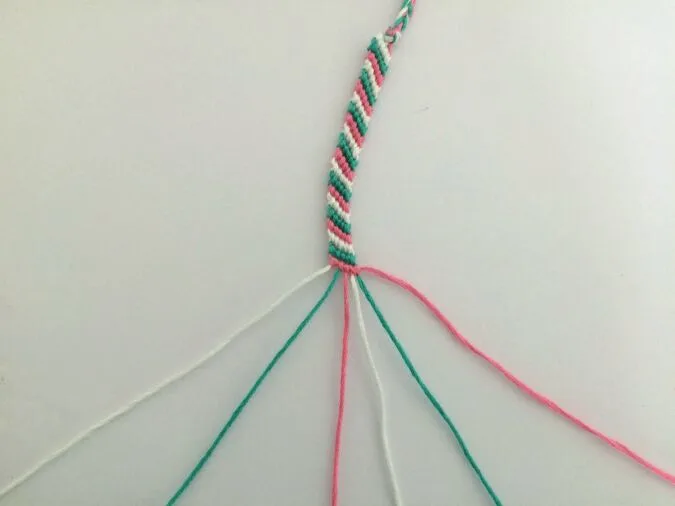
Keep repeating the pattern with the strands till you get approximately 7- inches of the candy stripes. **Optionally, you may measure your wrist and make the length of the candy stripes equivalent to your wrist measurements.
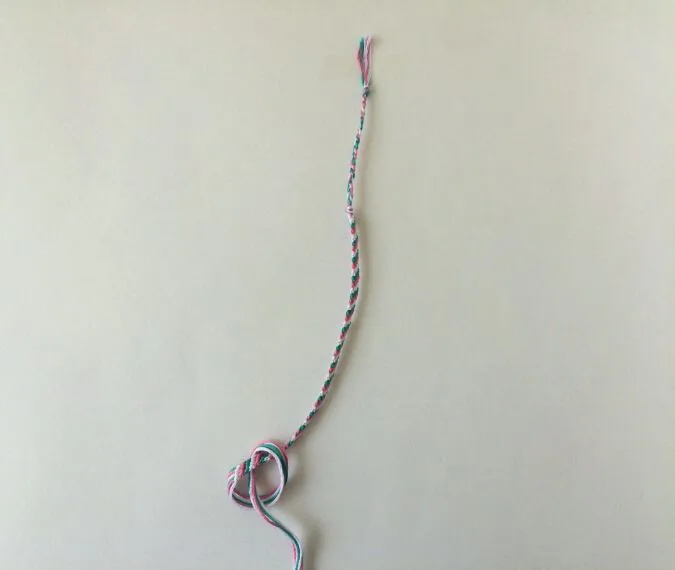
Again tie a single knot to secure.
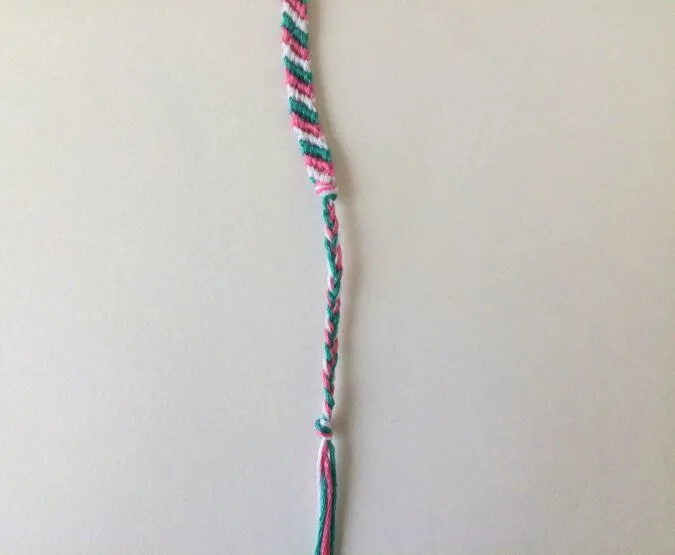
Braid 2.5 inches and tie one more single knot to secure.
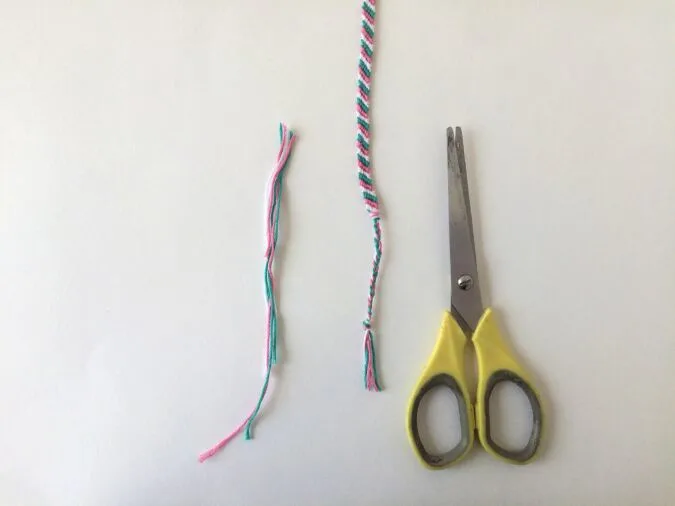
Leave 1/2- inch beyond the knot and cut off the extra thread.
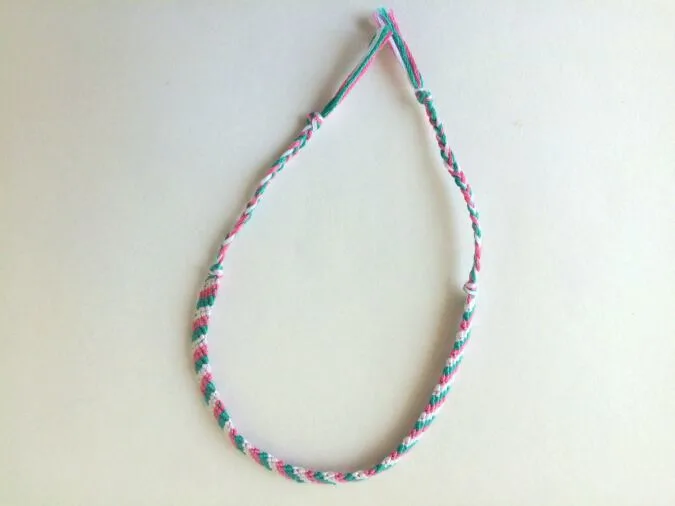
Your candy stripe friendship bracelet is ready.
Pin it for later here,
Have a look at the webstory for the post here, The Easiest DIY Candy Stripe Bracelet: Make in Minutes