Guys, I’ve been wanting to make one of these tissue box covers for a while now, and I finally got around to designing a Cricut cut file for it, so I’m sharing that file with you today so that you can make your own Tissue Box Holder With Cutwork.

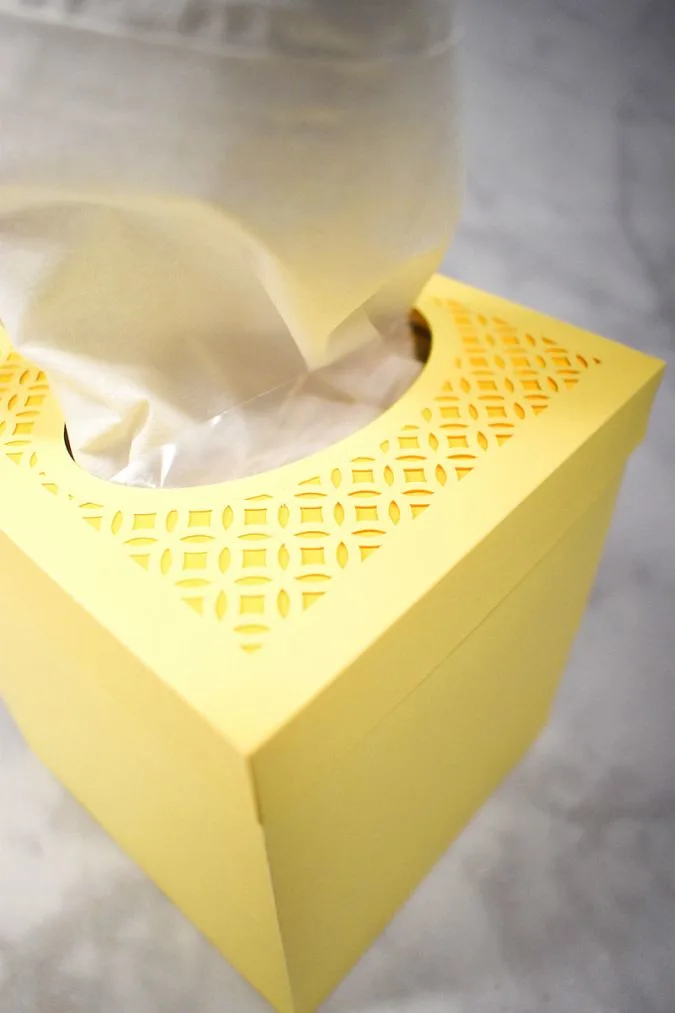
I used a Cricut Maker to get the tiny and precise cuts in the lid so my tissue holder could have a pretty complicated design with low effort. I never would have been able to get these cuts on my own.


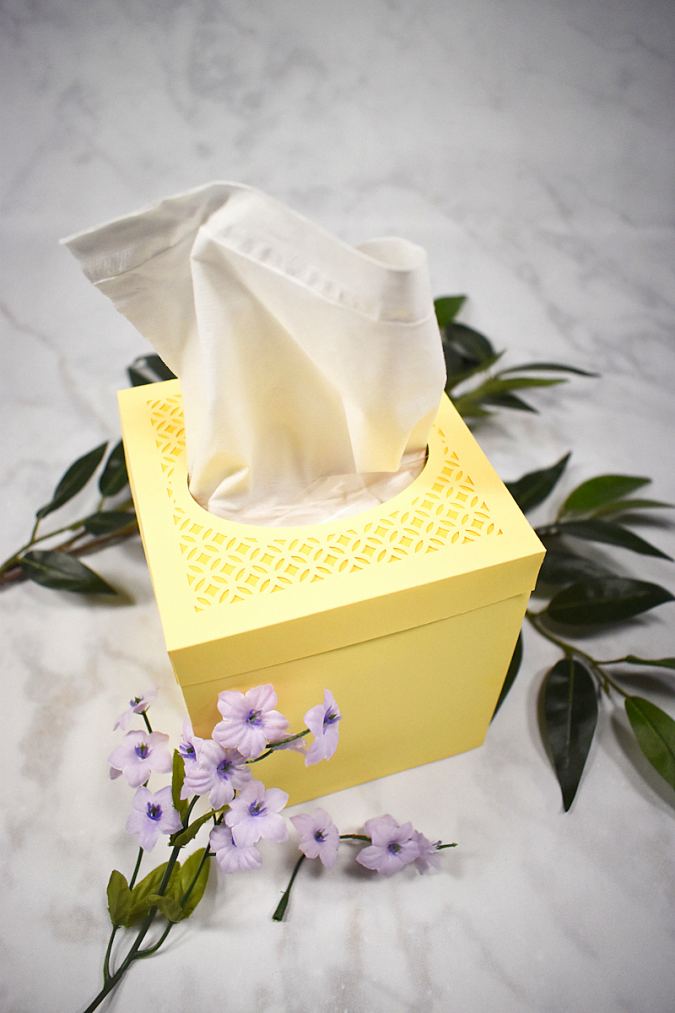
But the best part is that you can change the colors of cardstock to make sure your tissue boxes always fit with your decor in every room. I’m making mine yellow to give my living room a nice bright pop of color. You could use holiday colors to change out with your seasonal decor.
Just don’t put one of these in your bathroom. It won’t stand up to the moisture.
Ready to make one for yourself?
Supplies for this Project
Cardstock.
Cricut cutting machine.
Standard or Light Grip cutting Mat.
Fine Point Blade.
Rotary blade (Rotary wheel if using Maker).
Scrapbooking Glue.
Square tissue box.
SVG cut file for the tissue box holder.
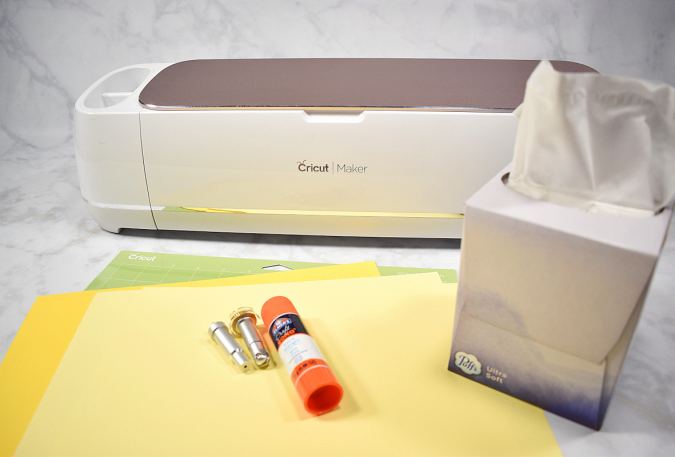

Gather your supplies.
How to Make a Tissue Box Holder with Cricut
Upload file into Design Space and Prep


Once you’ve downloaded the file, open a new project in Cricut Design Space and click upload. Name your file and select it to load to your canvas. Double check that the dimensions are correct. The full project should be 17.43” wide. If it is loading differently, resize it using the edit section in the toolbar.


Before we can send it to the machine to cut, we will need to change the black lines to score lines instead of cut lines. To do this, first, select the file and ungroup it (in the Actions section of the toolbar.) Then open the layers panel, and select the three layers that just appear as black lines with no color. Go back to the “Actions” tab and in the “Linetype” menu, select “Score”. This will change the lines to appear as dotted lines on the canvas.


Next, you need to make sure the machine knows where to score in relation to the cuts. To do this, select a pink piece and its overlapping score lines, and click “Attach” in the “Actions” tab. Be careful not to select the dark red piece when working on the lid.


Now you can press “Make It”. If you’ve done all the prep work correctly, you should have two pink mats that say “Cut, Score” and one red mat that just says “Cut” (or whatever colors you may have changed them to. If everything looks correct, you are good to start cutting!
Cut Out Your Tissue Box Holder Pieces

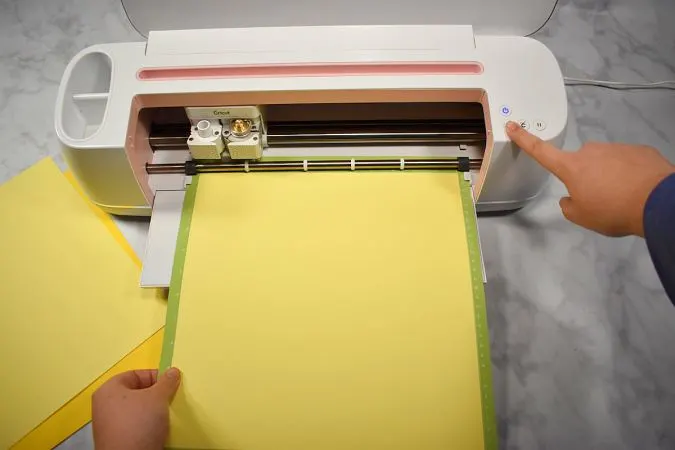
Follow the directions on your screen for your particular machine for material and blade settings.

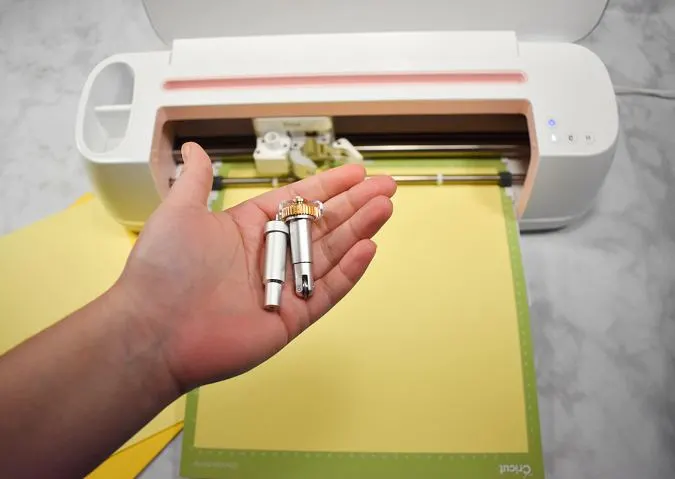
Cut each piece on 12×12” cardstock and continue following instructions on the screen for changing out the blade and your scoring tool as you go. I used the Cricut Maker for mine and it had me switch back and forth between the scoring wheel and the blade.
If you use the Explore Air 2, it would have you load the scoring tool in the left and the blade in the right and switch back and forth on its own.


Carefully pull each piece off of the mat and set it aside.
You may need to use a weeding tool to pick out some of the small pieces.


And for those left on the mat, a scraper tool makes clean up so much easier than picking each piece off by hand.


Once everything is cut out, you should have a set that looks like this.


Next, start making creases where the box will fold. The scoring lines your Cricut made make this super easy.


There are 16 folds in total. When folded properly, your pieces will look something like this.


Now we can start gluing everything together. Start by spreading glue around the thick square and oval on the inside of the lid.


Then press the accent piece into place.


Next, add glue on the outside of the small corner tabs on the lid. Do these one at a time or the glue will dry before you can attach the sides.

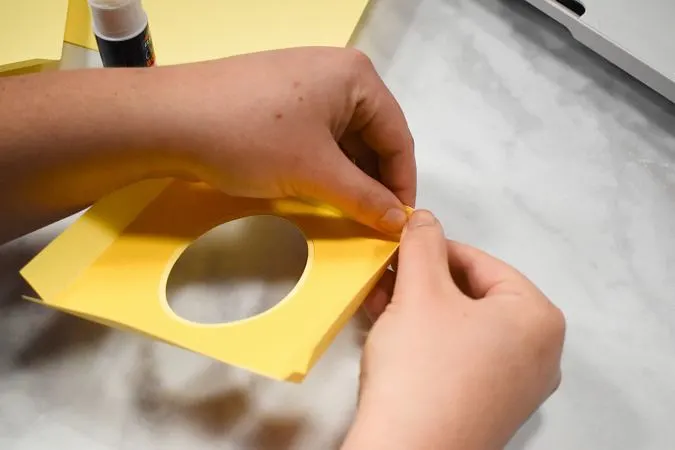
Fold each tab into the inside of the adjacent side and hold it in place until dry.


Repeat for each corner.


Now we can put together the base of the box. Start by gluing the two sides of the L-shaped piece together with the tab on the inside.


Then there will be four tabs left that are all folded in toward the same corner. Add glue to each and press the remaining side piece into place using all of them.

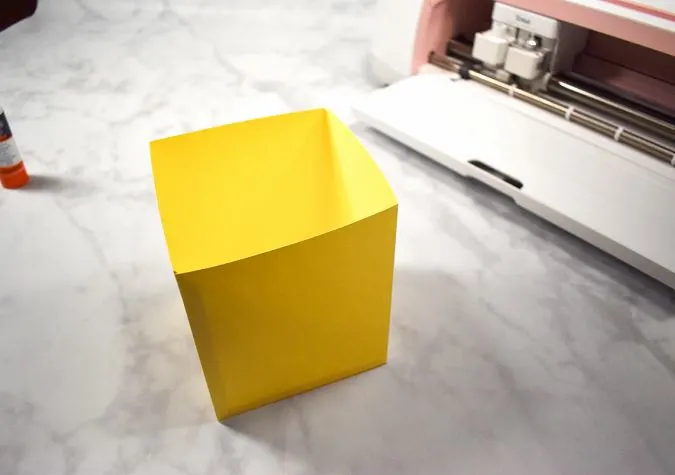
And then you’ll have a finished base for your pretty little tissue box holder.

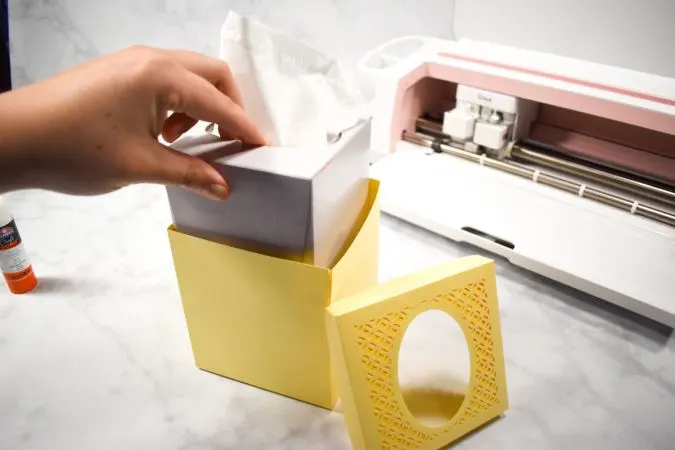
Now you can slide in the box of tissues…

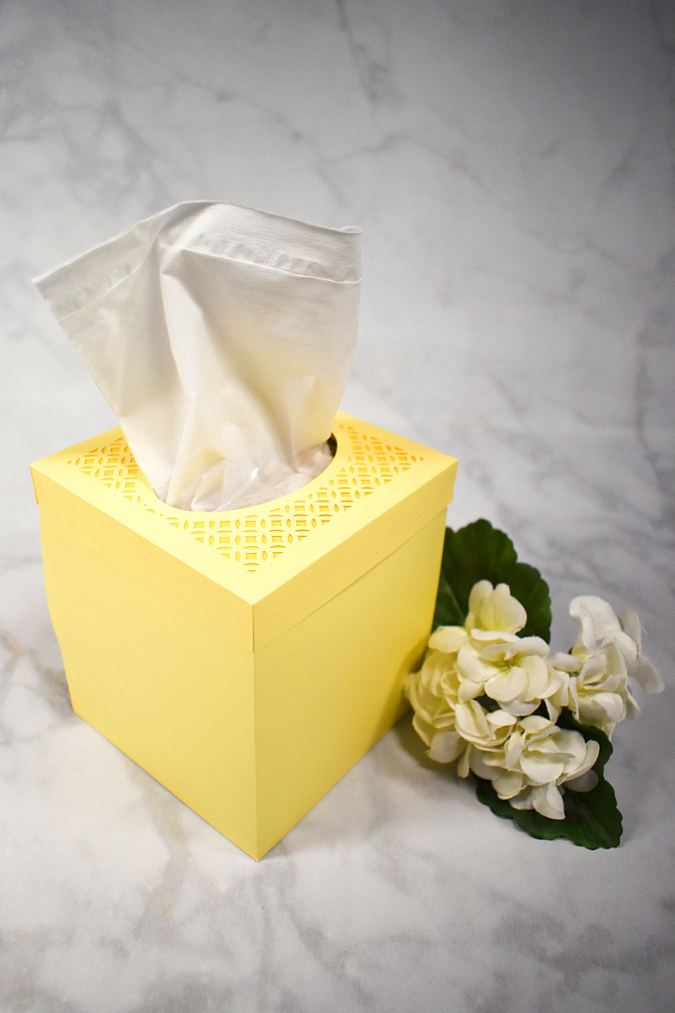
…and lay the lid on top.
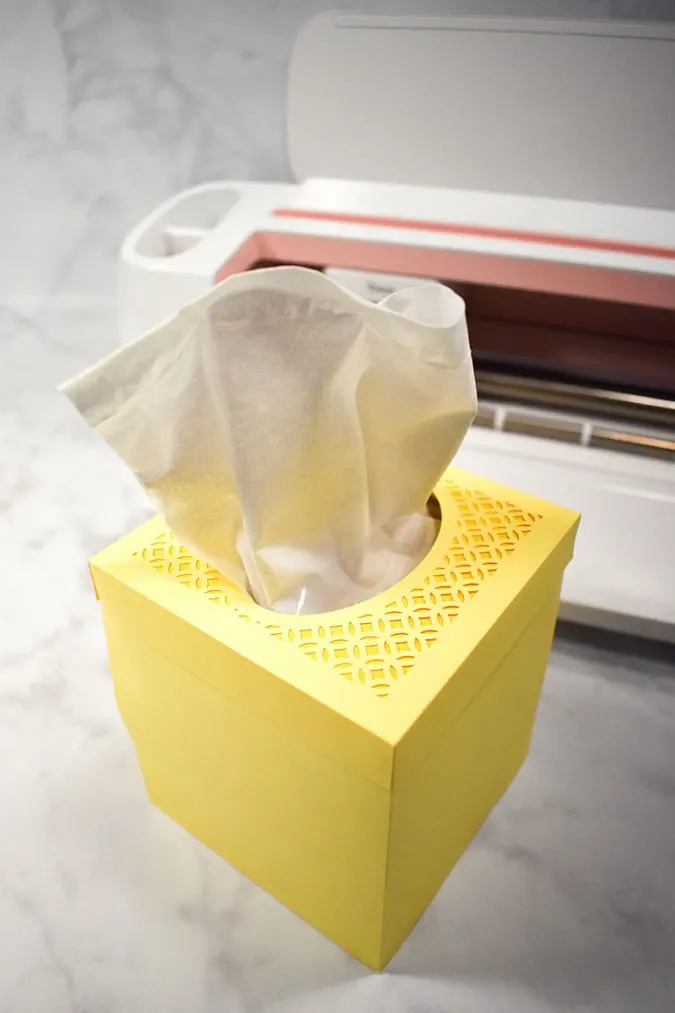
And voila! Your finished tissue box holder! What colors are you going to use? I think I’m going to make a green one for my bedroom.
Let me know in the comments what kind of Cricut project you’d like to see next!
Pin it for later here,


For more of my DIYs and crafts, click here.
For hundreds of DIYs and crafts, visit DIY & Crafts.com