The face mask has been made mandatory for everyone. I have made no-sew masks and masks with filter pockets, but there have to be masks for the hand sewing community too. There are of course a lot of people who have no machine or do not know machine sewing at all. This mask sewing tutorial is for those.


This simple tutorial will teach you how to hand sew a facemask in just 10 to 15 minutes. All you have to do is to join two rectangular pieces by hand. You can use elastic or if your supply of elastic is exhausted, you can use ties.
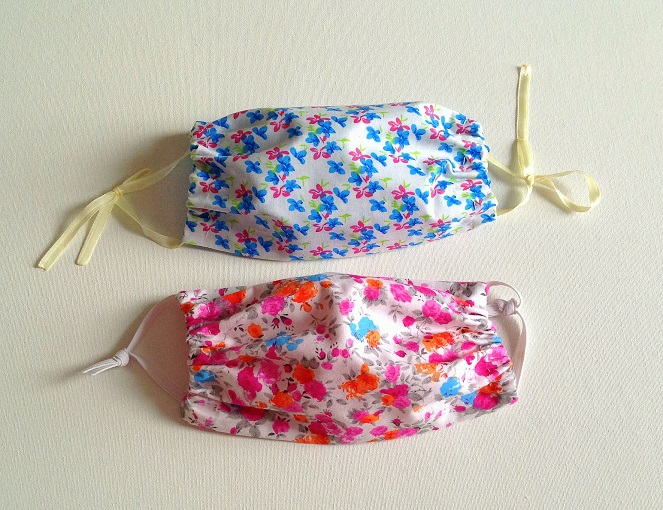
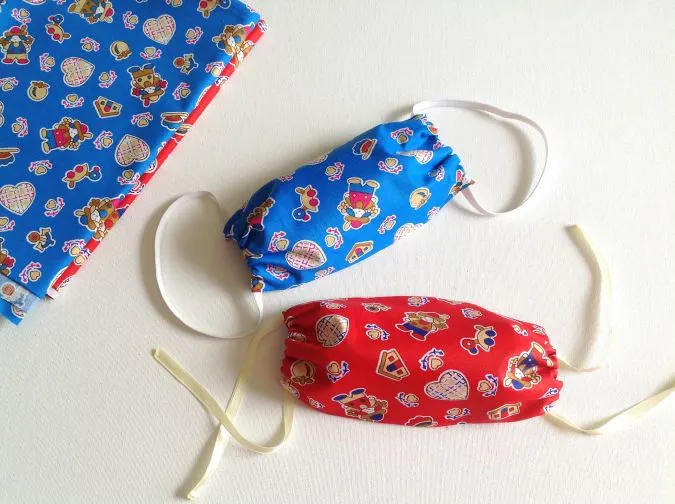
Here I have used satin ribbon, you can use strips cut from your old t-shirt for the ties. You don’t have to finish the edges. As I mentioned in my no-sew mask, these knit strips roll up by itself and can be tied securely.
If you would like to see more of my face mask making tutorials, find them below:


How to sew masks with filter pockets.
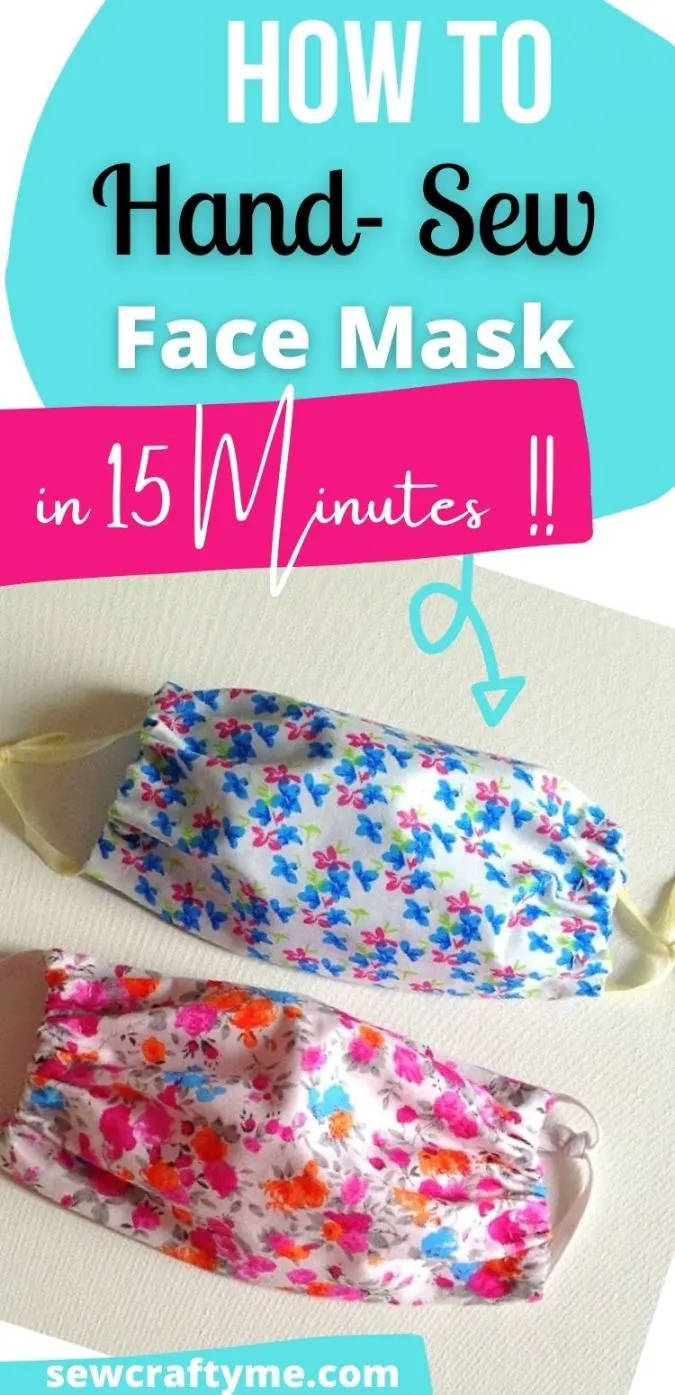
How to Hand Sew a Mask in 15 Minutes
Materials Required:
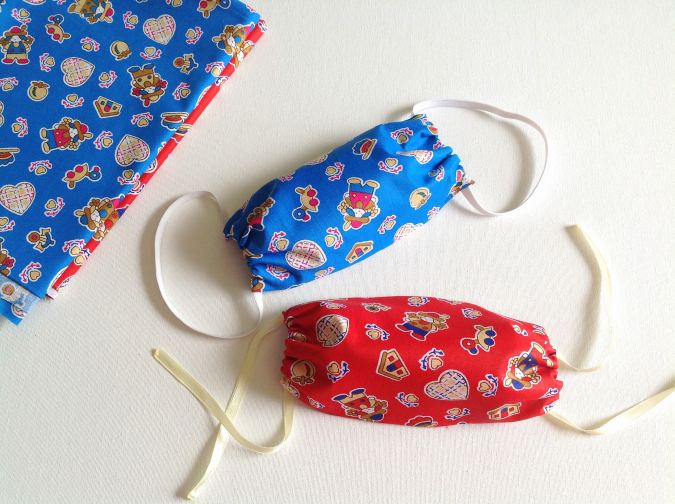
Pieces of tightly woven cotton fabric for the mask outer and lining- measurements specified in the table below.
3/8- inch elastic or fabric strips cut from an old t-shirt for ties – requirement specified in the table below.
Sewing Notions.
Fabric Marker.
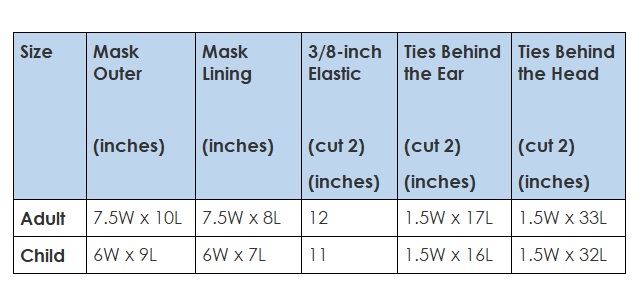
Table
Cutting Dimensions
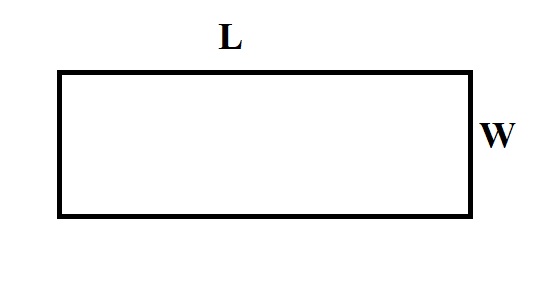
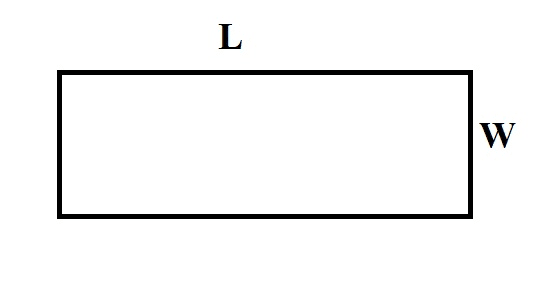
- In the table below, ‘W” stands for the width and “L” stands for the length of the fabric piece to be cut.

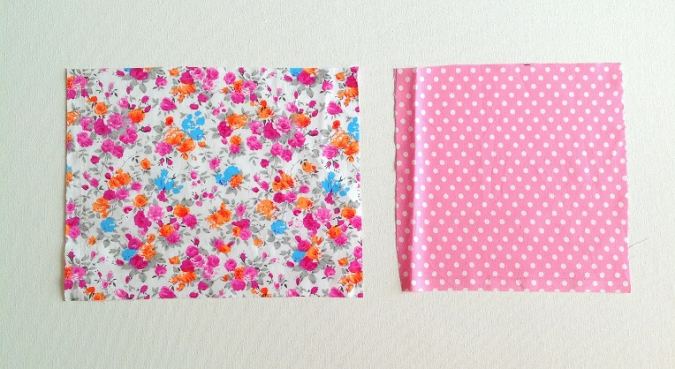
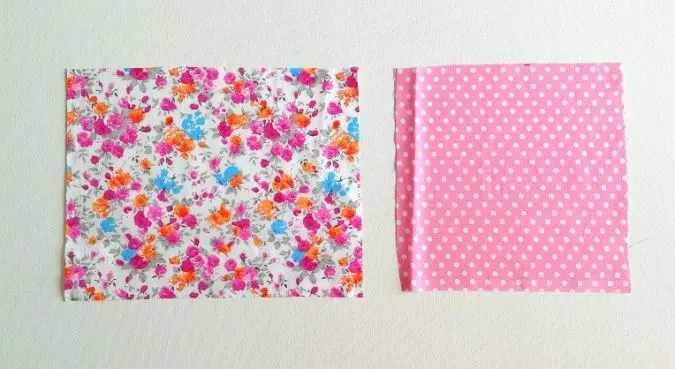
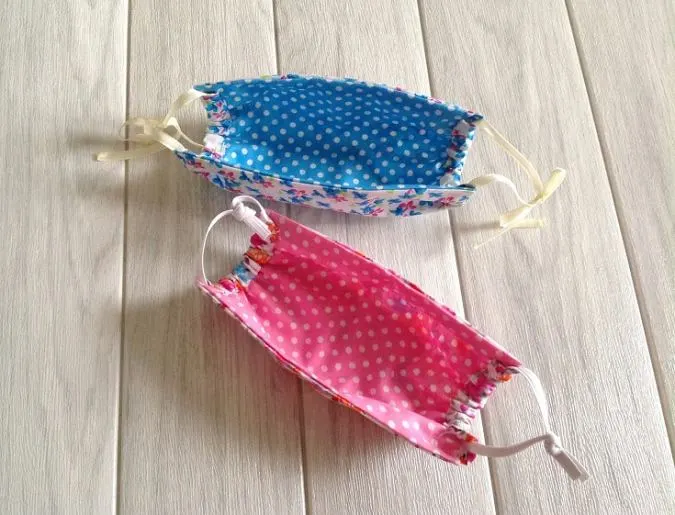
Cut the mask outer and lining pieces, referring to the table above. Here the mask outer is the floral fabric and the lining is the polka dot fabric.

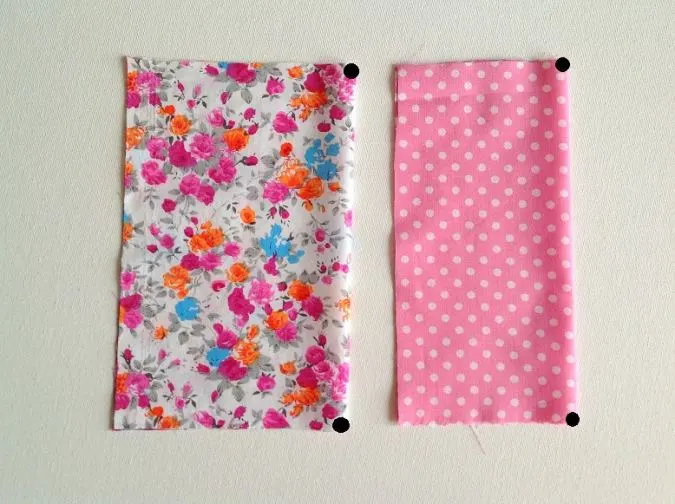
Fold the mask outer in half widthwise, aligning the edges and mark the center of the upper and lower edges. Repeat with the mask lining.
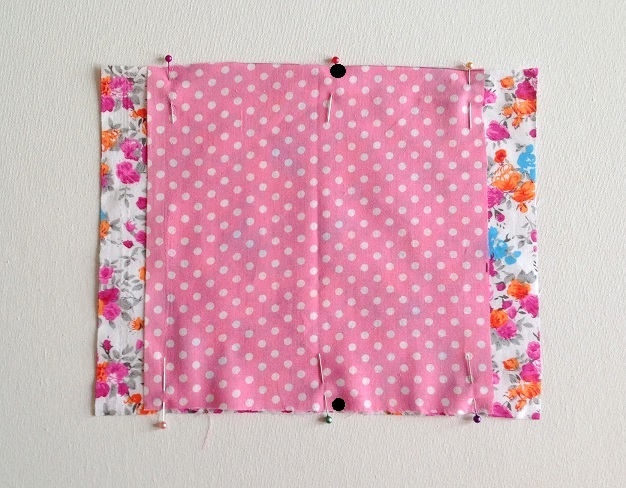
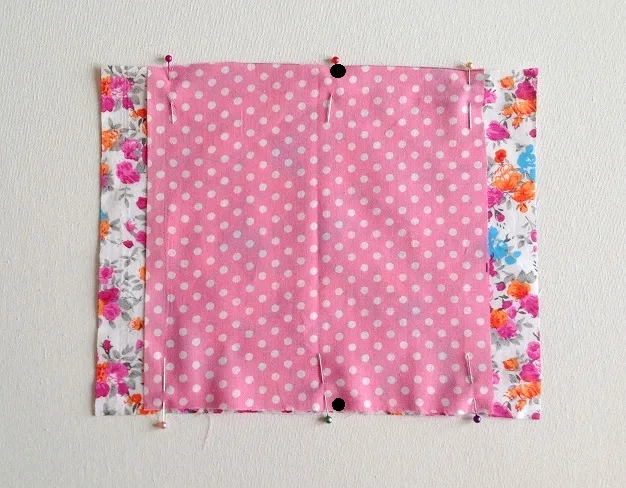
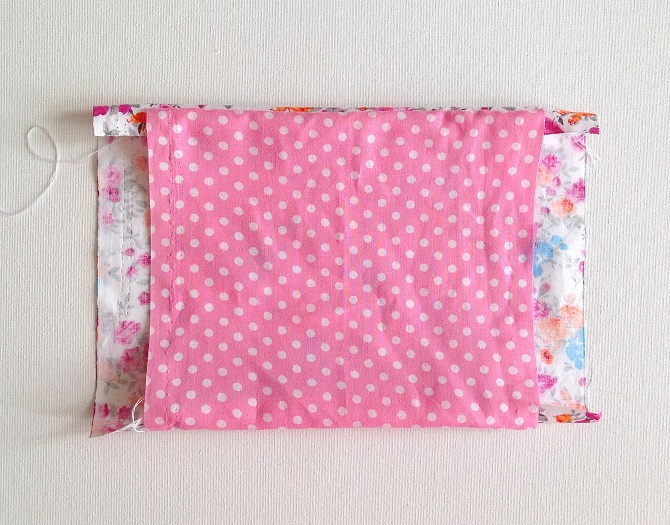
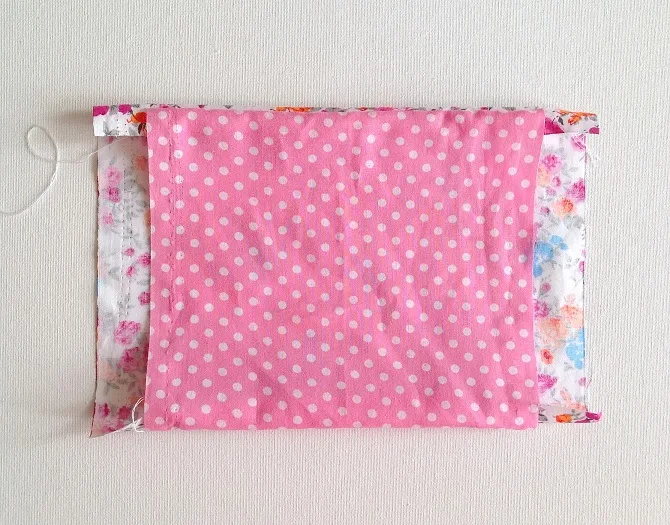
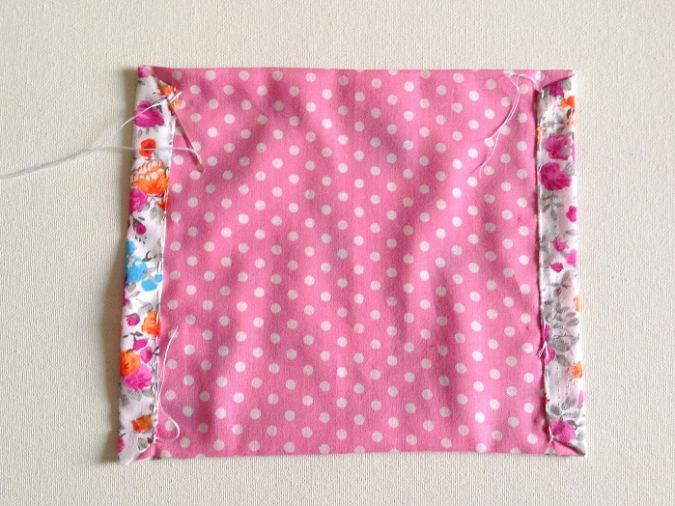
Open the two pieces and keep them layered, with the right sides together and the center marks aligning. Pin the two pieces together along the aligned edges.
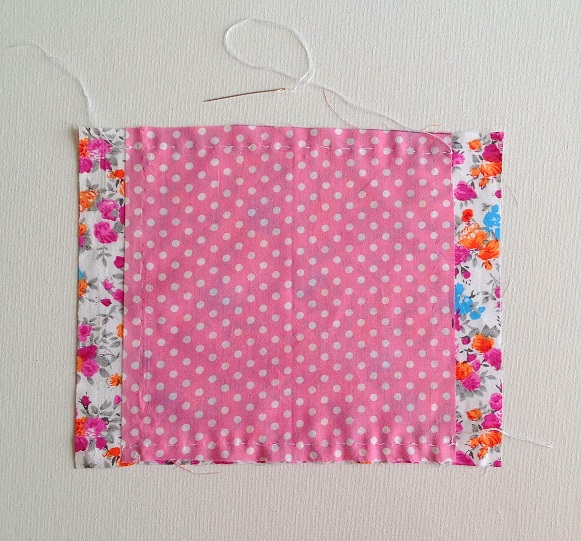
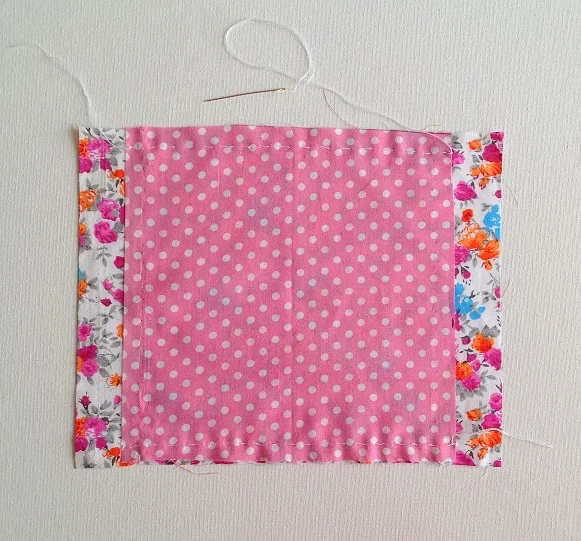
Thread your needle and hand sew the two pieces together by a running stitch, along the two pinned edges. Take care to keep the stitches small and uniform and also to secure the stitches by a few knots at the start and finish.
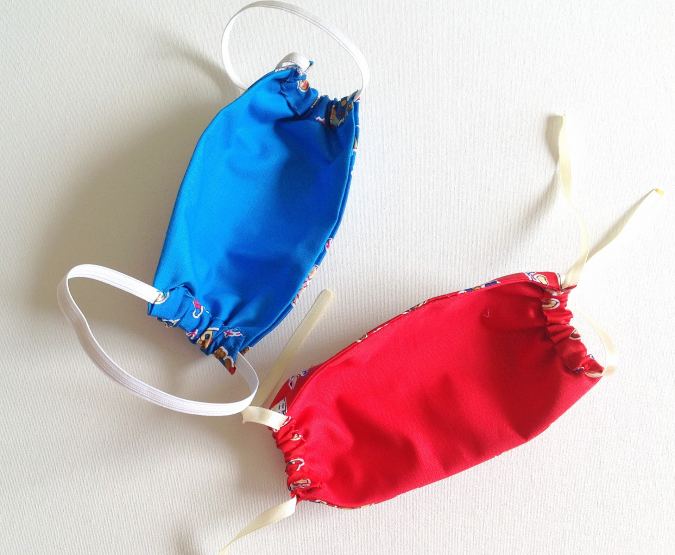
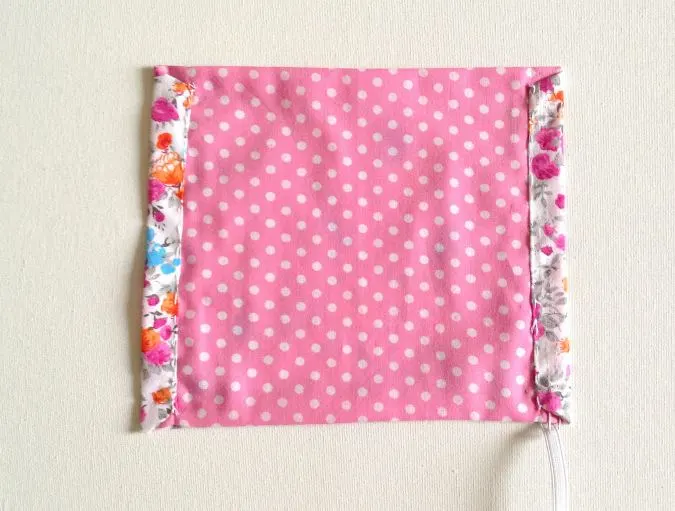
Bring the right side out.
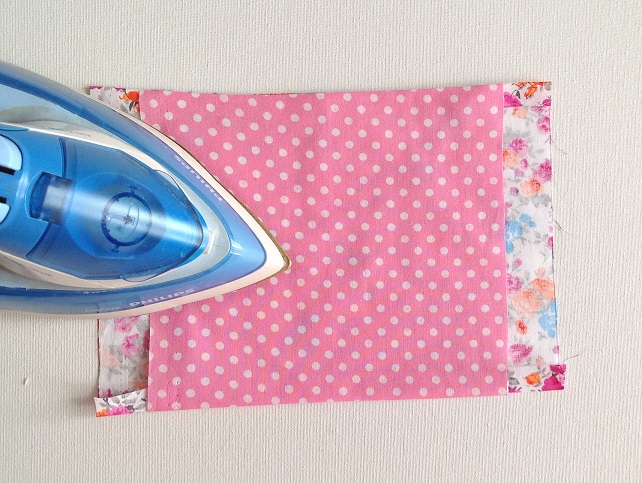

Press to make it neat and the edges taut.

Fold the four corners of the mask outer towards the wrong side and press.
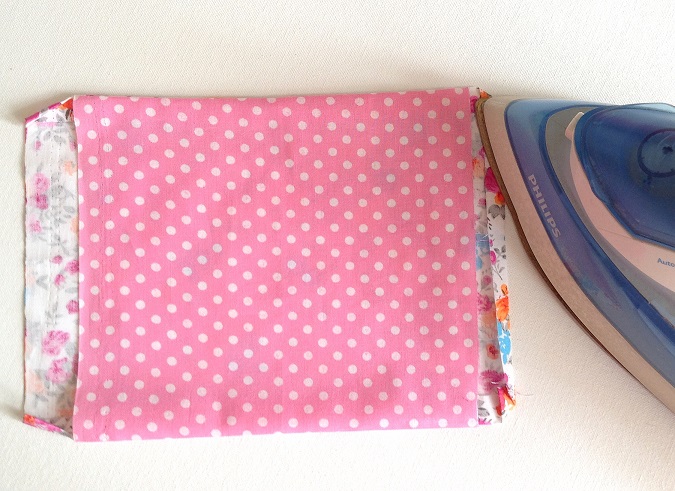

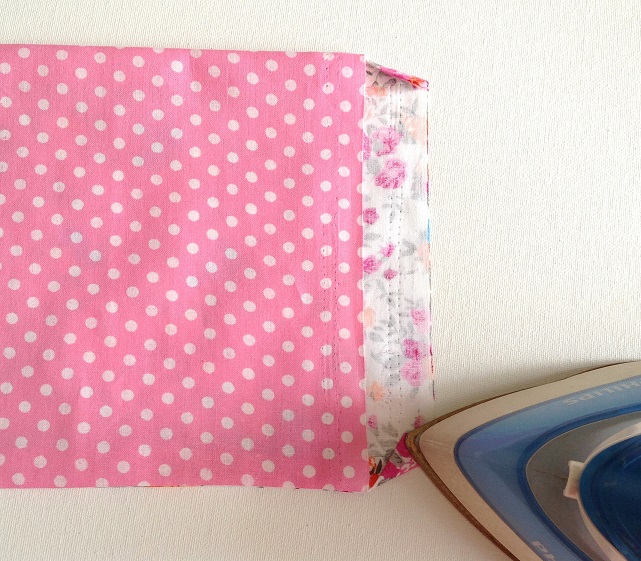
Next, fold the two raw edges towards the wrong side by 3/8-inch and press.

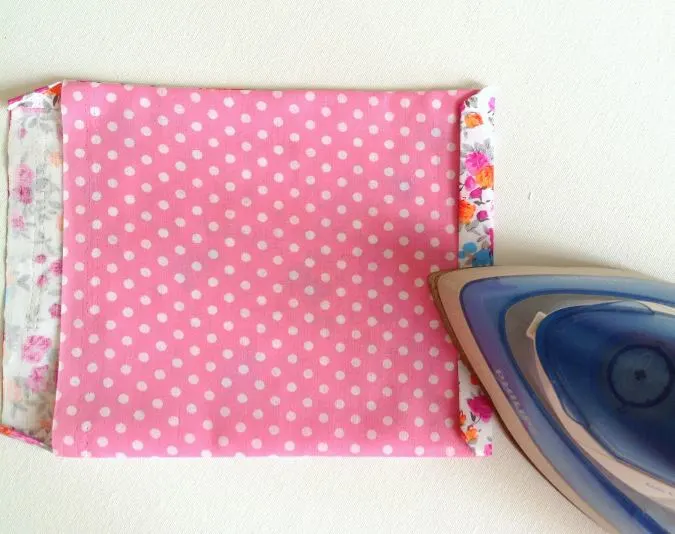
Fold again by 5/8-inch and press to form a casing for the elastic or ties.
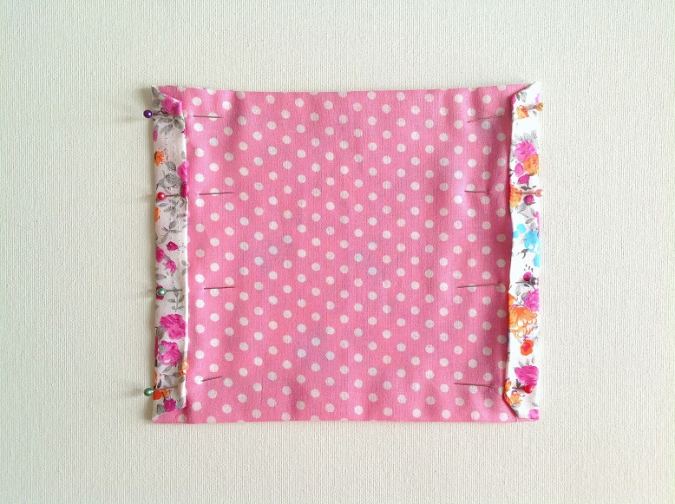
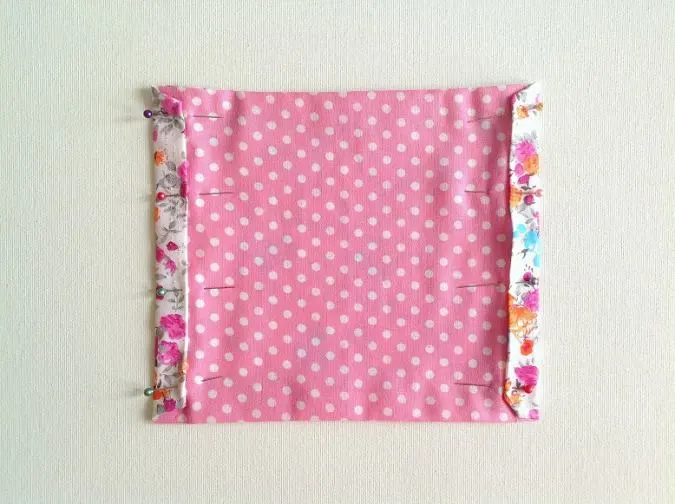
Pin along the edge of the folds.

Hand sew the two casings shut, using a running stitch.

Take the required length of the elastic, referring to the table above and insert it through the two casings, using a safety pin.
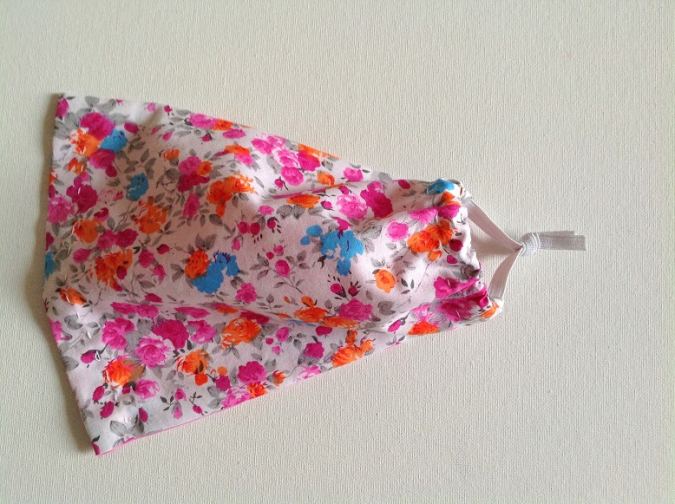
Ties the ends of the elastic in a knot.
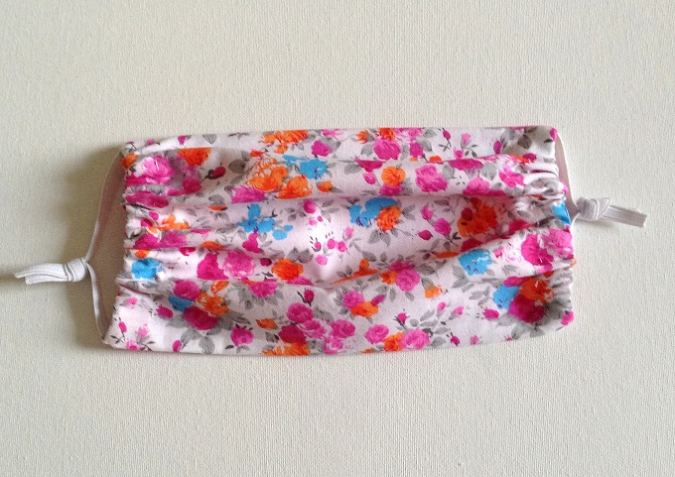
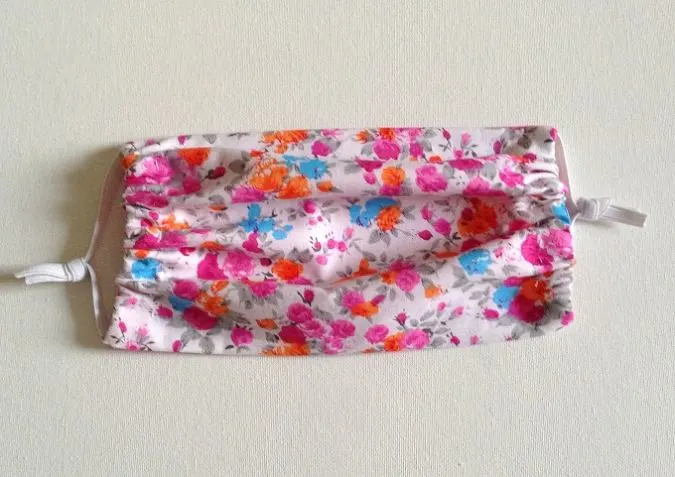
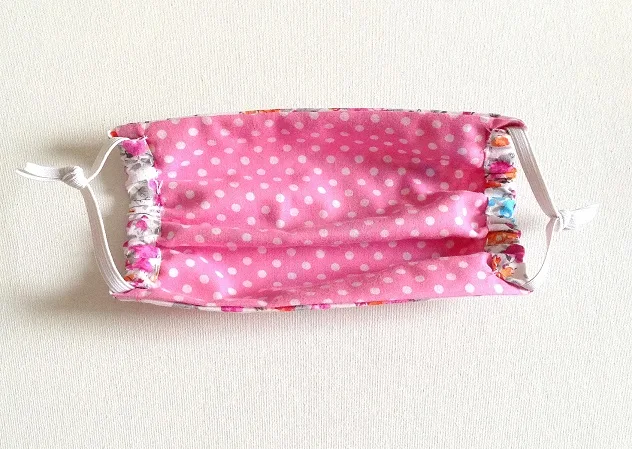
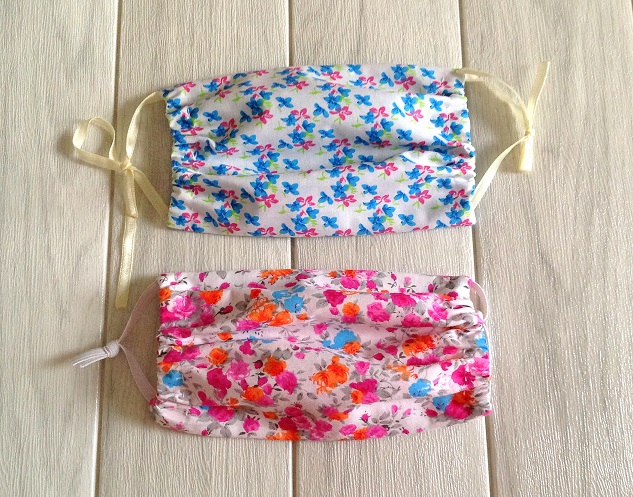
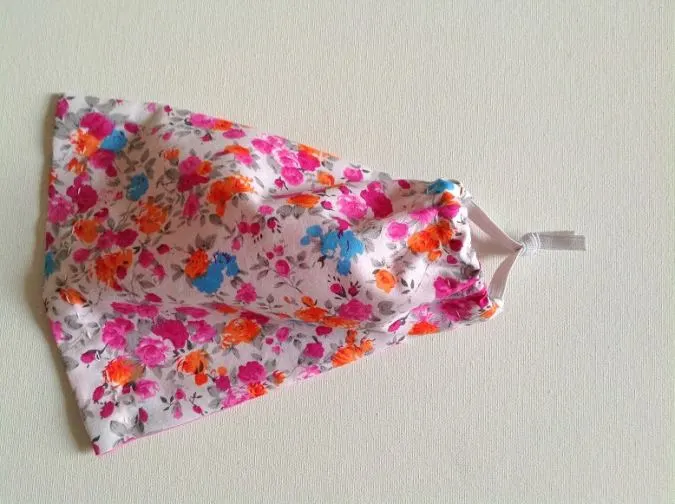
Our mask is done!
Pin it for later here,

Evelyn l. Walker
Wednesday 6th of October 2021
Thank you I actually followed your instructions . I havent sewn by hand except for buttons. that was great. Bless you!
Wonda
Friday 30th of October 2020
Wow! How simple this is! Thank you for breaking down your pattern so that I can make these for my family in a quick way. Love your site as well. Still trying to locate the download location for the free patterns (baby stuff). I am definitely going to purchase other patterns as well because you make sewing look so easy. Thank you for taking such lengths to do so! Life subscriber her :). Have a grea day!
Surayya
Friday 30th of October 2020
Thank you! I am flattered! The downloads are available for the templates for all the patterns on the respective pages.
Casey
Tuesday 13th of October 2020
The most straight-forward mask instructions I've found so far! What's brilliant is that this will work for hand-sewing AND machine sewing, so I can hand-sew while I figure out how to get my ancient monstrosity of a machine to get working again. Thank you for sharing! I'm excited to make some fun new masks to match some different outfits!
Surayya
Wednesday 14th of October 2020
Thank you!
Jess H
Monday 13th of July 2020
Thank you for this really clear, easy to follow pattern - it was just what I was looking for as a sewer currently without a machine! I will however say that 7.5" W is far too large for my (admittedly rather large) head - I will make another and reduce this to 5.5" inc. seam allowance.
Robin Grindstaff
Thursday 25th of June 2020
I thought that there would be a alot left to put in a filter since there were only 2 layers
Surayya
Saturday 27th of June 2020
Find the tutorial for masks with filter pockets and a removable wire casing here, https://sewcraftyme.com/how-to-sew-masks-with-filter-pockets.html You can hand- sew it too!