So, last week, I released a sewing pattern for bibs designed specifically for baby boys. As promised, I am now back with an adorable bib pattern for baby girls. This pattern offers two options: you can choose to make it with charming Peter Pan collars or opt for ruffles and bows.

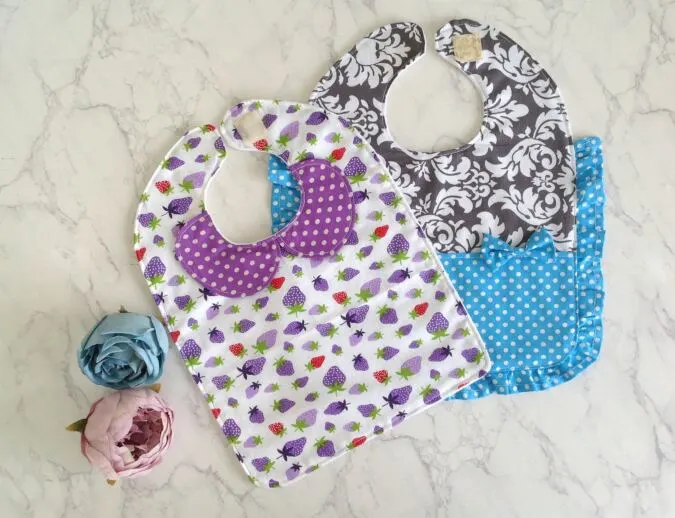
The design of this bib pattern is incredibly girly and delightfully ruffly. You will absolutely adore seeing your little one wearing it. With templates provided for the bib body and collar, sewing it becomes a breeze.


Feel free to mix and match various fabrics, prints, and colors to create unique and one-of-a-kind bibs that are perfect for your baby girl or make wonderful gifts for baby showers. Let your creativity run wild and enjoy the process of making something special for your little princess.
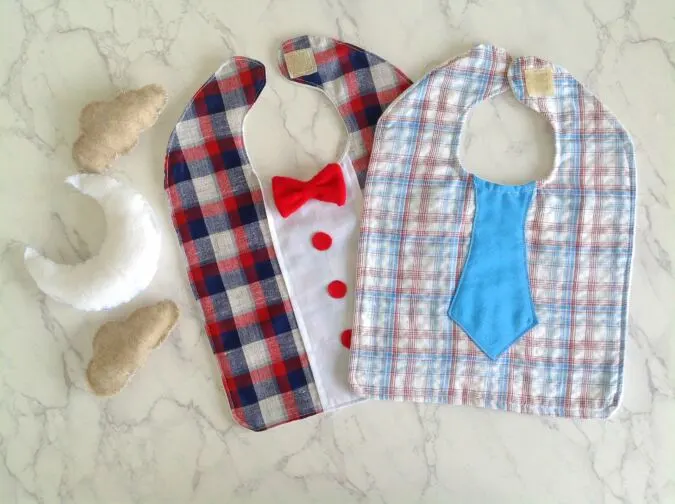
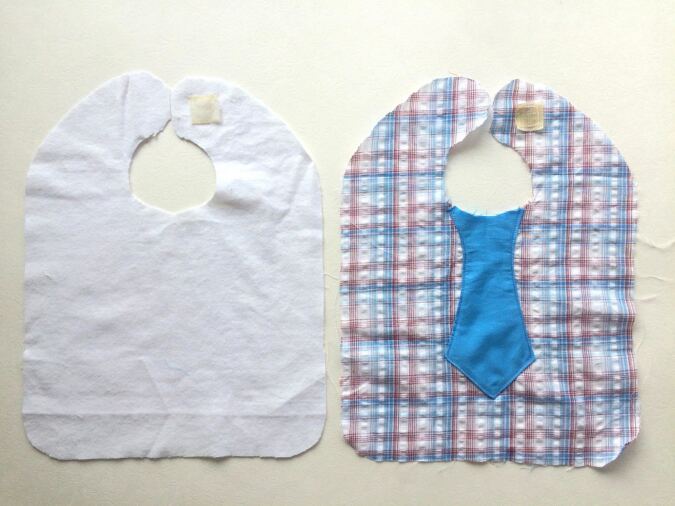
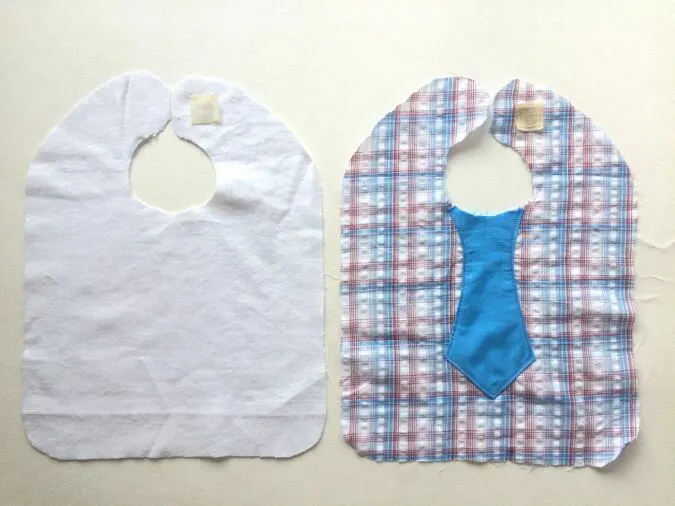
If you would like to learn how to sew a boy’s bib with a tie or bow, click on the picture below:
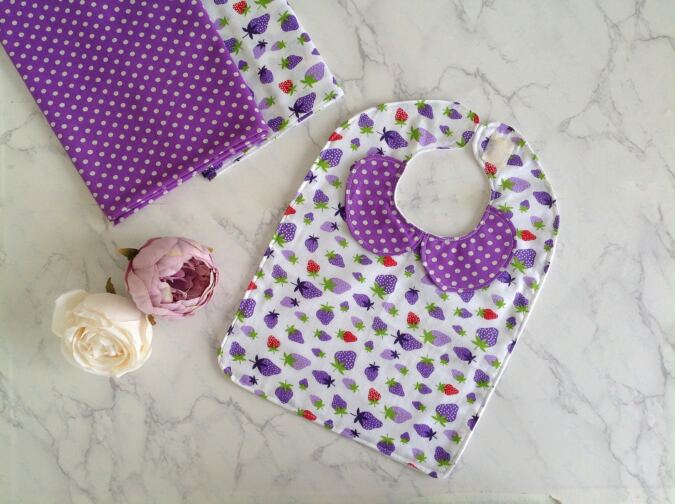
Collar Bib Pattern for Baby Girls
*Note: The pattern can be used to sew bibs for a 3-month-old to a 2-year-old.
Materials Required
- Cotton Fabric for the bib front – I fat quarter (18” x 21”).
- Cotton Fabric for the collar- a scrap of fabric in a different print.
- Fabric for the bib back (chenille, minky or flannel) -I fat quarter.
- Velcro for closure.
- Fabric marking pen.
- Sewing Notions.
- Pattern template. **Enter your e-mail address and click on the subscribe button in the blue box below to download the template.


Cut the bib back and front, just as we did for the boy’s bib.
Now we need to cut the collar pieces.


Cut four pieces for the collar, using the template in the attached pdf.


Take two collar pieces and keep them layered with the right sides together and aligning the edges. Sew along the outer curved edge, leaving the inner curved edge raw as marked above.


Make small notches along the edge and turn the collar inside out. Repeat the steps with the other two collar pieces.


Press them taut and topstitch around the outer curve to make it neat and crisp.
Let’s see how the collar is attached.


Fold the bib in half, aligning the edges, and mark its top center as shown above (picture for illustration purposes).


Keep the two collars on either side of the marked center, aligning the upper raw edge of the collar with the neckline and pin. Sew the collars onto the bib.
Take the Velcro pieces and sew them onto the right side of the bib front and bib back, on the same side as shown above (picture for illustration purposes).


Keep the back piece over the front piece with the right sides together and aligning the edges.


Sew around the neckline and around the edges, leaving about 3 inches along the lower edge to turn it inside-out. Trim the straight edges and make small notches along the curved edges.


Turn the bib inside-out, tucking in the raw edges, and press to set. Topstitch around the neckline and along the edges of the bib.


Our collar bib for a baby girl is done!
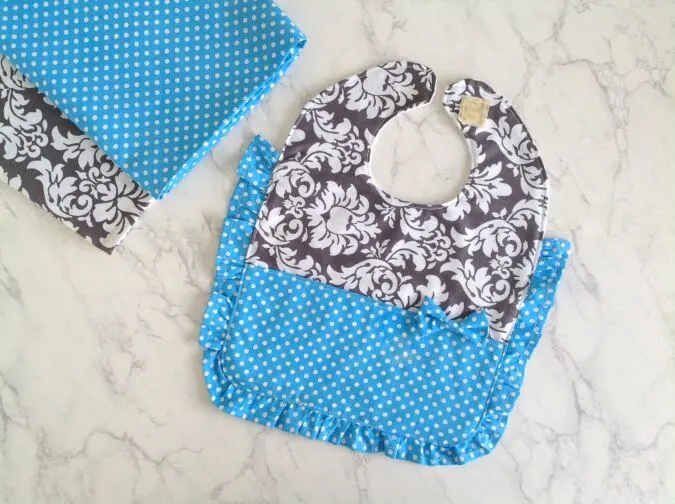
Ruffled Bib Pattern for Baby Girls
Materials Required
- Cotton Fabric for the bib front- I fat quarter (18” x 21”).
- Fabric for the bib back(chenille, minky or flannel) -I fat quarter.
- Cotton fabric in a different print for the ruffle and trim.
- Velcro for closure.
- Optional buttons for embellishment.
- Fabric marking pen.
- Sewing Notions.
- Same pattern template as the above.


Cut the pieces for the body of the ruffled bib using the templates given in the attached pdf.
Note that the lower half of the bib is finished with a trim of coordinating color. The trim template is given on the template for the bib body. After cutting the bib body, cut along the blue line of the body template to get the trim template.


Fold the fabric for the trim and keep the template on the fold, mark around it, and cut. Open it and you will get your trim piece like the one in the second picture


Fold the straight top edge of the piece by 3/8-inch towards the wrong side and press.


Keep the piece on the lower side of the bib, aligning the sides and lower edges and pin all around.


Secure the piece onto the bib, by sewing around the edges as marked in the picture above.


You may make a small bow, by referring to my tutorial here, https://sewcraftyme.com/bow-sewing-pattern-free-bow-sewing-tutorial/. Sew the bow to the seamline along the middle.
Next, we add the ruffles.


Cut the fabric strip for the ruffle, 44- inches long and 2.25- inches wide. Fold one of its longer edges by ½-inch and press. Fold by another ½-inch and press again. Repeat the steps on the two shorter sides. One longer edge is left raw; this is where we gather the ruffle.


Sew down the three folds
Now we need to gather the ruffle.


Sew a basting stitch along the long raw edge of the ruffle, leaving a long tail of thread, 6-7 inches long to pull and gather the ruffle( to do a basting stitch, turn the upper thread tension of your machine to zero and stitch length to the longest).


Pull the thread from the bobbin gently and gather the ruffle. Adjust the gathering in the ruffle to get a length of 28- inches and to make it uniform


Pin the ruffle along the edge of the bib, starting from the red point marked in the template with the right sides together and aligning the raw edges ( the ruffle would end at a point in level with the starting point on the other side). If not, then remove the pins and adjust the ruffle such that the ruffle ends are on the same level on both sides.


Turn your machine settings back to normal. Sew the ruffle onto the bib, removing the pin as you go.
Next, we join the back and front pieces of the bib together.


Sew the Velcro pieces just as we did for the earlier bibs.


Keep the bib back over the bib front with the right sides together and aligning the edges. Sew around the neckline and edges, leaving a gap of 3 inches along the lower edge to turn the bib inside-out. Clip the corners and trim the edges.


Turn the bib inside out and pull the ruffle out around the edges. Press to set, tucking in the raw edges.


Topstitch around the neckline and edges.


Our bib is ready!
Have a look at the webstory for the post here, A Free Bib Sewing Pattern for Girls
Pin it for later here:


eliz
Tuesday 13th of August 2024
pattern
Surayya
Wednesday 14th of August 2024
Please enter your email address and click the subsribe button in the blue box to download the template.