These bubble shorts for girls are cute, girly, and comfortable to wear. What if you could sew a pair yourself? This pattern makes it easy to create stylish bubble shorts for your little girl.

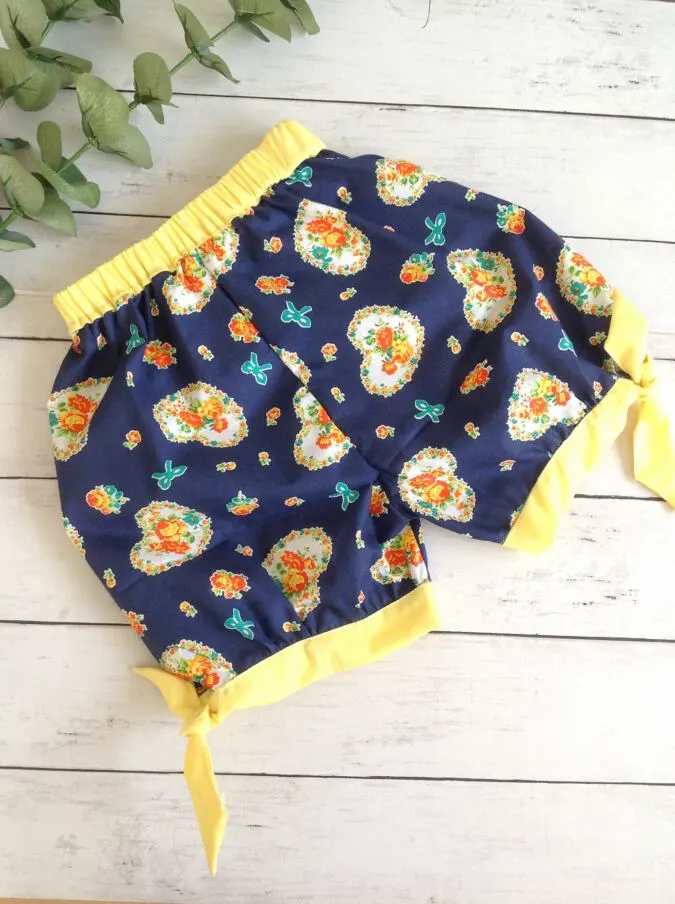

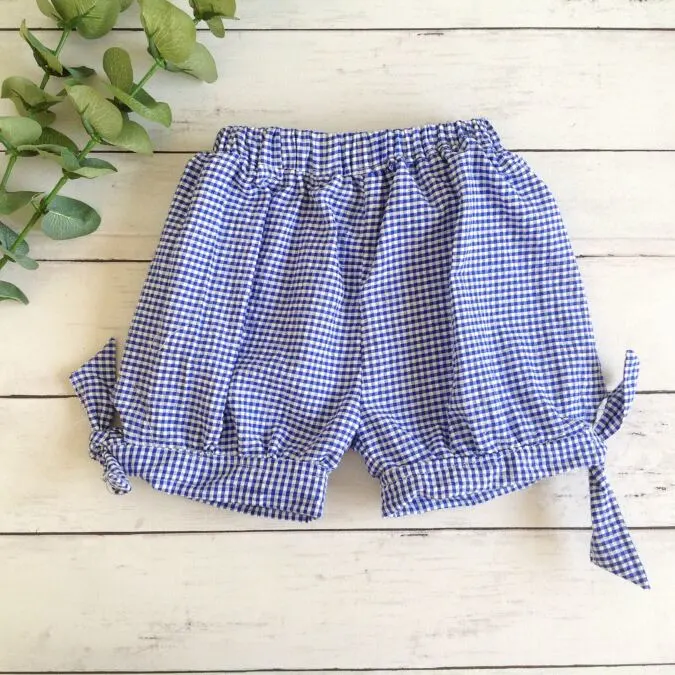
The pattern is designed with a contrasting waistband and hem ties, giving you plenty of options to mix and match fabrics. Plus, it’s a great way to use up your fabric stash!


Despite its intricate appearance, the pattern is actually quite simple. You won’t need to sew zippers, hooks, or flys, and the elastic waistband makes it easy to wear and sew.

Tie- Hem Shorts Sewing Pattern
If you would like to purchase the pattern as an ad- free PDF, purchase it for $3.99 here! The Pattern will be emailed to you within 24 hours of purchase.
Materials Required
- Shorts fabric- requirement specified in the table-2 below
- Tie and waistband fabric- requirement specified in the table-2 below.
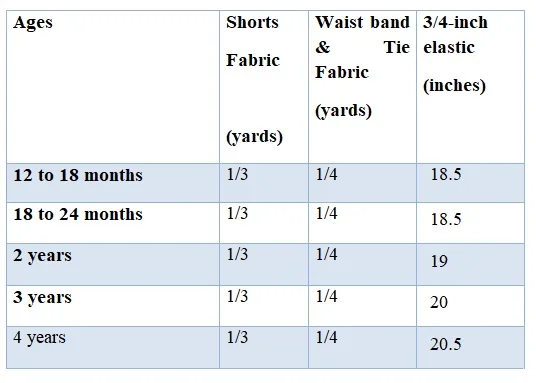
- 3/4 -inch elastic- requirement specified in table-1 below.
- Pattern template. * Enter your e-mail address and click the subscribe button to download the template.
All the fabrics used here are of 44/ 45 inches width.
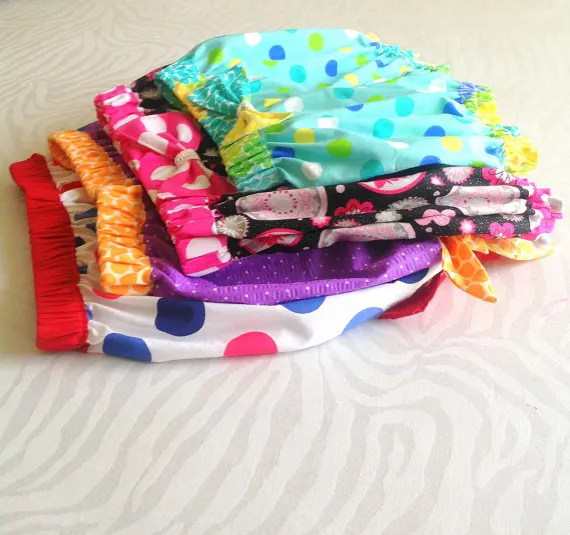
The fabrics shown here are only for illustration purposes and as such may vary from the original.
The seam allowance is 3/8-inch unless otherwise specified.
I suggest you read the entire pattern once before starting to get a general idea.
All seams are to be finished by zigzag or serger.
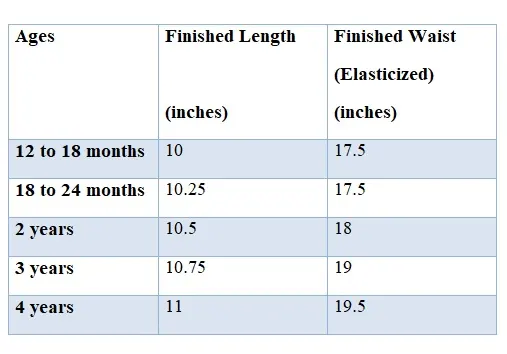
Finished Measurements:
Table-1

Fabric Requirements
Table-2

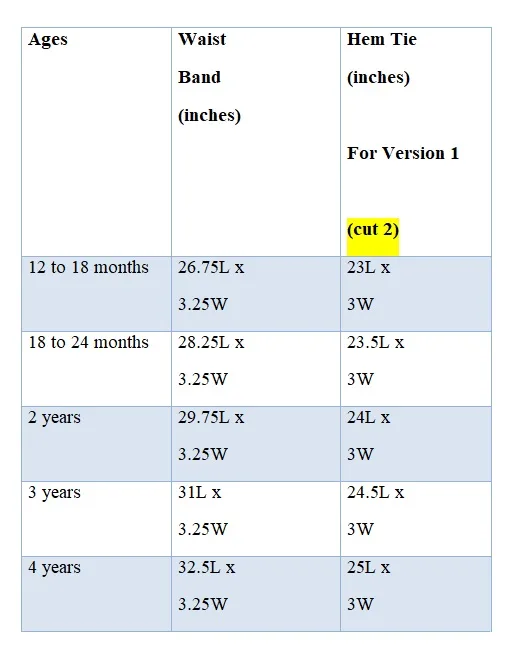
Measurements
Table-3
In the table “L” stands for the length and “W” stands for the width of the fabric.

Sewing
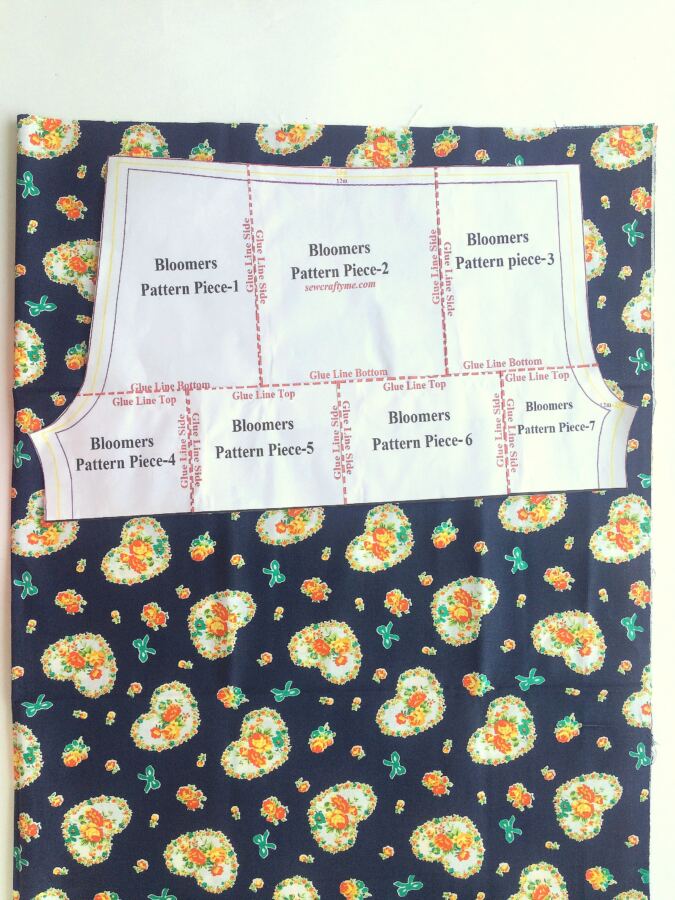

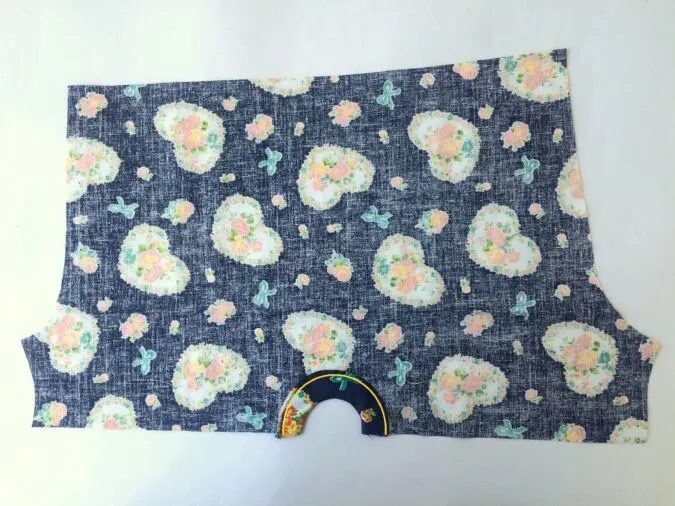
Take the pattern template for the shorts from the end of this pdf. Fold the fabric to fit the width of the pattern and keep the template on the fold. Mark and cut it.
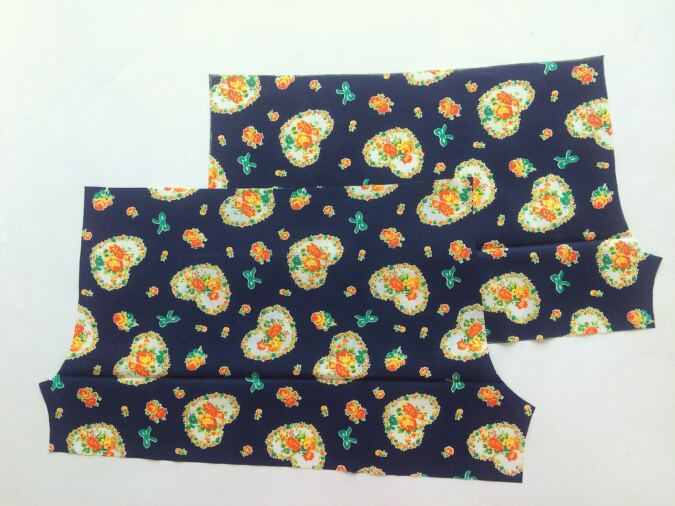
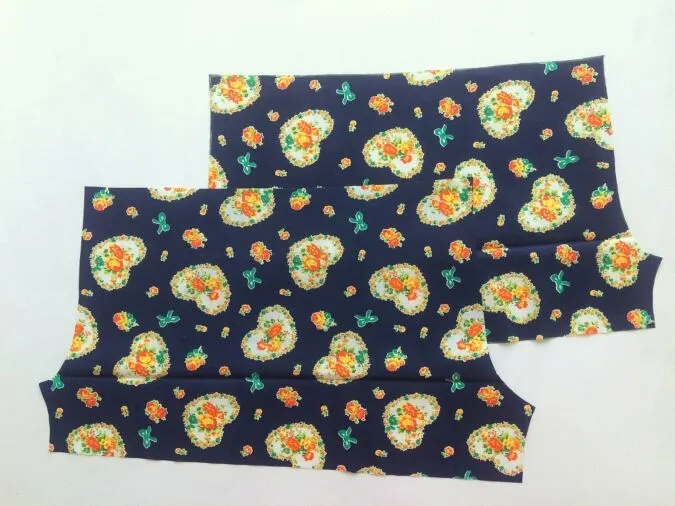
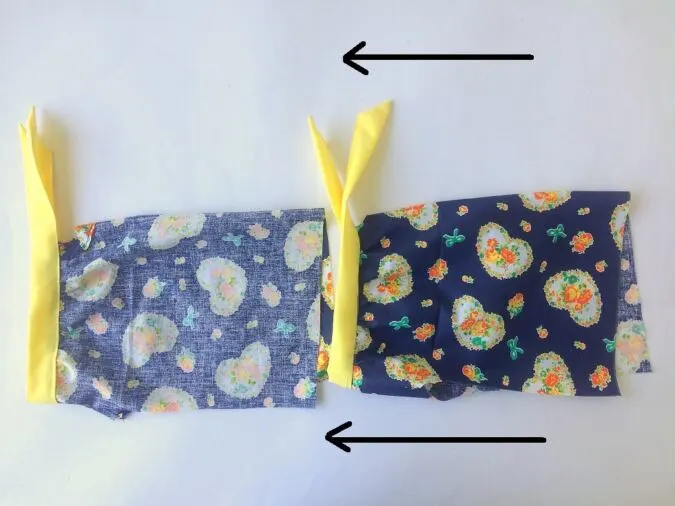
The two pieces for the shorts will look like this when you open them.

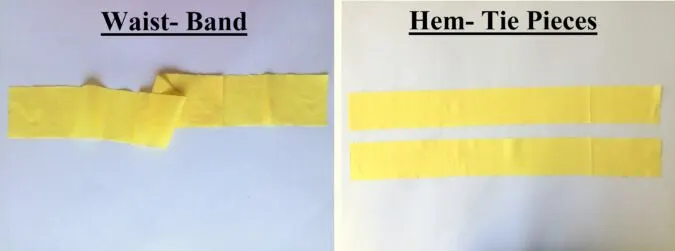
Cut the fabric strips for the waistband and hem- ties, referring to the table-3 above.

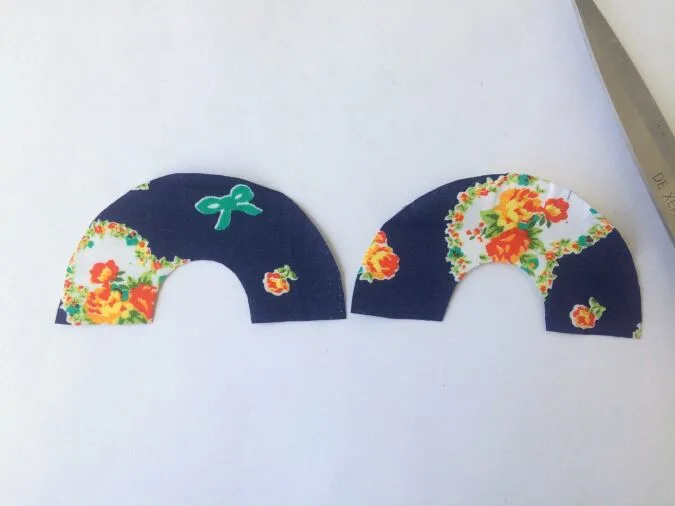
Also, cut two pieces of the facing using the facing template.
Let’s first finish the hemline of the shorts.
We need to gather the hemline a little and also add a curved notch along the side of the shorts for the ties. We first do the notch.
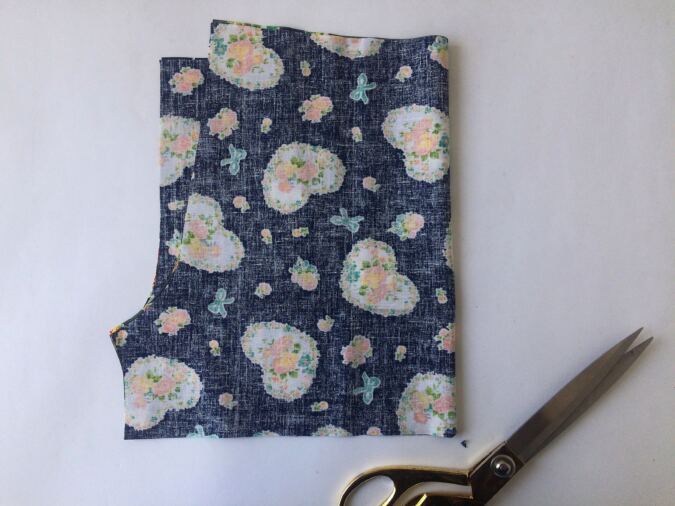

Layer the shorts pieces and fold them in half aligning the inseams and the lower edges. Make a small clip along the lower edge of the fold to mark the center of the hemline.
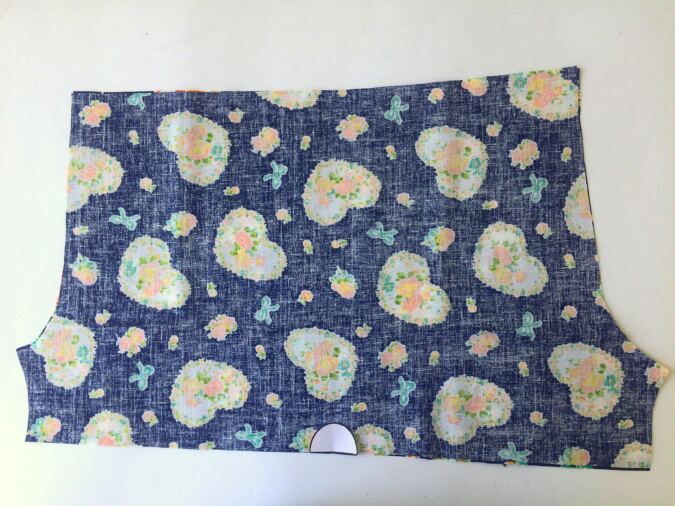

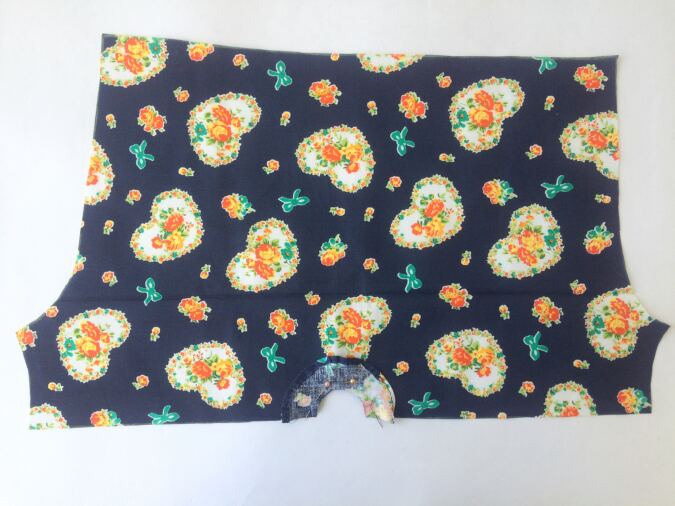
Open the fabric layer. Cut the pattern template for the notch at the end of this pdf and keep the center of the template at the center of the hemline. Mark and cut around the curve.
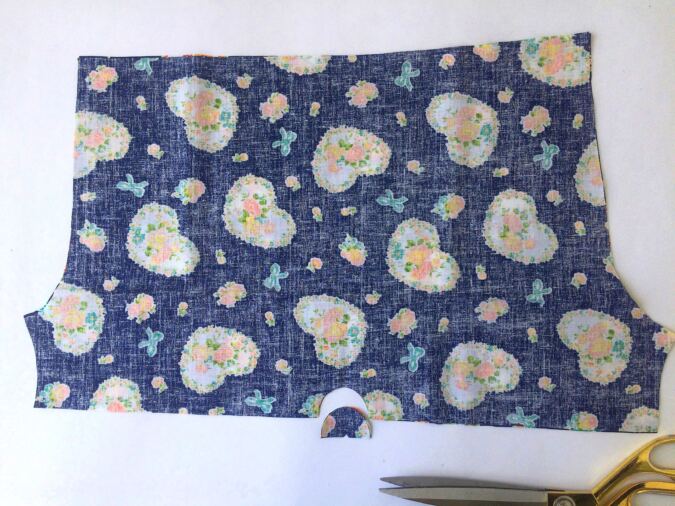

You will get a notch along the center of the hemline.
Next, we finish the notch by facing.
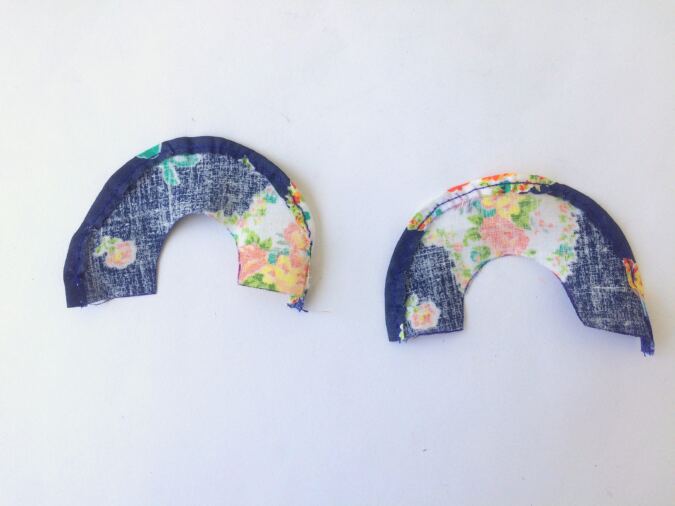
Fold the outer edge of the facing by 3/8-inch towards the wrong side and press all around. Repeat the steps on the other facing piece. Sew down the folds.
Let’s attach the facing to the hemline.

Place the facing over the notch aligning the edges and with the right sides together. Pin the facing to the shorts.

Sew around the inner curve to secure the facing to the shorts.

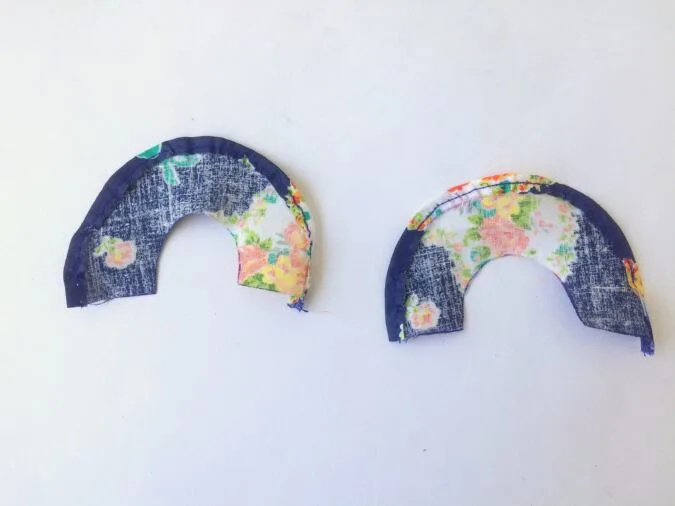
Cut small slits along the inner curve, taking care not to cut through the stitches.

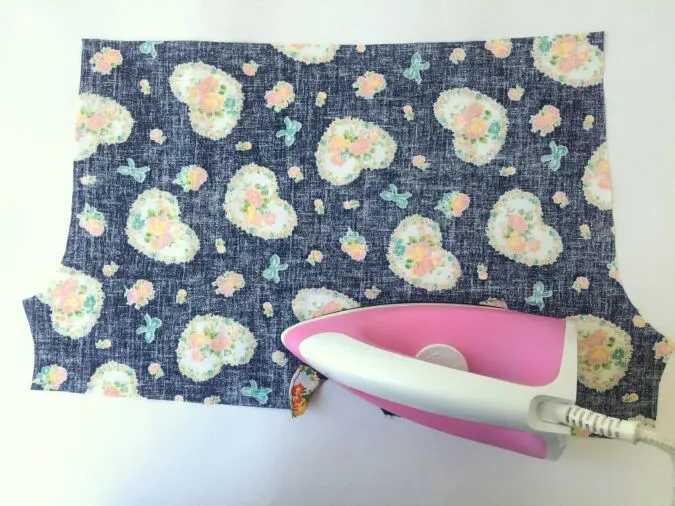
Turn the facing completely over to the wrong side and press all around.

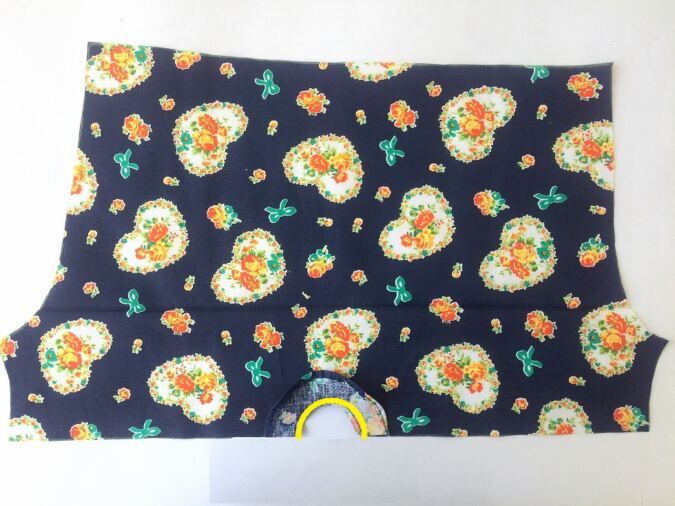
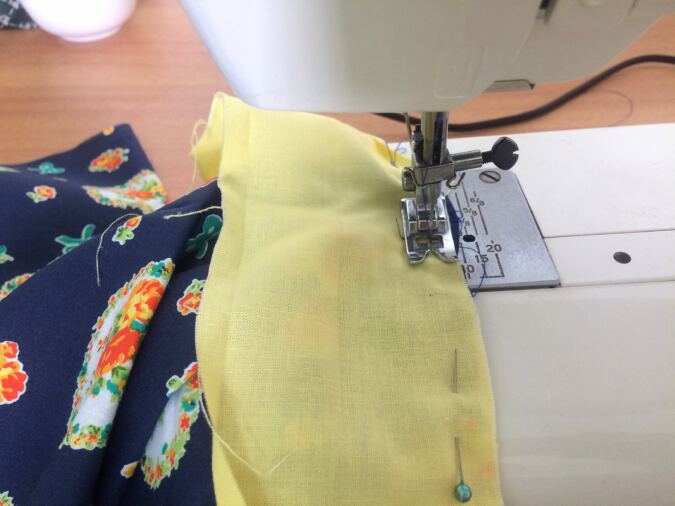
Sew around the outer curve as marked by the yellow line above to finish the facing. Repeat the steps on the other leg with the other facing.
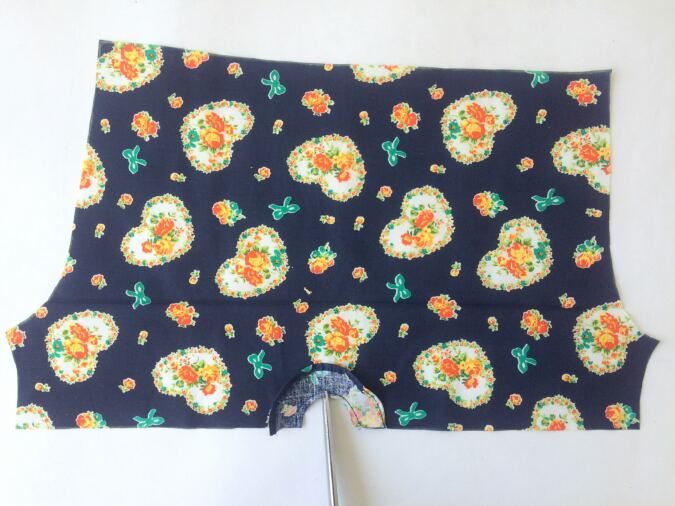
We need to gather the hemline on either side of the facing. Note: to sew a basting stitch, turn the upper thread tension of the machine to zero and the stitch length to the longest.
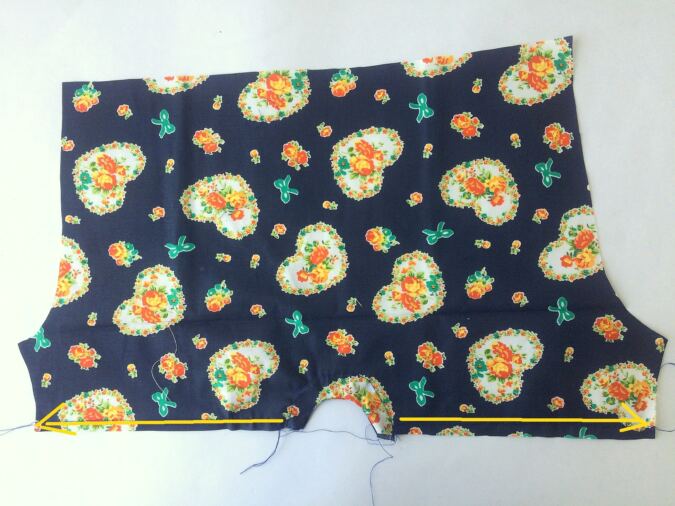

Sew a basting stitch on either side of the curve, leaving the facing.
Table-4
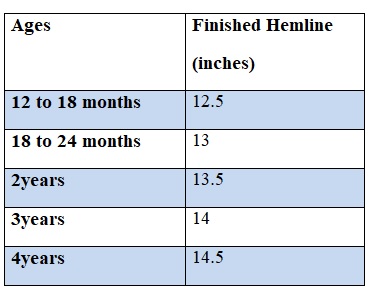
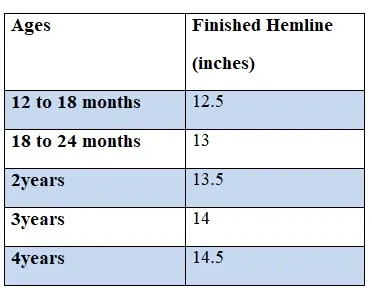
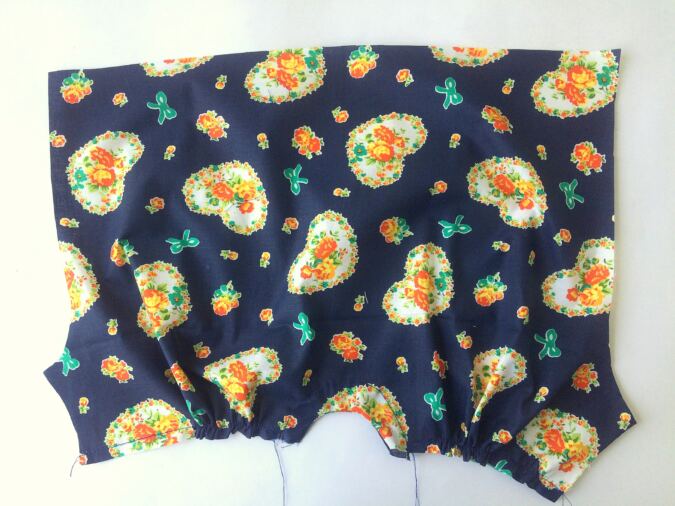

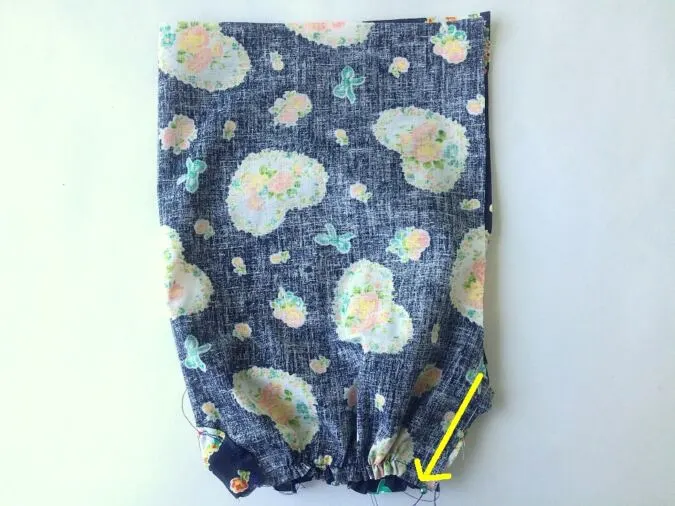
Gather the hemline on either side of the notch till you get the required length of the hemline as given in the table-4 above. Note that here I have concentrated the gathers near the notch; you may spread the gather throughout the hemline uniformly as you wish.
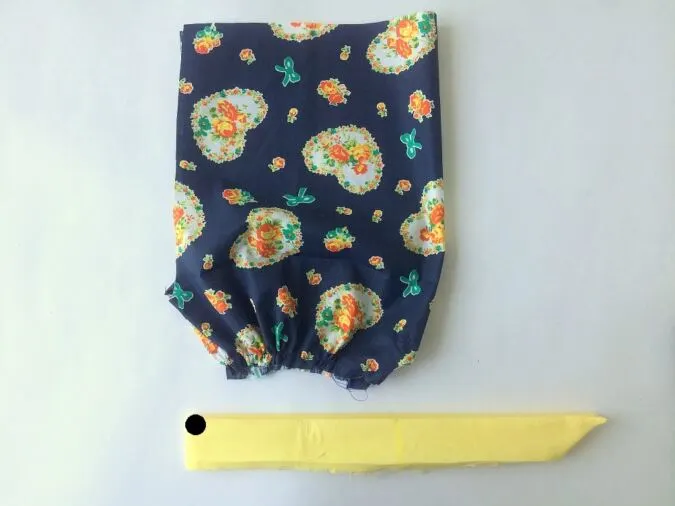
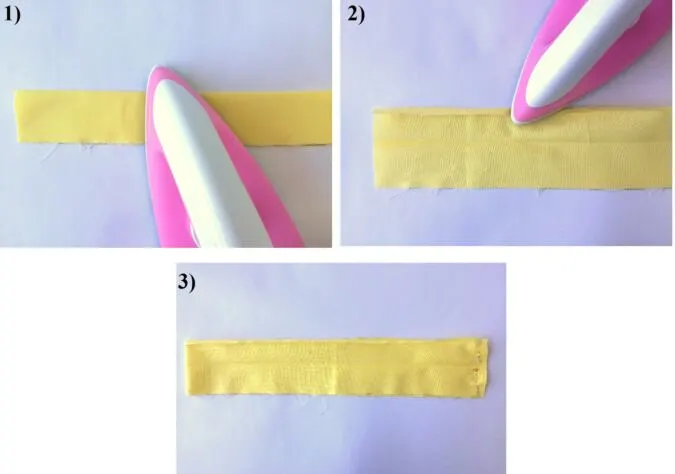
Next, we do the tie along the hem.


1)Take one piece for the tie, fold it in half lengthwise and press.
2) Cut the shorter edge to make it slanting as shown above.
3)Open and fold the two longer edges inwards by ¼ -inch and press.
4)Fold back along the earlier center crease and press again.
5)Flip the tie onto the wrong side and sew the short slanting edge shut.
6)Turn over to the right side and your tie is ready to be sewn to the shorts.

Fold the leg piece over, aligning the edges and with the right sides together. Sew the inseams of the leg piece shut. Repeat the steps on the other leg piece.

Fold the tie in half and mark the center.
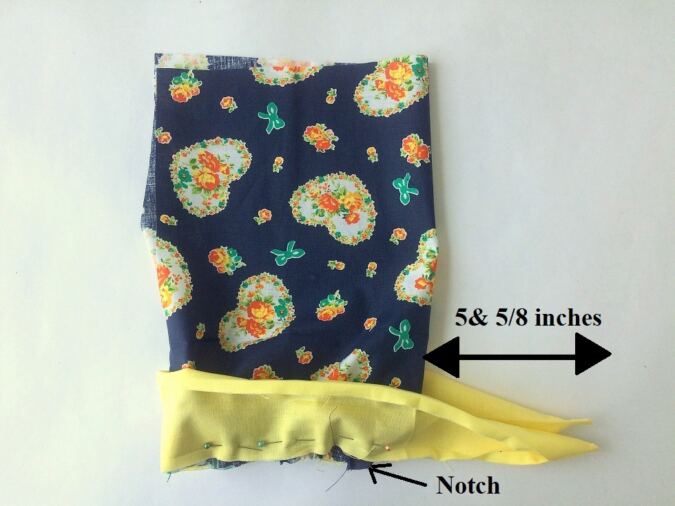

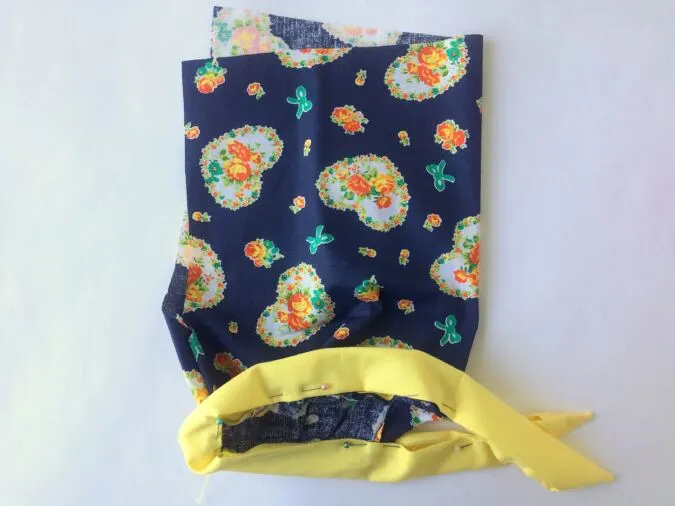
Keep the shorts pieces on the right side and open the folds of the tie. Leaving 5&5/8 -inches of the tie, start pinning the hemline of the shorts with the edge of the tie starting from the notch along the side and pin. Keep pinning till the entire hemline is pinned to the tie
.

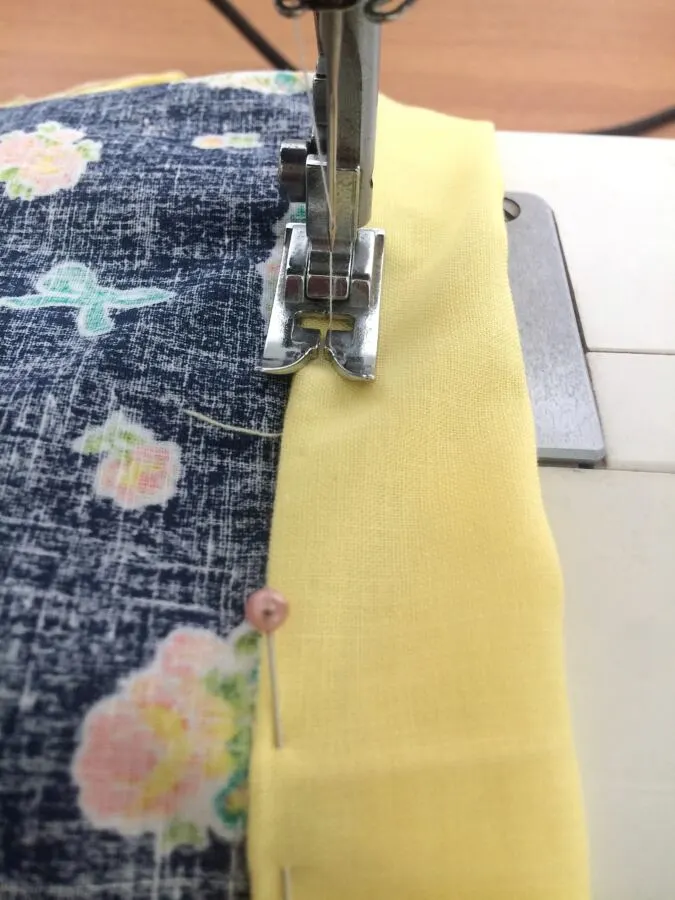
Sew the tie to the shorts, along the edge.

Fold the tie over to the wrong side of the shorts along the center crease, keeping the edge folded. Pin all along.
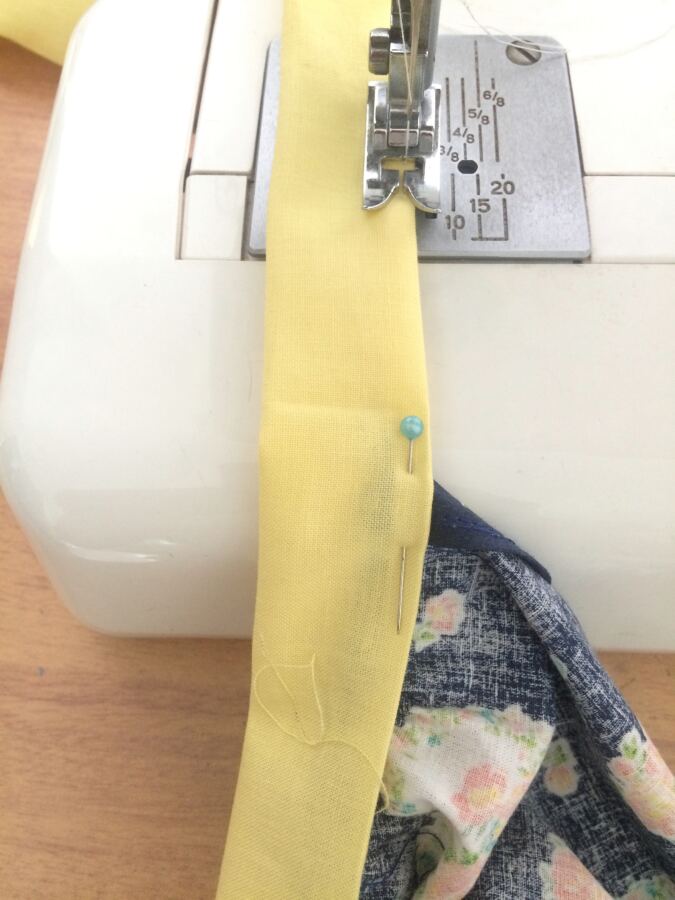
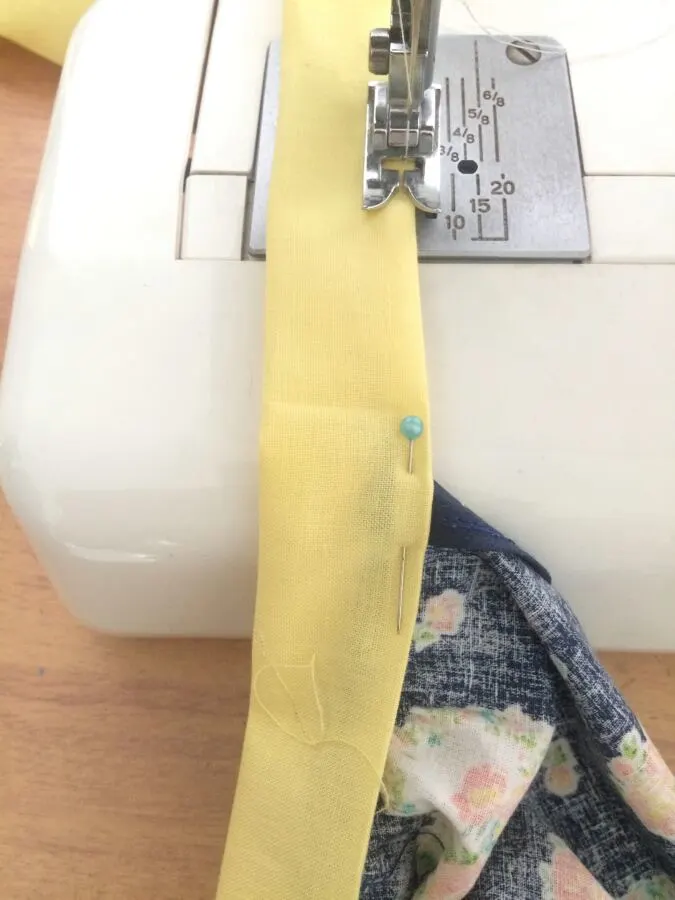
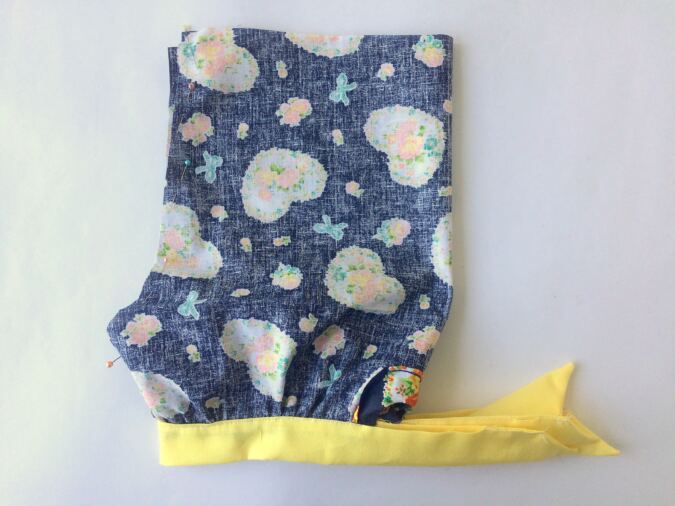
Sew the tie shut, starting from the end and sandwiching the hemline in between. Repeat on the other shorts piece with the other tie piece.
Now we sew the two leg pieces together along the crotch area.

Turn one of the leg pieces over to the wrong side and keep its upper edge facing the hemline of the other leg piece, placed on its right side. Slip the second leg piece into the first.

Align the curved edges (crotch area) of the two pieces and pin all around.


Sew along the entire curved edge, removing the pins as you go (picture for illustration purposes).
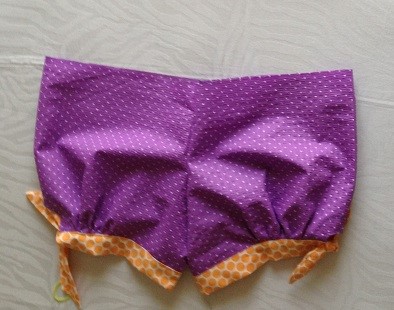

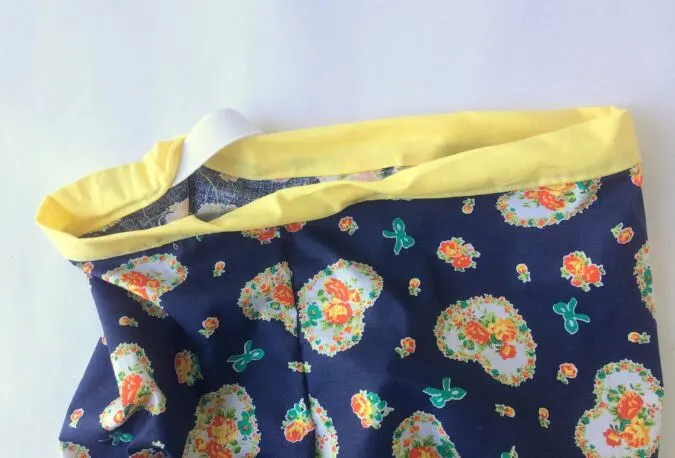
Our shorts are almost done, we now do the waistband (picture for illustration purposes).

1)Take the fabric strip for the waistband. Fold it in half lengthwise and press.
2)Open and fold one long edge inwards by ¼ -inch and press again.
3)Fold the strap in half. Pin and sew the strap shut along the shorter edge to form a tube, making sure to open the fold while sewing.
Next, we attach the waistband to the shorts.
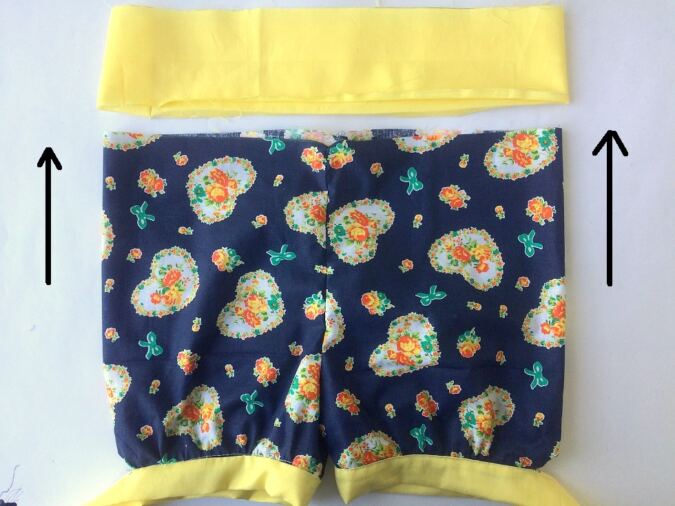

Turn the shorts over to the right side. Flip the waistband over to the wrong side and keep it above the shorts in such a way that its folded edge faces the upper edge of the shorts. Slide the shorts into the waistband.

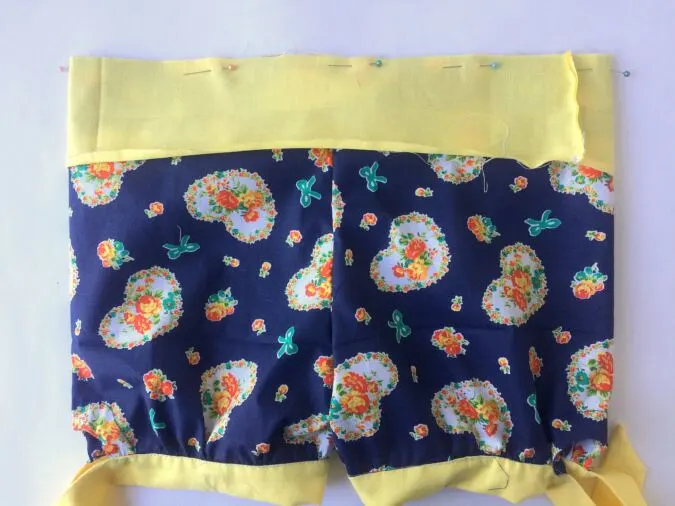
Line up the upper edge of the shorts with the raw edge of the waistband and pin all around.

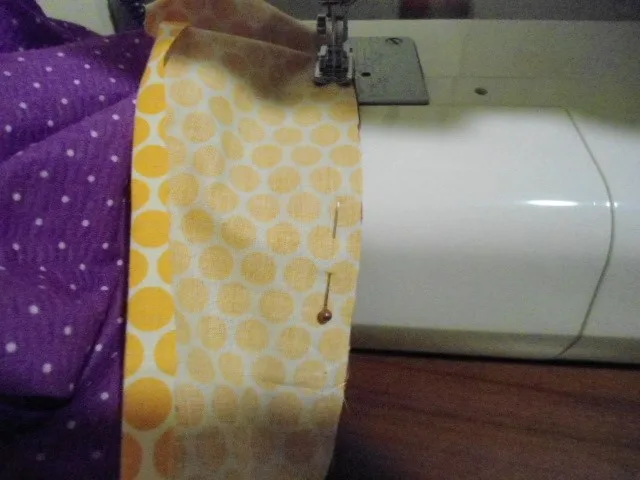
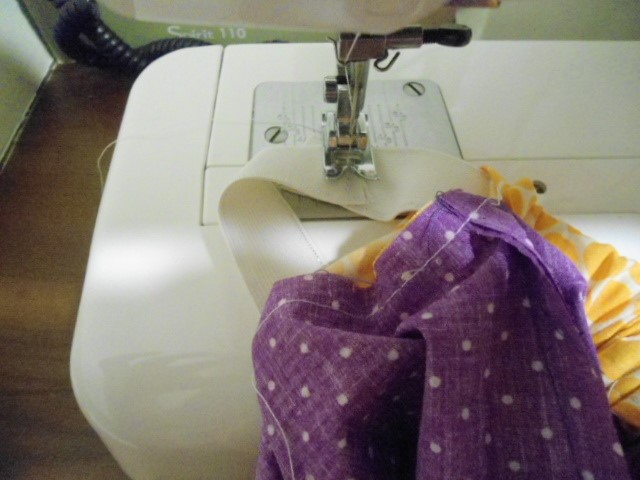
Sew the waistband to the shorts, leaving a ¼-inch seam (picture for illustration purposes).
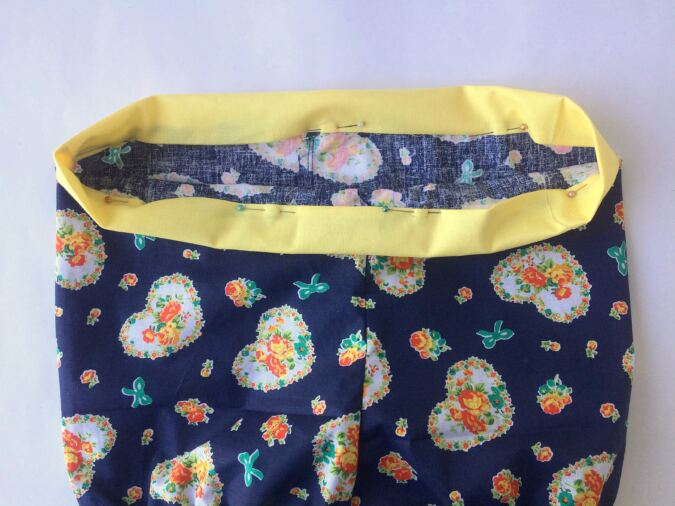

Turn the folded edge of the waistband over to the wrong side along the center crease and pin all around.

Sew it shut along the edge, leaving about a 2-inch gap to insert the elastic.

Take the required length of elastic, referring to Table -2 above, and insert it through the opening using a safety pin.

Keep the ends of the elastic overlapping and sew back and forth a few times to secure (picture for illustration purpose).


Sew the opening shut.


Tie the hem ties up and your shorts are done!
Find the webstory for the post here, DIY Adorable Tie- Hem Shorts for Girls: Free Sewing Pattern
Pin it for later here,

Robin
Friday 21st of April 2023
These shorts would look absolutely adorable on my 2-year-old, granddaughter.
Jane
Friday 21st of April 2023
I can not find pattern for tie notch
Surayya
Friday 21st of April 2023
Please refresh your browser and try downloading the template again.