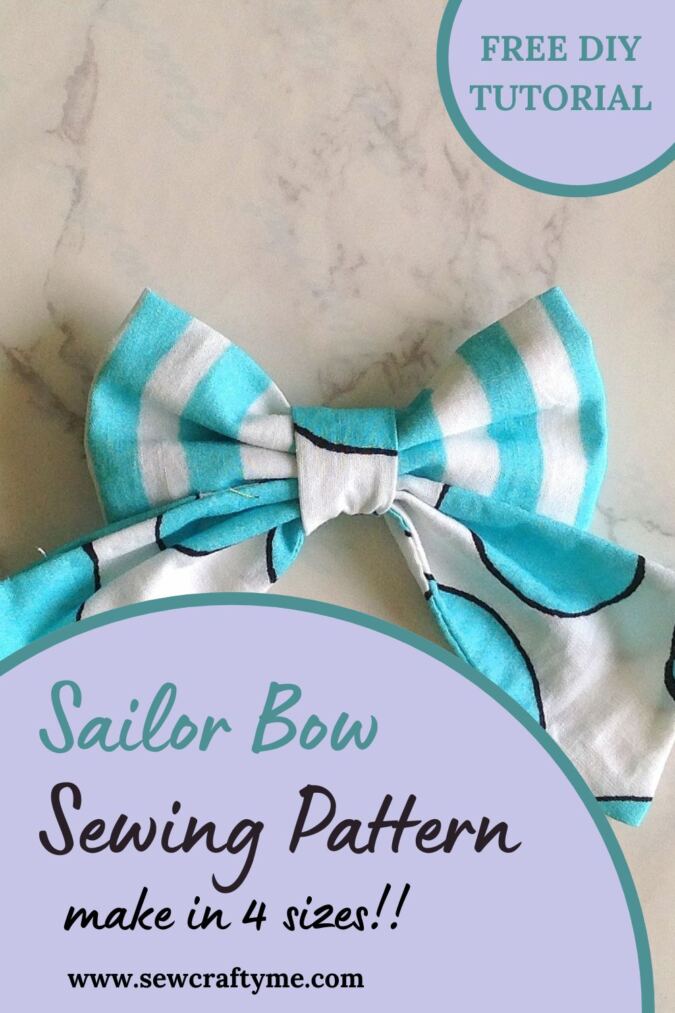
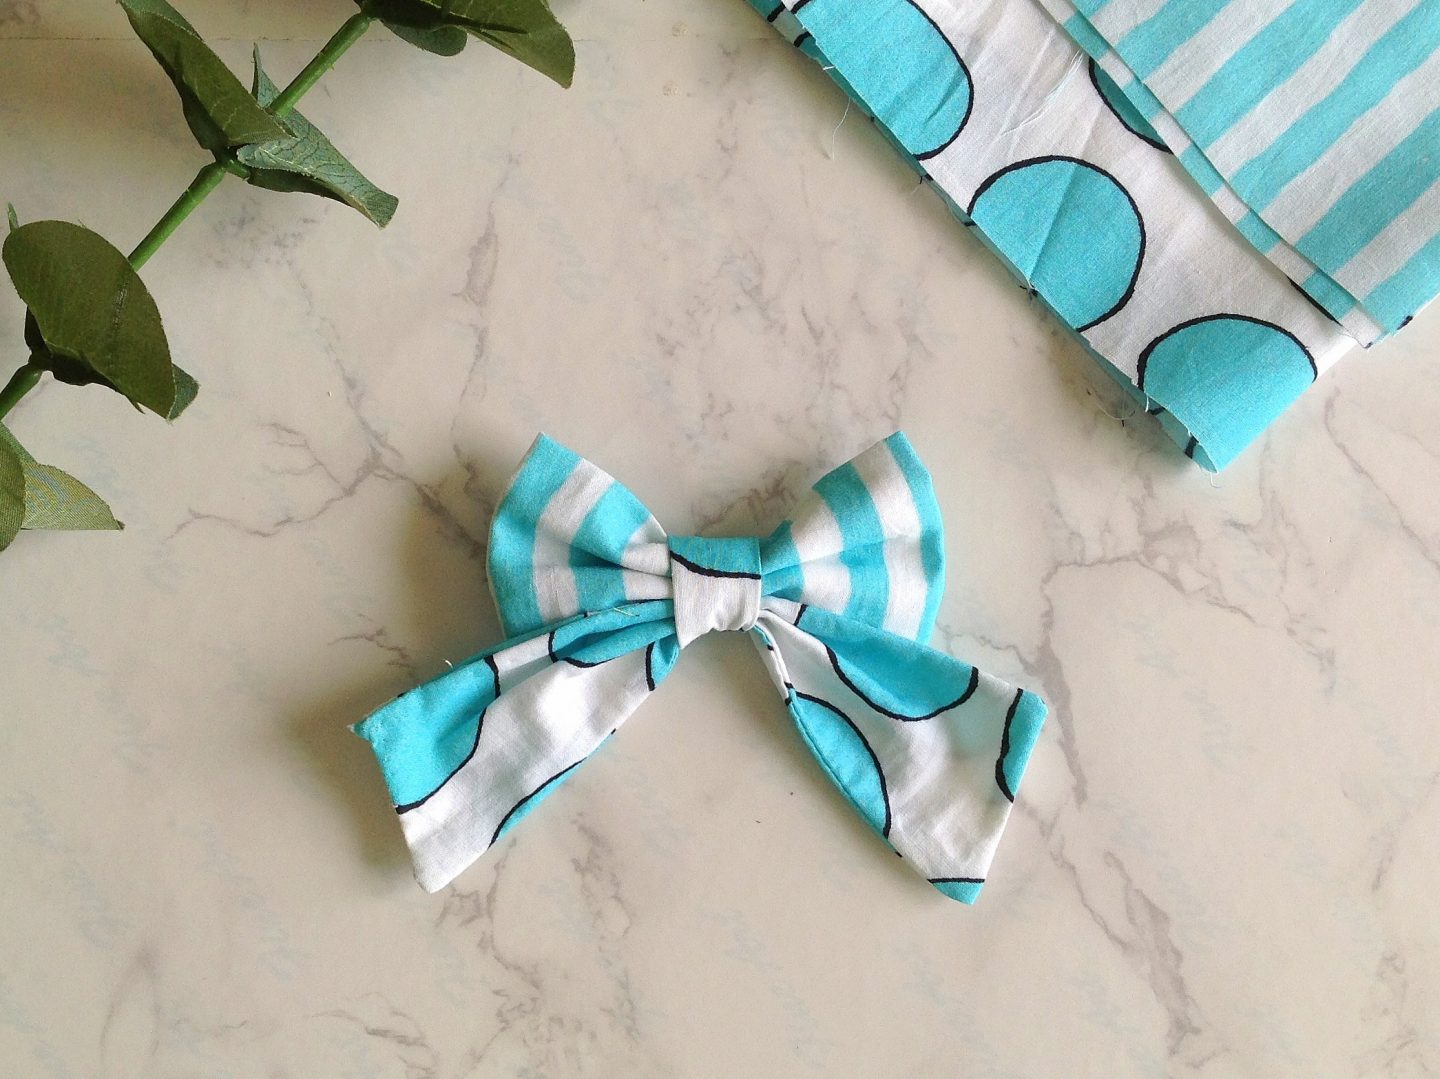
Our sailor bow pattern will help you sew a sweet addition to any outfit your little one wears. This hair accessory is a cute way to dress her up while she goes out. You can make it in matching colors and prints with her outfit to adorn your little fashionista.


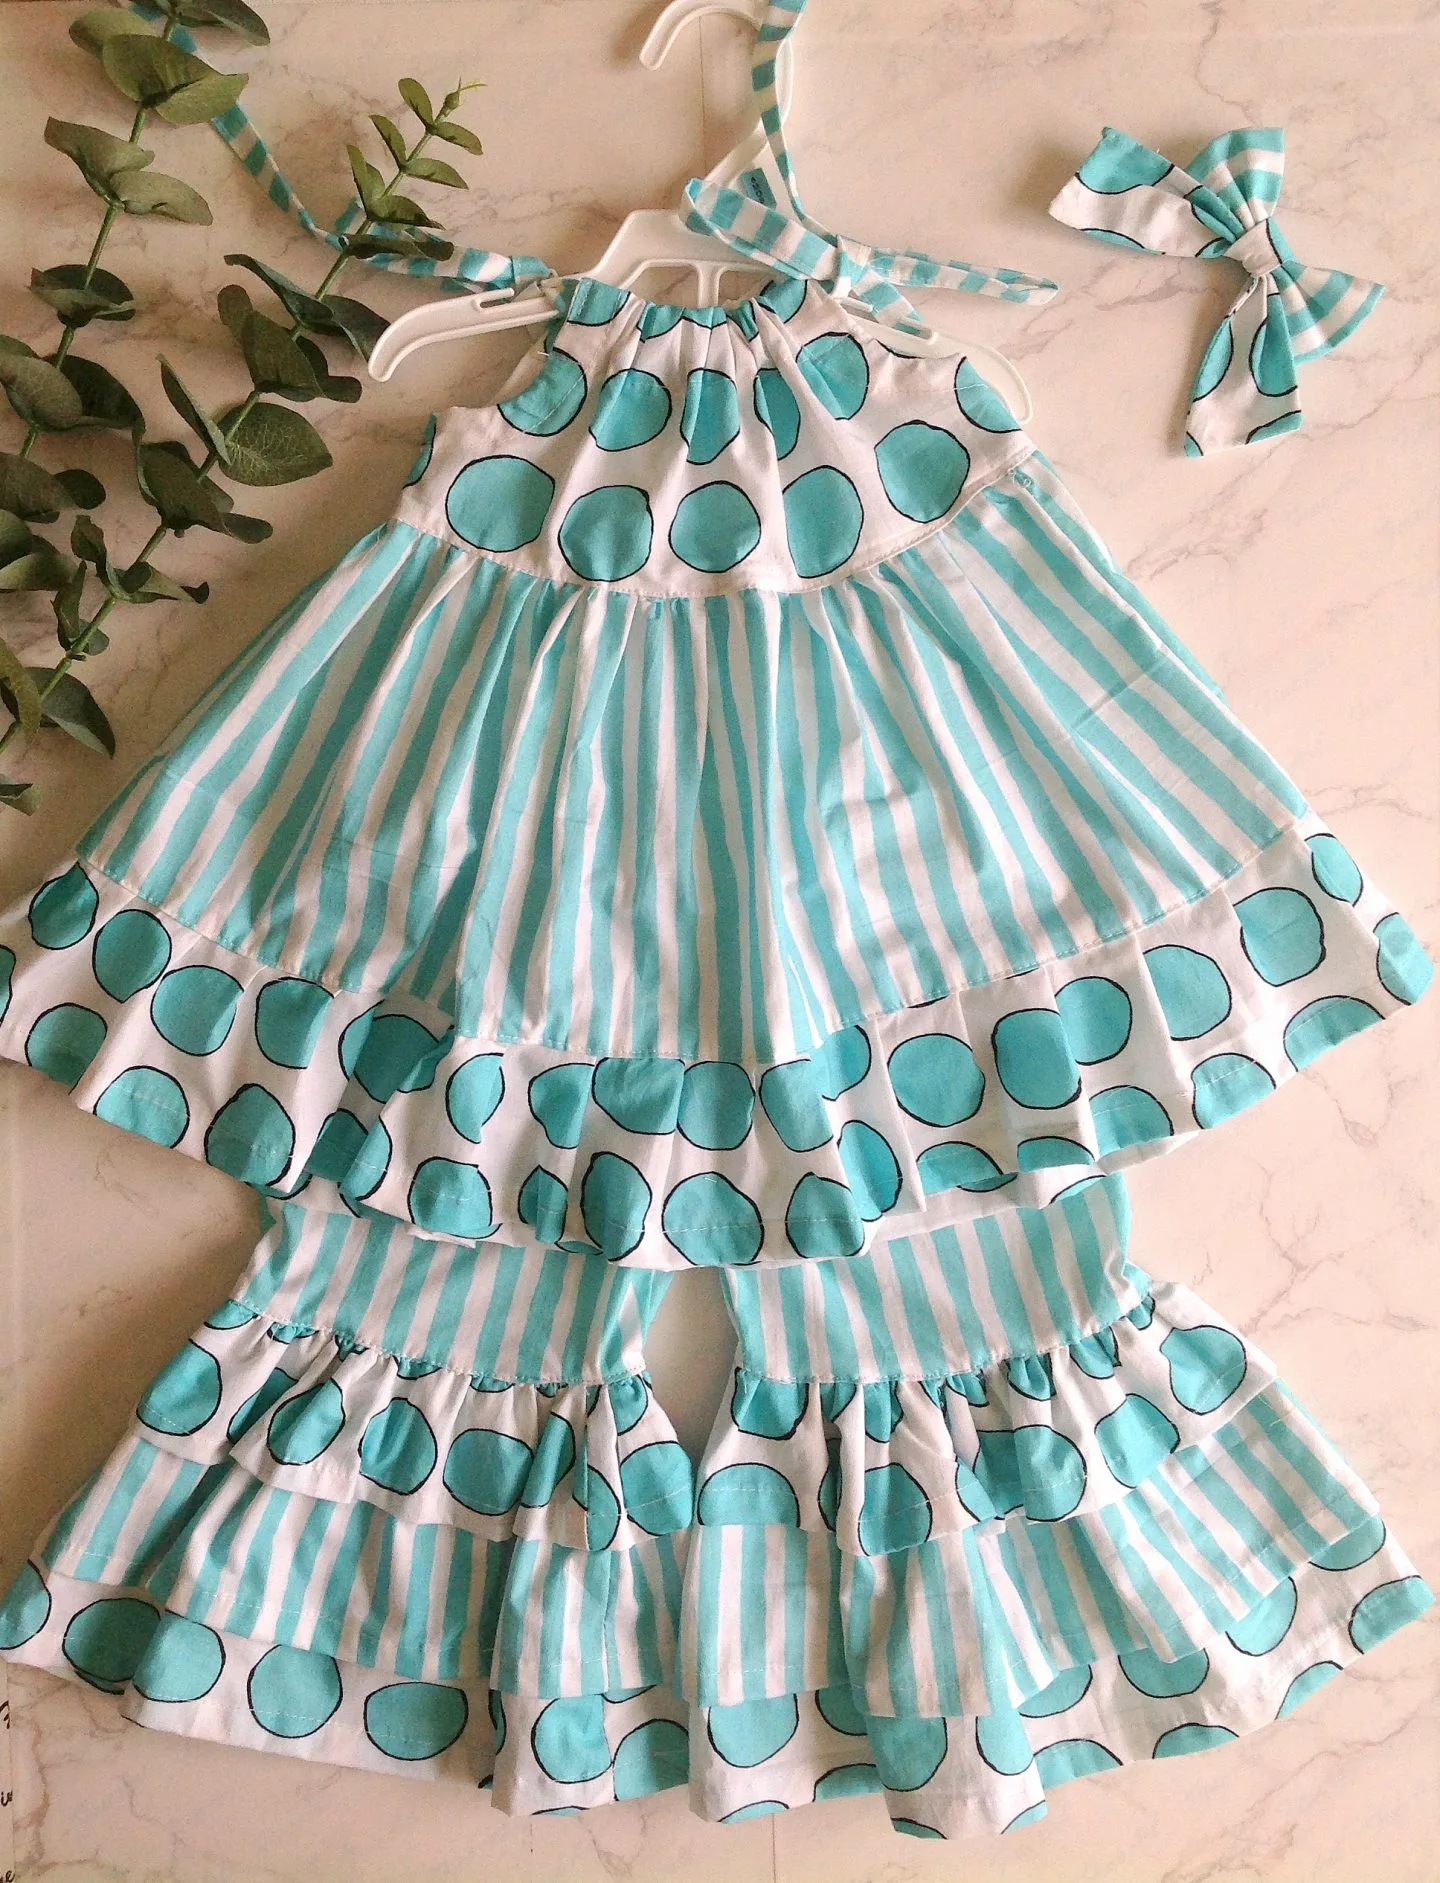
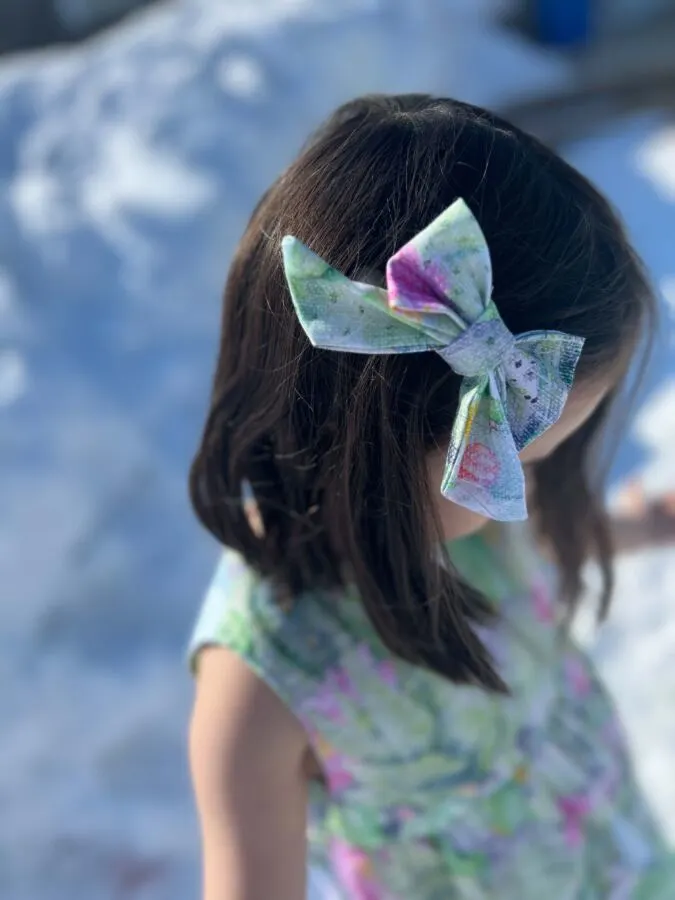
Look at how I made a matching sailor bow for the ruffle pants and top pattern. Doesn’t it look adorable? You can make it with an alligator clip to beautify her when the hair is left untied. You can also attach it to a french barrette or an elastic hair tie to hold her cute little ponytail.


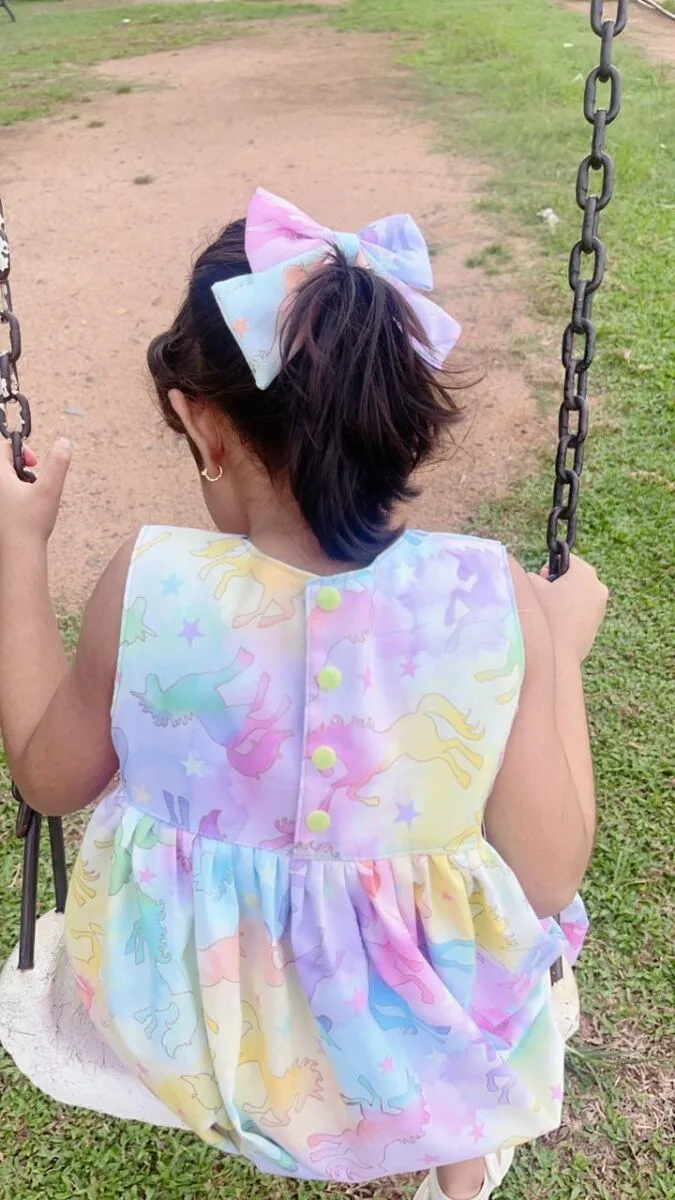
And yes, it can look awesome on your hair too! In fact, I like to use a sailor bow with elastic hair ties for mine and my teen daughters’ hair.


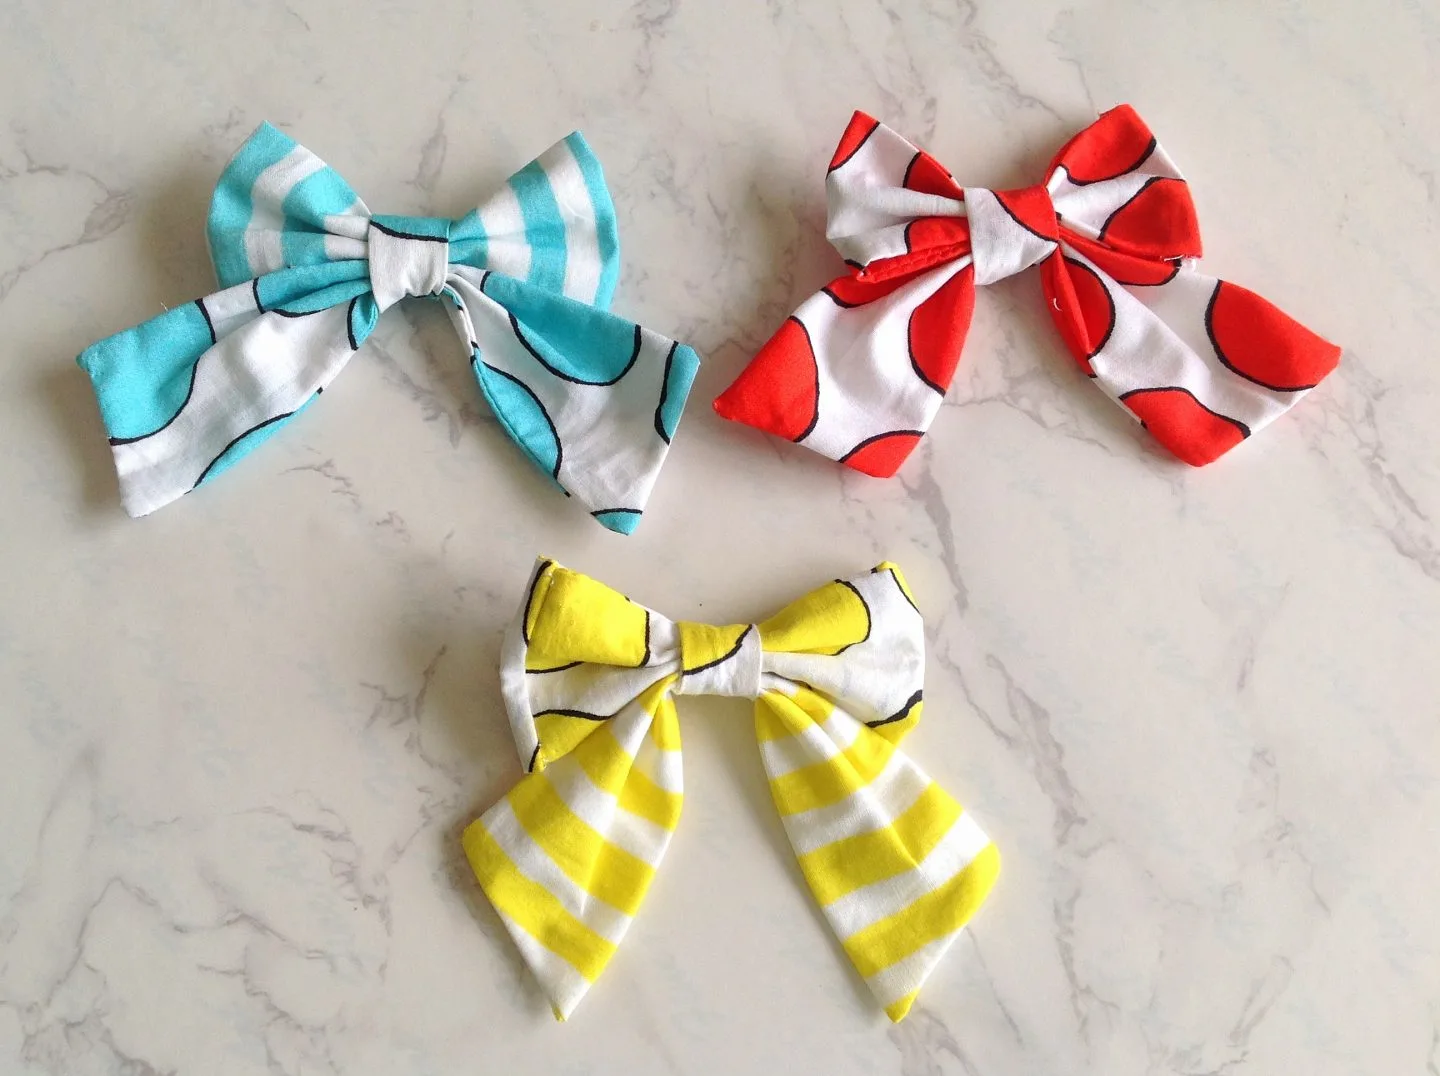
This sailor bow sewing project comes in three sizes, small, medium, and large. So come on, make a few of them for all the girly girls in your life!
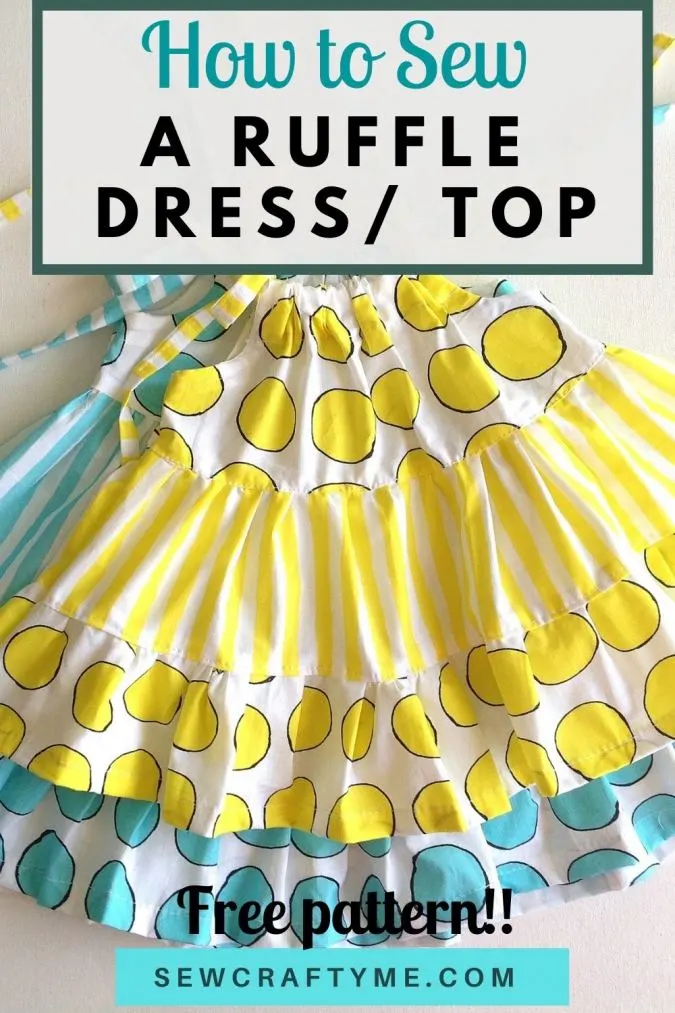
Click on the picture below to get the matching ruffle top pattern:

Free Sailor Bow Sewing Pattern
Supplies Needed:
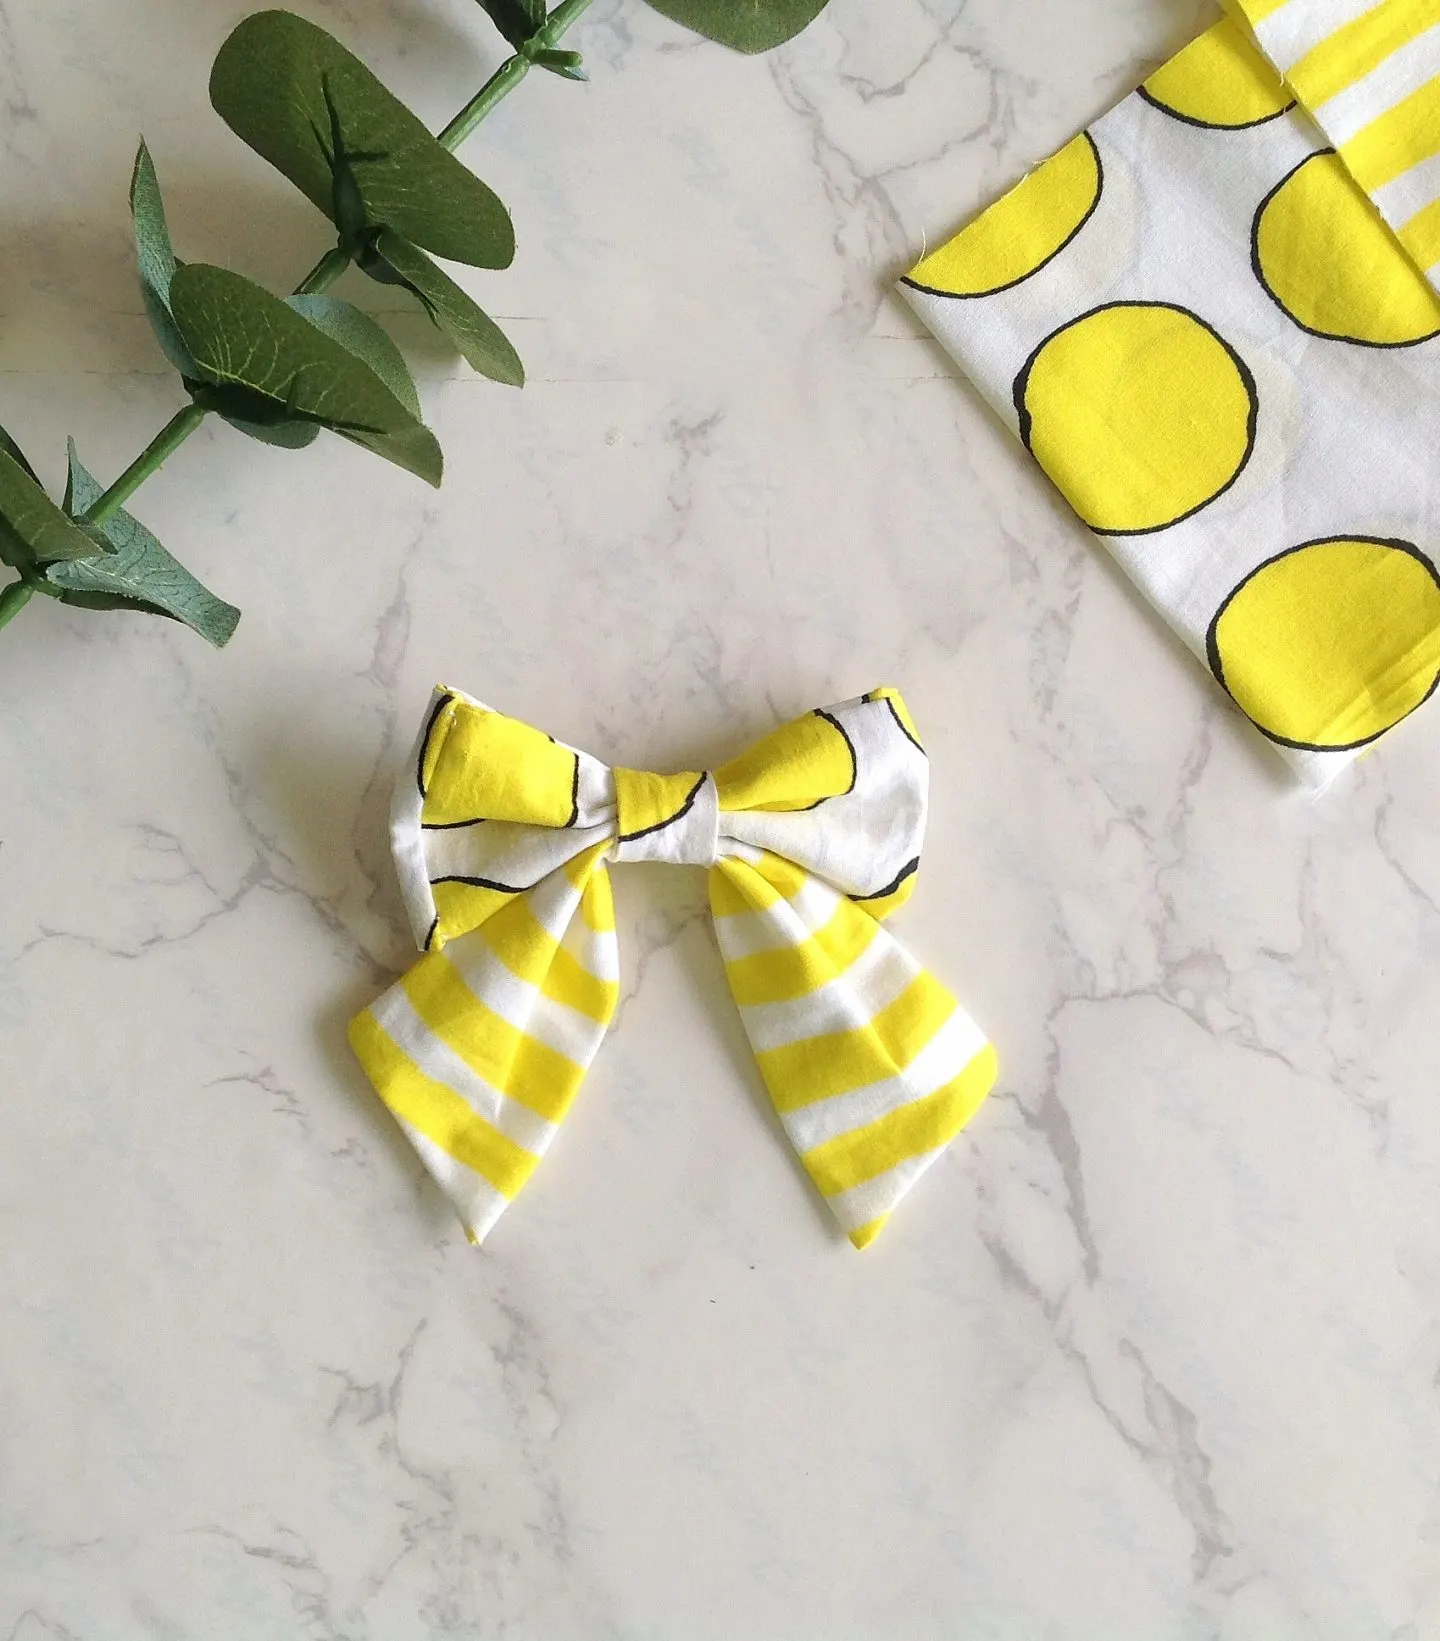
Fabric Scraps for the bow, bow tail, and centerpiece.
Sewing Notions.
Alligator clip or a french barrette clip.
Pattern pieces.
- Enter your e-mail address and click the subscribe button below to download the template.
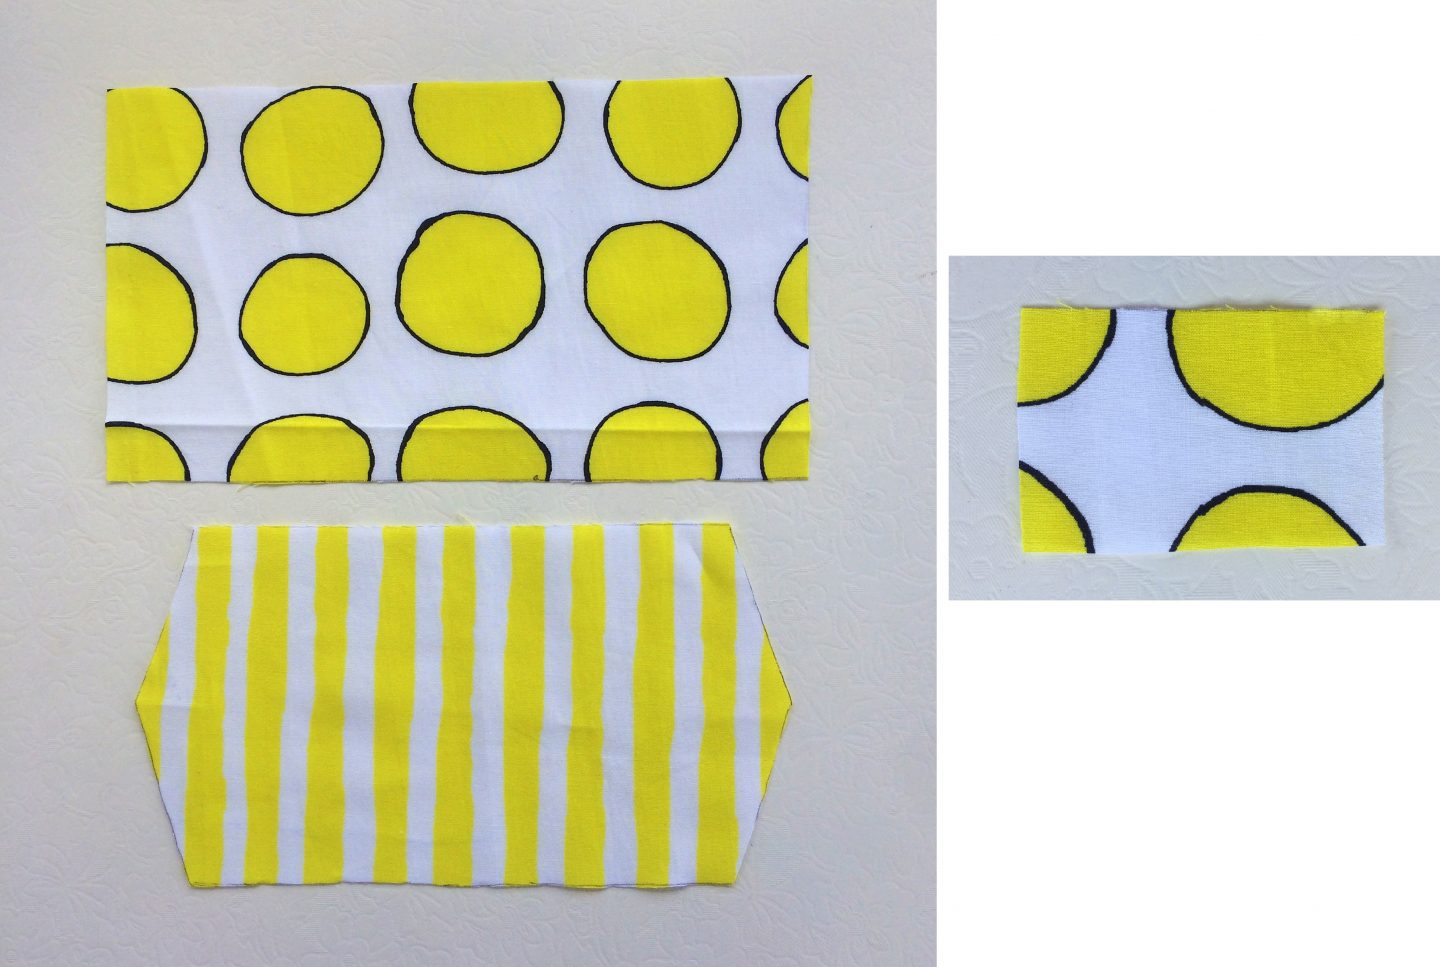
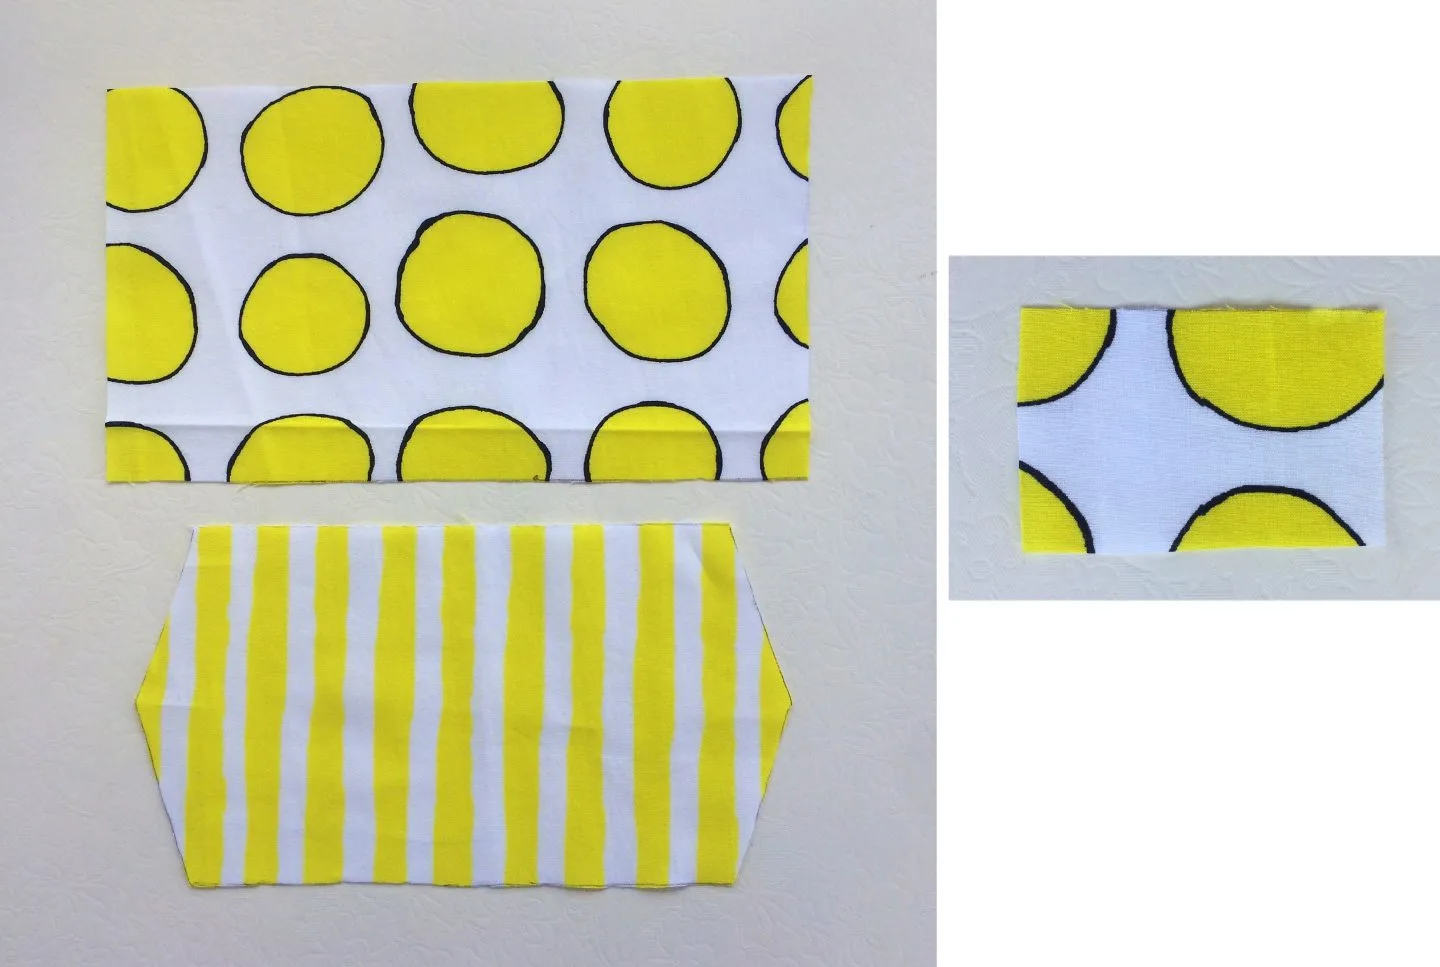
Cut the pieces for the bow, tail, and centerpiece, using the template given in the PDF.
We first make the bow.
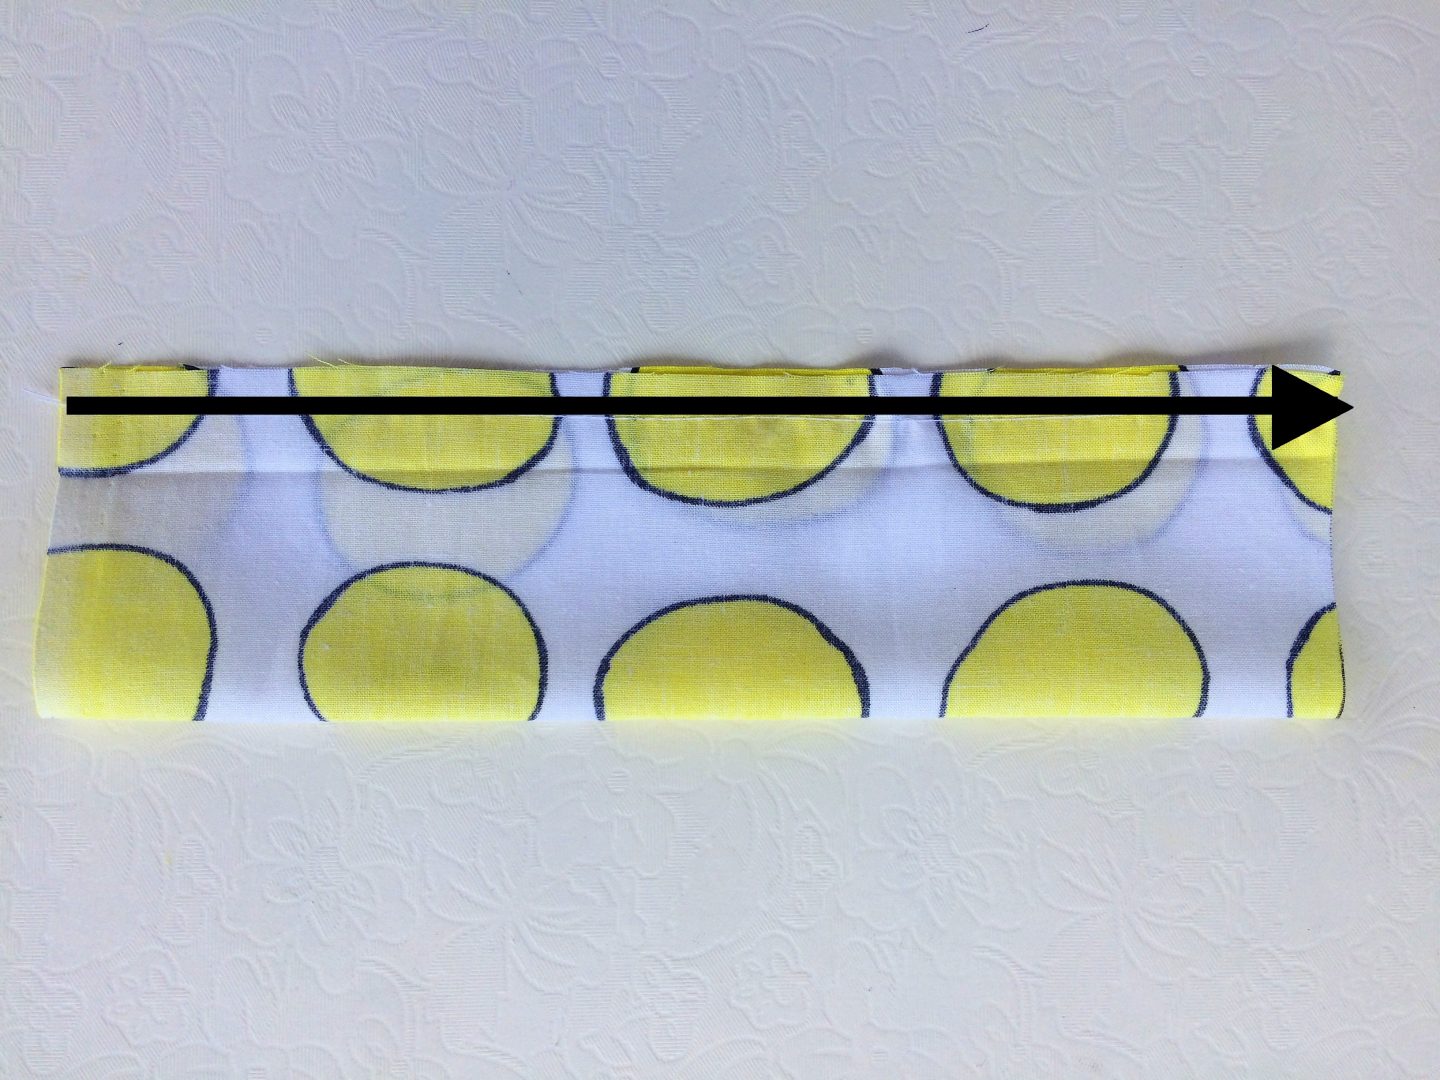
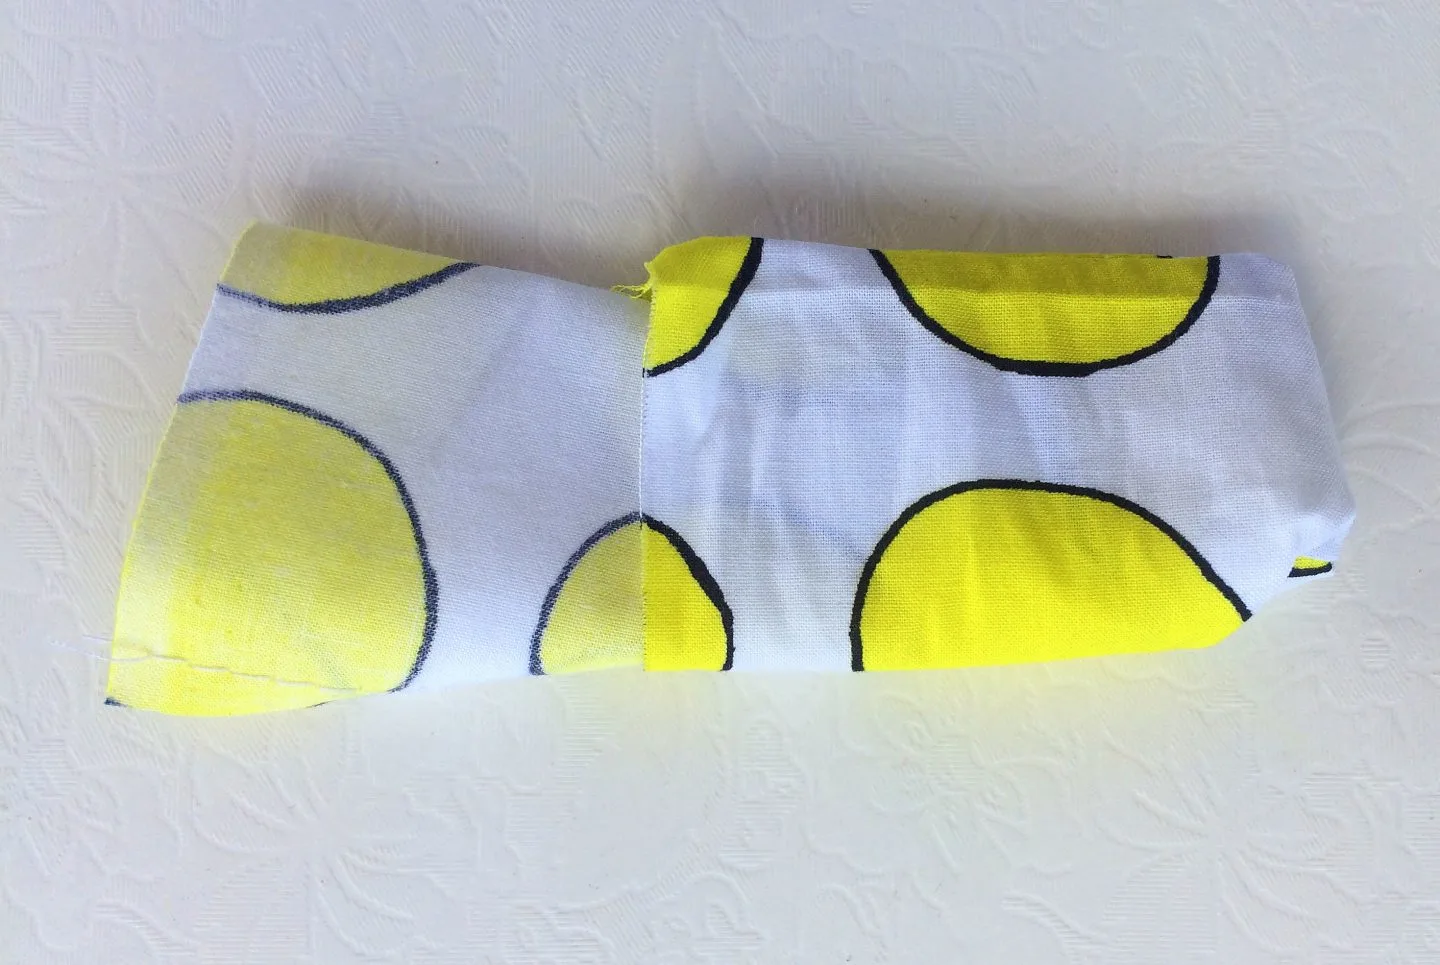
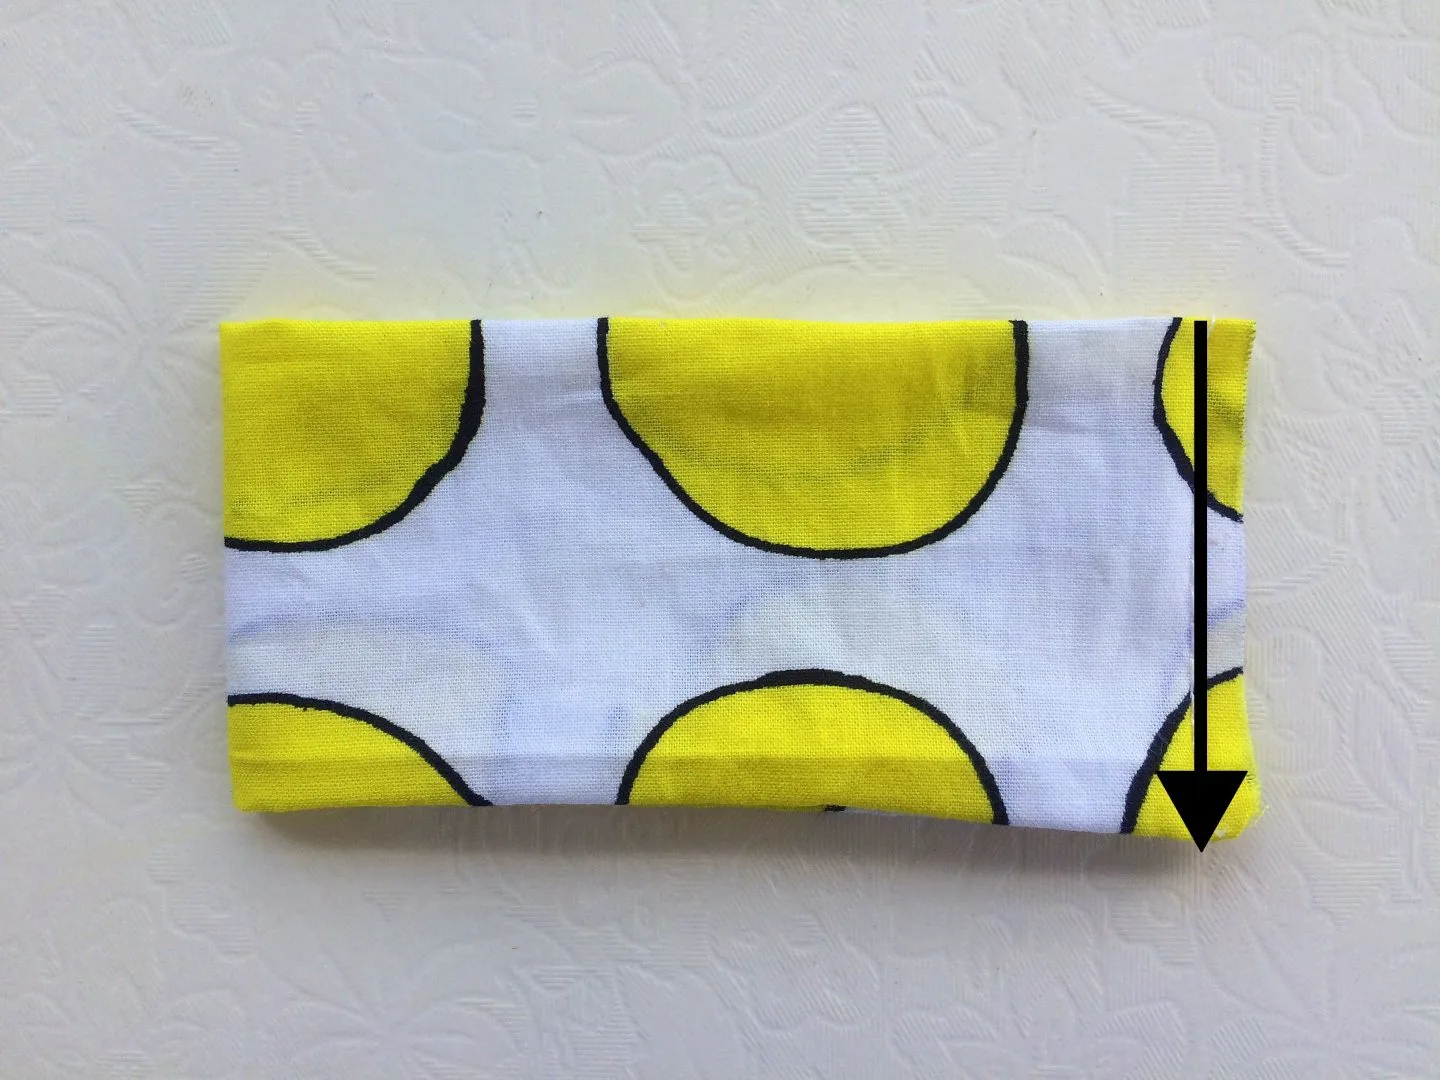
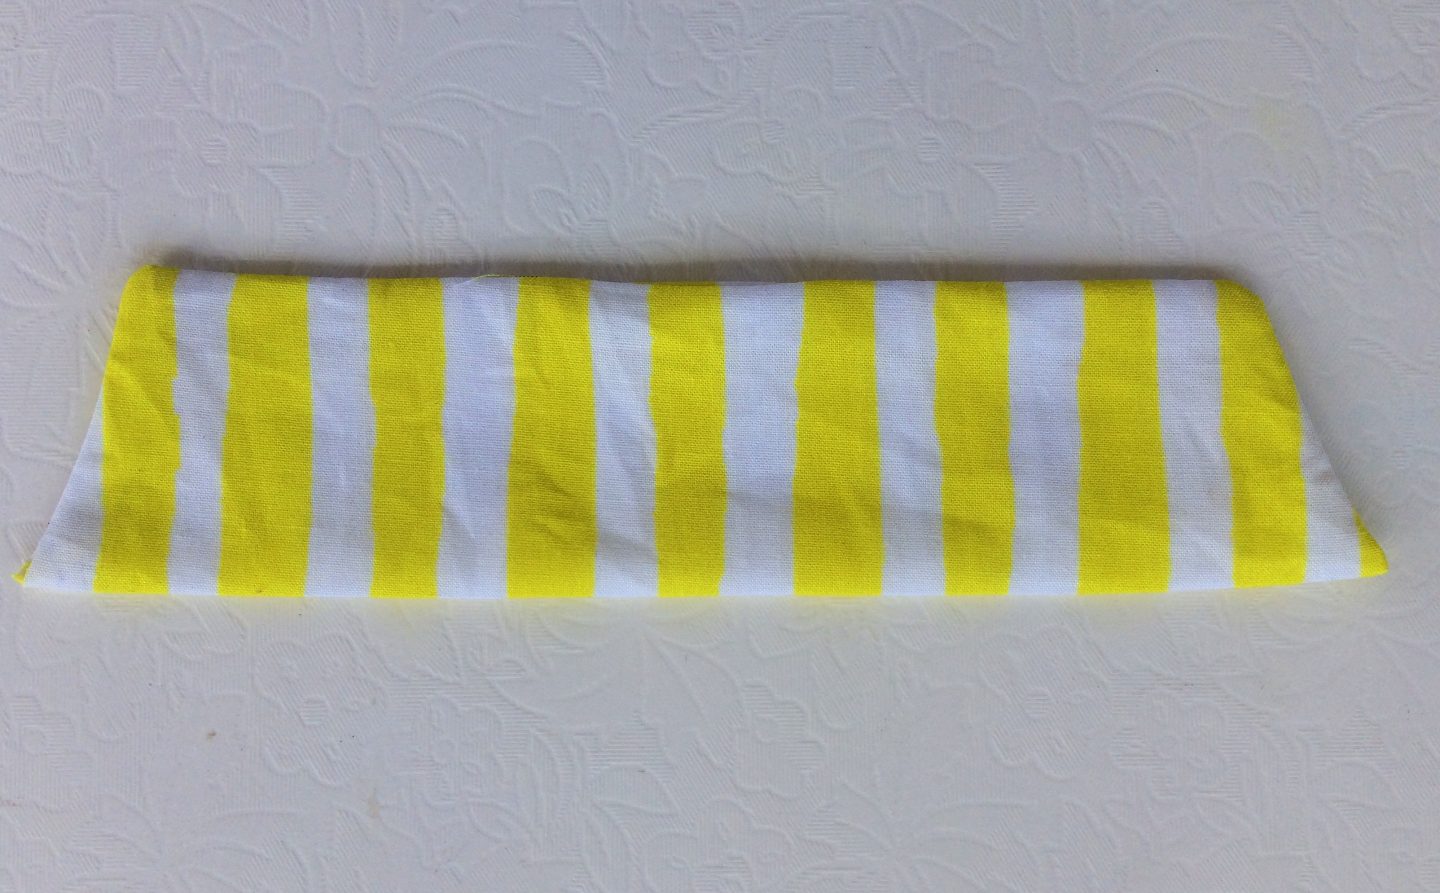
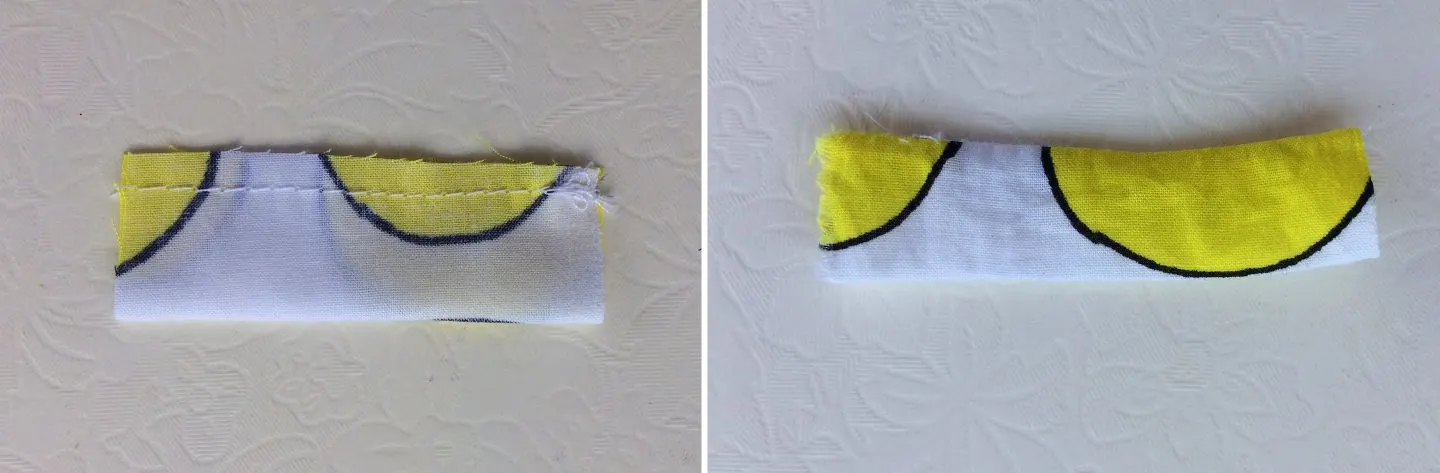
Take the fabric piece for the bow, fold it in half lengthwise with the right sides together. Sew it shut along the long edges. The short edges are left open.

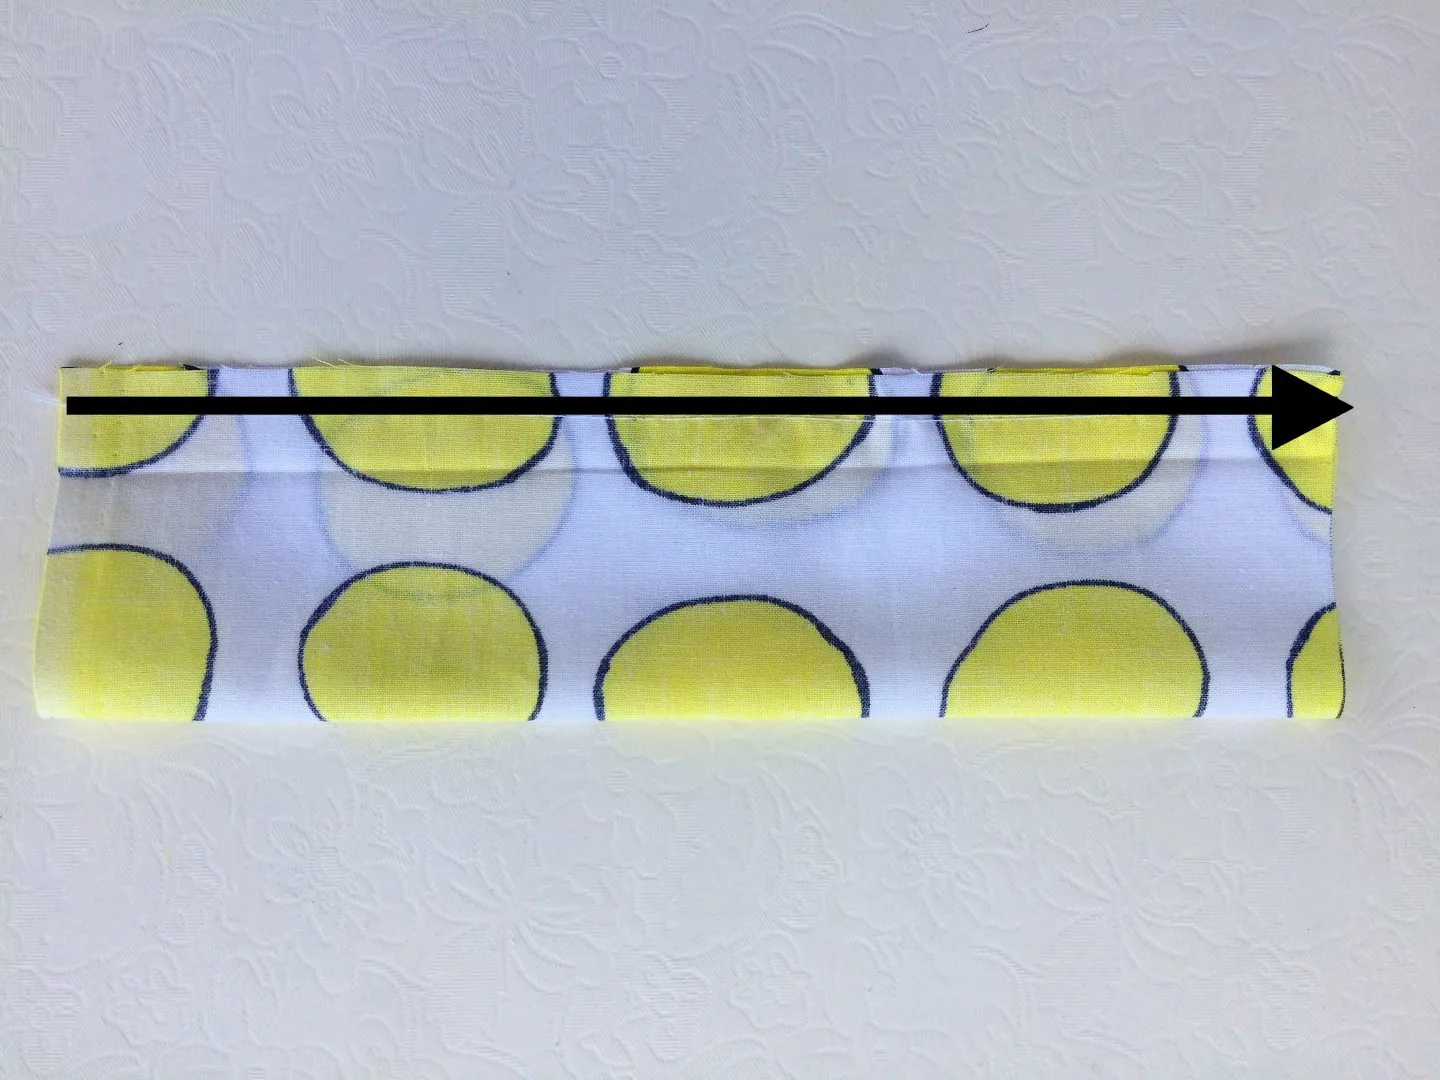
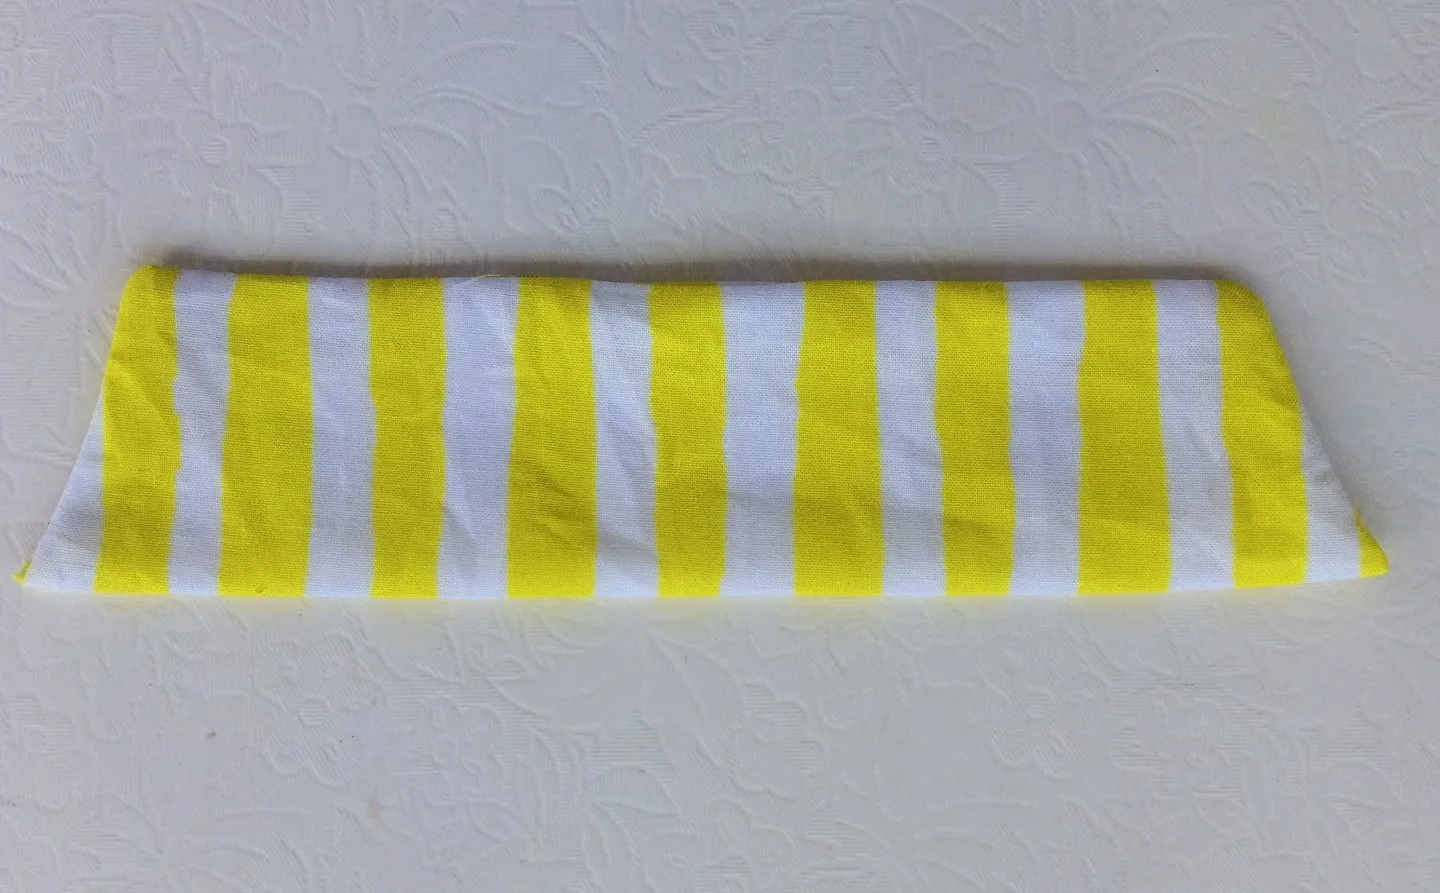
Bring the right side out.
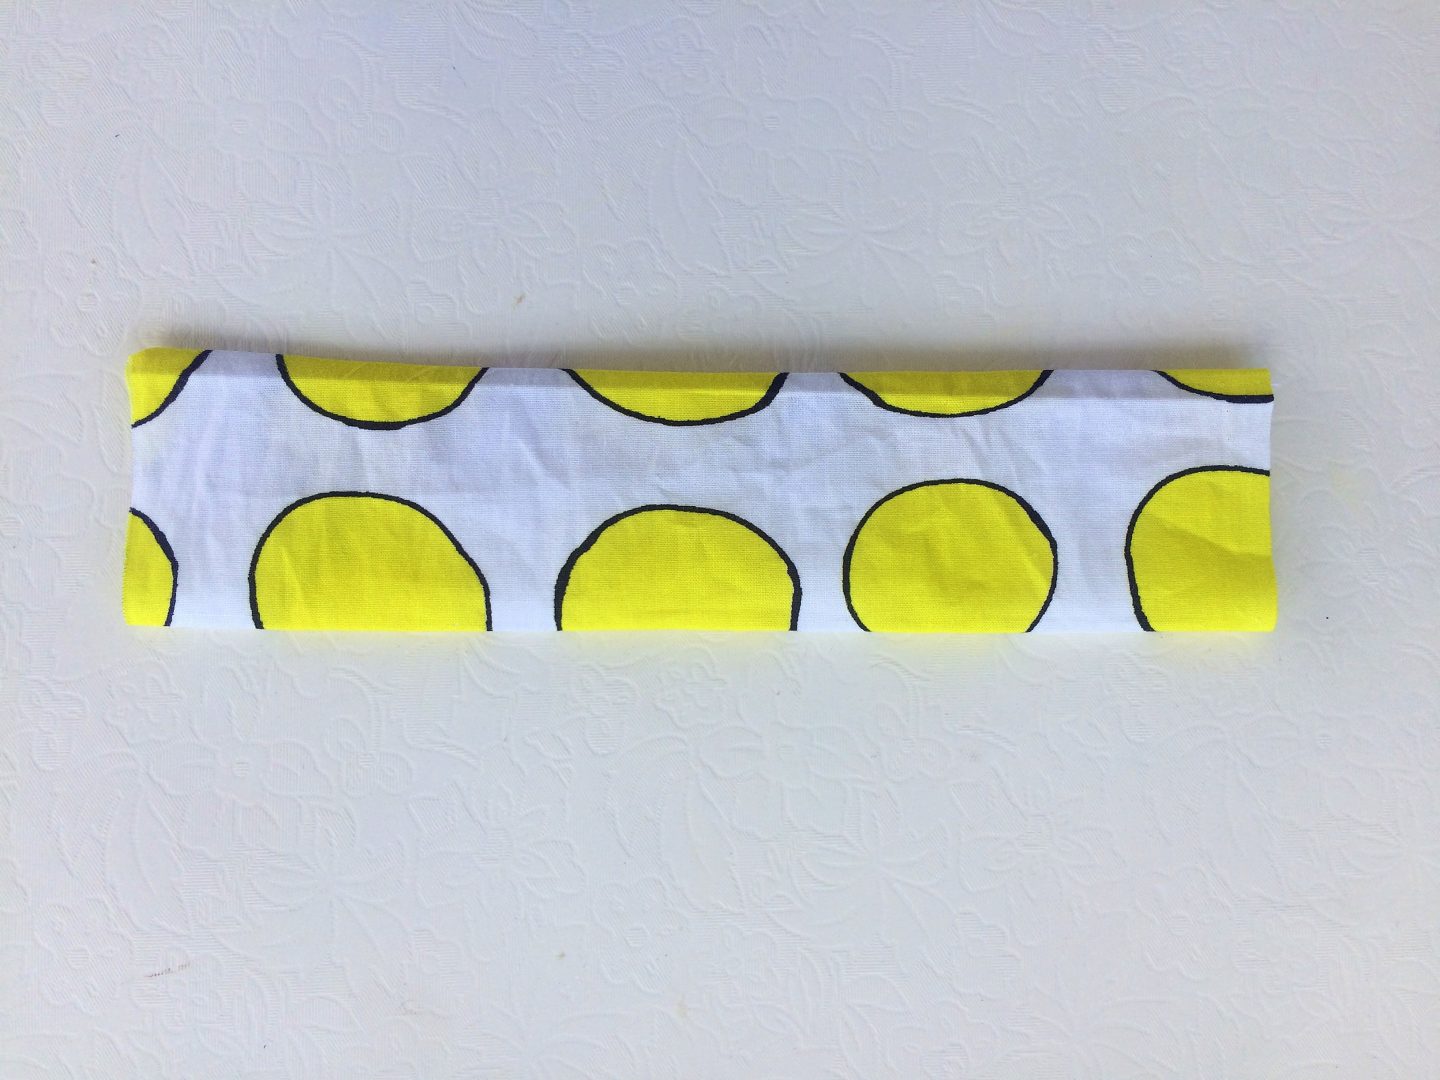
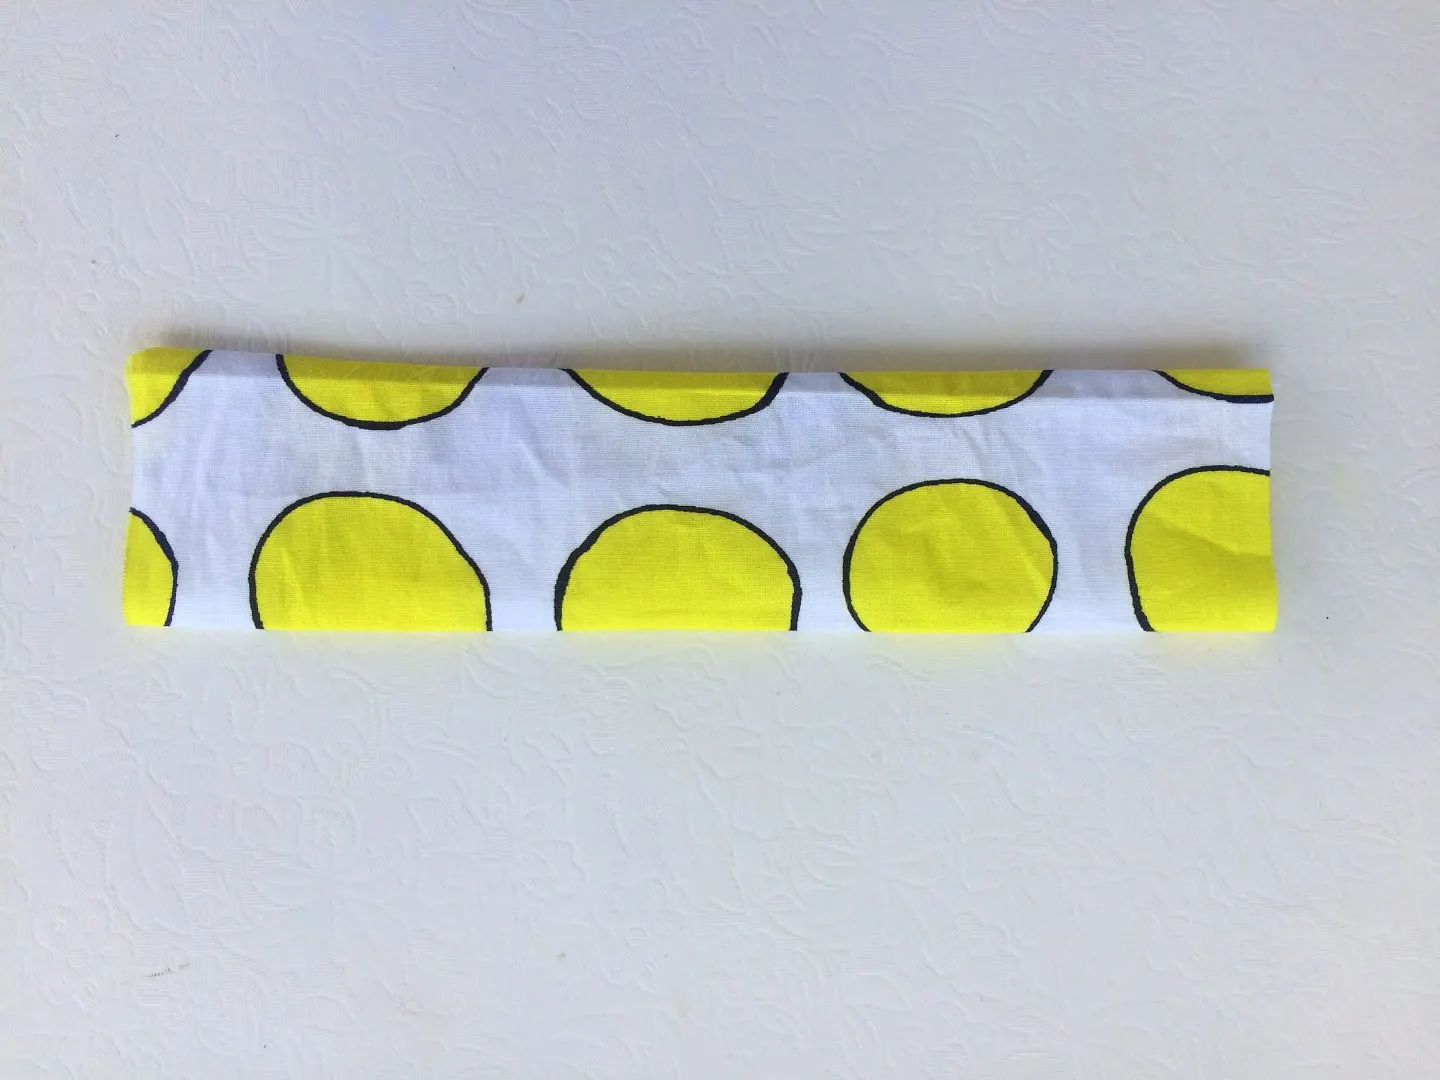
It will look like this.
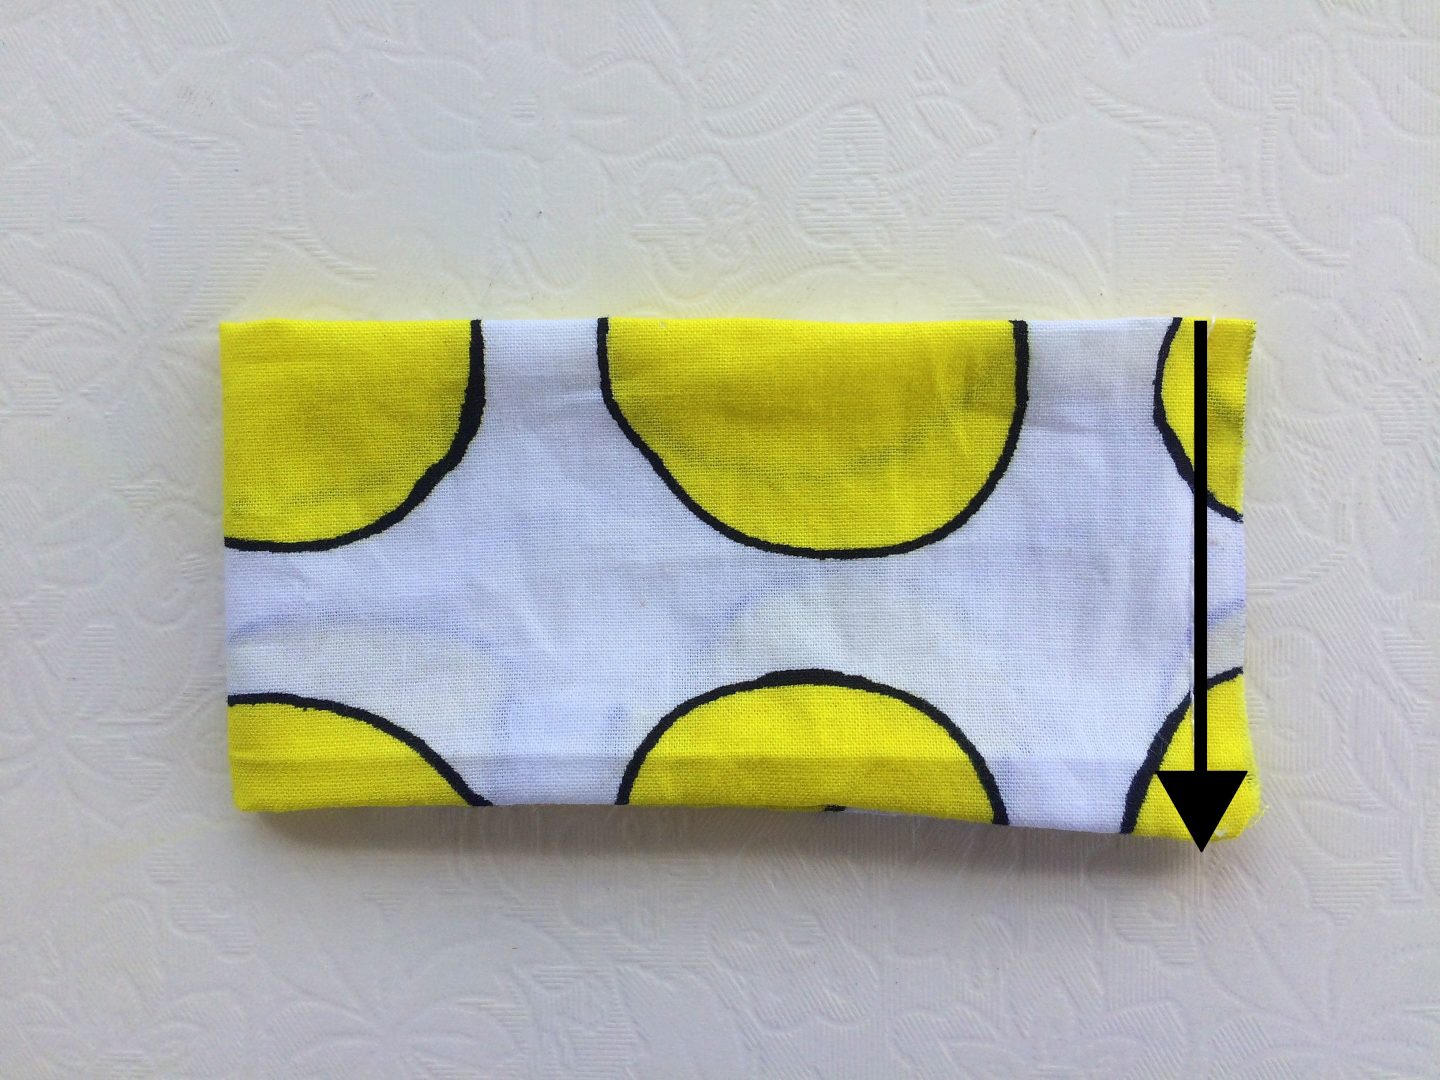
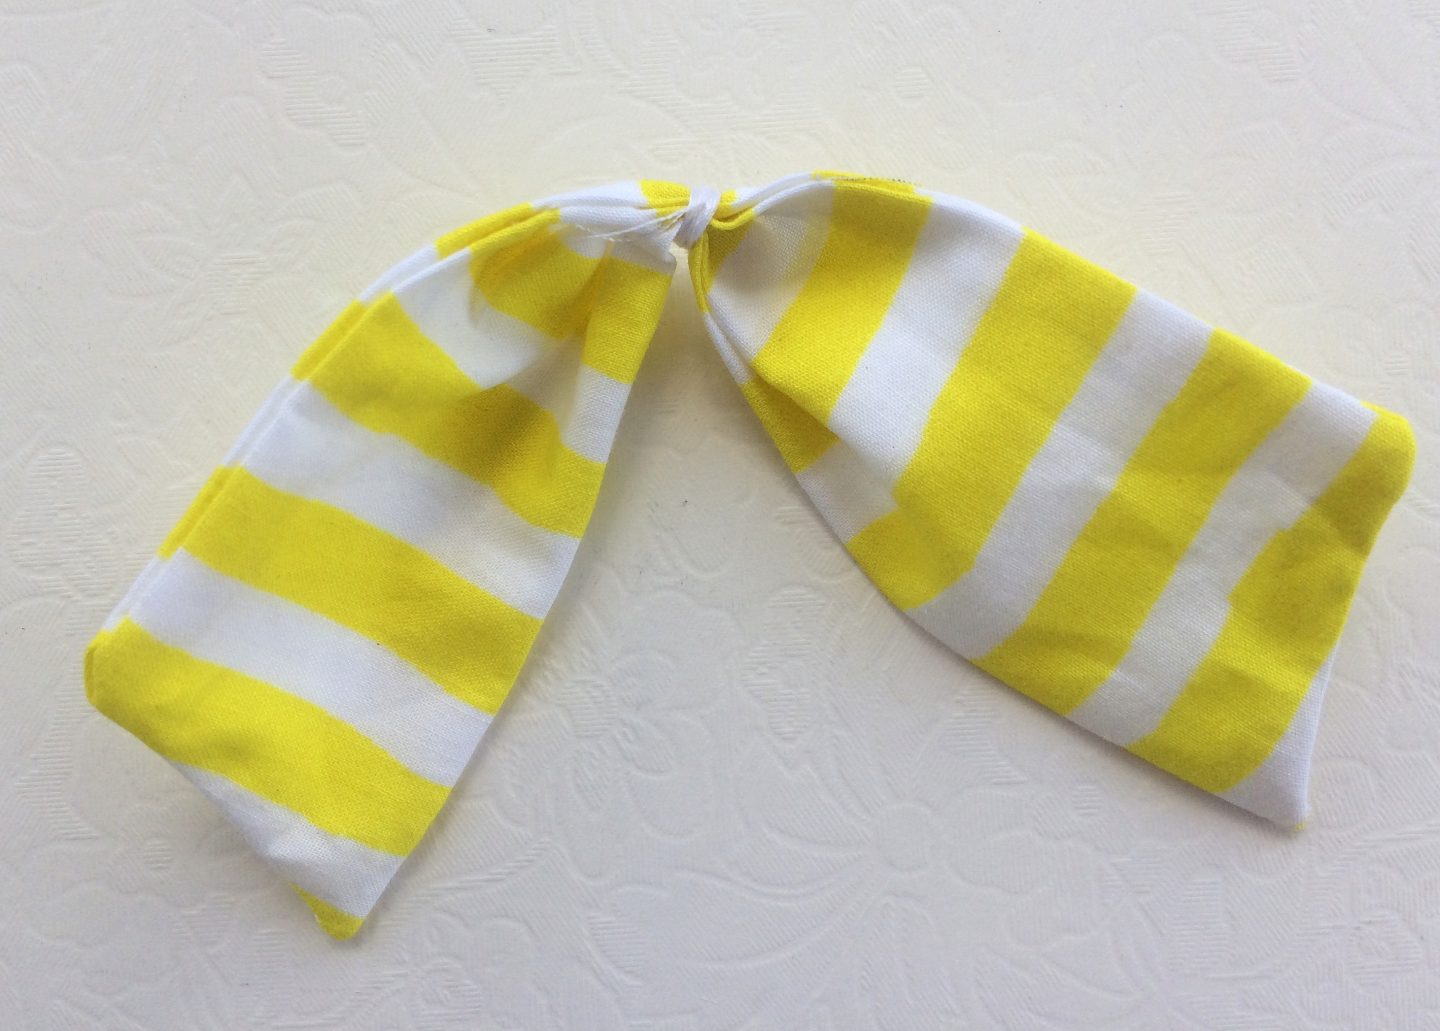
Next, fold it in half widthwise and sew the short edges shut. You will get a fabric ring.
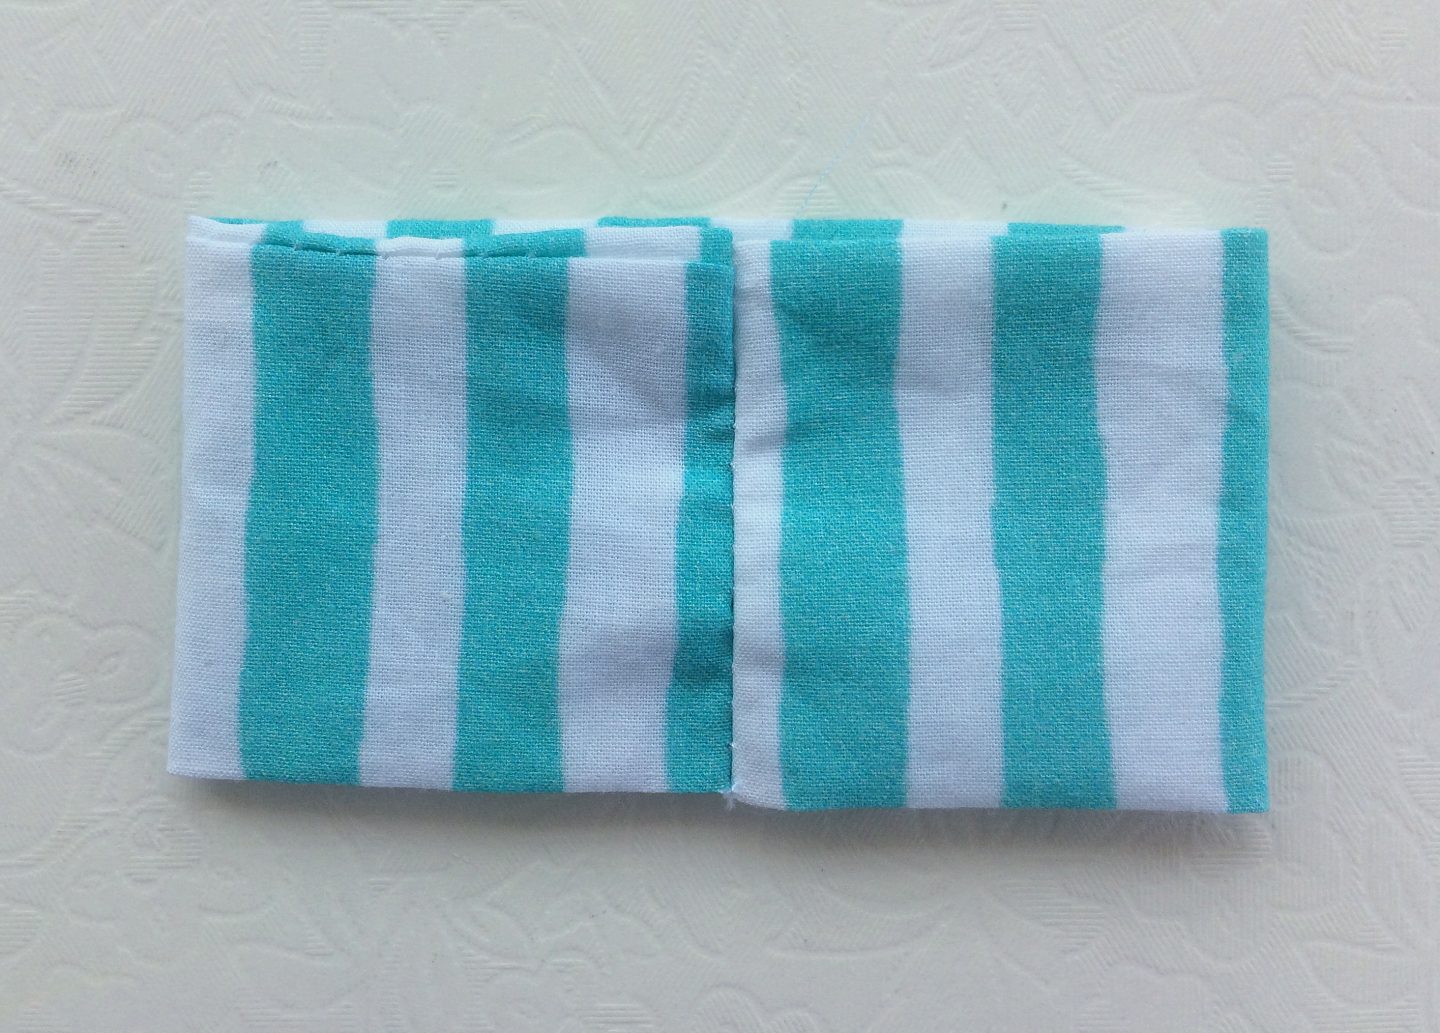
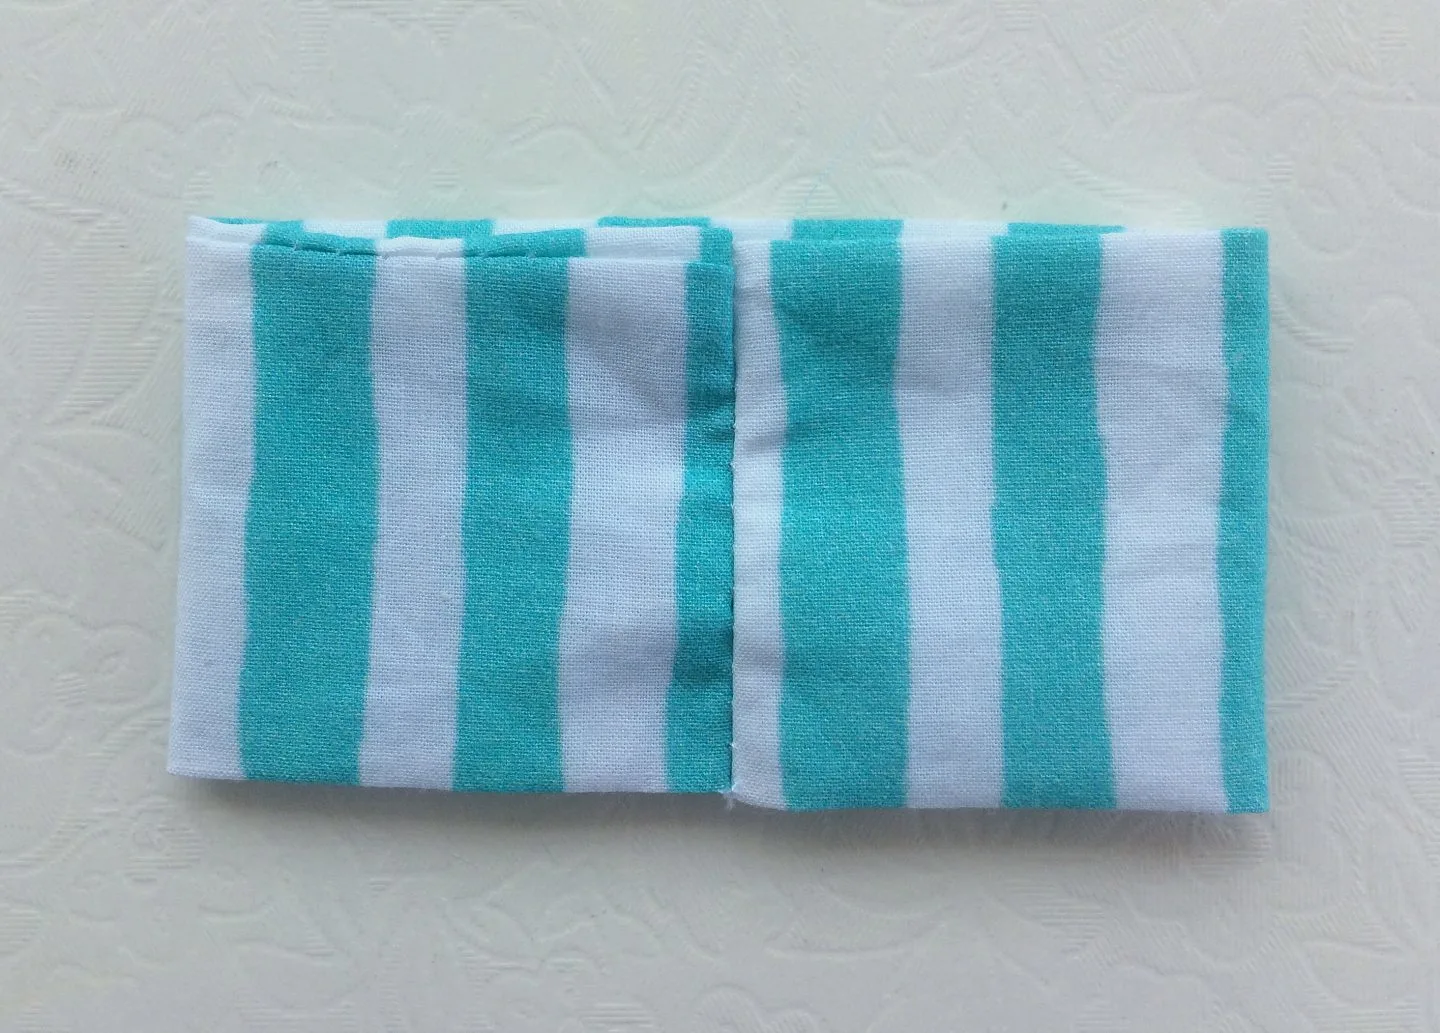
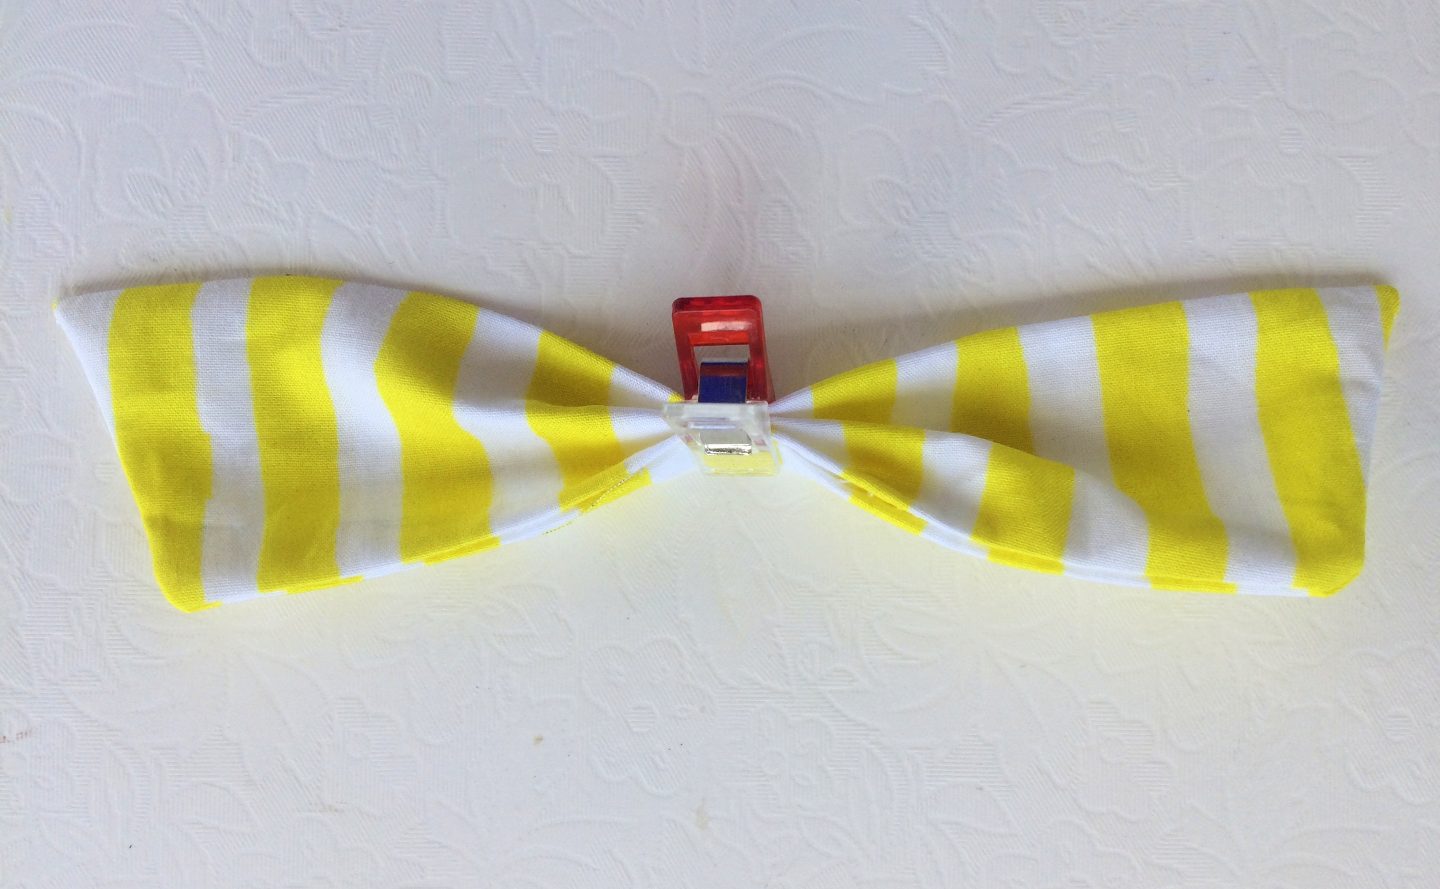
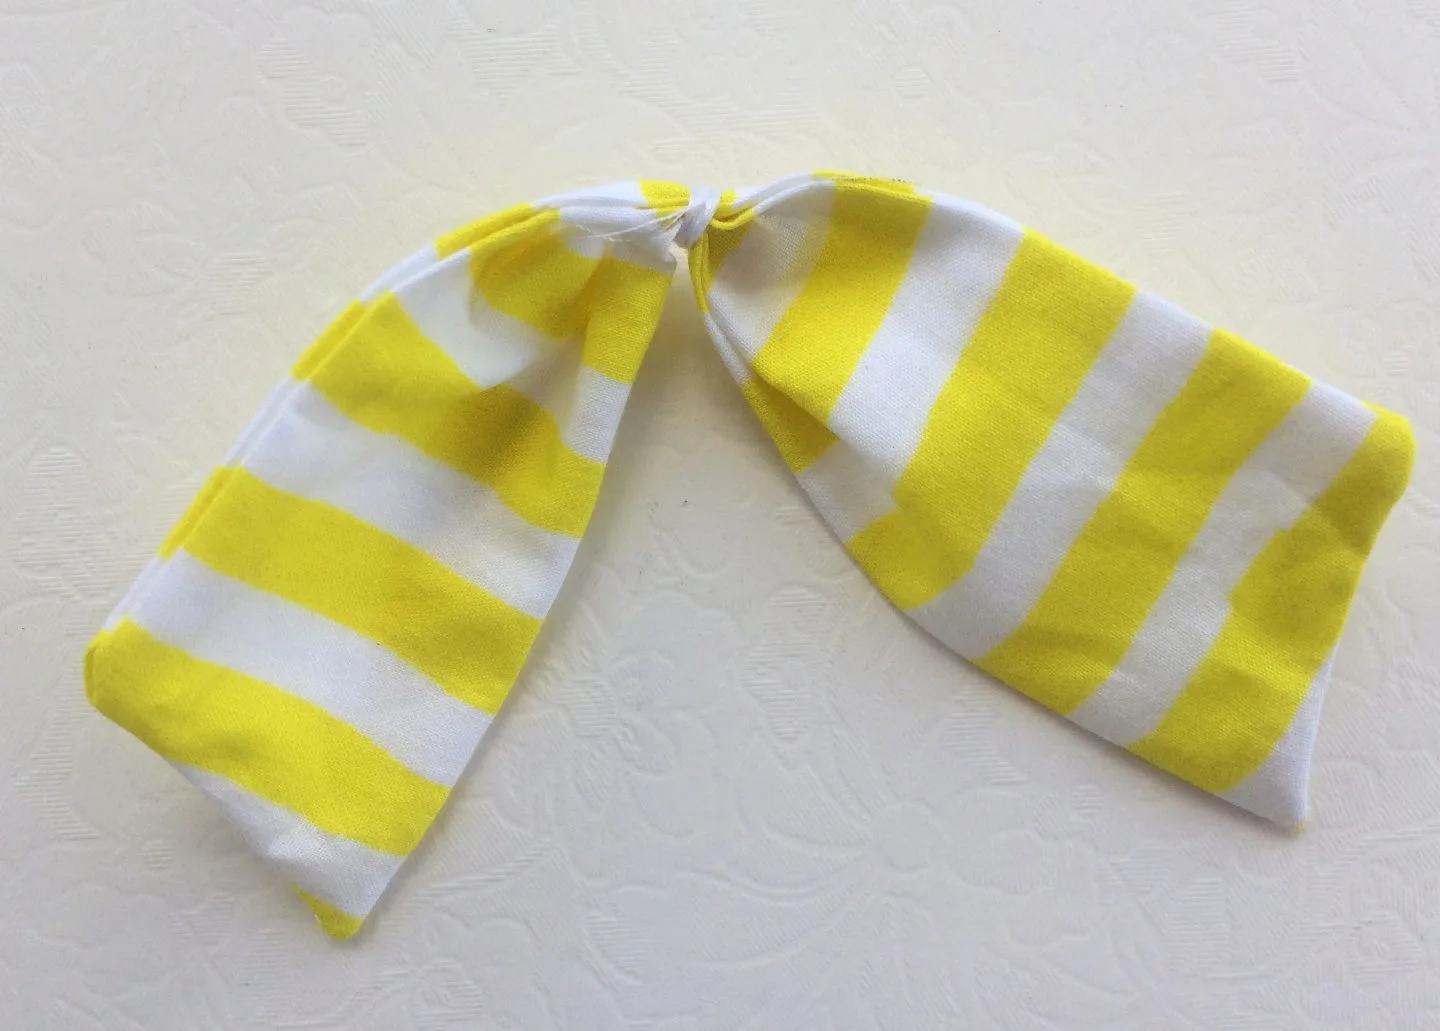
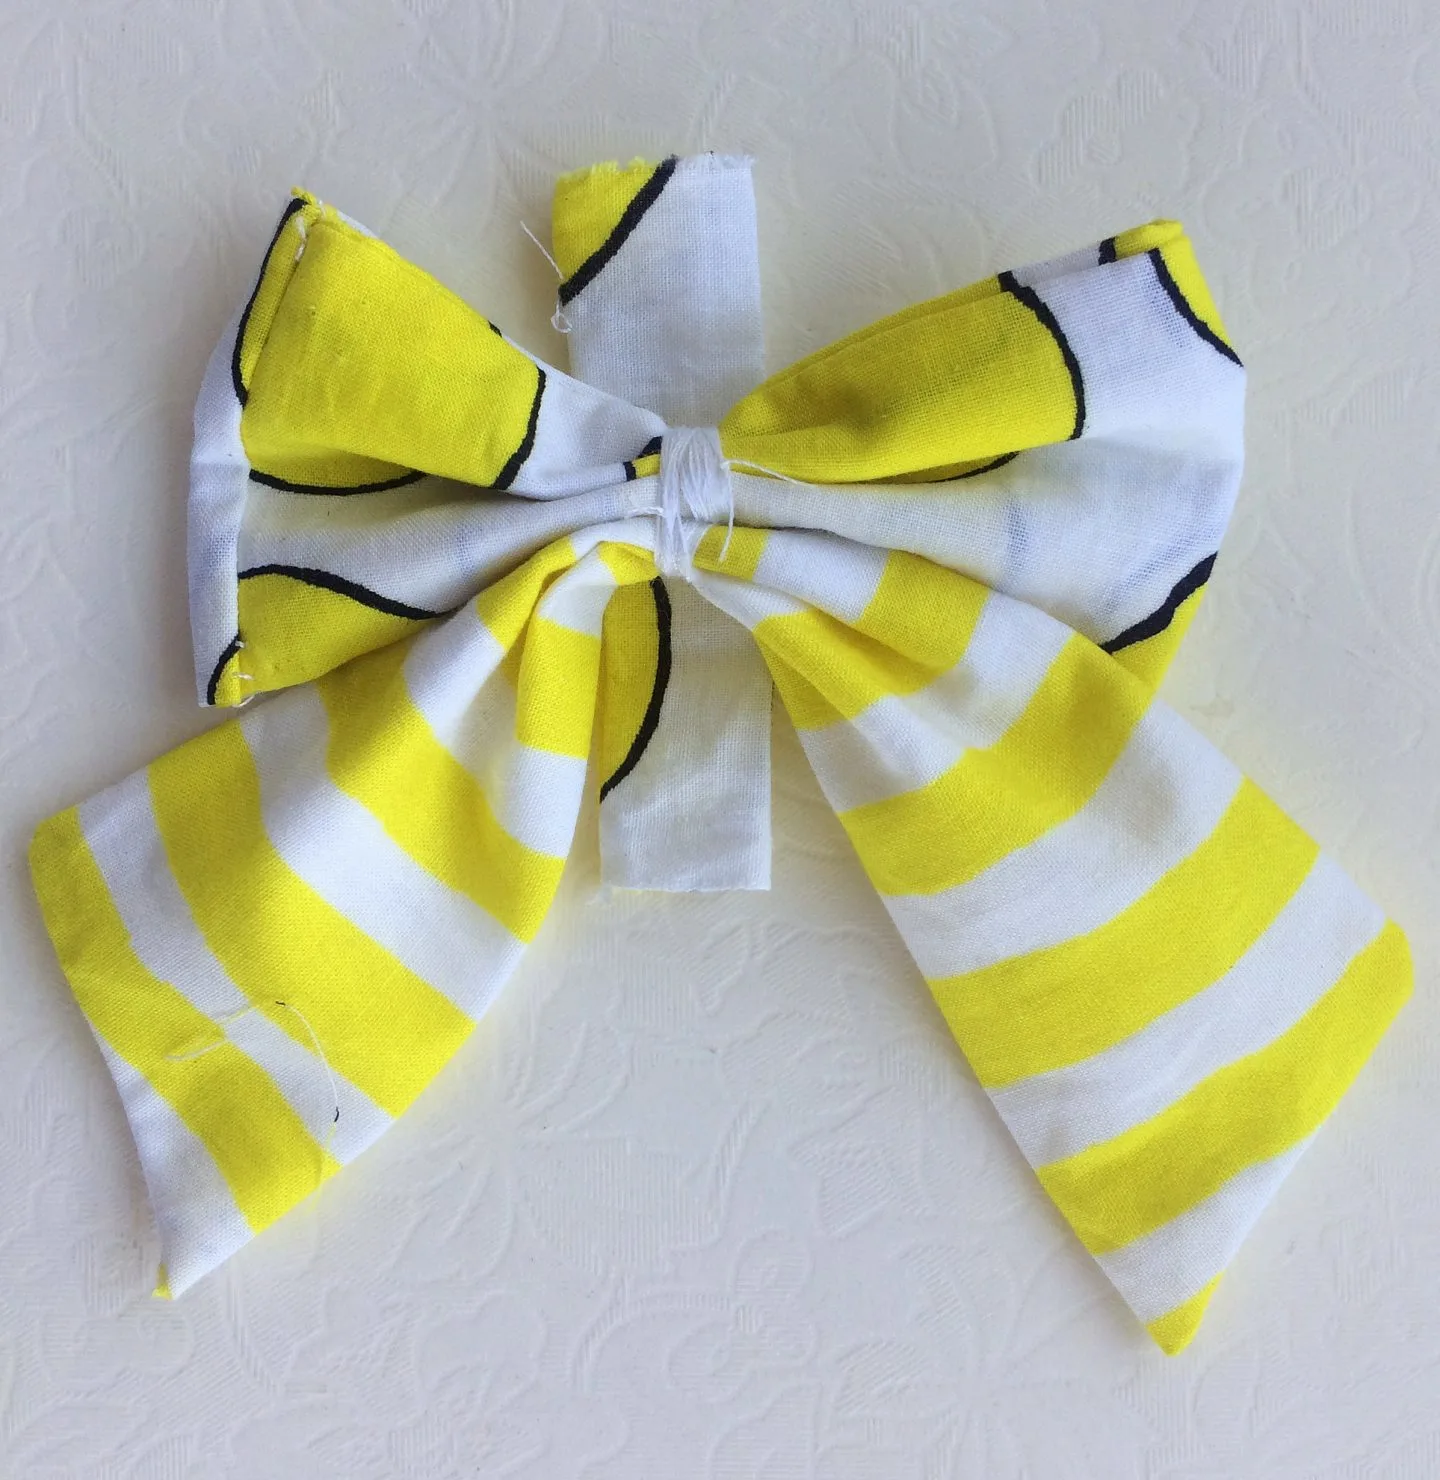
Flip it over so that the seam goes inside and realign the ring such that the seam falls along the center (picture fr illustration purpose).
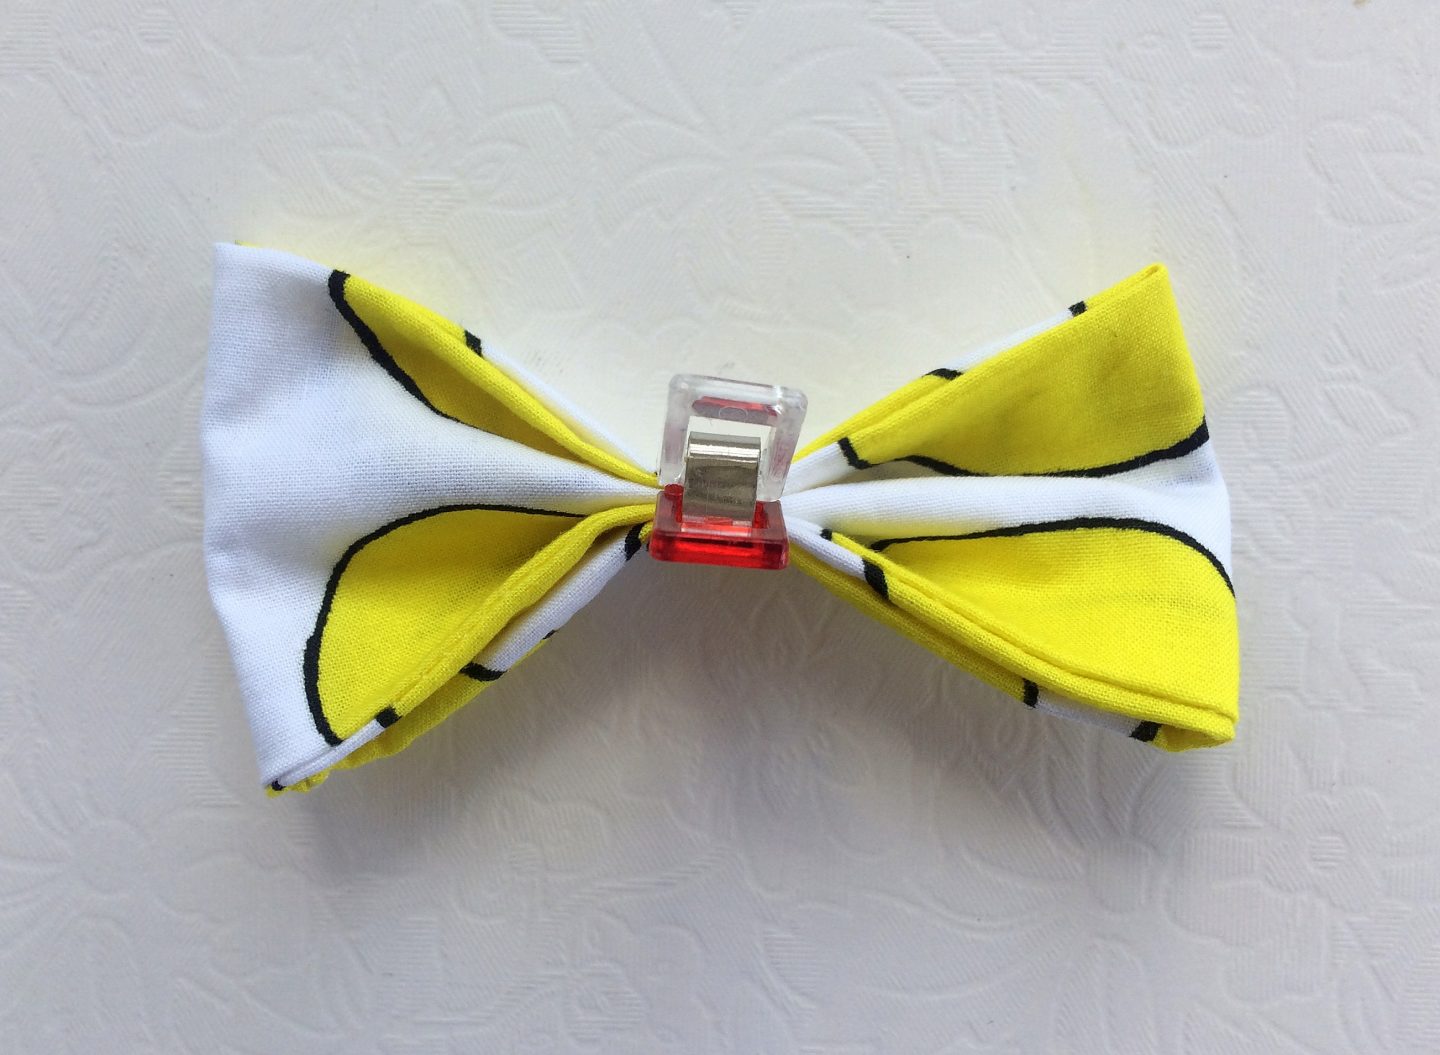

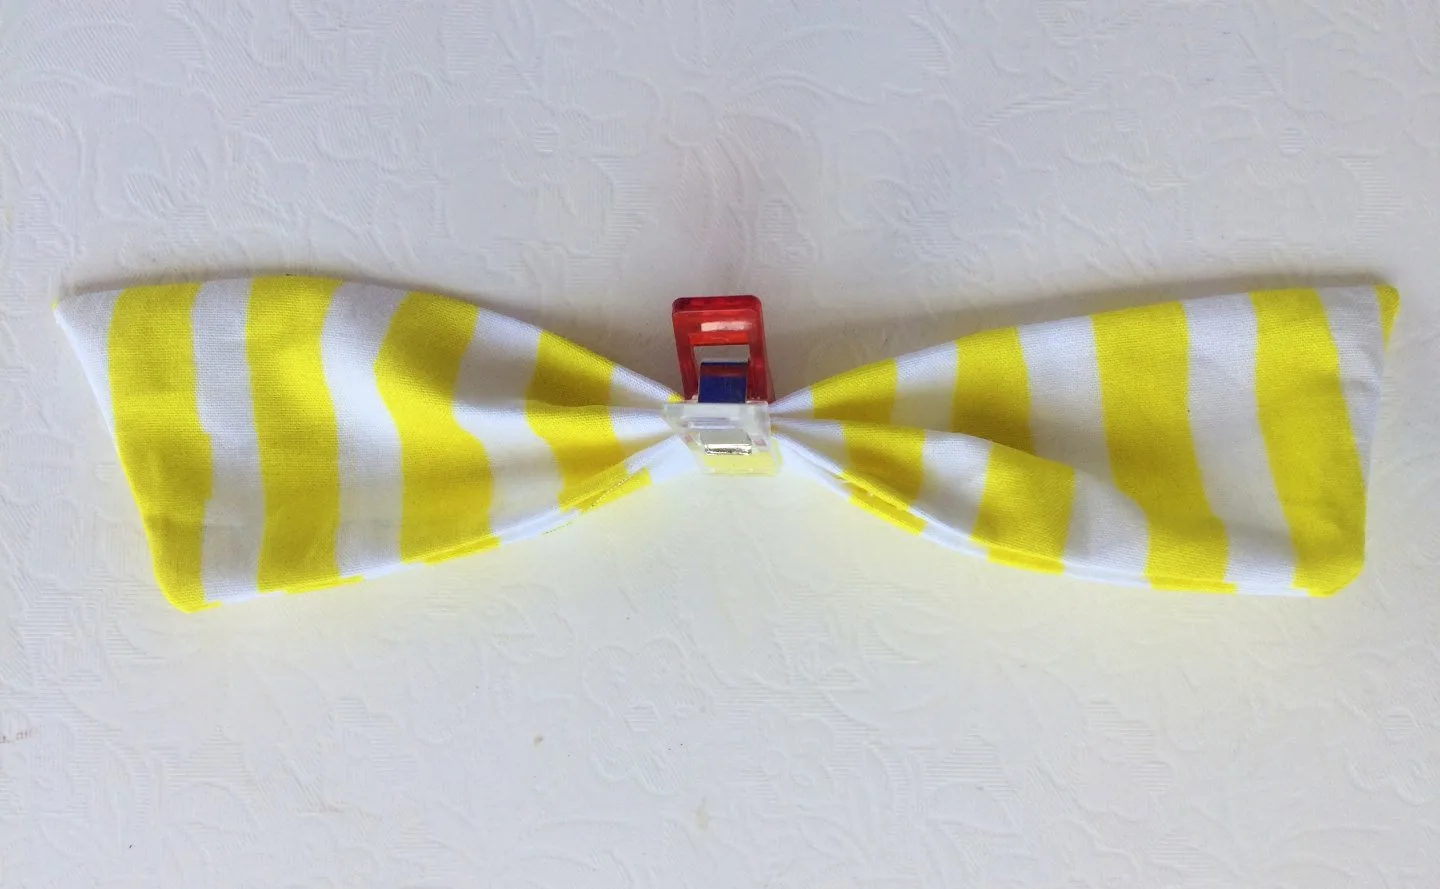
Pinch the center and hold it using a clip.
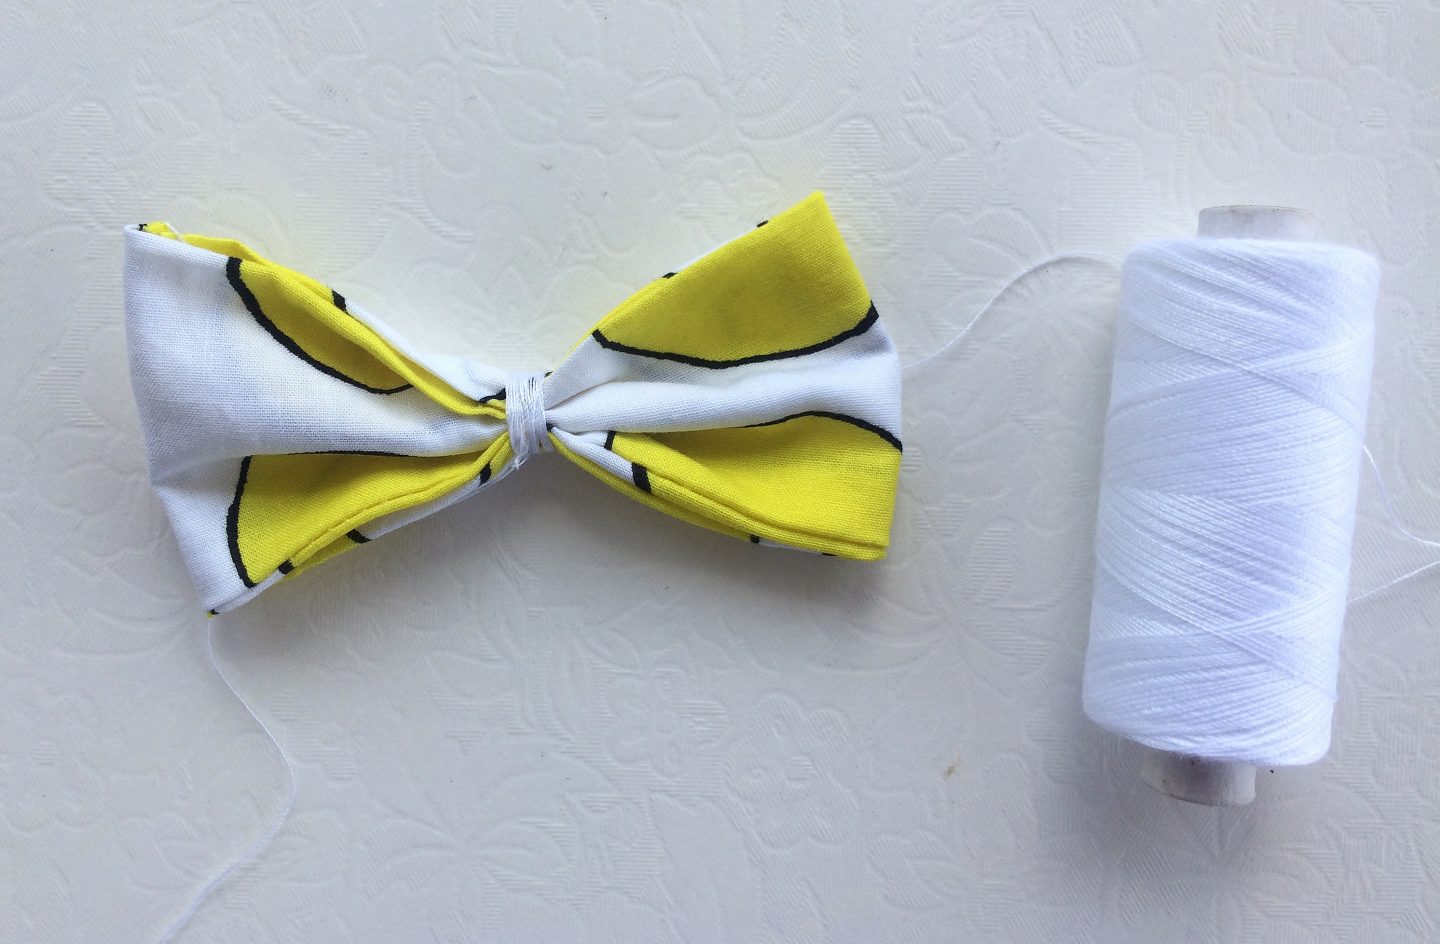
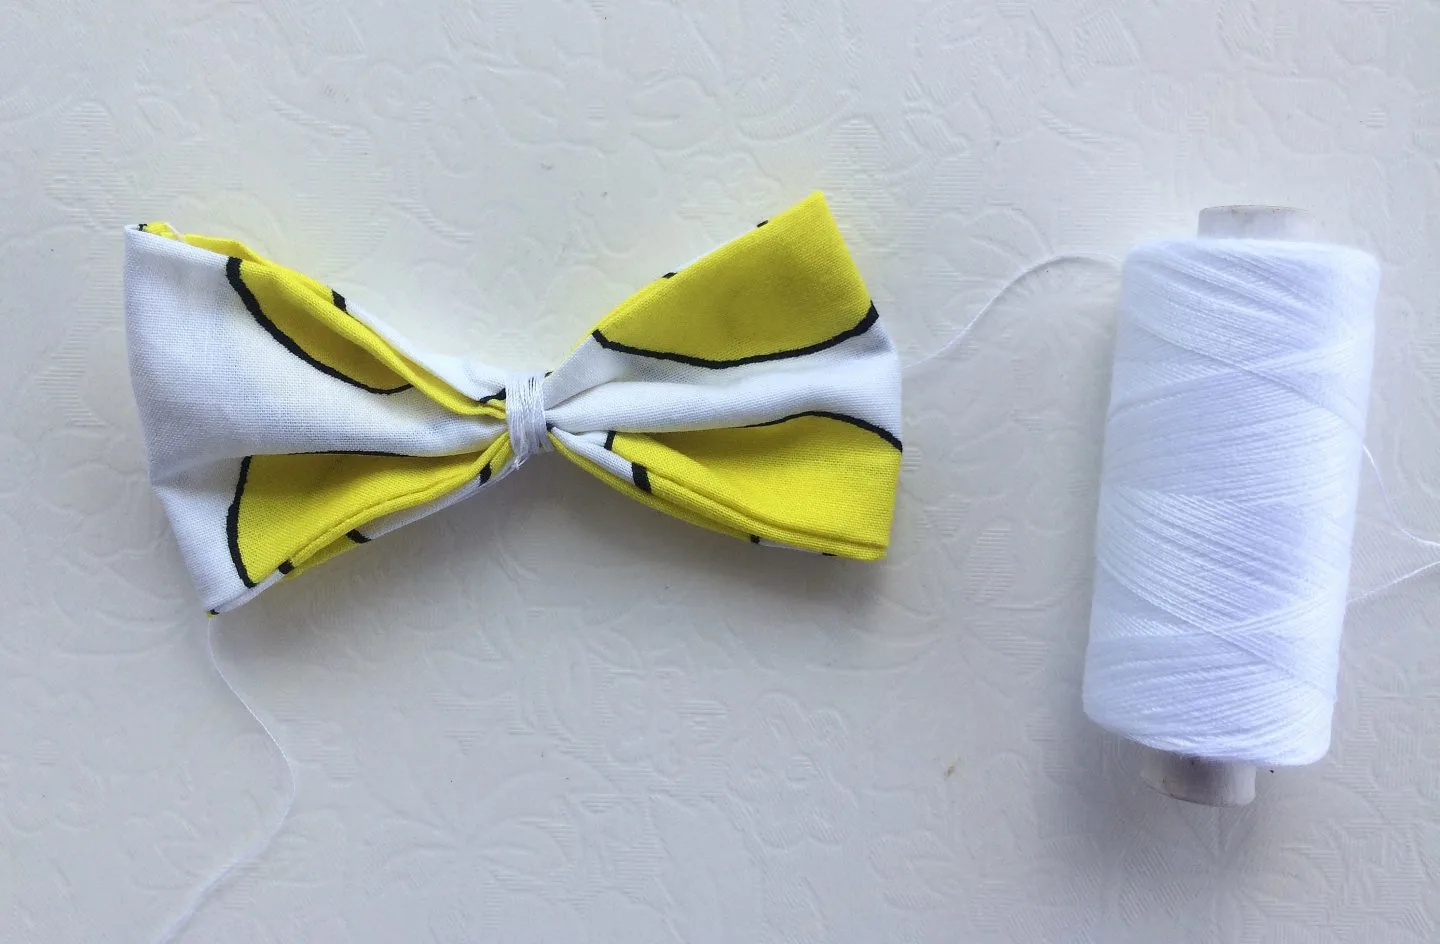
Take your machine thread and wrap it around the center a few times to secure the pleats.
Let’s make the bow tail.


Take the fabric piece for the bow tail and fold it in half lengthwise with the right sides together. Sew all around the raw edges, leaving a small opening about 1.5- inches long to turn the right side out.
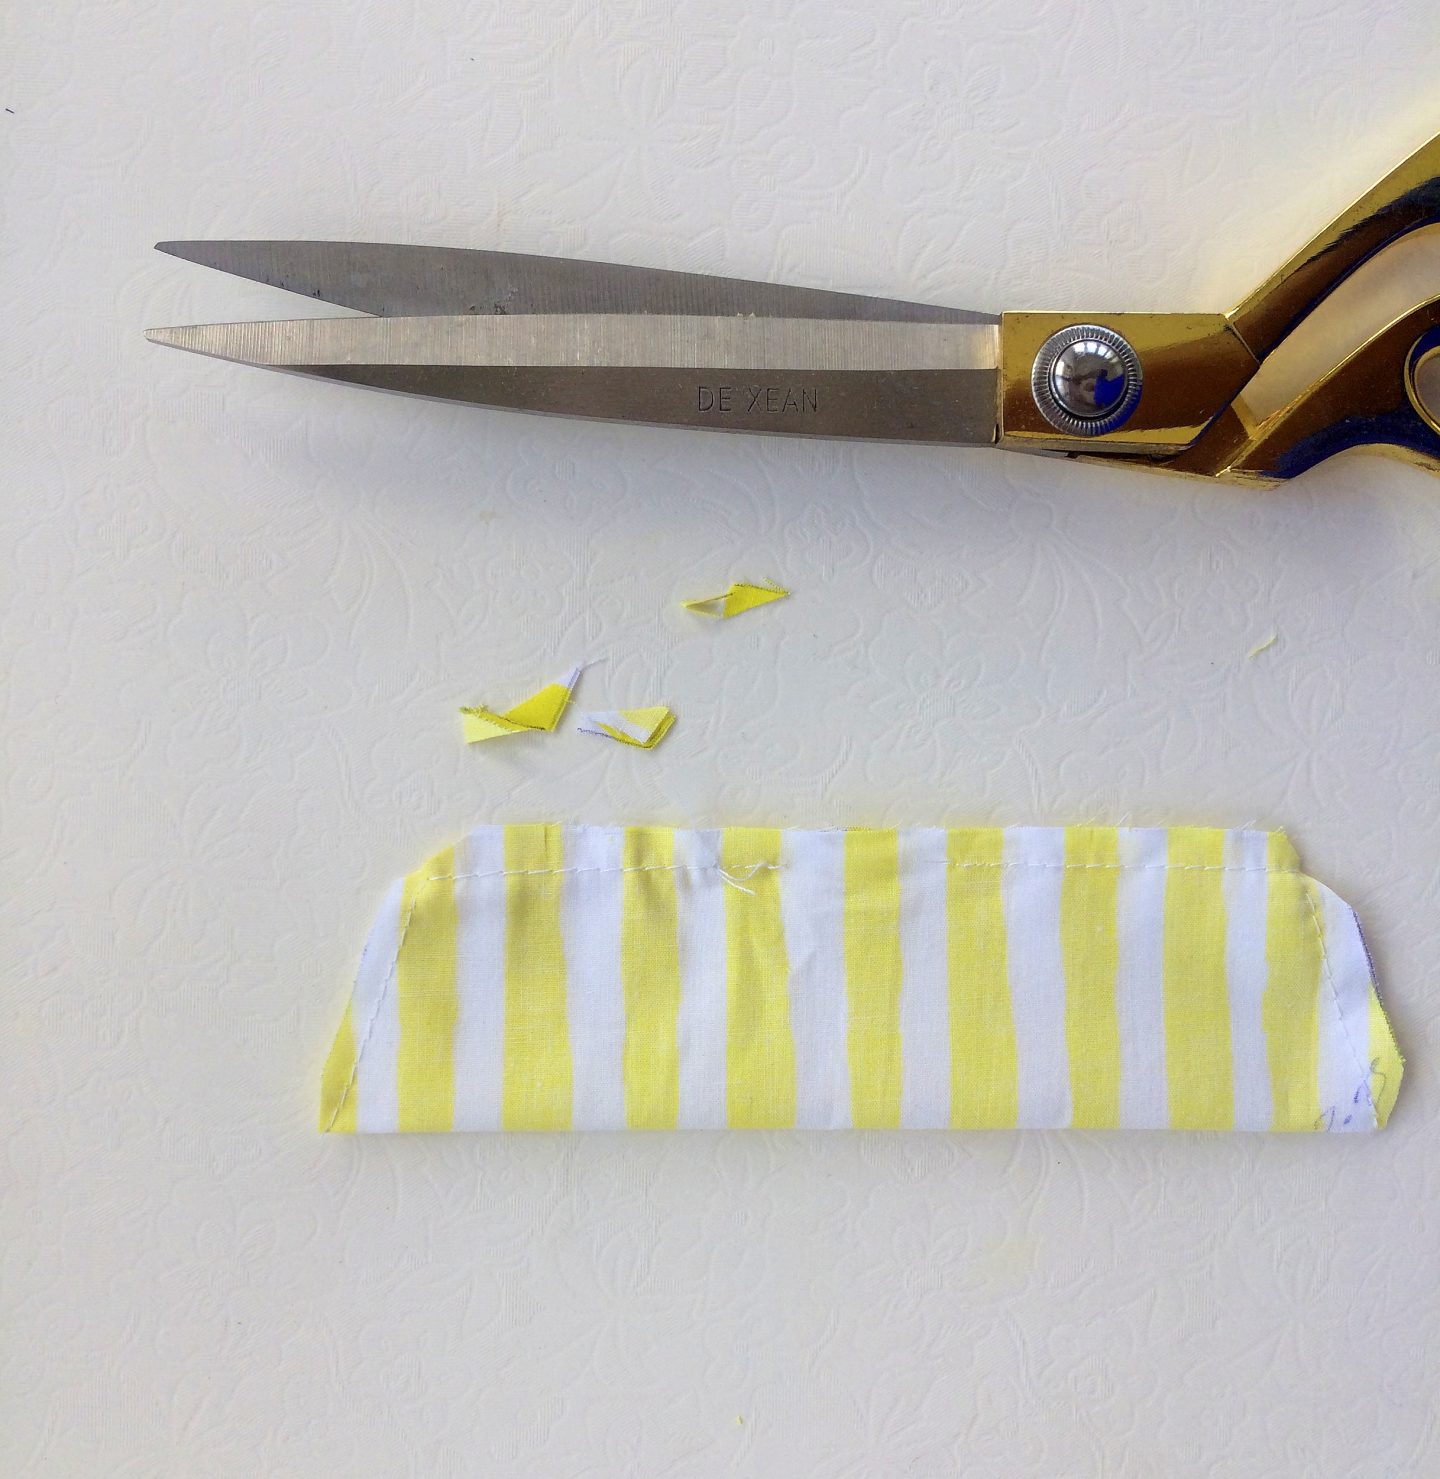

Clip the corners to reduce the bulk in the seam.

Bring the right side out through the opening.
Hand- sew the opening shut using an invisible stitch.
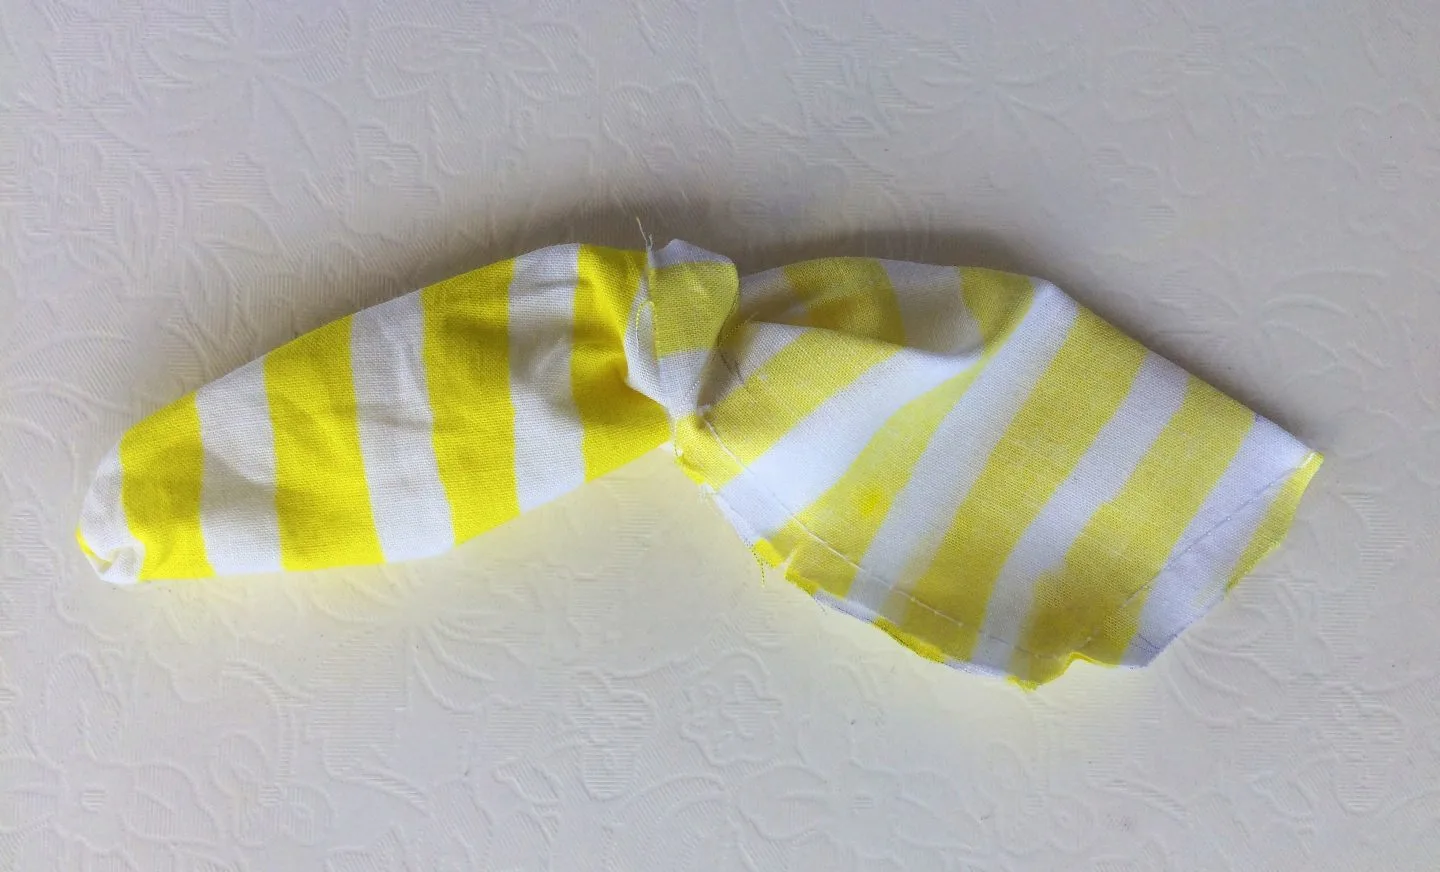
Pinch the center of the bow tail and use a clip to hold it.
Remove the clip and wrap a few rounds of thread around the center.
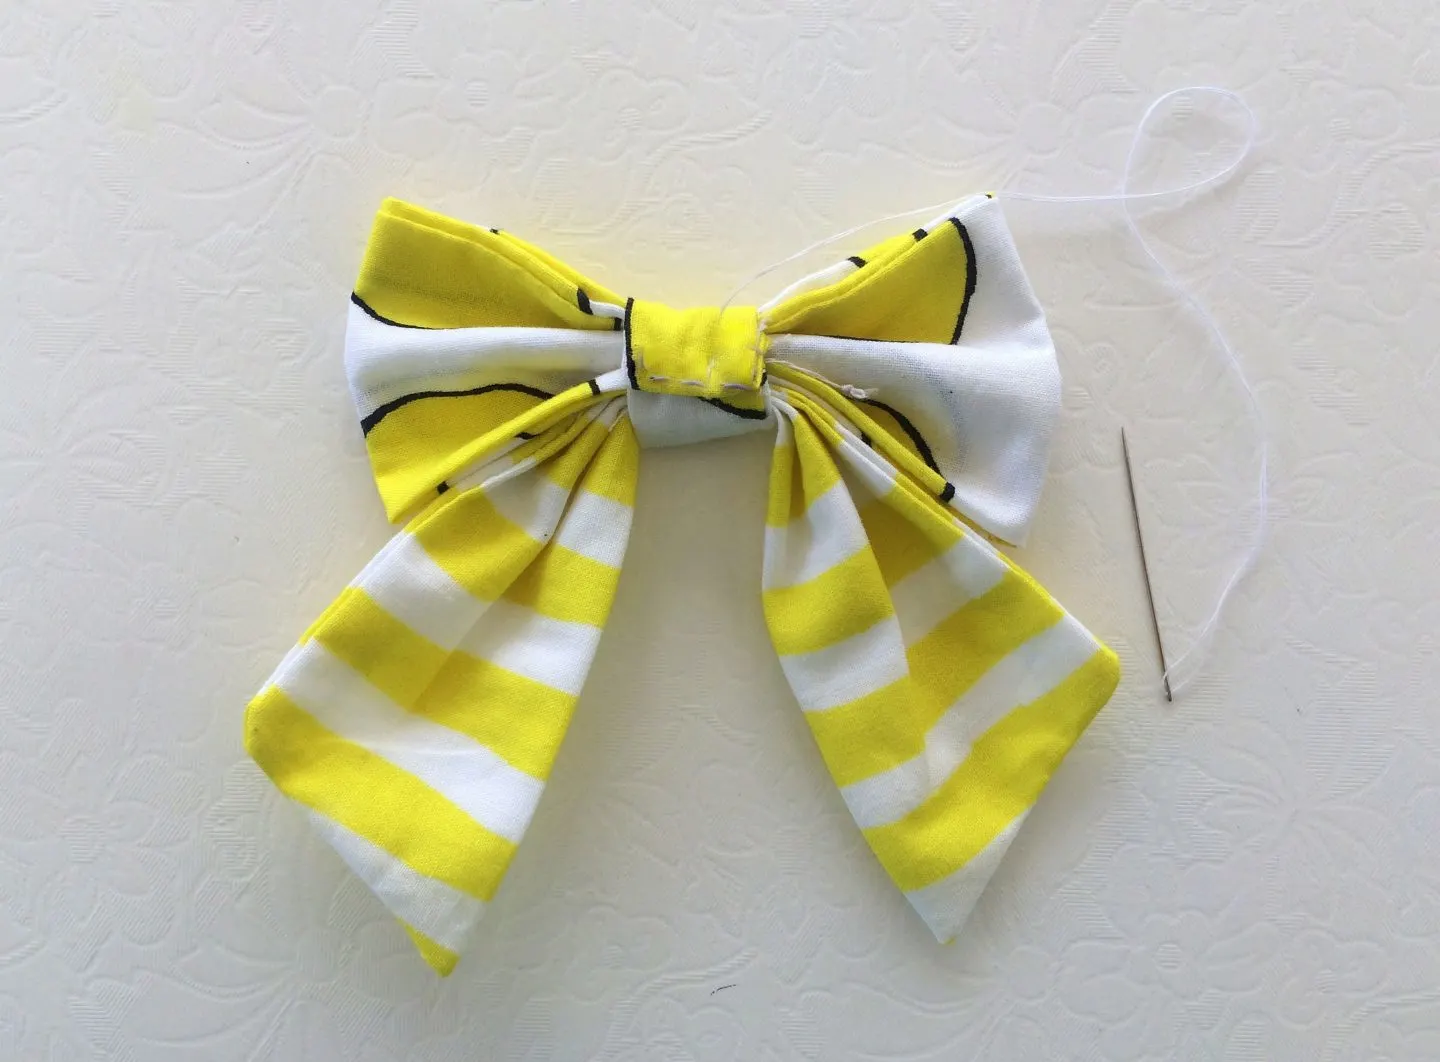
Let’s attach the tail to the bow.
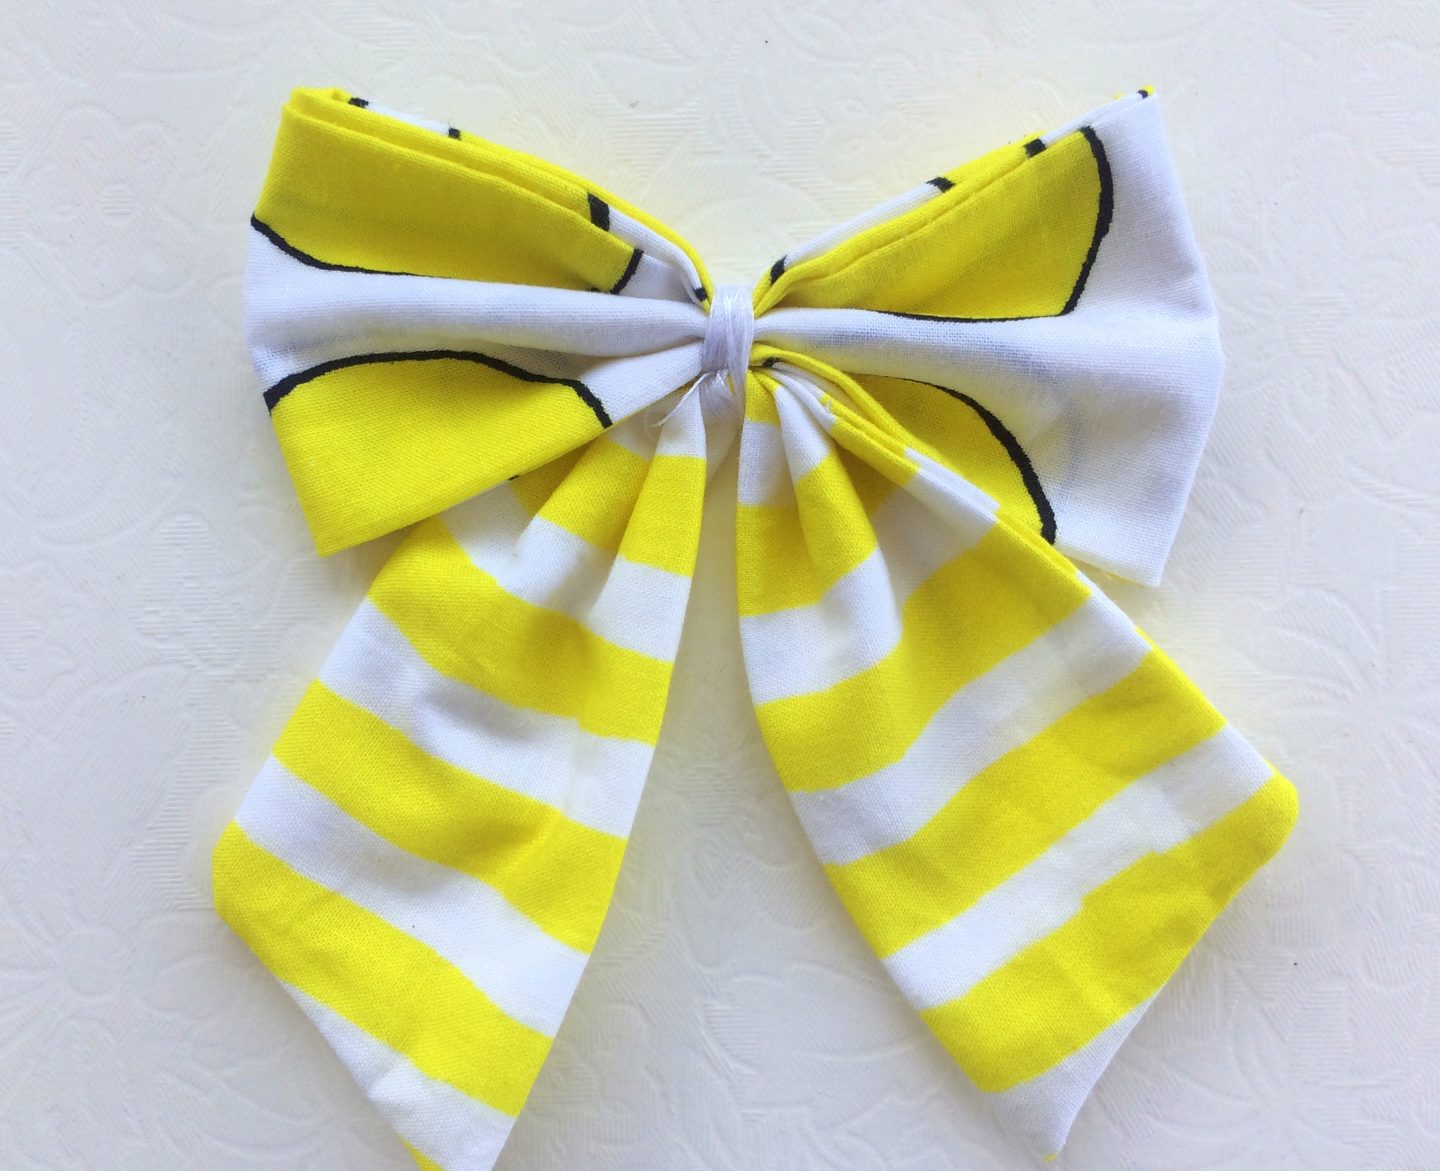
Bring the centers of the bow and the tail together and once again wrap the thread a few times around it to join.
Next, we make the center piece.

Take the fabric piece for the center, fold it in half lengthwise and sew it shut along the long edges. Bring the right side out.

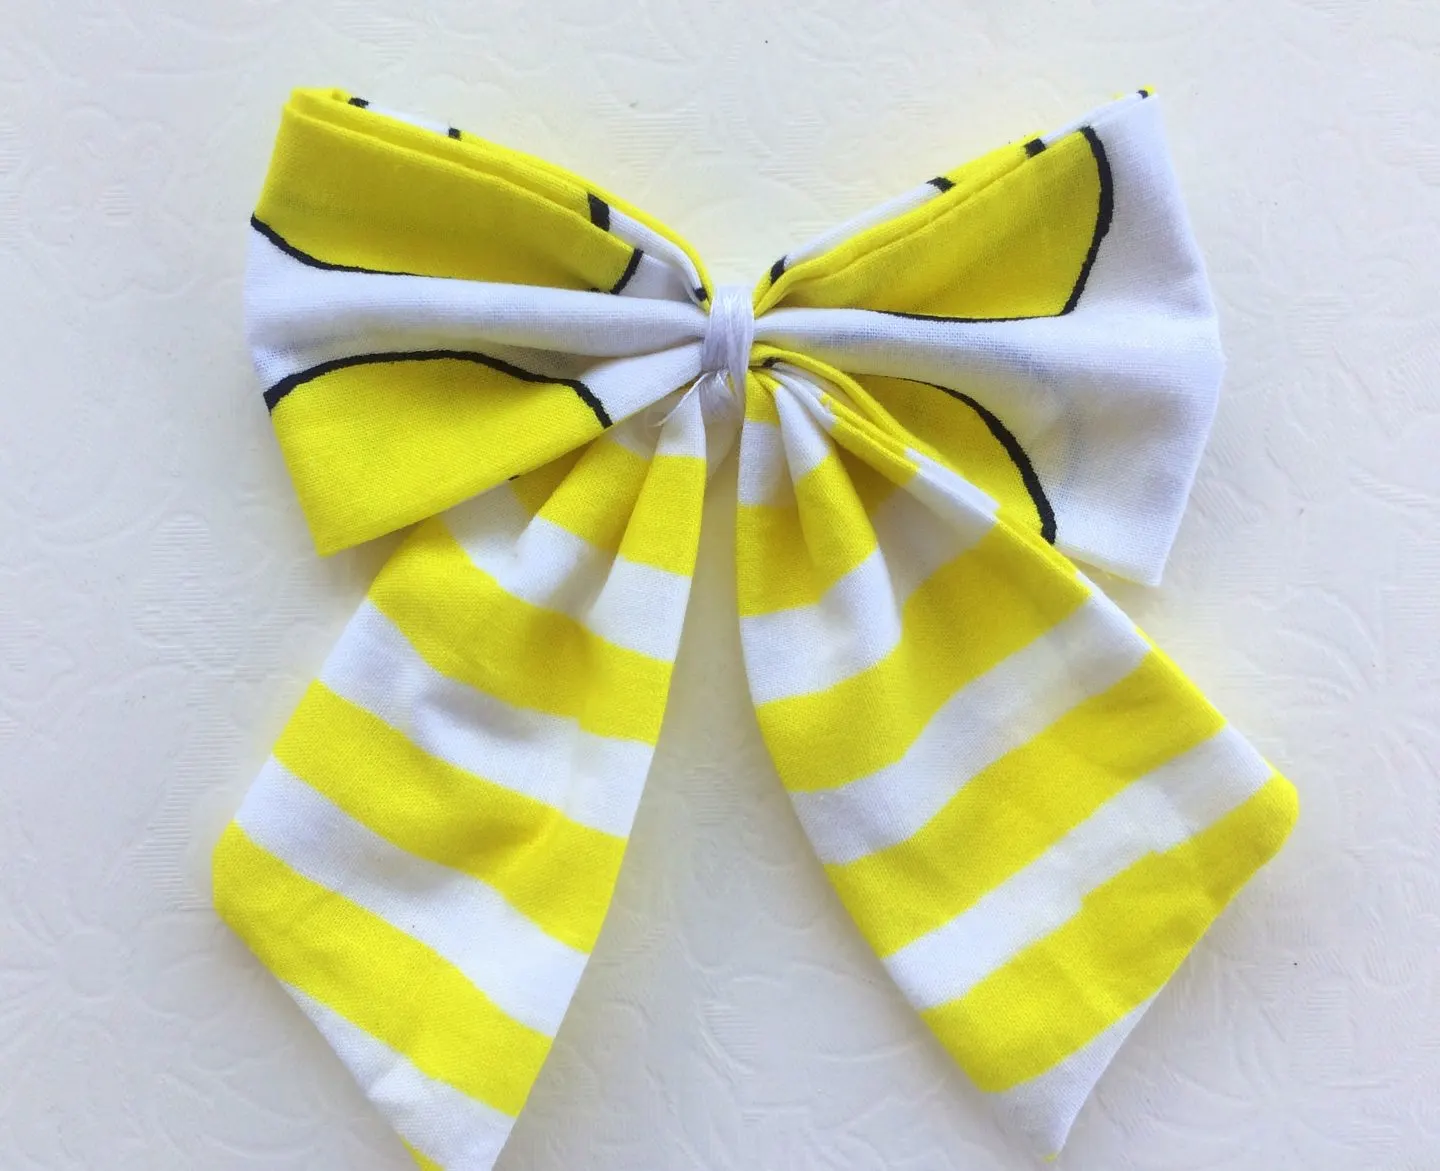
Wrap it around the center of the bow to hide the threads.

Secure by a few stitches at the back.
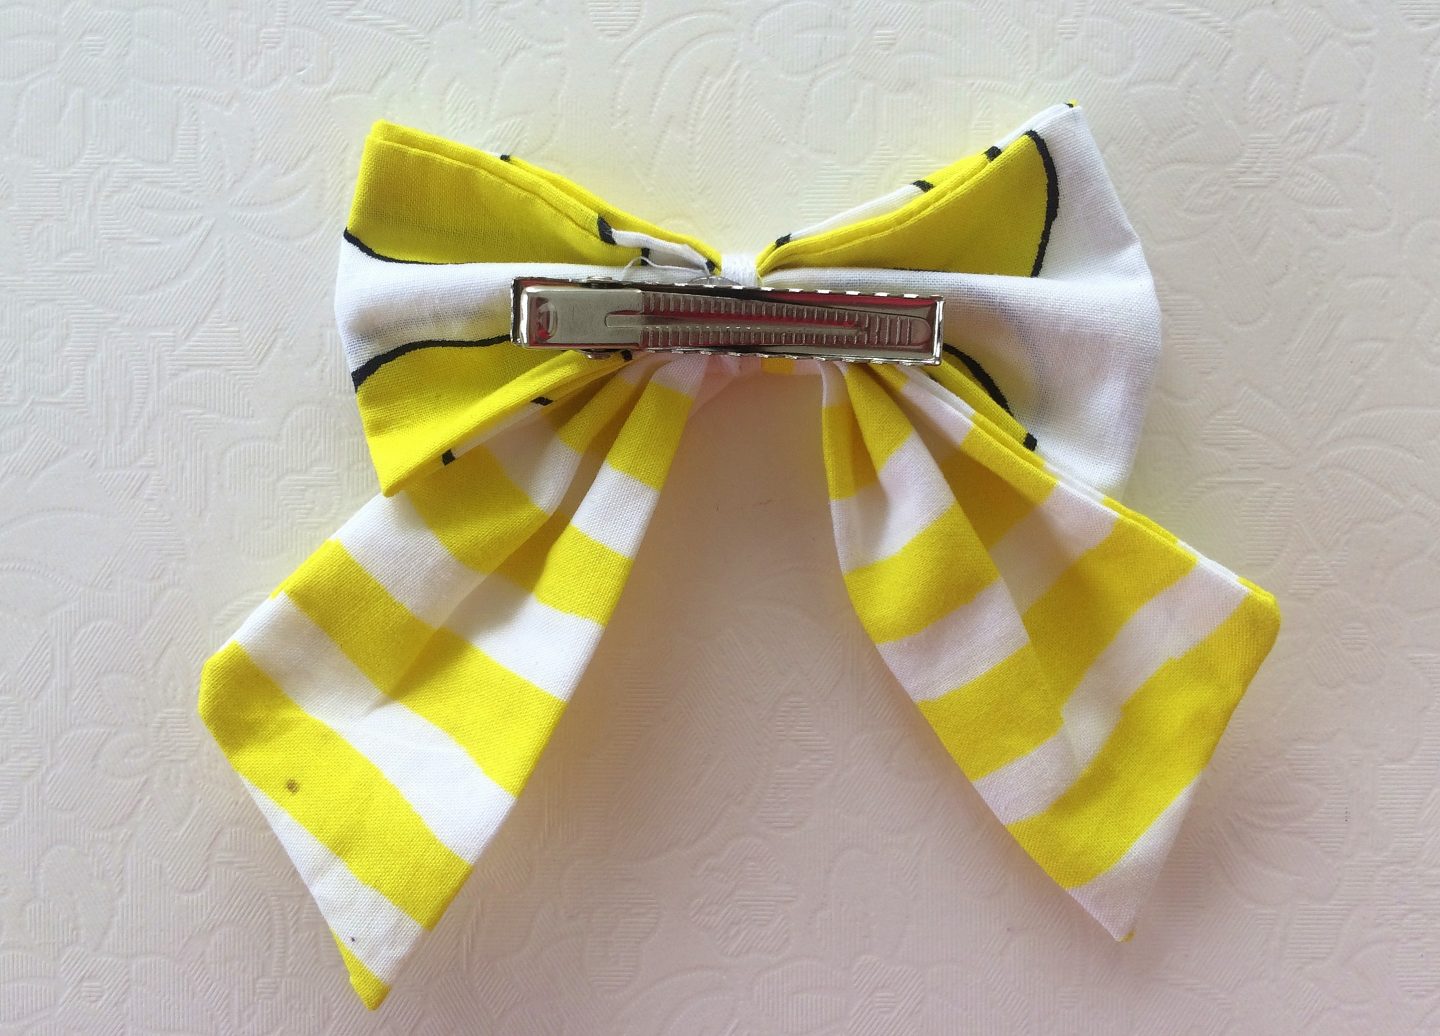
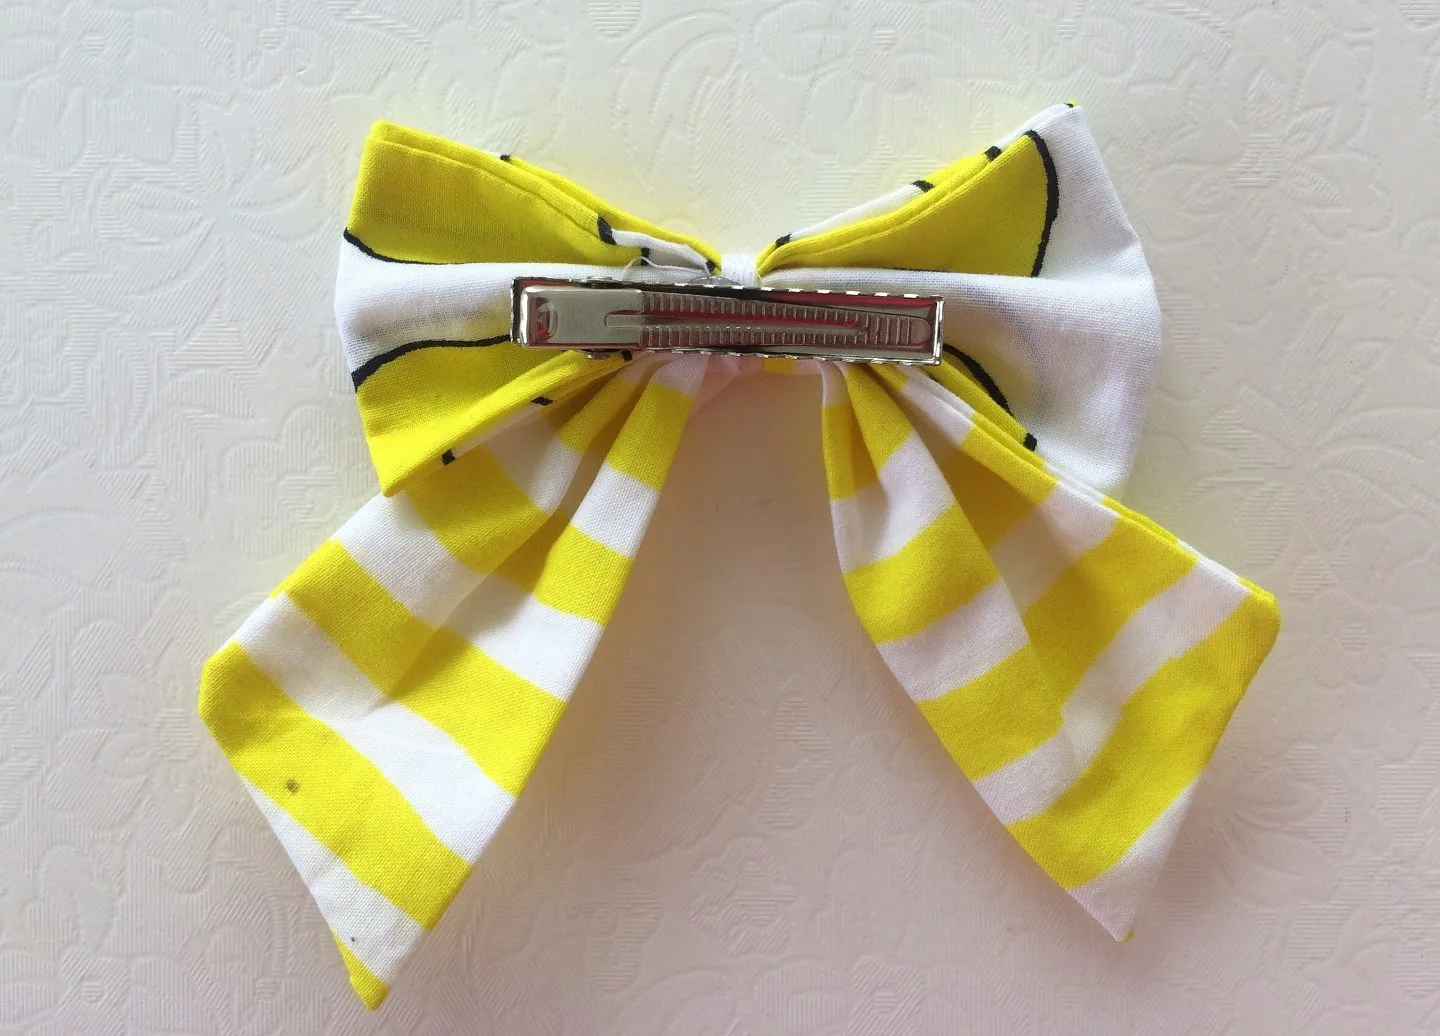
Pinch the alligator clip open and insert it through the underside of the centerpiece.
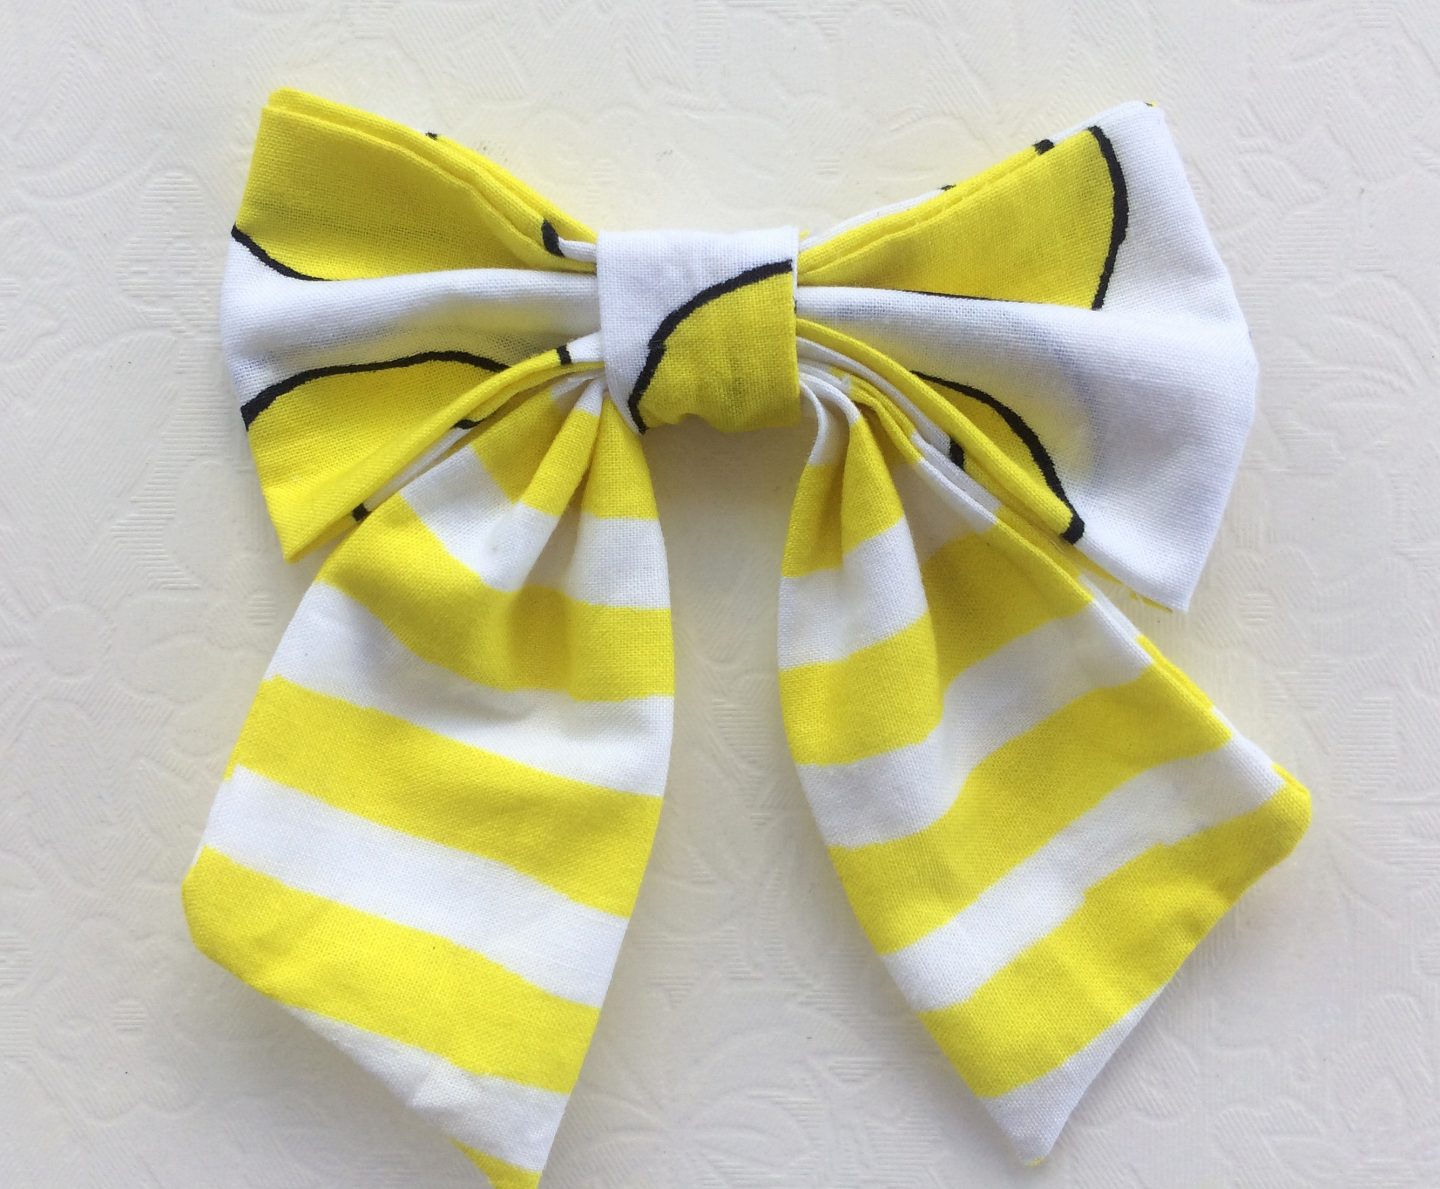

Your sailor bow is ready for use.
Find the webstory for the post here, Free Sailor Bow Pattern with Template
Pin it for later,