
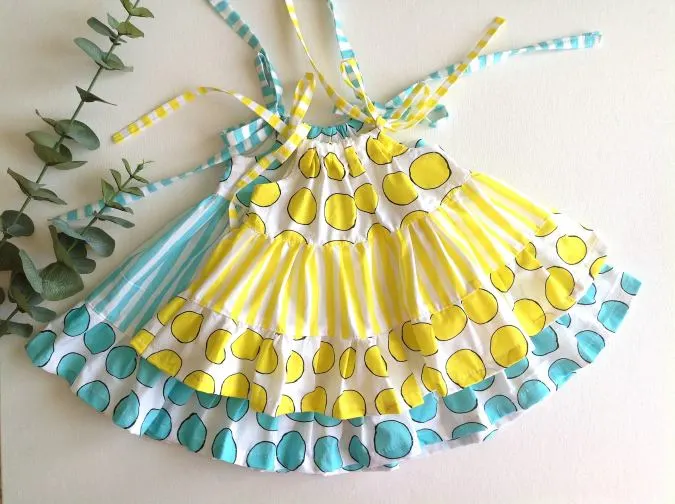
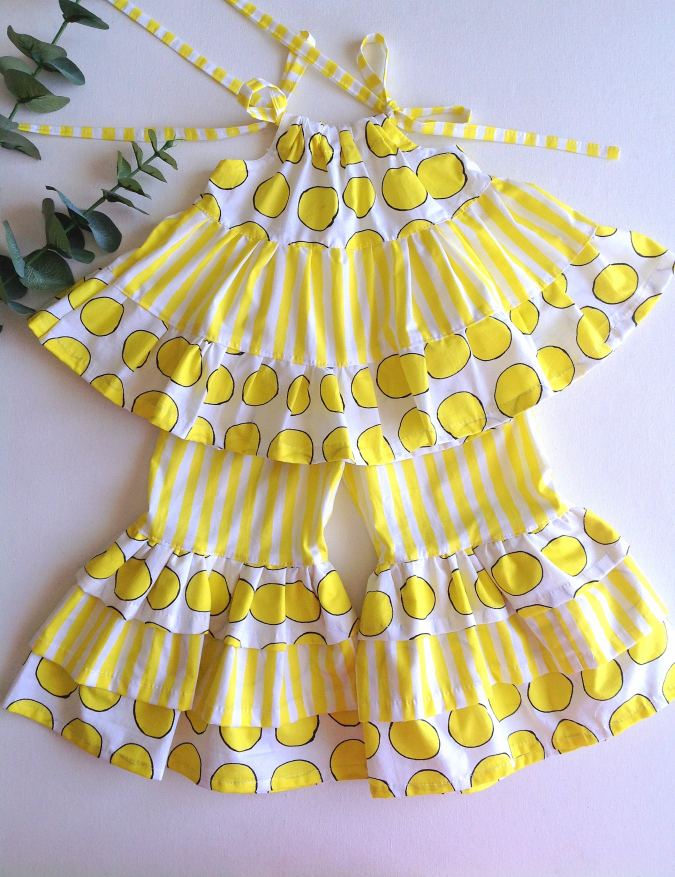
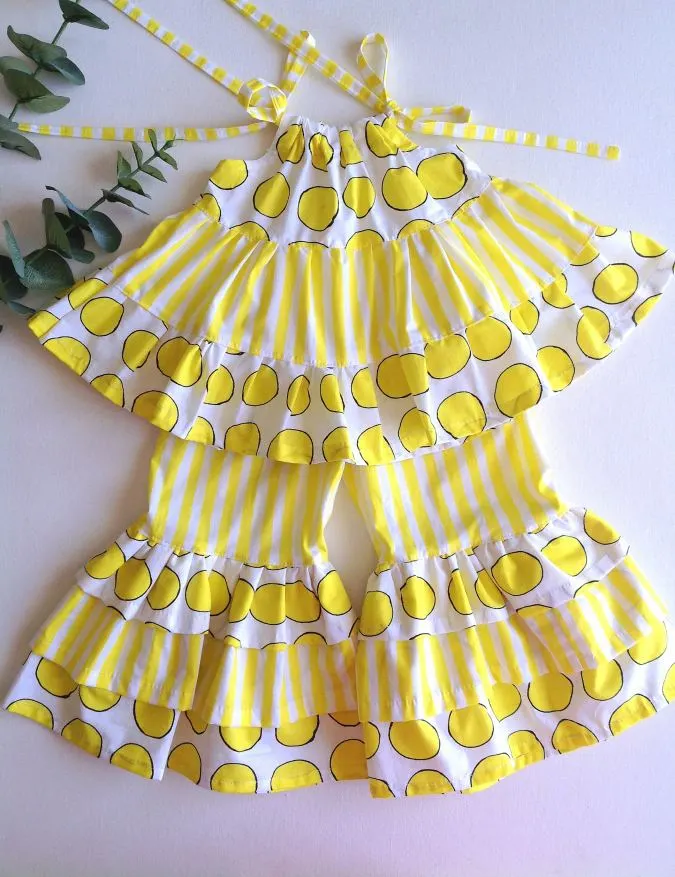
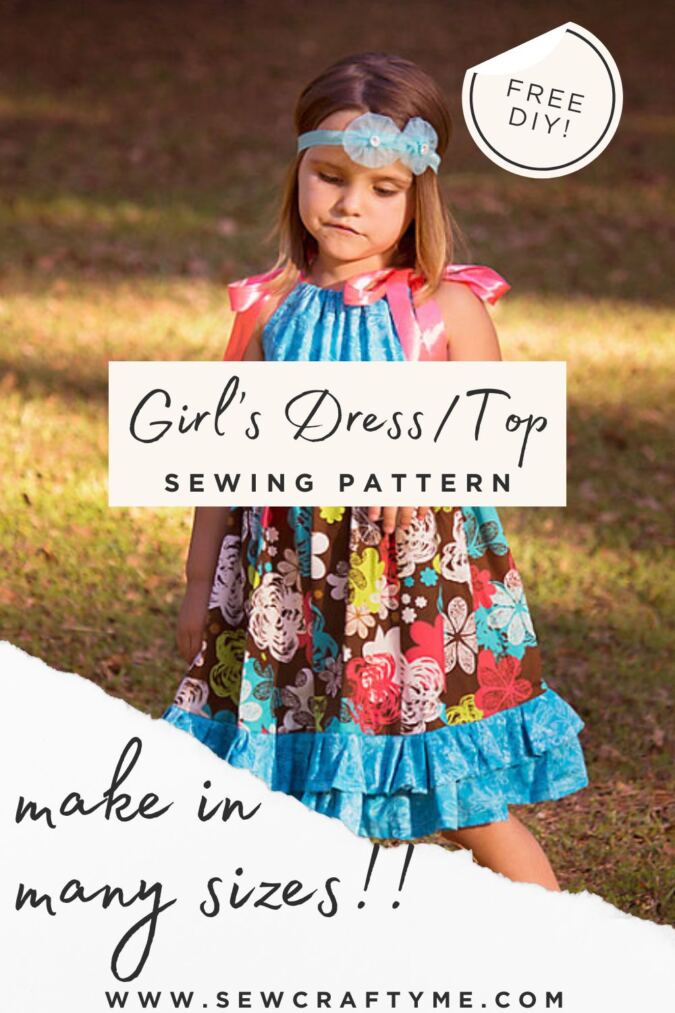
There’s no better pairing for my classic free pattern, ruffle pants than a cute little girly top with more baby ruffles to match! Our ruffly girly dress/ top pattern is the perfect option for a sunny day. The ruffled top will keep your mini one stylish and comfortable thanks to its roomy shape.

This ruffle-top sewing pattern is sure to bring out the sparkle in her eyes. This top sewing project is a lovely addition to the ruffle pants for a day at the playground.

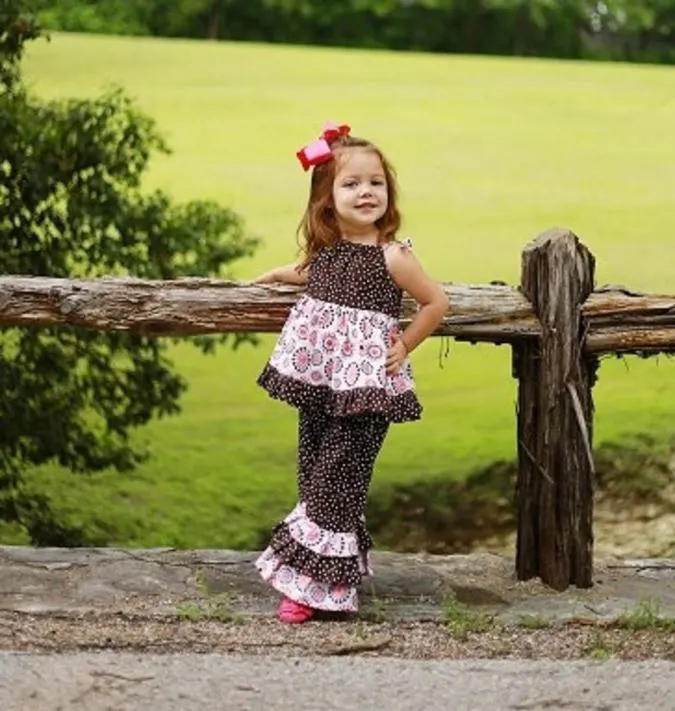


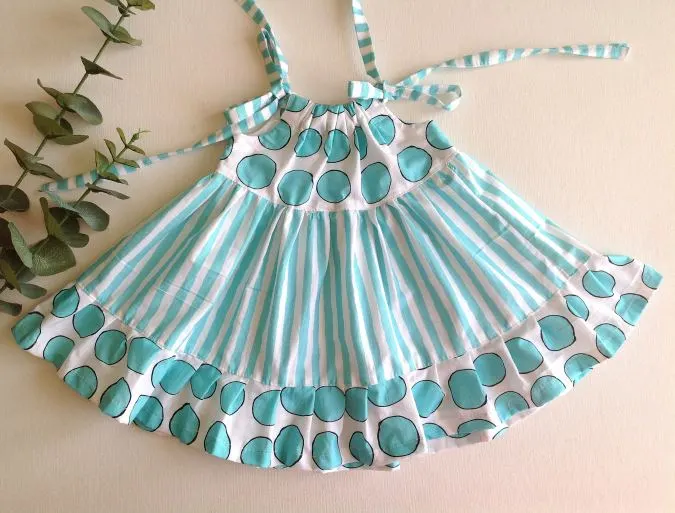
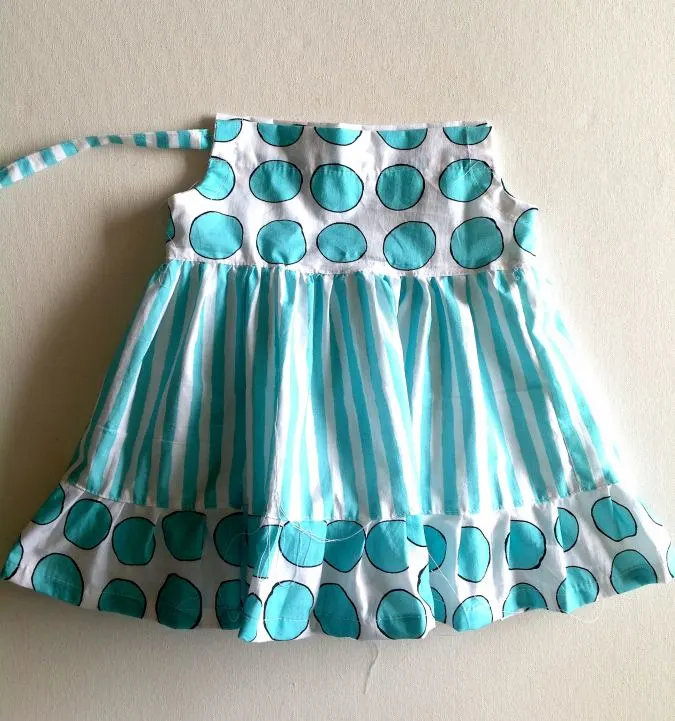
You can also make it as a dress and she will look absolutely darling in it! Complete with shoulder ties and a gathered chest, this ruffle dress will keep her cool on warm summer days.
Click on the picture below to get the matching ruffle pants pattern:

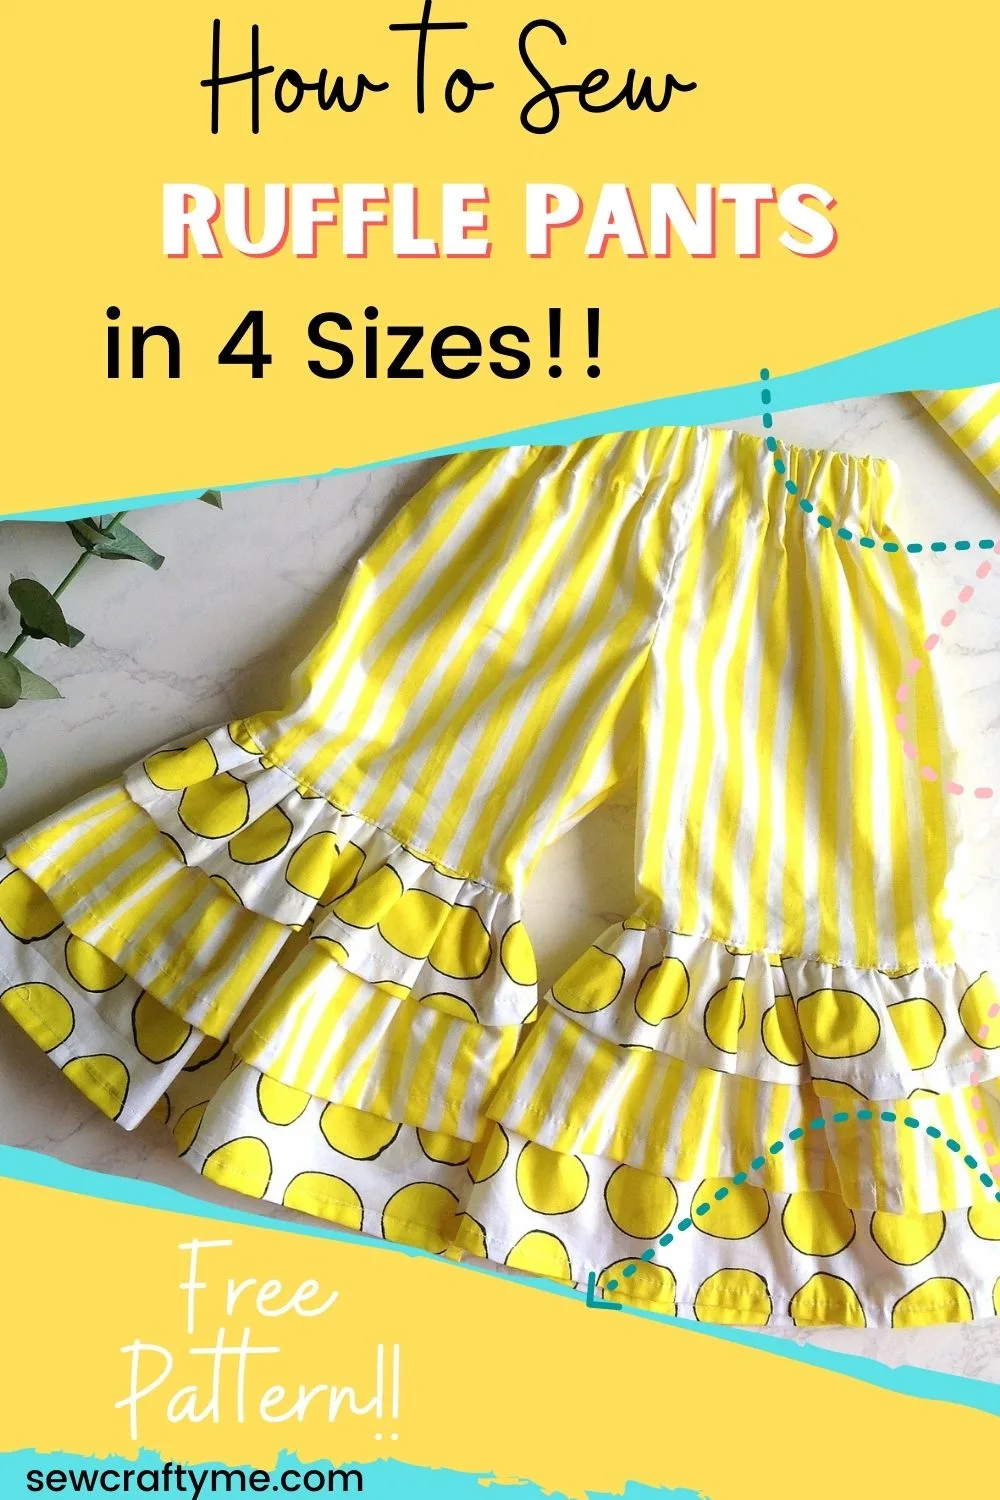
Free Girl’s Ruffle Dress or Top Sewing Pattern
Supplies Needed
1) Fabric for the yoke- requirement specified in the table-2 below
2) Fabric for the skirt and ruffles-requirement specified in the
table-2 below.
3 Optional single-folded bias tape- 40 inches.
4) Sewing Notions.
5) Pattern Pieces.
- Enter your e-mail address and click the subscribe button below to download the template.
All the fabrics used here are 44/ 45 inches in width.
The fabrics shown here are only for illustration purposes and as such may vary from the original.
The seam allowance is 3/8-inch unless otherwise specified.
I suggest you read the entire pattern once before starting to get a general idea.
All seams are to be finished by zigzag or serger.
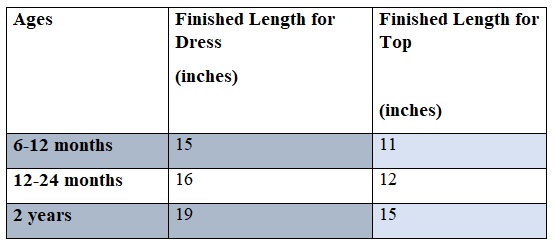
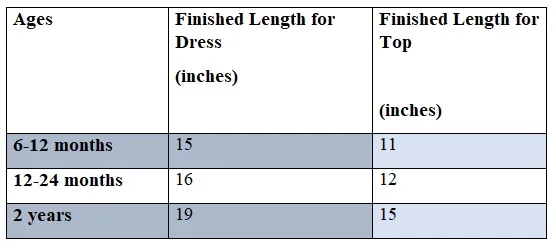
Approximate Finished Lengths:
Table-1
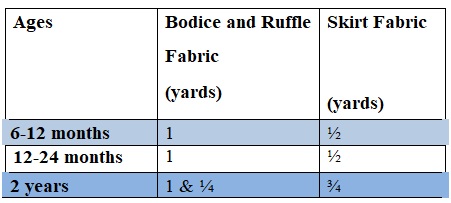
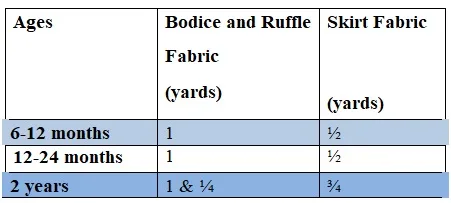
Fabric Requirements
Table-2
Note: The fabric requirement given below is for the dress, if you are sewing a top, you need ¼-yard less of the fabric.
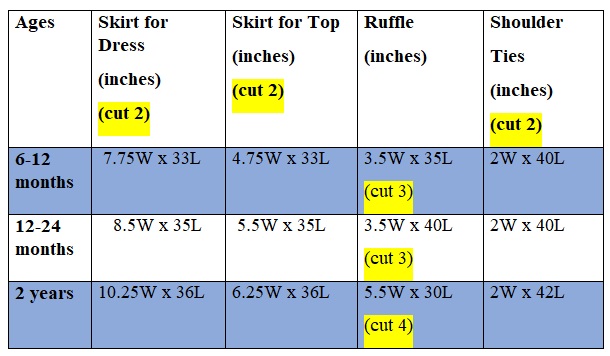
Measurements:
Table-3
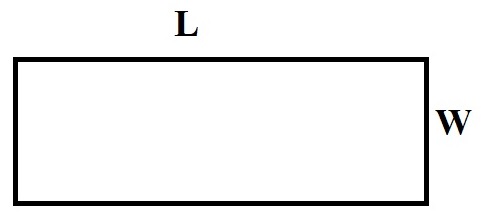
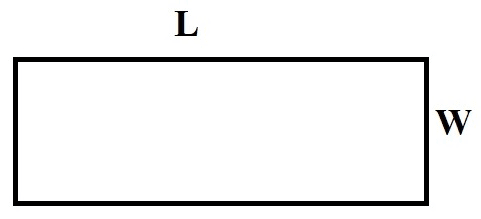
In the table below, “W” stands for the width and “L” stands for the length of the fabric piece to be cut.

Sewing
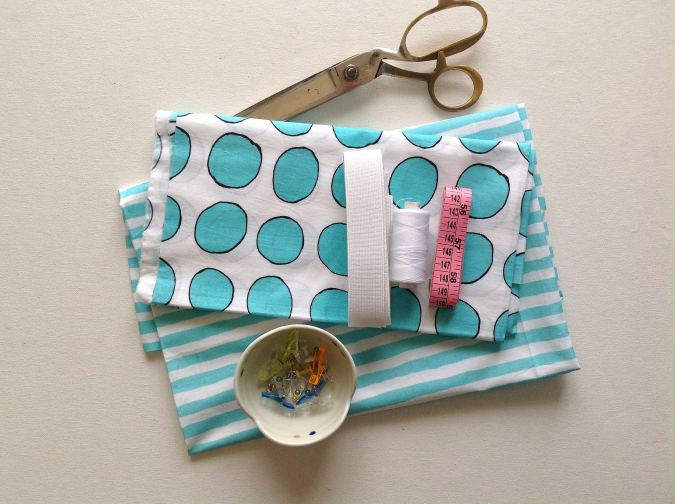
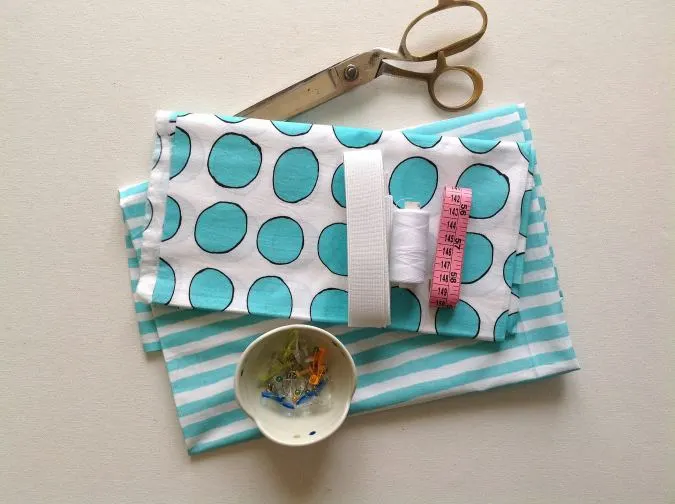
Gather your supplies.
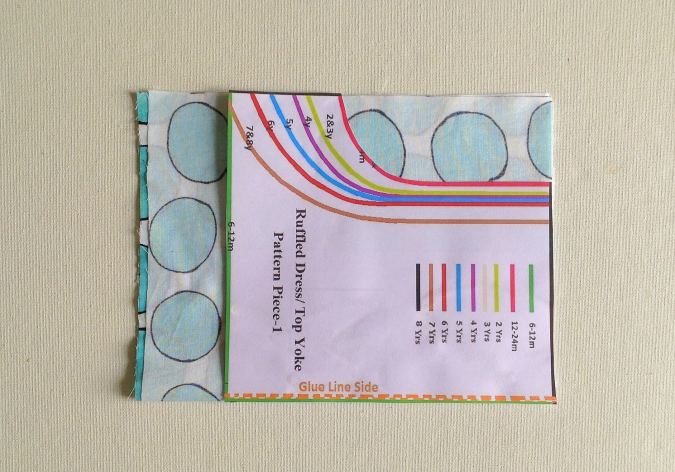
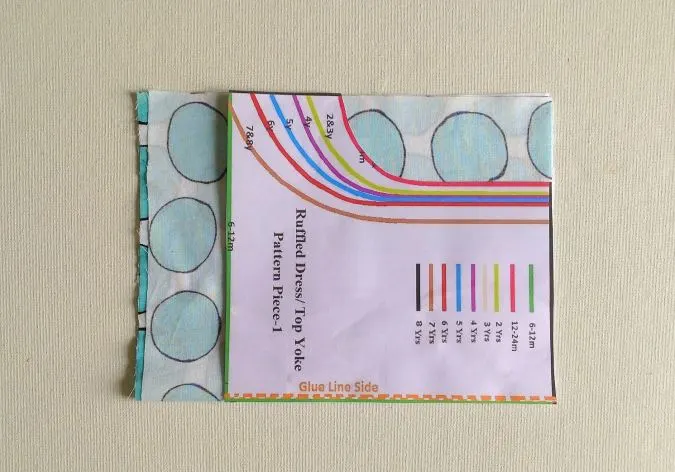
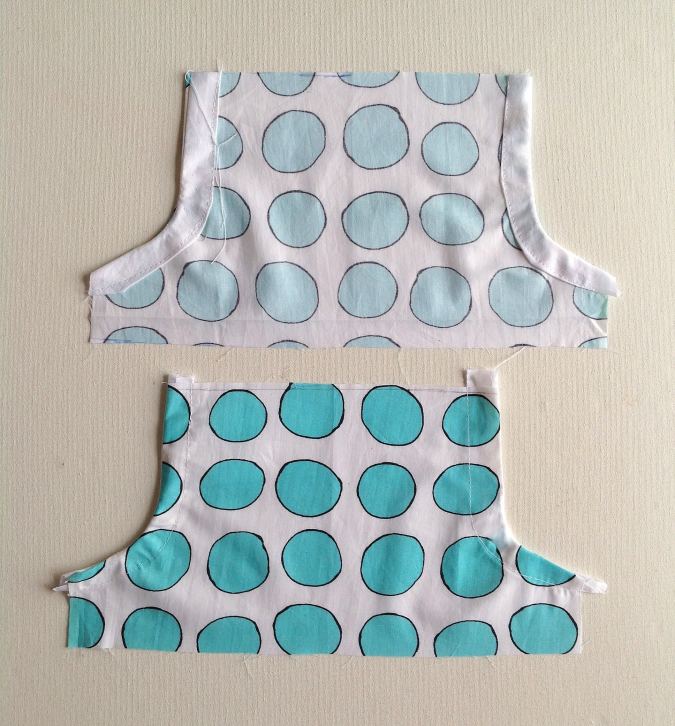
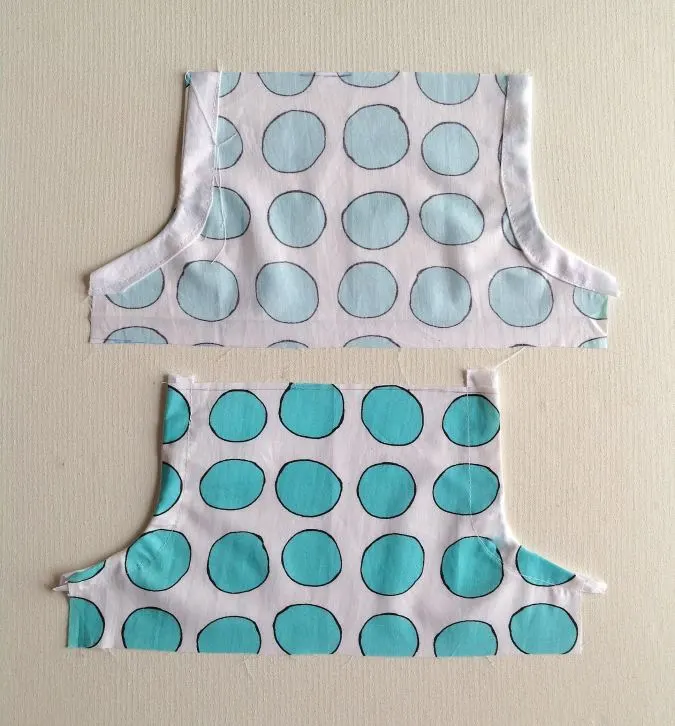
Take the template and the fabric for the dress bodice. Fold the fabric to fit the width of the template and place the template on the fold. Cut around the template to get one of the bodice pieces. Repeat to get the second bodice piece.
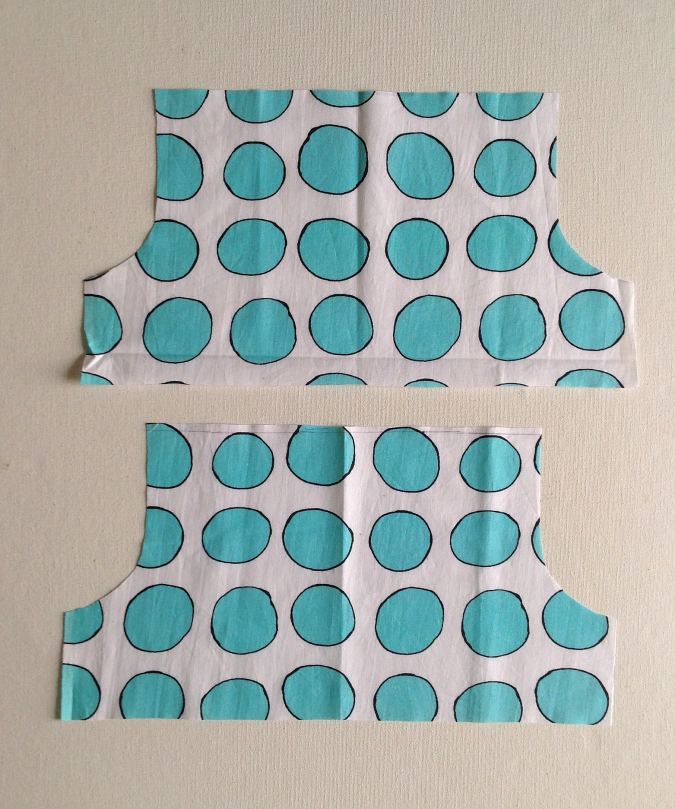
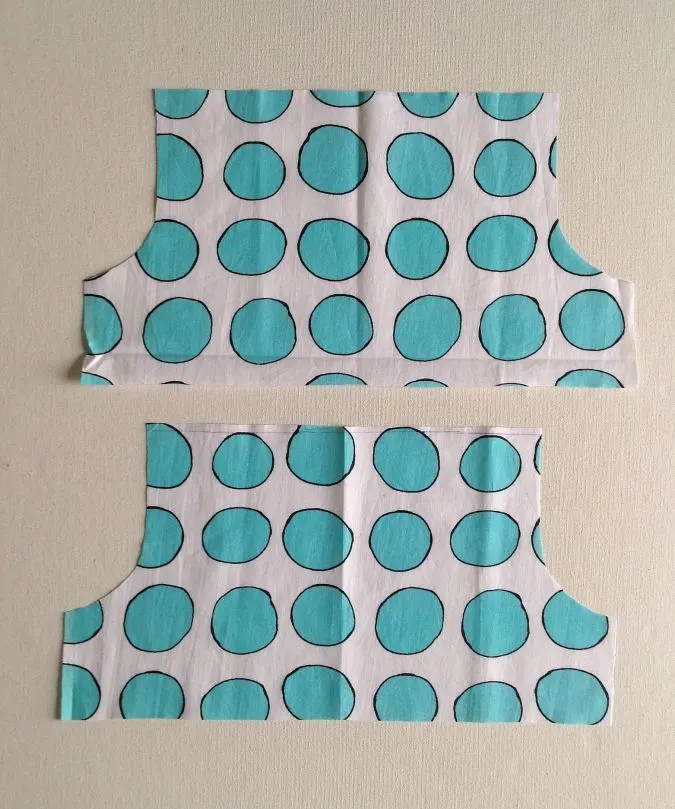
You will get your front and back pieces like the above.
Zigzag the top edge of both the front and back pieces. This is where the neck casing is done.

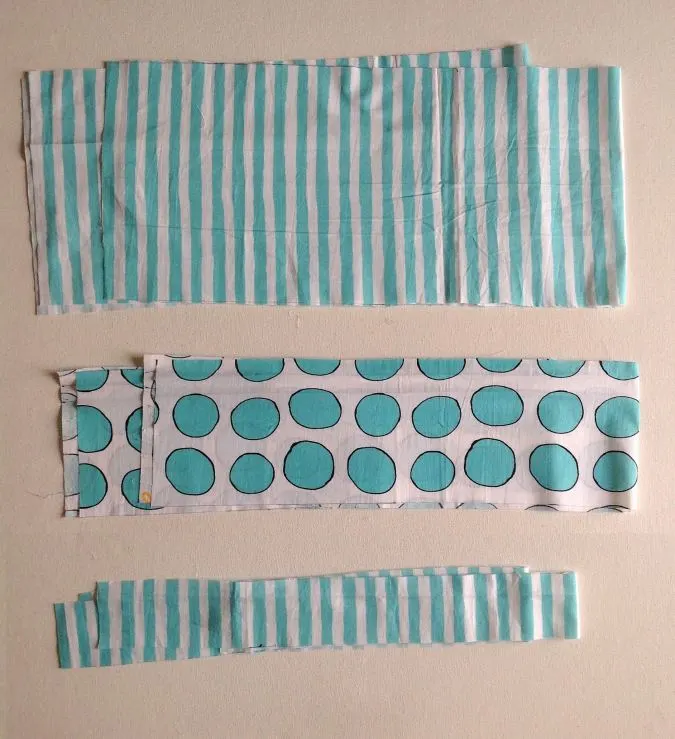
Cut your skirt, ruffle and tie pieces, referring to the table- 3 above.
Next, we need 4 single-folded bias tapes, 10-inches long.

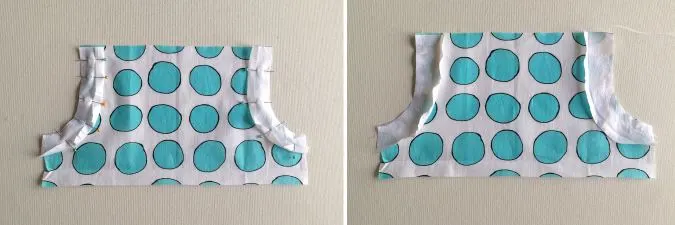
Open one of the folds of the bias tape and line up the edge along the armhole, on the right side of the fabric and pin. Sew the bias tape along the edge, removing the pins as you go.


Fold the bias tape completely over to the wrong side of the fabric, keeping the fold along the other edge intact, and pin. Cut off any extra.
Sew along the folded edge of the tape to secure.
Repeat the same with the other armholes.
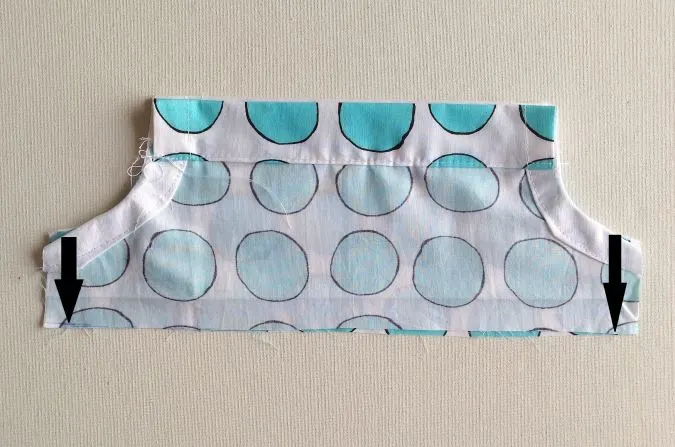
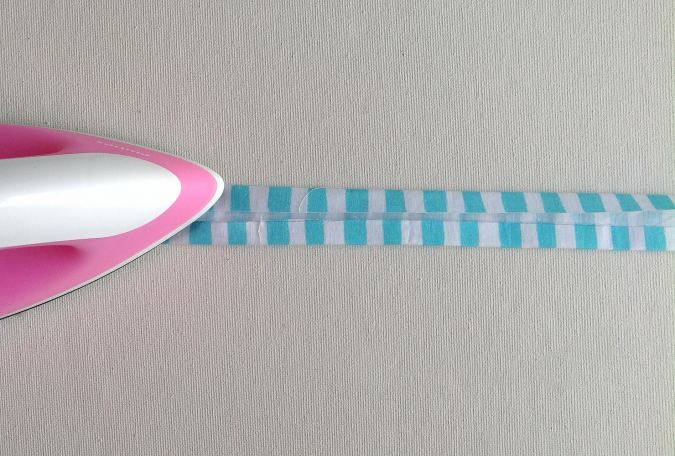
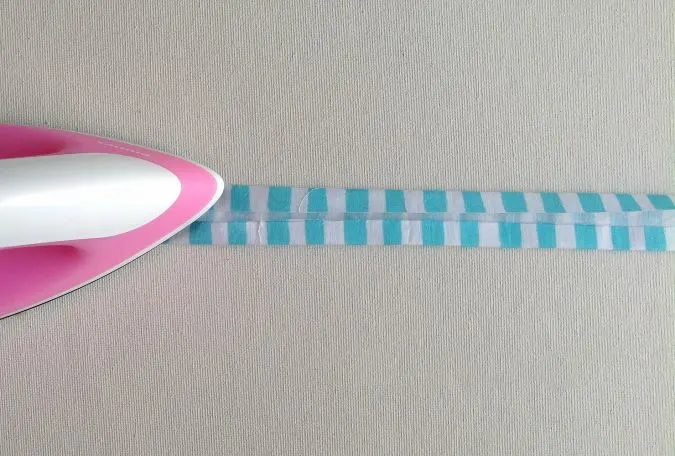
Let’s make the casing for the shoulder ties.


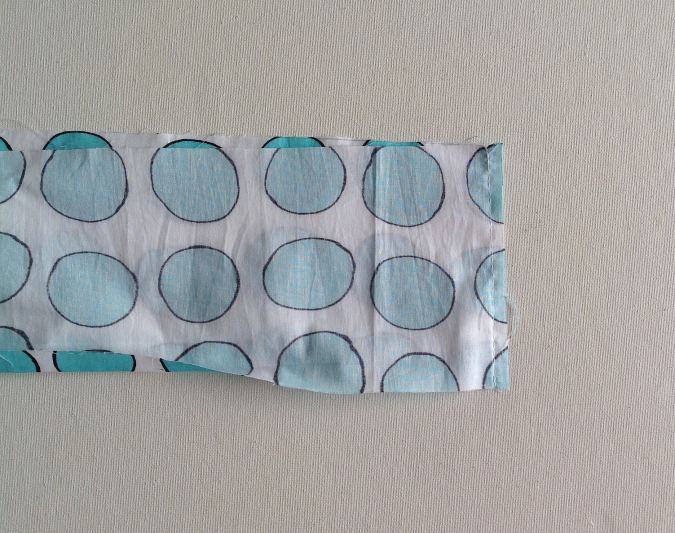
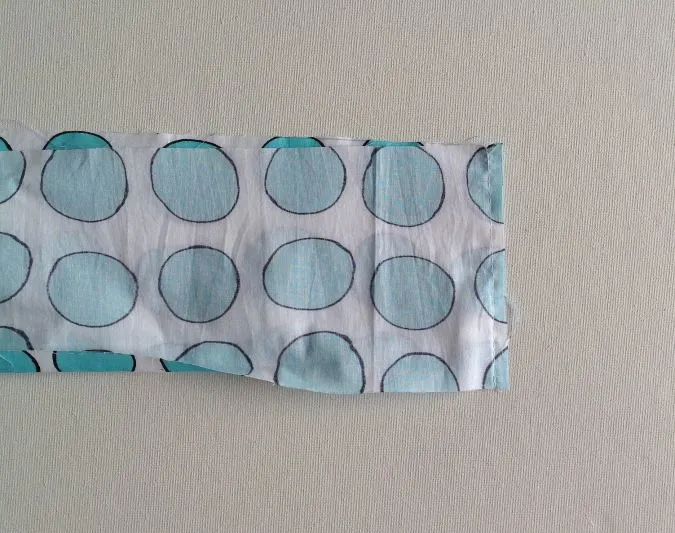
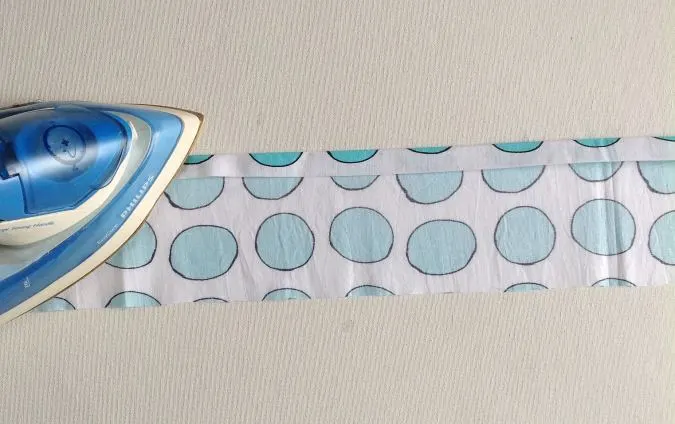
Fold the upper edge of the front piece by ½ -inch and press. Fold again by 1-inch and press once more.
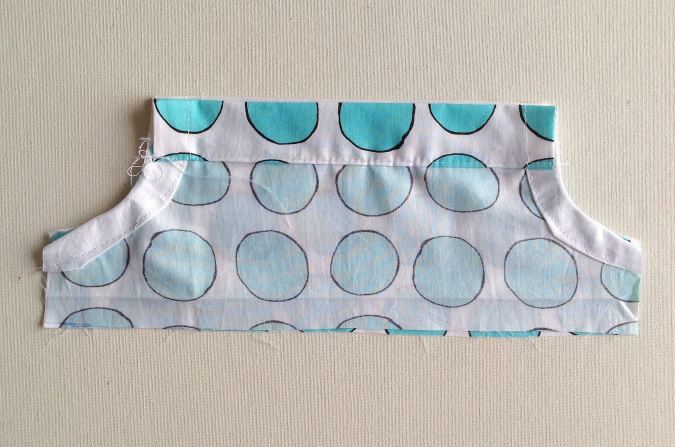

Sew the casing down along the edge of the fold. Repeat the same with the back piece.

Take the front and back bodice pieces, keep them layered with the right sides together, lining up the edges, and sew the side seams shut.
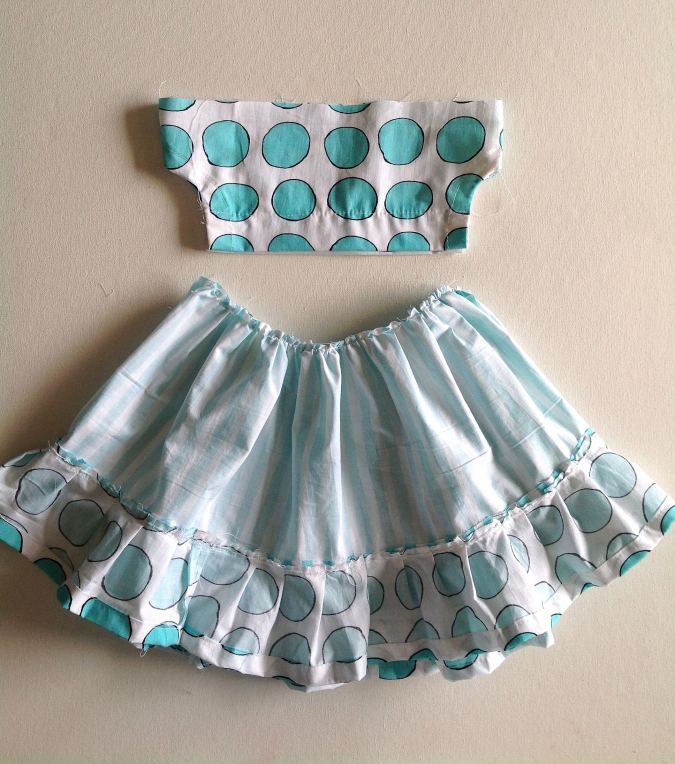
Our bodice part is ready, we move on to the skirt part. The skirt has ruffles along its lower edge. We first do the ruffle.
Take the fabric strips for the ruffle referring to the measurements in the table-3 above.
Join the strips along the two shorter sides. You will get a closed fabric ring. Press the seams flat.
Next, we do the lower hem of the ruffle

Fold one long edge by ½ -inch twice and press.


Sew the hem down along the edge of the fold.
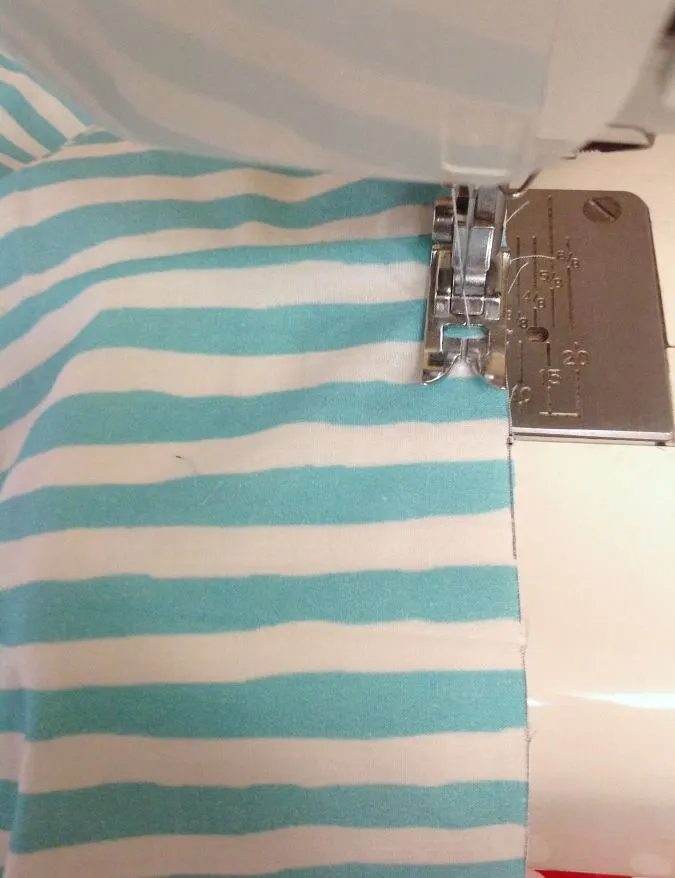
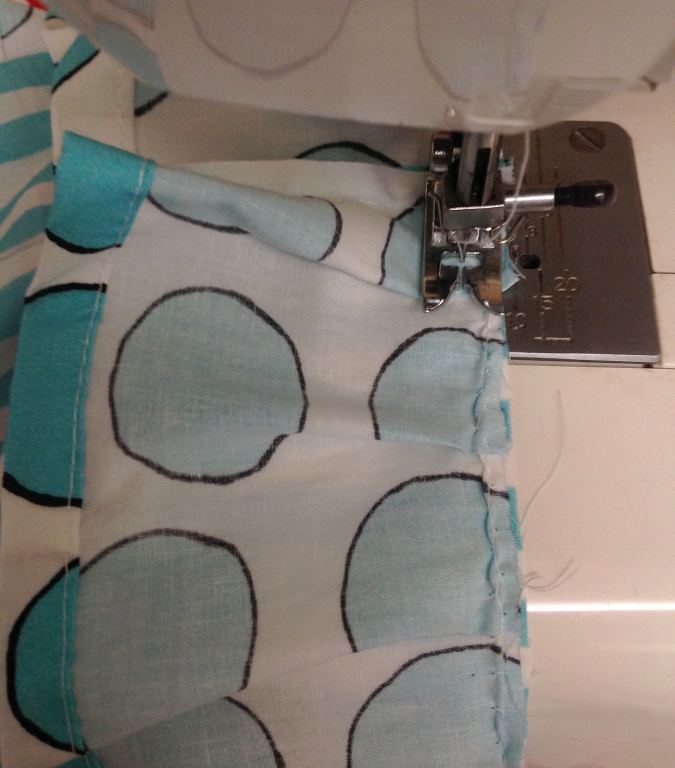
Let’s gather the ruffle.
Turn the upper thread tension of your machine to zero and stitch length to the longest to get a basting stitch.
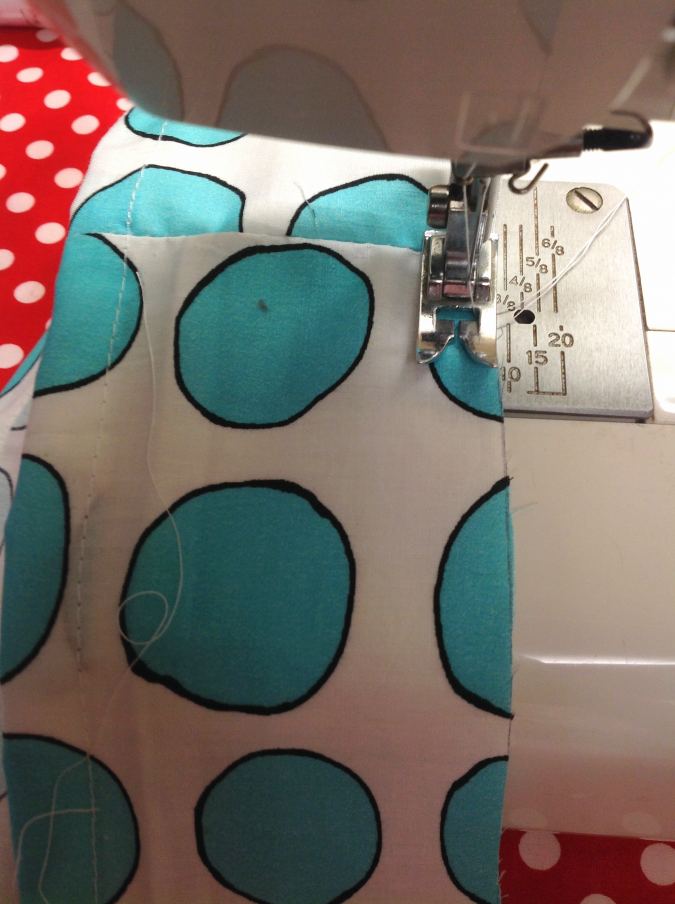

Sew a basting stitch 3/8-inch away from the raw edge of the ruffle piece. Leave a long piece of thread, 8 to 10 inches long to pull and gather the ruffle

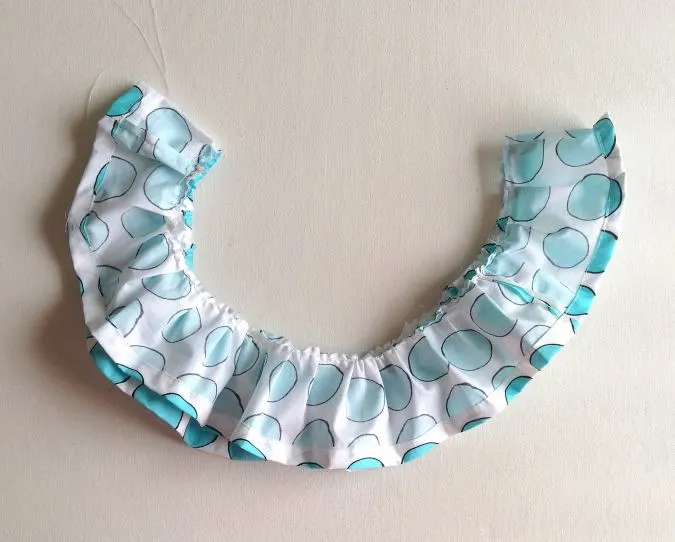
Pull the thread from the bobbin gently to gather the ruffle and form a closed ruffle ring.
Take the required pieces for the skirt, referring to table-3 above. Keep them layered with the right sides together and aligning the edges. Sew along the two shorter sides to form a tube.
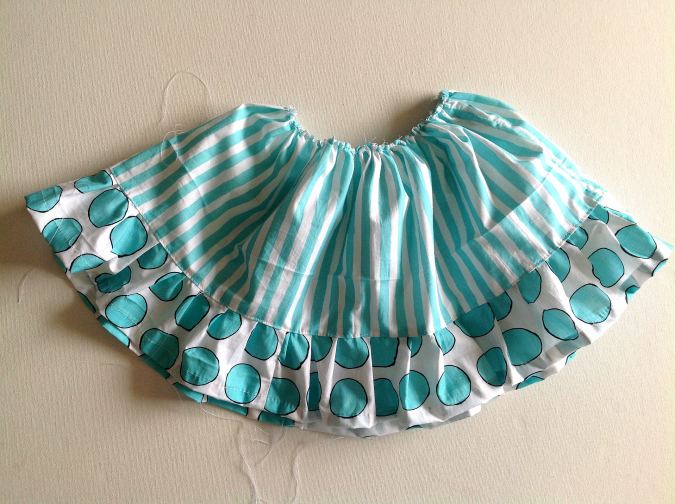
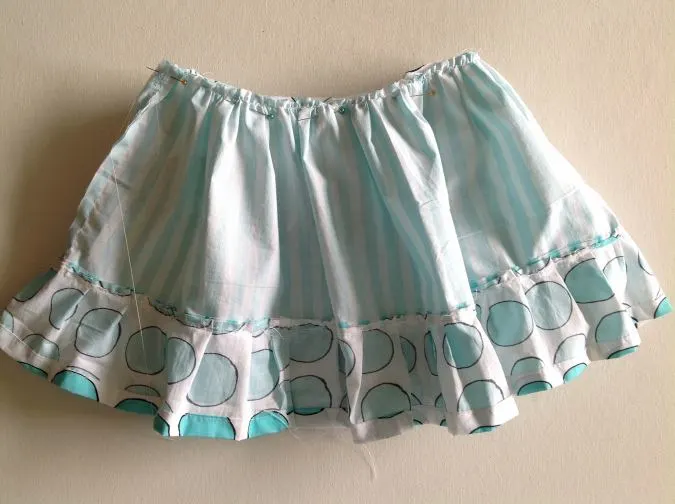
Next, we attach the ruffle to the skirt. Adjust the gathering in the ruffle to match the lower edge of the skirt.


Turn the skirt over to its right side. Keep the ruffle on its wrong side, above the skirt, with its lower hem facing the skirt, and slide the skirt into the ruffle.
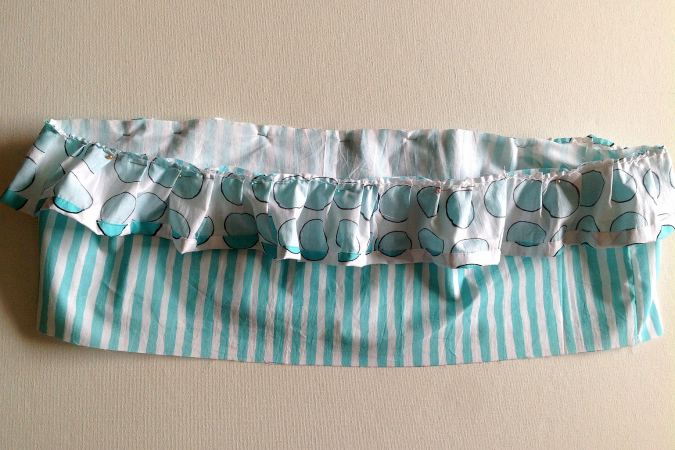

Line up the lower edge of the skirt with the raw edge of the ruffle and pin all around.
Turn your machine settings back to normal.


Sew the ruffle onto the skirt, removing the pins as you go.
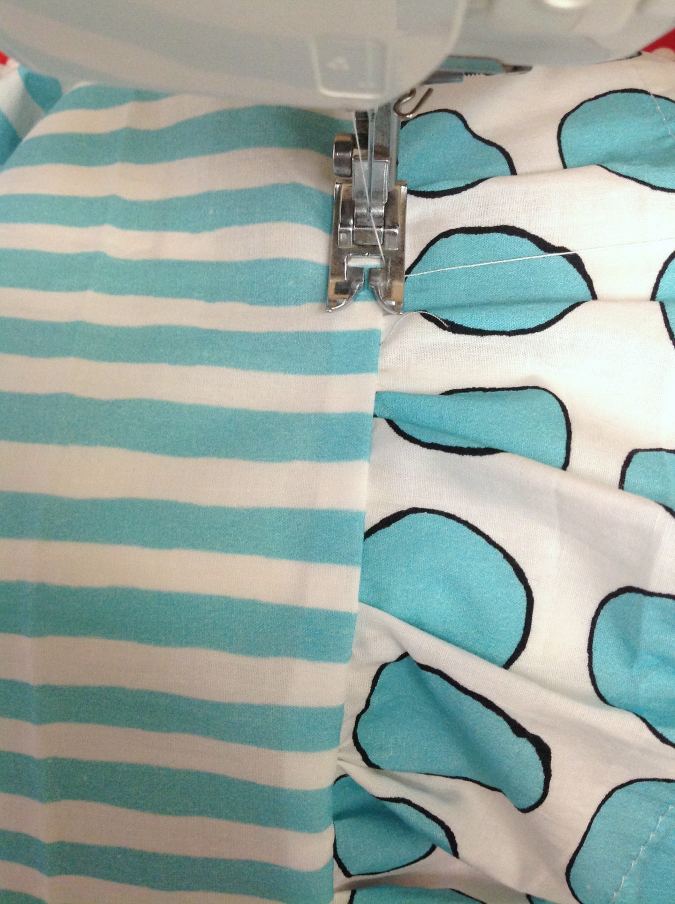
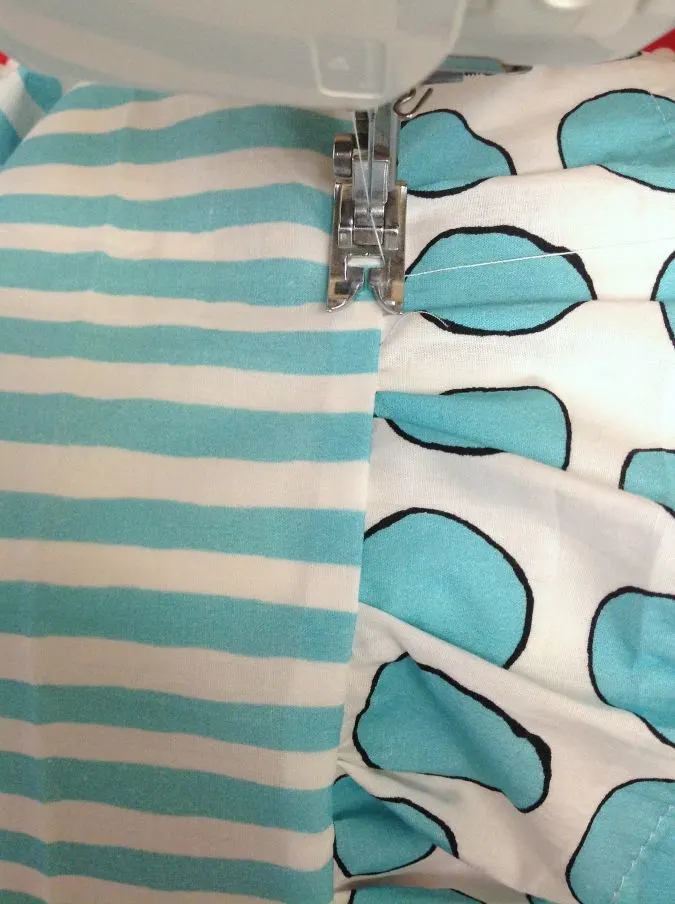
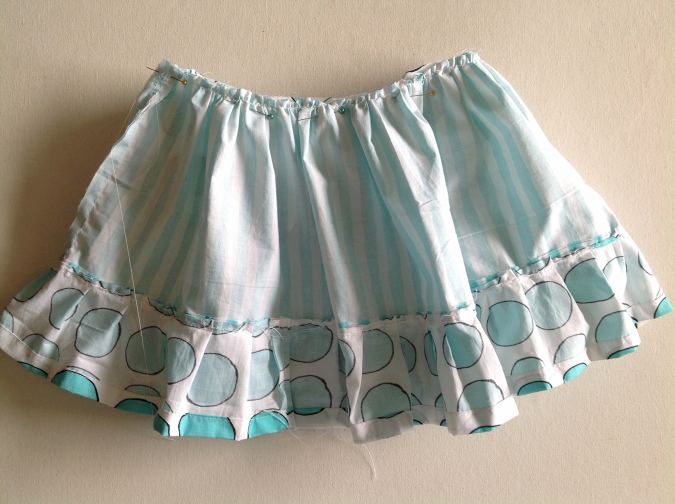
Turn over to the right side and topstitch along the seamline of the ruffle and skirt for a neater finish.
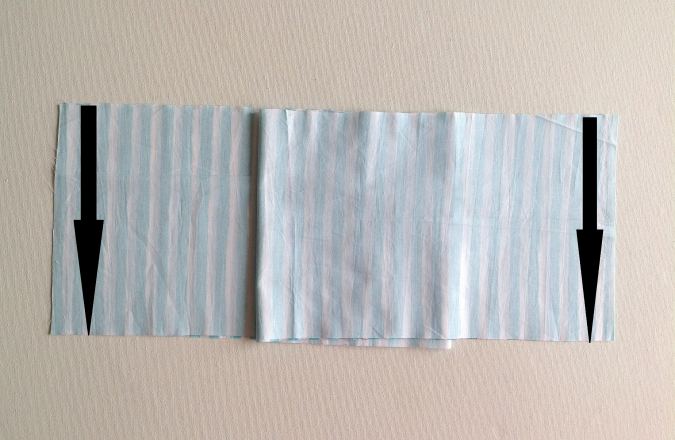
Next, we gather the skirt.
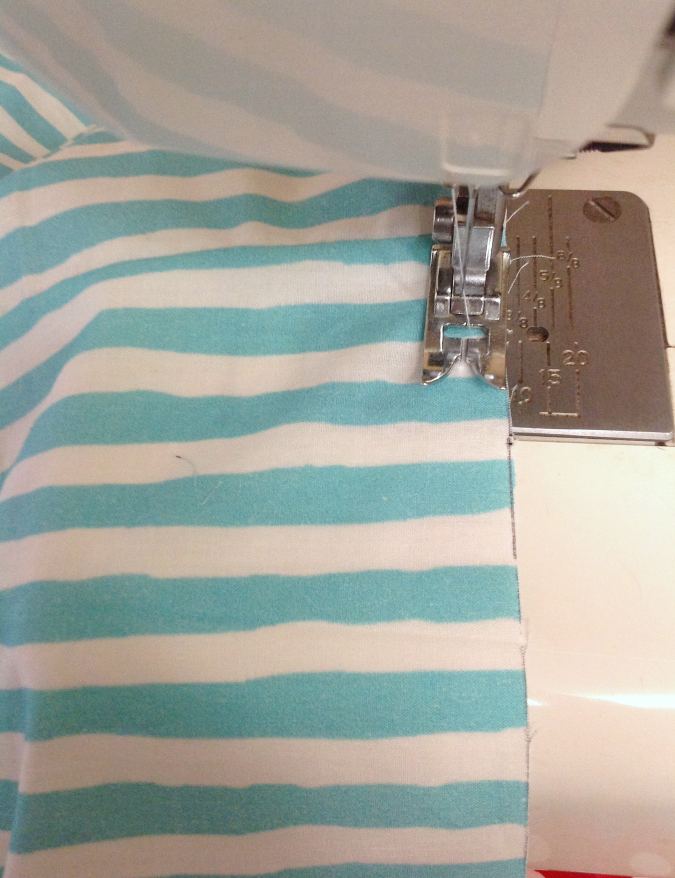
Sew a basting stitch along the upper raw edge of the skirt.

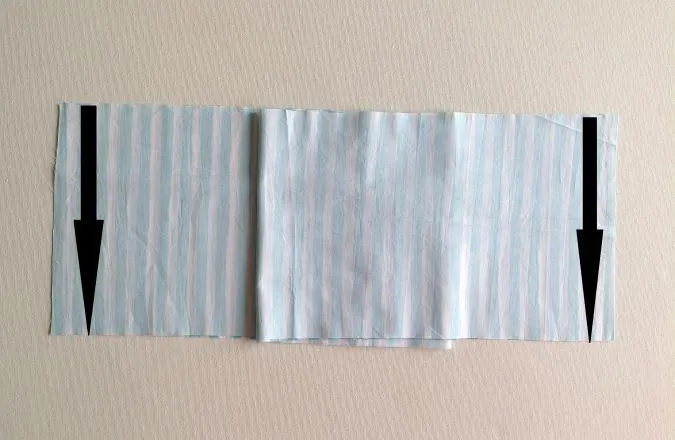
Pull the thread from the bobbin gently and gather it. Adjust the gathering to match the lower edge of the bodice.
Let’s attach the skirt to the bodice. Turn your machine settings back to normal.

Keep the bodice on its right side and the skirt on its wrong side. The upper edge of the skirt should face the upper edge of the bodice. Slide the bodice into the skirt.
Line up the lower edge of the bodice with the upper edge of the skirt and pin all around. Take care to bring the side seams of the skirt in line with the side seams of the bodice while pinning.

Sew the bodice to the skirt, removing the pin as you go. Zig zag to prevent fraying.


Turn over to the right side and topstitch along the seam line of the skirt and bodice to make it look neat and taut.
Let’s do the shoulder ties.
Take the required fabric strips for the ties, referring to the table-3 above. Fold the two long edges towards the wrong side by ½-inch and press.
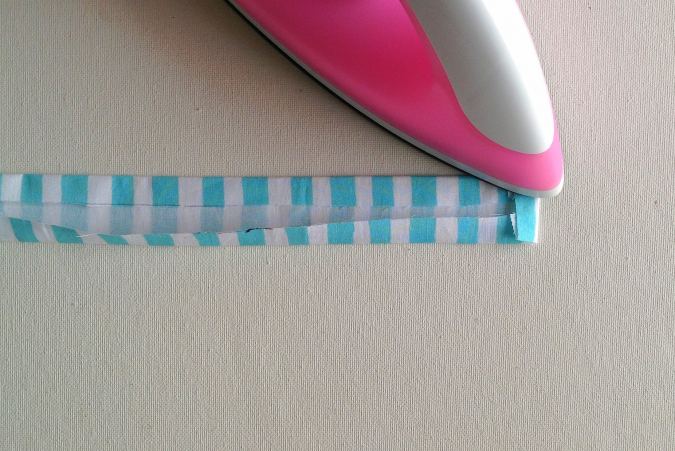

Fold the two short edges in by ½-inch and press.

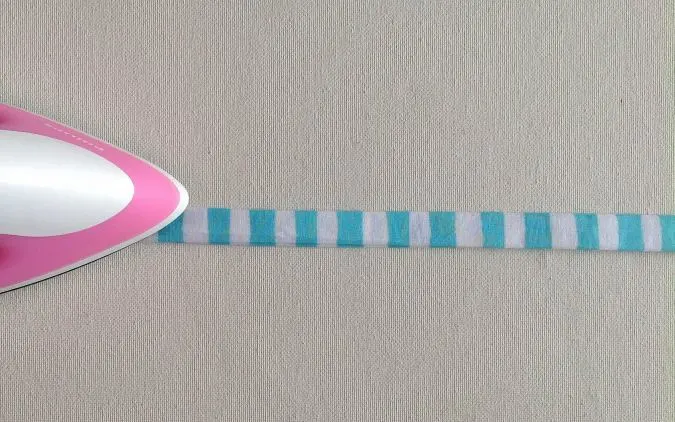
Fold in half lengthwise and press again.
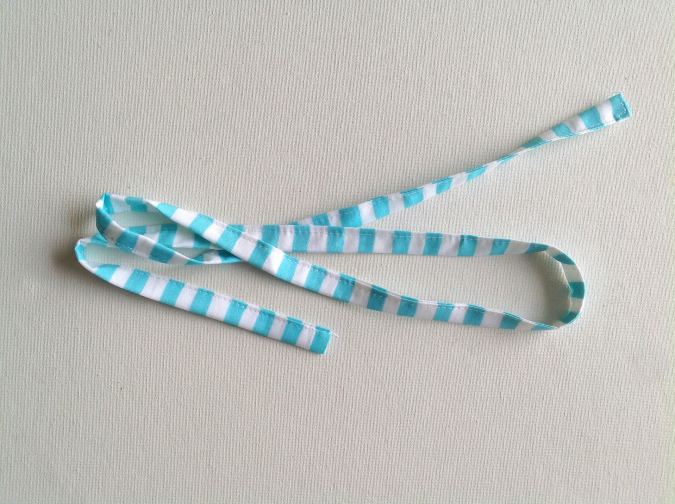
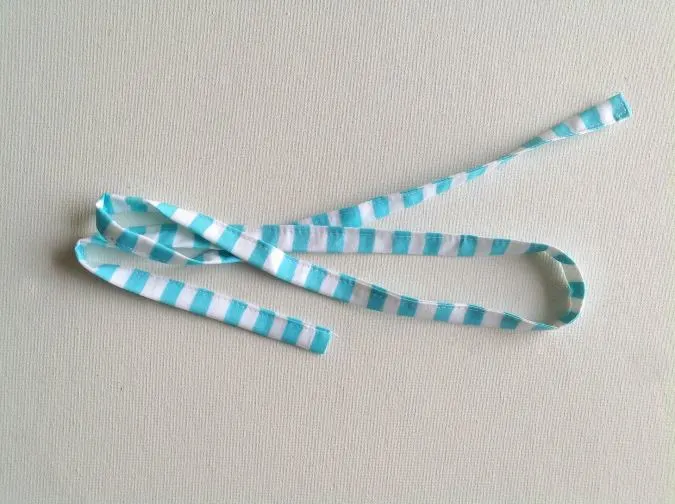
Sew the strap shut along the edge, making sure to catch both the folds. Repeat to get the other strap.

Insert the ties through the casing in the neck using a safety pin


And your dress is ready!
*Caution: Do not leave your infant unattended with the ties at the neck.
If you would like to purchase the pattern in more sizes, which include 6 months to 8 years, you can buy it here for $5.99. The pattern would be e-mailed to you within 24 hours of payment.
Find the webstory for the post here, Create Your Own Flowing Ruffle Top: Free Pattern Inside!
Pin it for later here,
Katie
Tuesday 20th of August 2024
This (including the matching ruffle pants) is the very first outfit that I have sewn for my daughter as a new sewist. Your instructions were so easy to follow, and I appreciate the free pattern! I wish I could post a picture lol
Surayya
Sunday 17th of August 2025
That’s amazing—huge congrats on your first sew! So glad the pattern and instructions helped.
Kathy dennewitz
Tuesday 1st of August 2023
Love this need size 6 buy later going to buy new sewing machine
Debbie
Thursday 2nd of June 2022
I love this girls ruffle dress pattern. Please give me the pattern!!
Surayya
Friday 3rd of June 2022
You can download the pattern pieces free when you enter your e-mail address and click the download button in the blue box above.