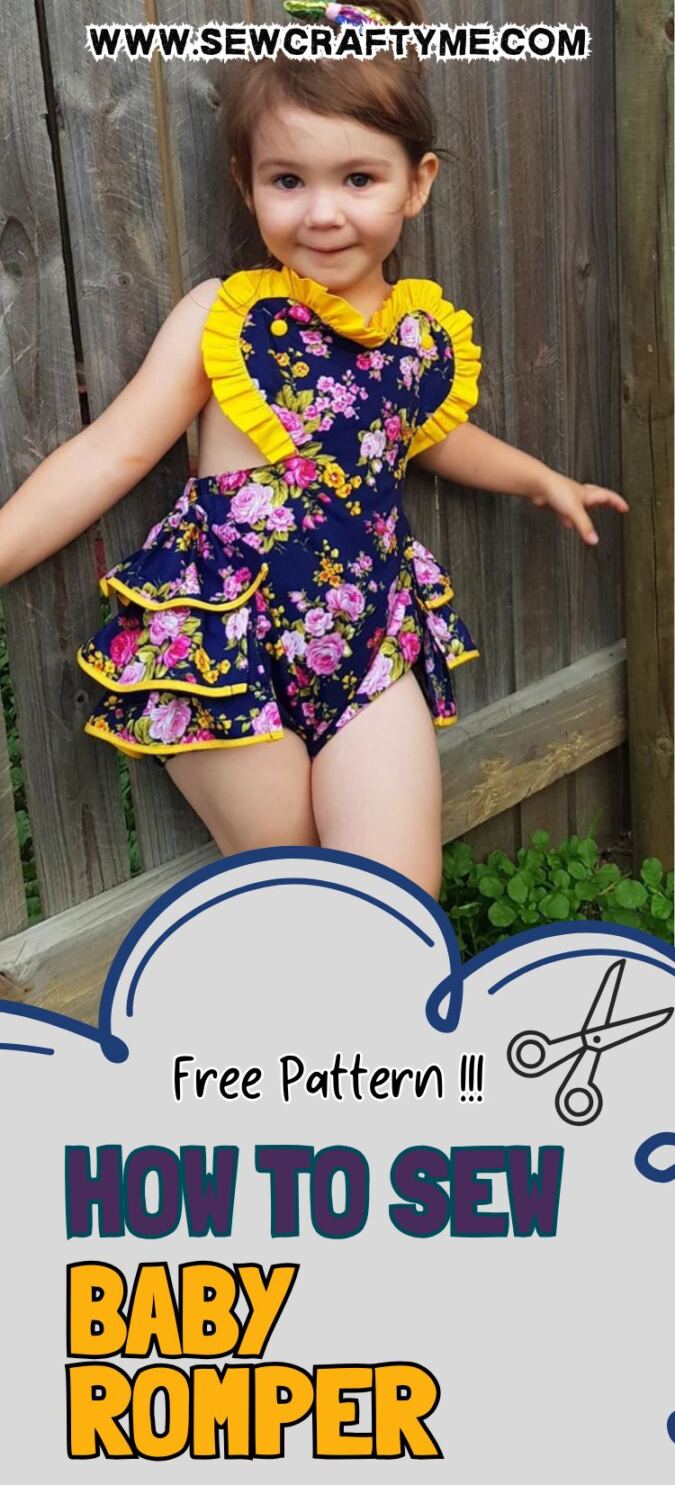
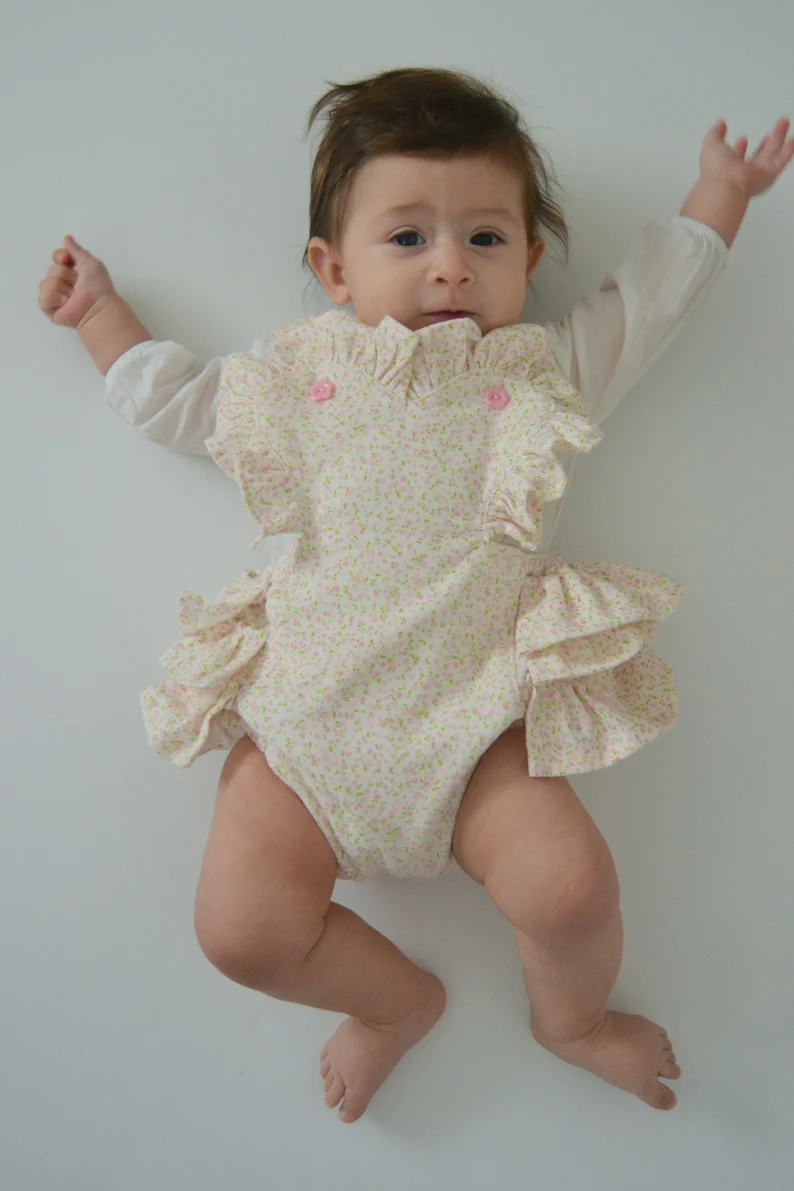
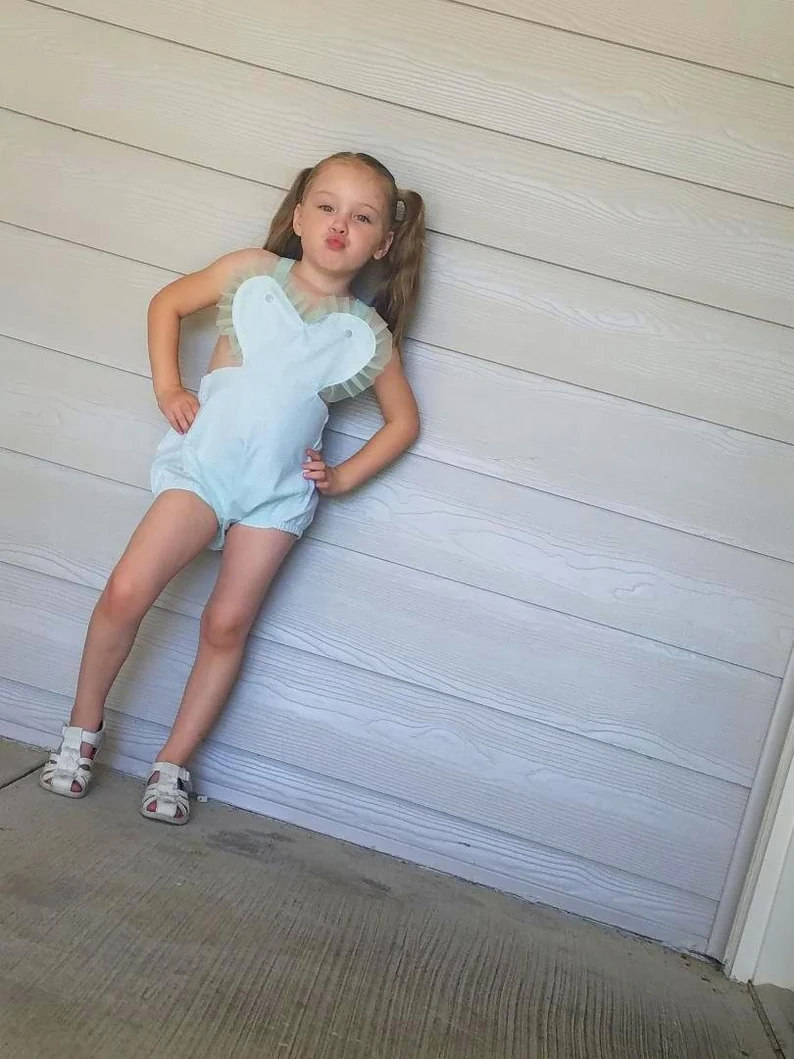
Have a look at this cute romper with a heart-shaped bib! Doesn’t it look like the perfect outfit for your little one for the coming Valentine’s day? Well, here I have come up with a very explicit tutorial with step-by-step instructions so that you can sew one easily.
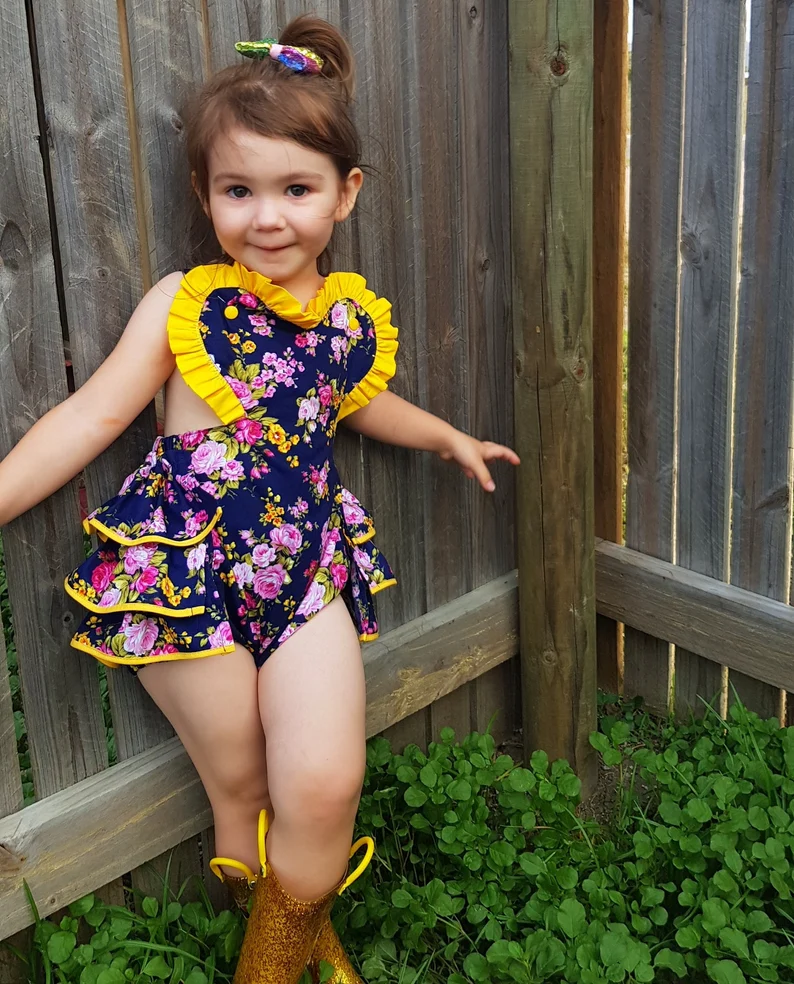
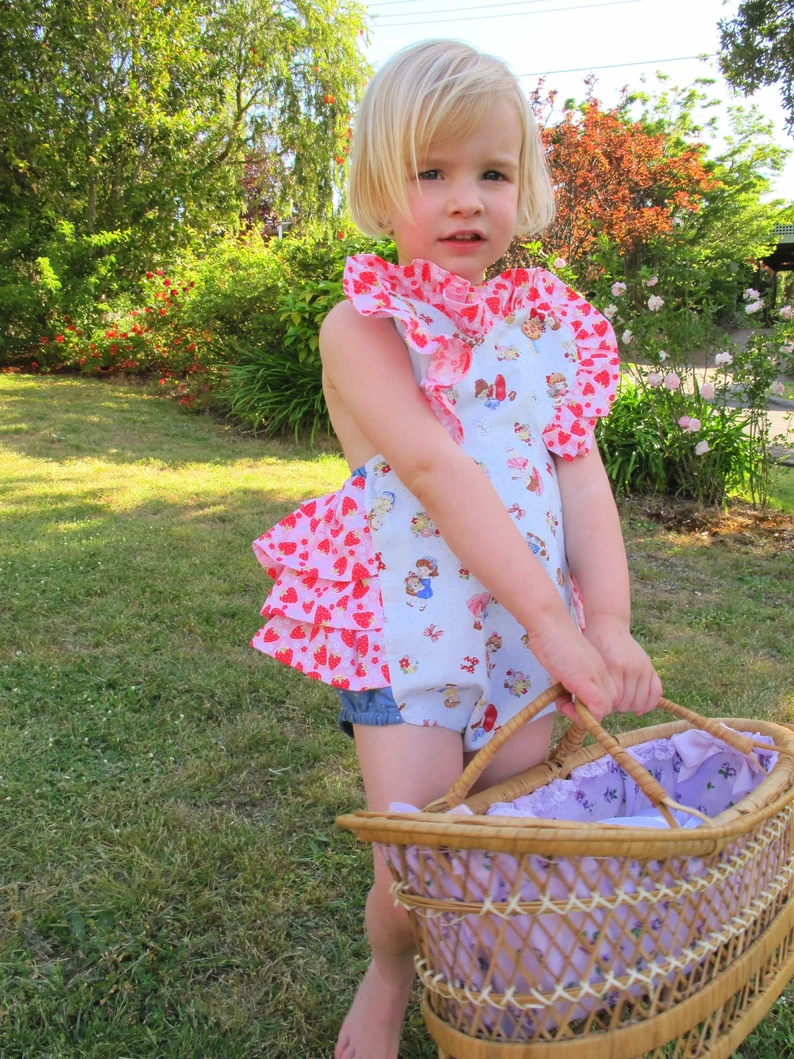
This is a bubble romper, with a heart-shaped yoke. You can sew it in different versions; with or without a ruffle around the yoke, with or without a ruffle at the back.
*** Please note that this is a pattern that requires intermediate to advanced sewing skills and it is best to try it on muslin cloth before trying it on your original fabric.
Supplies Needed:
Medium-weight cotton Fabric for the romper body- requirements specified in the table-3 below.
Medium-weight cotton Fabric for the ruffles- requirements specified in the table-3 below.
3/8 – inch elastic for the romper back- requirements specified in the table-3 below
1/4- inch elastic for the leg holes- requirements specified in the table-3 below
Sewing Notions.
Fabric Marking Pen.
Snap Buttons or ordinary buttons (optional).
Kam snaps or you can use buttons and sew buttonholes – 2 Pairs.
Pattern Pieces. * Enter your e-mail address and click the subscribe button below to download the template automatically.
All the fabrics used here are 44/ 45 inches in width.
The fabrics shown here are only for illustration purposes and as such may vary from the original.
The seam allowance is 3/8 inches unless otherwise specified.
I suggest you read the entire pattern once before starting to get a general idea.
All seams are to be finished by zigzag or serger.
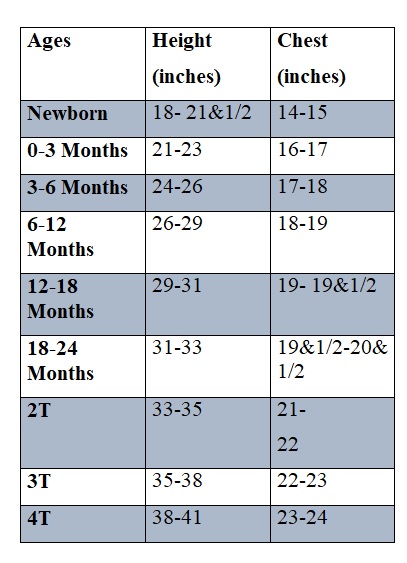
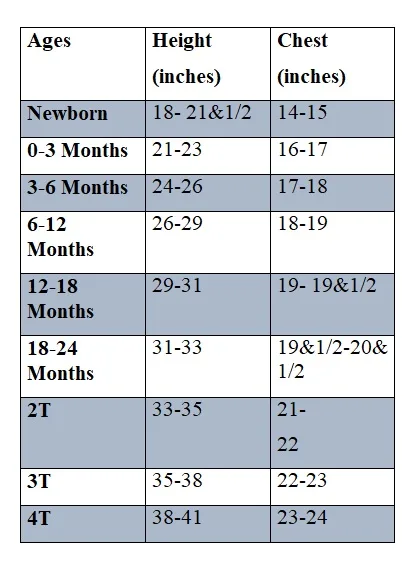
Size Chart
Table-1
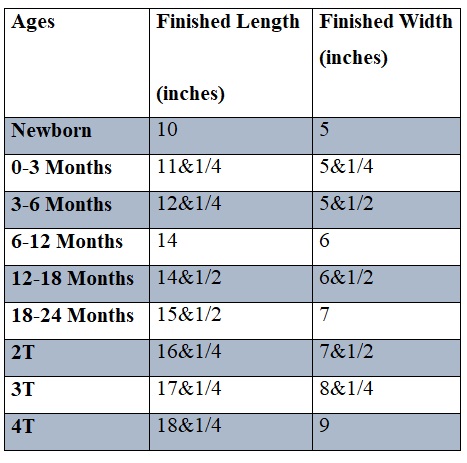
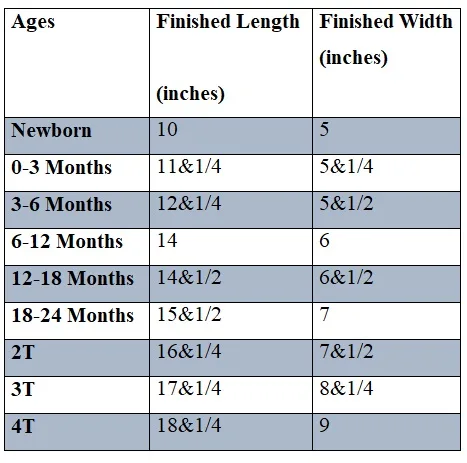
Approximate Finished Measurements:
Table-2
Material Requirements
Table-3


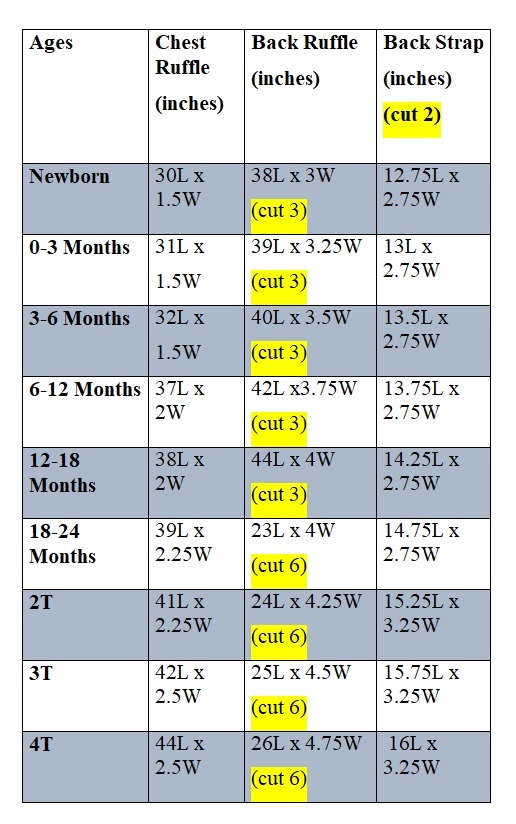
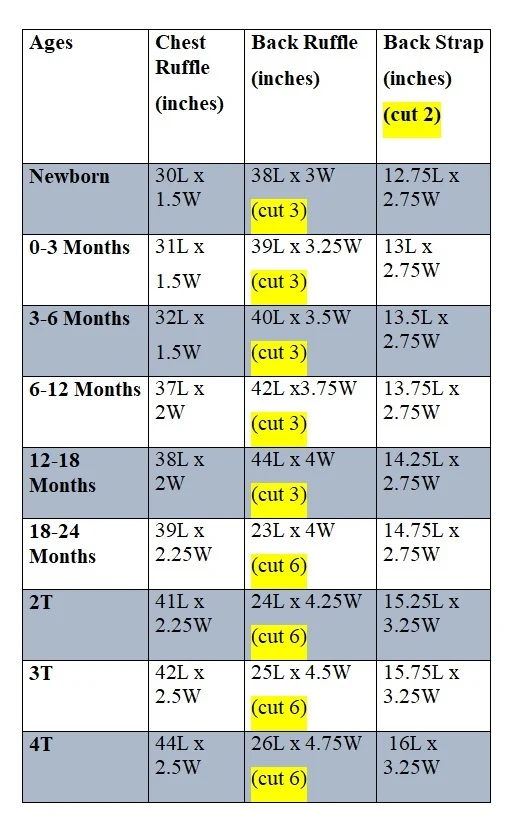
Measurements:
Table-4
In the table below, “L” stands for the length and the “W” stands for the width of the fabric piece to be cut.
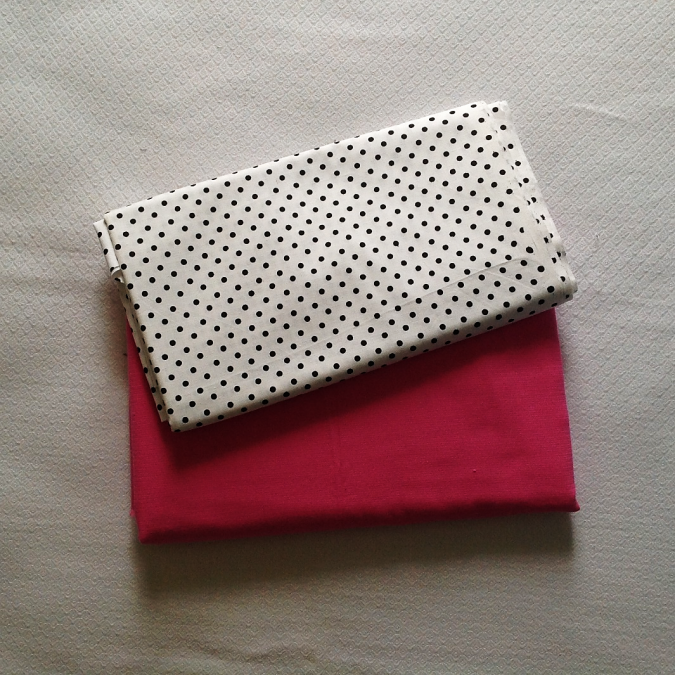
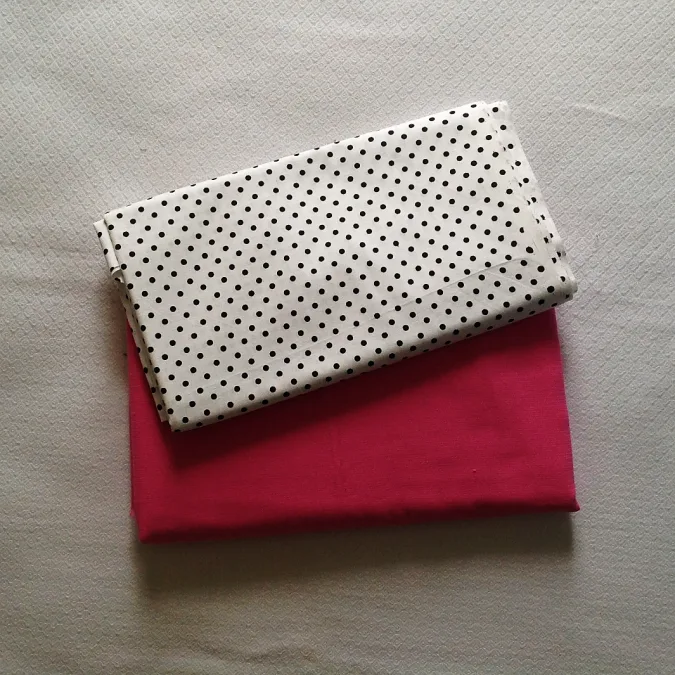
Take the fabric required for the romper body and ruffles.
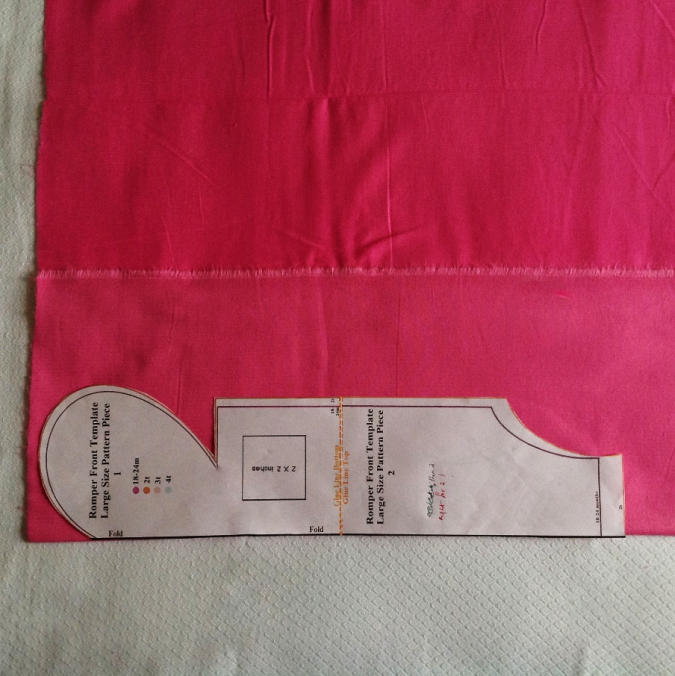

Take the romper front template and the fabric for the romper body. Fold the fabric to fit the width of the template and place the template on the fold. Mark and cut around it to get the romper front piece. Repeat the steps to get one more of the same for the lining.

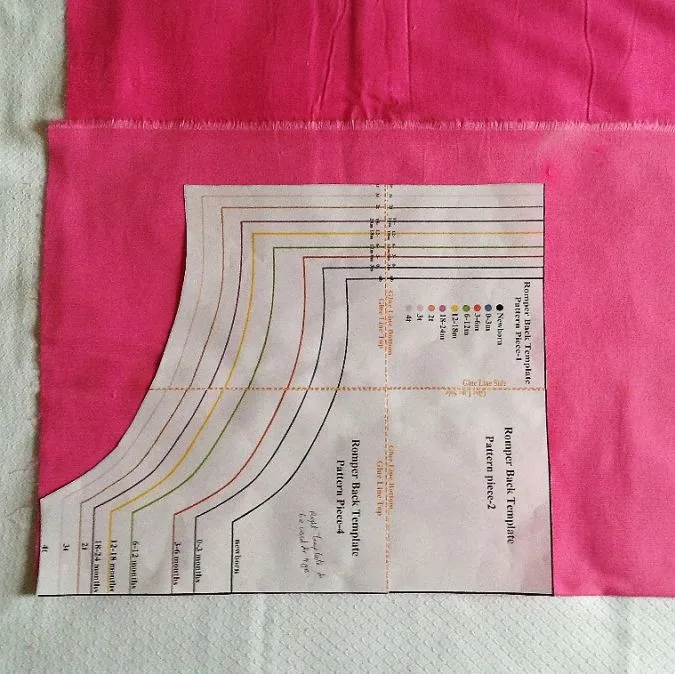
Similarly, cut the romper back piece, using the romper back template.
Cut the fabric strips for the back strap, front ruffle (optional), and back ruffle (optional) referring to table-4 above.
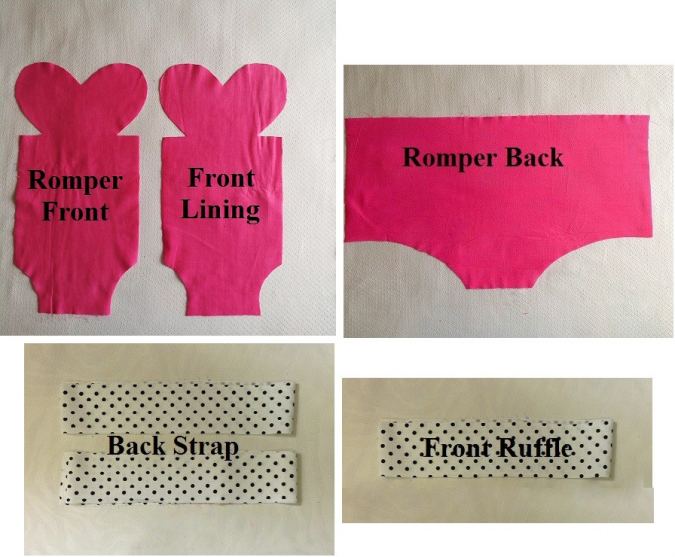

You will get your romper front, front lining, romper back, strap and ruffle pieces like the above.
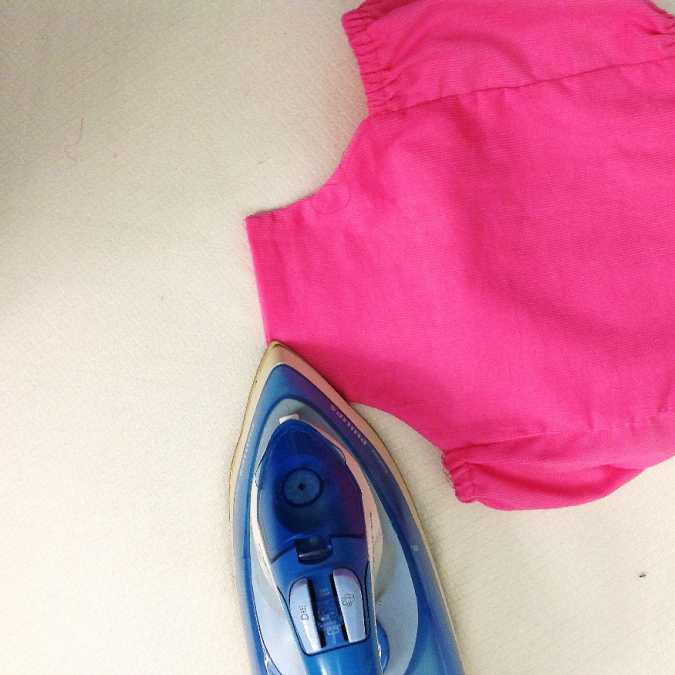
Let’s start sewing. We start with the chest ruffle.
We first need to hem the three edges of the ruffle piece, leaving one long edge raw for gathering it.
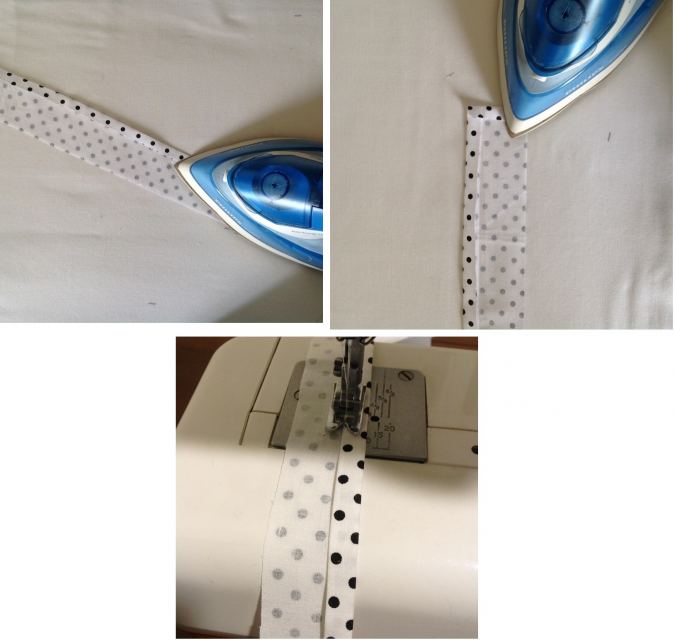
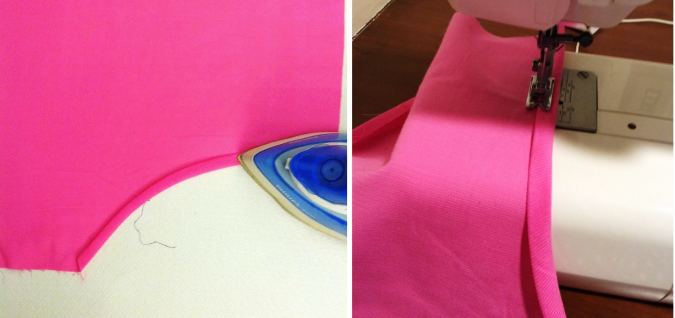
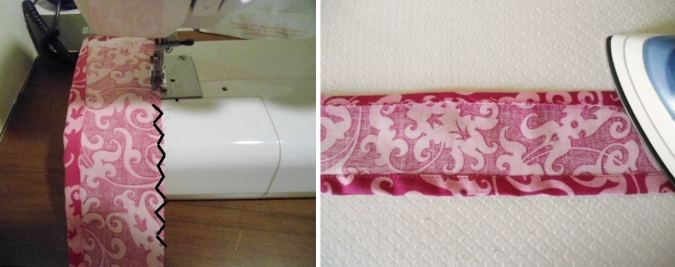
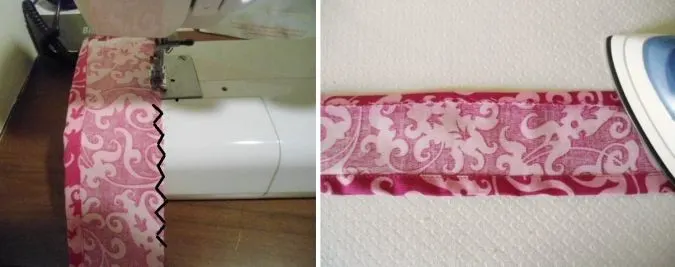
Take the fabric piece for the ruffle. Fold one of the longer edges and the two short edges twice by 3/8-inch towards the wrong side and press.
Sew down the hem, along the edge of the folds.
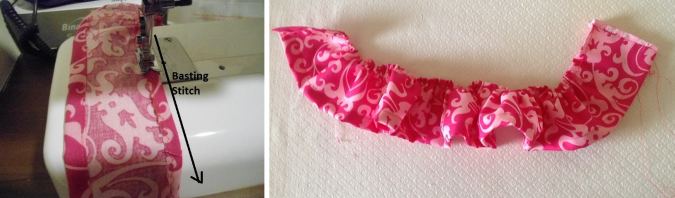
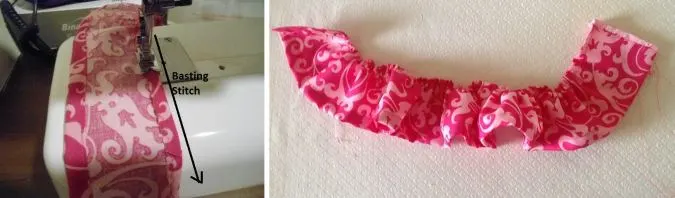
Next, we need to gather the ruffle. For that we turn the upper thread tension of the machine to zero and the stitch length to the longest, to get a basting stitch.
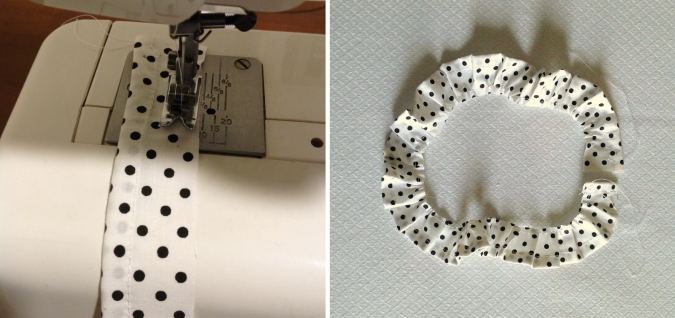
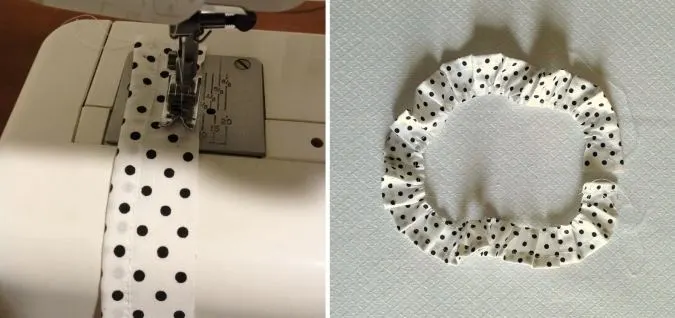
Sew a basting stitch along the raw edge of the ruffle, leaving a long tail of thread, about 6 -inches long, to pull and gather it. Pull the thread from the bobbin gently and gather the ruffle.
Next, we need to sew the ruffle to the romper front.
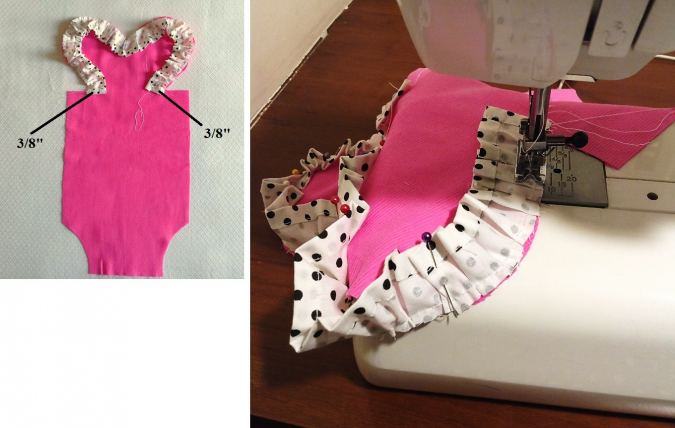
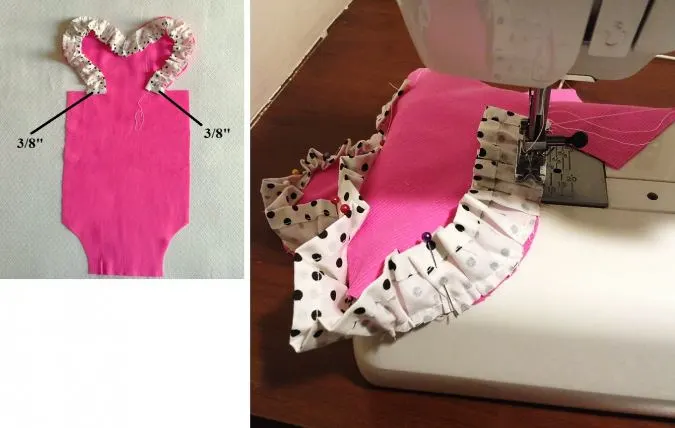
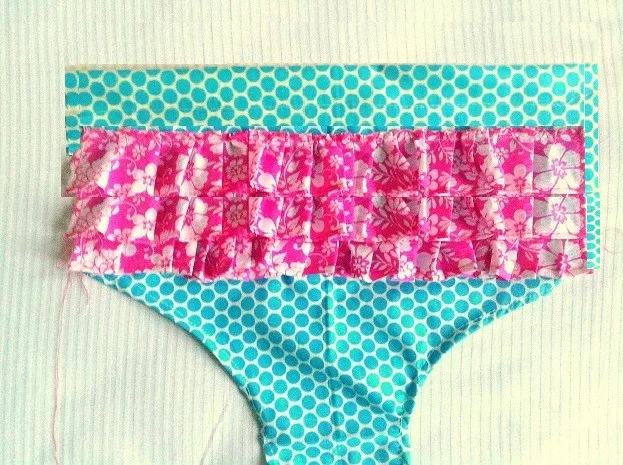
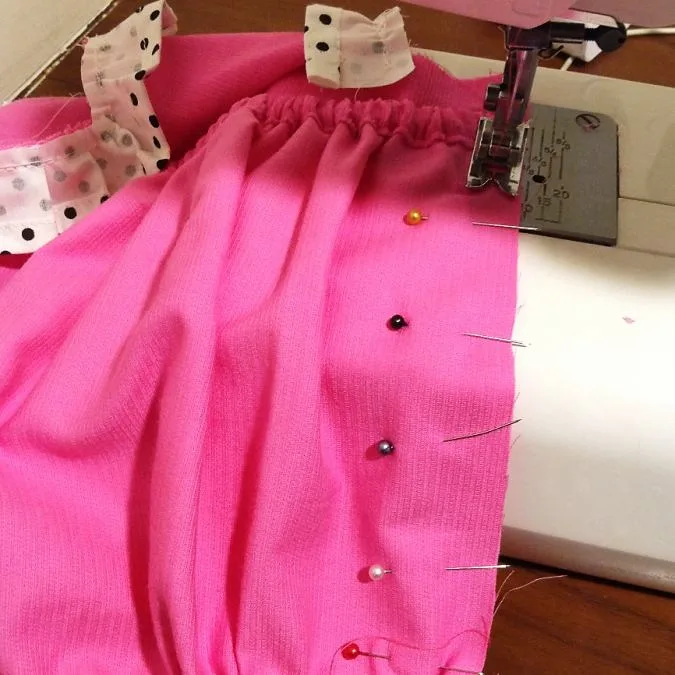
Leaving 3/8-inch of the ruffle extra on both sides, align the raw edge of the ruffle along the edge of the heart-shaped yoke of the romper front, with the right sides together and pin. Keep adjusting the gathers to make it uniform and match the edge of the romper yoke.
Turn the machine settings back to normal and sew the ruffle to the yoke, with a seam allowance of ¼- inch. Keep removing the pins as you sew.
Let’s finish the back part of the romper.


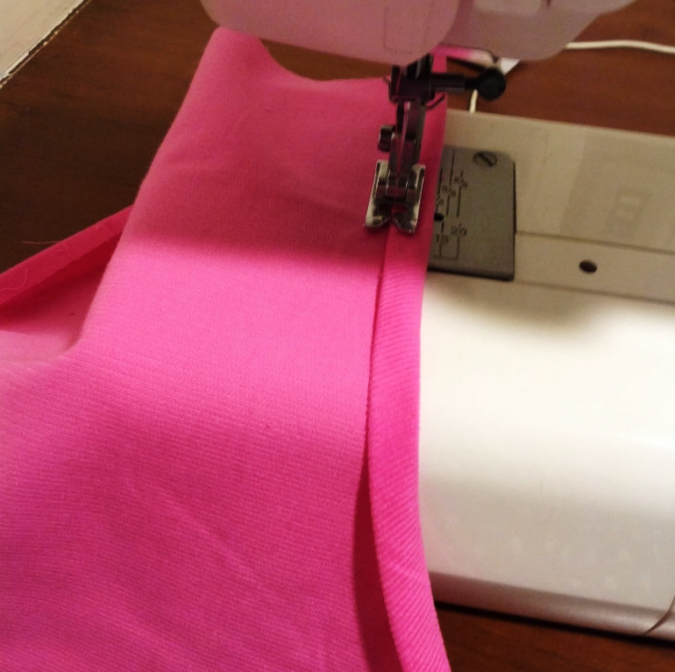
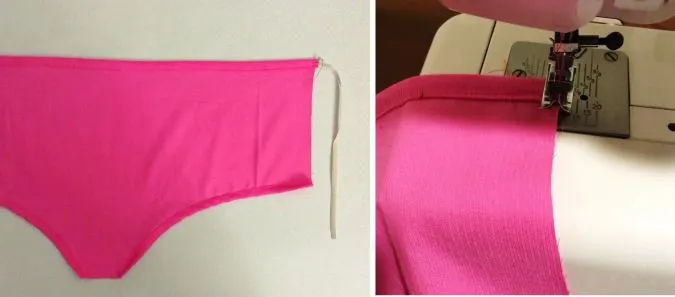
Take the romper back piece, fold the upper edge by ¼ – inch towards the wrong side, and press. Fold again by 1/2- inch and press once more.
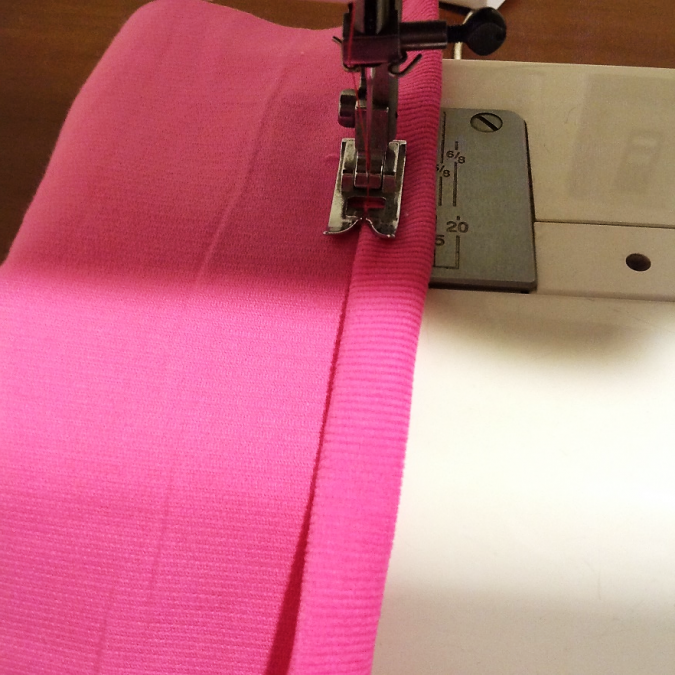

Sew the casing down, along the edge of the fold. Your casing for the back elastic is ready.
Next, we finish the elastic casing for the leg holes.

Fold the edge of one of the leg holes by ¼- inch, towards the wrong side and press. Fold again by 3/8- inch and press once more.

Here again, sew the casing down, along the edge of the fold. Repeat on the other leg hole.
If you are sewing the version with the back ruffles, read on. If you would like to sew without the back ruffles, skip the 7 steps below.
*Note that the elastic is inserted later, once the ruffles are done.
Let’s do the ruffles.
Cut the fabric pieces for the ruffle, referring to the table-4 above. *For ages 18 months and above, you will have to join two fabric strips to get the required length of the ruffle.


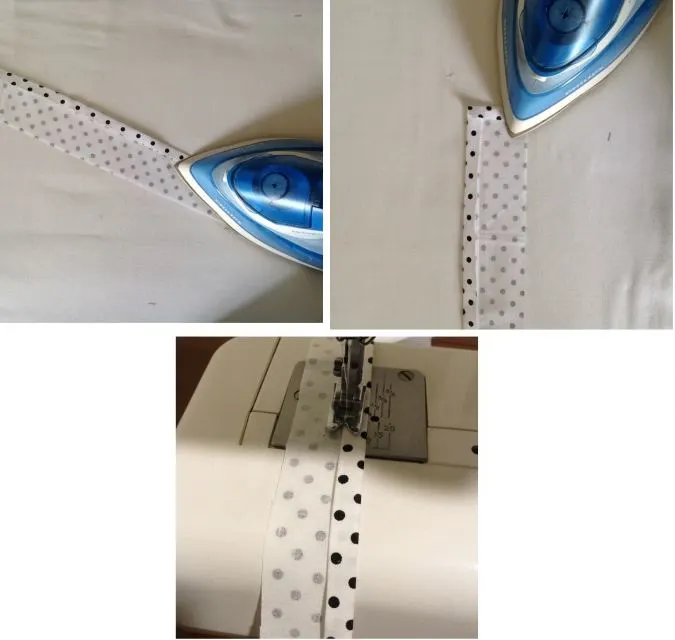
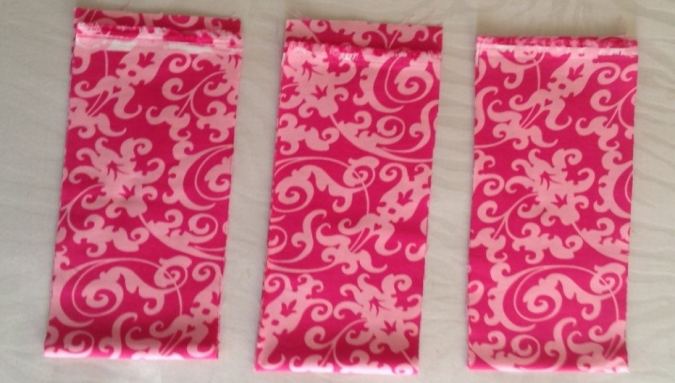
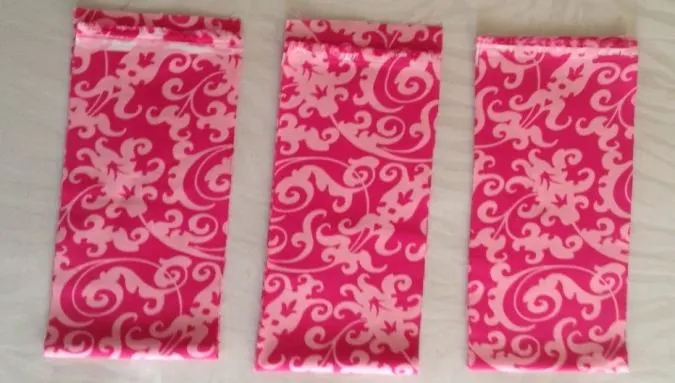
Take one ruffle piece and fold one of its longer edges towards the wrong side, twice by 3/8 -inch, and press. Repeat the same on both the shorter edges, leaving one longer edge raw. This is where you gather the ruffle. Sew down the folds along the edge.
Zigzag the longer raw edge to prevent fraying. Fold it (zigzagged edge) by 3/8- inch and press. This is where we do the basting stitch and gather the ruffle.
Do a basting stitch along the single folded edge, leaving a long tail of thread, 6-7 inches long to pull and gather the ruffle. Pull the thread from the bobbin gently and gather the ruffle. Repeat the steps to get the other two ruffles.
Let’s attach the ruffles to the romper back.
Table-5
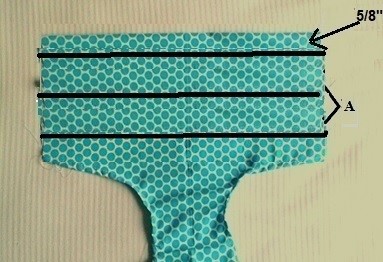
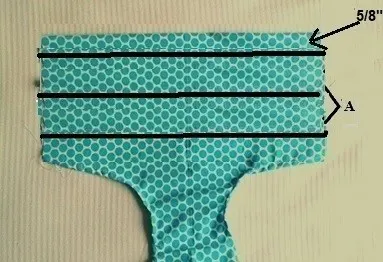
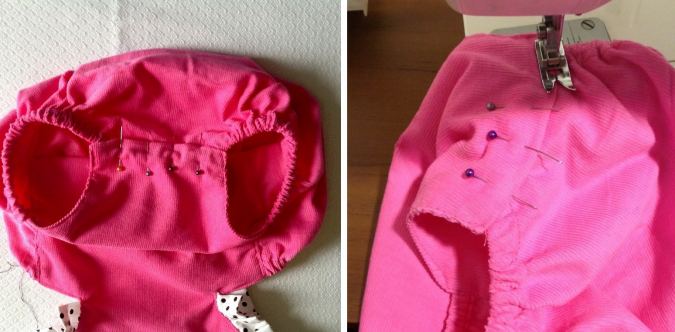
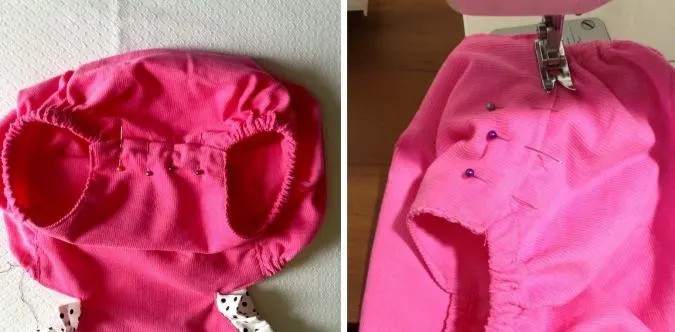
Draw a line 5/8 -inch below the top edge of the romper-back using a washable marking pen. This is for the first ruffle. Draw a second line at “A”- inches from the first line, referring to the table-5 above and a third line at a similar distance as shown in the picture.
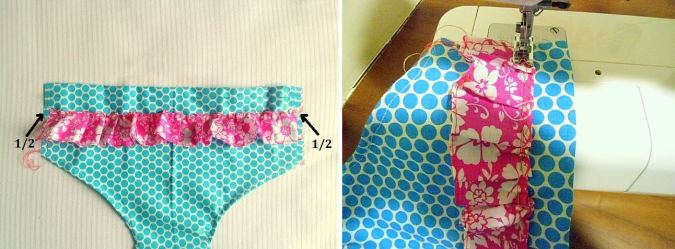

Take the first ruffle; adjust the gathering to leave ½-inch on either side of the romper back and pin it along the first line as shown above.
Change your machine settings back to normal.
Sew the ruffle onto the romper.
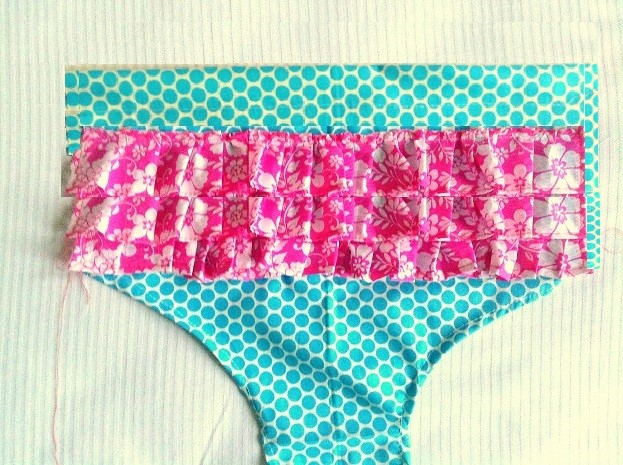
Take the second ruffle, adjust the gathering and pin it along the next line, again leaving ½-inch on either side. Sew it onto the romper back, removing the pins as you go. Repeat the steps with the third ruffle.

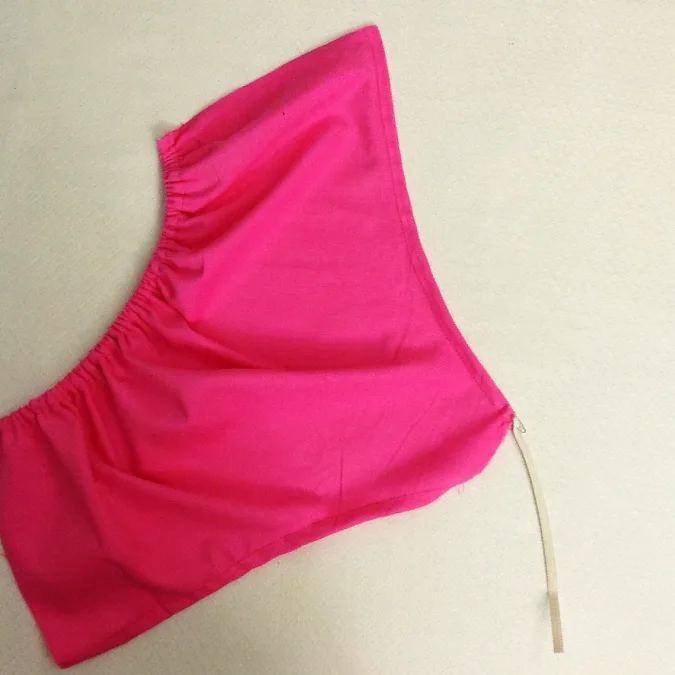
Take the required length of the 3/8- inch elastic, referring to the table-3 above and insert it through the back-elastic casing (waist), using a safety pin. Secure the ends of the elastic by sewing back and forth, a few times.
Next, we insert the elastic into the leg hole casing.

Take the required length of ¼- inch elastic, referring to the table-3 above, and cut it into two equal pieces. Take one of the pieces and insert it through the leg hole casings, again using a safety pin. Secure the ends of the elastic, as you did with the back elastic. Repeat on the other leg hole with the other elastic piece.
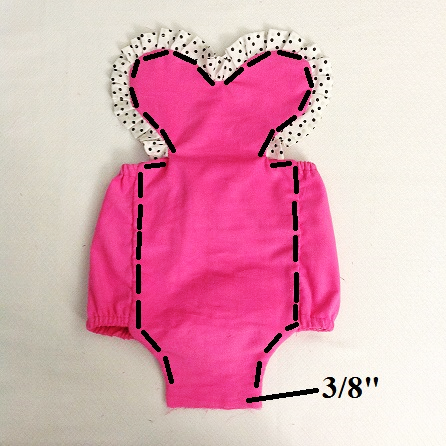
Next, we join the romper front and the romper back pieces together.
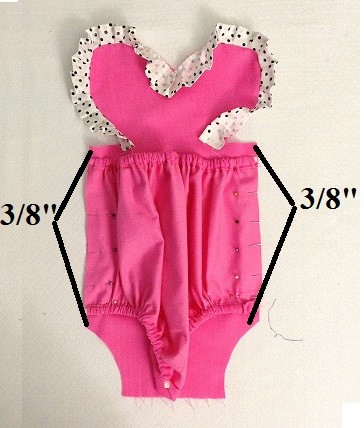

Keep the romper back piece over the romper front, aligning the straight side edges and with the right sides together. Leave 3/8- inch, at the upper and lower edge of the romper front and pin them together along the side seams. You will see that the romper back is wider and as such, you will need to roll it up in the middle to keep it away from getting sewn into the side seams.

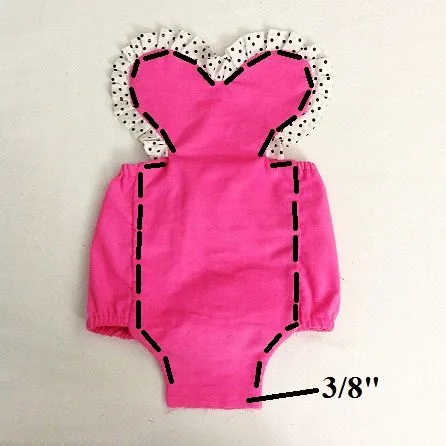
Sew the two pieces together along the pinned edges.
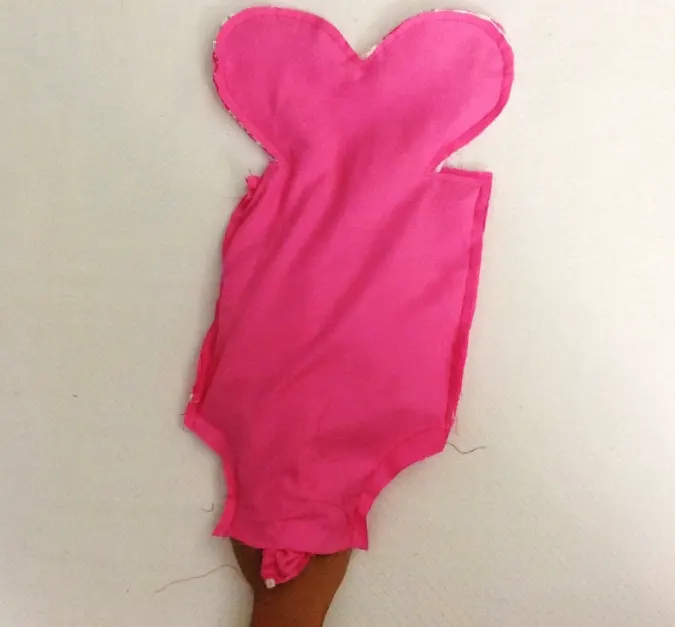
Next, we need to attach the lining.
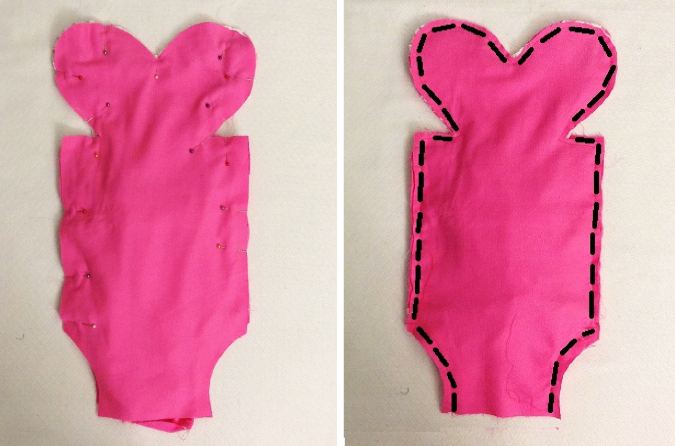
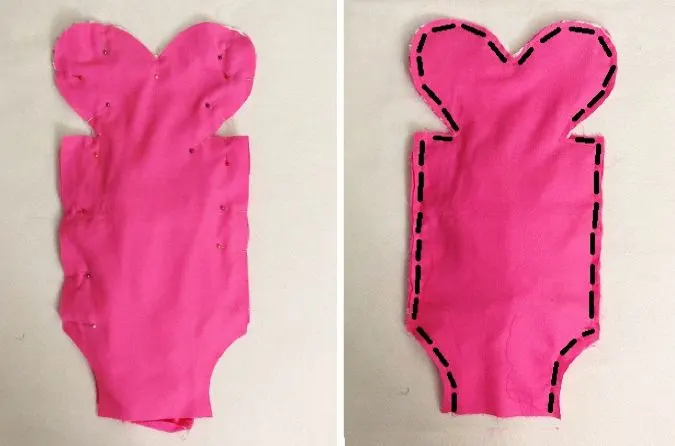
Take the front lining piece and keep it over the romper front, with the right sides together and pin all around. The romper back is now sandwiched between the romper front and the front lining. Sew the lining to the romper, leaving the lower edge open as marked above.
Clip the corners and cut notches along the curved edges to reduce the bulk along the seam (picture for illustration purposes).
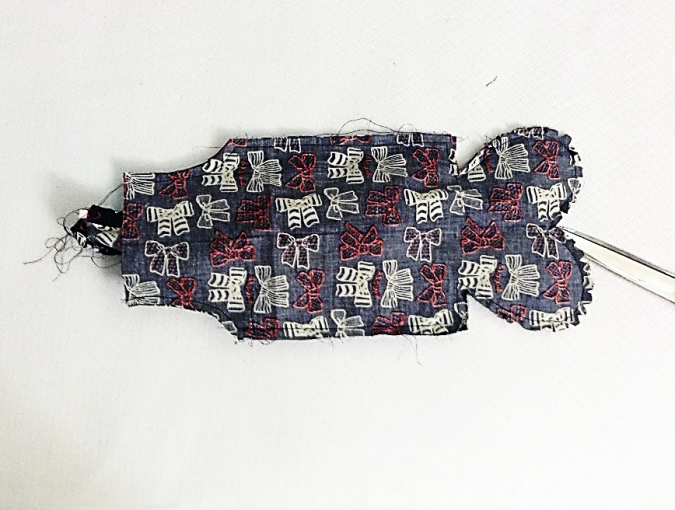
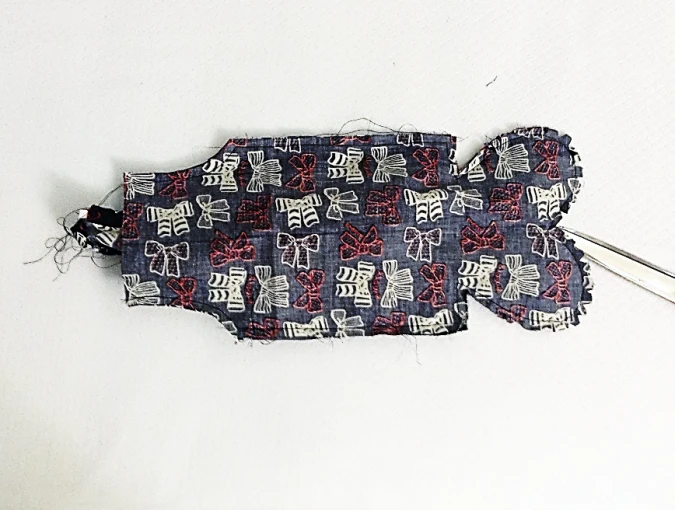
Next, we need to turn it inside out.

Slide your hand in between the front and back romper pieces and start pulling the right side out through the crotch. Keep pulling till the right side of the romper is completely turned out.
Pull the ruffle taut and press the sewn edges to make it look neat and crisp. Topstitch as marked above, leaving 3/8- inch above the lower edge.

Fold the lower edge into the opening in between the romper front and lining, by 3/8-inch and press.
Insert the raw edge of the romper back into the opening in the romper front, till the edges of the leg holes are aligned and pin. Sew the opening shut, along the pinned edge.
Next, we need to do the straps.
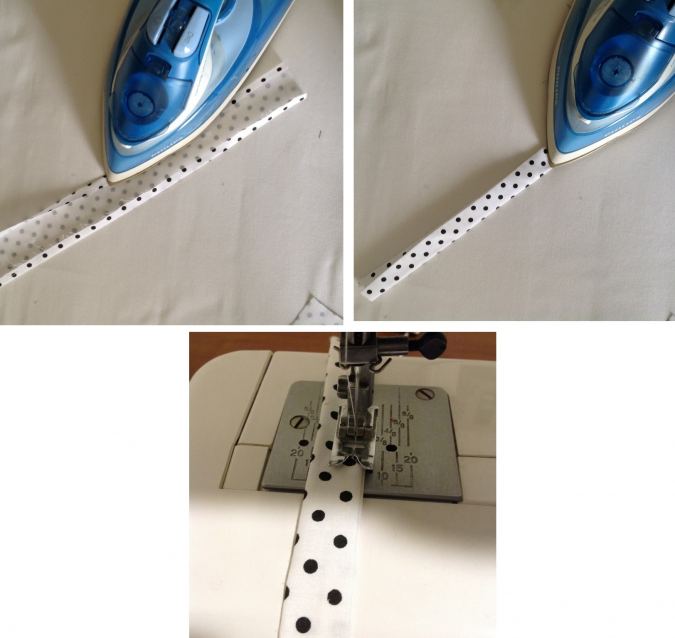

Take one of the strap pieces, fold its four edges towards the wrong side by 3/8- inch, and press. Fold the strap once again, in half, lengthwise, and press to set, keeping the folds along the edges intact. Sew the strap shut along the folded edges. Repeat the steps to get the other strap ready.
We need to attach the straps to the romper. Let’s mark the point on the back part of the romper, where the straps are to be attached.

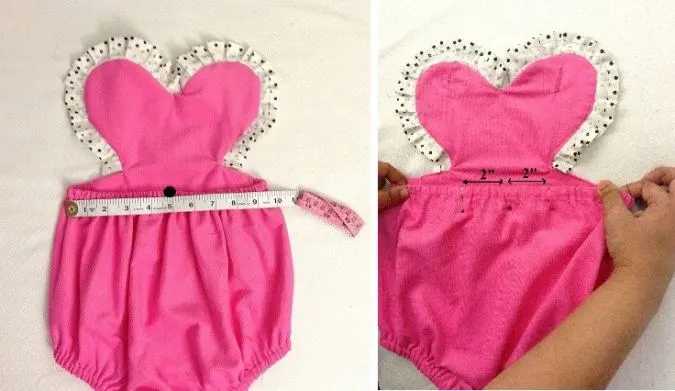
Using a measuring tape, find out the center of the elasticized back and put a pin at the point. Measure 2-inch from the point, on either side, keeping the elastic stretched and mark once again, with a different color pin. This is where the straps are to be attached.
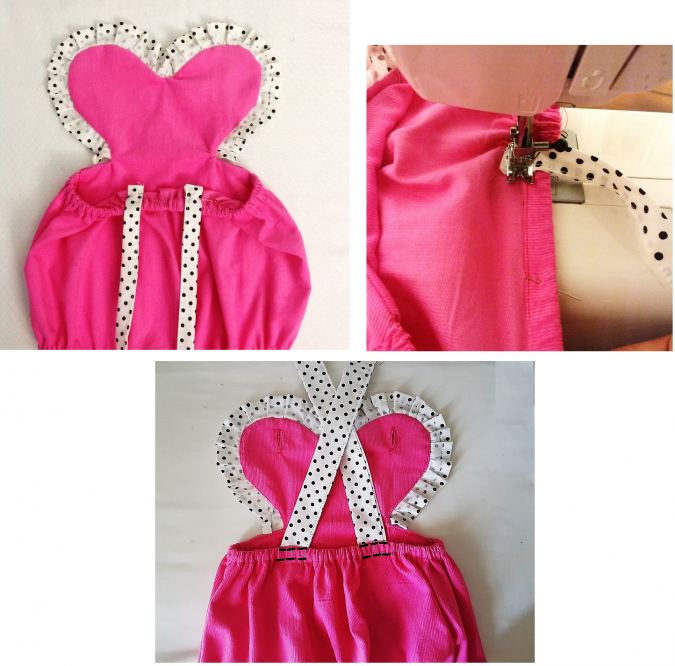

Take the straps and keep its shorter edge, below the waist elastic, by 3/8-inch, at the marked point and pin. Sew the straps onto the romper at the top and base of the waist elastic. Make sure to reinforce the stitches, by sewing back and forth a few times.
Let’s sew the button holes.
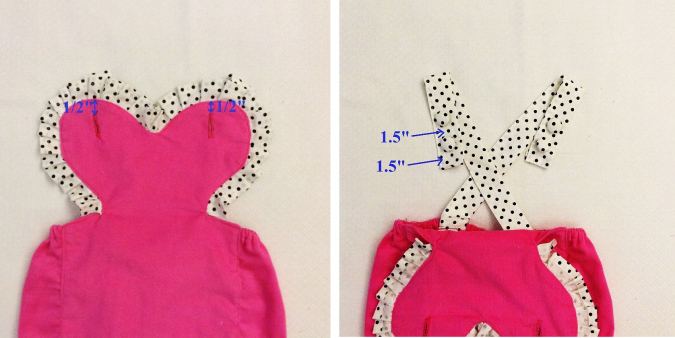

Following the instructions in your sewing machine manual, sew two buttonholes, half-inch down from the top and at the center of the two petals of the heart-shaped romper front. Hand-sew the button, 1.5- inches from the edge of the back strap. Hand-sew the second button 1.5 inches from the first (the second button is added to add more room for growth). Repeat the steps on the other strap. Or alternatively, you may use KAM snaps.
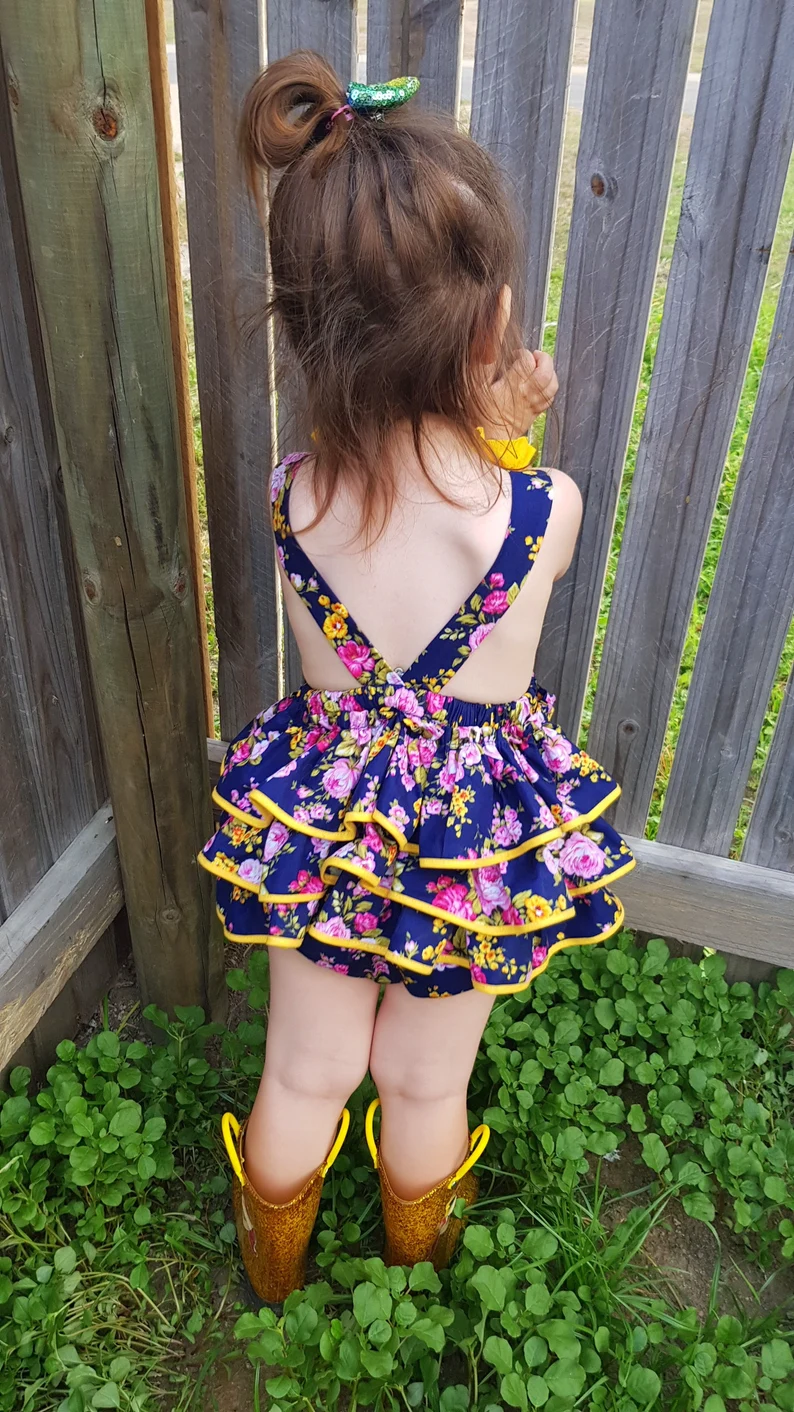
- The strap should be crossed at the back while wearing the romper.
- If you have the child with you, you may try it on the child and mark the position of the buttons for a more correct fitting.
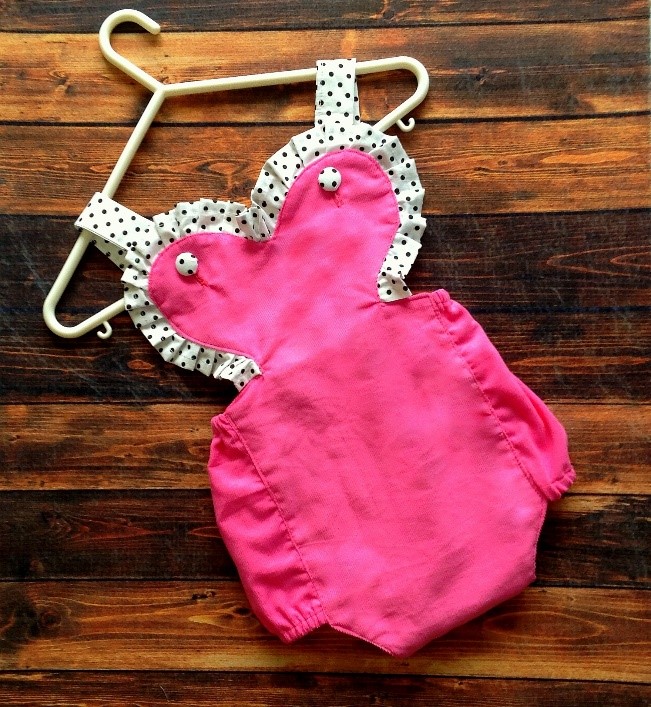

Your romper is done!
Pin it for later here,