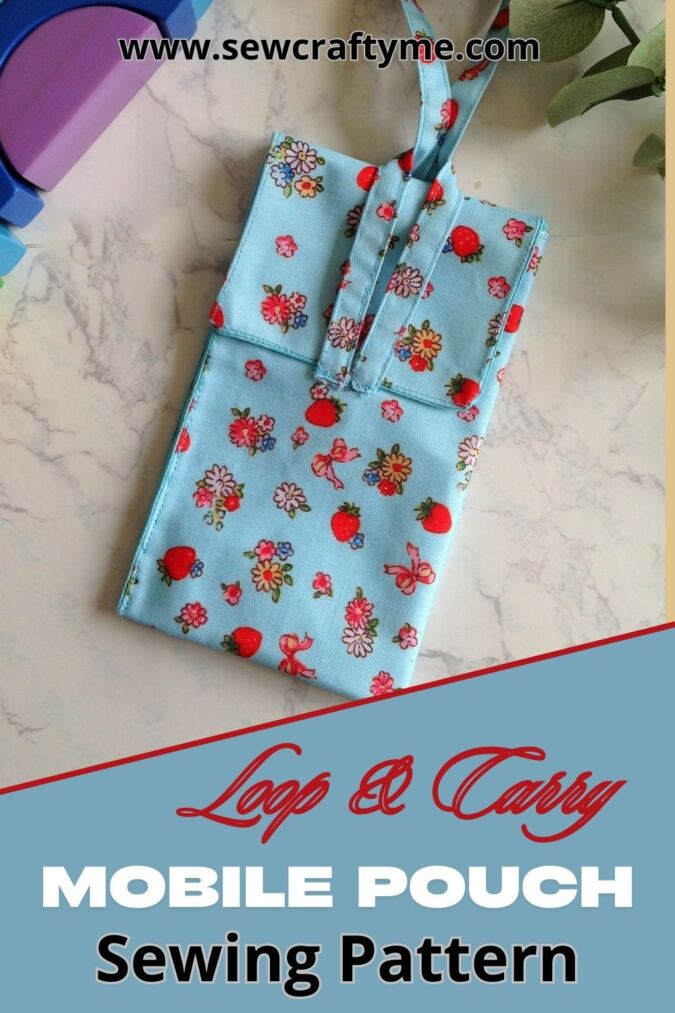
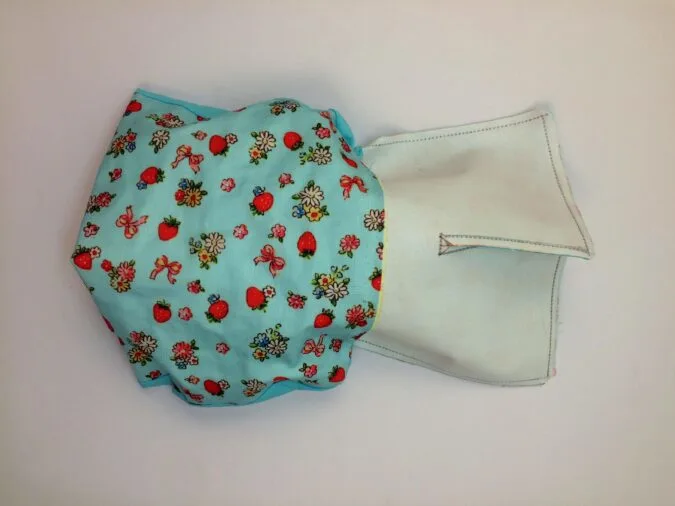
How do you like this Loop and Carry Pouch? No zippers, no buttons—just push in your belongings and loop it closed! Isn’t that easy and fun?


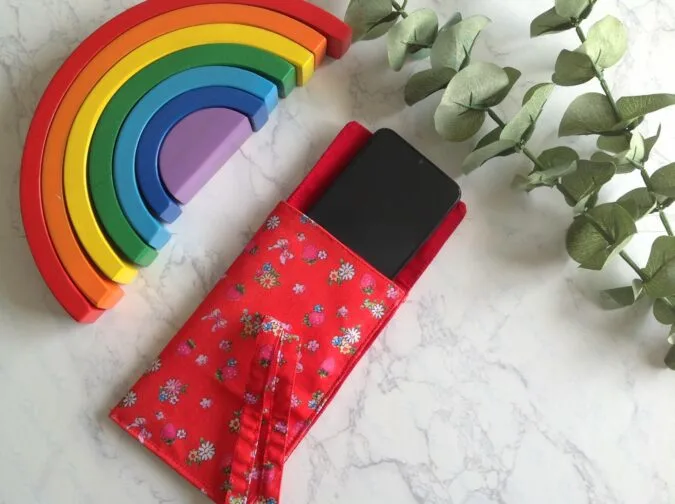
Though this pouch is primarily designed for mobile phones, it’s also perfect for carrying other little essentials. No need to worry about things falling out—the closure flaps and twin loops keep everything secure and tight!

And are you thinking this might be a long sewing journey? Well, not at all! You can easily make this in under an hour—even if you’re a beginner.
So, let’s dive straight into it!
Easy Loop and Carry Pouch Sewing Pattern
Supplies Needed:
Medium- weight cotton fabric for the pouch outer- 1/3 yard.
Medium- weight cotton fabric for the pouch lining- 1/3 yard.
Medium- weight fusible interfacing- 1/3 yard (you may use heavy- weight fusible interfacing, if you need a sturdier pouch.
Sewing notions.


Gather your supplies.
Cutting dimensions:
Cut one outer piece with 9.25W x 18.5L- inches dimensions.
Cut one lining piece, with the same dimensions as above.
Cut one interfacing piece, with the same dimensions as the above.
Cut one long loop piece with dimensions 2W x 18.5L- inches.
Cut one small loop piece with dimensions 2W x 9L- inches.

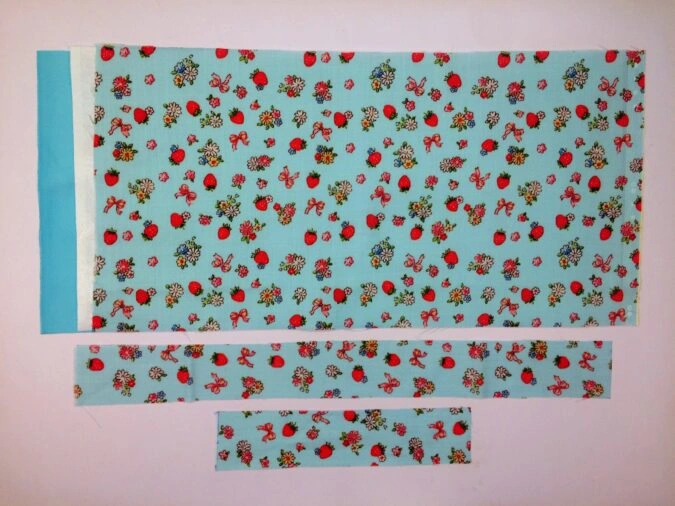
You will get your pieces like this.

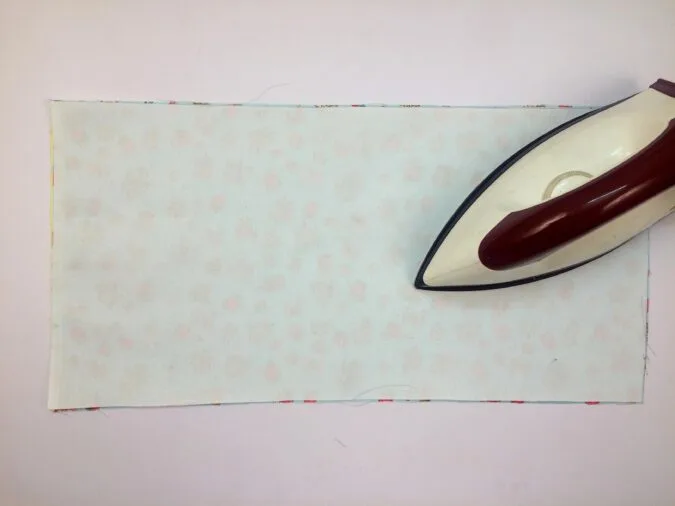
Fuse the interfacing pieces to the wrong side of the outer pouch piece, following the manufacturer’s instructions.

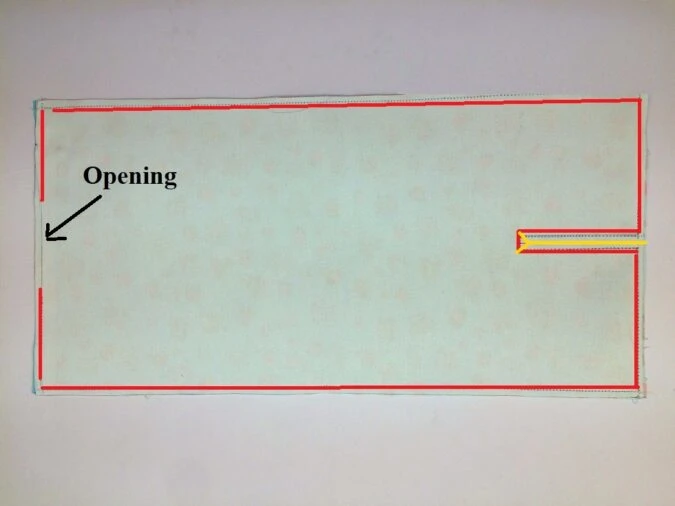
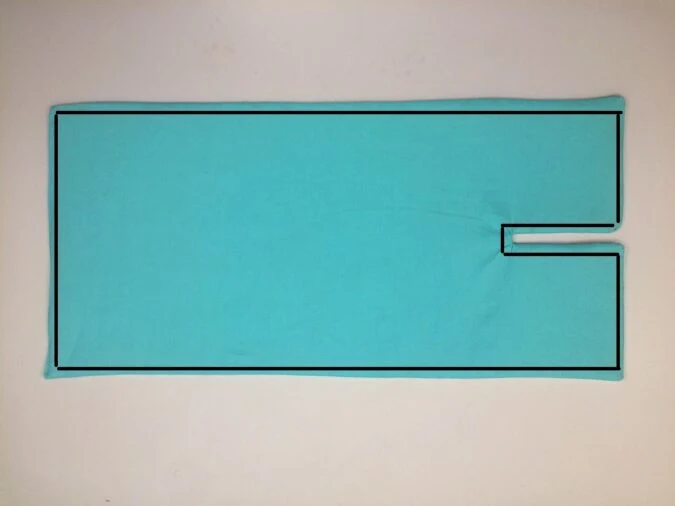
Draw a small rectangle (seen on the right side), measuring 0.75 inches wide and 3.25 inches long, centered along one of the short edges. Inside this rectangle, draw the cutting lines (indicated by yellow lines in the picture). Sew all around the edges of the fabric and along the outline of the rectangle (all marked in red). Be sure to leave a small 3-inch opening for turning the fabric right side out.

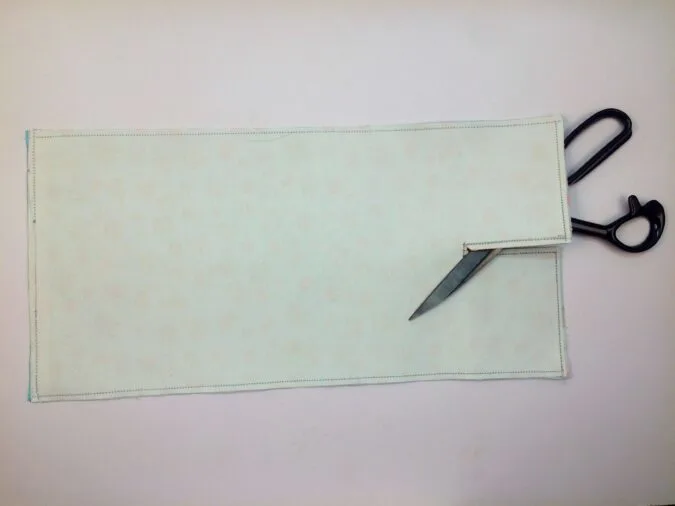
Cut the rectangle open along the yellow lines.

Pull the right side out through the opening.

Tuck the raw edges in and press. Sew around the edges as marked.

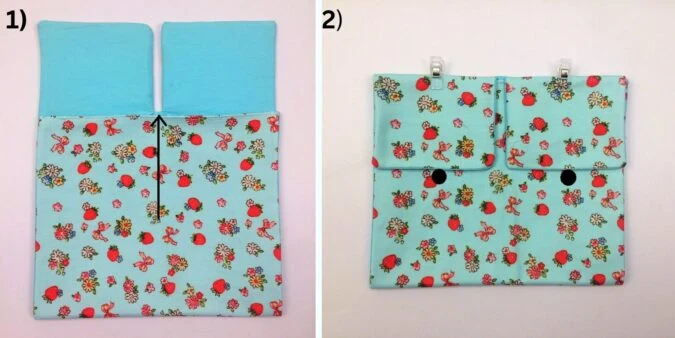
1) Fold the lower edge up to meet the bottom edge of the rectangular opening. 2) Then, fold the flaps down and mark points on the main fabric, aligned with the center of each flap.

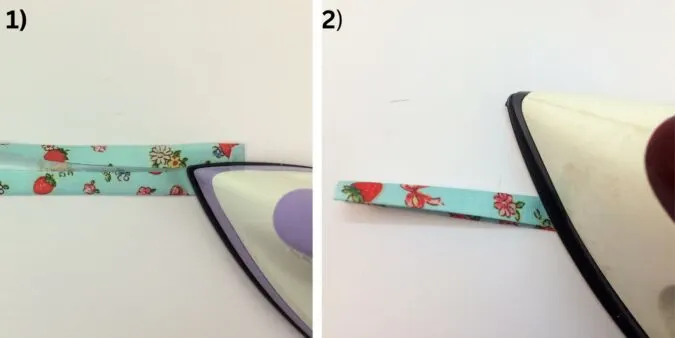
1) Take the pieces (for the loop), fold the two long and short edges towards the wrong side by 1/2- inch and press to set.2) Fold the straps again in half and press once more.


Sew the strap shut along the edges.

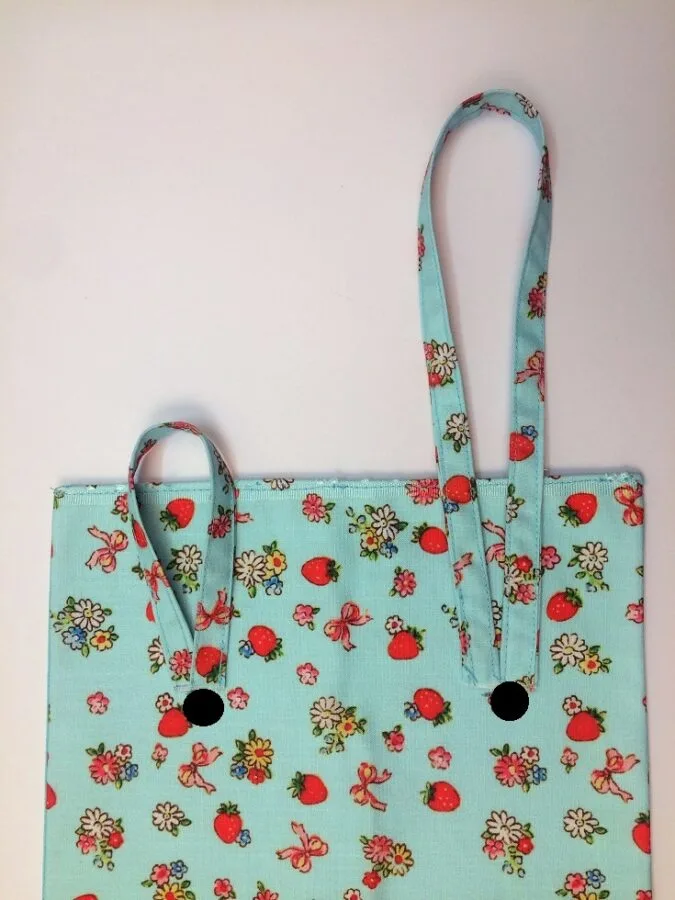
Open the pouch. Fold the strap in half to form the loop. Place them on the marked points and secure them by sewing back and forth

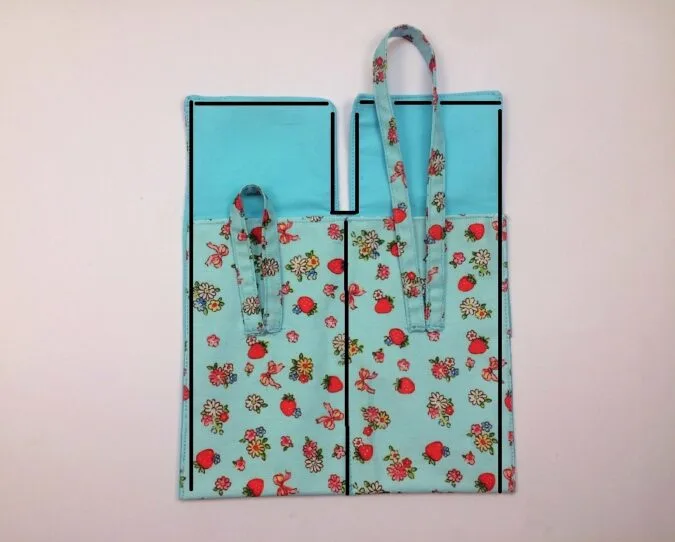
Turn the piece over to the lining side and fold the lower edge up again to meet the bottom of the opening at the top. Mark a line from the bottom of the opening down to the folded edge. Sew around the edges and along the central line as marked.


Fold the piece backward along the center line, lining up the edges and with the pockets and closure flaps on both sides. Sew the open edges shut, leaving the flaps open.


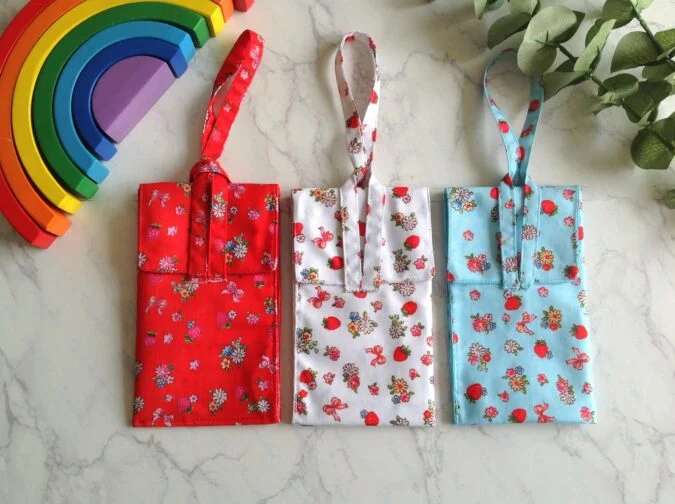
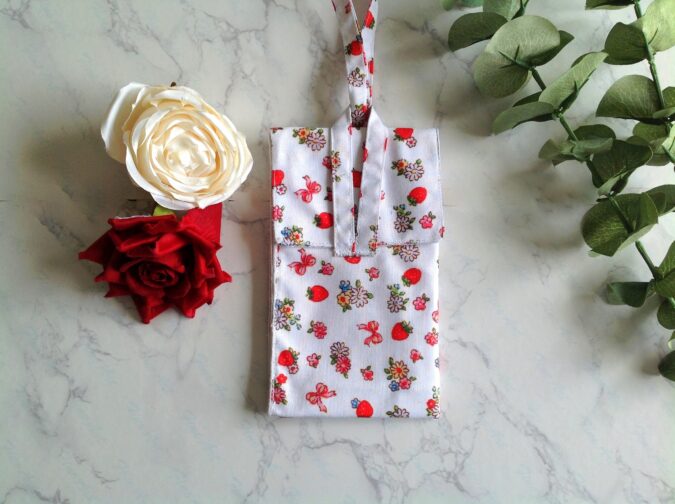
Our double- sided “loop and carry pouch” is ready!
Find the webstory here ; Sew Your Own Loop-Handled Organizer Pouch
Pin it for later here,