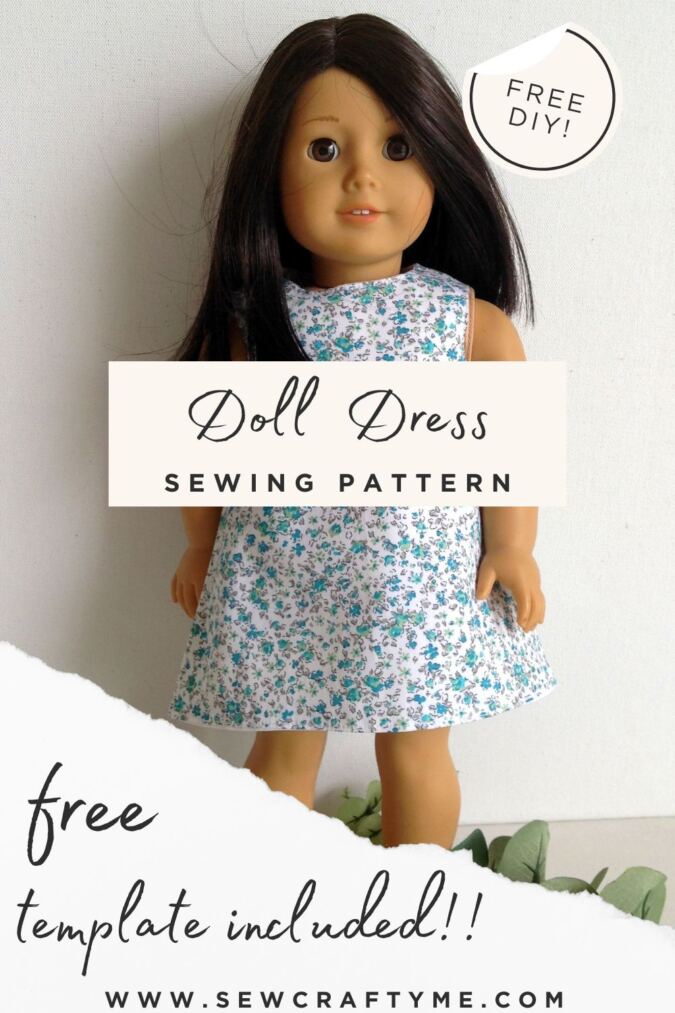
After a short hiatus from doll dress patterns, I’m back with a very easy doll wardrobe staple—an A-line doll dress pattern. It’s simple to sew, comes with a full template, and is completely reversible too!


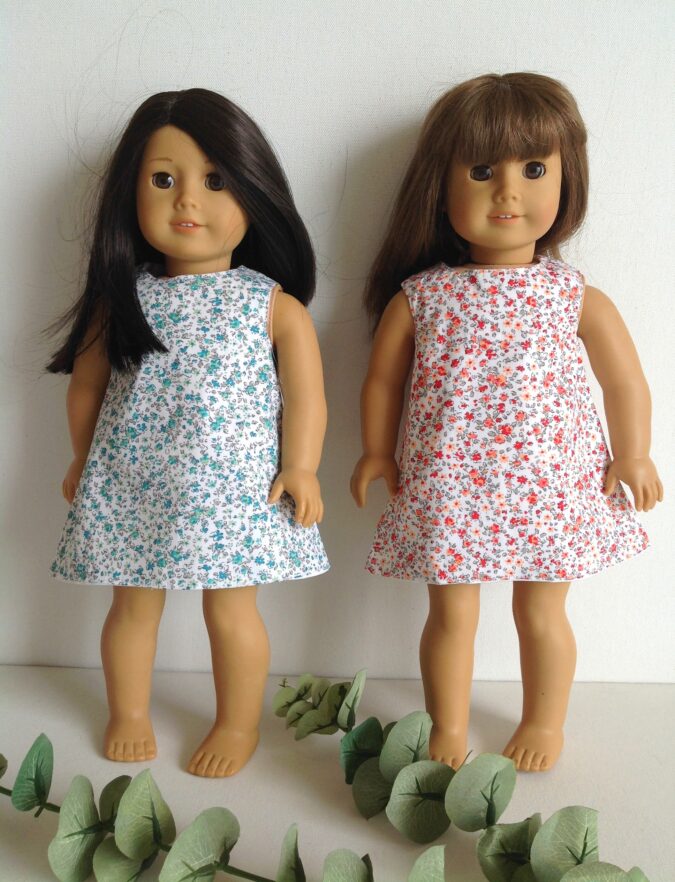
If you’ve tried my other patterns, this doll dress will definitely be a breeze to make. With just a few pieces to cut and a few stitches to sew, you’ll have a classy two-in-one dress ready in no time.


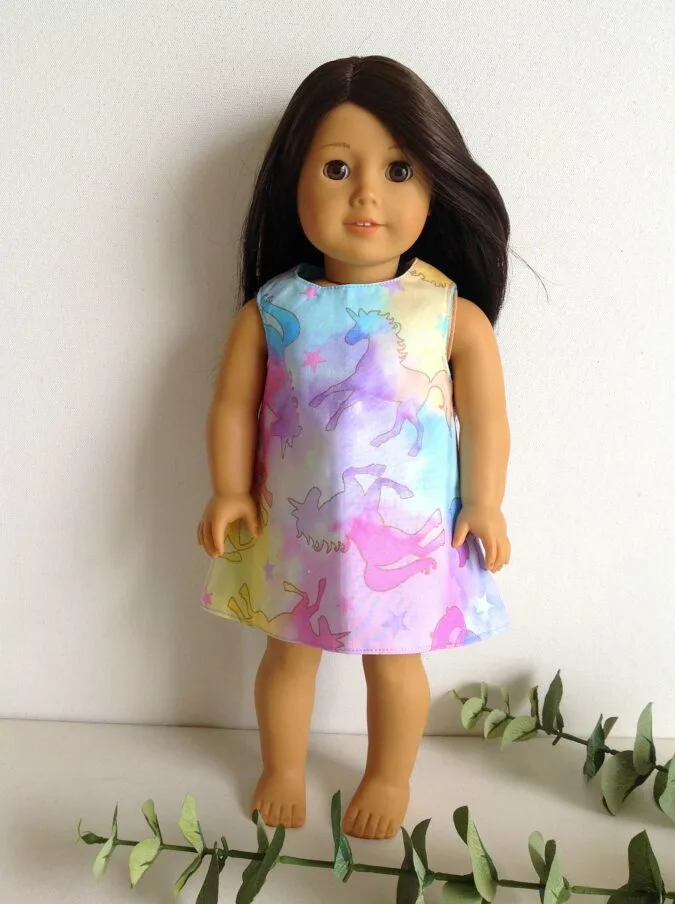
And yes, this dress is a blank canvas for your creativity—add plenty of trims like ric-rac and lace, or a touch of hand embroidery here and there to create beautiful dresses that truly delight the eye.
Easy Reversible A-Line Doll Dress Sewing Pattern
Materials Required
- Medium- weight cotton fabric scrap for the dress outer.
- Medium- weight cotton fabric scrap in a coordinating color and print for the dress lining.
- Sewing Notions.
- Fabric Marking Pen.
- KAM snaps or ordinary buttons (if you know how to sew buttonholes)- 3 sets or Optionally you may use velcro.
- Pattern template, **Enter your email address and click the subscribe button in the blue box below to download the pattern templates.
The seam allowance is 3/8-inch unless otherwise specified.
I suggest you read the entire pattern once before starting to get a general idea.
All seams are to be finished by zigzag or serger.

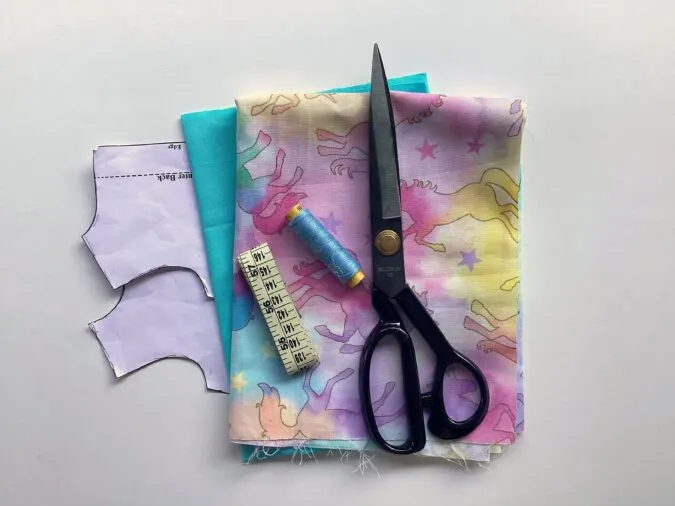
Gather the supplies. Cut the templates for the dress front and back from the attached PDF.

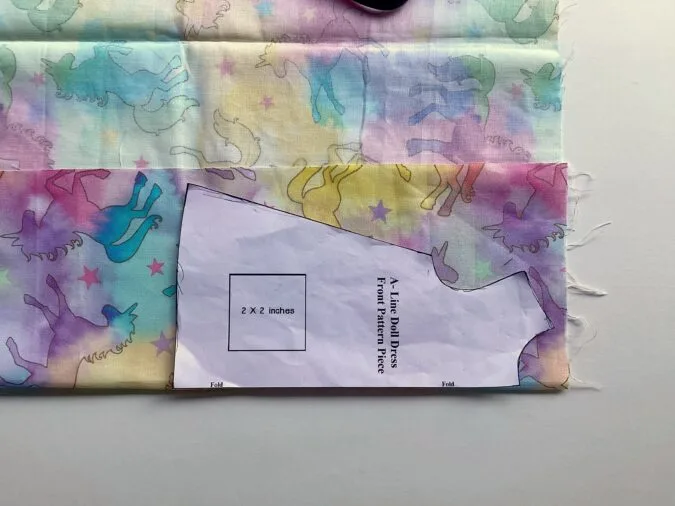
Take the dress outer fabric and the template for the front. Fold the fabric to fit the width of the template and place the template on the fold. Mark around it and cut to get the dress front piece. Repeat the steps to get the front lining.

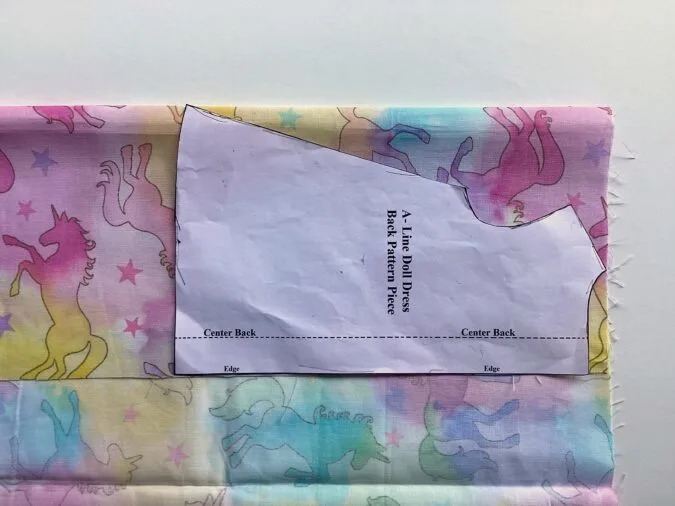
Let’s cut the dress back. Here again, fold the fabric, but this time, place the template for the dress back, along the edge of the fabric. Mark around it and cut to get two pieces for the dress back (the back part of the dress is done in two pieces, for button opening). Repeat the steps to get the back lining pieces.

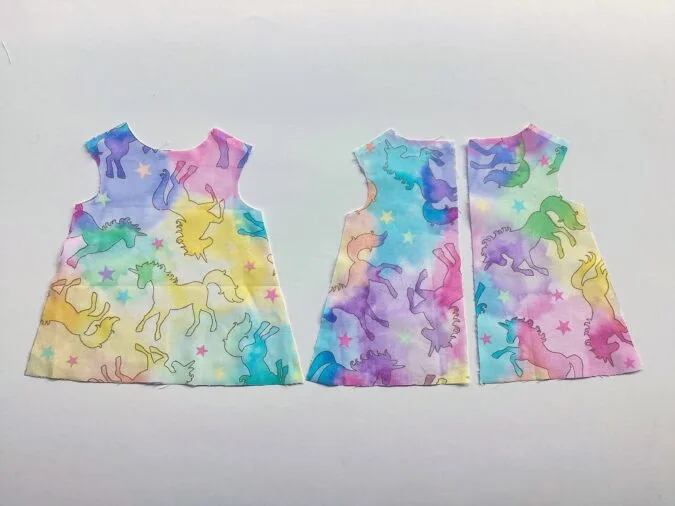
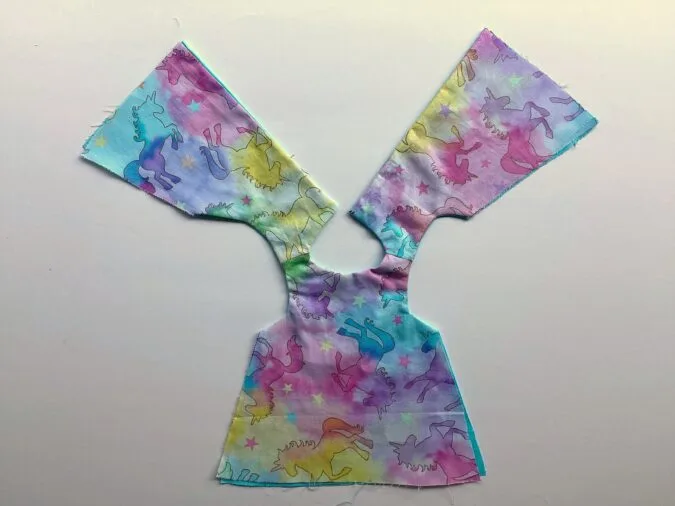
Your dress front and back pieces would look like the picture above.

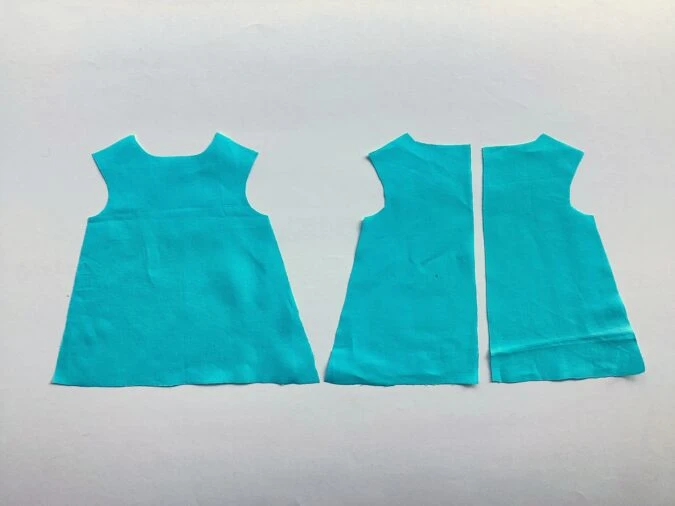
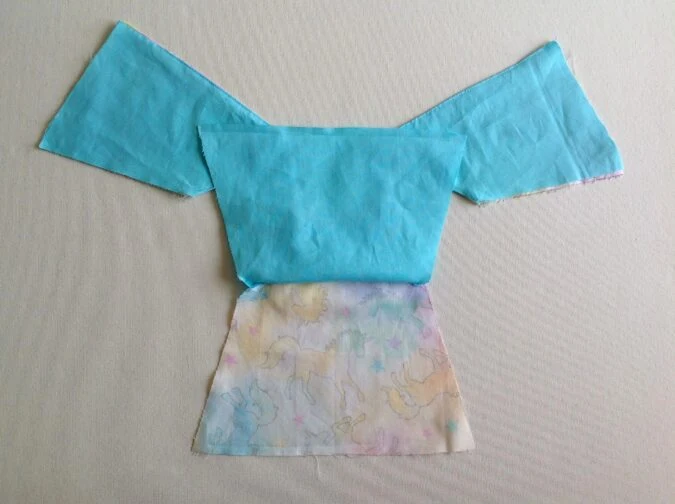
And the lining pieces would look like this.
Sewing

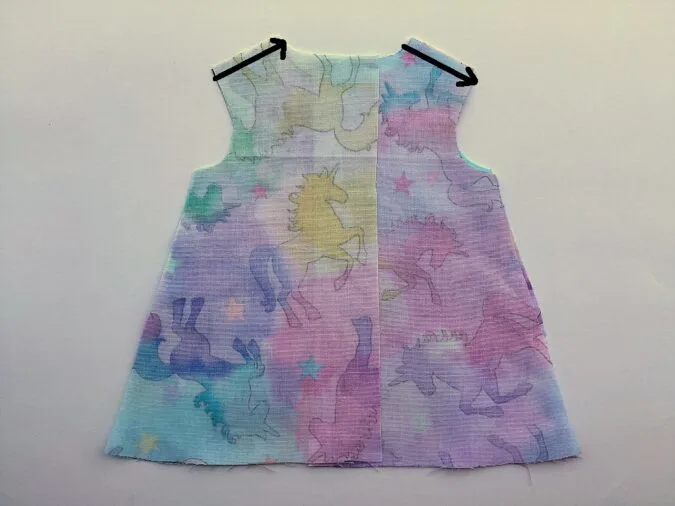
Take the two dress back pieces and place them over the dress front piece, with the right sides together, aligning the shoulders and side seams and sew the shoulders shut.


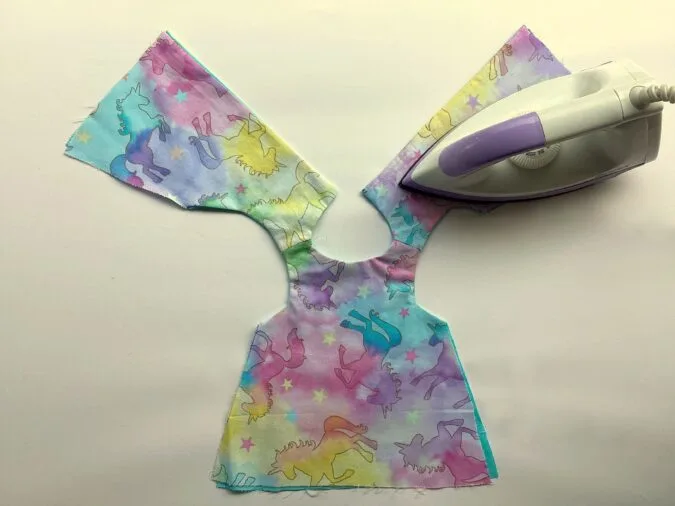
Press the seams flat.
Sew the front and back lining pieces together, just as the dress pieces. Here again, press the seams flat.

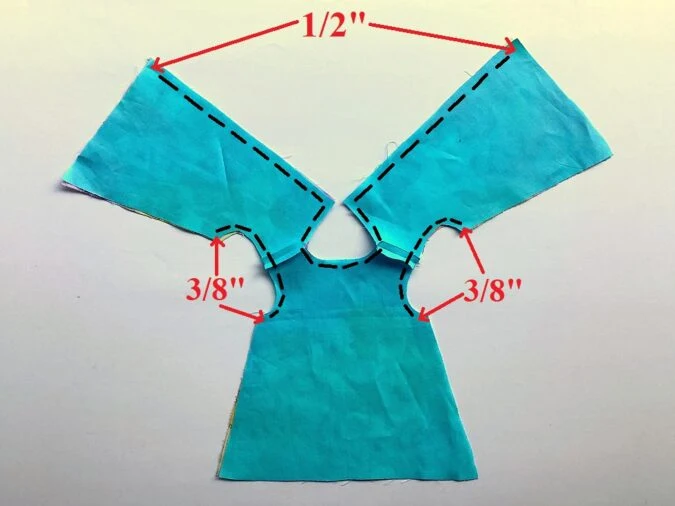
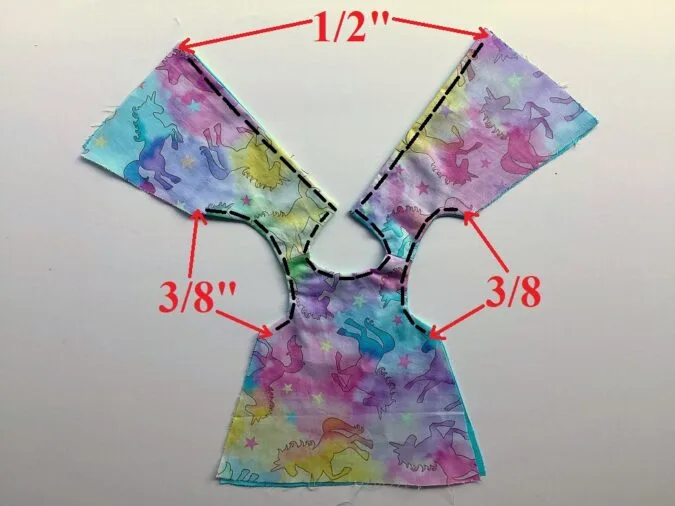
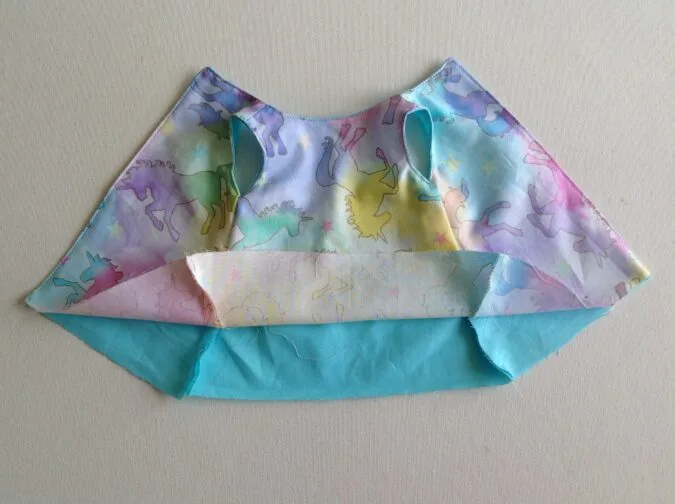
Place the dress lining over the dress outer, with the right sides together, aligning the center back, neck and armholes. Pin and sew along the neck and center back, and also along the two armholes. *Note that you need to leave 3/8-inch along the lower edges of the armholes and 1/2- inch along the lower edges of the dress back, as marked.

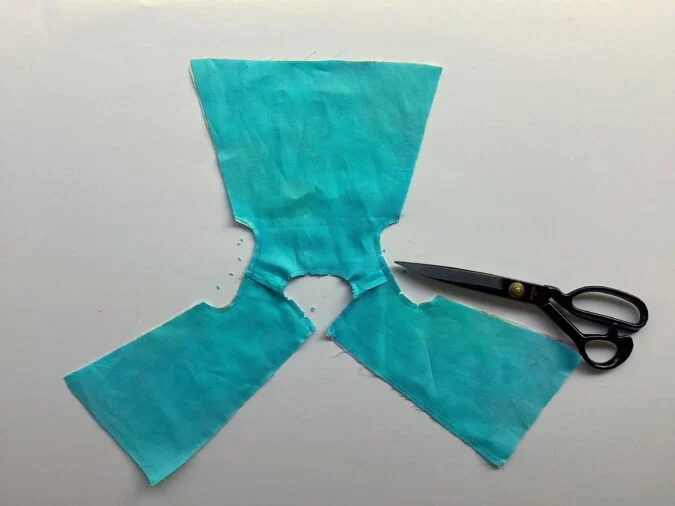
Clip the edges and cut the corners.
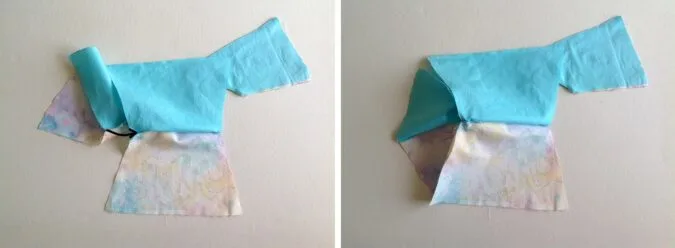
Let’s bring the right side of the dress out.

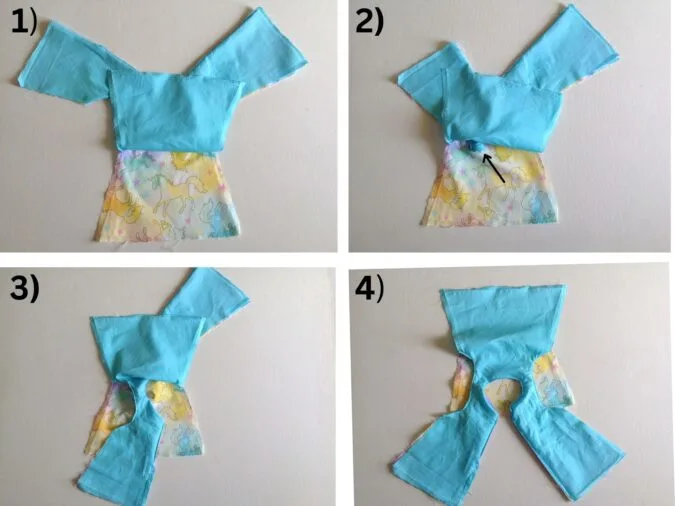
1) Keep the dress with the lining part facing up and flip the front lining up.
2) Start pulling the dress back out through the shoulders.
3) Keep pulling till the whole of the dress back is pulled out.
4) Repeat on the other side.

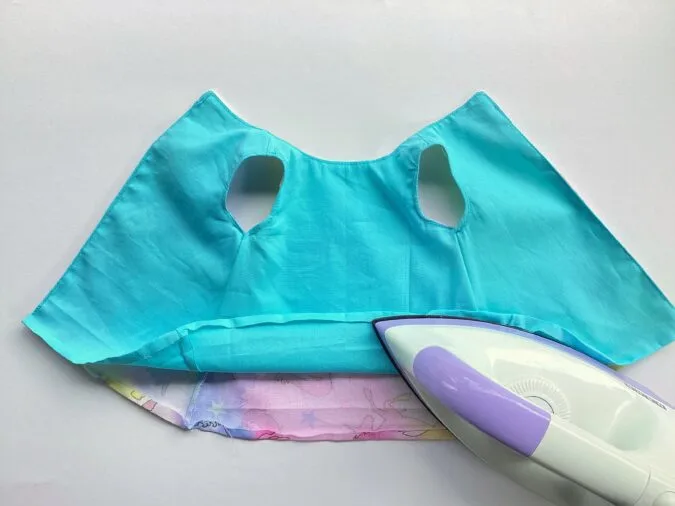
Your dress will now look like this on the outer, with the right side out.

Poke the edges sharp, with the help of a wooden dowel and press taut.

Topstitch along the armholes, neck and buttonhole edges, leaving 3/8-inch at the lower edges of the armholes and 1/2- inch at the lower edge of the dress back, as marked.
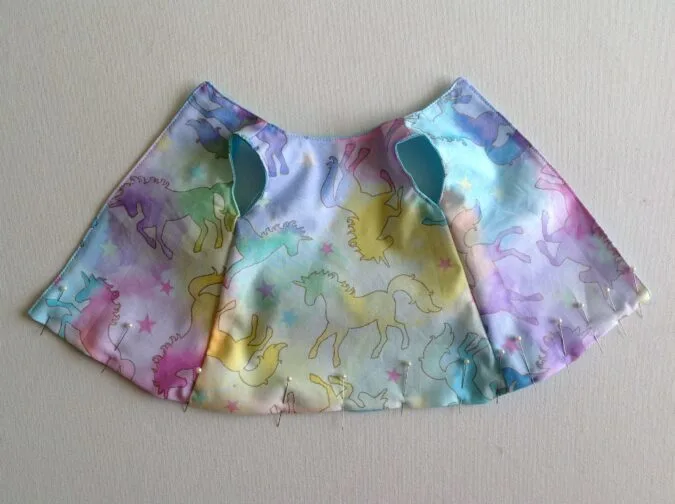
Let’s sew the side seams of the bodice shut.

Keep the dress with the lining facing up. Flip the lining upwards.

Pull apart the dress back and lining to open. Bring the corners of the back and front seam together and pin.

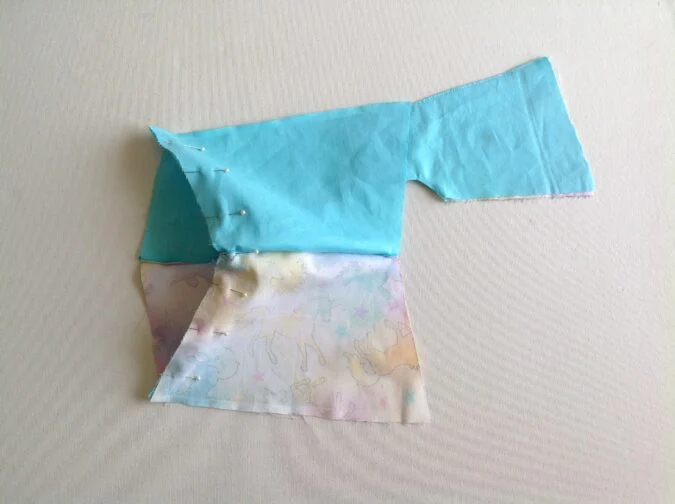
Next, align and pin the side seams of the dress front and back together and the side seams of the front and back lining together.

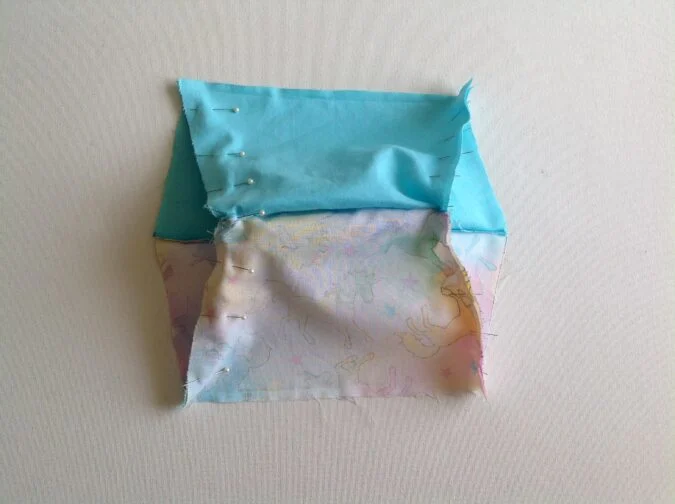
Repeat on the other side.

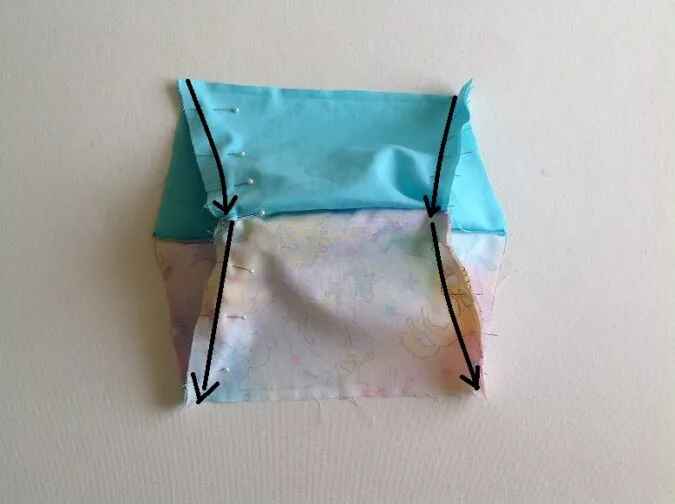
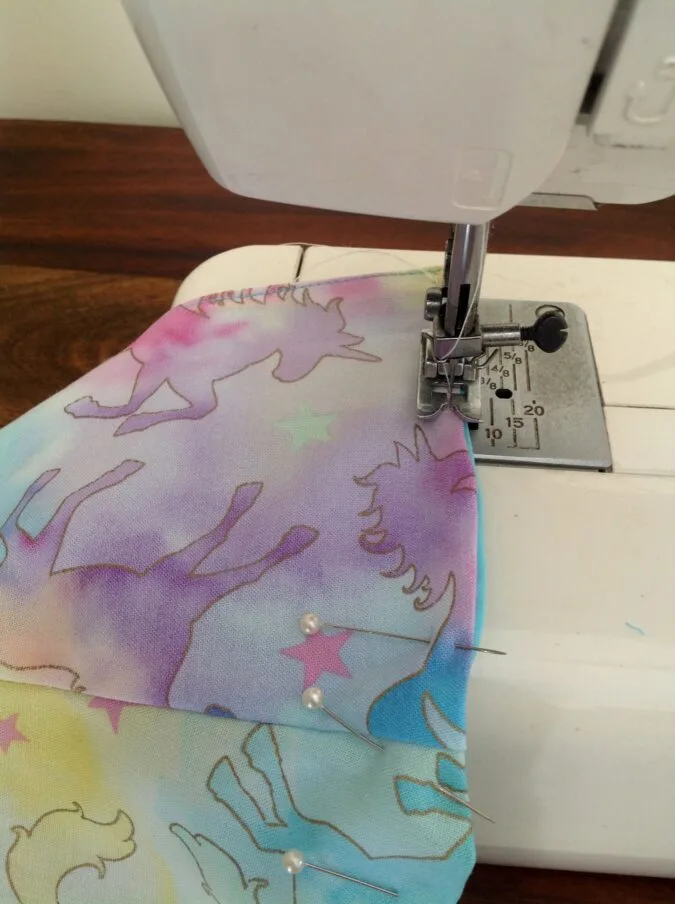
Sew the pinned edges together, removing the pins as you go.

Flip the outer to bring the right side out. Now the seams are concealed between the outer and lining.

Fold the lower edges of the dress and lining towards the wrong side by 1/2- inch and press to set.

Pin the folded edges of the dress outer and lining together, along the entire hemline.

Sew the pinned hemline shut, removing the pins as you go.


Attach your Velcro or your KAM snaps and your reversible A- line doll dress is ready!!
Pin it for later here,
Brenda
Thursday 11th of June 2026
Just down loaded pattern , Can't wait to start making g this !! Thanks