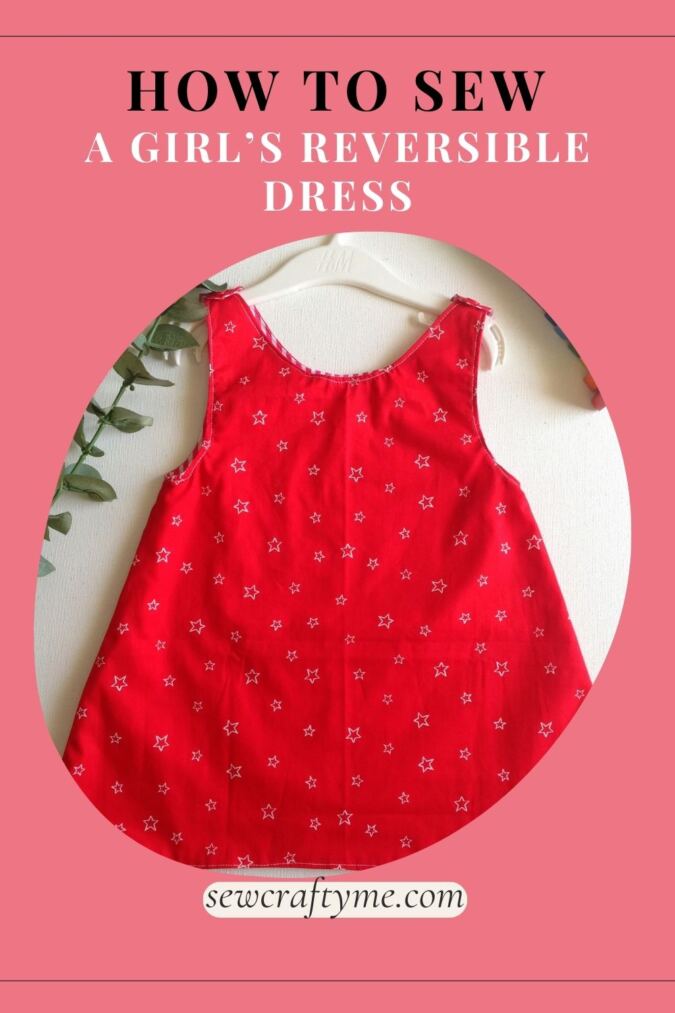
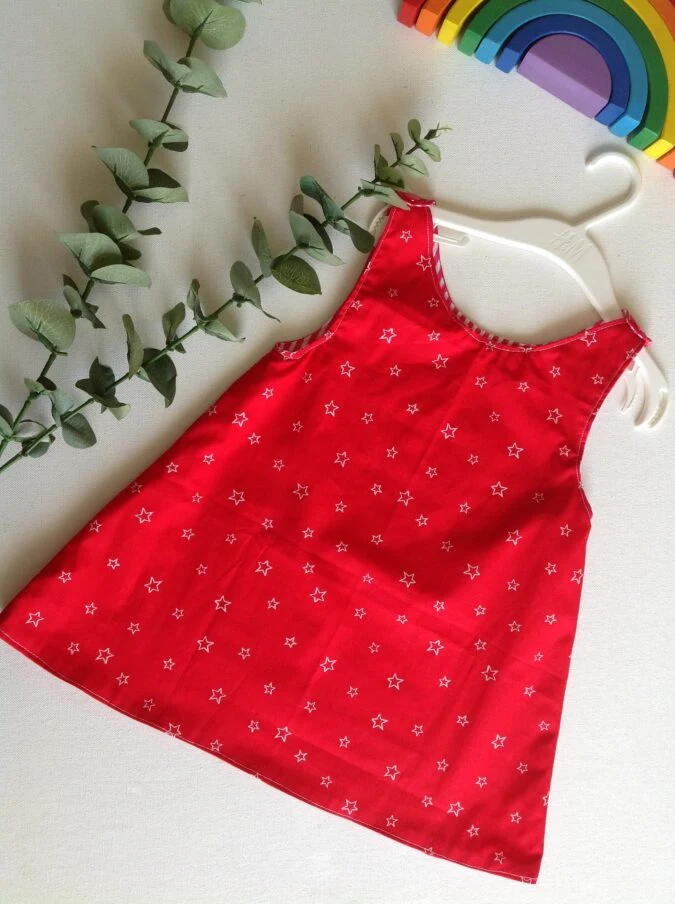
So, onto something that’s very fast and very easy, yet gives double the result. This A-line dress for little girls is simple to put together and fully reversible.

With only a few pieces to cut and minimal stitching required, you end up with a true two-in-one dress that’s perfect for both casual outings and outdoor play.

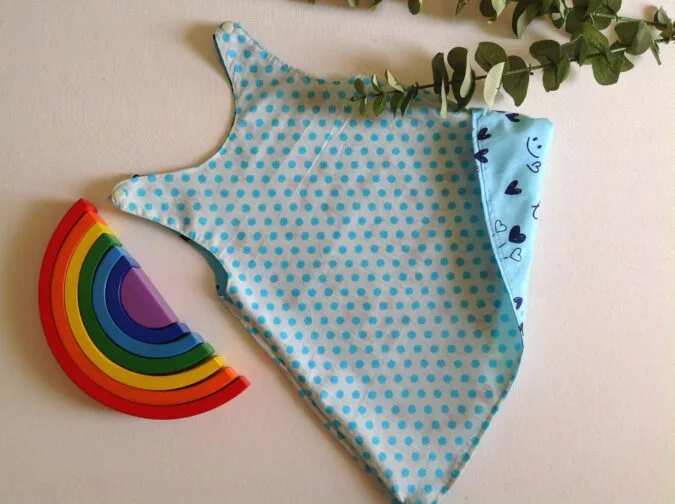
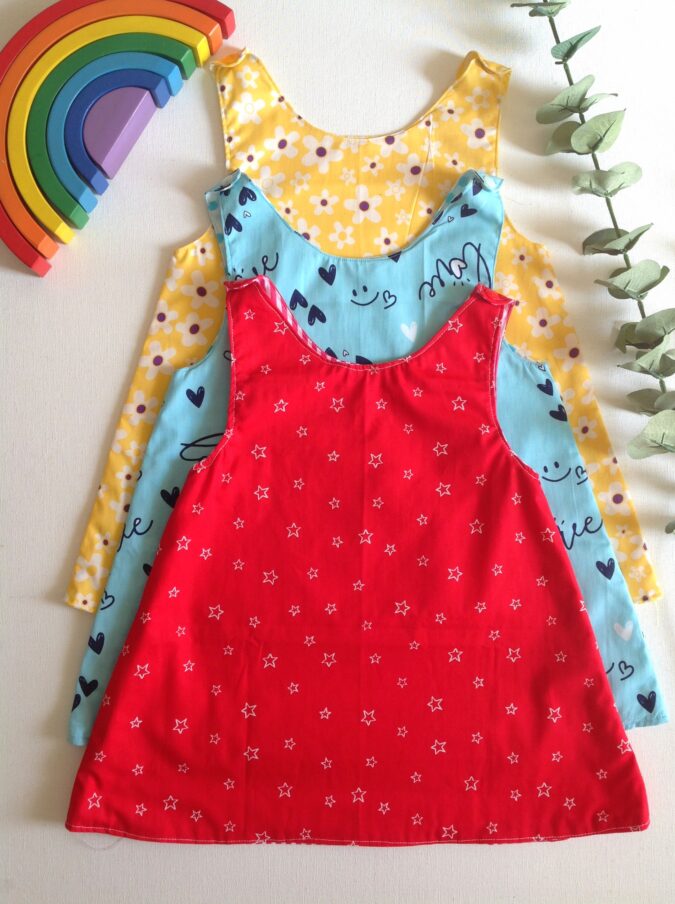
I’ve kept the design very simple for a quick sew, but you can easily personalize it. Add trims along the hemline, appliqués or embroidery, or finish it with beautiful ornamental buttons to create a perfectly unique dress.

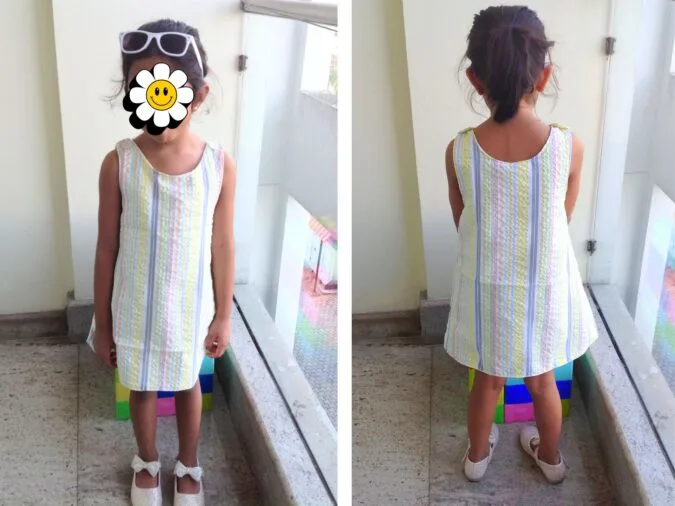
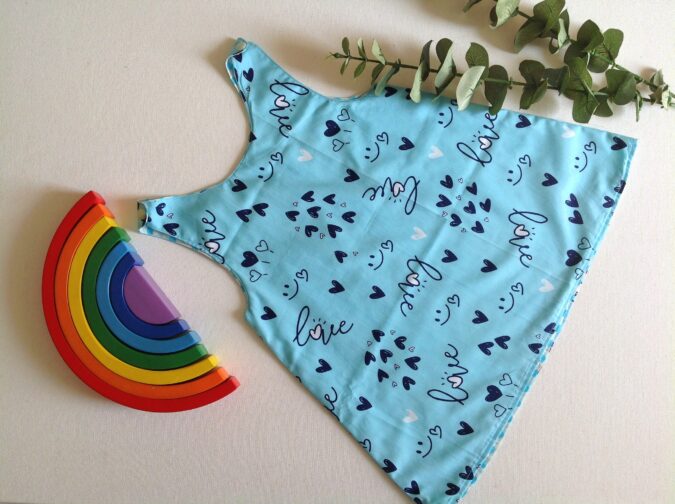
Have a look at the dress on this little model. The dress is easy for on and off and can be buttoned easily on the shoulders.*Please note that the dress is designed to fall above the knee. However, the young model shown here is taller than average for her age, which makes the dress appear shorter.
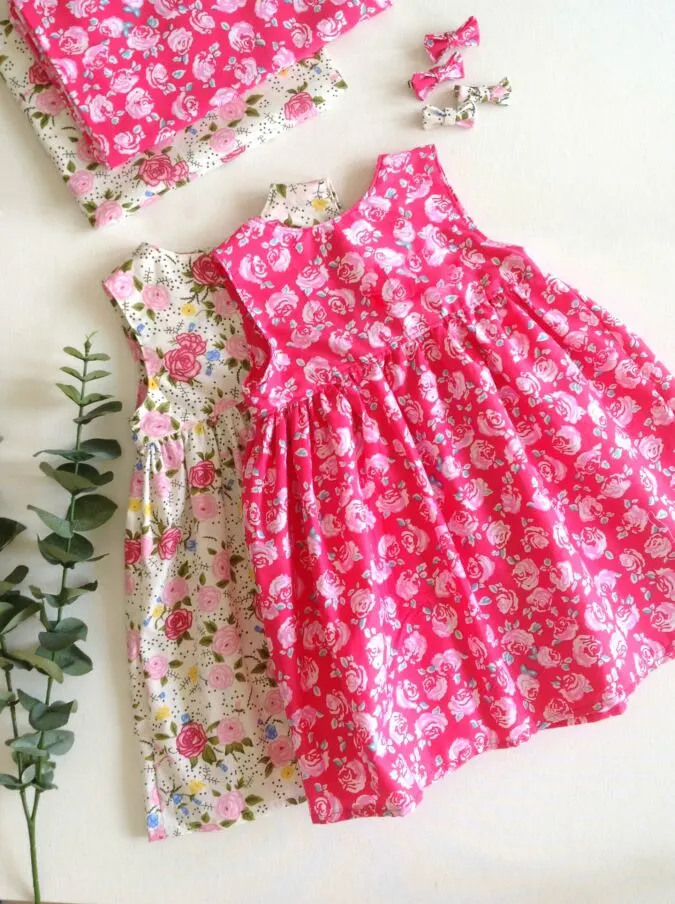
If you would like to sew a girls dress with a classic yoke, click on the picture below:
Sew a Reversible A- Line Dress in 4 Steps
Materials Required:
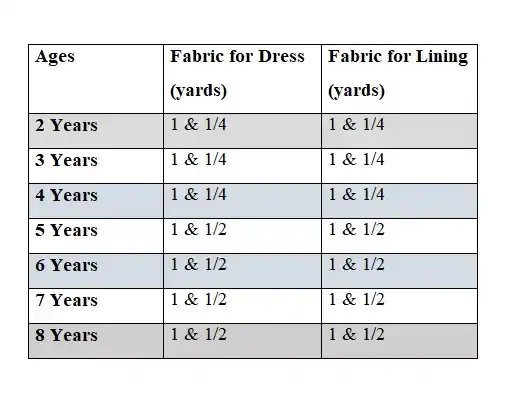
- Fabric for the a- line dress body- you may use medium weight plain or printed cotton fabric, denims or corduroys-requirement specified in the table-1 below.
- Medium- weight cotton fabric for the lining- requirement specified in the table-1 below.
- KAM snaps or ornamental buttons for the shoulders-2.
- Sewing Notions.
- Pattern template. **Enter your email address and click the subscribe button to download the template:
All the fabrics used here are of 44/ 45 inches width.
The fabrics shown here are only for illustration purposes and as such may vary from the original.
The seam allowance is 3/8 -inch unless otherwise specified.
I suggest you read the entire pattern once before starting to get a general idea.
All seams are to be finished by zigzag or serger.
Fabric Requirements
Table-1

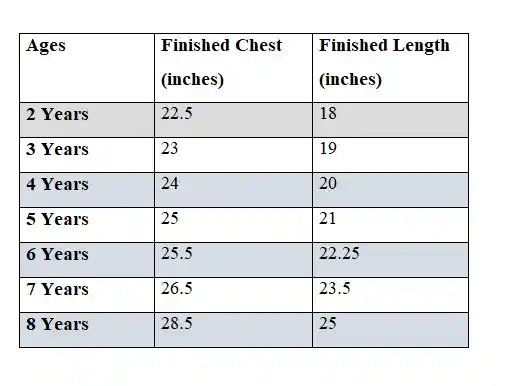
Approximate Finished Measurements
Table-2


Gather the supplies. Cut the templates for the dress front and dress back from the attached PDF.
Step-1: Cutting The Pieces


Take the dress fabric and the template for the front. Fold the fabric to fit the width of the template and place the template on the fold. Mark around it and cut to get the dress front piece.
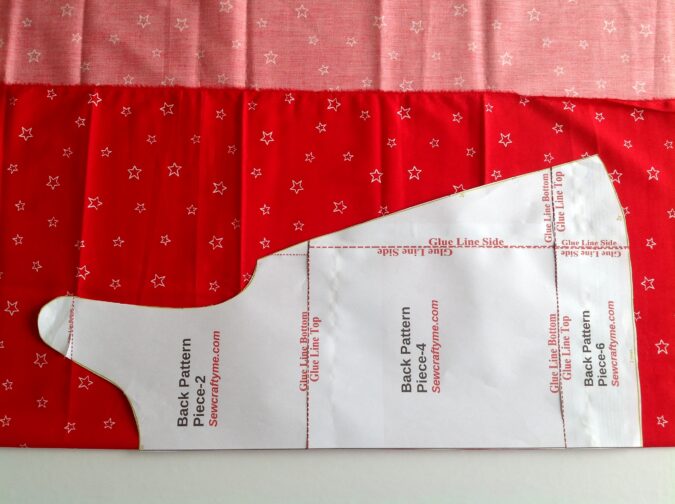

Repeat the steps with the dress back template to get the dress back piece.

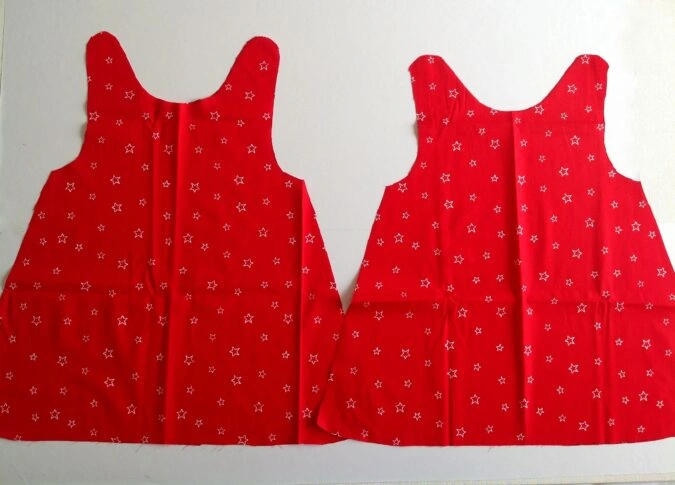
Your dress pieces will look like this.


Repeat the steps on the lining fabric to get the dress lining pieces.
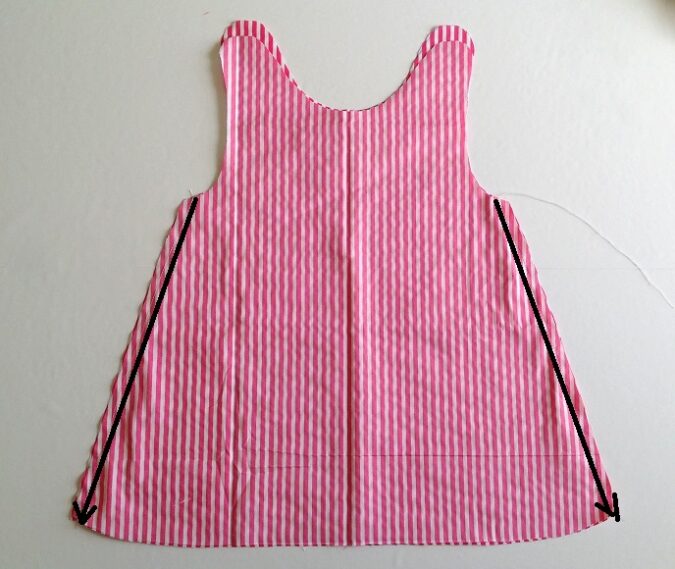
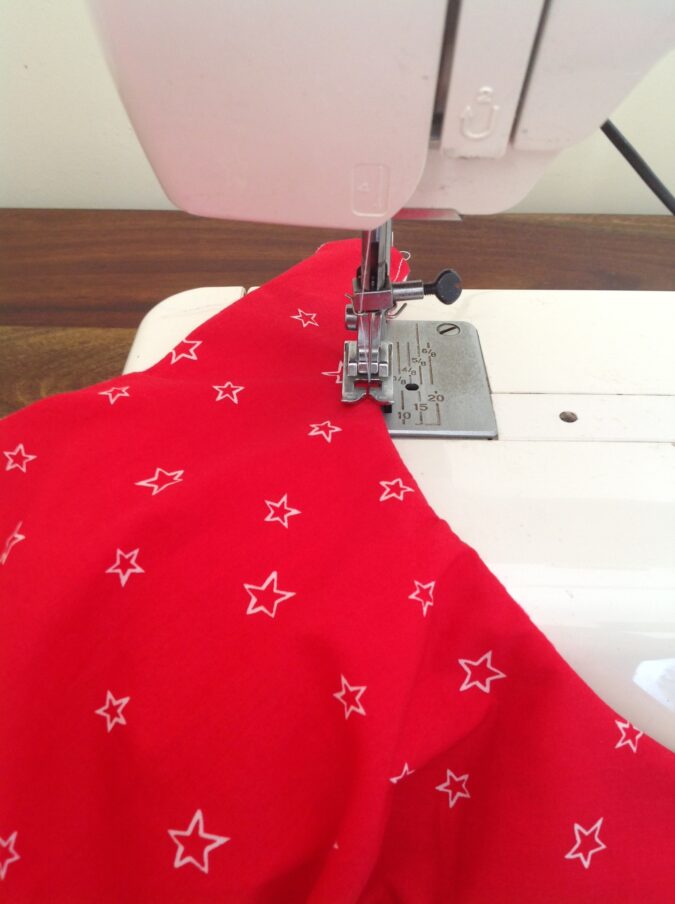
Step-2: Sewing The Side Seams

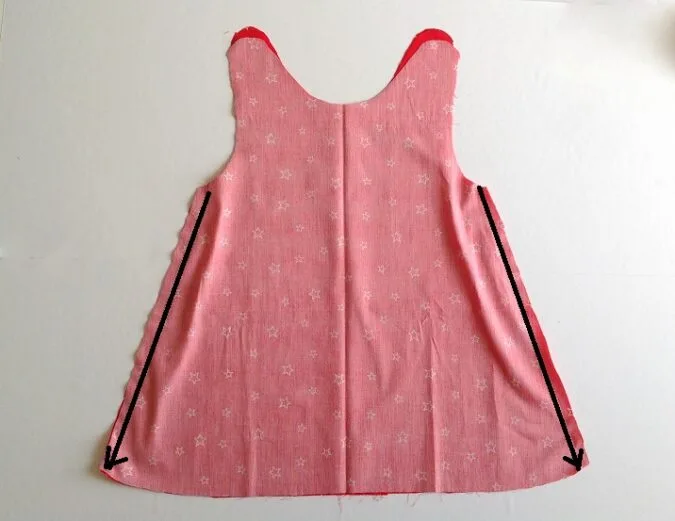
Keep the two pieces of the dress layered, with the right sides together and aligning the edges all around. Sew the side seams shut as marked.
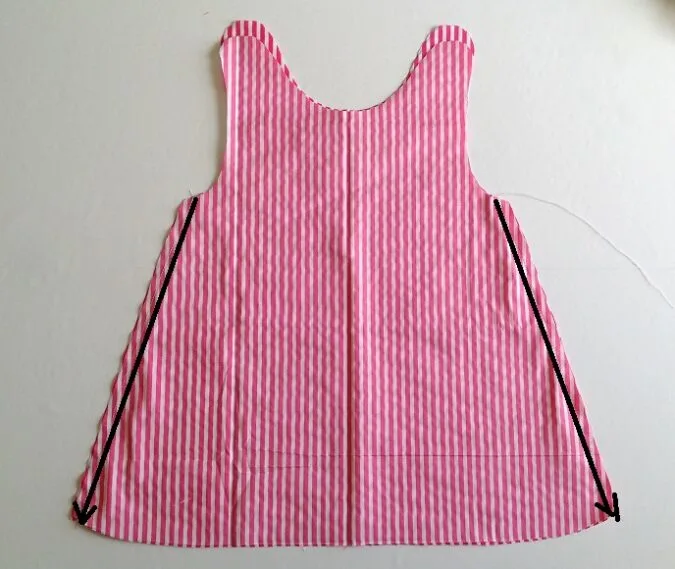
Repeat with the lining pieces.
Step-3: Sewing The Dress and Lining Together

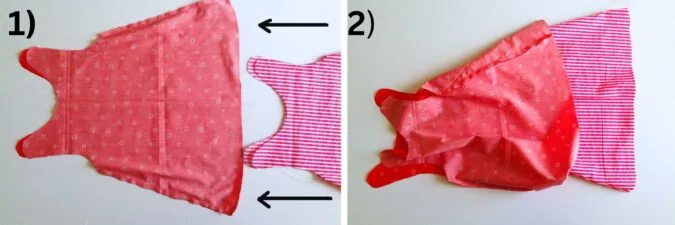
Turn the dress over to the wrong side. Keep the lining on its right side, below the dress, with its upper edge facing the dress and with the side seams in line. Slide the lining into the dress.

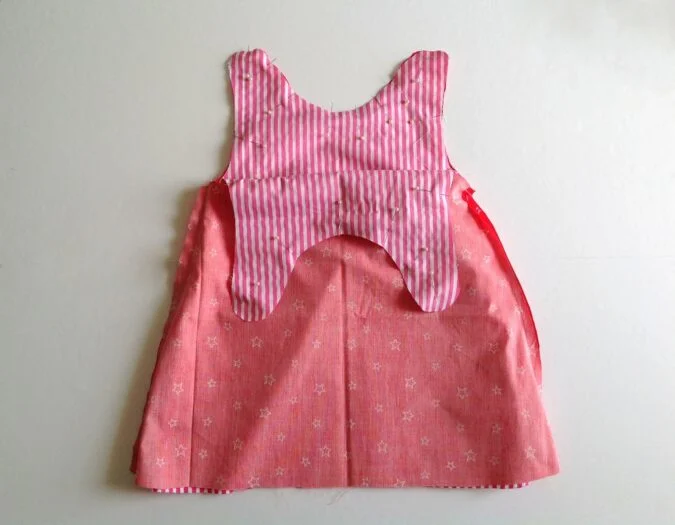
Align the neck and the armholes of the two pieces together and pin all around.

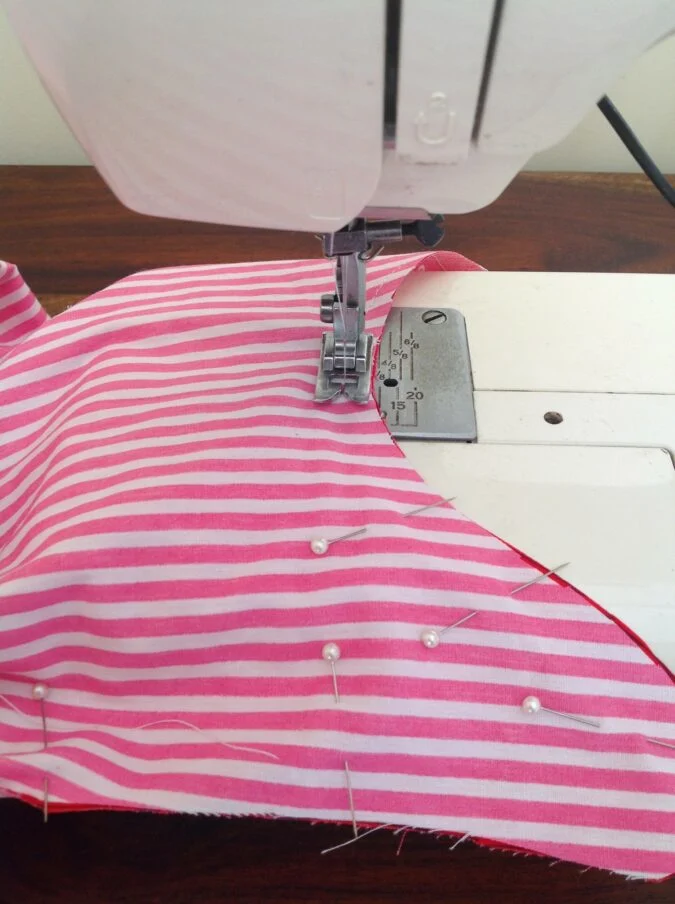
Sew around the pinned neck and armholes, removing the pins as you go.

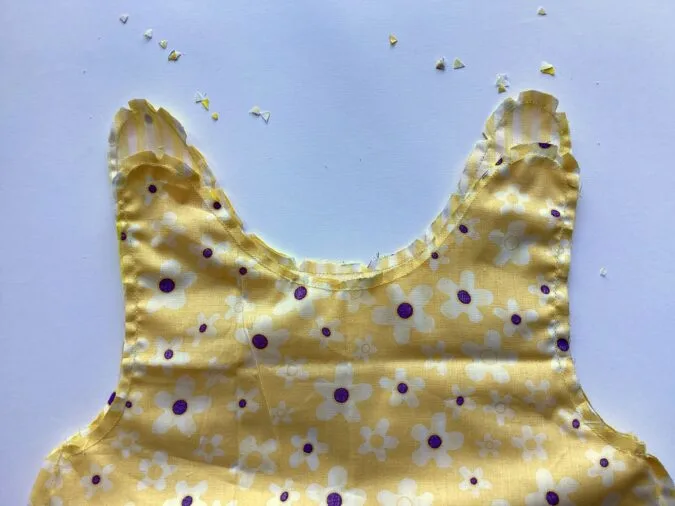
Snip the edges to reduce the bulk in the seam (picture for illustration purposes).
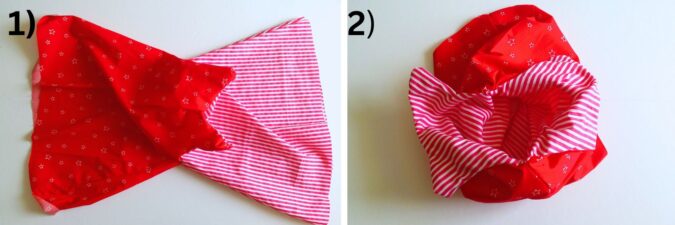

Pull the right sides out and push the lining to the inside of the dress. Poke out the edges using a mildly sharp object like the tip of a dowel or a pencil.
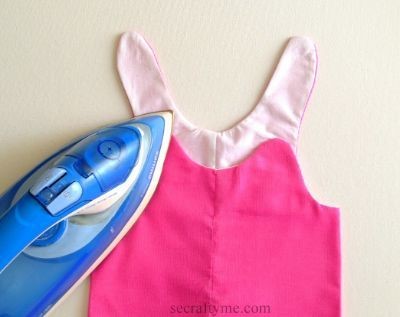
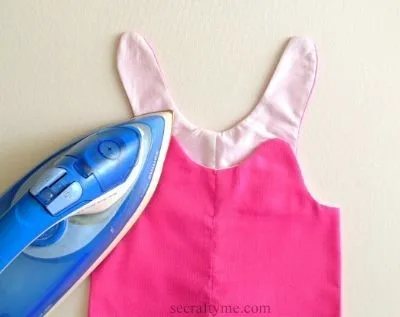
Press the edges to make it neat and crisp (picture for illustration purposes).

Topstitch around the neck and armholes.
Step-4: Finishing The Lower Hem

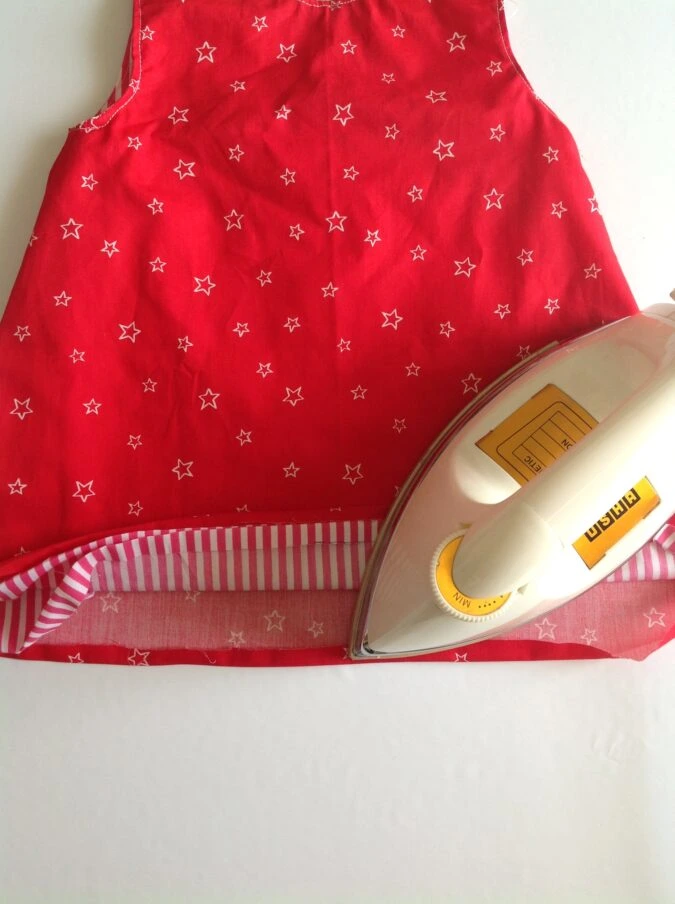
Fold the lower edges of the dress and lining towards the wrong side by 1/2- inch and press to set.

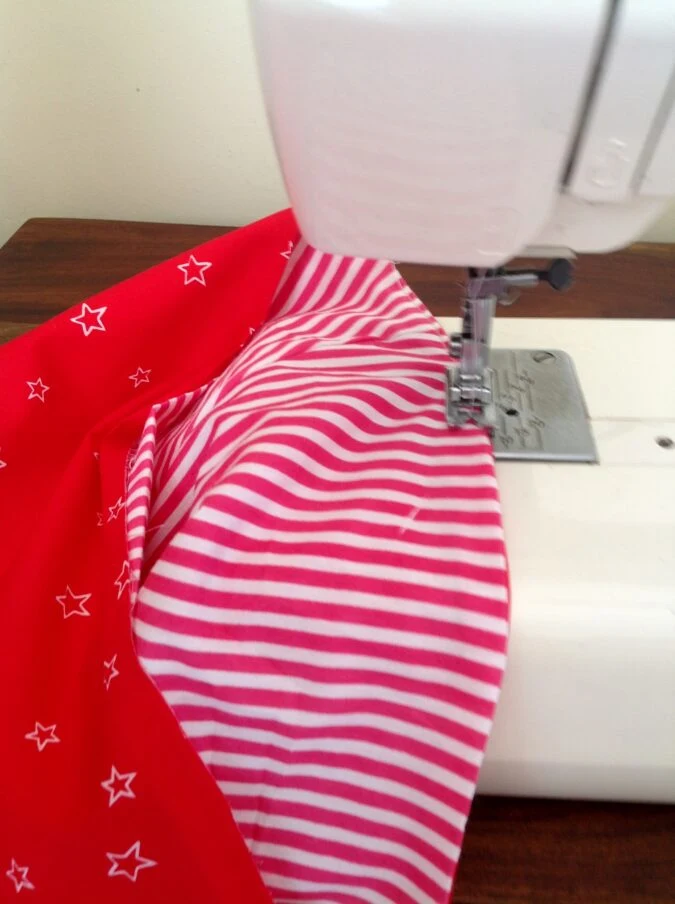
Line up the folds and carefully sew the hem shut along the edges of the folds.

Attach the KAM snaps on the shoulder straps, 1/2-inch from the edges, following the instruction manual. Your reversible A- line dress is ready in 4 steps!!
Pin it for later here,