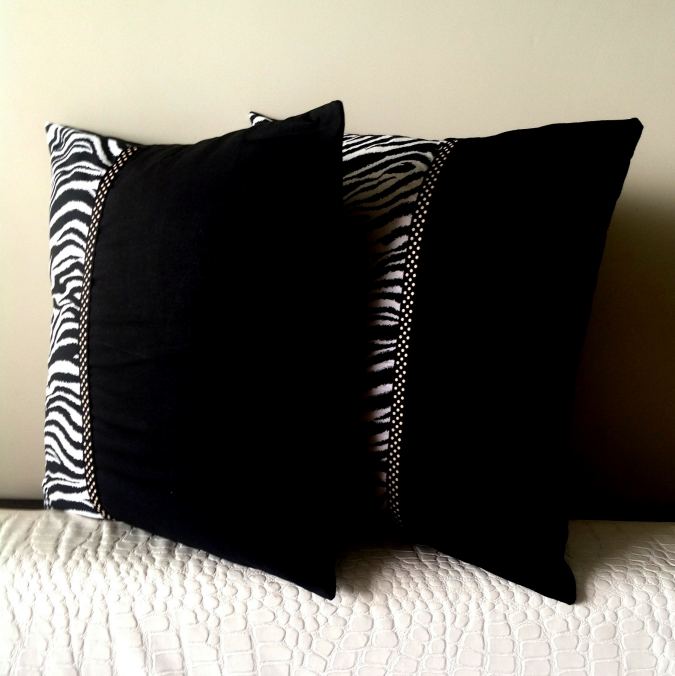
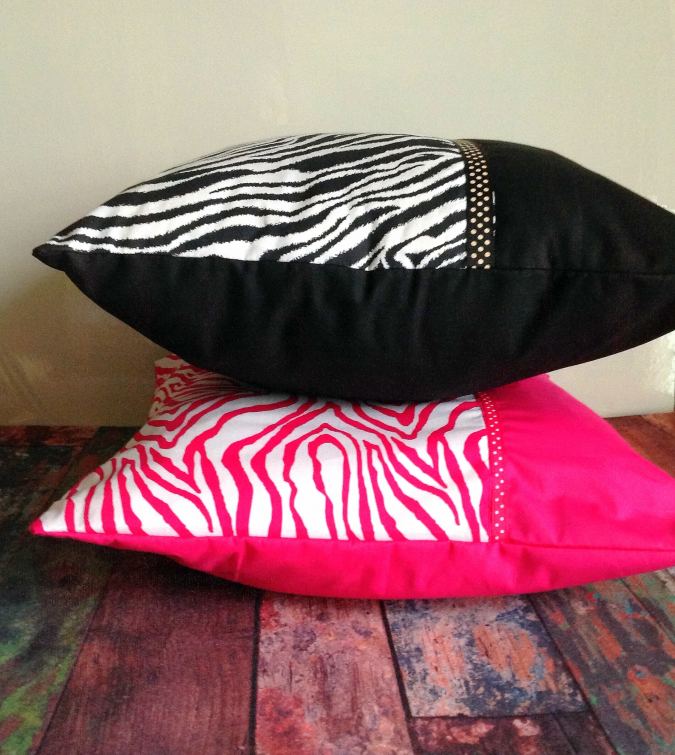
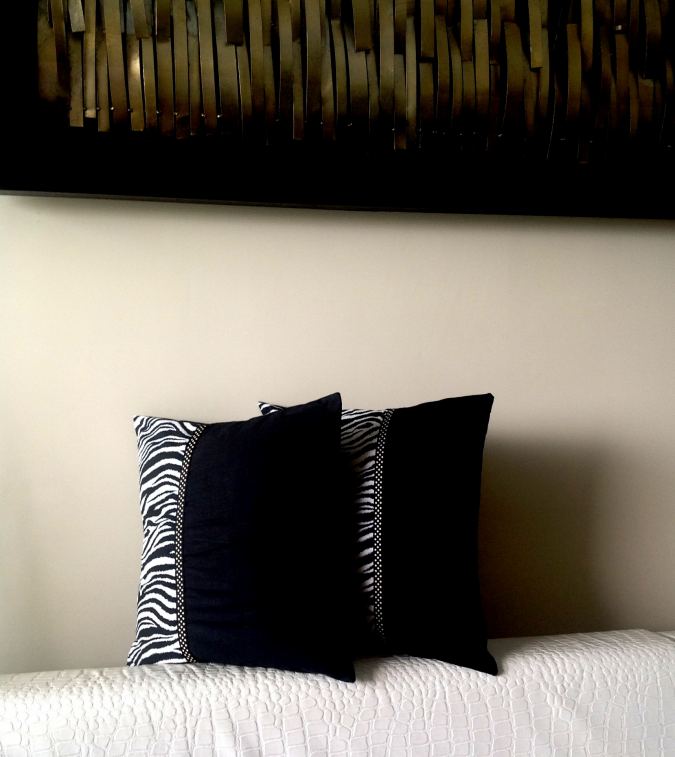
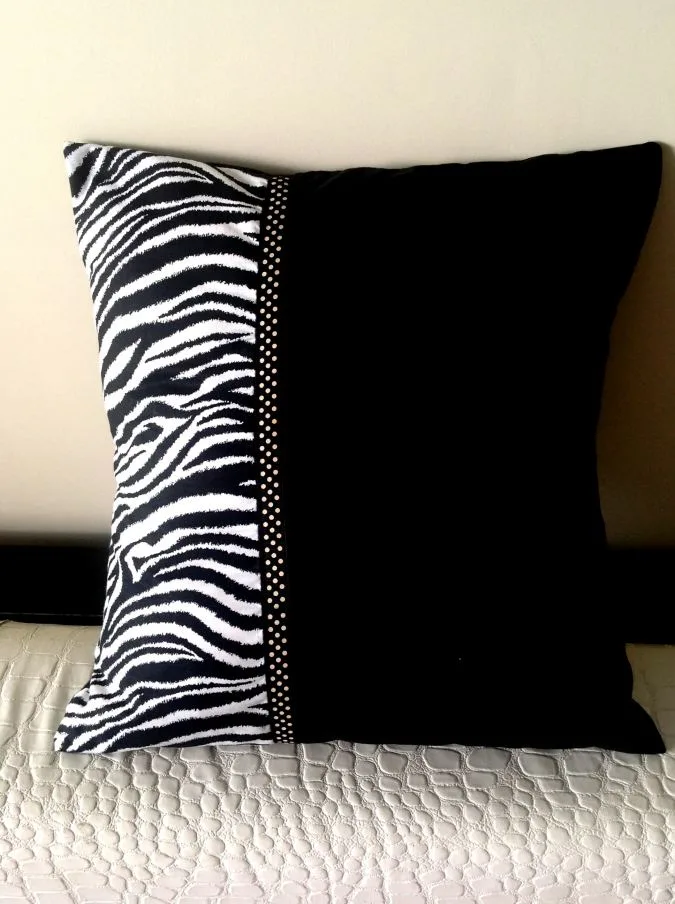
This DIY envelope throw pillow tutorial is my easiest project to date. These pillows are simple and quick to work up and so I made a few of them in one sitting. I made them in a black- white combination to match the theme of my living room. You can make any number of them, in different colors and sizes to add a splash of color and spruce up your sofas, armchairs, and beds.


These throw pillows can be made by almost any beginner seamstress. Just sew a few straight lines and you are done! You don’t have to struggle with zippers and buttons. The beginner-friendly envelope design helps for simple sewing and also allows for easy and quick on and off.
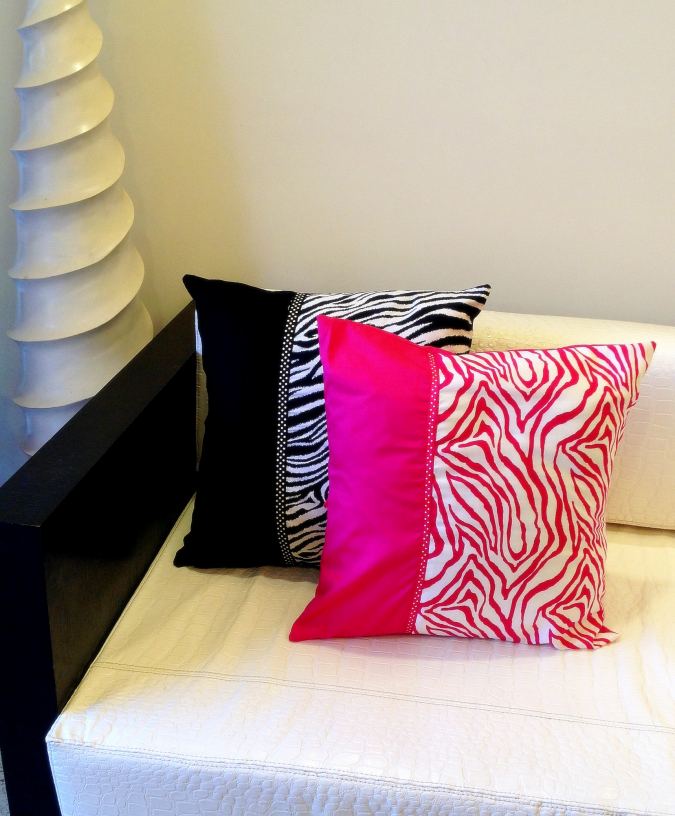

The paneled pattern gives you an option to customize the pillow according to your liking. Mix and match color and prints to suit your taste and awaken the designer in you!


DIY Envelope Throw Pillow
- Find the video tutorial at the end of this page.
Supplies Needed:
Medium to heavy weight cotton fabric or home décor fabric, for the front panel and back of the pillow- 1/3 to 2/3 yard, depending on the size you want to make.
Medium to heavy weight cotton fabric or home décor fabric for the second front panel- 1/4 yard.
3/8 to 1/2 inch wide gross grain ribbon- requirement specified in the table below.
Sewing Notions.
Pillow foam.
*Note that the measurements are for a snug fit pillow. You may increase the length and width by 1 inch if you need the cover to be loose.
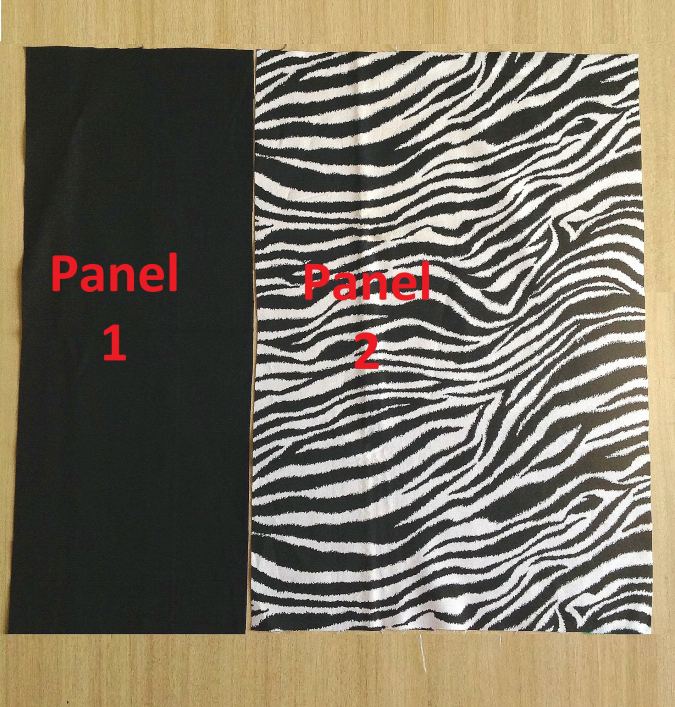
This is an envelope throw pillow sewing pattern, with a paneled front. You will need two panels in different fabrics for the front and two pieces in the same fabric for the back. I have given the measurements for four common pillow sizes below.
If your pillow measurements are different, take the length and width of the pillow and follow the directions below.
For the front panels, keep the length of the fabric piece, the same as the length of the pillow.
Take 1/3rd the width of the pillow plus ½ inch seam allowance, as the width of the first panel and 2/3rd plus ½ inch seam allowance as the width of the second.
So, for an 18” x 18” pillow, the length of the panels would be 18 inches and the width of the panels would be,
18 x 1/3 = 6 + ½(seam) = 6&1/2 or 6.5
18 x 2/3 = 12 + 1/2 (seam)= 12&1/2 or 12.5 inches
For the back pieces, keep the width of the fabric pieces the same as that of the pillow.
Take 1/2 the length of the pillow plus 4 inches as the length of the pieces.
So, the length of the back pieces would be,
18/2 = 9 + 4 = 13 inches.
In the table below, “L” stands for the length and “W” stands for the width of the fabric piece to be cut.
| Pillow Size | Front Panel-1
(inches) |
Front Panel-2
(inches) |
Back Pieces
(cut 2) (inches) |
Ribbon Length
(inches) |
| 14 Inch | 14L x 5W | 14L x 10W | 11L x 14W | 14 |
| 16 Inch | 16L x 6W | 16L x 11W | 12L x 16W | 16 |
| 18 Inch | 18L x 6.5W | 18L x 12.5W | 13L x 18W | 18 |
| 20 Inch | 20L x 7W | 20L x 14W | 14L x 20W | 20 |

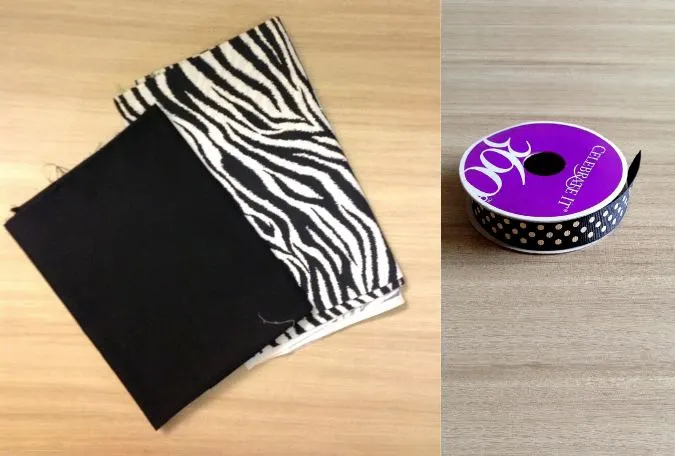
Gather your supplies.
Cut the front panels and the back pieces according to the required measurements.
Sewing
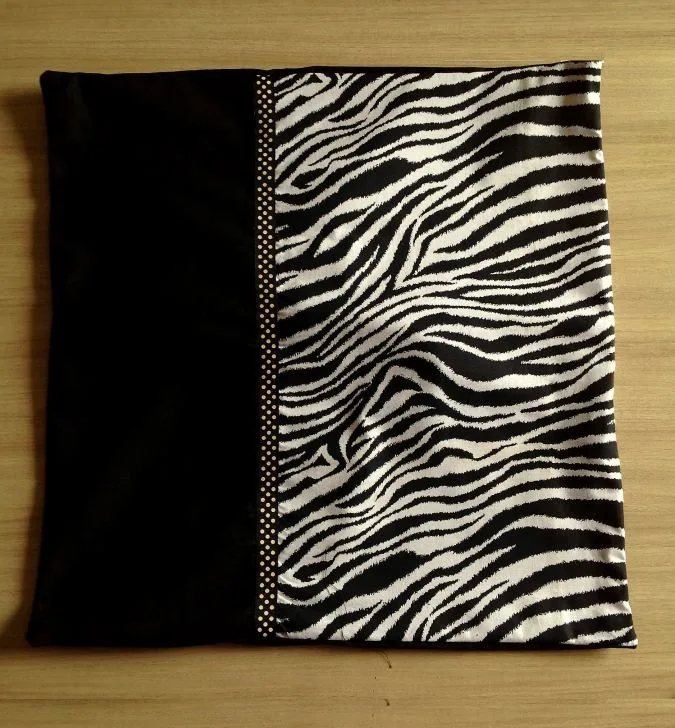
Let’s sew the two front panels together.
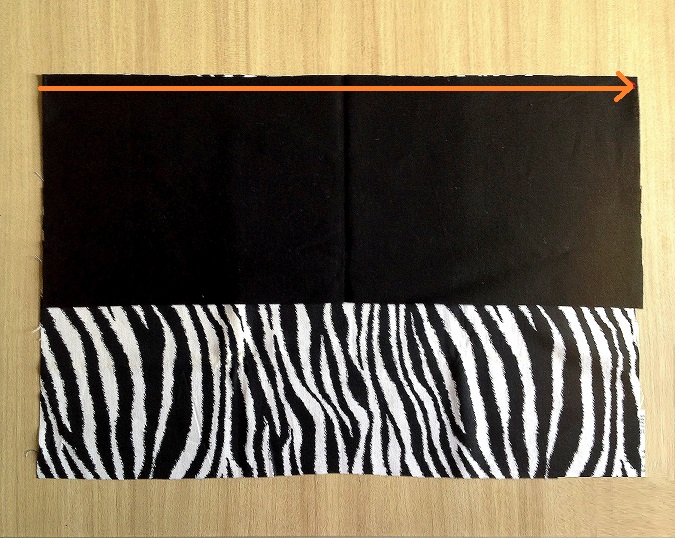
Place the two panels layered, with the right sides together and edges aligning. Sew along the longer edge to join.
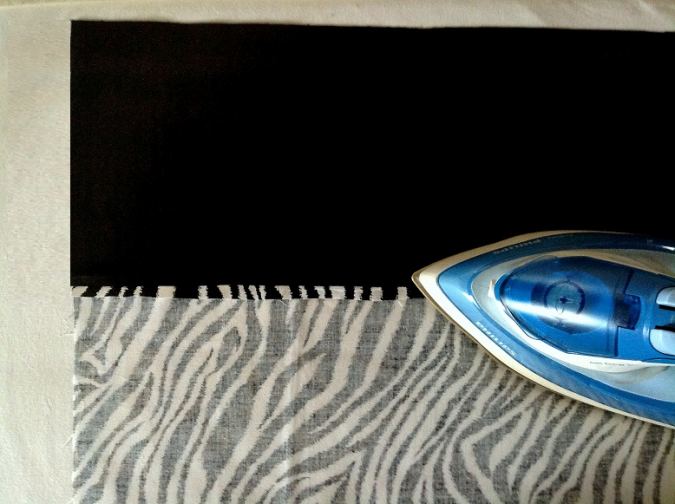
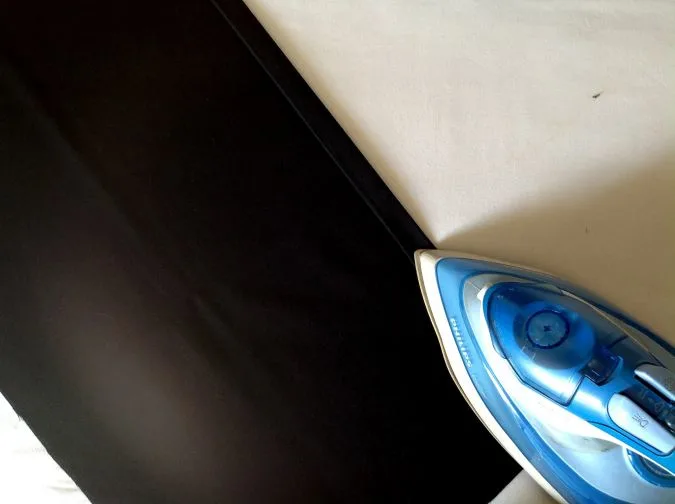
Press the seam flat.
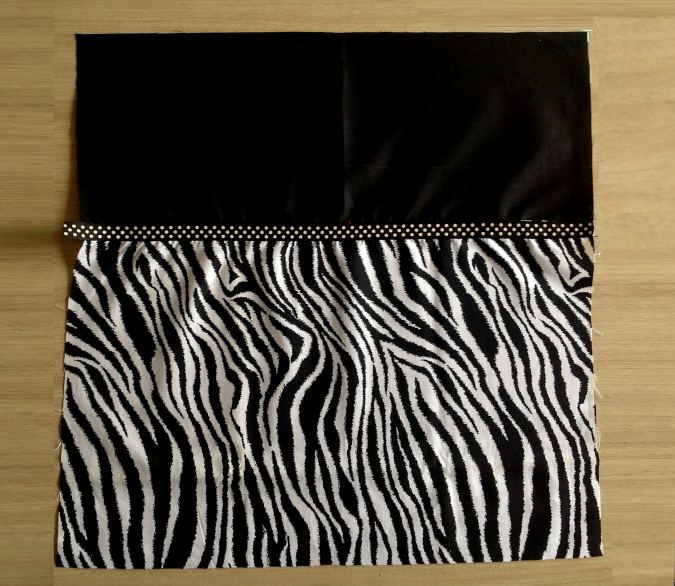
Sew the satin ribbon above the seamline of the two panels for embellishment.
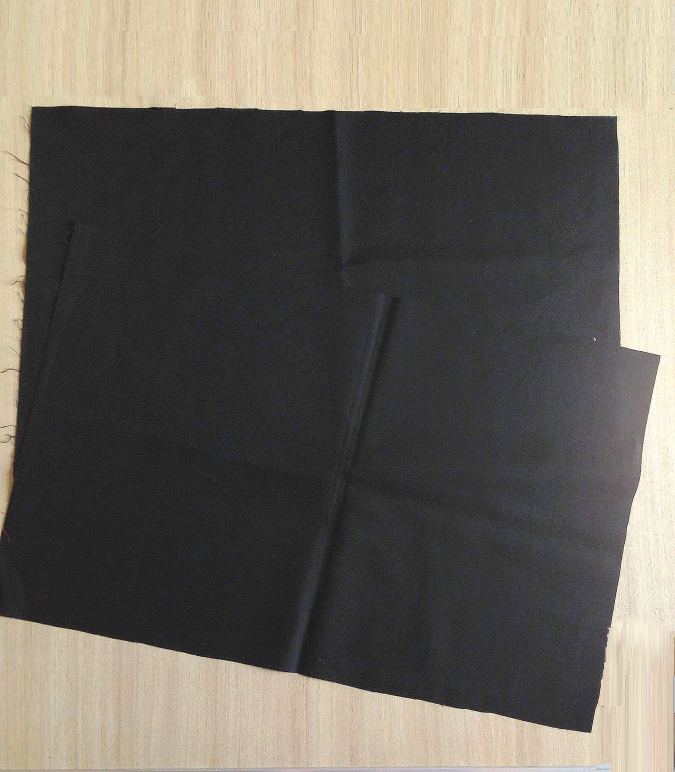
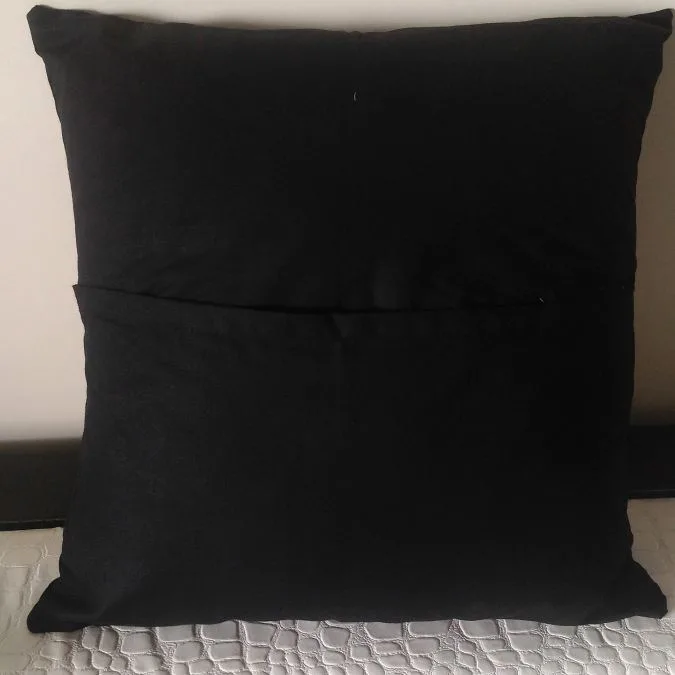
Next, we need to hem one of the edges of the back pieces, to finish the back opening.

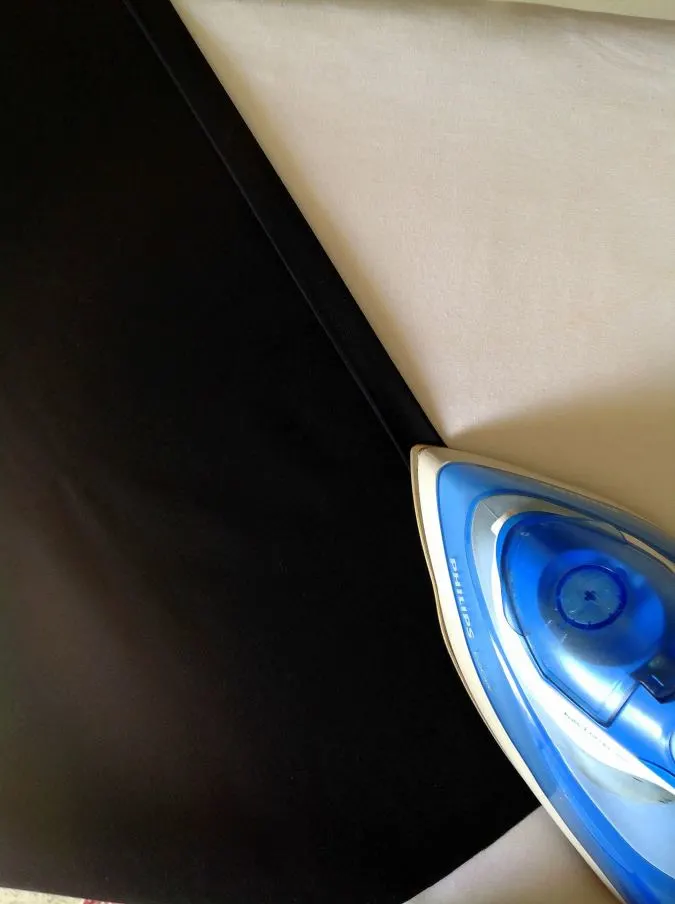
Take one back piece, fold one of the longer edges towards the wrong side, by ½ inch twice and press to set.
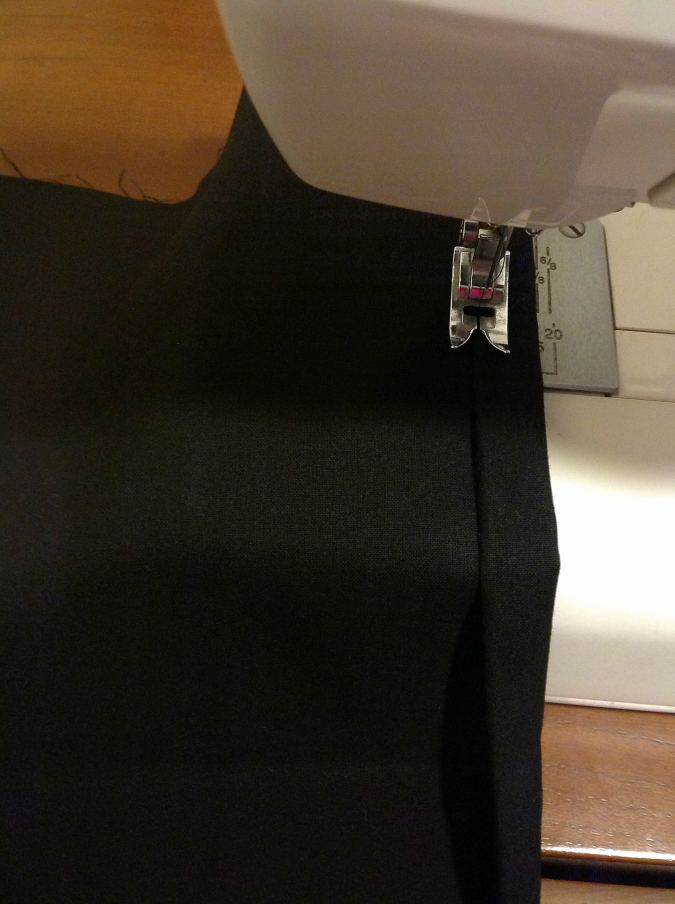

Sew down the hem along the edge of the fold. Repeat with the other back piece.
Let’s join the front and back pieces together.
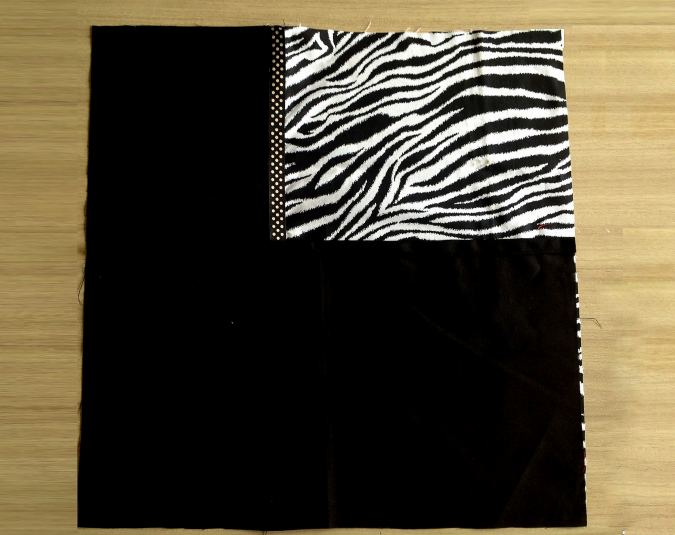

Take the front piece and one of the back pieces. Place them with the right sides together and raw edges aligning. * Note that the hemmed edge of the back piece comes along the center.
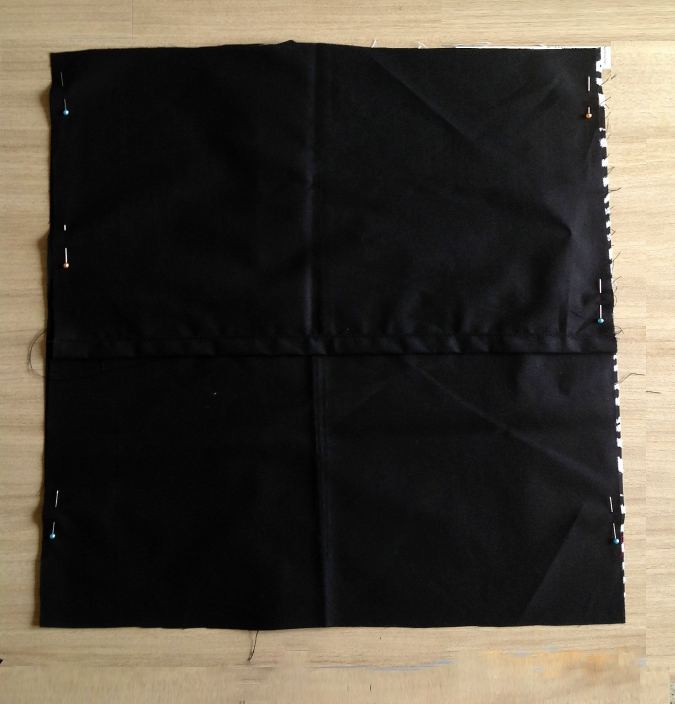

Take the other back piece and place it above the front piece, again with the right sides together, the opposite and the side edges aligning. Pin all around. *Note that, here again, the hemmed edge comes along the center.
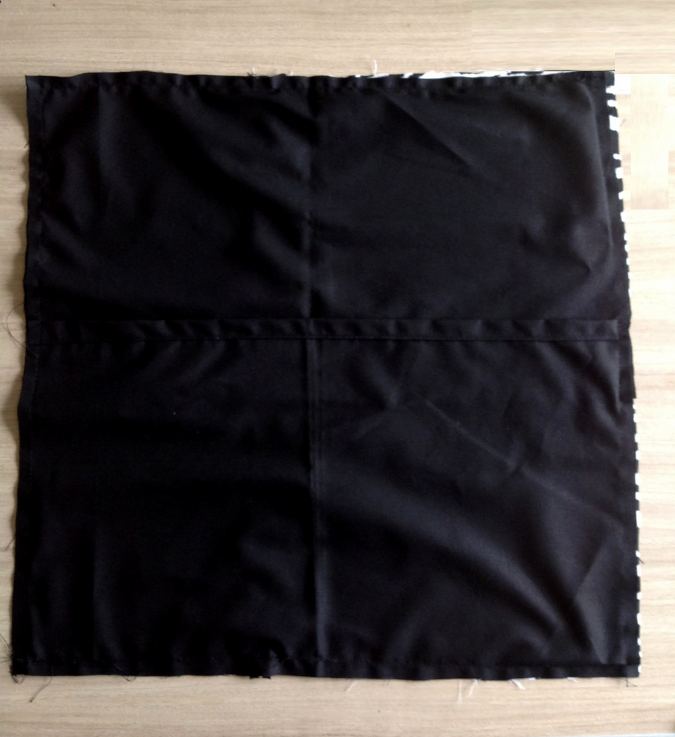
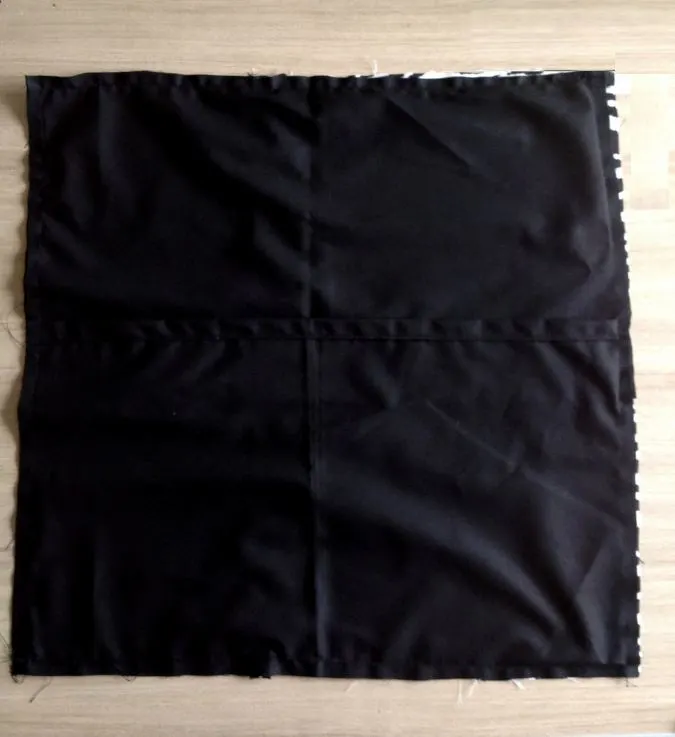
Sew the three pieces together, removing the pins as you go.

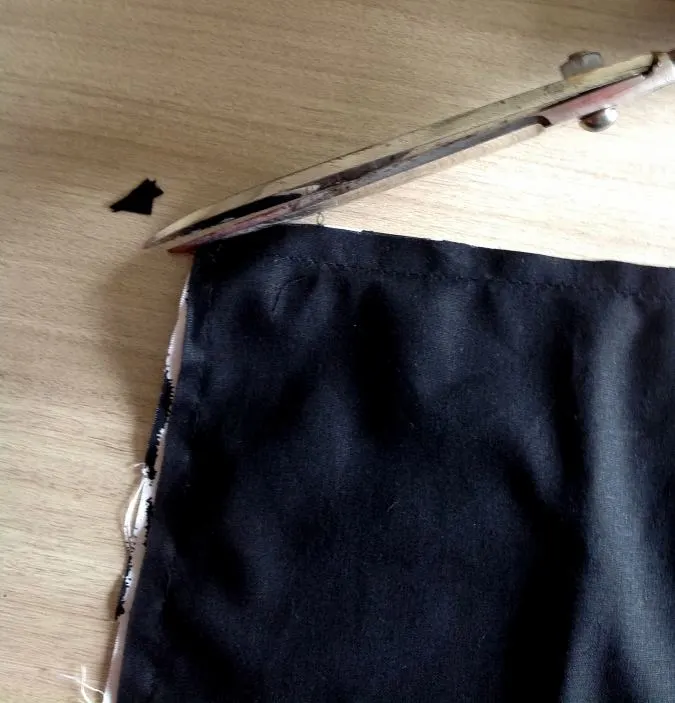
Clip the corners and trim the edges.
Turn the right side out.
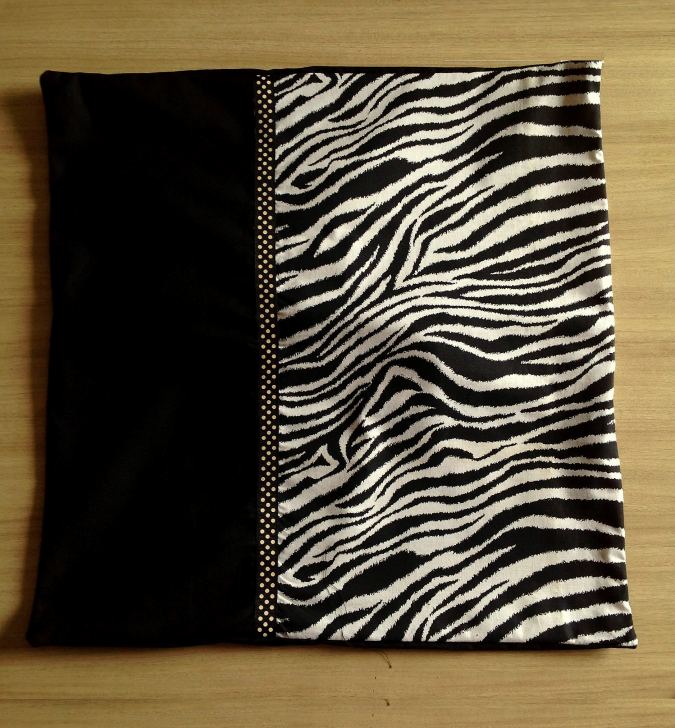
Poke the corners out with a wooden dowel.
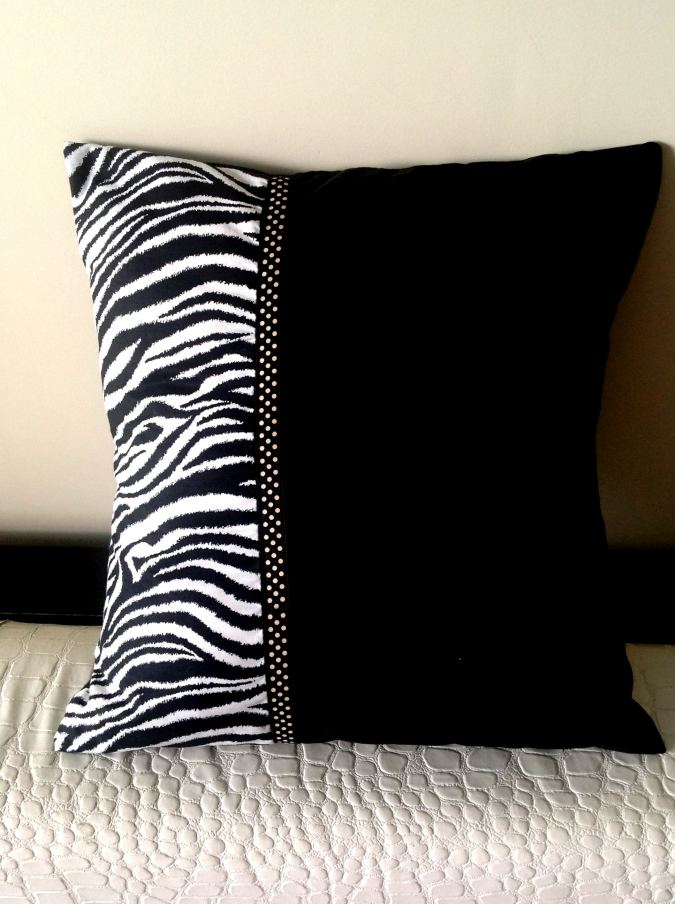
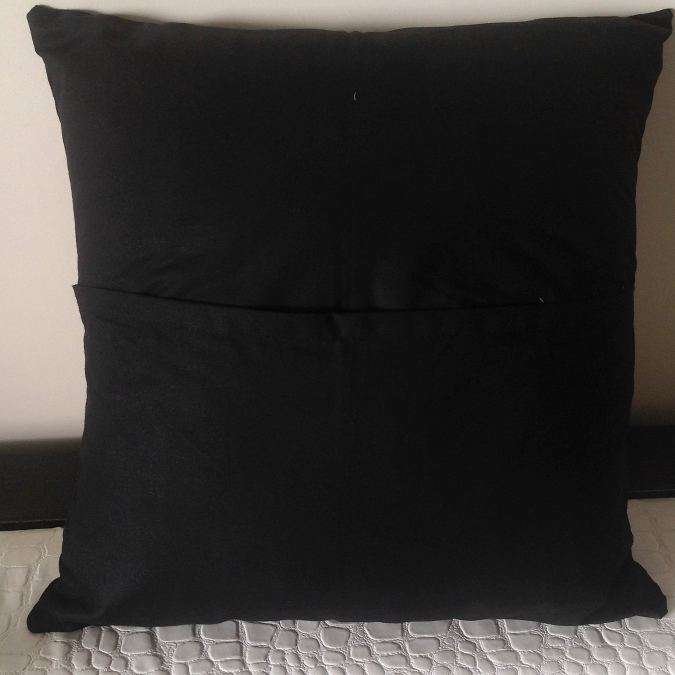
Press to make it neat and crisp. Our DIY envelope throw pillow is ready!

Find the webstory here; Sew a Throw Pillow: The Easiest Envelope Method
The back pieces overlap to form the envelope style opening.
You can find the video tutorial here,
To view more of my free patterns, click here.
To get more free patterns, visit allfreesewing.com