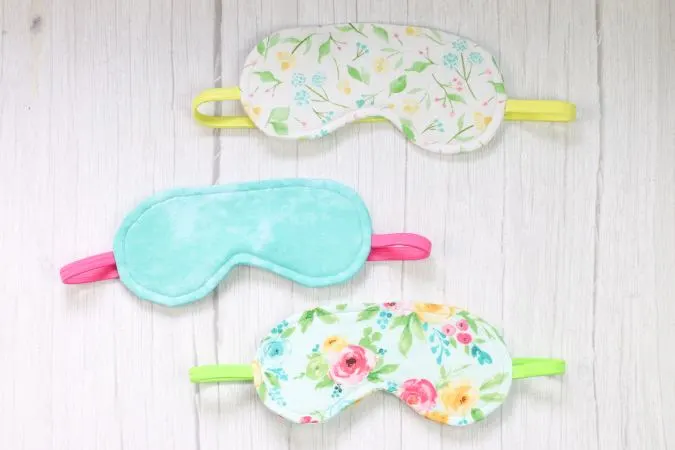
This is a super simple DIY sleep mask pattern that can help you sew reversible sleep masks. This step-by-step tutorial with free pattern would help you make it in a jiffy!

I don’t know about you but I am somebody who finds it hard to fall asleep. I am always very late for bed and unless I take a nap during the daytime, I feel tired the whole day. I always try to find out things that make my sleep comfortable like various foods, supplements, etc.

The slightest sound or a single ray of light is enough to disturb my sleep. That is how I got used to wearing sleep masks while I take my naps. I figured out how to make these easily so that I could make them in the fabrics I love. These DIY sleep masks are so useful to keep the light away while you sleep.

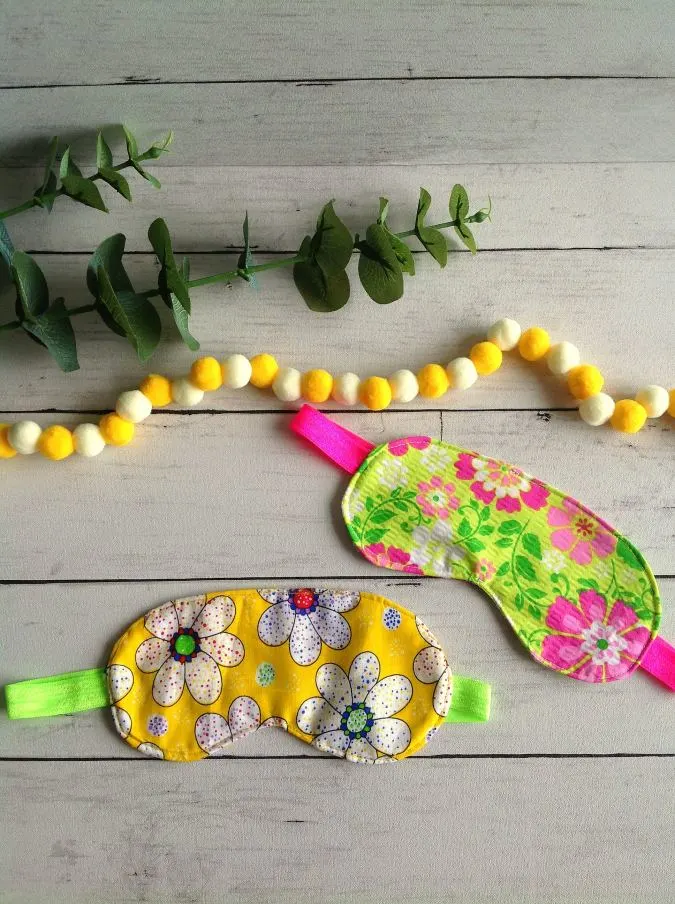
After sewing up a few of these for myself, I decided to share the free eye mask pattern and tutorial so that you can sew them for yourself or as handmade gifts for your friends and family.
DIY Sleep Mask
Supplies
- 1-Fat quarter cotton fabric ($0.97 at Walmart) ( if you would like to make the mask reversible, buy one more fat quarter in a different print)
- Cotton quilt batting ($3.97 per yard for 90” at Walmart)
- 1-Elastic headband (we got ours in a 3 pack from the Dollar Tree. They are the perfect size for an adult!)
- Matching thread
- Sewing pins or clips
- Scissors
- Turning tool
- Iron and ironing board or iron mat
- PDF sleep mask pattern.* Enter your e-mail address and click the subscribe button to start downloading the template automatically.
- Skill Level: Beginner
- Approximate time to complete: 30 minutes
- Approximate cost to make: $1.75
Print and cut out your PDF sleep mask pattern. Cut your elastic headband in half and trim the ends.
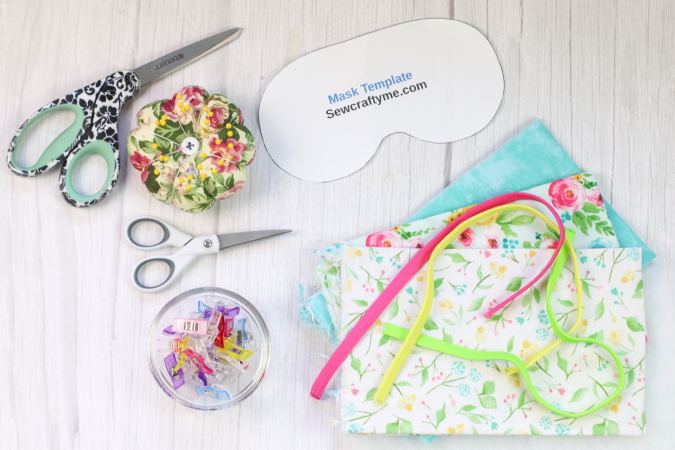
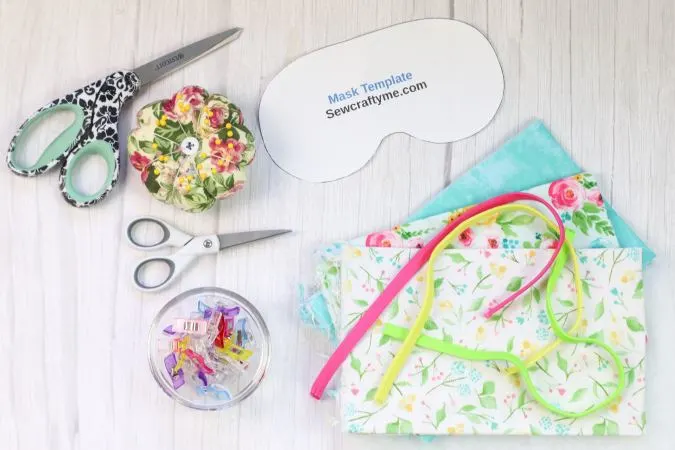
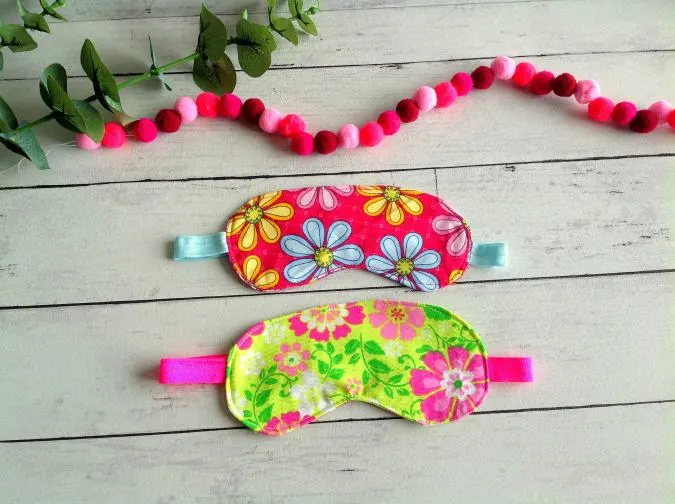
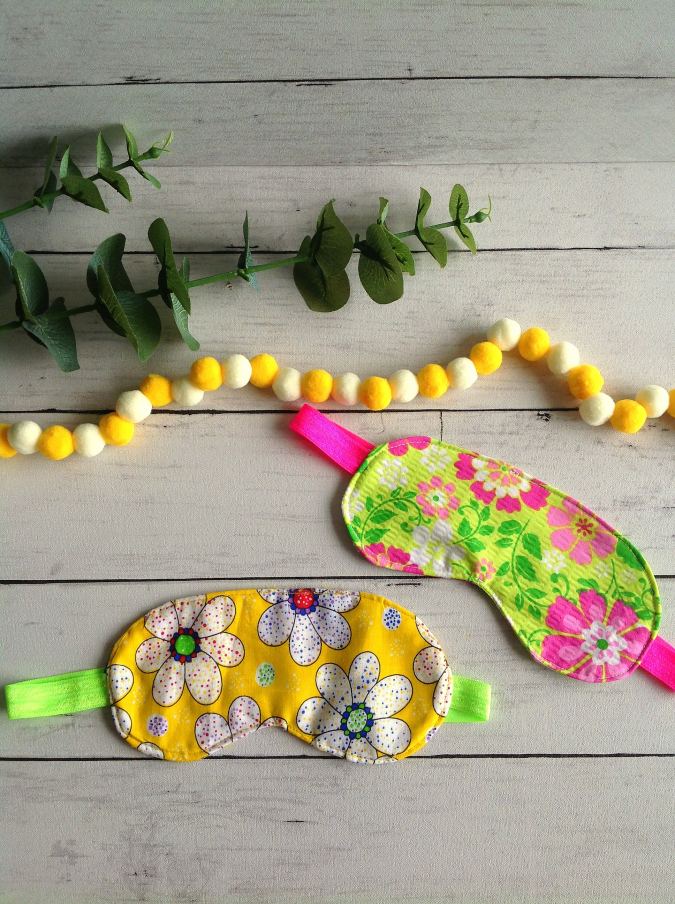
Gather all your supplies ( here you find three different fabrics and elastic because I made all the three masks together).
Instructions:
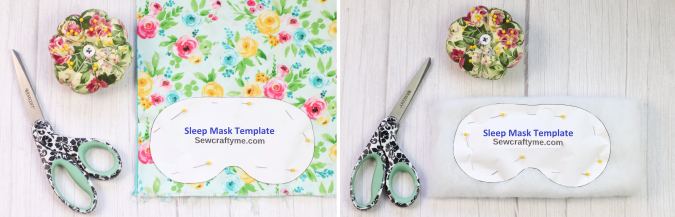
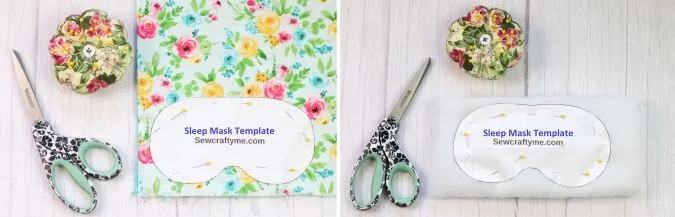
Use your pattern to cut out two pieces of the Fat Quarter cotton fabric, and one piece of the cotton quilt batting.
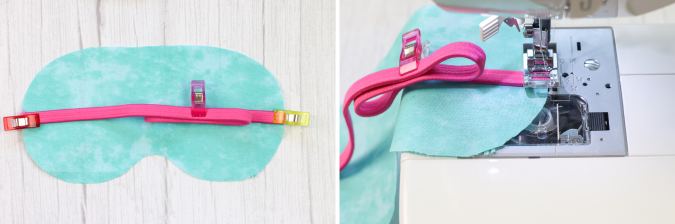
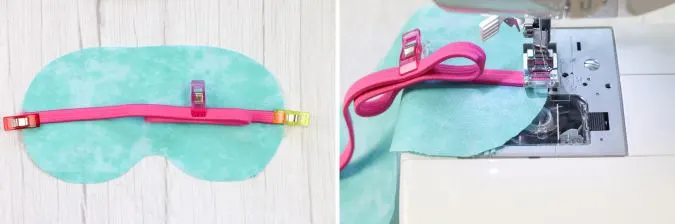
On the right side of the fabric, align your elastic headband (mine measured about 15- inches) and pin it in place. Baste the elastic in place.
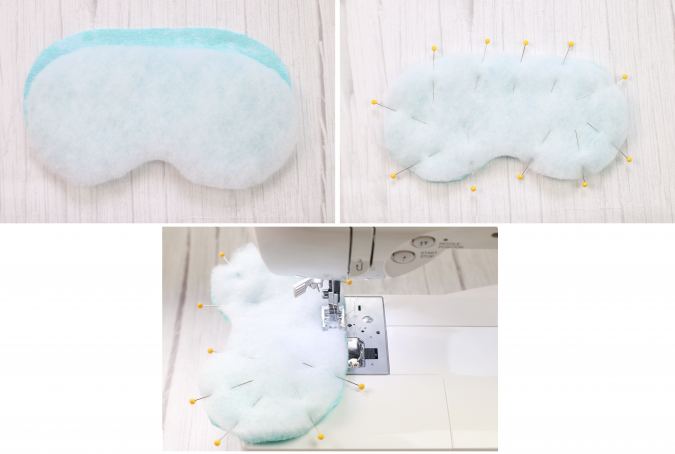

On the other piece of cotton fabric, place the batting on the wrong side of the fabric and pin it into place. Baste the batting into place.
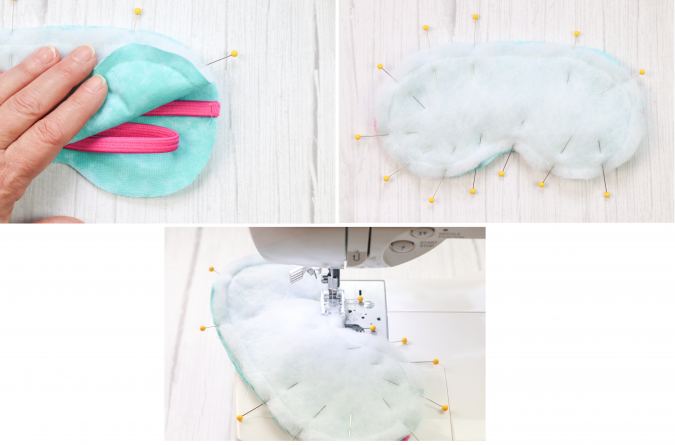
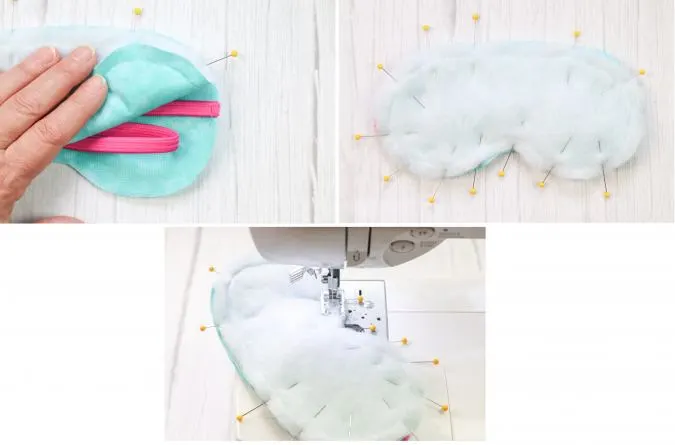
Place the cotton pieces, right sides together, making sure the elastic is tucked in the middle and out of the way. Pin the pieces in place and using a 3/8″ seam allowance, leaving a 3-4” opening at the top, sew around the mask.
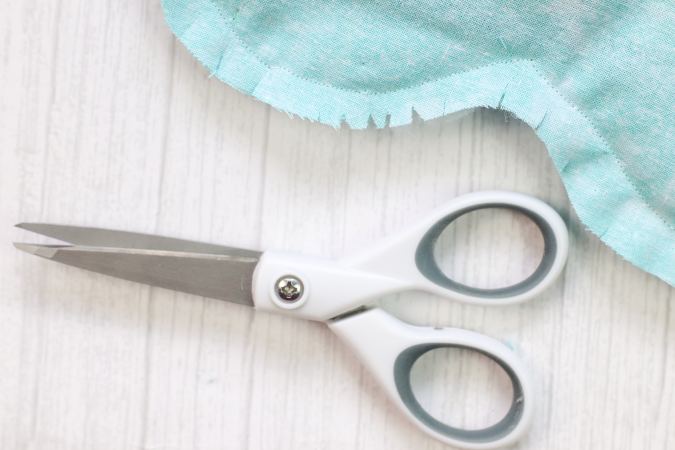
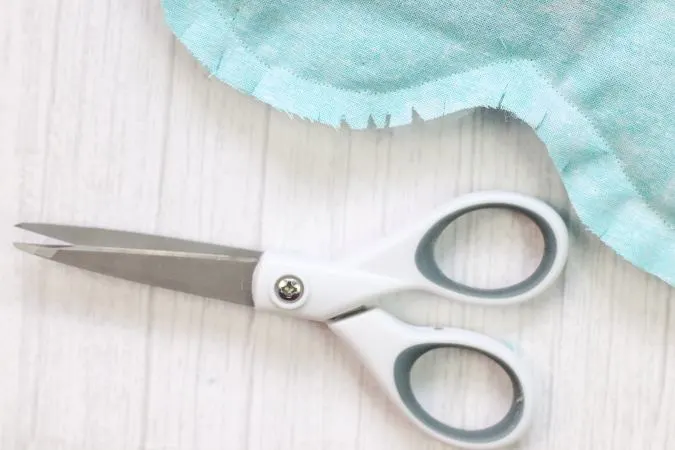
Cut notches out of the curves.


Using your turning tool, turn the mask right side out.
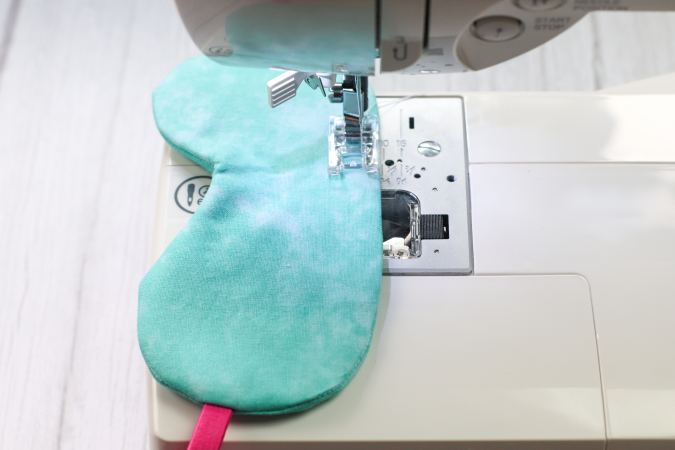

Using a warm iron, press around the edges, and press the raw edges of the opening at the top inward. Using a ¼” seam allowance. Topstitch around the mask.


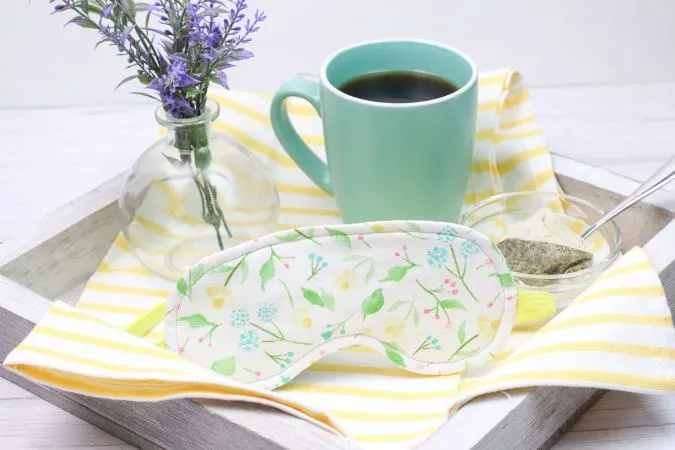
Enjoy!
Have a look at the webstory for the post here, Craft a Cozy Sleep Mask: Free Pattern & Easy Tutorial
Pin it for later here,


Now you have learned to make beautiful DIY sleep masks with this sewing tutorial. Hope you loved it just as I did. Please leave your comments in the comment box below
Nelly
Tuesday 1st of August 2023
Hi...this sleep mask for kid or adult?
Surayya
Wednesday 9th of August 2023
The sleep mask is designed for adults.