A few years back, I had designed a heart pinafore and a heart romper sewing pattern for girls. It became a hit even among the beginner seamstresses and here I have made five sizes of the pattern available free for all my awesome readers!
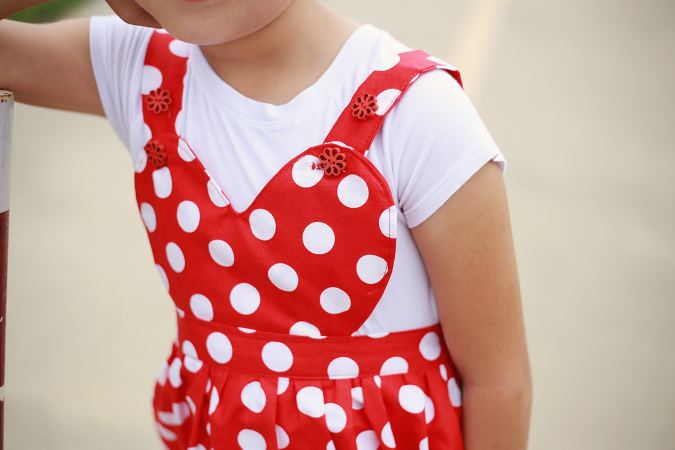
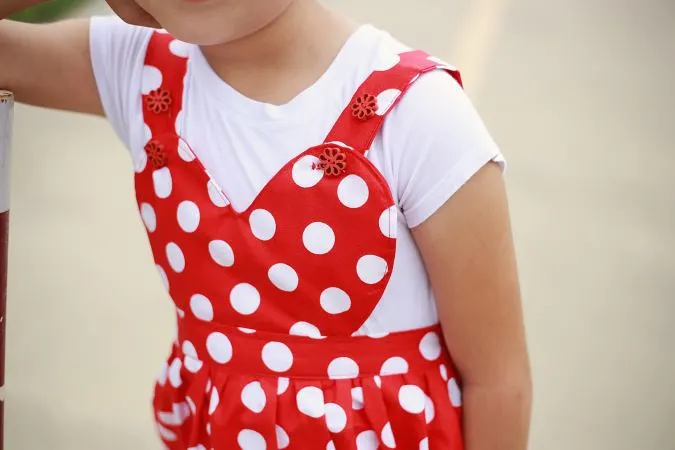
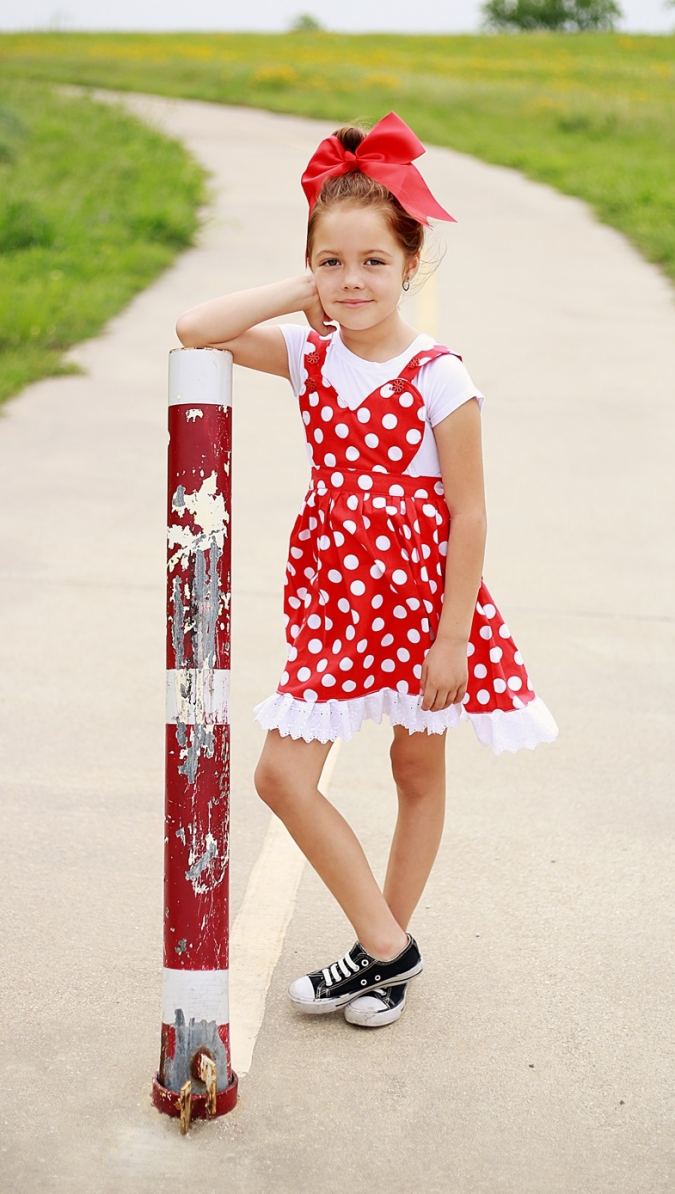

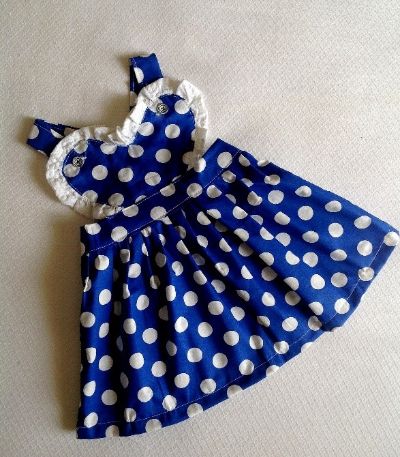
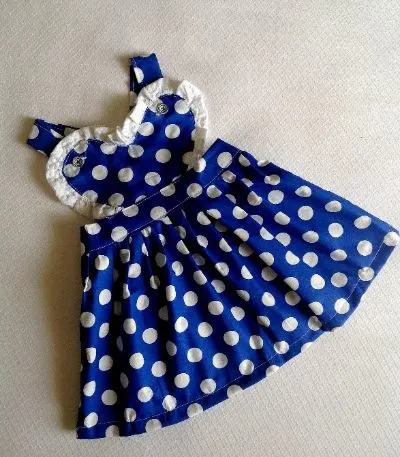
This Valentine’s day, let your little darling look adorable in this pinafore with the heart-shaped bib. This is a simple sewing project if you are looking to sew a dress, without spending a lot of time.


The heart pinafore fastens by straps with buttons and so it is very easy for on and off. You can layer it with tee shirts or tops of your choice underneath to make it look even more adorable.
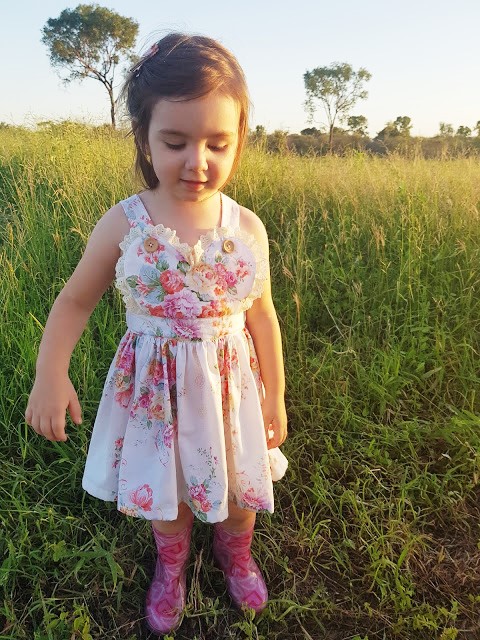

You may add ruffles or lace around the bib and hemline or opt for a simple clean edge for a quick- sew dress. You can also mix and match fabrics for the bib and skirt part to design your own unique girl’s pinafore.


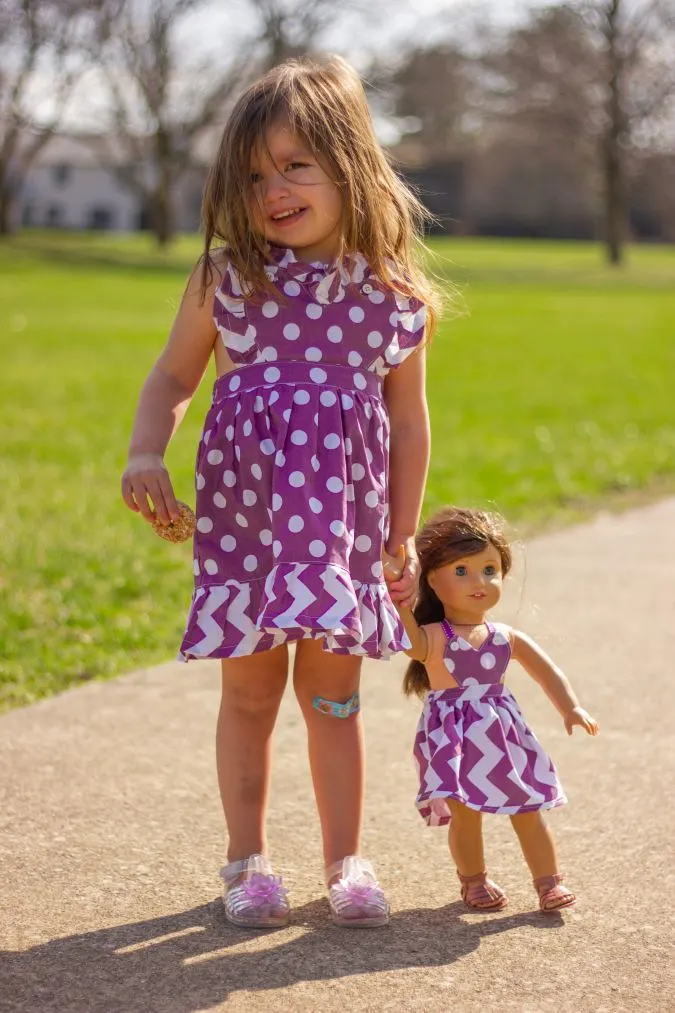
If you would like to sew a matching heart pinafore for your little girl’s American doll, click on the picture below:


You can follow the written pattern below or purchase an Ad-free PDF for just $3.99 Add to Cart here. The pattern will be e-mailed to you.
Free Heart Pinafore Sewing Pattern for Girls
Materials Required
Medium weight cotton fabric for the pinafore- requirement specified in the table-2 below.
Medium weight cotton fabric for the ruffles (optional) – requirement specified in the table-2 below.
¾ – Inch elastic- requirement specified in the table-2 below.
Buttons for the strap- Four.
Sewing Notions.
Pinafore bib pattern template.
All the fabrics used here are 44/ 45 inches’ width.
The fabrics shown here are only for illustration purposes and as such may vary from the original.
The seam allowance is 3/8-inch unless otherwise specified.
I suggest you read the entire pattern once before starting to get a general idea.
All seams are to be finished by zigzag or serger.
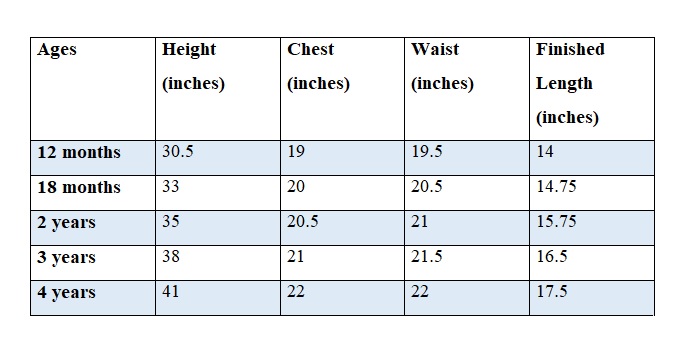
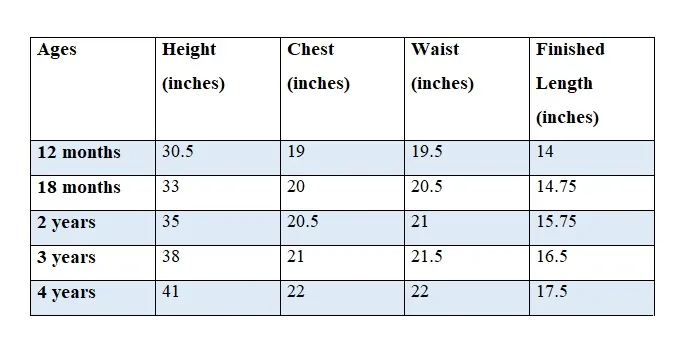
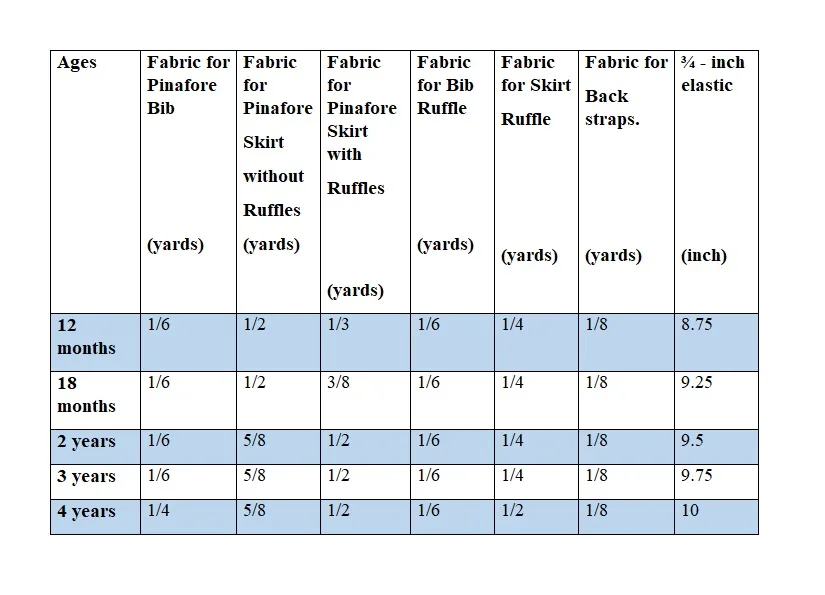
Size Chart and Approximate Finished Lengths
Table-1
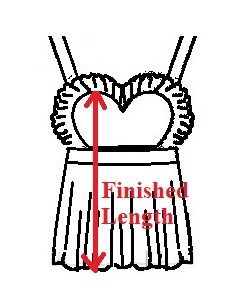
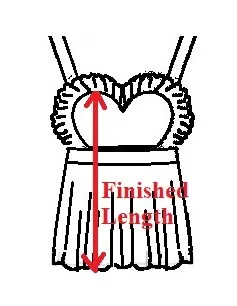
*Please note that this is a vintage length dress and as such the hemline would fall above the knee.
* Pinch to zoom for mobile users.
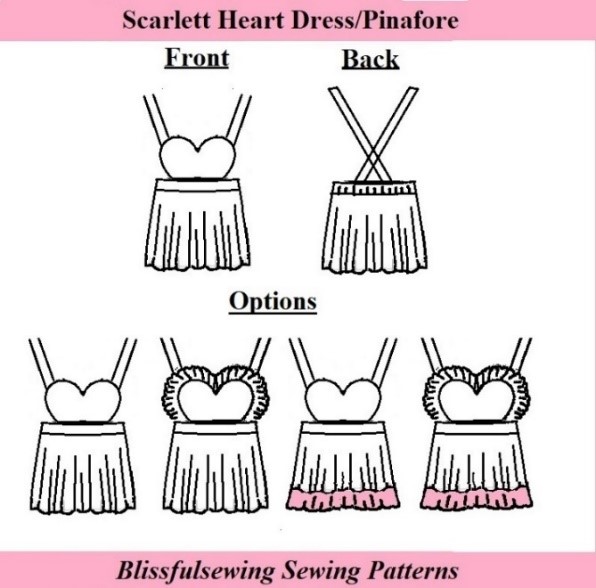
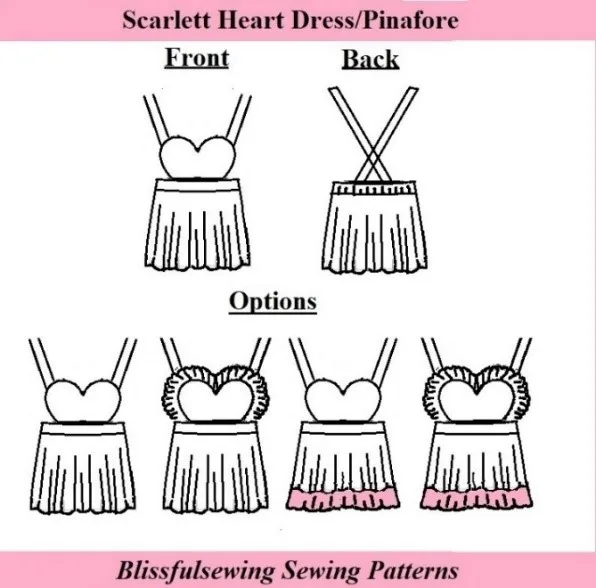
Options.
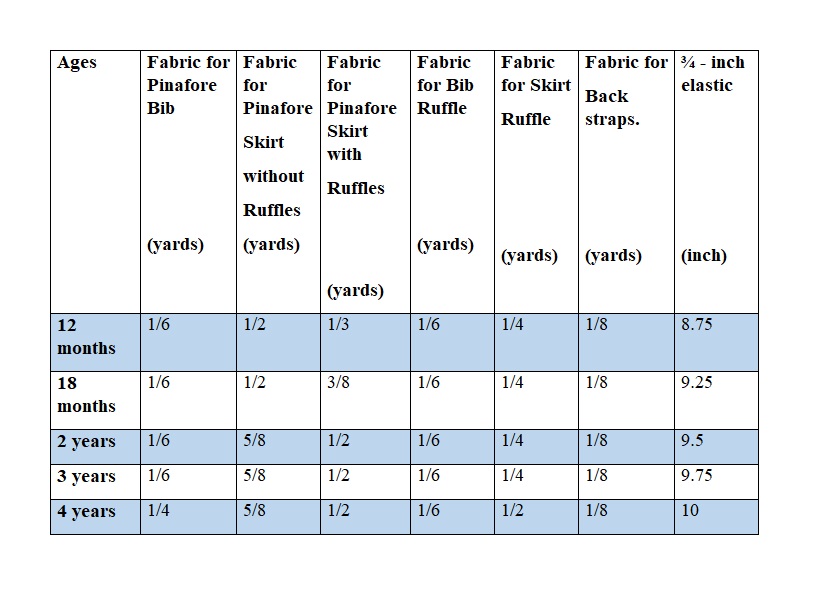
Fabric Requirements.
Table-2
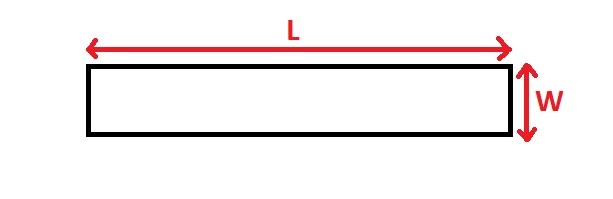
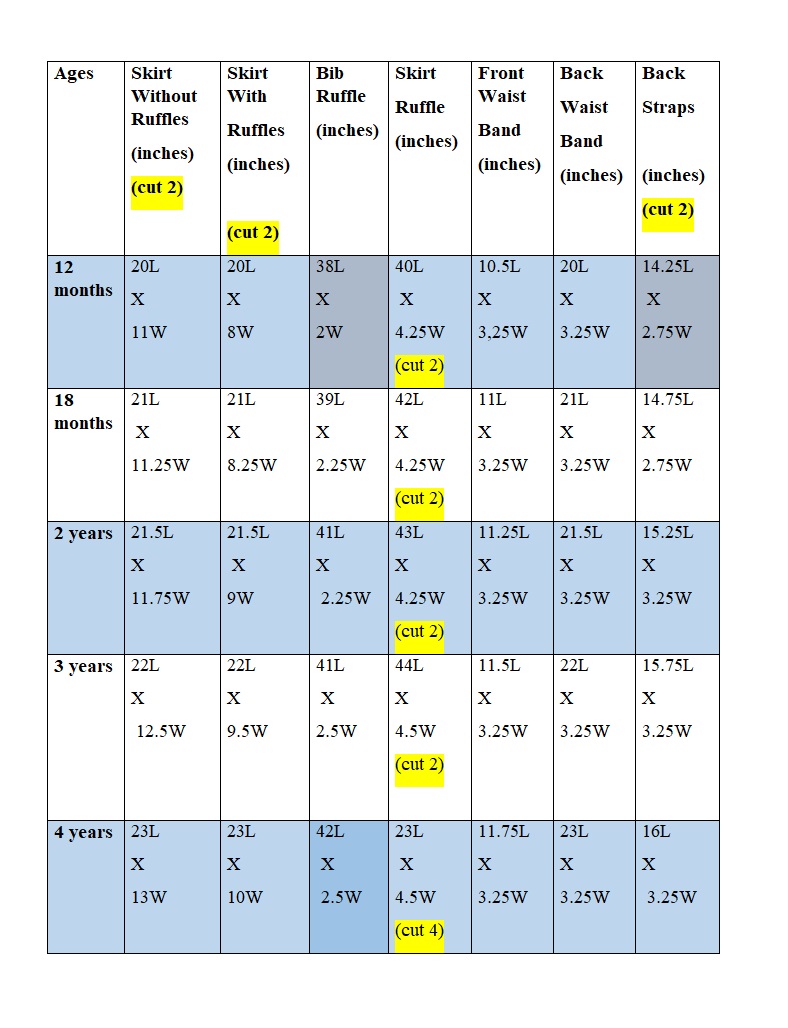
Cutting Chart.
Table-3.
*If you opt for a rolled hem for the ruffles, reduce the width by ½-inch.


Sewing.

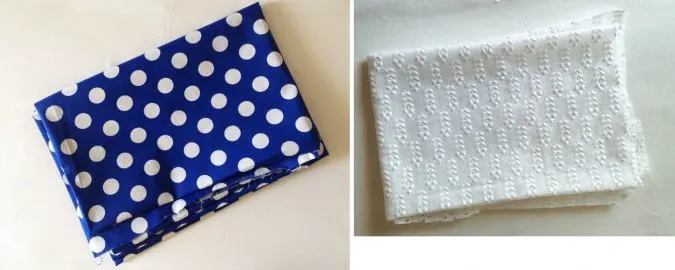
Take the fabric required for the pinafore body and ruffles.
Cut the template for the pinafore bib, from the downloaded PDF.


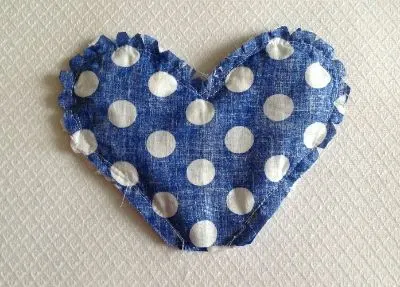
Fold the fabric and place the template on the fold. Mark and cut around the template to get the bib piece. Repeat the steps for the bib lining.
Cut your skirt, waistband, strap, and ruffle pieces, referring to the table-3 above.
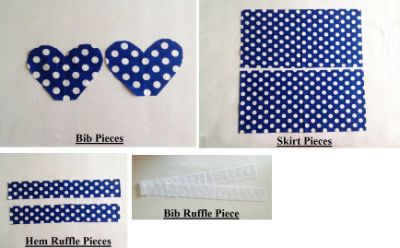

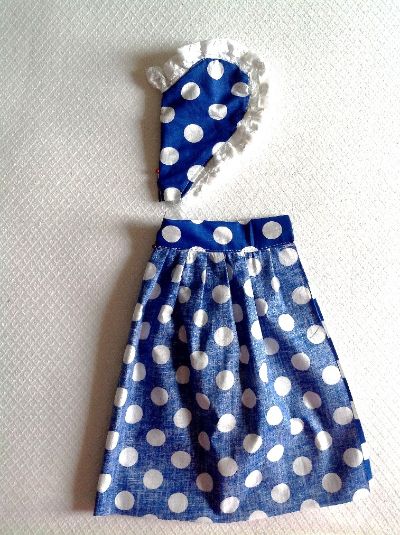
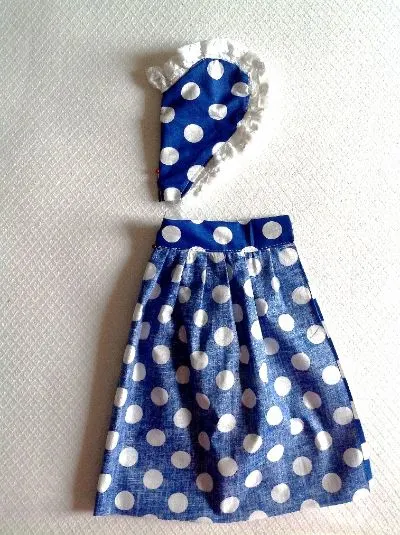
You should now have a pile similar to this.
If you wish to sew the pinafore without the bib ruffle, skip the four steps below and continue reading.
To sew the bib ruffle, first, we need to hem and gather the it.
* You may optionally roll hem the ruffle.
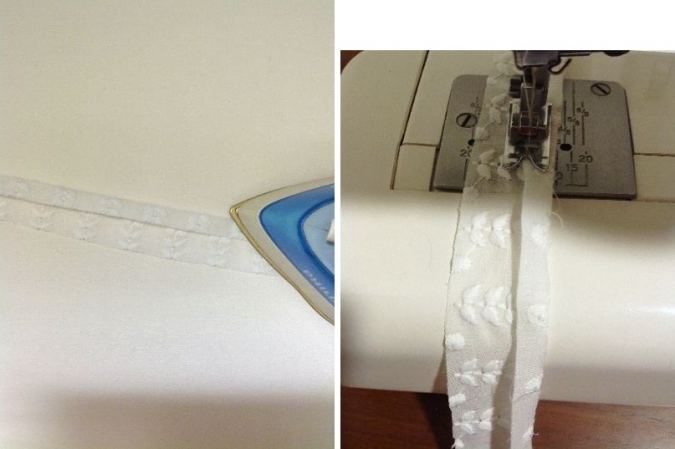

Take the bib ruffle piece, fold one of its longer edges twice by 3/8 – inch towards the wrong side, and press. Sew down the hem along the edge of the fold.
Next, we gather the ruffle.
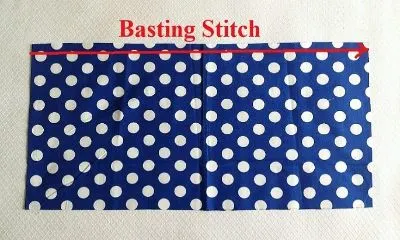
Turn the upper thread tension of your machine to zero and the stitch length to the longest to get a basting stitch.

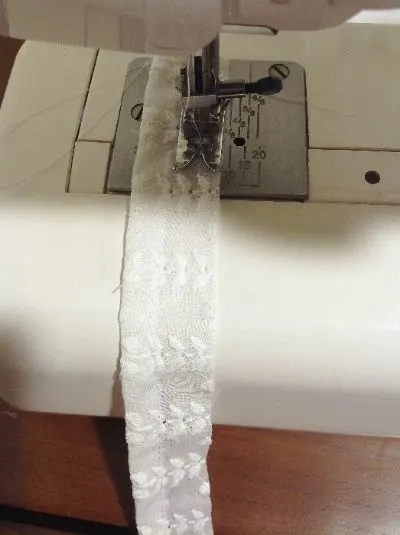
Sew a basting stitch along the long raw edge of the ruffle piece, leaving a long tail of thread, 6-7 inches long to pull and gather.
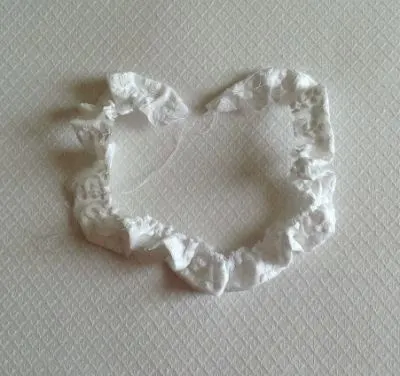
Pull the thread from the bobbin gently and gather the ruffle.
Next, we need to sew the ruffle to the pinafore bib.

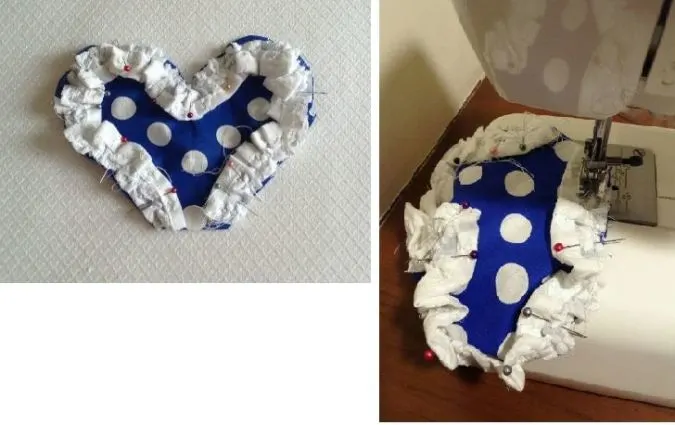
With right sides together, align the raw edge of the ruffle with the raw edge of the bib. Adjust the gathers to make it uniform and pin in place. Turn the machine settings back to normal. Using a ¼-inch seam allowance, sew the ruffle to the bib, removing pins as you go.
- For the no- ruffle version of the bib, continue reading from here.
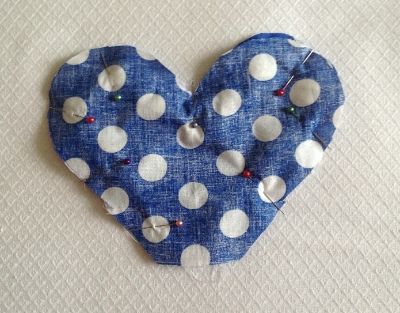
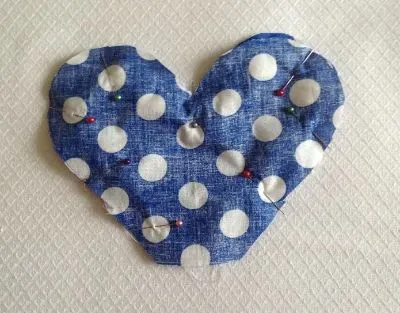
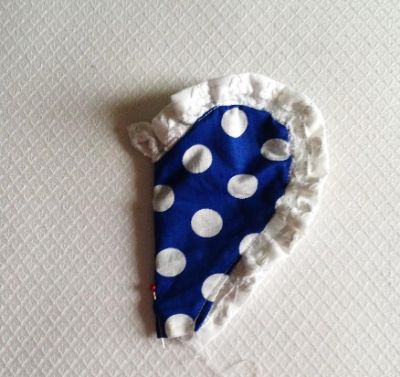
Next, place bib lining, right sides together, on top of the bib. Align raw edges and pin carefully, keeping the ruffle away from the seam allowance.

Sew around the bib, removing the pins as you go. Leave the bottom edge open for turning the bib right side out. Clip the curves to reduce the bulk in the seam.
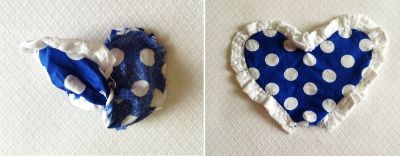

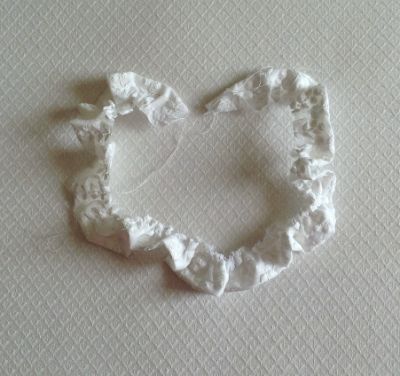
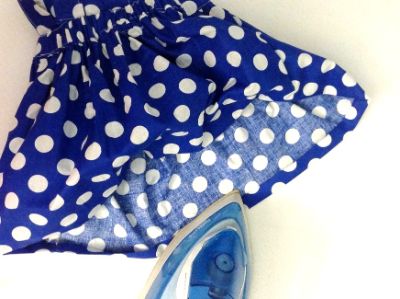
Turn the bib right side out through the opening and pull the ruffle taut.

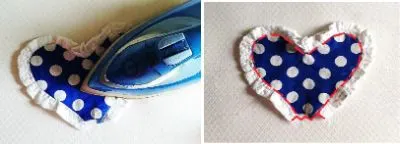
Press to make it neat and crisp. Topstitch along the seam line of the ruffle and bib. Zig zag the lower edge to prevent fraying.
Next, we gather the skirt front.

Sew a basting stitch along the upper raw edge of the skirt front, leaving a long tail of thread, 6 to 7– inches long to pull and gather.
Pull the thread from the bobbin gently and gather the skirt front.
Next, we attach the front waistband to the skirt front.
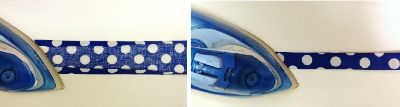
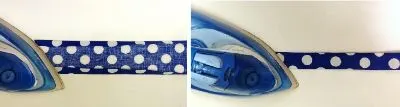
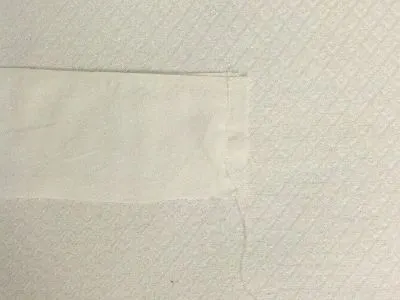
Take the front waistband piece, fold its two longer edges towards the wrong side by 3/8-inch, and press to set. Fold it in half lengthwise and press once more.
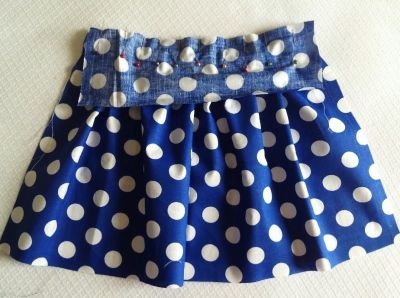

Adjust the gathering in the skirt front to make it uniform and to match the length of the front waistband. Open one of the folds of the waistband. With the right sides together, line up the raw edges and pin.

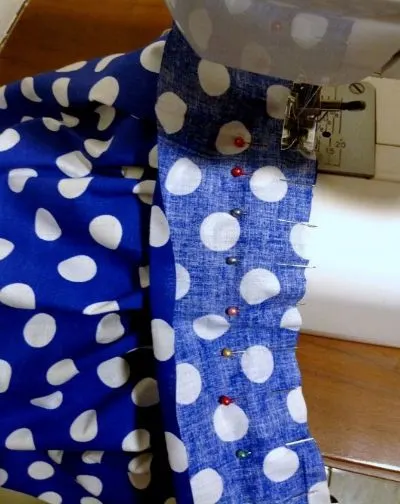
Sew along the crease of the opened fold to attach the waistband to the skirt. Keep removing the pins as you sew.

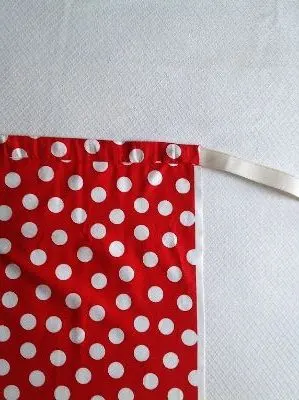
Turn the waistband over to the wrong side of the skirt, along the center crease and pin, keeping the fold along the other edge intact. Sew along the edge of the fold, removing the pins as you go.

Topstitch the waistband, 1/8 inch from the top edge to make it look neat and crisp (picture for illustration purpose).
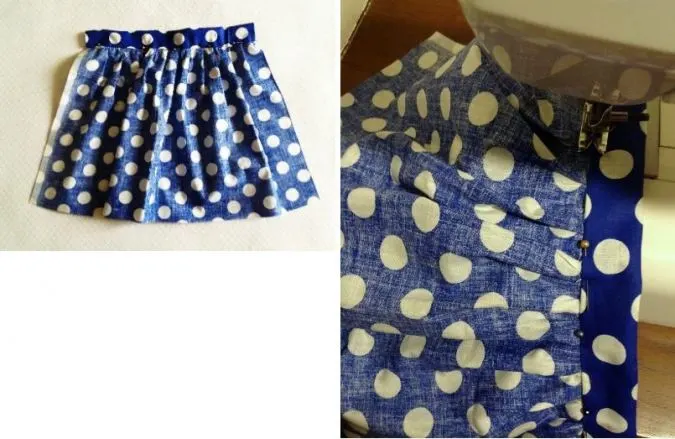
We move on to the skirt back. Take the back waistband and finish it in the same way as the front. It is attached in the same way as the front but here we insert the ¾- inch elastic for a better fit.

Take the required length of the back elastic, referring to the table-2 above, and insert it through the back waistband, using a safety pin. Secure the ends of the elastic by sewing back and forth a few times (picture for illustration purpose).
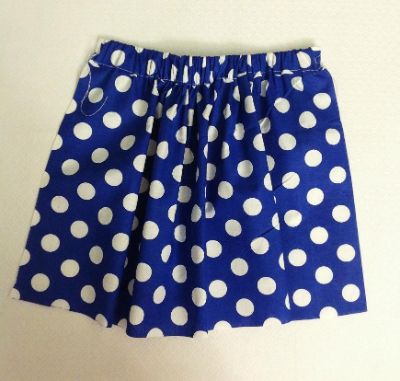
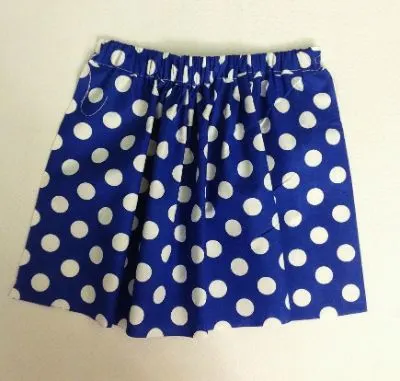
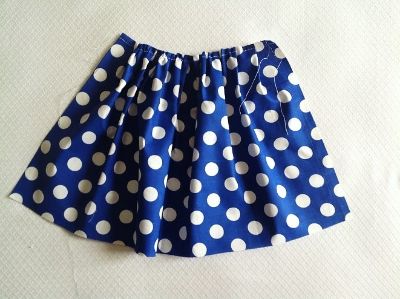
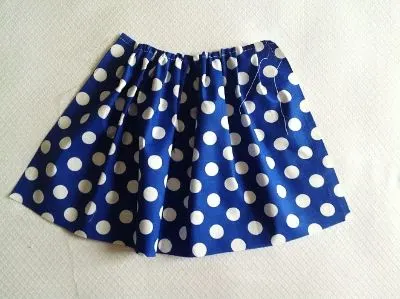
Your skirt back should look similar to this.
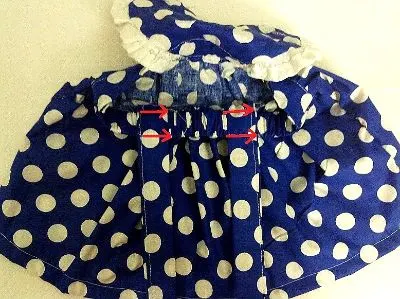
Next, we attach the completed bib to the skirt front. We need to mark the center of the lower edge of the bib and the upper edge of the skirt front.

Fold the bib in half aligning the edges and put a pin to mark the center of the lower edge, as shown above.
Similarly, fold the skirt front in half and mark the center of the upper edge, with a pin.

Place the bib above the skirt front, with the right side of the bib, facing the wrong side of the skirt and keeping the center pins in line. Pin the bib to the waistband, with its lower edge extending the waistband by 1/8-inch.

Topstitch on the right side of the waistband, along its upper and lower edge to secure the bib to the skirt. Carefully remove the pins while you sew.
Let’s sew the skirt front and back together.
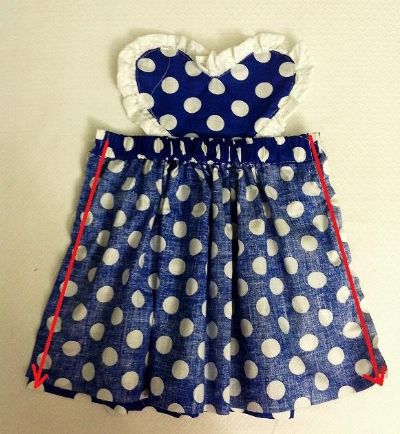
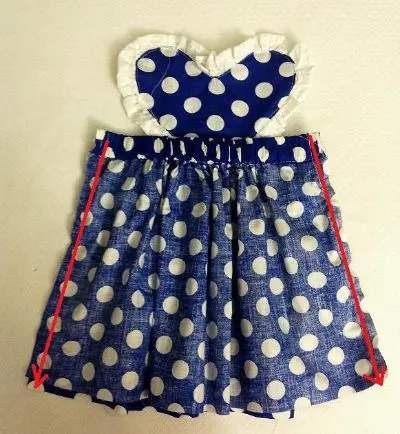
With the right sides together, place the skirt back over the skirt front. Align raw edges and sew each side seam.
Next, we hem the dress. If you wish to sew the pinafore with ruffles along the hemline, skip the step below and continue reading.
If you are making the skirt without the ruffle, continue here to hem your skirt.

Fold the lower edge twice by 1/2 inch towards the wrong side and press. Sew down the hem along the edge of the fold.
- Skip to the strap attachment section below.
Ruffled Hem Version
Take the fabric strips for the hem ruffle, referring to the table-3 above, and join them along the two shorter sides to get a fabric ring.
Hem one of the longer edges and gather it, just like the bib ruffle.
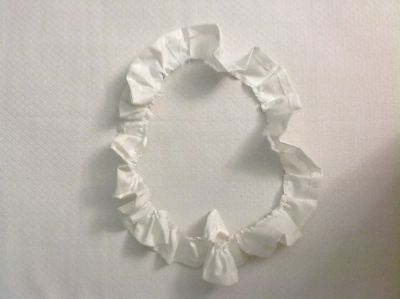
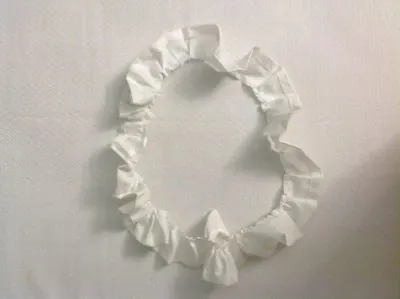
You will get a ruffle ring like this.
*Few pictures below are for illustration purposes.

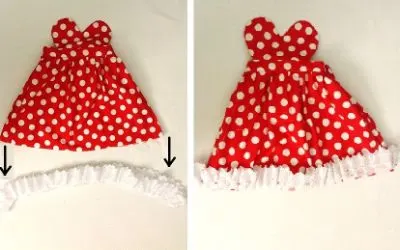
Keep the pinafore with the right side out and the ruffle ring with the wrong side out. Slide the lower edge of the dress into the ruffle. With the right sides together, align raw edges. Adjust the ruffle to make it uniform and to match the lower edge of the dress. Pin all along.

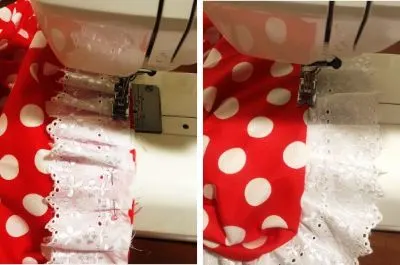
Change the machine settings back to normal and sew the ruffle to the dress, removing the pins as you sew. Turn over to the right side and topstitch along the seam line of the dress and ruffle to make it neat and crisp.
Preparing and Attaching the Straps

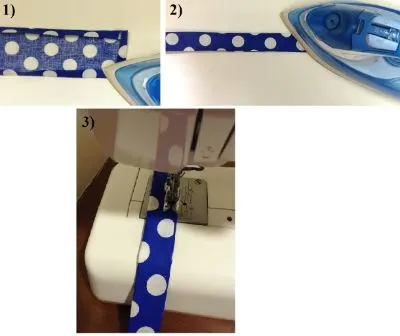
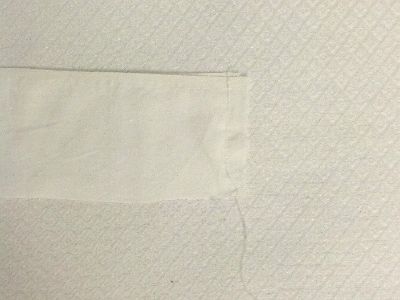
Take the strap pieces, fold the two longer and shorter edges by 3/8-inch towards the wrong side, and press to set. Fold it again in half lengthwise and press once more. Sew the strap shut along the folded edges.
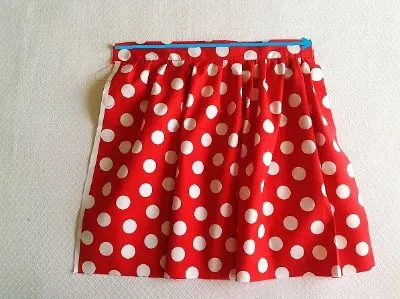
We need to attach the straps to the pinafore. Let’s mark the point on the back part of the pinafore, where the straps are to be attached.
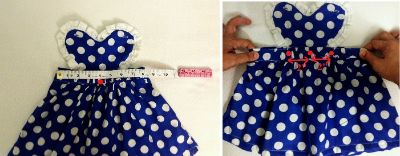
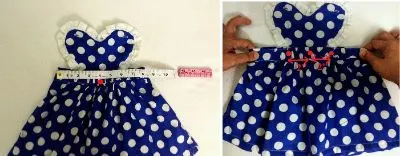
Using a measuring tape, find out the center of the elasticized back and put a pin at the point. Measure 2-inches from the point, on either side, keeping the elastic stretched and mark once again, with a different color pin. This is where the straps are to be attached.

Take the straps and keep its shorter edge below the waist elastic, by 3/8-inch, at the marked point and pin. Sew the straps to the pinafore at the top and base of the waist elastic. Make sure to reinforce the stitches, by sewing back and forth a few times.
Next, we’ll sew the button holes.
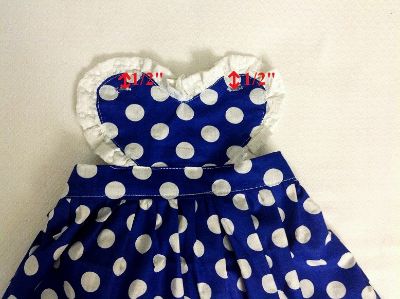

Following the instructions in your sewing machine manual, sew two buttonholes, ½ -inch down from the top and at the center of the two petals of the heart-shaped pinafore bib.
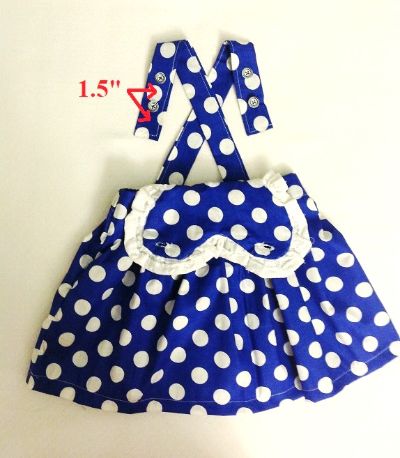
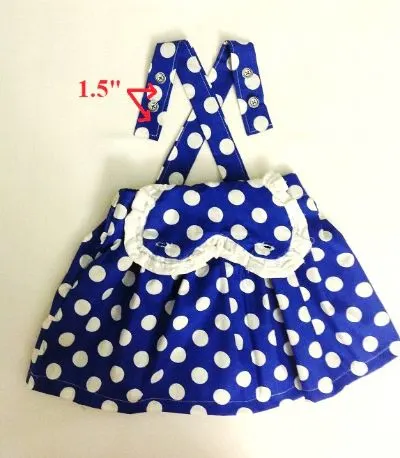
Sew the first button, 1.5 inches from the end of the back strap. If desired, sew a second button 1.5 inches from the first (to allow room for growth). Repeat the steps on the other strap.
*The strap should be crossed at the back while wearing the pinafore.
*If you have the child with you, you may try it on the child and mark the position of the buttons for a more correct fitting.
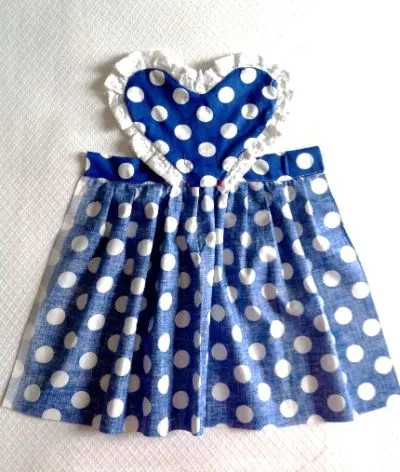
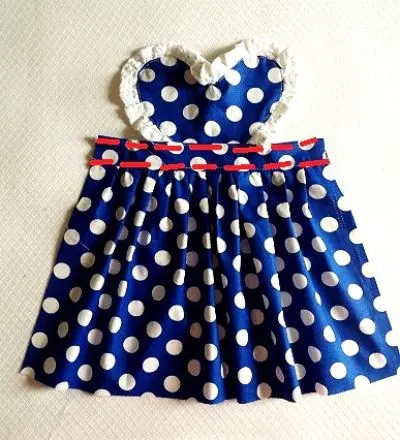
Your dress is done!
Pin it for later here,

Hope you learned how to make awesome pinafore dresses with the free heart pinafore sewing pattern for girls. So, don’t waste your time, grab your fabric and your notions, and get ready to sew!
Find the webstory for the post here, Easy & Free Sewing Pattern: A Charming Heart Pinafore for Girls
Claudia
Monday 20th of January 2025
I made this dress for a special little girl in my life and it was fantastic. The pattern was simple and easy to follow. Thank you
Elizabeth
Tuesday 14th of November 2023
Thanks for this I will made it for a girl
Rebekah
Wednesday 26th of January 2022
Wow I'm getting the insperation to buy me a sewing machine.
Christine baker
Tuesday 25th of January 2022
Where do I find pdf
Surayya
Wednesday 26th of January 2022
Please enter your e-mail address and click on the subscribe button in the blue box to download the PDF for the pattern pieces.
Elzie Brooker
Monday 24th of January 2022
Thank you so much for the pattern will make it for my twin grand babies