
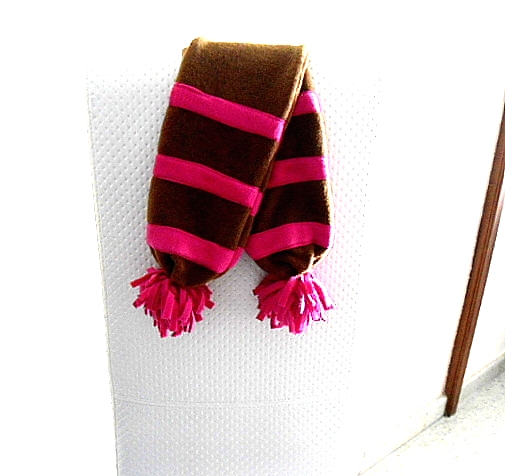
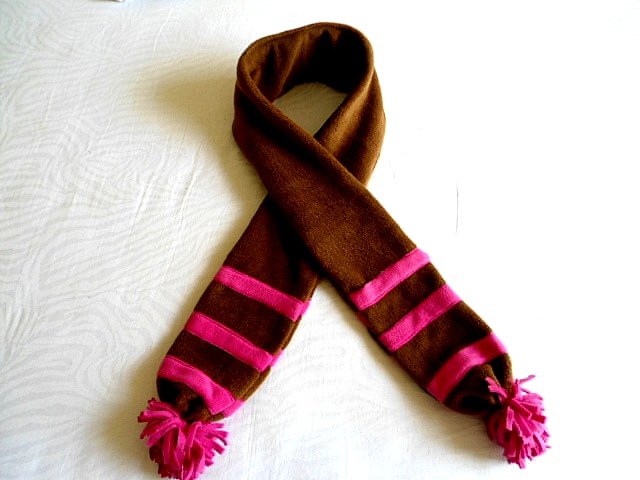
This tutorial will help you make a fleece scarf with a very little sewing. This scarf can be a stylish addition to your little girl’s wardrobe. With its cute pompoms and beautiful stripes, your little one would want to wear this playful scarf all day long. Wrap the scarf around your little girl for a stylish look you will love! This scarf would be a perfect project for any beginner seamstress as it requires very little sewing and the fact that working with fleece hides all sewing imperfections comes as an added advantage!n
Material Required
1) 1/2-yard of the fleece of any desired color (if you are making the scarf for an adult, you will require 1& 3/4-yards).
2) 1/4 yard of the fleece of a contrasting color.
3) Sewing Notions.
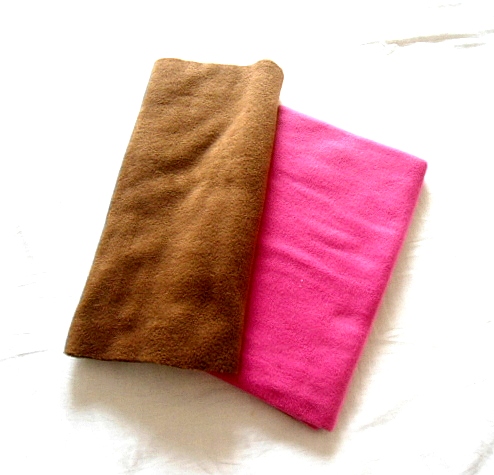
Take the two contrasting colors of fleece required for the scarf.

Cut two pieces, 40-inches long and 6.5-inches wide from the main fleece fabric (to make the scarf in adult size, take the length as 62-inches and width as 9-inches).

Now we need twelve pieces, 6.5-inches long ( 9 inches long if making an adult size) and 1-inch wide from the contrasting fleece fabric (this is for the stripes at the edge of the scarf).
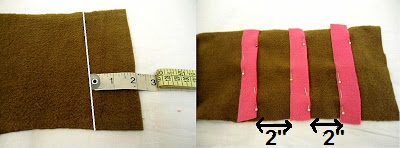
Take one of the main scarf pieces and mark a line 2-inches from the lower edge as shown above. Take one of the fleece pieces for the stripe, align it along the drawn line and pin. Pin two more pieces at the 2-inch gap from each other as shown above. Repeat the steps on the other shorter edge of the same piece. Repeat the same steps to pinstripes on the second piece for the scarf.
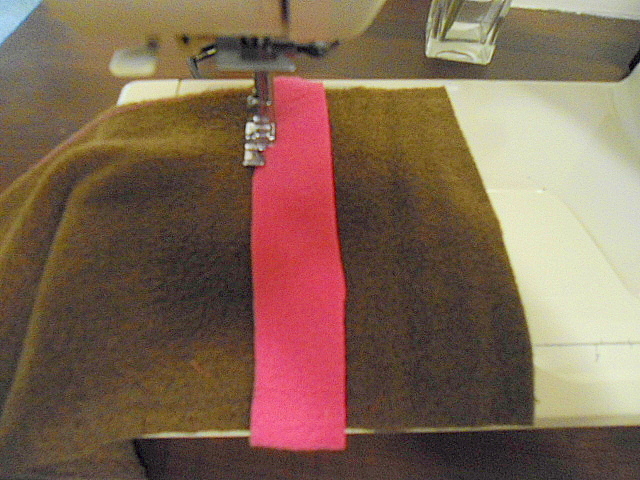
Sew the stripes on to the scarf pieces.

Now layer the two main scarf pieces with the right sides together and aligning the edges. The line marked shows where to sew it shut.

Sew along the two longer sides, leaving a 1/4-inch seam.
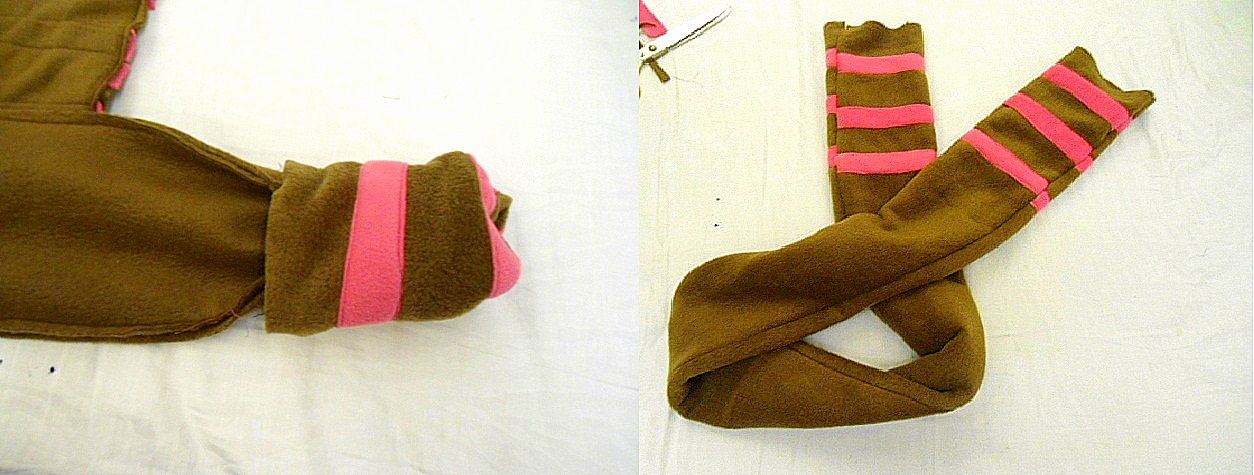
Turn the scarf inside-out.
Now let’s gather the two shorter edges of the scarf to finish it.
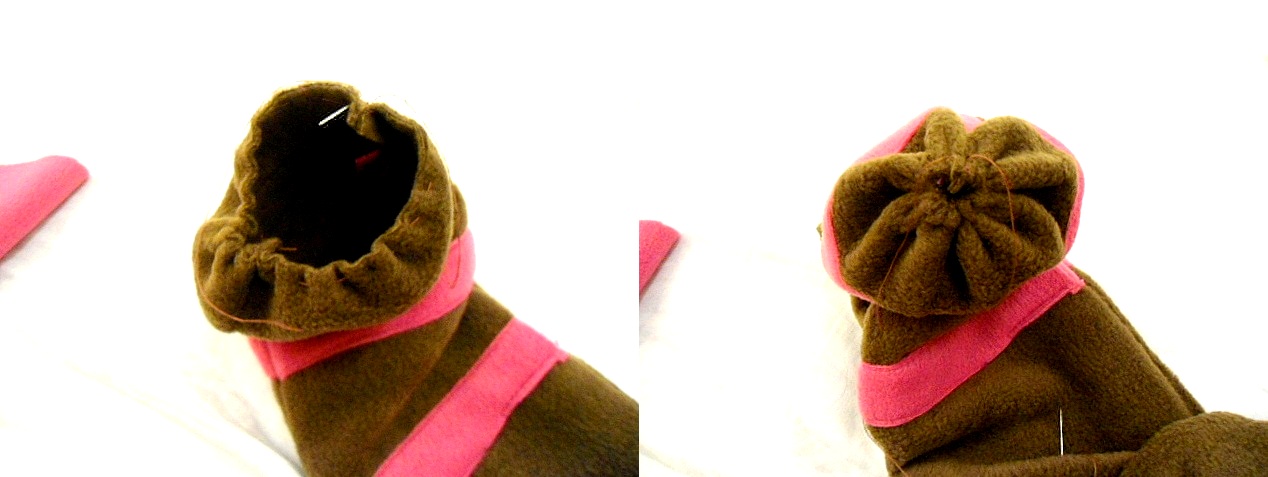
Take a needle and thread and sew a loose running stitch around the shorter edge of the scarf. Pull the thread gently on both sides to gather and close it. Secure the gathering by tying a few knots with both the ends of the thread. Now we need to add the pompom at the ends of the scarf. For that, we require two pieces of fleece, 12-inches long and 5-inches wide.

Take one piece and fold it in half lengthwise, aligning the edges as shown above.

Now cut fringes at the raw edge, taking care not to cut through the fold. Keep the width of the fringe as thin as possible.

Unfold it and start rolling tightly from one of the shorter edges. Put a pin through the center of the pompom to secure it. Take a needle and thread and run it through the center of the pompom, in and out a few times. Finally, wrap the thread around the center a few times and secure by a few knots.

Attach the pompoms at the ends of the scarf using a needle and thread. Fluff up the pompoms and your scarf is ready to wear!
Tina Pippo
Sunday 10th of February 2013
Wonderful tutorial! I loved the outcome!Great post!! I included it in my post Βόλτα στη Γειτονιά #21 :)Have a great week!!
Anonymous
Wednesday 6th of February 2013
Adorable scarf! This is a great idea!
Navy Wifey Peters @ Submarine Sunday Link Partyhttp://www.usscrafty.blogspot.com/2013/02/submarine-sunday-17_2.html
Diana - FreeStyleMama
Friday 1st of February 2013
Really cute! I love the added pom pom!