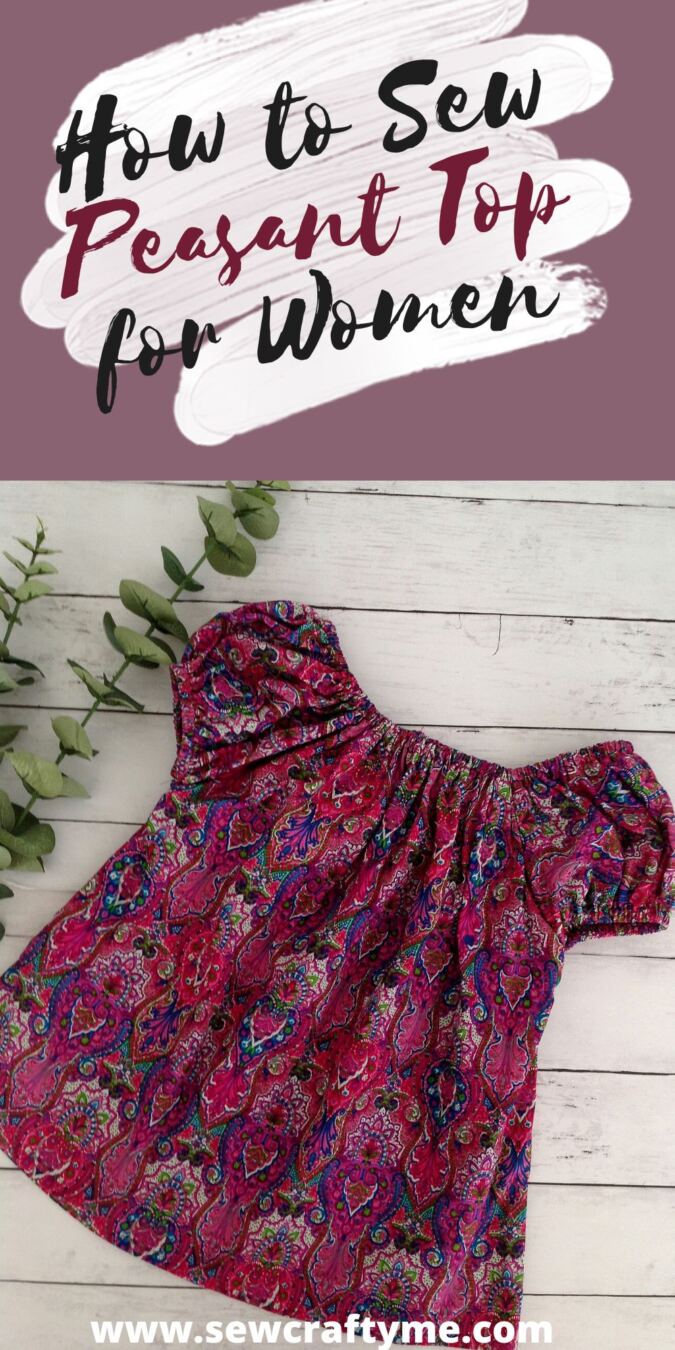
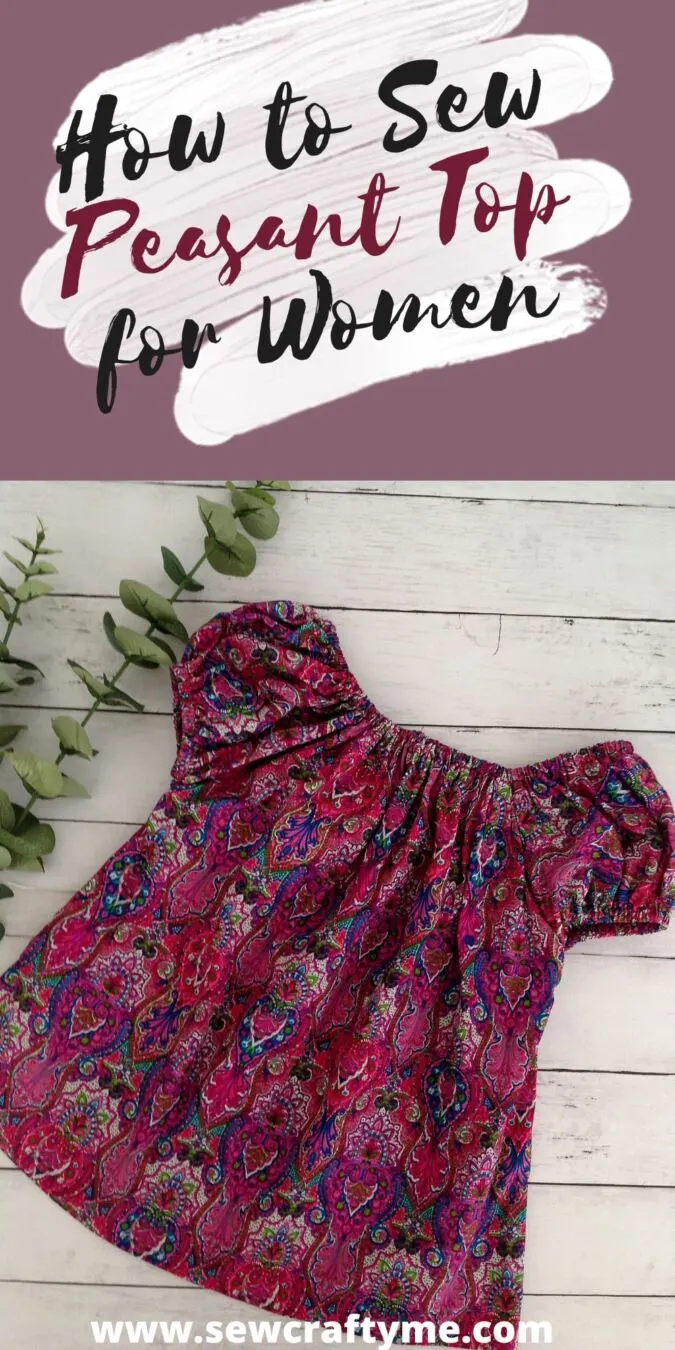
If you would like to learn how to draft a peasant top or dress, you are at the right place. Here you will learn how to sew your own peasant top using your old top.
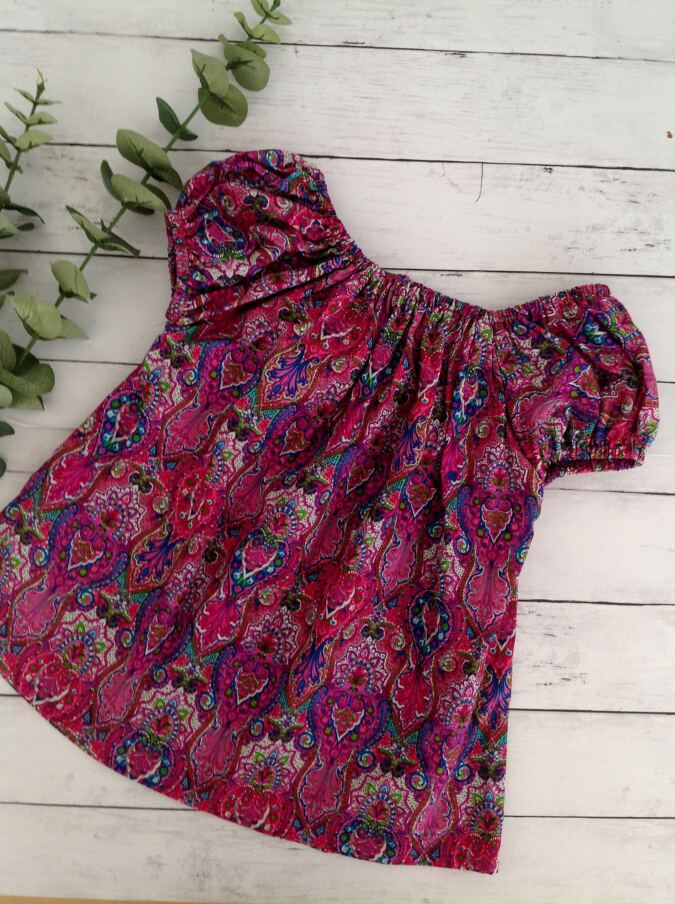


This is a quick and easy-to-sew peasant top sewing pattern that every beginner seamstress must give a try. This tutorial is complete with explicit instructions and color photographs which will help you complete the top in an hour or even less.


The possibilities to personalize these tops are endless; you can make it with short sleeves, long sleeves, or three-fourth sleeves. You can increase the length of your top, add an elastic beneath your bust line and make it a tunic! Moreover, these tops are roomy and comfortable to wear throughout the year irrespective of the weather changes.
How to Draft and Sew a Peasant Top
Supplies Required
- Cotton Fabric-To find the required yardage, double the length of the top and add double the required sleeve length to it. In my case, the required length of my top is 23” and the sleeve length is 5” (refer below). So the required length of the fabric is:
(23 “x 2) + (8.5” x 2)= 46” + 17”=63”
Therefore, the required Yardage is approximately 2 yards
- 3/8-inch elastic.
What I took is 25 inches. You may increase or reduce the length depending on the depth of the neck you need.
Measure around your upper arm and reduce an inch to get the required elastic length for the sleeve. You will need two pieces with the same measurement.
Add up the lengths of the neck elastic and the sleeve elastic to get the total length of the elastic needed.
All the fabrics used here are 45 inches in width.
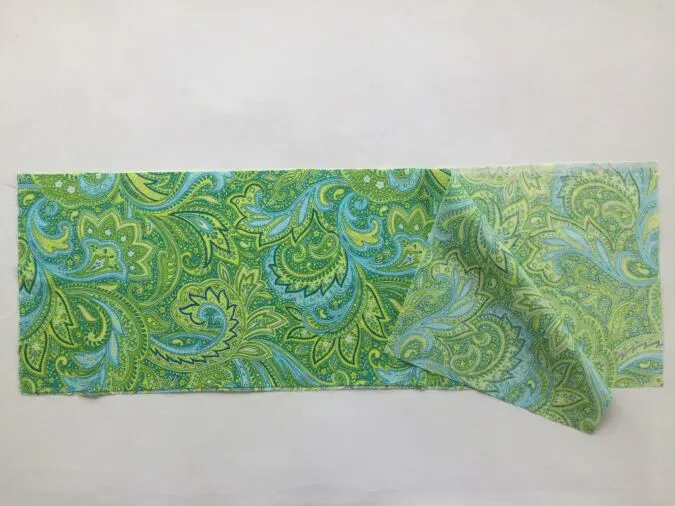
The fabrics shown here are only for illustration purposes and as such may vary from the original.
The seam allowance is ½-inch unless otherwise specified.
I suggest you read the entire pattern once before starting to get a general idea.
All seams are to be pressed flat
All seams are to be finished by zig zag or serger.


Gather your supplies.
Let’s first find out the measurements:
*You will need to measure around your bust line (make sure to hold the tape not too loose or tight). I got mine as 36”.
*You will also need the required length of your top. Hold the tape from the top of your shoulder to where you want your top to stand. This would give you the required length. I took mine as 23”.
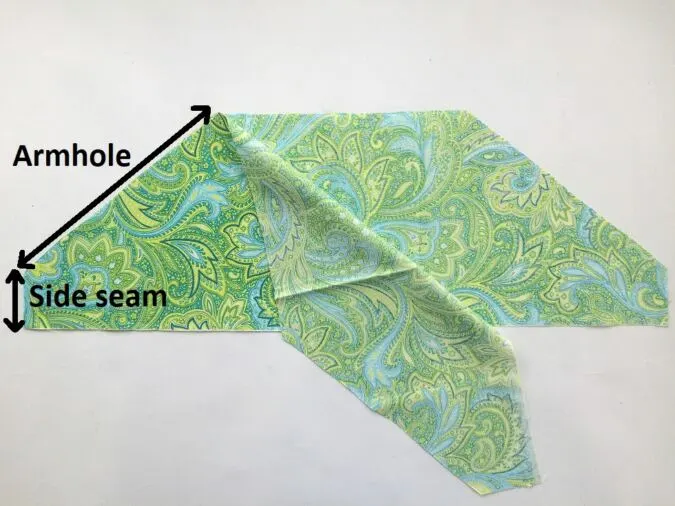
* For the armhole and neck, here I have used one of my old tops.
Now let’s calculate the length and width of our fabric pieces, required for the top.
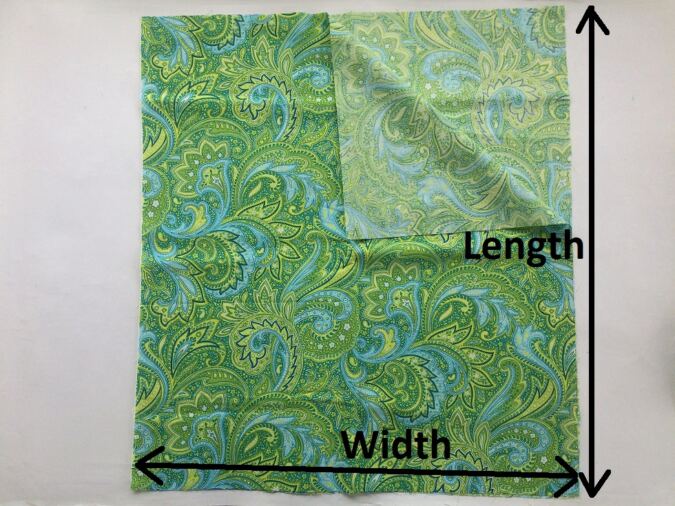
Add 6” to your bust measurement and divide it by 2, and you will get the width of your fabric. Mine is 36” + 6” =42”, divided by 2, I get 21”.
The length of the fabric piece is the same as the required length of the top. So, in my case, it’s 23”. So my bodice piece measurement is 21” width x 23” length. You will need to cut 2 pieces with the same length and width for the front and back bodice pieces.
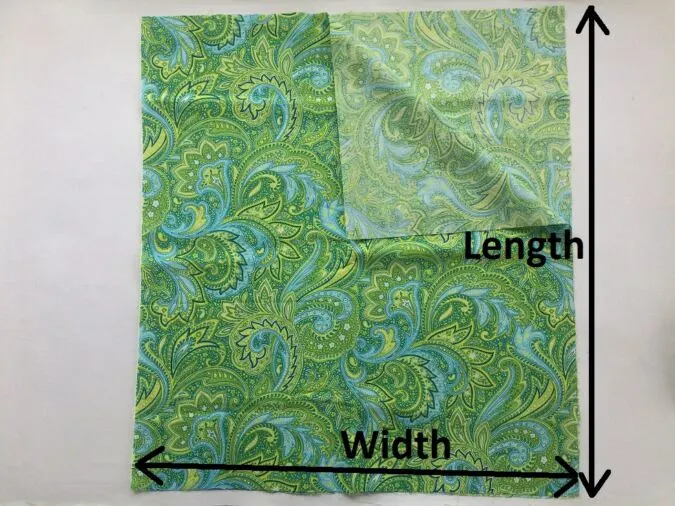
Next, we need to cut our sleeve pieces.
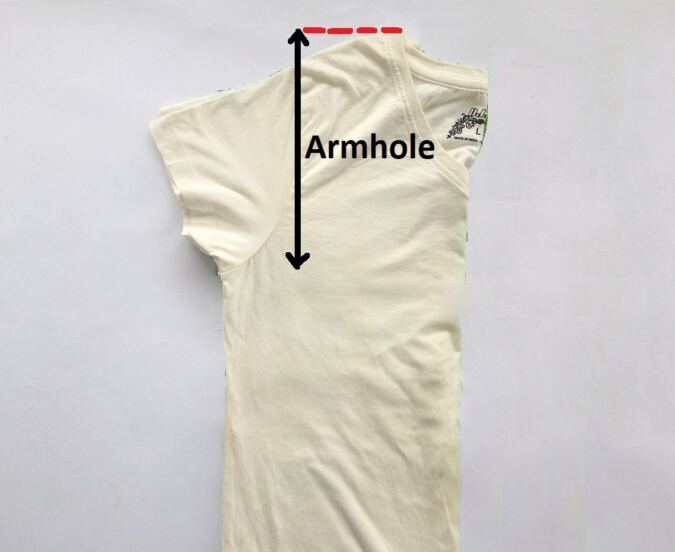
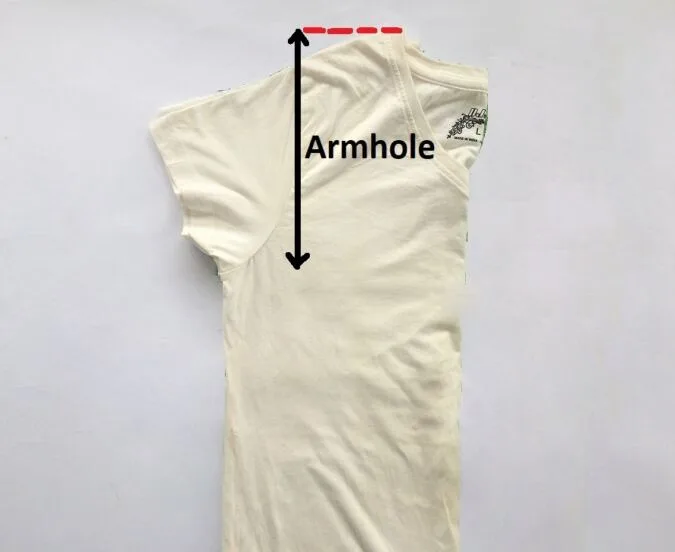
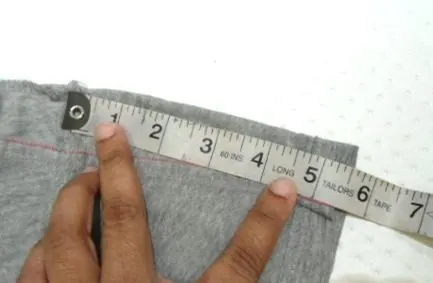
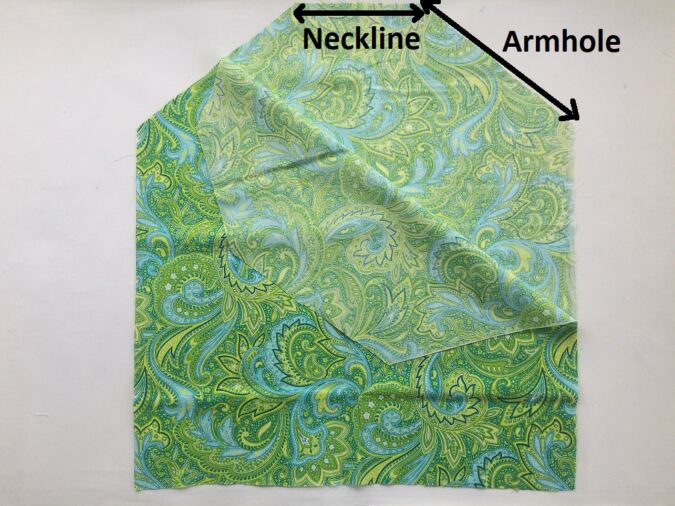
Measure the length of your armhole as shown above (from the upper end of the neckline to the lower end of the armhole). Double that and add 5” to it. You will get your sleeve width. My armhole length is 10” so I got, 10” x 2 = 20”
So, 20” + 5” = 25”

Next, we need to calculate the sleeve length. Hold the tape from your shoulder to where you want your sleeve to end. Add 3” to it and you get your sleeve length. I opted for a short sleeve of length 5.5”, so my sleeve length came to, 5.5” + 3”= 8.5”.

My sleeve measurements are thus 25” width x 8.5” length. Here again, you will need two pieces with the same measurements.
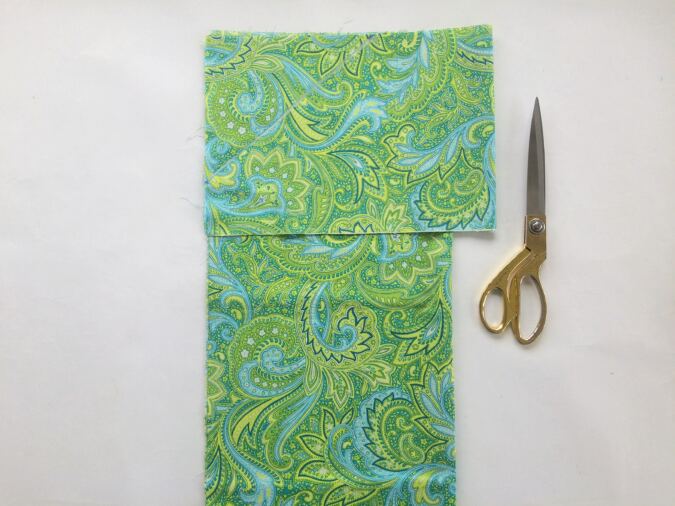
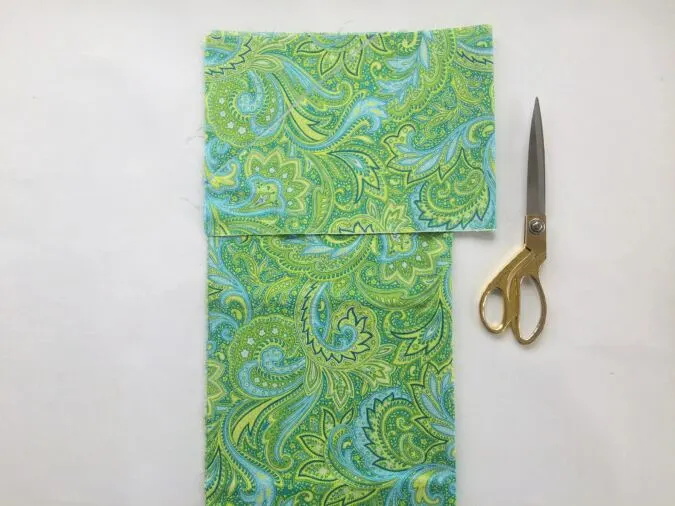
Layer the front and back bodice pieces with the wrong sides together and fold them lengthwise. Repeat the same with the sleeve pieces. Keep the folded sleeve and the bodice layered, with the side and top edges lined up.

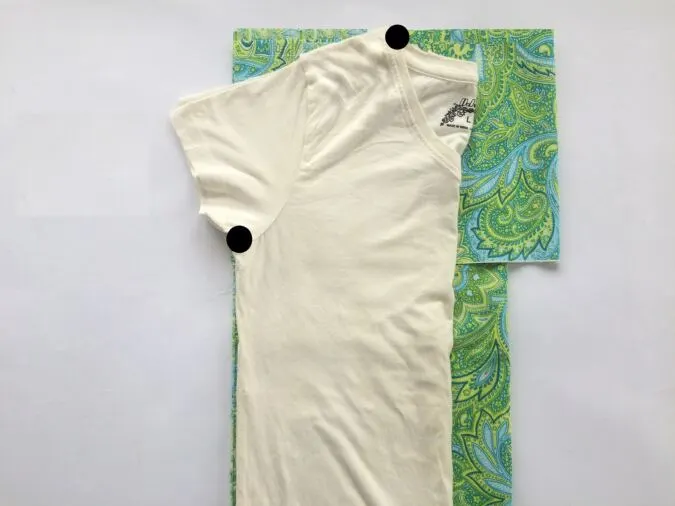
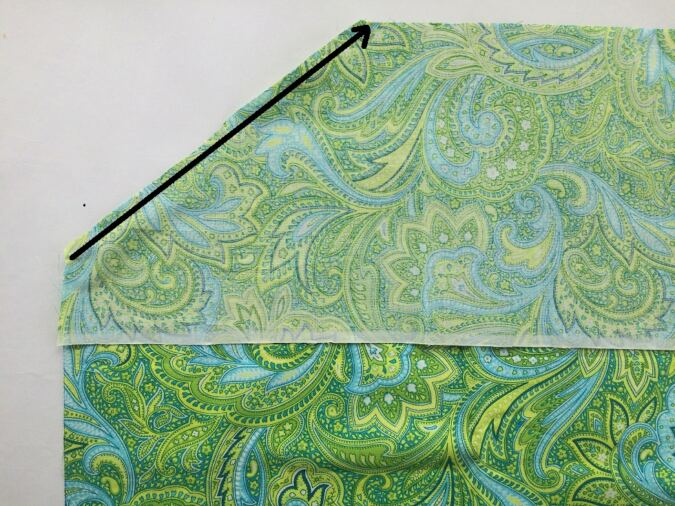
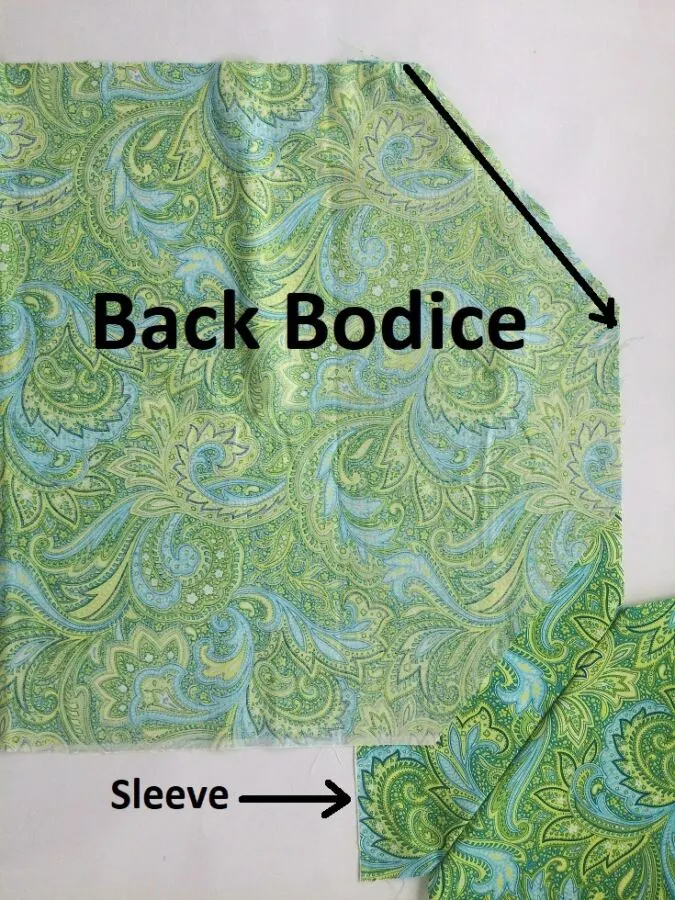
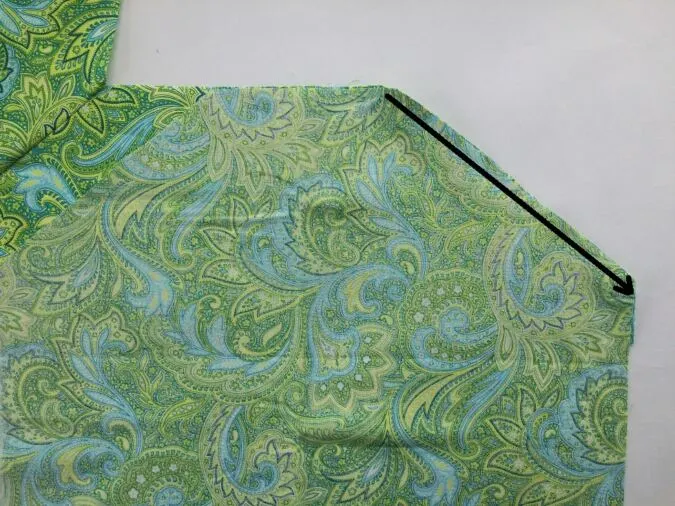
Take your old top, and fold it length-wise, aligning the shoulders and side seams. Keep the folded top over the folded fabric layers, aligning the side edges together and the top edges together. Mark your neck width by a point, just a ½-inch less than the actual neck). Also mark a point ½-inch above the point where the armhole ends. ( The top I have used here is of a slim cut, so the extra fabric is seen)
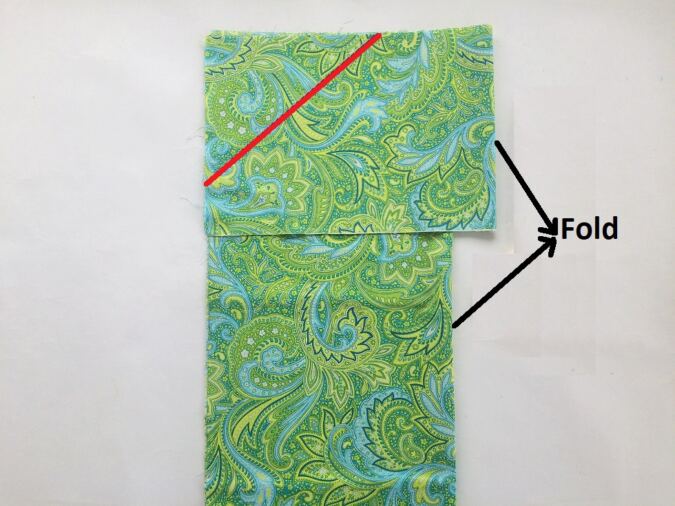
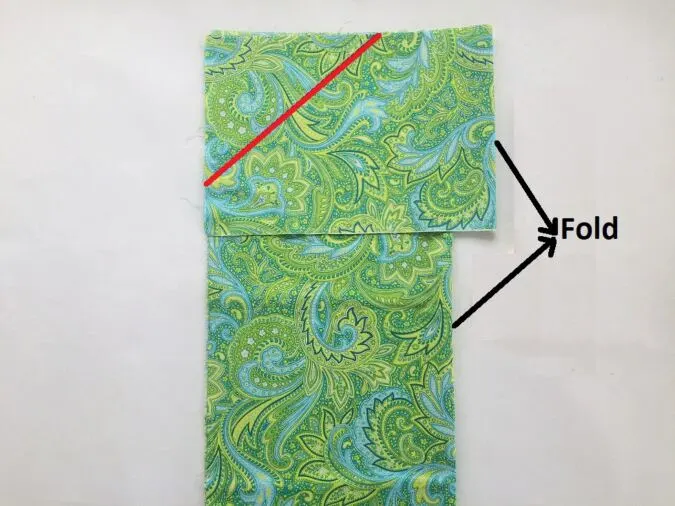
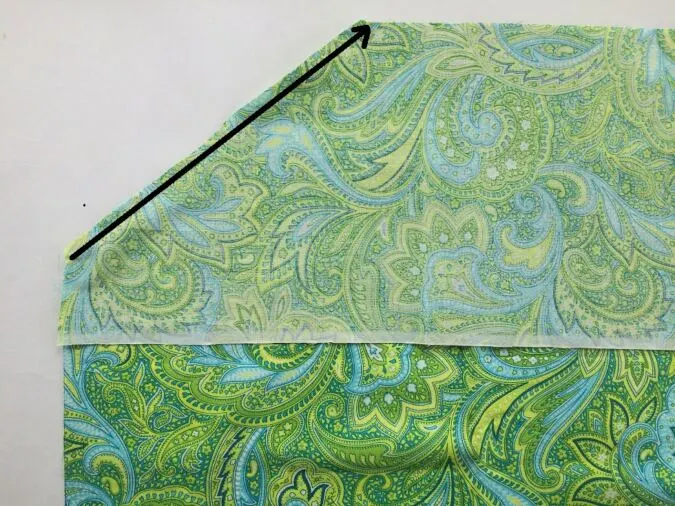
Connect the two points by a line.

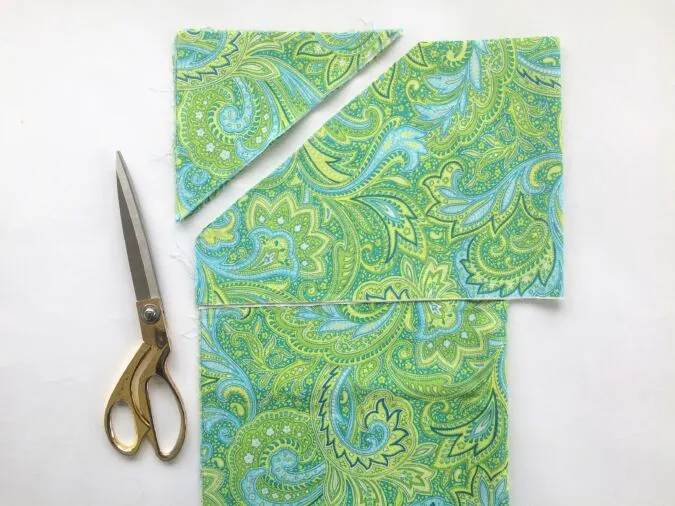
Cut along the line.
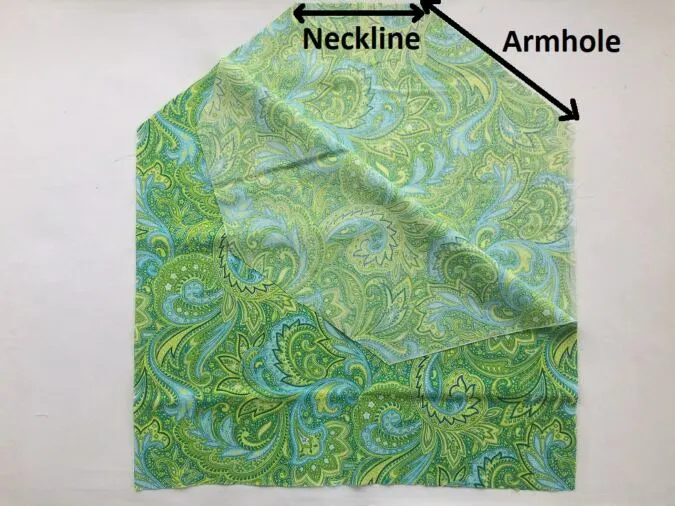
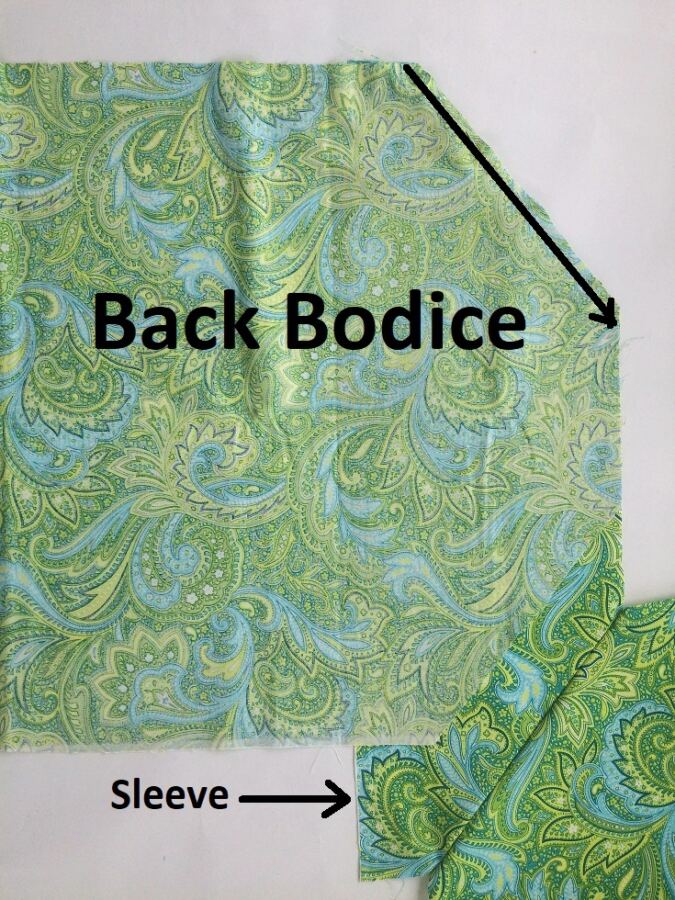
Once open, you get your bodice pieces like this.

And sleeve pieces would look like this.
Let’s attach the sleeve pieces to the bodice pieces.
Take one bodice piece (let’s call it the front piece) and a sleeve piece. Line up the armholes of the sleeve and bodice, with the right sides together, and sew along the armhole as marked above.
Flip the sleeve over to the right side. Take the back bodice piece and line up the armhole with the free armhole of the sleeve. Sew along the armhole to join.

Next, take the remaining sleeve piece, line up the armhole with the free armhole of the front bodice and sew them together.
Bring the free armhole edge of the back bodice to the free armhole edge of the sleeve, pin, and sew them together.
Let’s finish the neckline.

Zigzag the neckline all around.
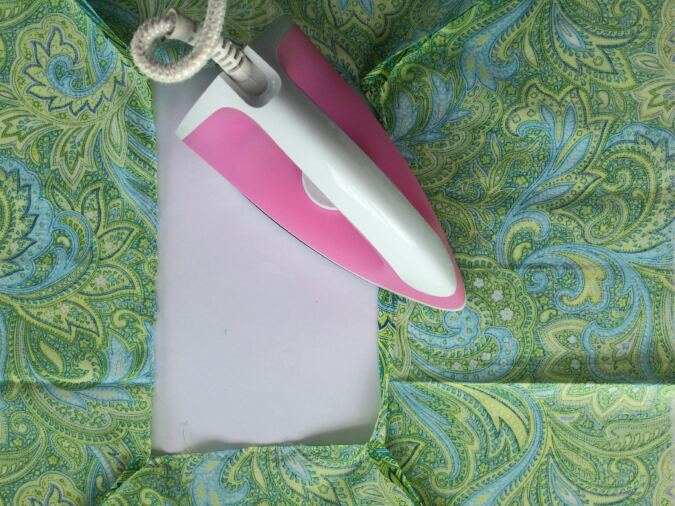

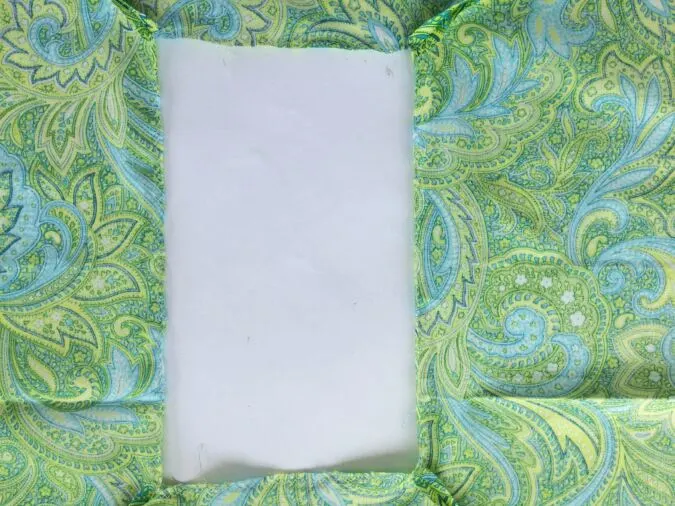
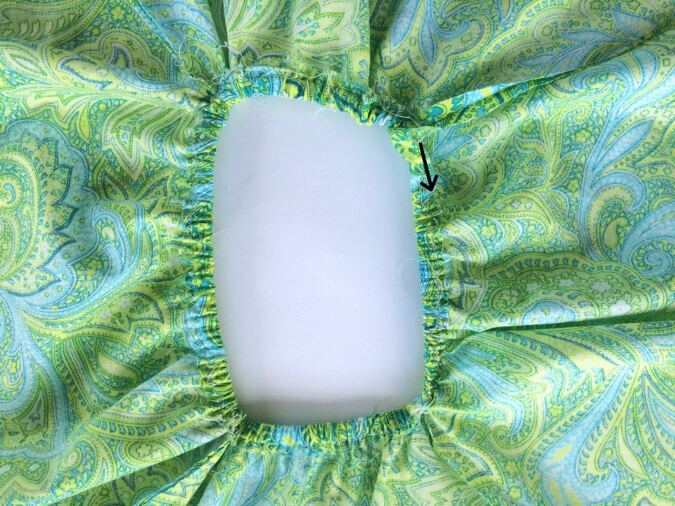
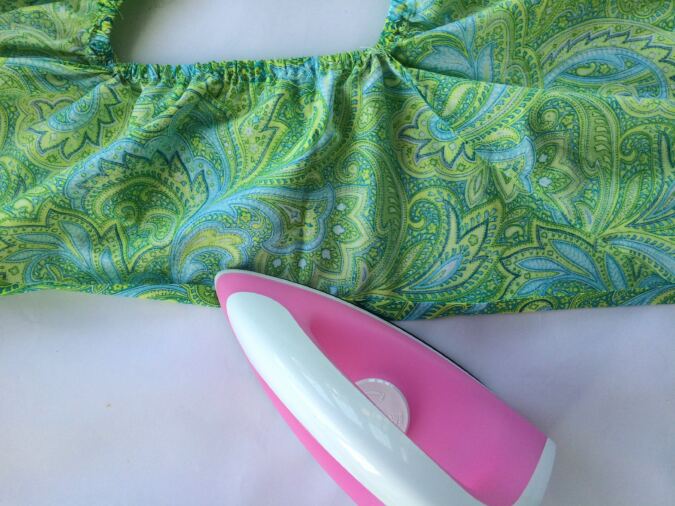
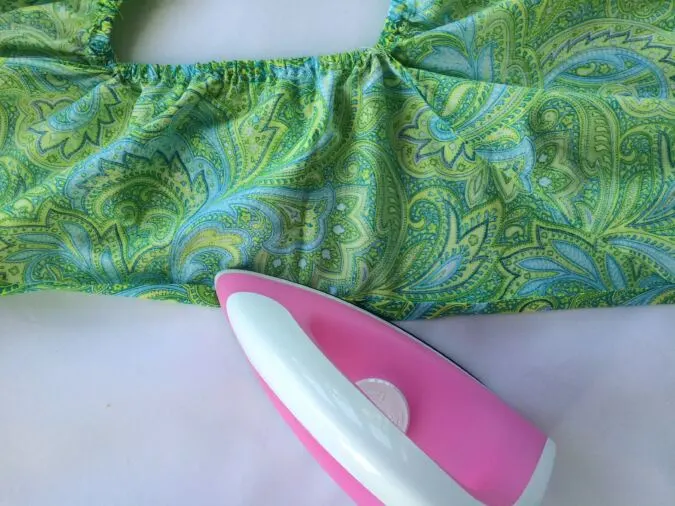
Fold the neckline, all around by ½- an inch and press.

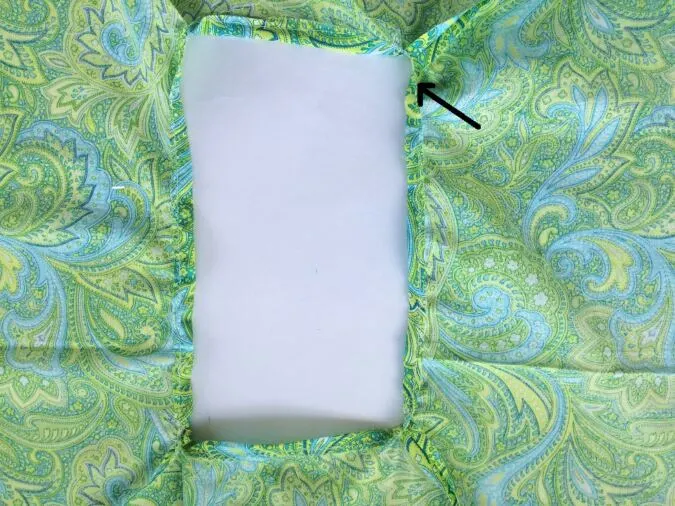
Sew down the casing, leaving a 1-inch gap. This is to insert the elastic


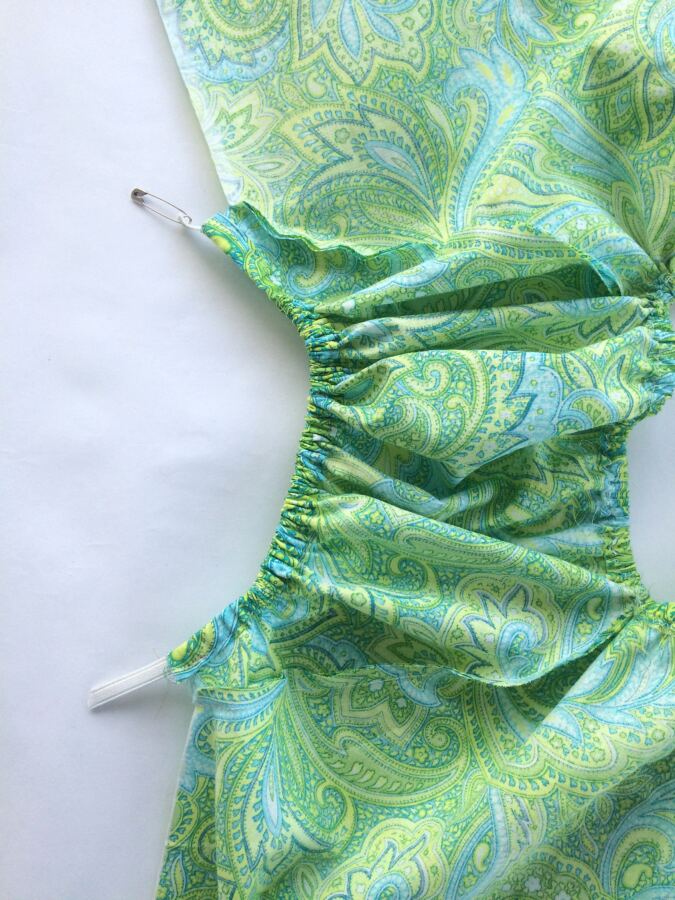
Insert the elastic through the casing, using a safety pin.

Secure the ends of the elastic by keeping it overlapping and sewing it back and forth a few times (picture for illustration purposes).

Sew the opening shut.
Next, we finish the sleeve with elastic.
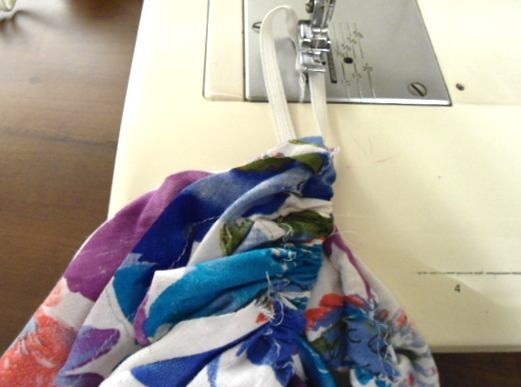
Fold the edge of the sleeve by ¼’ and press. Fold again by ½” and repeat pressing. Sew along the edge. This will form a casing for the elastic.

Insert the elastic through the casing and secure its ends by stitching back and forth a few times at both ends. Repeat the same with the other sleeve.
You may optionally do a 3/4th sleeve or a full sleeve and add elastic in the middle of the sleeve.
Next, we do the side seams.
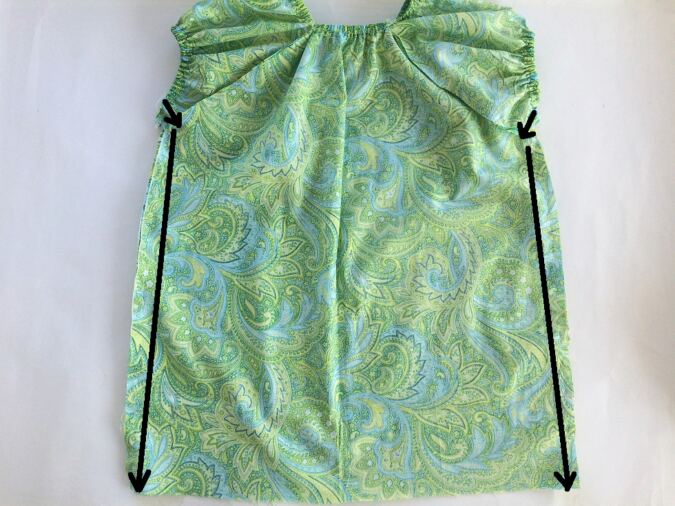
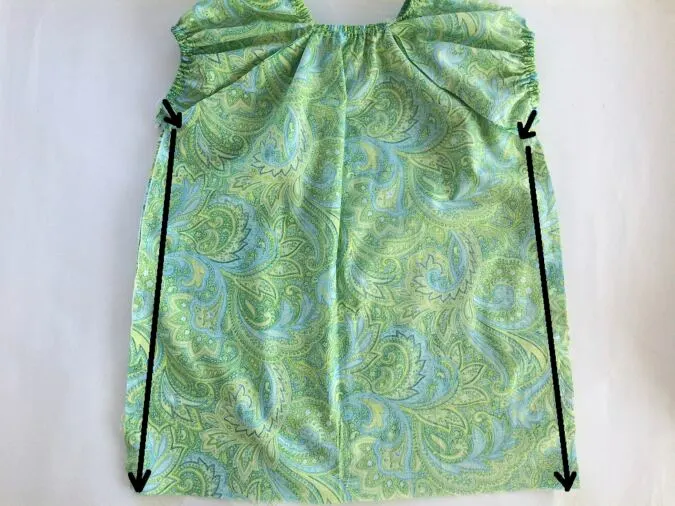
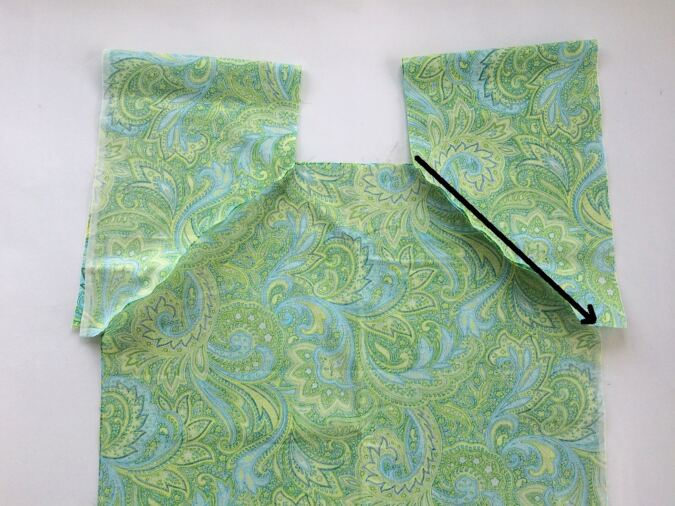
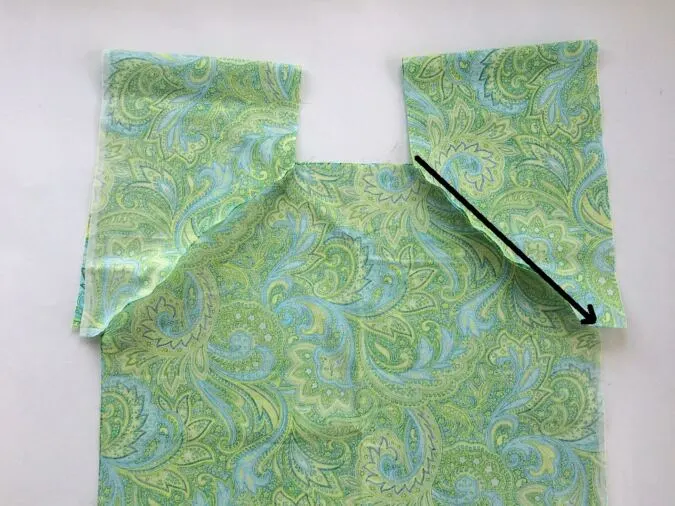
Line up and sew the side seams, starting from the side seams of the sleeve and ending at the lower edge of the top as marked above.
Let’s do the lower hem of the top.
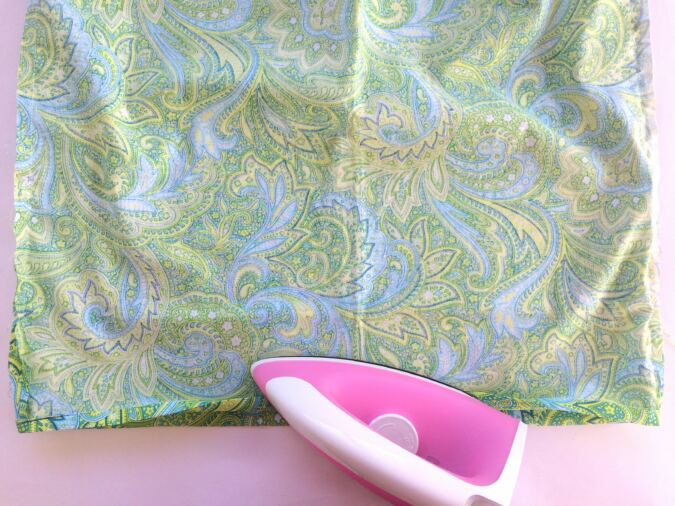
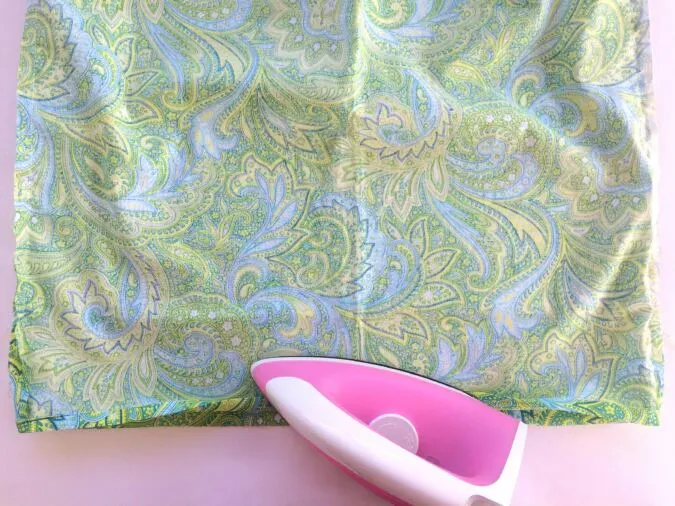
Fold the lower edge of the dress by ½-inch twice and press. Sew down the hem.
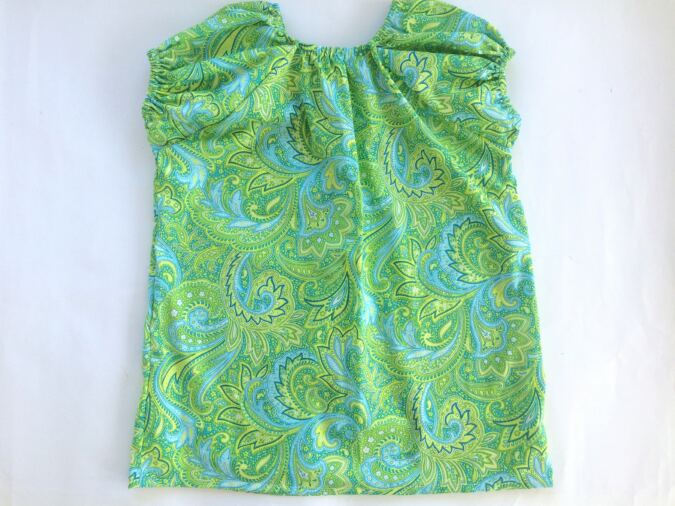

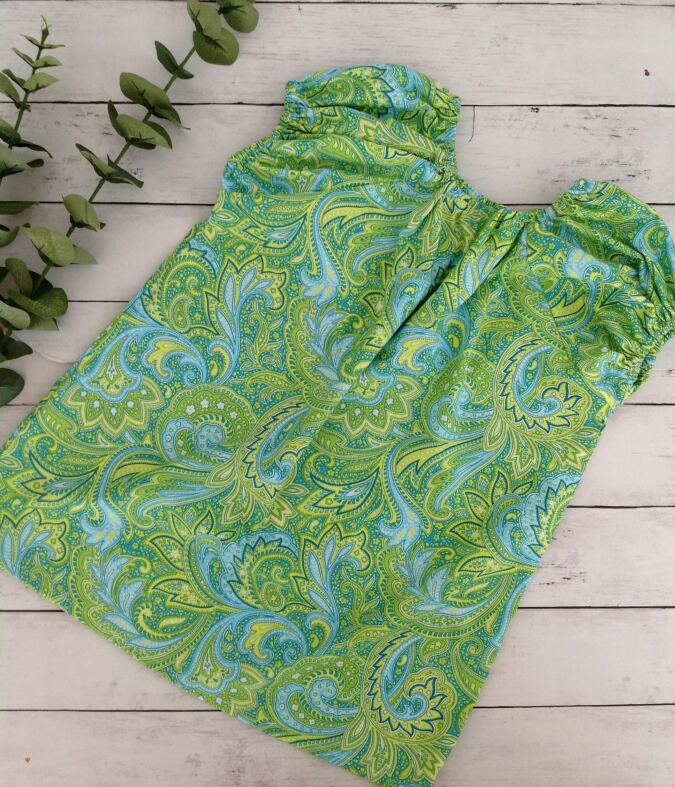
Our top is done!
Find the webstory for the post here, Sew Your Own Peasant Top: A Beginner-Friendly Guide
Pin it for later here,
Sammi
Saturday 9th of May 2020
I'm trying to download this pattern but have been unsuccessful. Is it still available?
Surayya
Sunday 10th of May 2020
I have just updated the tutorial. Please try downloading the PDF again.
SK
Thursday 8th of August 2013
great tute! Thanks :)
Elisabeth
Saturday 24th of November 2012
Wow! Thank you for such a great pattern. I'm still a beginner with sewing. I love it and would love to make some wearables and I think that maybe I just found my first project :) Your blog is lovely by the way and I'm now your newest follower. Elisabeth xxhttp://elizyart.blogspot.com
Elisabeth Andree
Thursday 22nd of November 2012
Oh wow! Thank you for sharing your pattern!
Camparitrendz
Saturday 17th of November 2012
Design of tops are really awesome i like it.Thanks for sharing. Short Dresses For Girls