
Another 15 minutes project from The Design House of Blissful Sewing, the DIY Fabric Brush Holder! This is the easiest project I have made and extremely useful too. This can be your perfect companion during travel and what more? You can wash it with your other laundry and it comes out clean and dry!.

All you need is a small washcloth that is available in every supermarket.

Fold it almost halfway up, just enough to cover almost half of your toothbrush.

Align the sides and draw four lines using a fabric pen, dividing the towel into four equal parts as shown above. Insert two pieces of satin ribbon, about 10 inches long, just in between the two layers of the washcloth as denoted by the arrow and pin it in place.
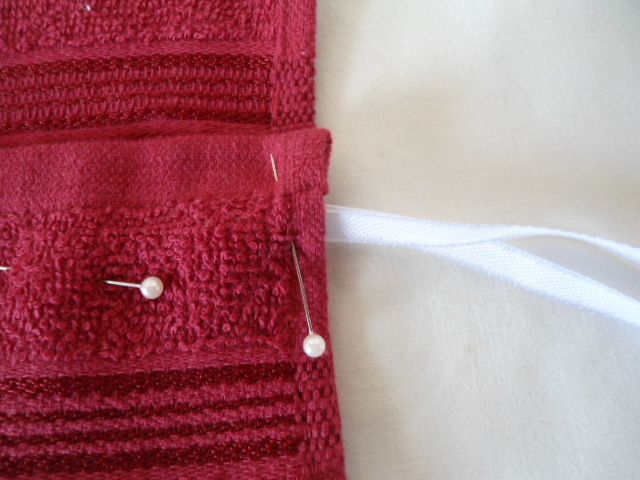
Also, pin at each line to prevent the layers from moving.

Sew along each line, taking care to reinforce at the beginning and end, to form four pouches. It’s better to complete the side seams first and then move on to the center stitches so as to avoid any folds.
Heat seal the ends of your satin ribbon and Voila our pouch is ready!

You can put your toothbrush, toothpaste, ointments or even scissors, roll it up and tie the satin ribbon as shown above.
Pin it for later here,

Becky
Tuesday 1st of March 2022
Large Ric-Rac works better for the tie-off.
CreatedByTrish
Thursday 30th of June 2016
Fantastic idea for kiddos toothbrushes, etc. thank you!
Anonymous
Sunday 27th of December 2015
How easy to throw this in the wash when it gets grubby!great work! Wash cloths on my shopping list.
BlissfulSewing
Sunday 31st of August 2014
Yes, you may! that's what I have done!
Deborah
Thursday 7th of August 2014
Could you sew the ribbon into one of the side seams? That way when it's ready to roll up the tie's right there. These would be great for camping or for kid's sleep-overs. Thanks for a great idea.