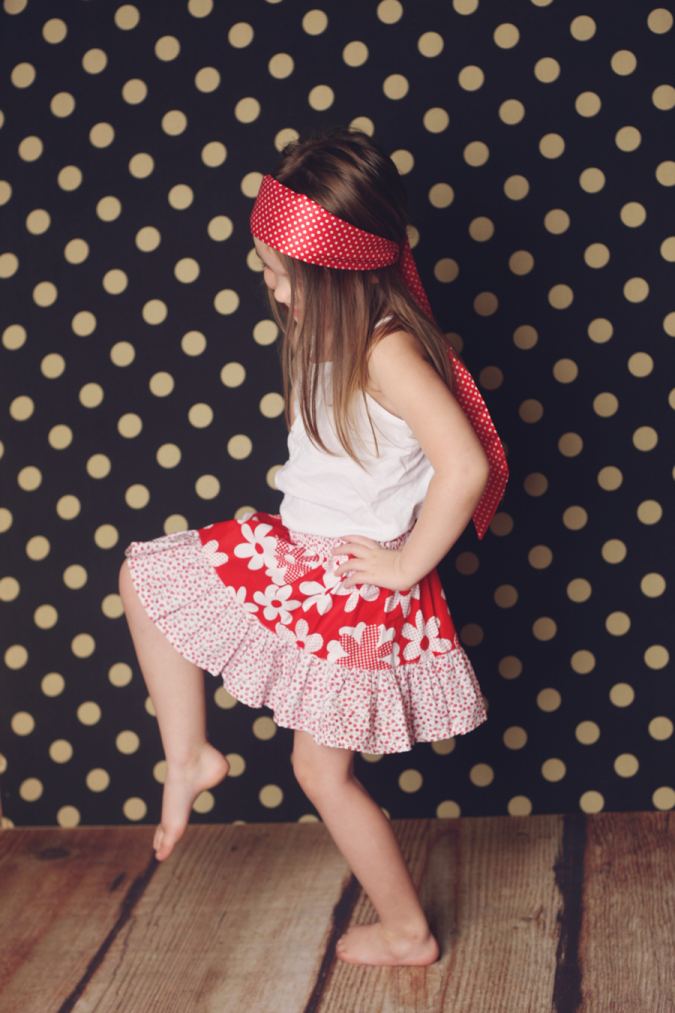

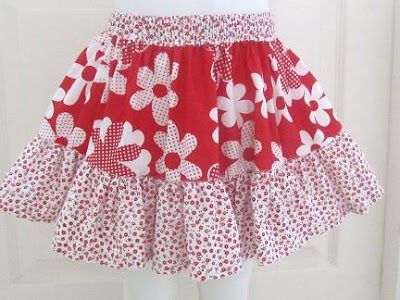
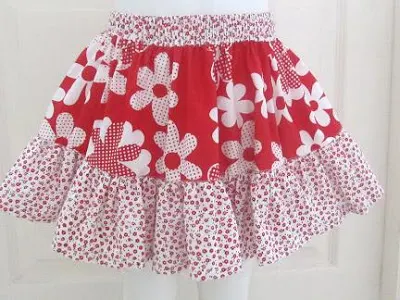
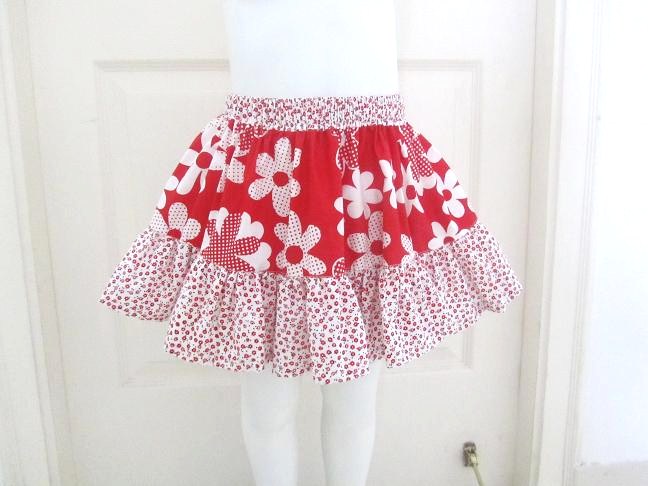
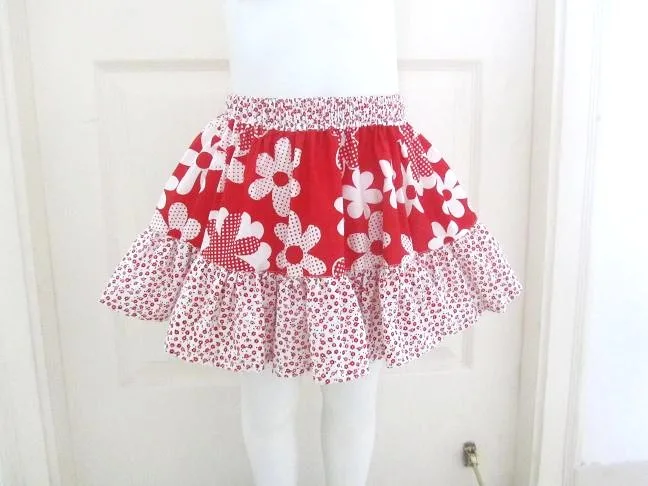
As the name suggests this is an easy skirt pattern, suited for all levels of expertise. Quick to work up and ultra-girly, this skirt could be made in under half an hour.
It is a perfect mix of two different fabric prints and has an elastic waist for a comfy fit. This sewing pattern will tell you how to make it for girls 2 to 10 Years of age.
Experiment with different colors and prints to make it your own. Pair it with a Peasant top or a T-shirt. Make as many as you want for a vibrant summer wardrobe.
If you make this skirt, don’t forget to share the picture on my Facebook page. I would love to see your version of it. So grab your sewing notions and join me as I walk you through every step of this Blissful Sewing project!


Easy Peasy Skirt Sewing Pattern
Materials.
Fabric for skirt body- requirement specified in the table below.
Fabric for ruffles and waist band-requirement specified in the table below.
One-inch elastic- requirement specified in the table below
Fabric Requirements:
| Ages | Fabric for Skirt Body
(Yards) |
Fabric for Waist Band and Ruffles
(Yards) |
Elastic
(inches) |
| 2 Years | 1/4 | 1/4 | 19 |
| 3 Years | 1/4 | 1/4 | 20 |
| 4 Years | 1/4 | 1/2 | 20.5 |
| 5 Years | 1/4 | 1/2 | 21 |
| 6 Years | 1/4 | 1/2 | 21.5 |
| 7 Years | 3/4 | 3/4 | 22 |
| 8 Years | 3/4 | 3/4 | 22.5 |
| 9 Years | 3/4 | 3/4 | 23 |
| 10 Years | 3/4 | 3/4 | 23.5 |
Measurements:
| Ages | Skirt Piece
Length x Width (inches) |
Ruffle Piece
Length x Width (inches) |
Waist Band Piece Length x Width (inches) |
| 2 Years | 40 x 5 | 80 x 4 | 40 x 3 |
| 3 Years | 42 x 5.5 | 84 x 4.5 | 42 x 3 |
| 4 Years | 43 x 6 | 86 x 5 | 43 x 3 |
| 5 Years | 44 x 6.5 | 88 x 5.5 | 44 x 3 |
| 6 Years | 45 x 7 | 90 x 6 | 45 x 3 |
| 7 Years | 46 x 7.5 | 92 x 6.5 | 46 x 3 |
| 8 Years | 47 x 8 | 94 x 7 | 47 x 3 |
| 9 Years | 48 x 8.5 | 96 x 7.5 | 48 x 3 |
| 10 Years | 49 x 9 | 98 x 8 | 49 x 3 |
*You will have to join pieces to get the required length of the ruffle. So, cut multiple strips to get the length specified.
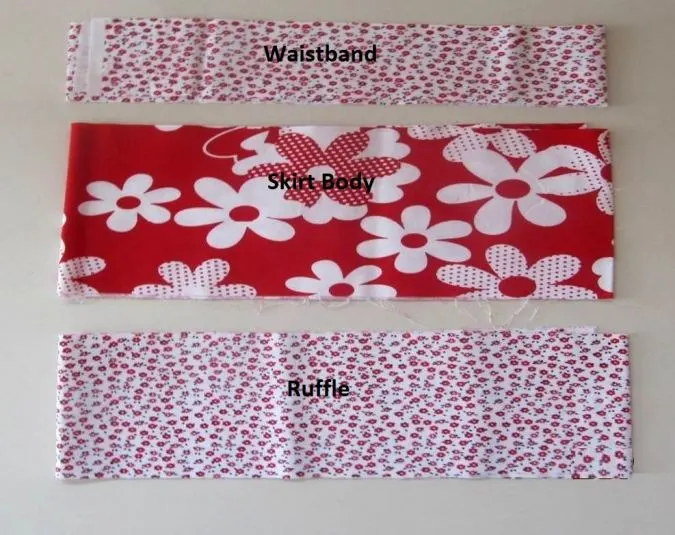
You will get your pieces as shown below.

*Seam Allowance is 1/2 inch everywhere unless specified otherwise.
Sewing:
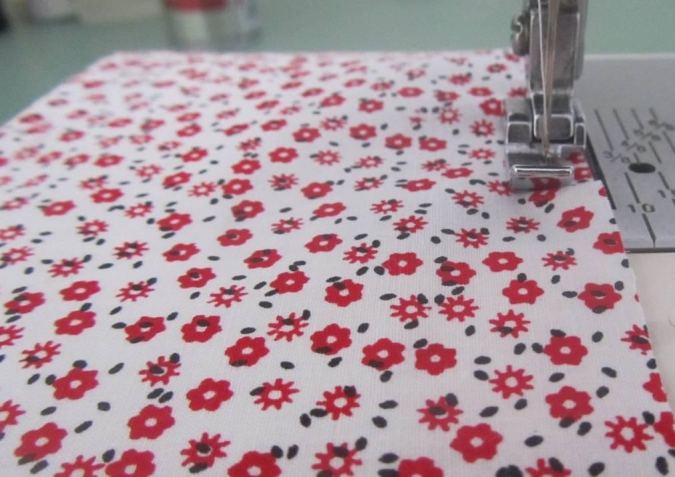
Let’s do the ruffle first.


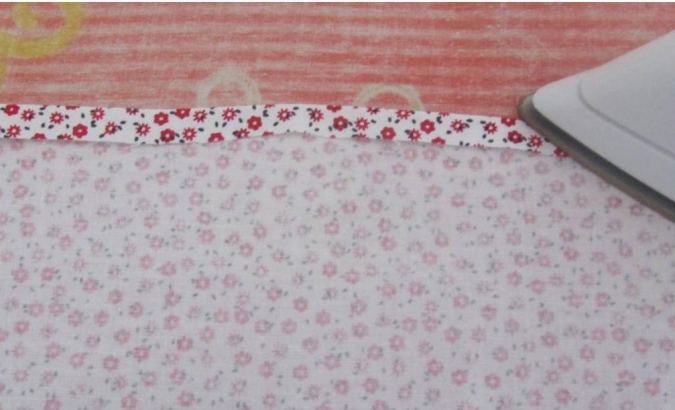
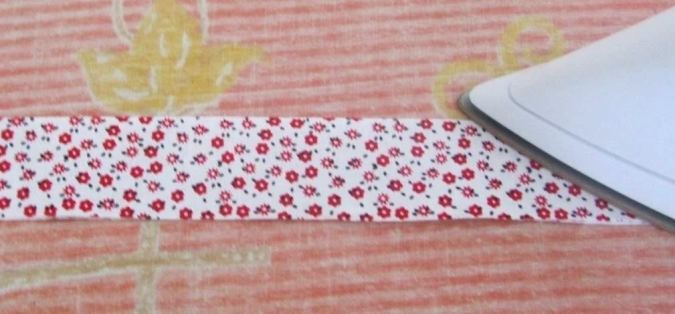
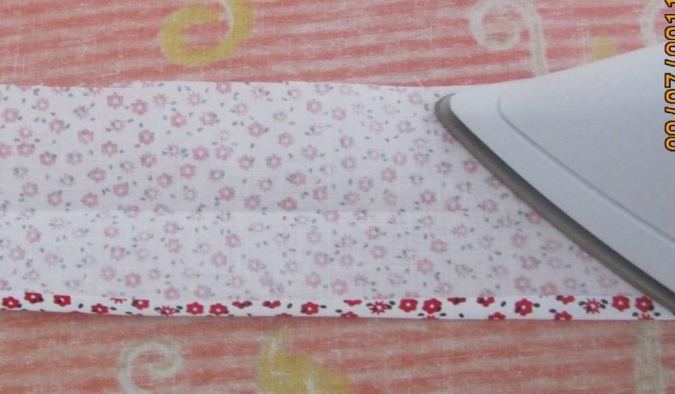
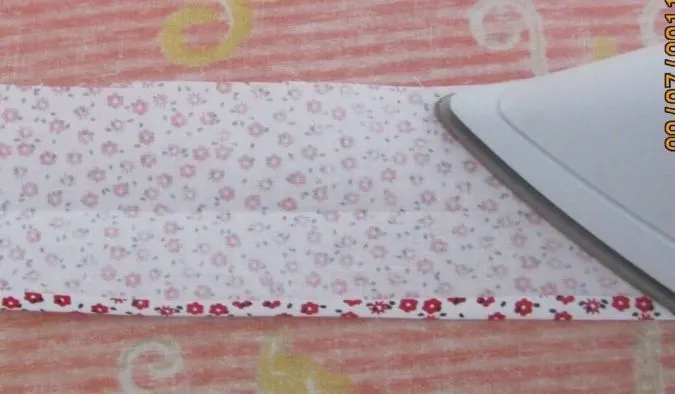
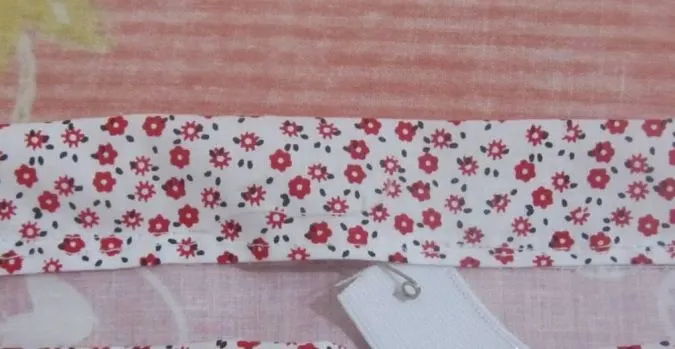
Join the ruffle pieces to get one long strip and press the seam flat as shown above.
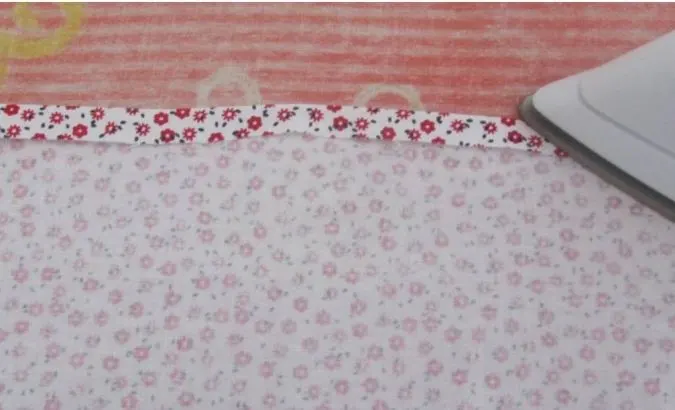
Fold the lower raw edge of the ruffle piece by 3/8-inch, towards the wrong side and press. Fold again by ½ -inch and press once more. Hem the edge.
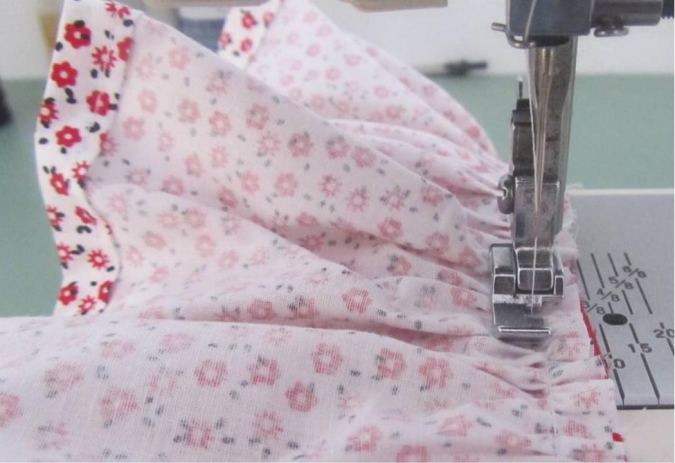
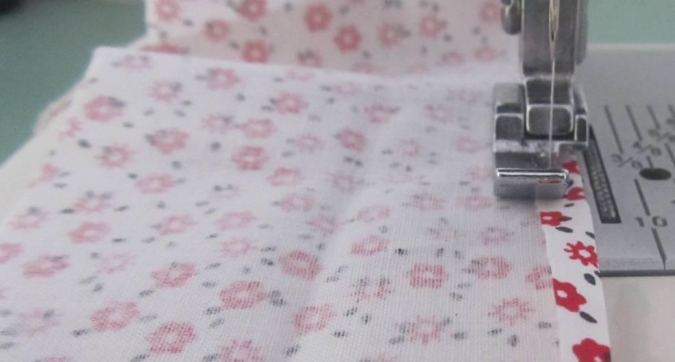
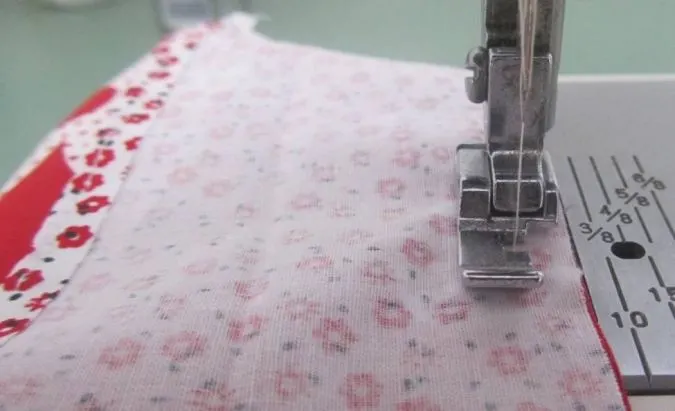
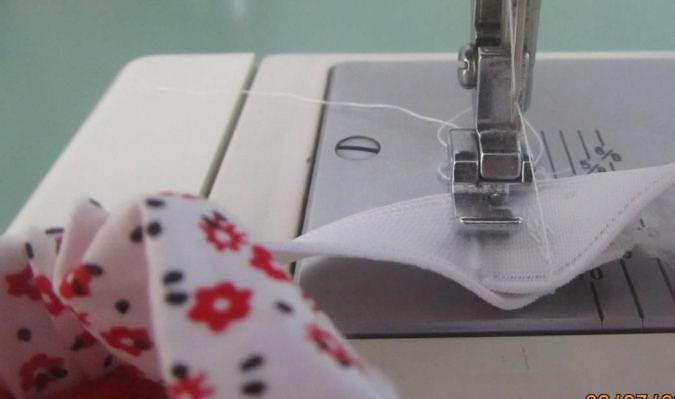
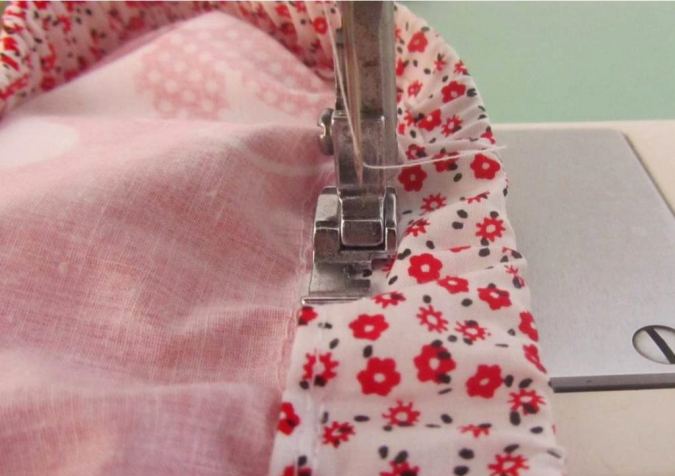
Turn the upper thread tension of your machine to zero and the stitch length to the longest, to get a basting stitch.
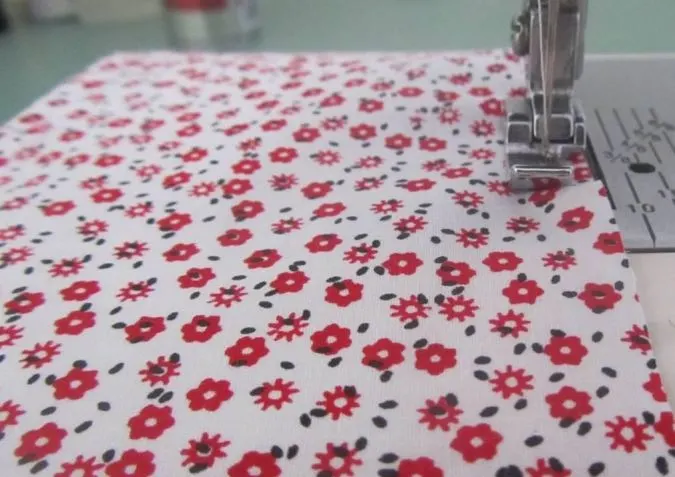
Sew a basting stitch 3/8 inches away from the upper edge of the ruffle piece.
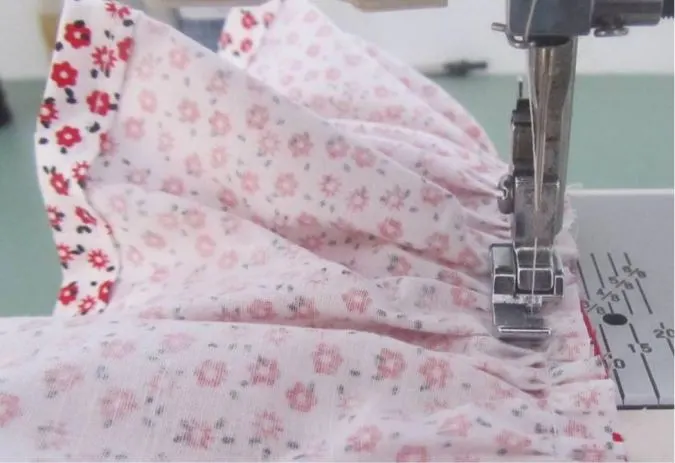
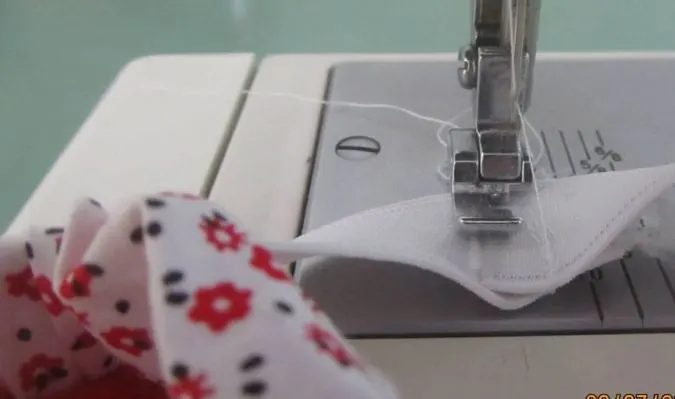
Pull the loose thread and gather the ruffle. Adjust the gathering to make it uniform and to match it with the lower edge of the skirt body.
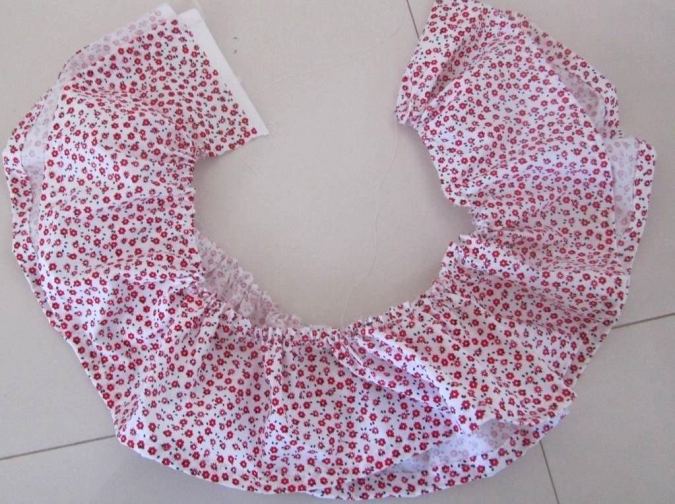
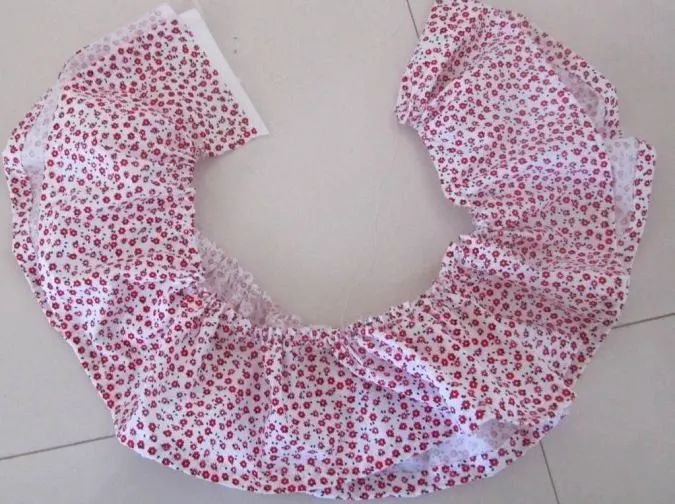
You will get your ruffle like the above picture.
Turn the machine settings back to normal.
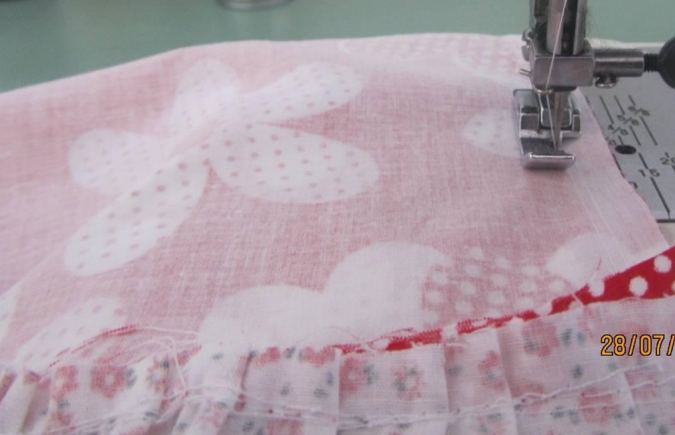
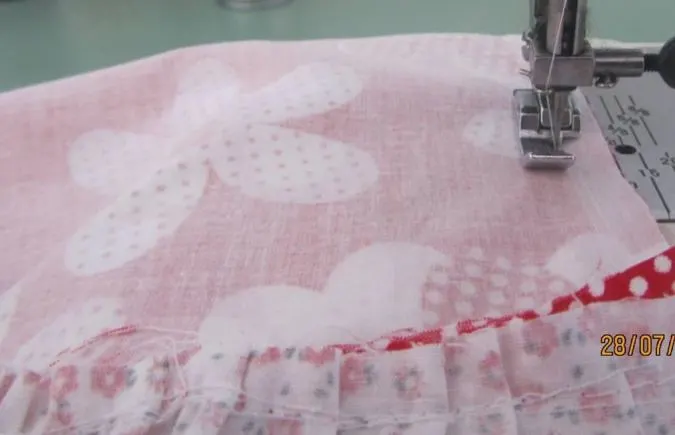
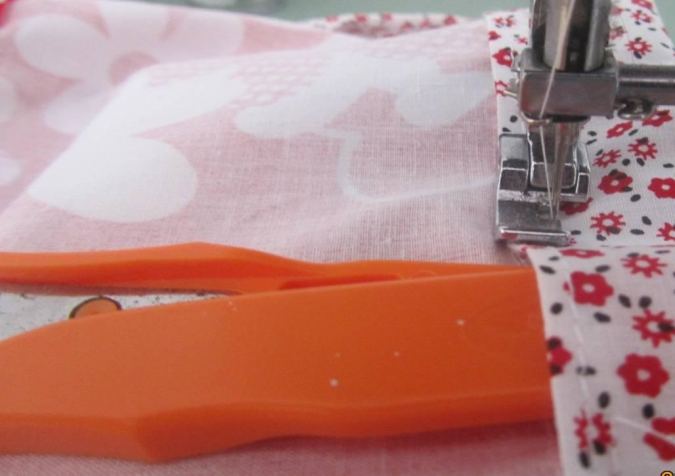
Next, line up the upper edge of the ruffle along the lower edge of the skirt body, with the right sides together and pin. Sew the ruffle to the skirt body.

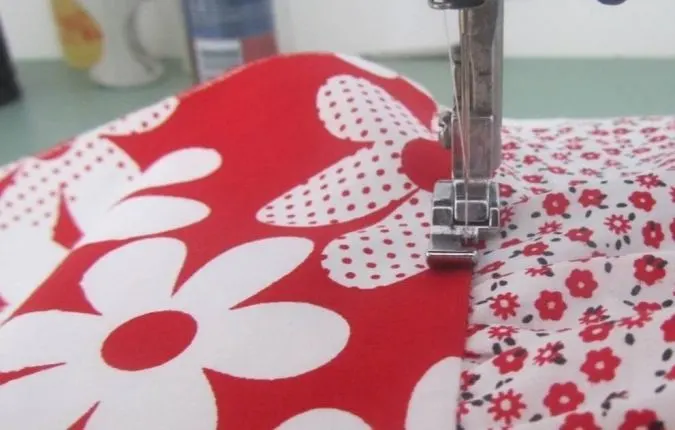
Turn over to the right side and topstitch along the seam line of the skirt and ruffle to give it a neater look.
Let’s move on to the waistband.

Take the waistband piece, fold it into half lengthwise and press.
Open it and fold one of the raw edges inside by 3/8-inch and press again.

Sew down the smaller fold.

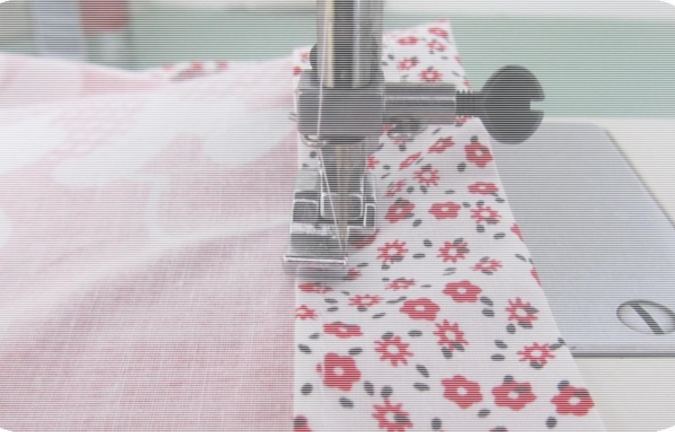
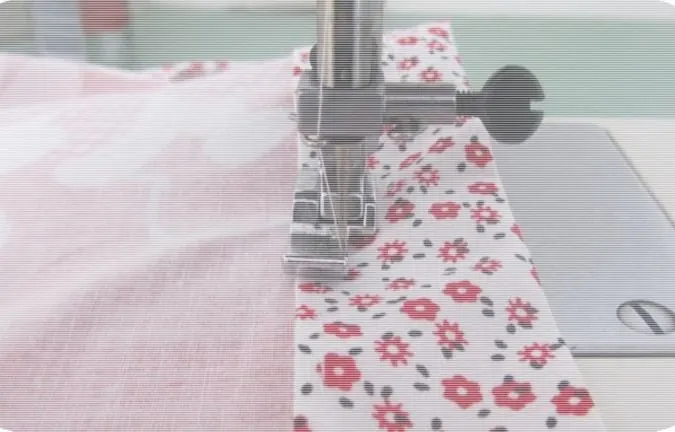
Keep the raw edge of the waistband along the upper edge of the skirt, with the right sides together and sew in a straight line, leaving a 3/8 inch seam. We will be finishing the waistband later to insert the elastic.
Fold the skirt over, with the right sides together, matching the side seams and sew it shut along the side seam.

Next, we need to complete the waistband. The waistband has been half-done earlier. Fold it over to the wrong side of the skirt, along the pressed fold and topstitch along the finished edge, leaving a 2-inch gap to insert the elastic as shown below.

Insert the elastic through the gap, using a safety pin.
Join the two ends of the elastic by keeping it overlapping and topstitching a few times back and forth.

Sew the opening in the waistband shut.
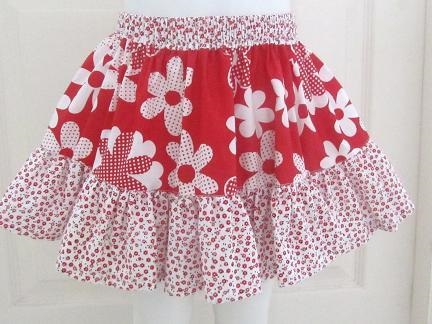

Our skirt is done and it was so easy!
Find the webstory for the post here, Learn to Sew a Skirt Effortlessly: A Beginner’s Guide pin it for later here,


If you love to see more girl’s sewing patterns, click here.
If you love to see more free patterns, visit craftgossip.com.
heather
Saturday 16th of August 2025
hello ,would like to order skirt pattern please thank you
Jan
Saturday 17th of May 2025
Thank you for the pattern and tutorial, I have left over fabric WOF strips I’d love to use for some cute little girls skirts.
Diane
Sunday 16th of February 2025
Is there a printable pattern for the easy peasy skirt?
Lynn
Tuesday 15th of August 2023
Sorry, I just thought of putting my phone on its side and it came out the right way. Oops
Lynn
Tuesday 15th of August 2023
Why did you list the fabric etc requirements in such an odd way? Why not just in a line horizontally, from left to right like everyone else does?