Have you come across those adorable baby hats with animal ears in stores and felt like sewing them? Well, as a seamstress myself, I have always wanted to make them, too! And now, I’m here to share with you the free templates and instructions for making these adorable hats with ease!
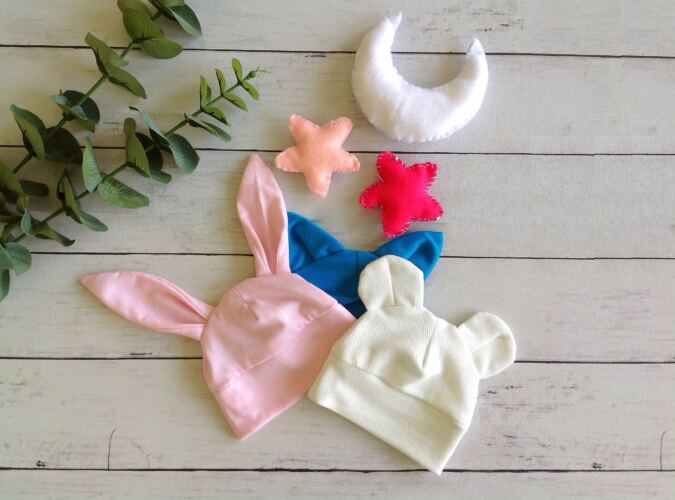

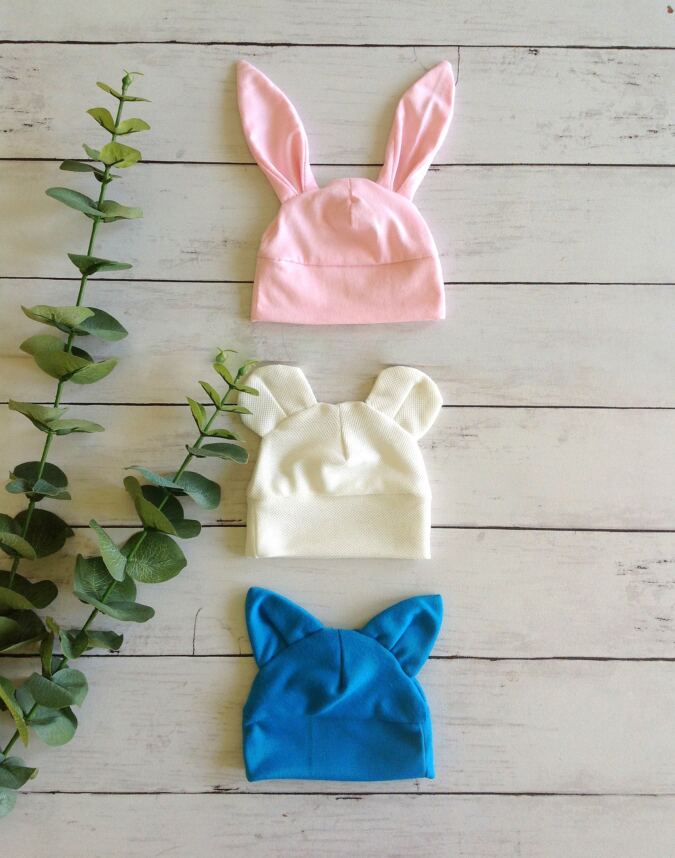
If you have made any of my easy baby hats using my 4-step tutorial, then you’ll find this hat to be a breeze to create. The hat comes with three adorable styles – rabbit, bear, and cat – that will look simply irresistible on your little bundle of joy. Plus, they make great handmade gifts for any occasion!


This pattern is versatile and perfect for all seasons. Use lightweight fabrics like knits for warmer months, while thicker fabrics like fleece or wool are perfect for colder weather.
So, what are you waiting for? Get ready to stitch up some adorable animal ear baby hats with confidence!
Baby Hat with Animal Ears Pattern
-
*All the fabrics used here are of 58- inches width. You may require extra if your fabric is not as wide as this.
-
*The fabrics shown here are only for illustration purposes and as such may vary from the original.
-
*I suggest you read the entire pattern once before starting to get a general idea
Supplies:
- ¼ yard of jersey knit or interlock knit fabric (or any other knit fabric with a 4- way 50% stretch ($7.49 per yard at Joann = $1.87 per ¼ yard))
- Sewing Machine
- Ball point needle for knit fabrics
- Matching stretch thread
- Sewing pins or clips
- Standard sewing scissors
- Cutting mat and ruler, measuring tape or ruler
- PDF Baby Hat Pattern. **Enter your e-mail address and click on the subscribe button, in the blue box below, to download the template.
Approximate Finished Measurements (Hat Band Unfolded)
Table
|
Ages |
Finished Height (inches) |
Finished Circumference (inches) |
|
Preemie |
5 |
10.5 |
|
0-3 Months |
5.75 |
12.5 |
|
3- 6 Months |
6.25 |
14.25 |
|
6- 12 Months |
7 |
15.5 |
|
12- 24 Months |
8 |
17 |
Instructions:


Gather your supplies


Place the pattern pieces on the fabric and cut (2) pieces of the Baby Hat Main and (2) pieces of the Baby Hat Band.


Next, fold the fabric and keep the ear template on the fold. Mark and cut around the template to get one ear piece. Repeat to get 3 more of the same (You will need 2 for one ear).


You will get your pieces like this.


With right sides facing together, fold the Baby Hat Main pieces in half with the slanting edges lined up together and pin. Sew along the slanting edge to create a dart.


Using a warm iron, press the seam (this is your dart) on the Baby Hat Main piece to one side (picture for illustration purposes).
Let’s sew the ears.


1) Layer two ear pieces, with the right sides together and lining up the edges. Pin the two curved edges together.
2) Sew along the two curved edges.
3) Cut off the corners to reduce the bulk in the seam.
4) Pull the right side out through the open lower edge.
5) Push the corner put with the help of a wooden dowel or you scissors (make sure not to cut through the seam).


Fold the ear lengthwise in half and mark the center along the lower edge.


Open and fold the two side edges towards the center mark. Pin and sew to secure. Repeat on the other ear.
Cat and Bear Ears Preparation
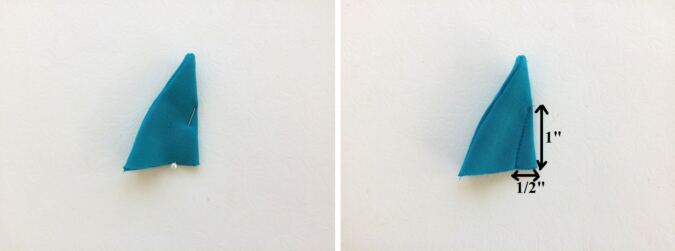

For the cat and bear ears, join the two pieces in the same way as the rabbit ears. Fold the ear in half. About ½” from the fold, sew a straight line about 1-inch long from the base of the ear, as shown above. This will add some dimension to the ear and help it stand upright.
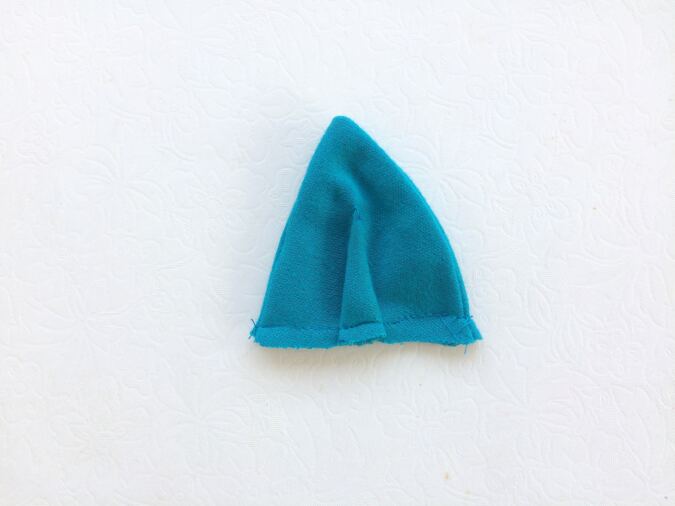

Handpress the dart at the back and baste it to make it stay flat. Repeat the steps on the other ear.


Turn over to the right side and it will look like this.
Let’s attach the ears to the hat body.


Take one of hat body piece and place the ears on its right side, lining up the center mark on the ears with the marks on the hat piece and pin. Sew the ears to the hat.


Place the Baby Hat Main pieces with right sides together, lining up the darts and the curved edges. Pin or clip together along the curved edges.


Using a ¼ ” seam allowance, sew around the pinned section of the Baby Hat Main piece.


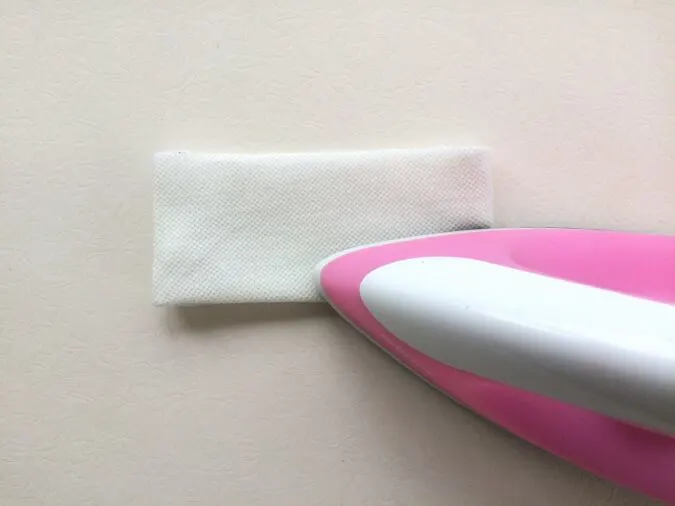
Layer the Baby Hat Band pieces with right sides together, lining up the raw edges. Pin and sew along the two short edges, using a ¼” seam allowance. You will get a fabric tube (picture for illustration purposes).

Using a warm iron, press open the seams. Next, fold the hat band in half lengthwise with wrong sides together and raw edges touching. Using your warm iron, press all the way around.

Turn your hat right side out. With the folded edge of the Baby Hat Band facing the top of the Baby Hat Main, pin the band to the hat with right sides facing and raw edges touching. I first lined up my seams on the band to the seams on the hat and pinned around from there.


Using a ¼ ” seam allowance, sew all the way around the pinned area, connecting the band to the hat (picture for illustration purposes).


Press the seam allowance between the band and the hat open and then bring the right side of the hat out.

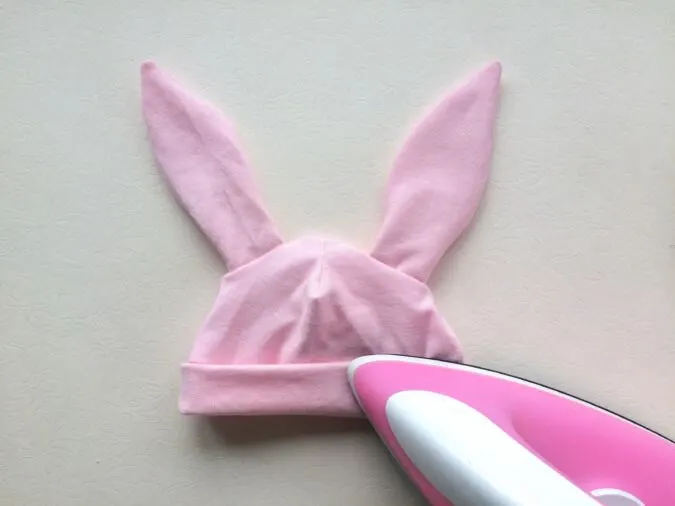
Fold the band so it touches the seam where the band meets the hat and press with a lot of steam.
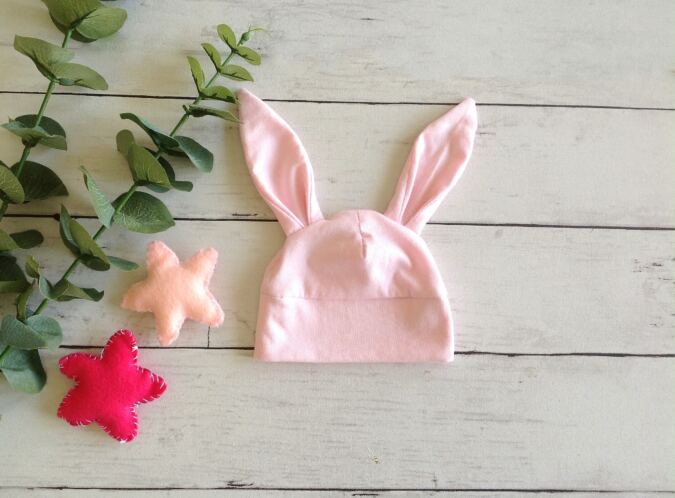
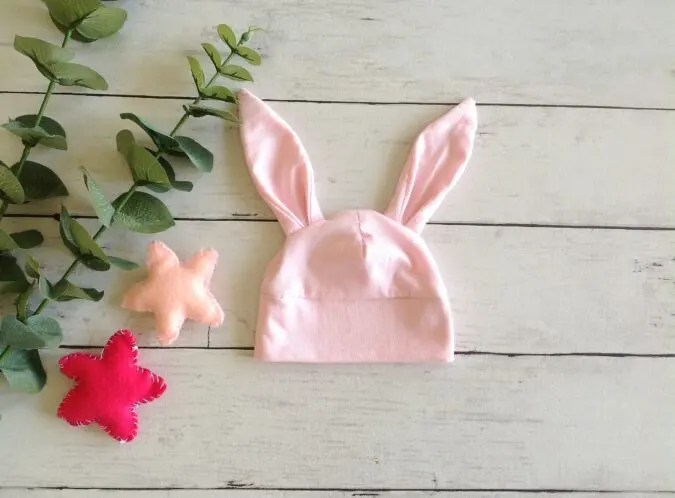
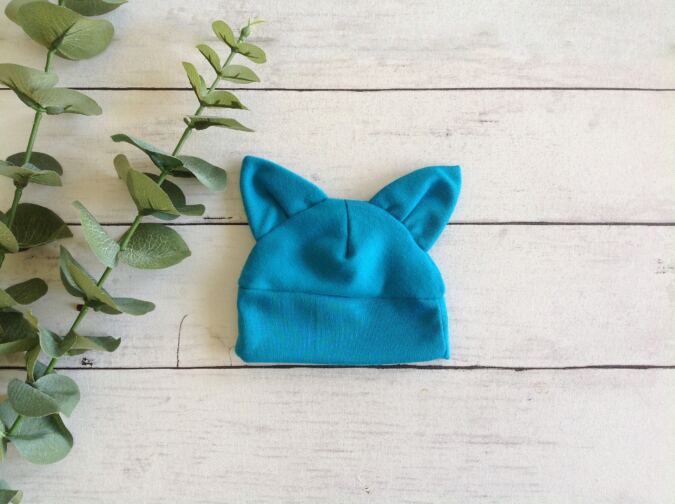
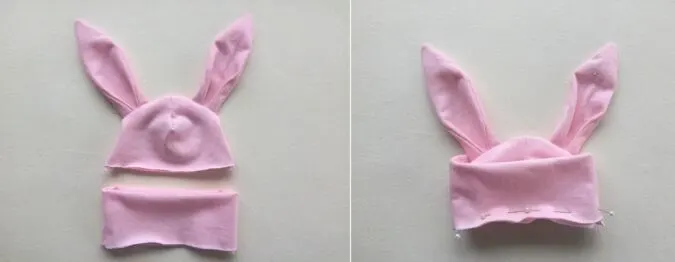
Your animal ear baby hat is ready!
Have a look at the webstory on Free Baby Animal Ear Hat Pattern here.
Pin it for later here,
Marilyn Maurer
Tuesday 12th of August 2025
Please. And thank you.
Melissa
Thursday 28th of March 2024
I have crocheted bunny caps but wanted a fabric/sew pattern. This is perfect! Thank you.
Mojca
Saturday 9th of December 2023
Lovely