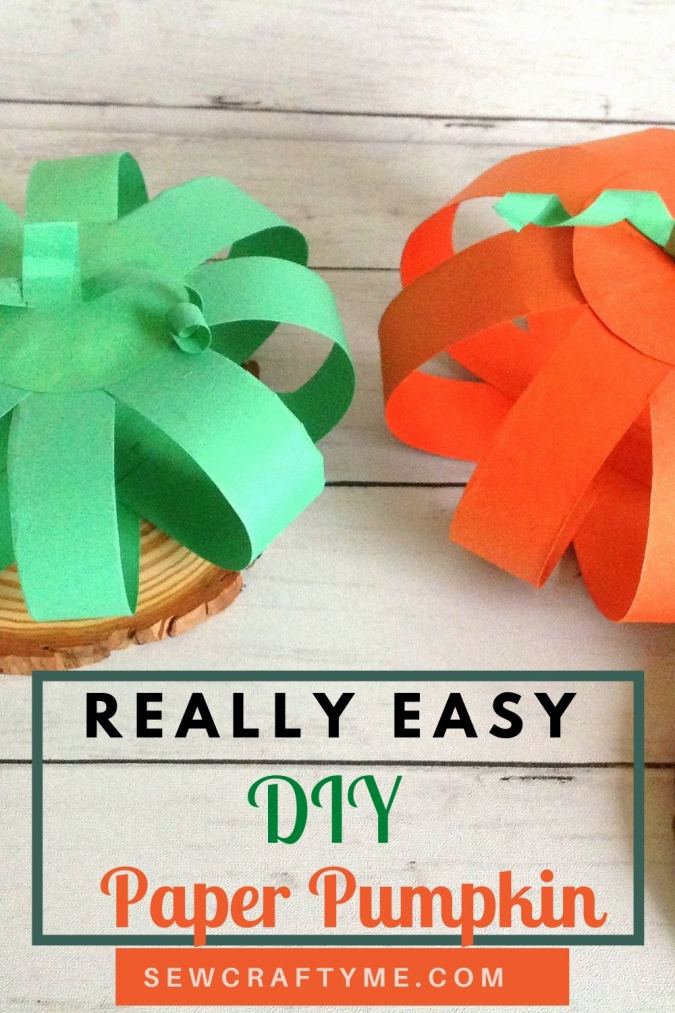
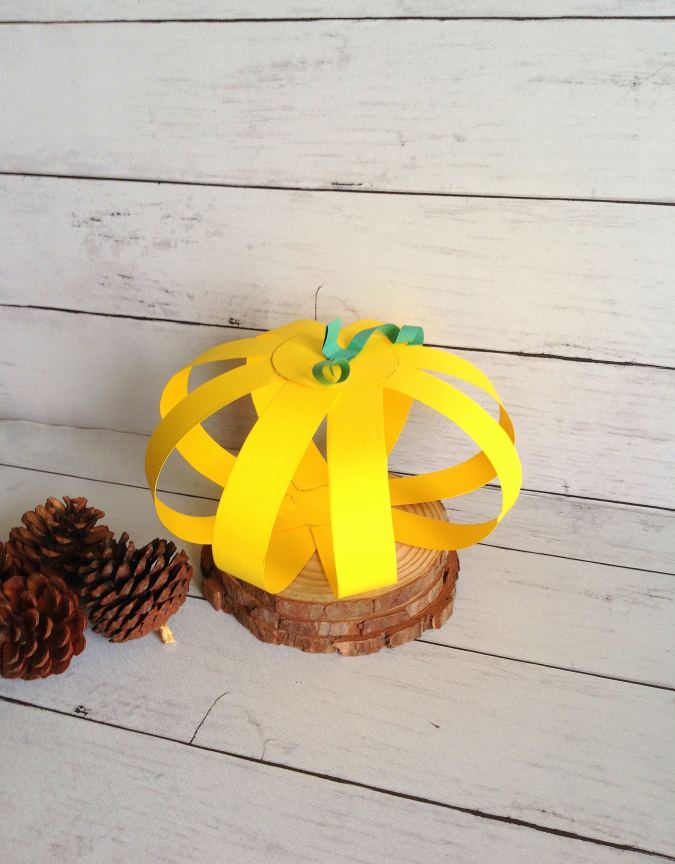
Are you getting bored of the ordinary pumpkins you buy from the store for Thanksgiving? This time, make something unique, make these paper strip pumpkins that are so adorable, you can’t take your eyes off them.
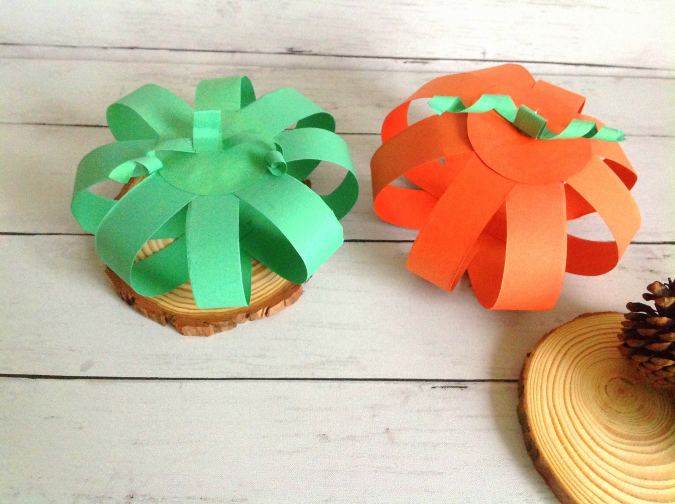


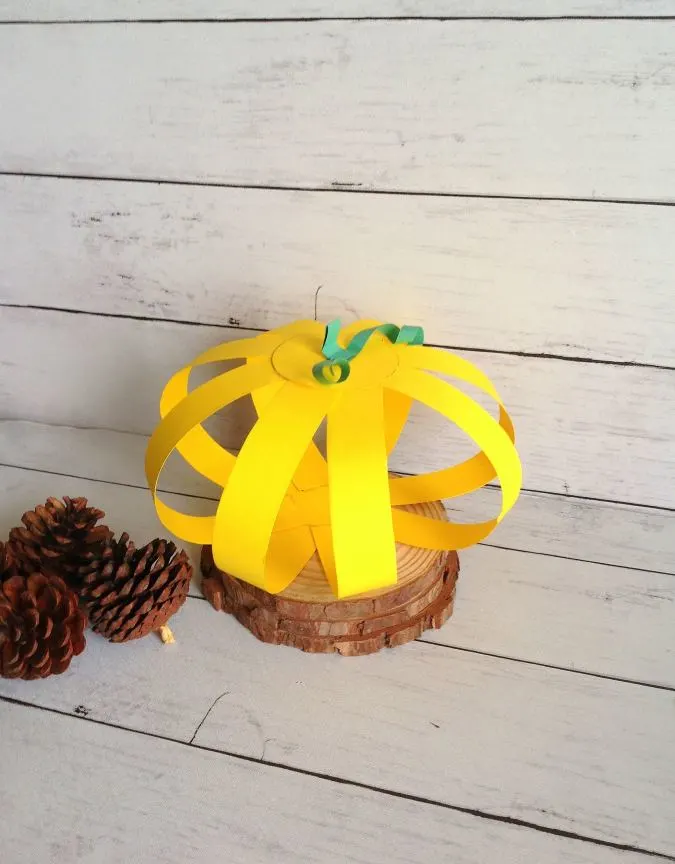
You can make these easy and quick pumpkins to decorate your homes for Thanksgiving. Arrange them with cones and wood slices to decorate your home on a budget.

You don’t again need a lot of things to make these paper pumpkins. All you need are some cardstock paper and some glue. You can make them in any color you like to match your decor. They are so easy and quick to make that you can make them in just 10 minutes once you get the practice.
You will need:
Orange cardstock paper for the pumpkin body.
Green cardstock paper for the tendrils.
Glue stick
Scissors.
Pencil.
The lid of a small container, with a diameter of approximately 2- inches.

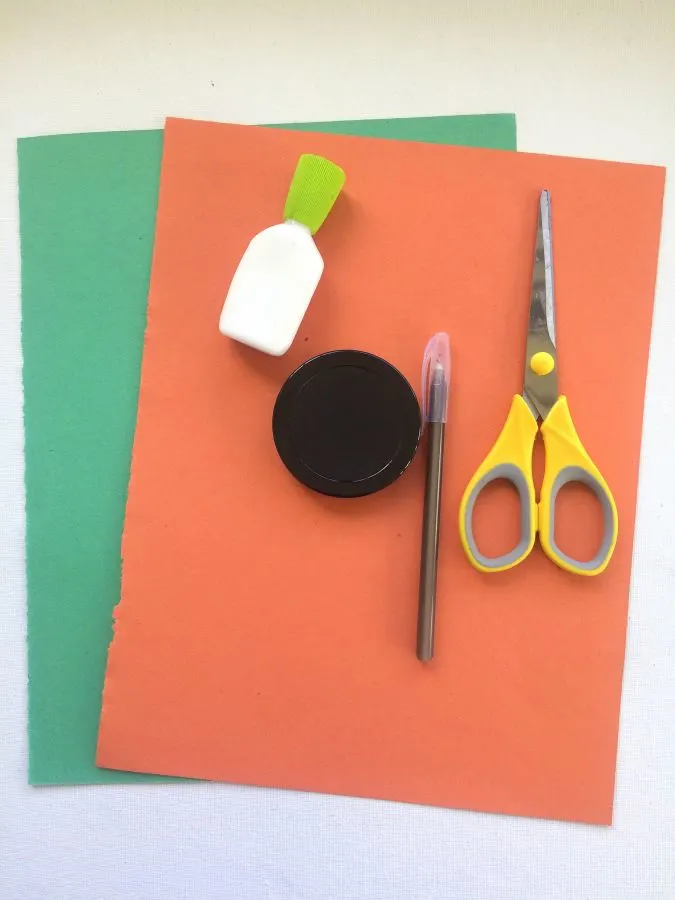
Gather your supplies.
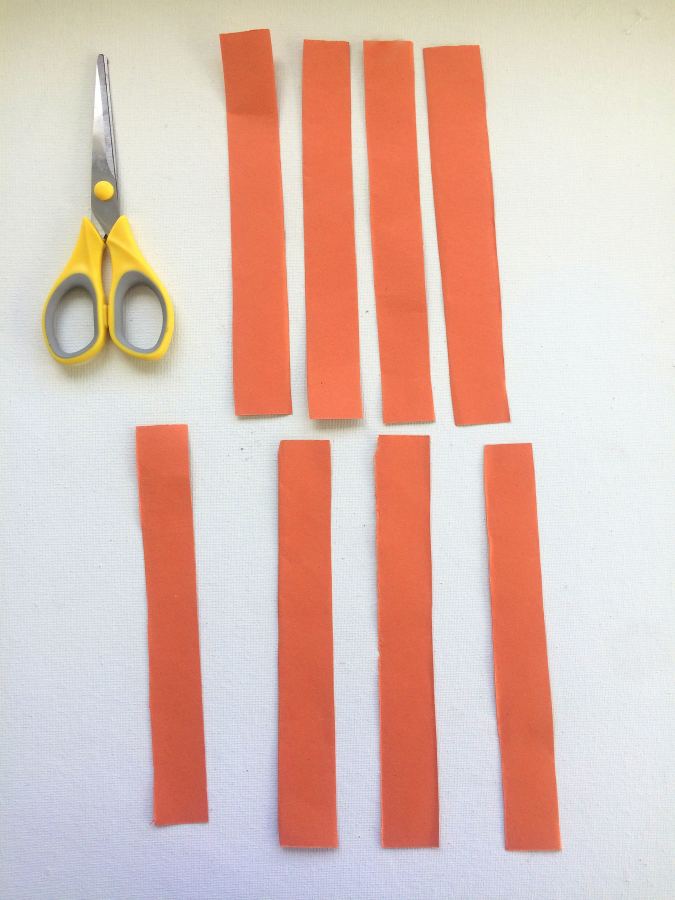
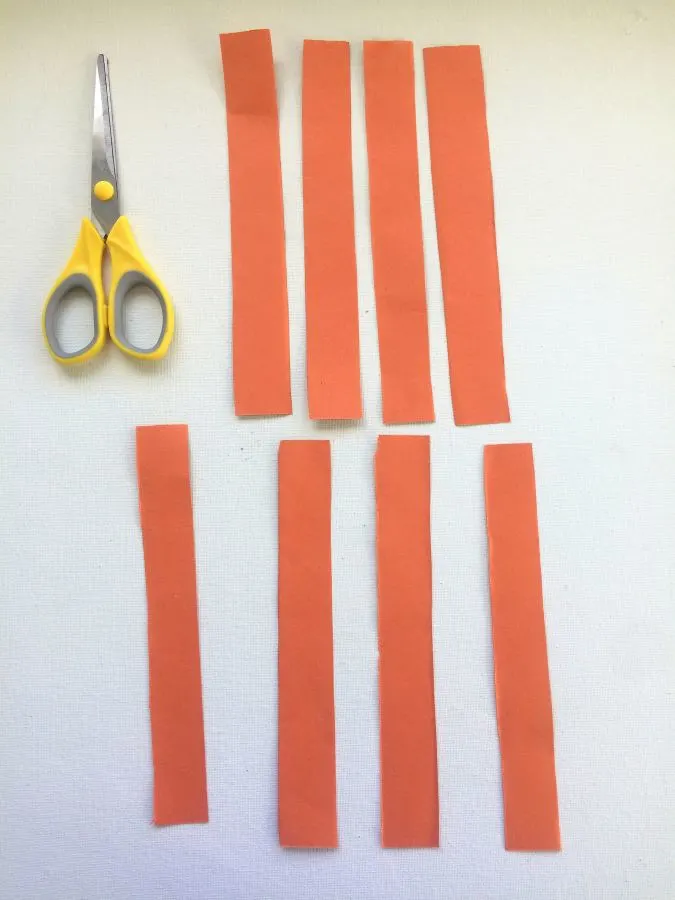
Cut 8 strips from the orange cardstock, 1.25- inches wide and 11.5 inches long.


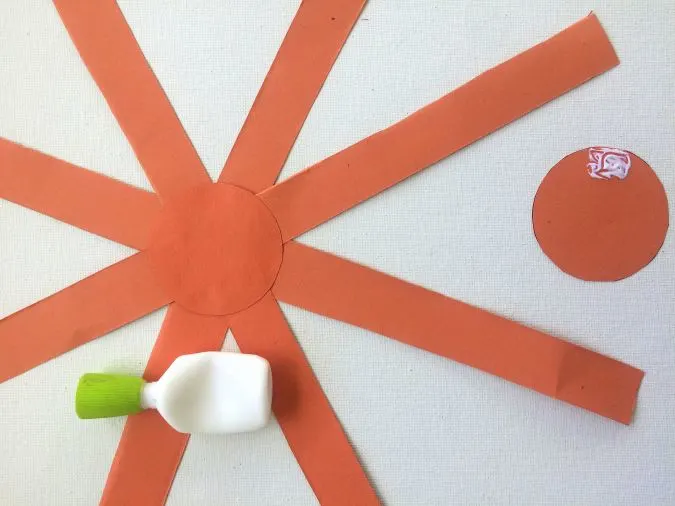
Cut two circles using the container lid from the orange cardstock.
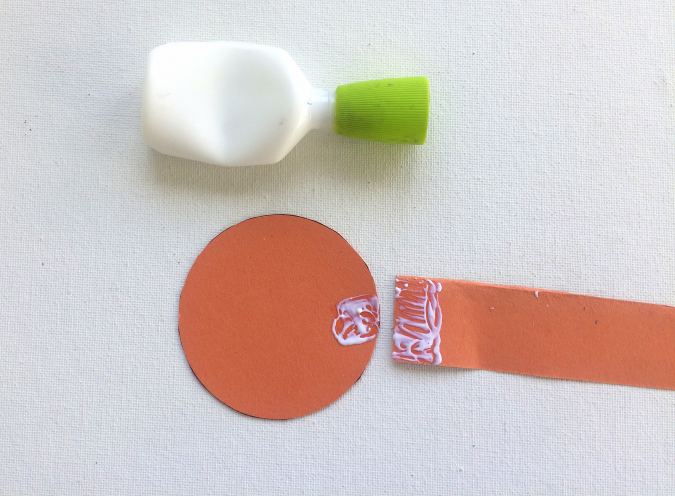

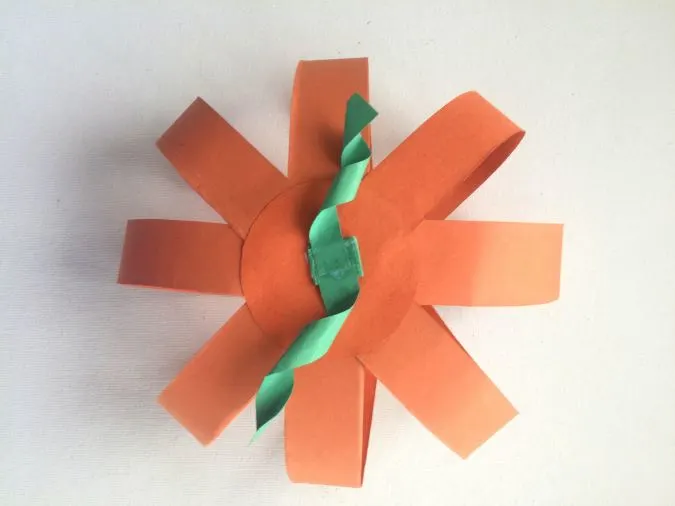
Take one circle and one strip and apply glue on the tip of the strip and along a small portion of the edge of the circle.

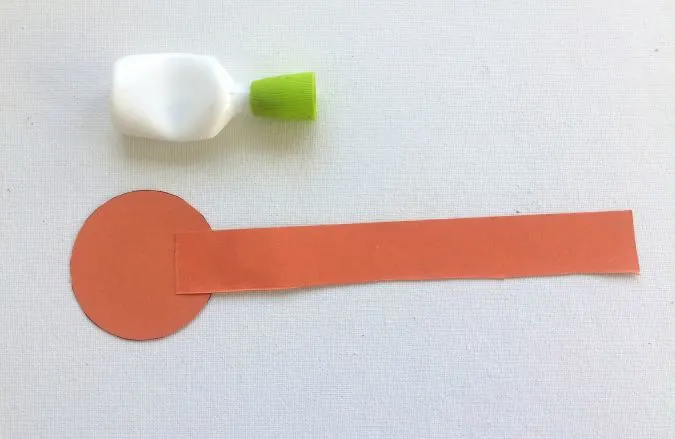
Glue the paper strip along the edge of the circle.
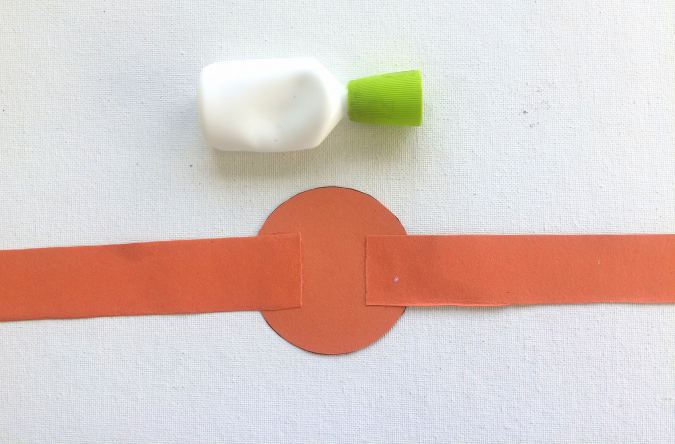

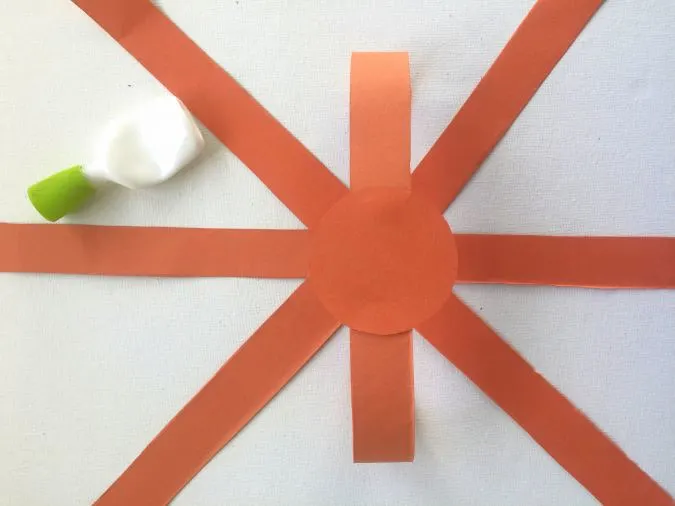
Repeat with another paper strip, just opposite to the one that is glued.
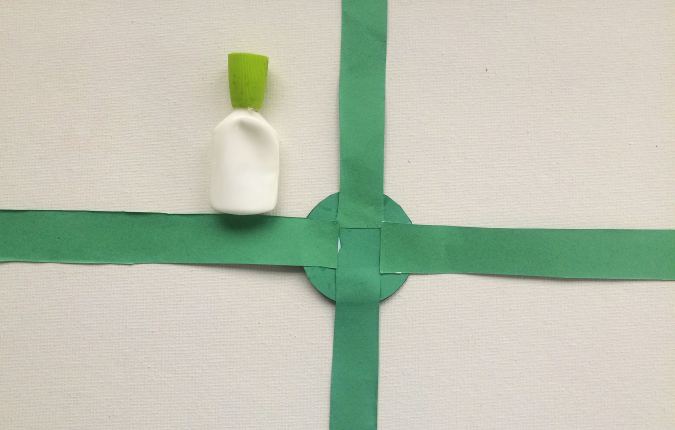
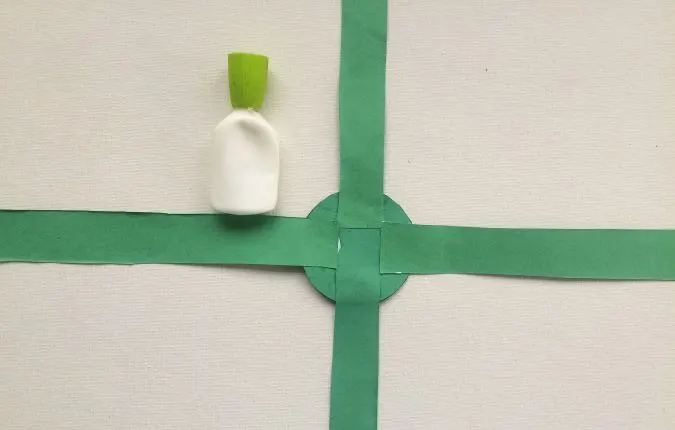
Glue two more paper strips, perpendicular to the the earlier strips (picture for illustration purpose).
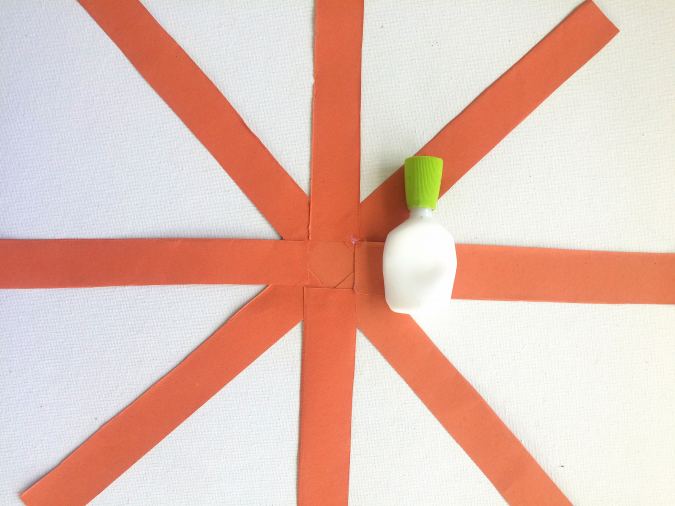
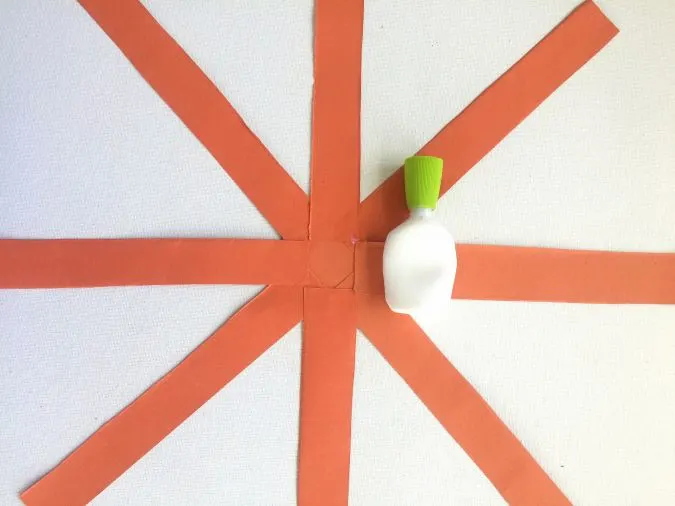
Glue 2 more sets of strips along the middle of the earlier two sets.
Next, we give shape to our pumpkin.

Take the second piece of the circle and apply glue to it.

Bend one paper strip over, turn the side of the circle that has the glue over, and atick the strip to the underside of the circle. Bend the next strip and glue and again glue it to the underside of the circle.

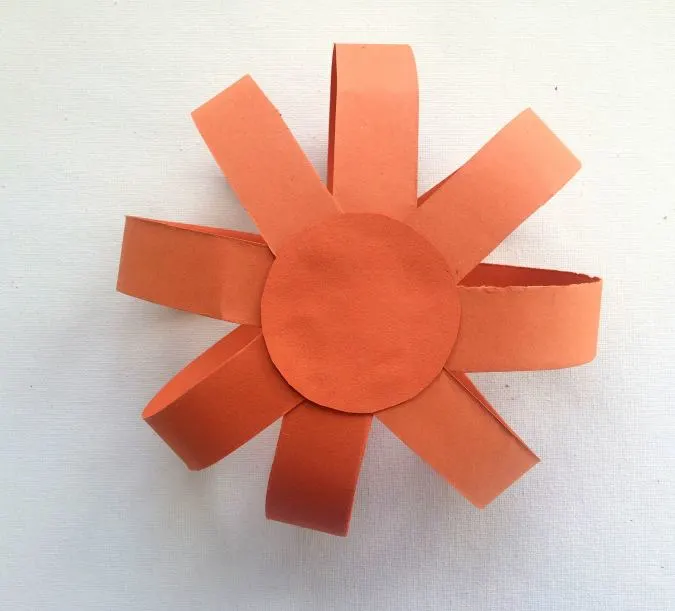
Repeat the steps till all the strips are glued.
Next we move on to the tendrils.
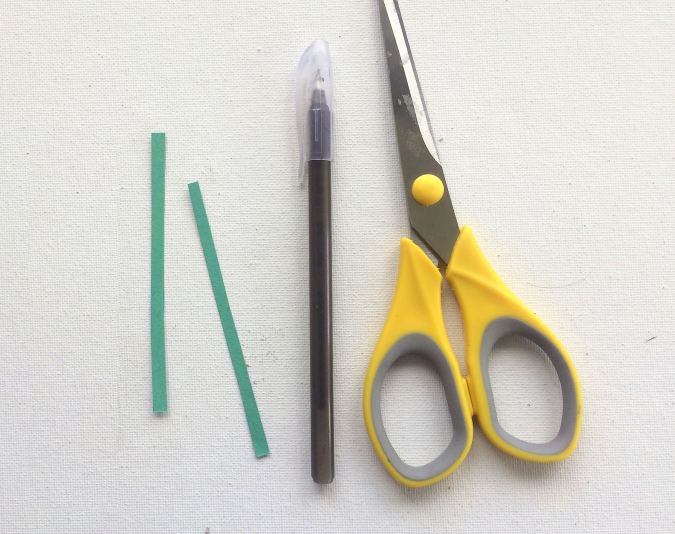

Cut 2 strips of the green cardstock, 1/4- inches wide and 3 to 4 inches long.
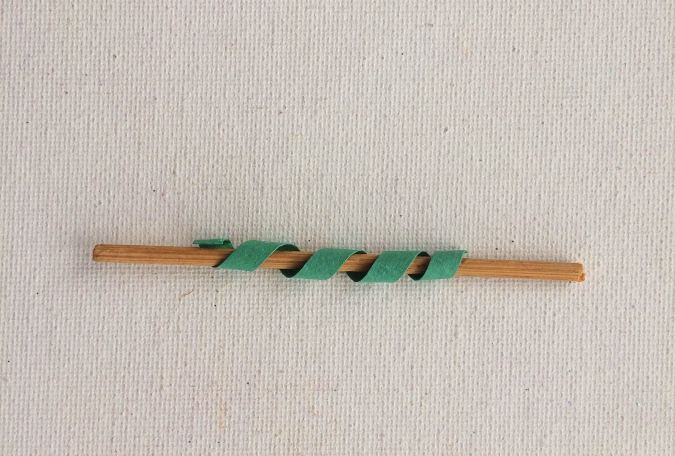
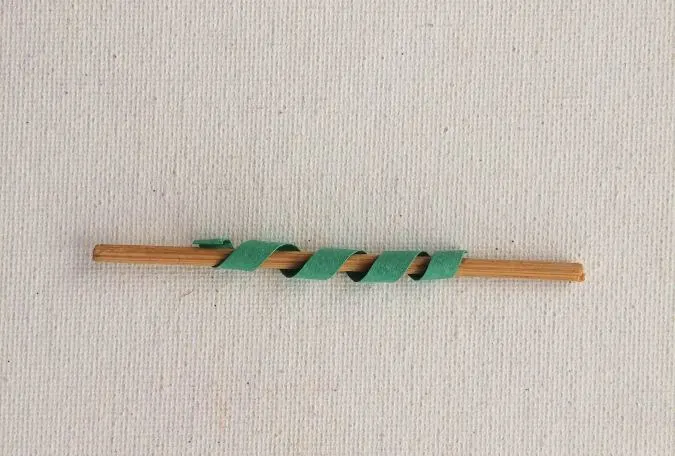
Wrap the tendrils tightly around a dowel or your pen to curl it.
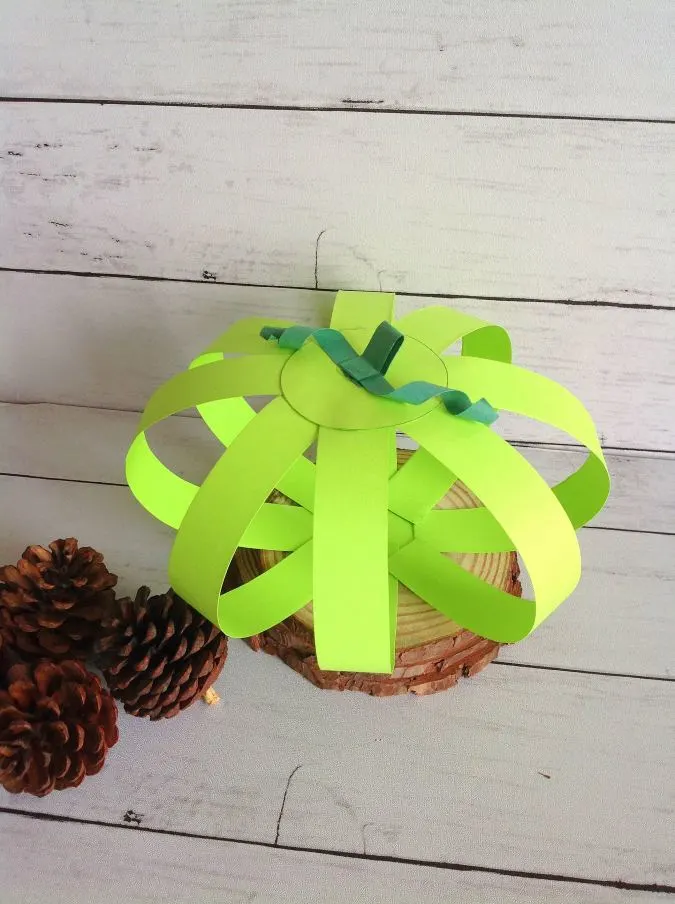
Next we make the stem and attach the tendrils to it.
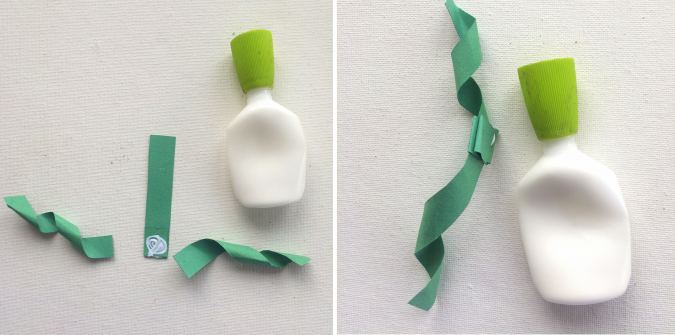

Cut a paperstrip, 1/2- inch wide and 3- inches long. Apply glue along one of its lower edge and glue the tendrils to it.
Next, fold the stem piece and no the tendrils are sanwicjed between two short edges of the stem.

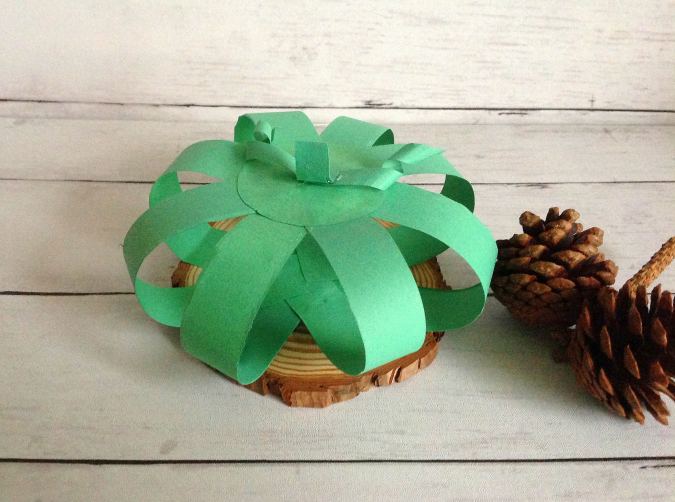
Dab some glue over the center of the pumkin and glue the stem to it. Turn the stem up and your pumpkin is ready.
Pin it for later here,