Learn how to make a drawstring bag in minutes with this easy DIY tutorial. There are instructions to sew them in any size you like! The steps are incredibly easy and I bet you can’t just stop at one!

If you are someone like me, who loves everything neat, tidy, and organized, you will definitely need a lot of baskets and pouches to organize your little things.
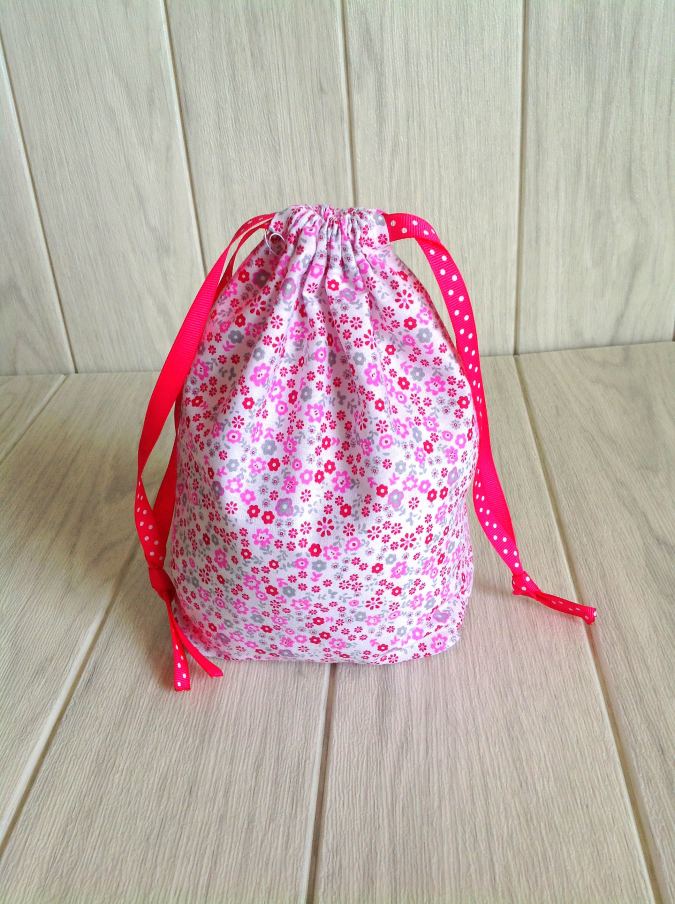
Here you will learn how to sew a drawstring bag, which has a variety of such uses. You can use these bags to store your little things or you can use them to put your handmade gifts.

This DIY drawstring bag is so quick and easy to make that you can sew a number of them in an hour. You don’t need a lot of things to sew the bag, all you need are some fabric scraps and some grosgrain ribbon.

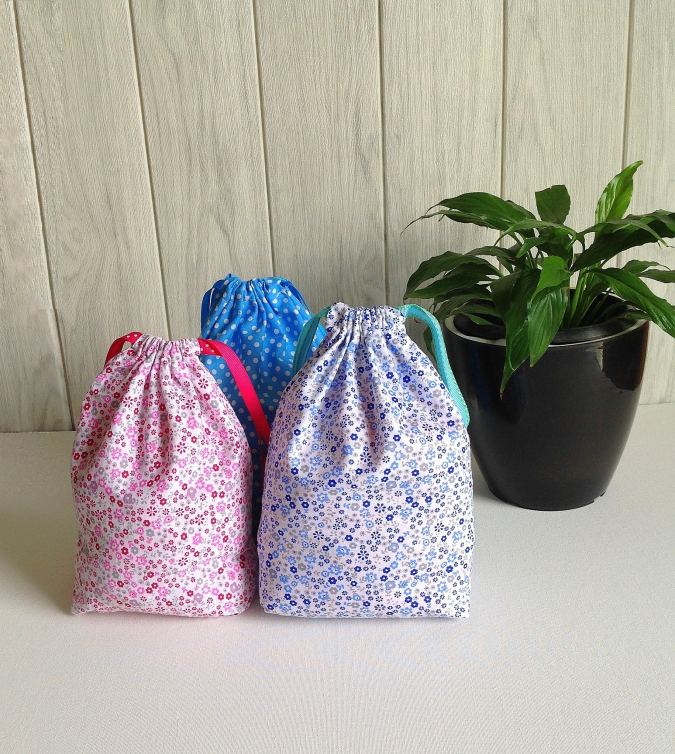

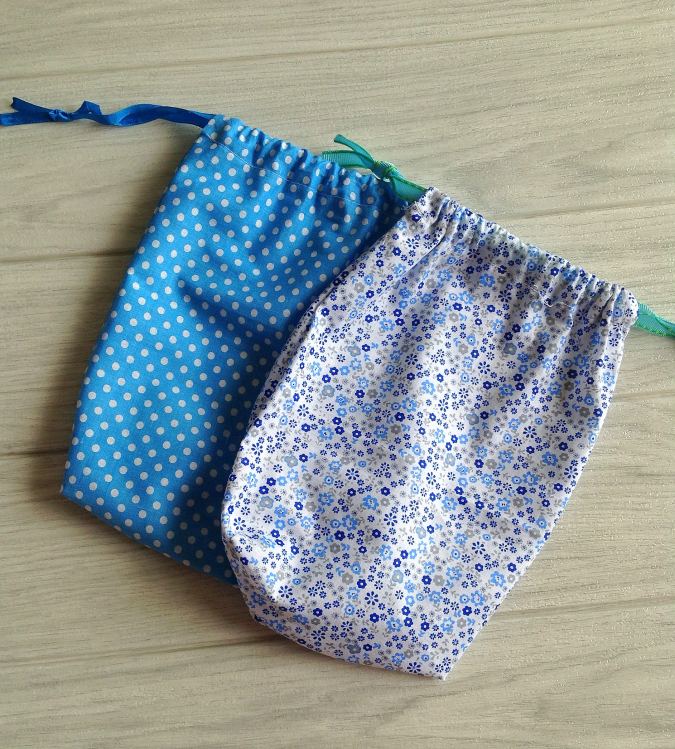


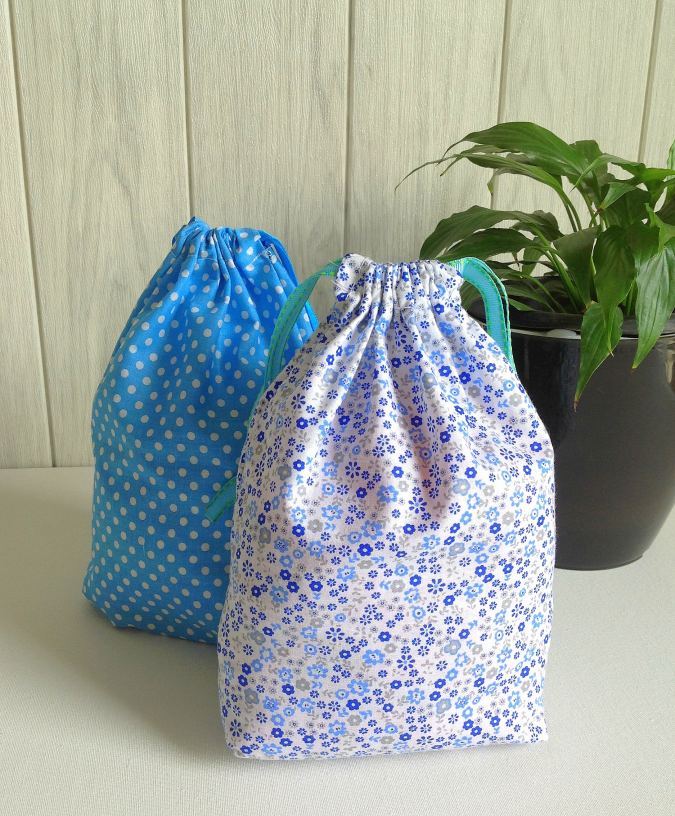
Made in different colors and prints, these bags can brighten up your cupboards and make them look all dressed up and colorful!
How to Make a Drawstring Bag
*What I have shown below is a small bag with a finished size of 9.75 in height and 8.25 in width. If you wish to make the bag in a different size, just add 2.25- inches to the desired height and 0.75- inch to the width.
You will need:
Medium- weight cotton fabric- 1/3 yard ( You can make 2 bags with this fabric).
Grosgrain ribbon- 44- inches.
Sewing notions.
- The seam allowance is 3/8- inch unless otherwise specified.
Cutting dimensions:
Two fabric pieces, 12- inches long and 9- inches wide.
Two grosgrain ribbon pieces, 22- inches long.

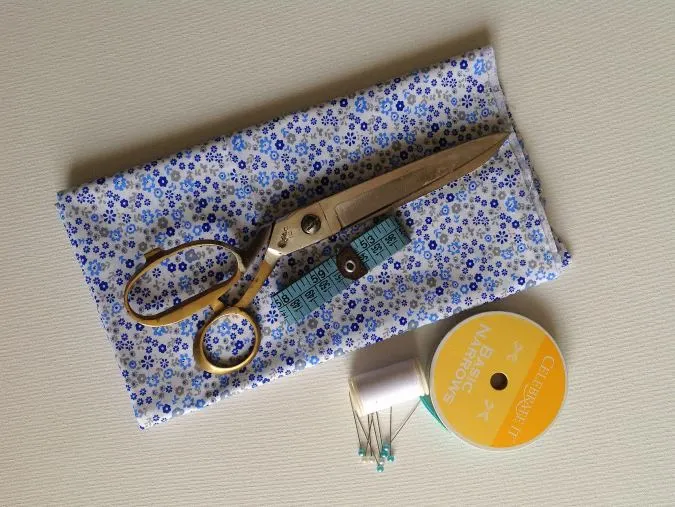
Gather your supplies.
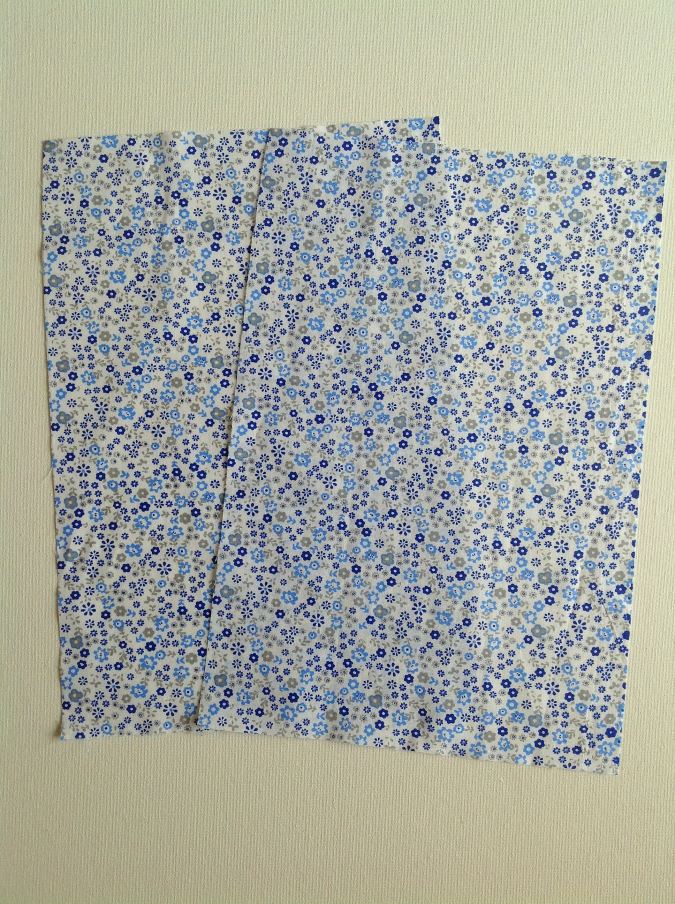
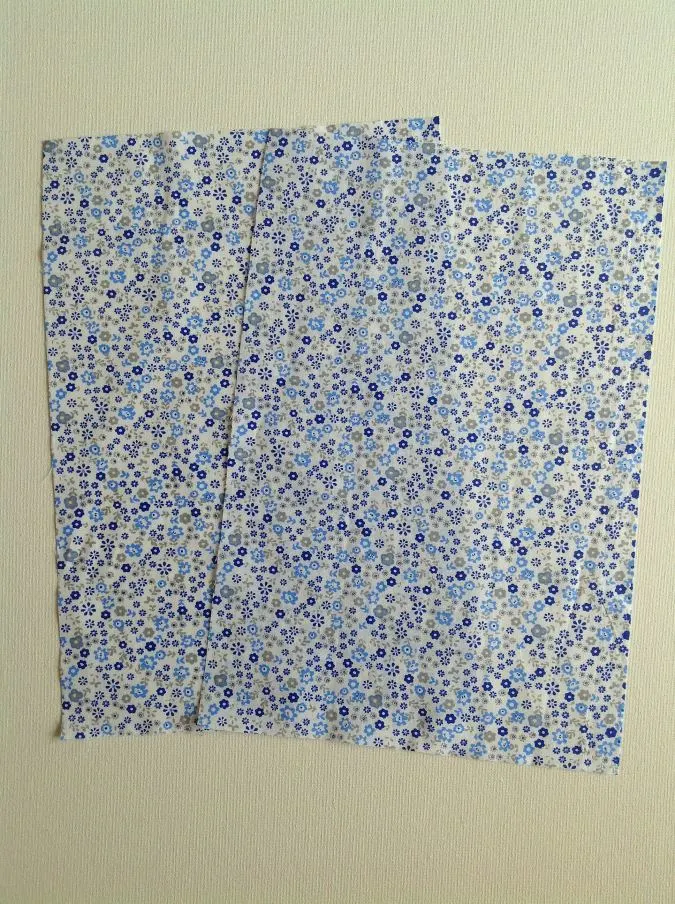
Cut your fabric pieces according to the dimensions given above.
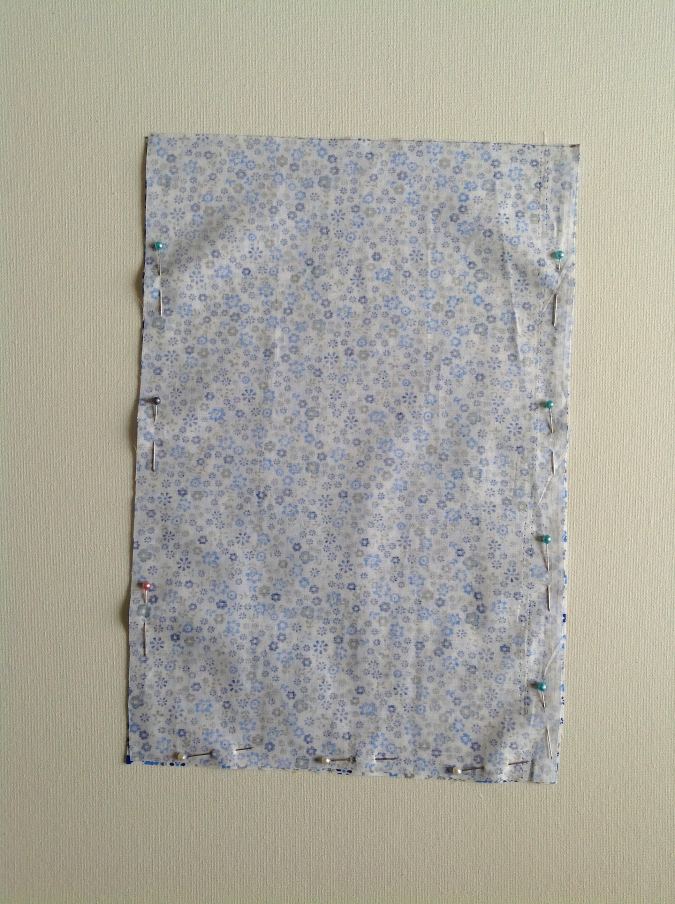
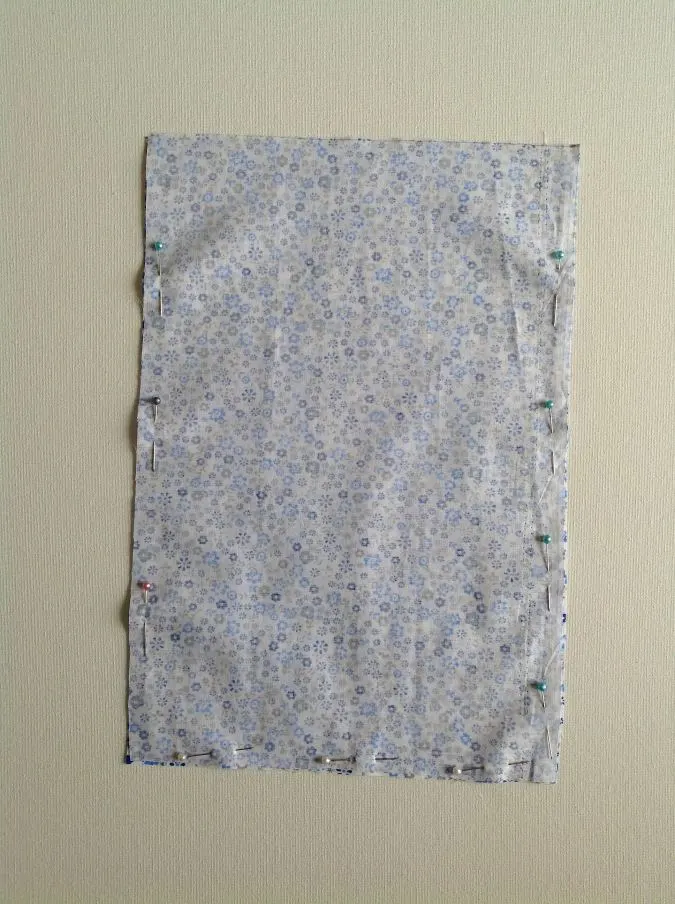
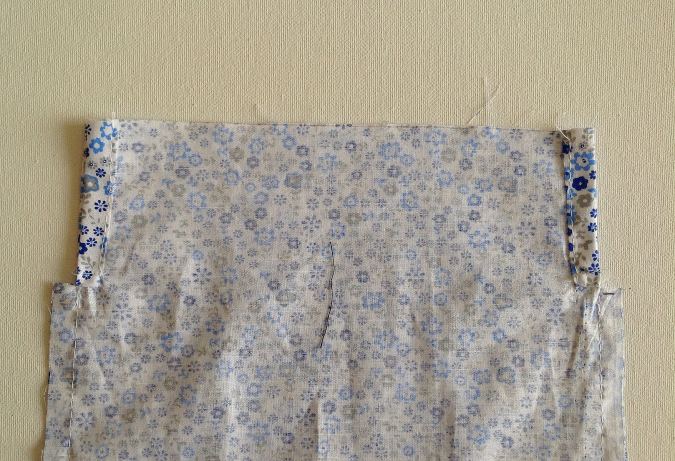
Layer the two pieces with the right sides together and aligning the edges. Leave 2- inches from the top edge on both sides and pin all around.
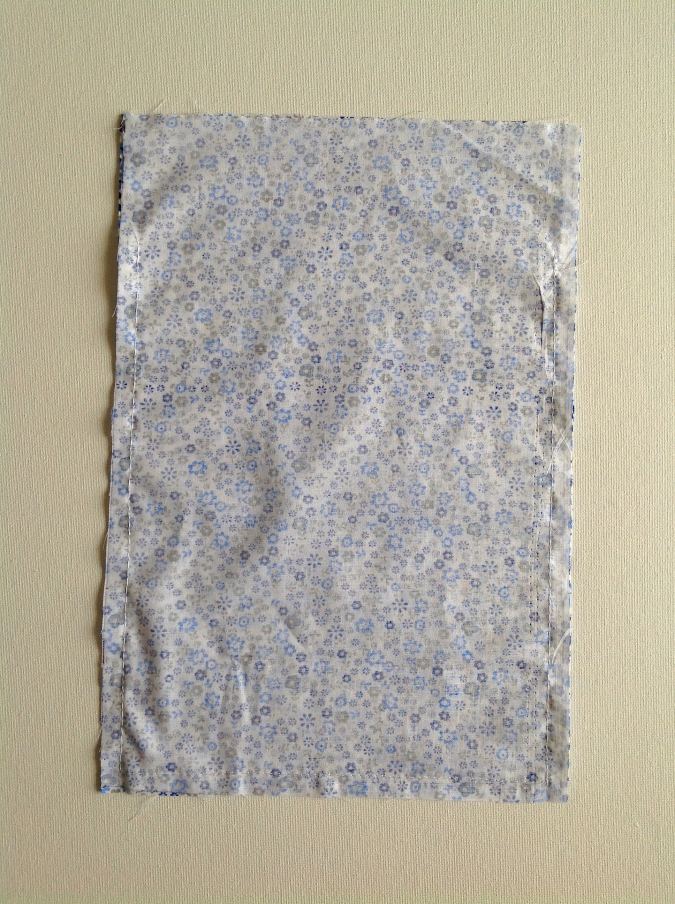
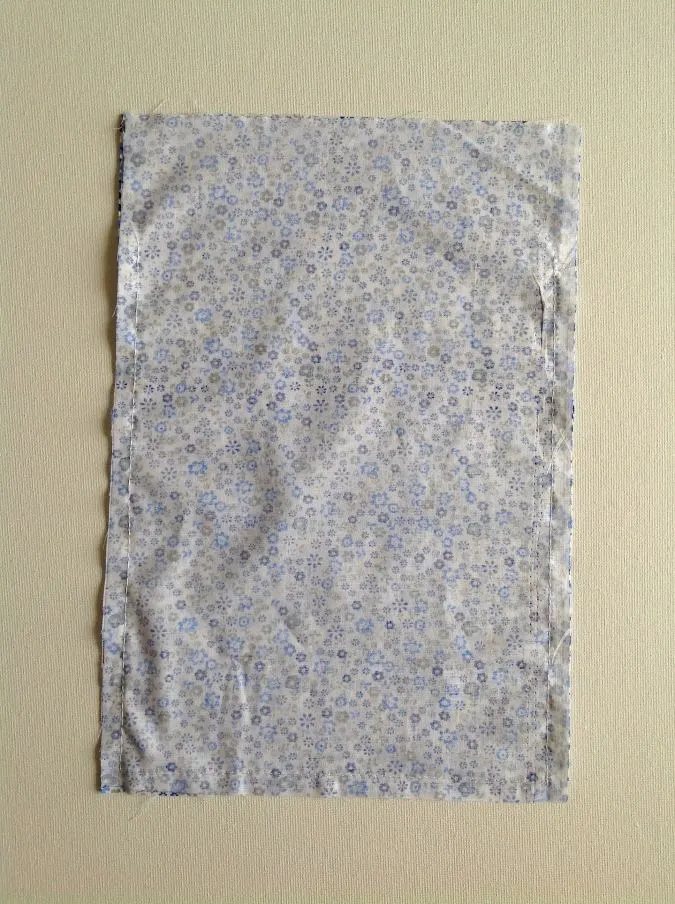
Sew along the pinned edge (leaving 2- inches from the top edge).
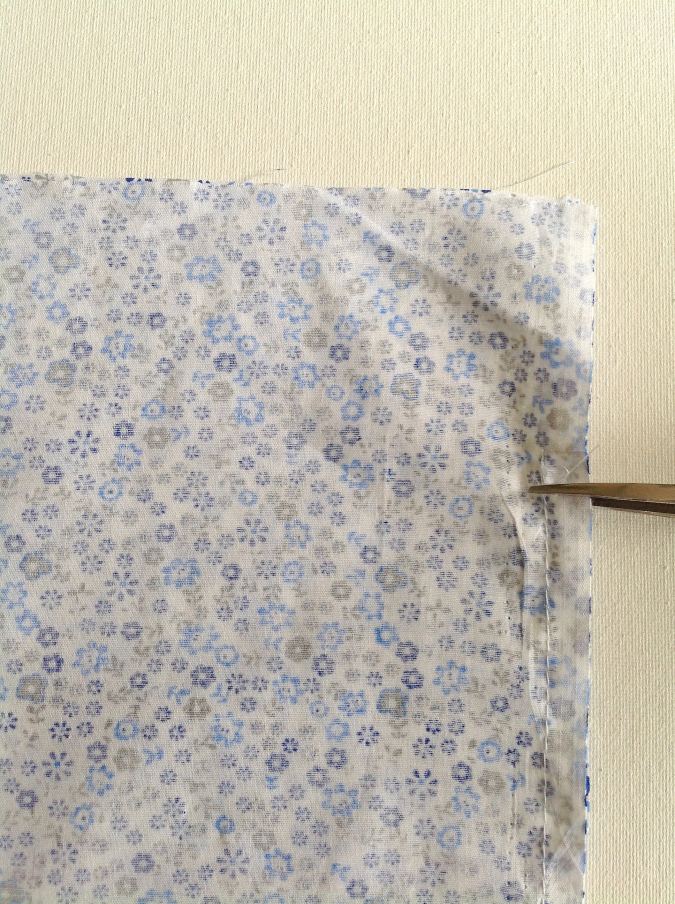

Make a small slit in the seam on both sides, at the point where you have started the stitches.
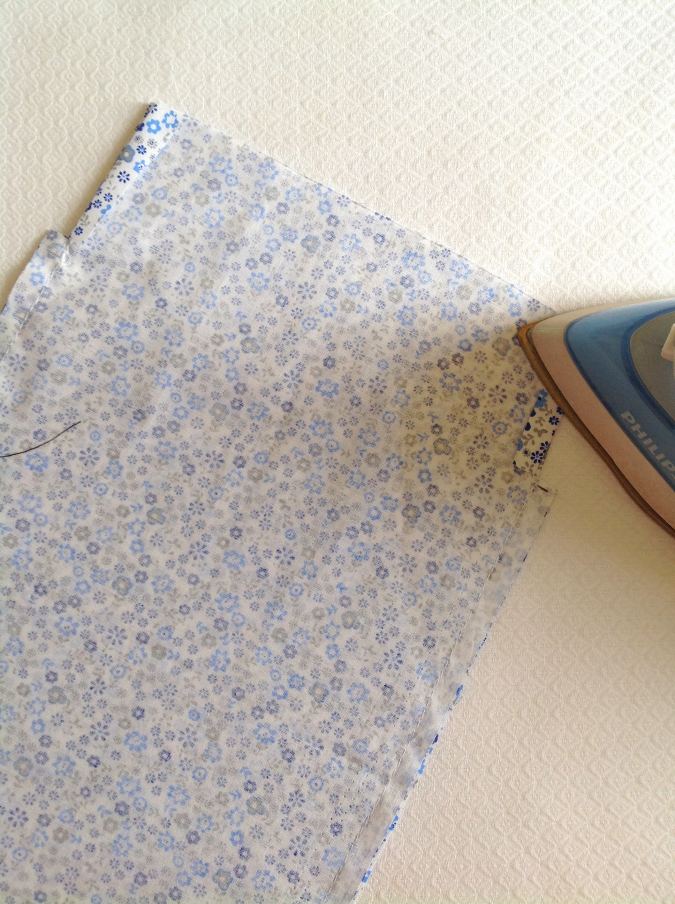
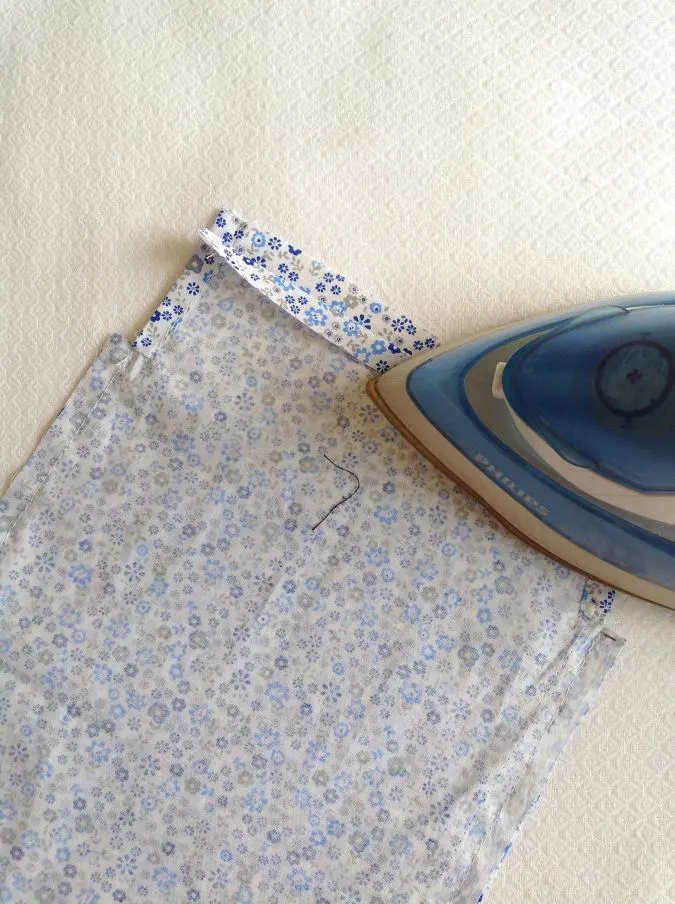
Fold the seam towards the wrong sides and press. This has to be done to the seams on both sides.

Sew down the folds.

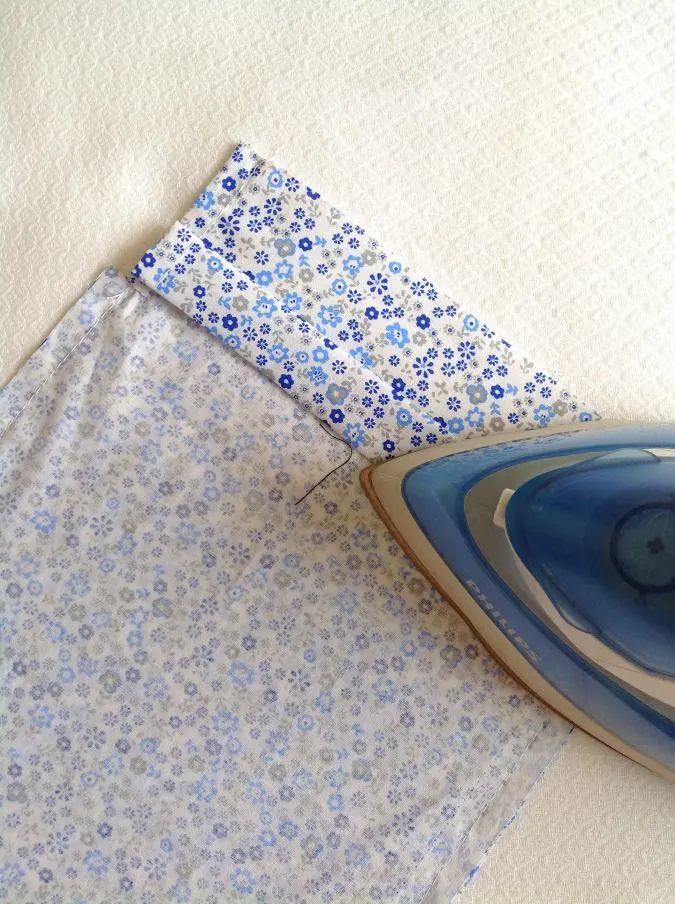
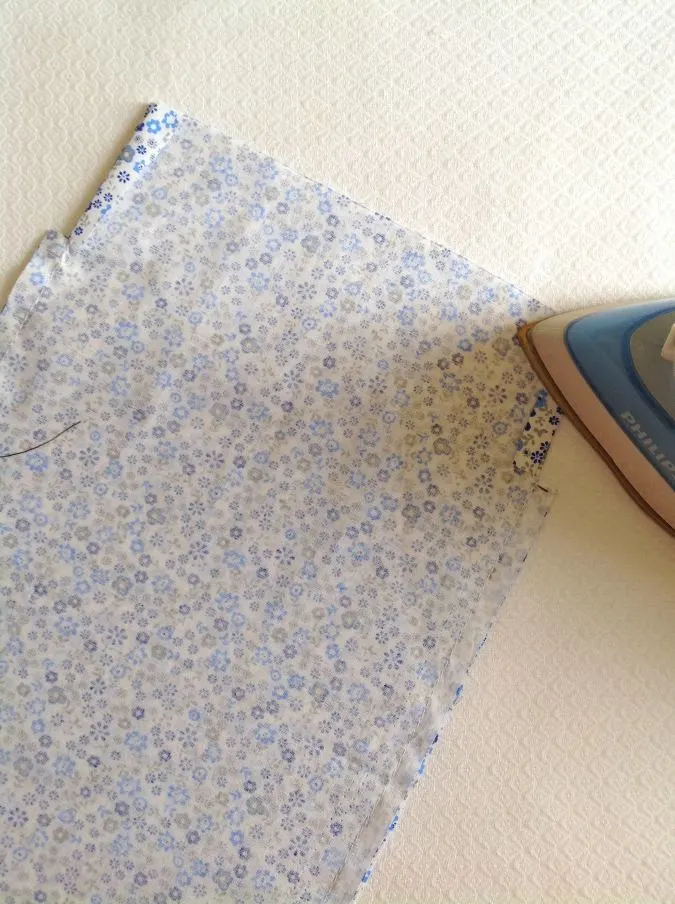
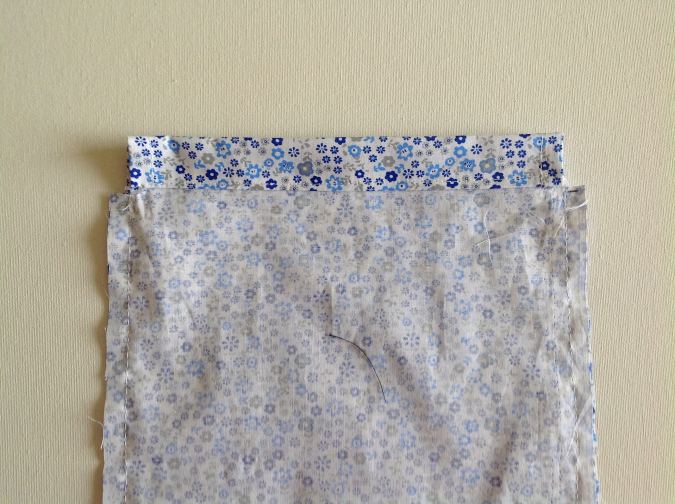
Fold the upper raw edge towards the wrong side by ½- inch and press. Fold again by 0.75- inch and press once more.
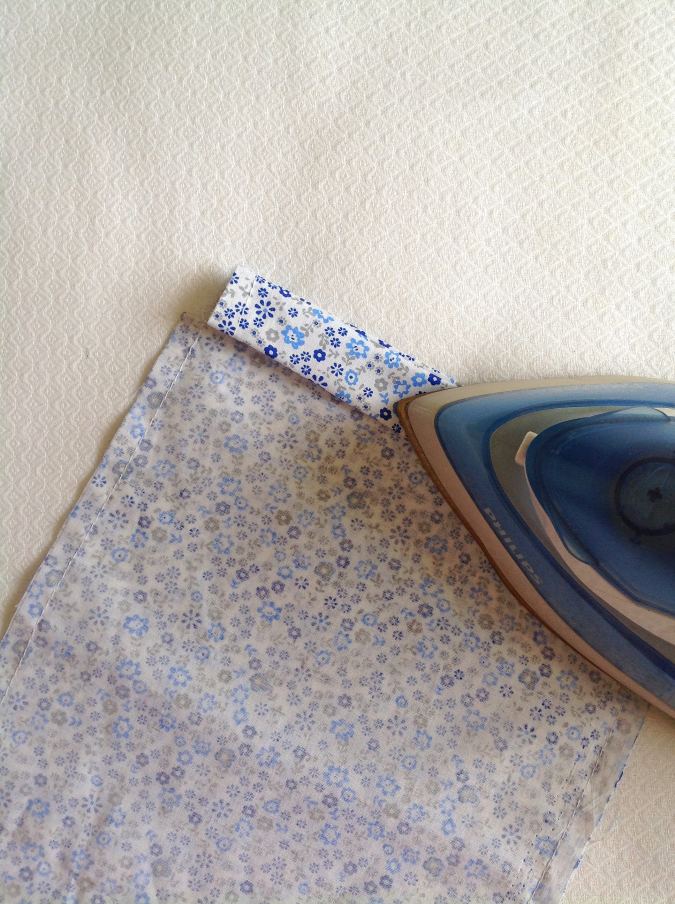

Repeat on the other side.
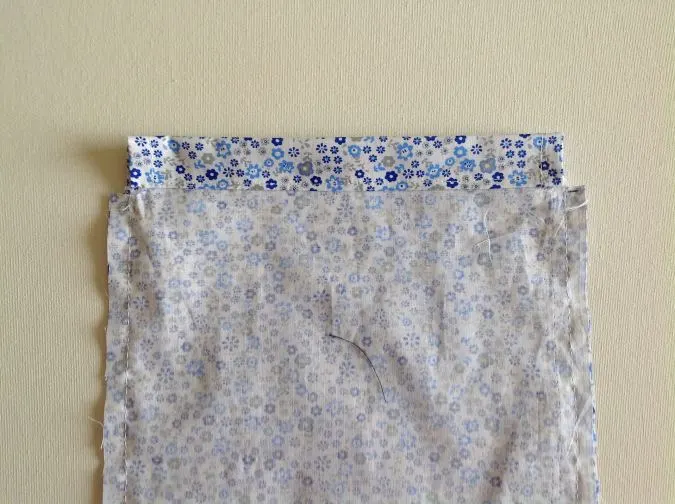
Sew down the folds on both sides. The casing for the ribbon is ready.

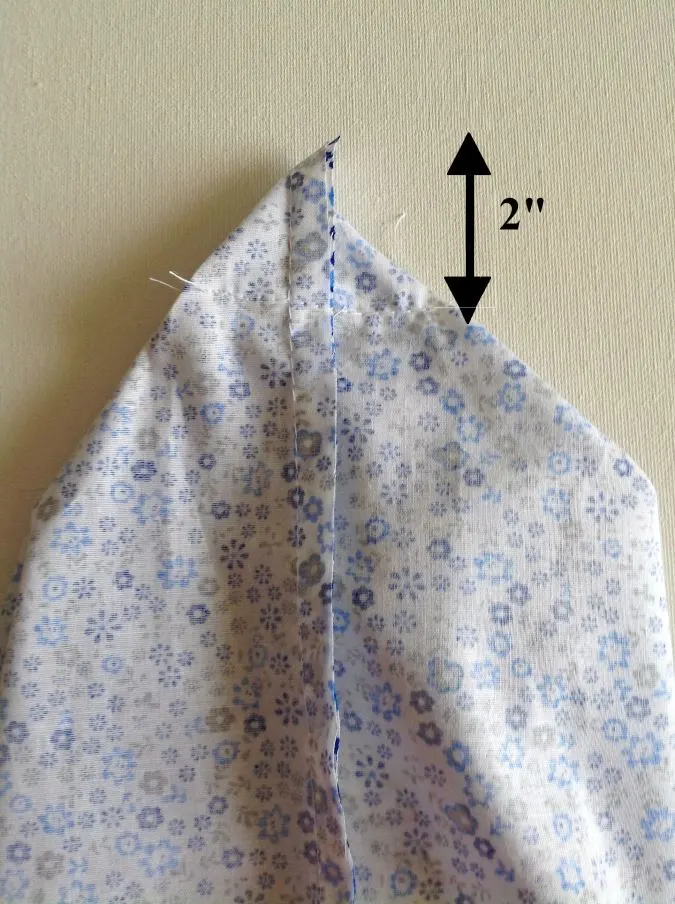
Next, pull the front and the back piece apart at the bottom of the bag and align the side seam with the bottom seam. Sew a line 2” from the corner as shown above. Make sure to reinforce the stitches at the start and finish.

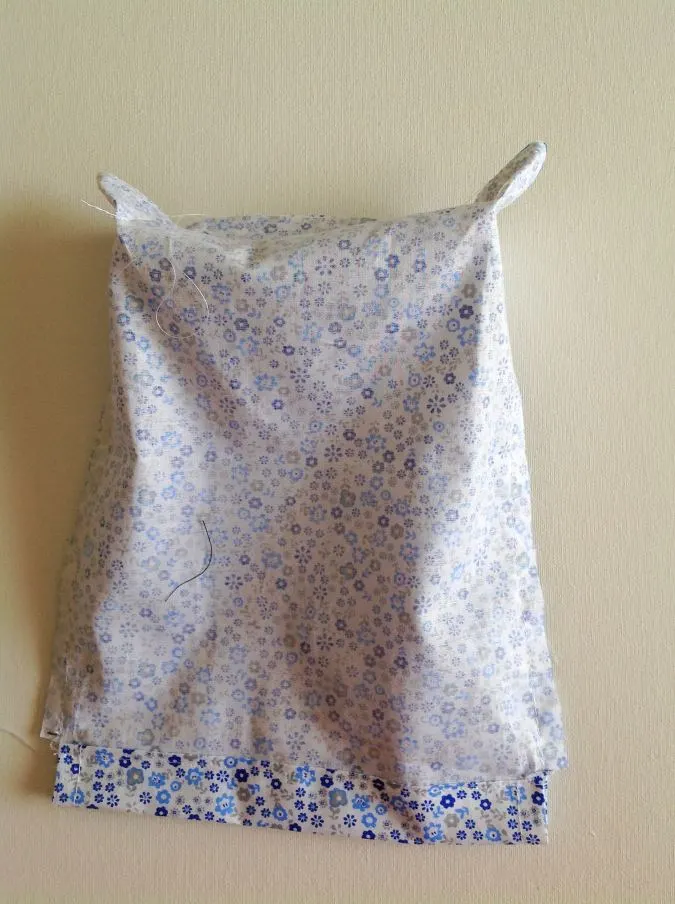
Repeat the steps on the other corner. The wrong side of your bag would look like this.


Trim the seam at the corner to 3/8- inch.
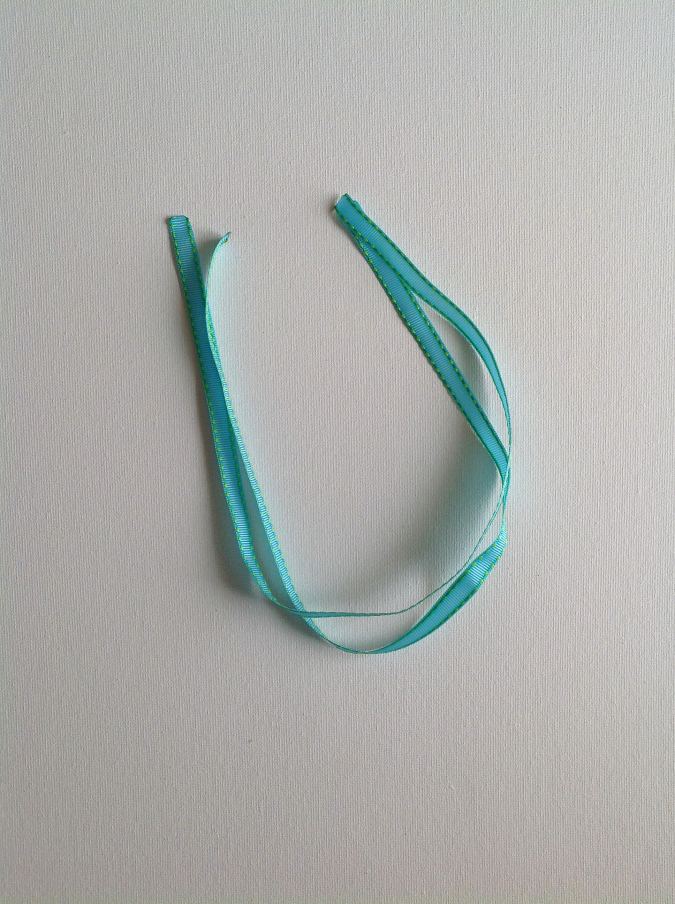
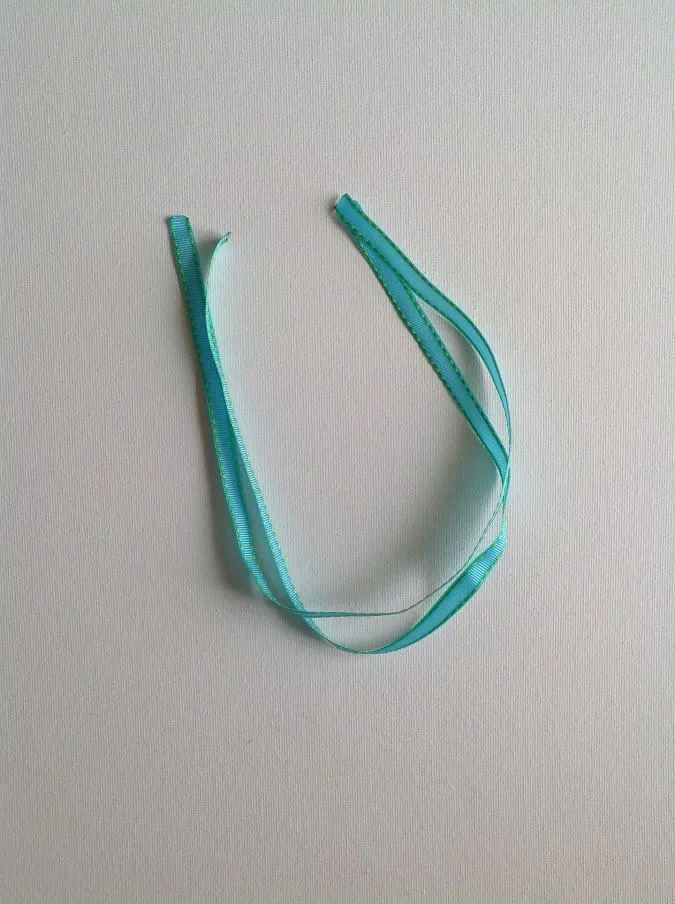
Cut the ribbon pieces and heat- seal the ends.
Start inserting the grosgrain ribbon through one end of the casing, using a safety pin.

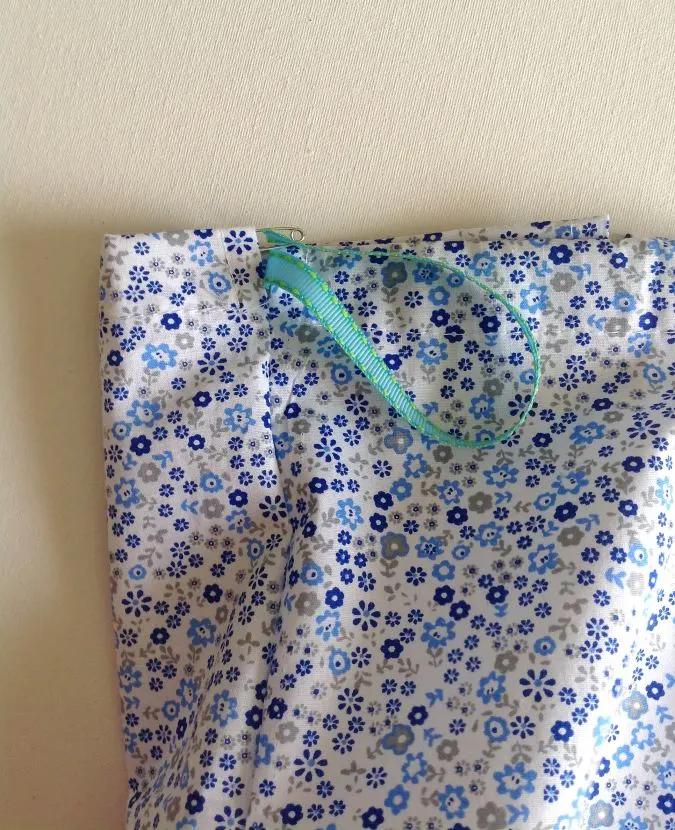
Continue inserting the ribbon into the casing on the other side.
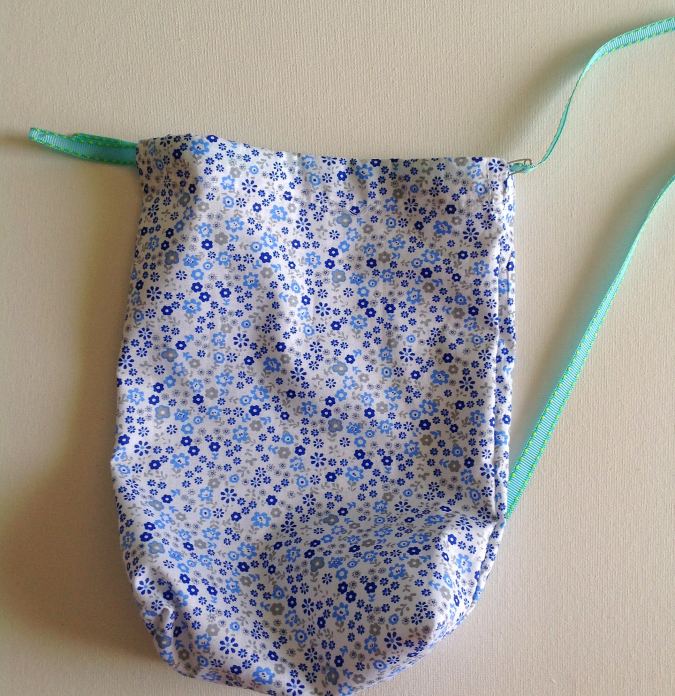

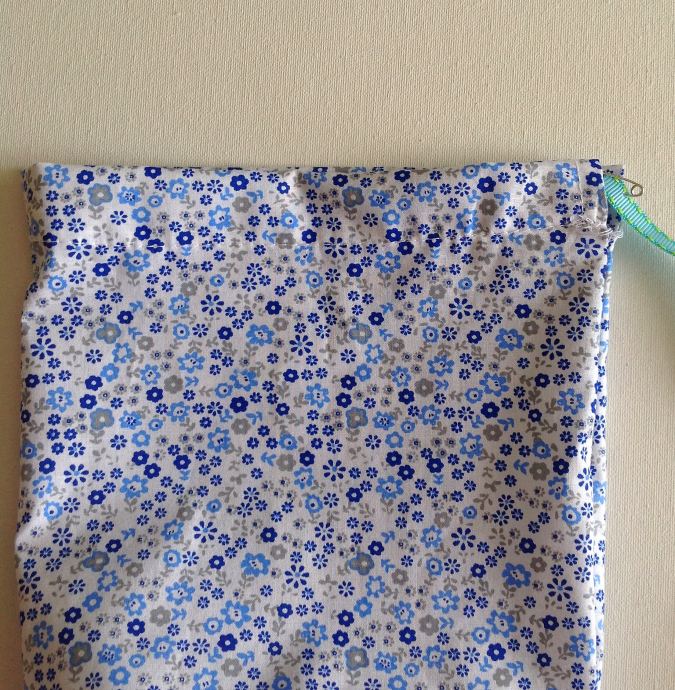
Next, take the other ribbon piece and start inserting it through the casing from the opposite side. Continue as before.
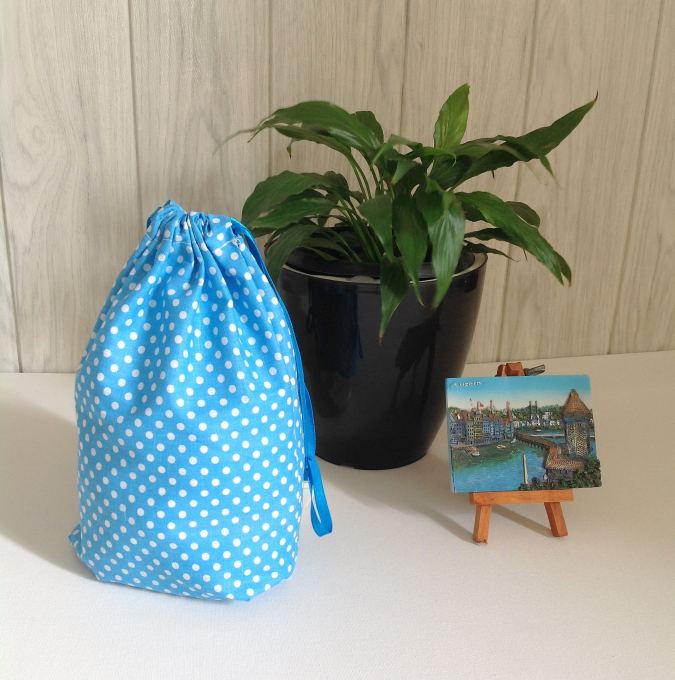
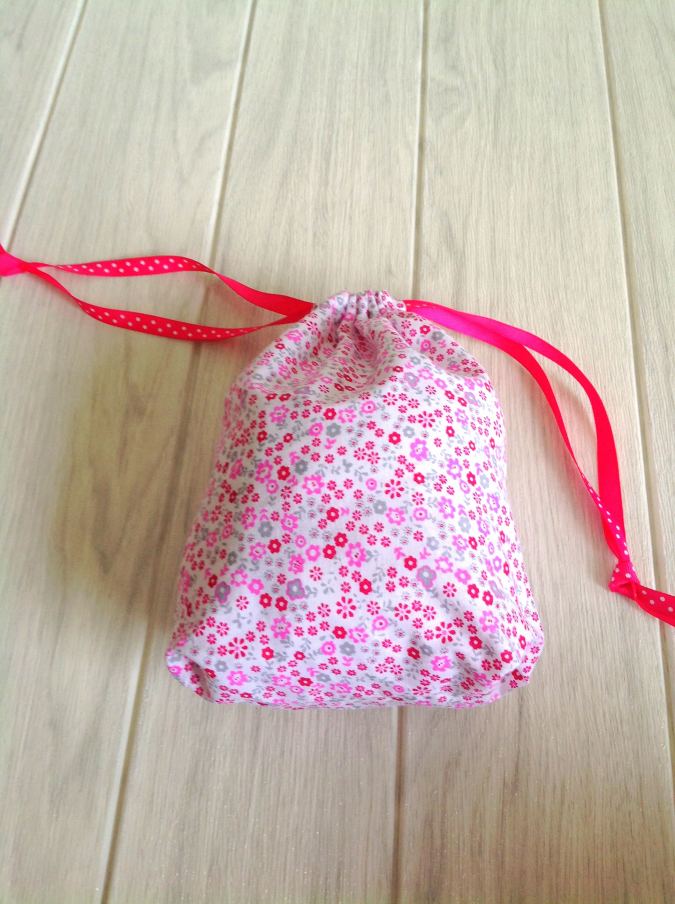
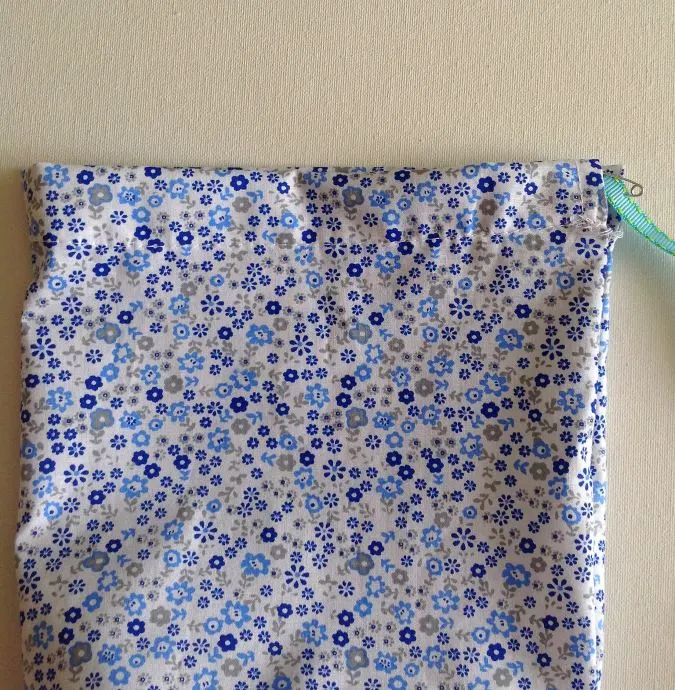
Your bag will look like this once done.

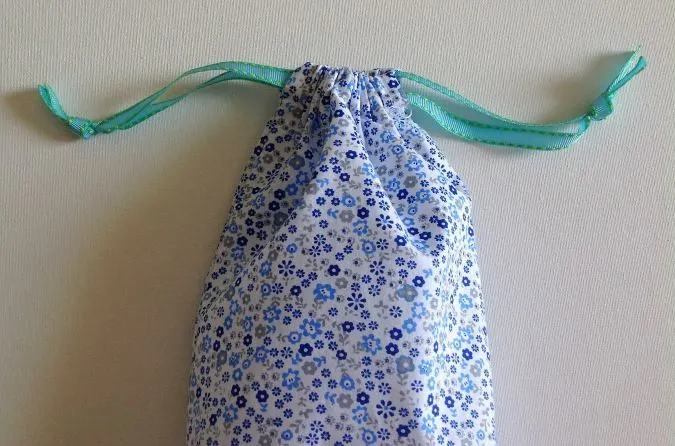
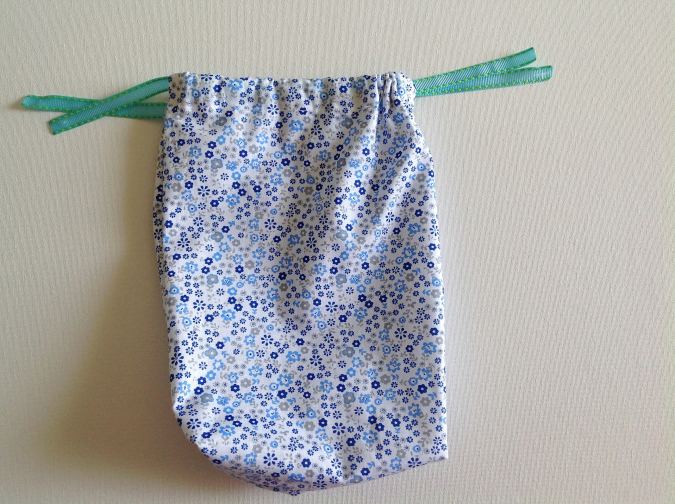
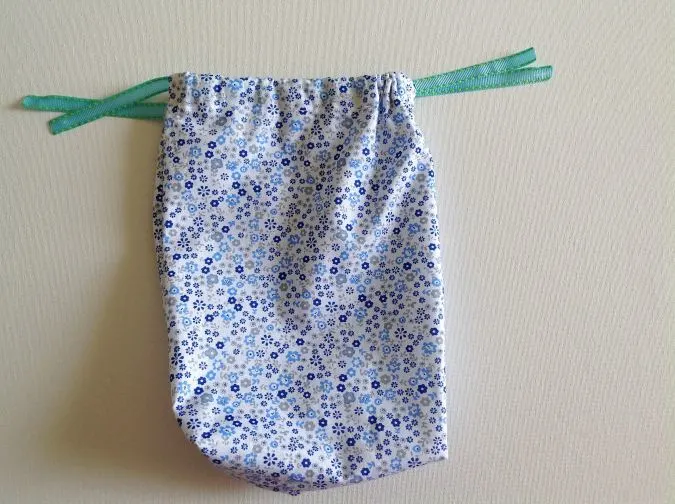
Tie the ends of the ribbon in a knot and pull the ends to close the bag. Our drawstring bag is done!
My latest video,
For more of my free patterns, click here.
For hundreds of free patterns and DIYs, visit allfreesewing.com.
Find the webstory for the post here, Quick & Easy Drawstring Bag Tutorial
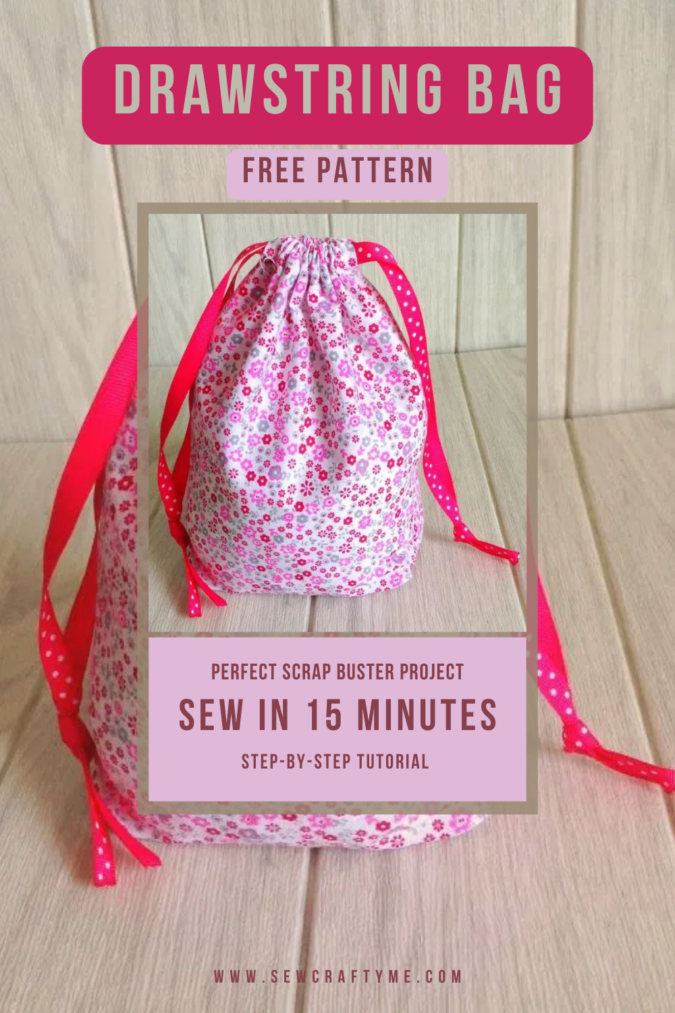
Pin it for later here,
Now, you have learned how to sew beautiful drawstring bags. You can make them in any color or print you like for yourself or as handmade gifts for your loved ones!
Patti
Wednesday 4th of December 2024
Great instructions for the drawstring bag. Quick and easy to make. Thank you.
Enid
Saturday 9th of September 2023
What a nice little tutorial! Ive been sewing for nearly 70 years, and should remember how to sew a little drawstring bag. But its been quite awhile, so I Googled "how to make a drawstring bag". I found this tutorial, which I liked because the bag is not lined but has nicely finished french seams all around. I needed 3 bags to put water bottles in for my brother-in-law and my two nieces. This tutorial made my work fast and simple. You did a lovely job on this, and I'm very apreciative.
lisa rocco-richards
Sunday 22nd of January 2023
many thanks. quite complete
Helen
Tuesday 27th of December 2022
Thank you so much for the drawstring bag tutorial! I sewed a bag today with my brand new sewing machine following your guide and I love it!x
Jean
Saturday 17th of December 2022
A nice easy project,