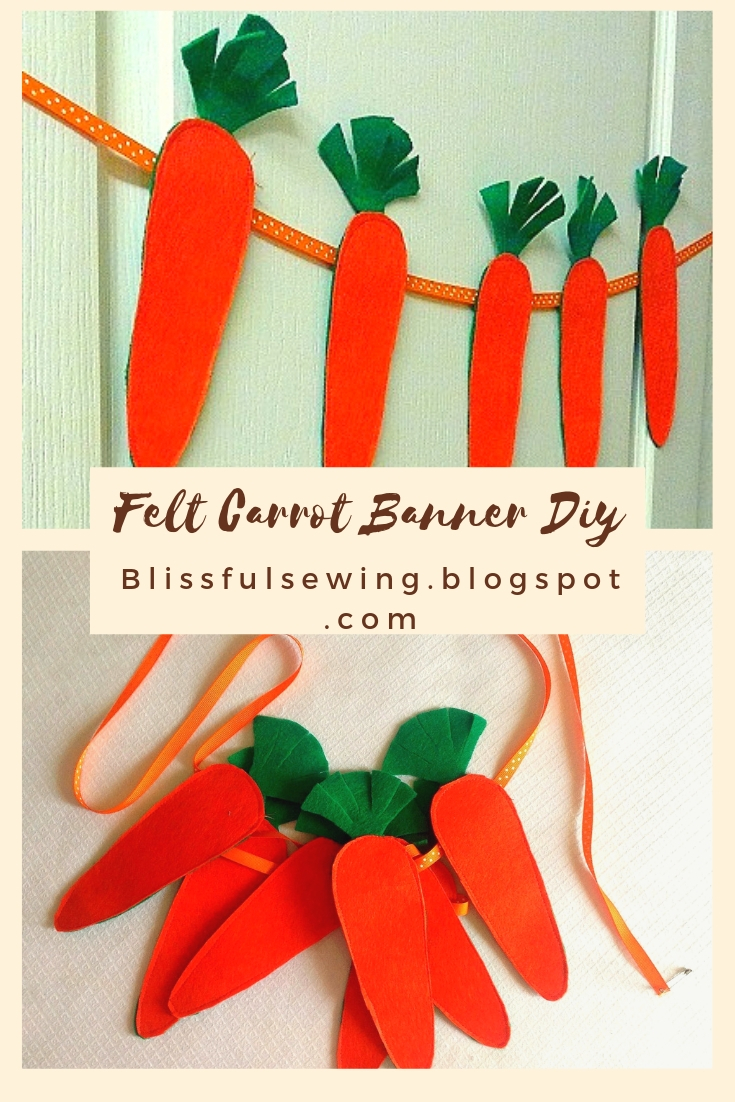
Banners are something in the DIY world, that catch my attention quickly. They give the added charm and color to any decor. Come Easter, what more can you think of, than a quick and colorful carrot banner? Another of my favorites in the world of crafts is felt. You don’t have to perfect your sewing skills to craft with felt. The edges do not fray and your sewing imperfections go unnoticed in this material!

This felt carrot banner was something on my mind, long long ago. But somehow, I kept it aside to do more complicated stuff 😥. This carrot banner is so easy that you can whip it up in less than an hour! So, if you don’t have the time for those time-consuming crafts for this Easter but you still need to sew something beautiful and interesting, this is the right project for you! Save it as your last minute project and whip it up in a few minutes, just as I said!
Let’s start making it!
Materials Required:
The number of felt sheets given below are for eight carrots. You will need to increase the number of sheets and the length of your satin ribbon if you need a longer banner.
* 2 sheets of orange and green colored acrylic felt sheets that come in 9 x 12-inch dimensions
* 1/2 inch wide, orange colored satin ribbon, 12 feet long.

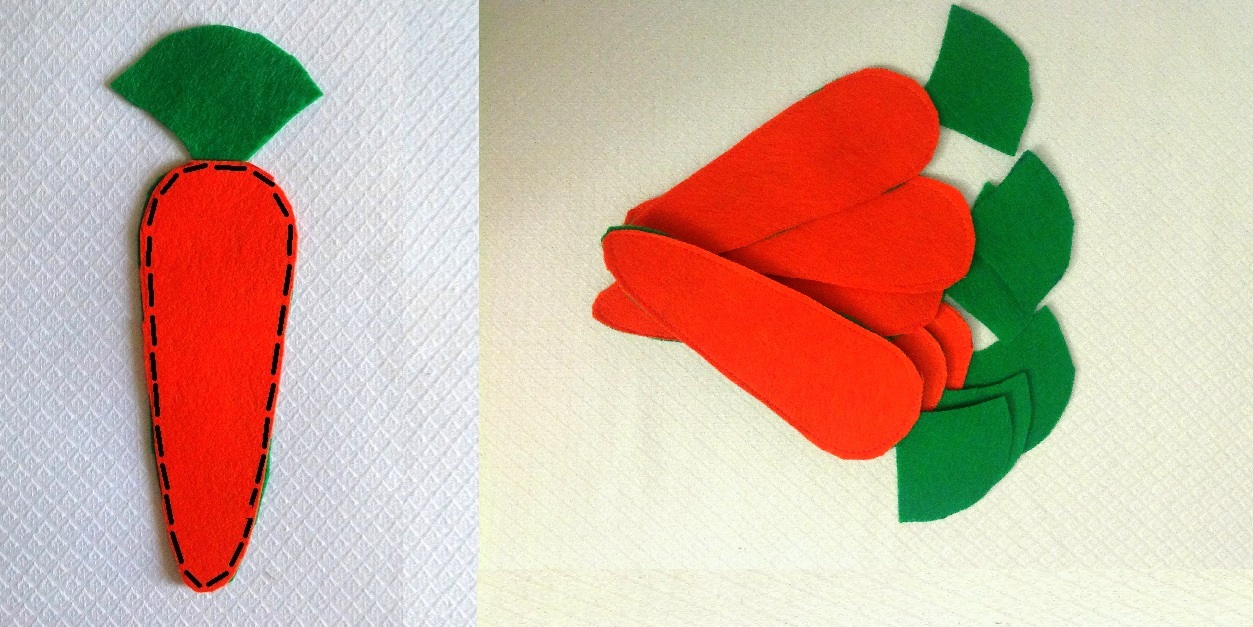
Take the felt sheets.
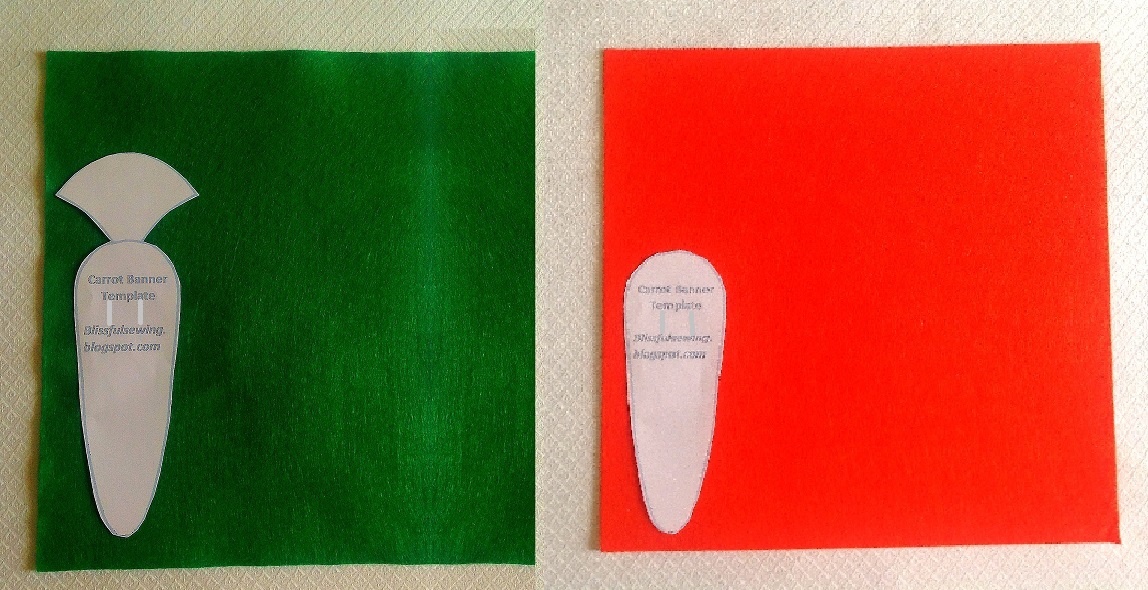
Use the whole of the template to cut the green pieces and only the bottom part to get the orange ones. Transfer the marks for the slits to the green pieces.

You will need Eight of each.
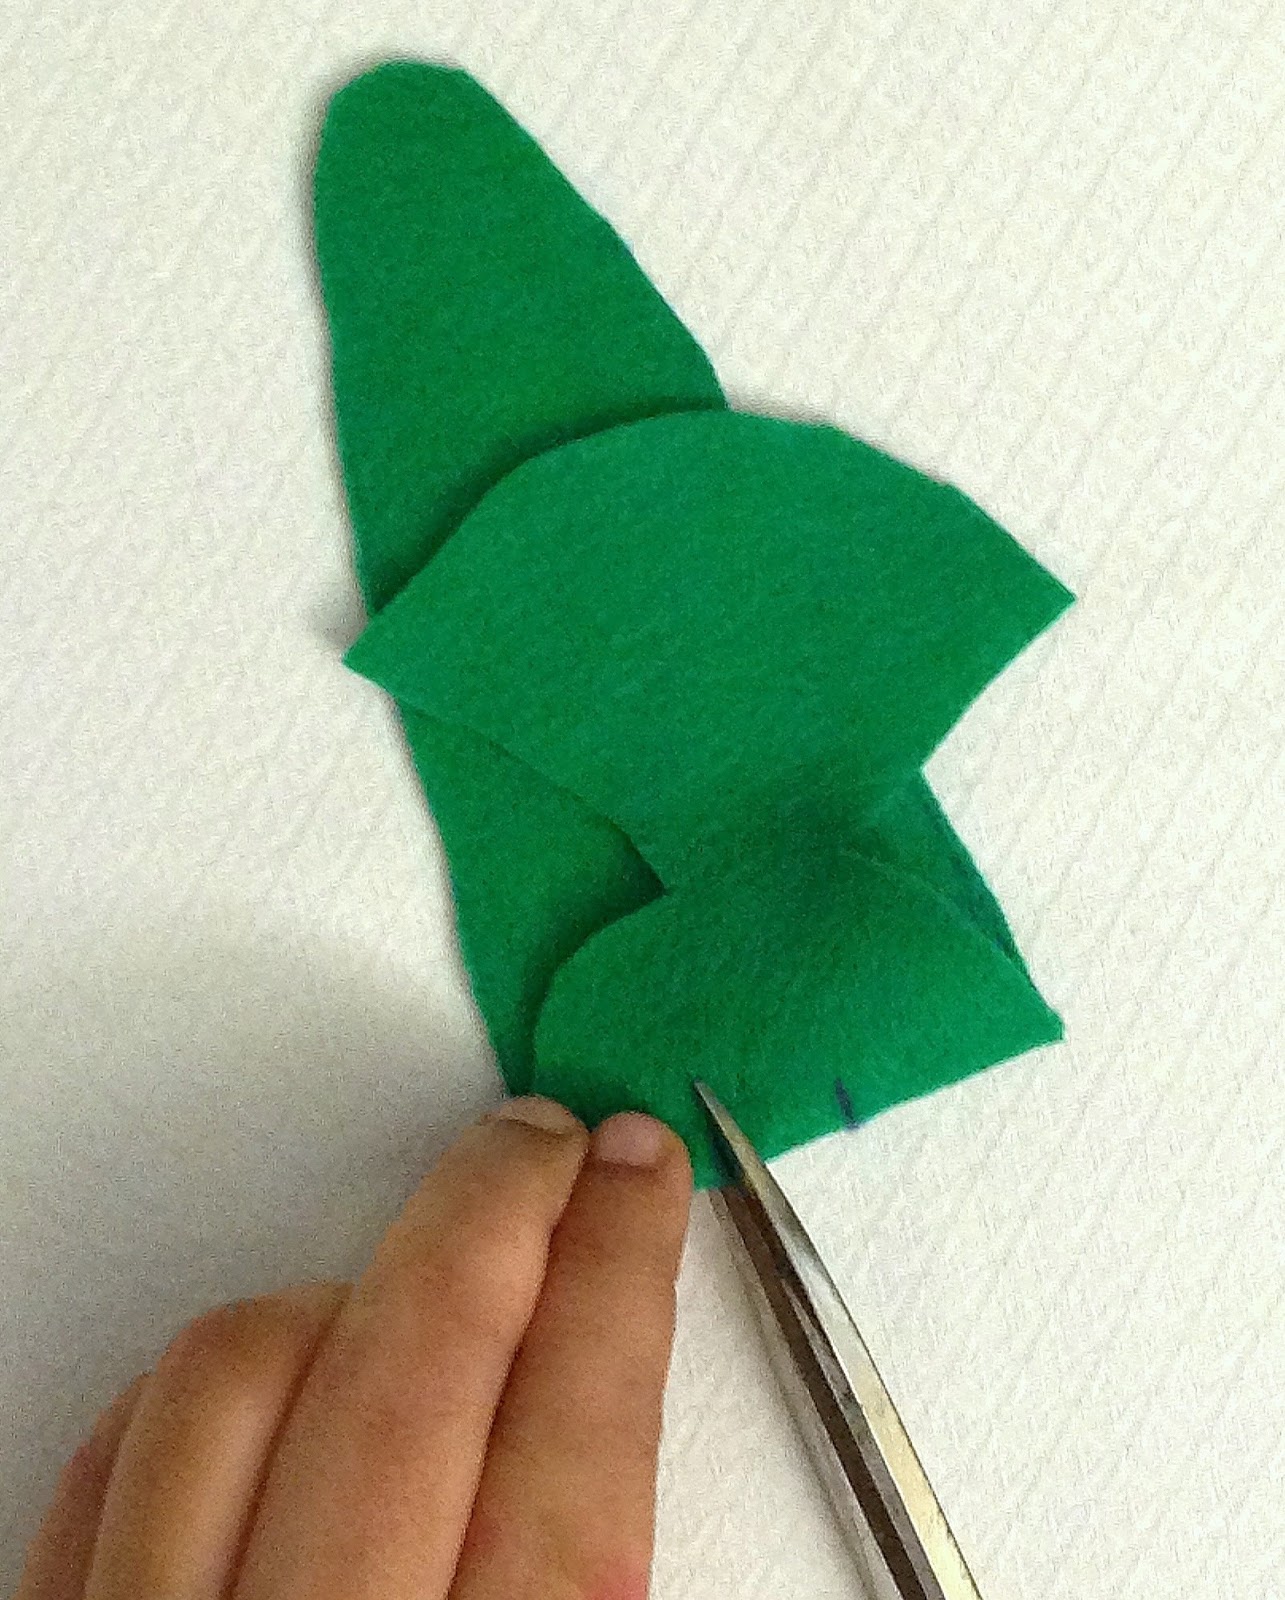
Fold the green pieces and make slits along the marks (this is to insert the satin ribbon).
Layer the green and orange pieces, lining up the edges and sew around the edge to join, leaving 1/8 inch seam allowance.
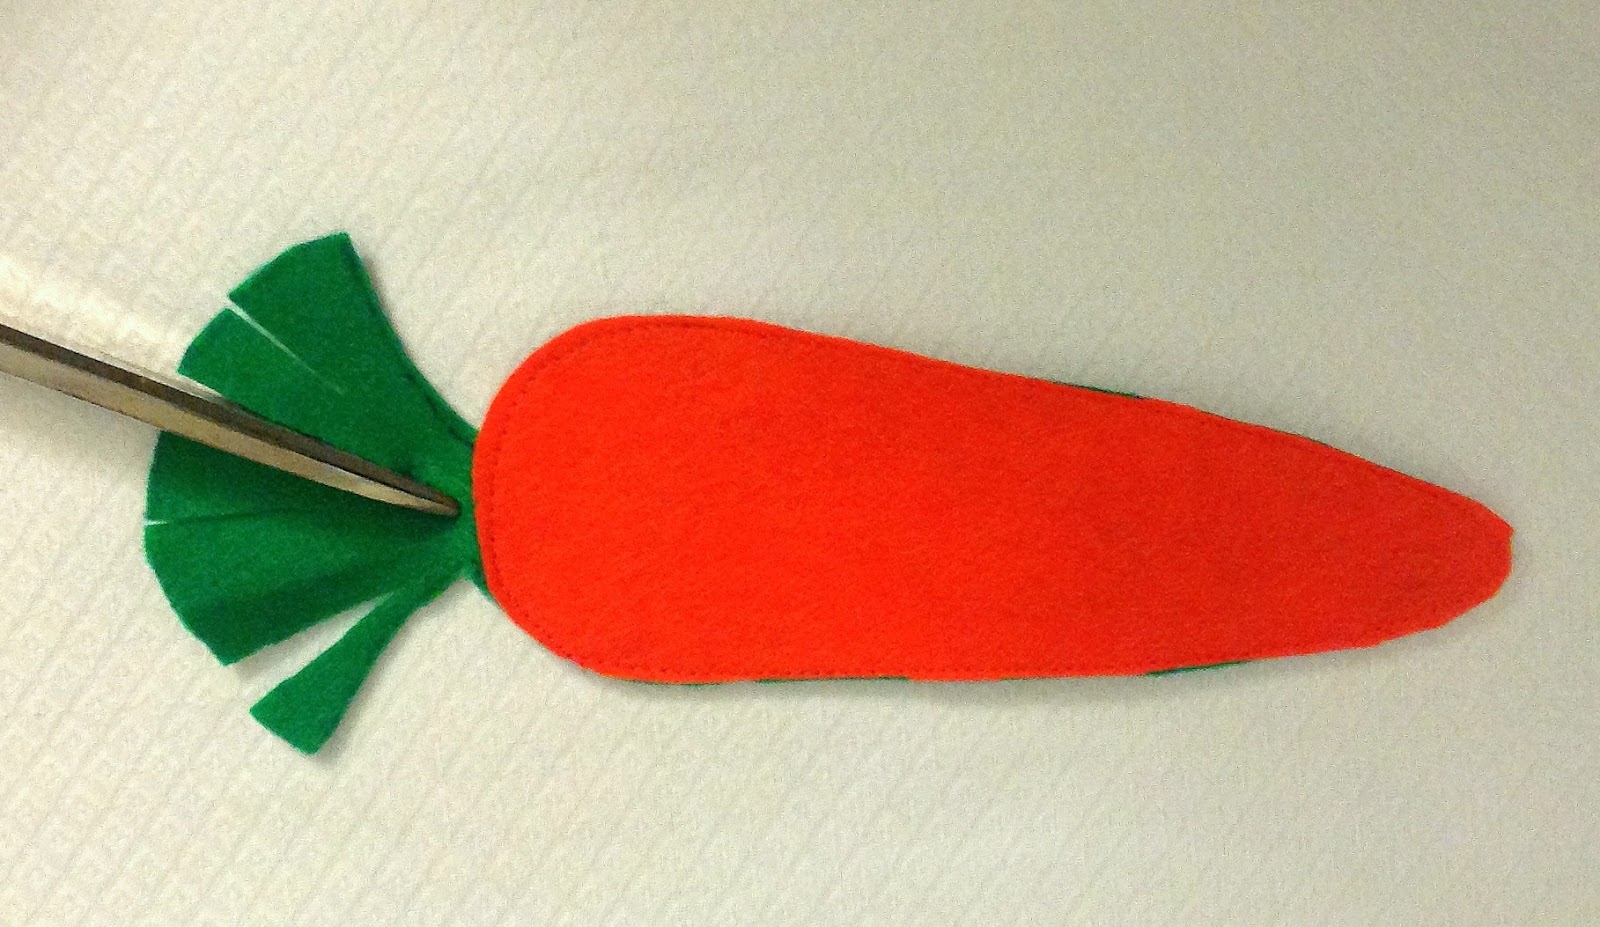
Make 4-5 slits on the upper(green) part of the carrot for the leaves. Repeat the steps on the remaining carrots.
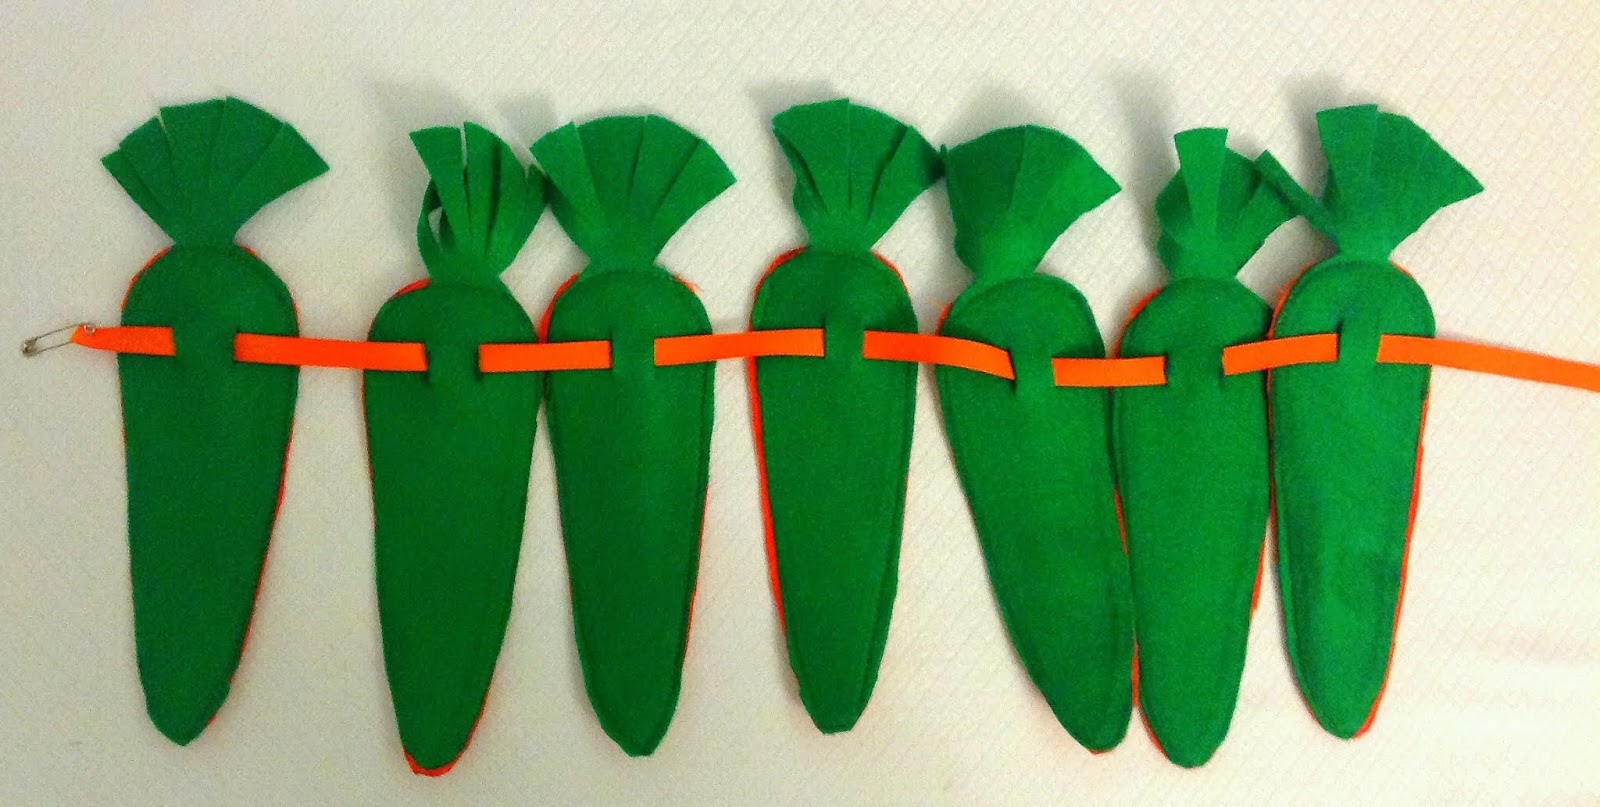
Turn the carrots over to the green side and insert the sating ribbon through the two slits, using a safety pin.
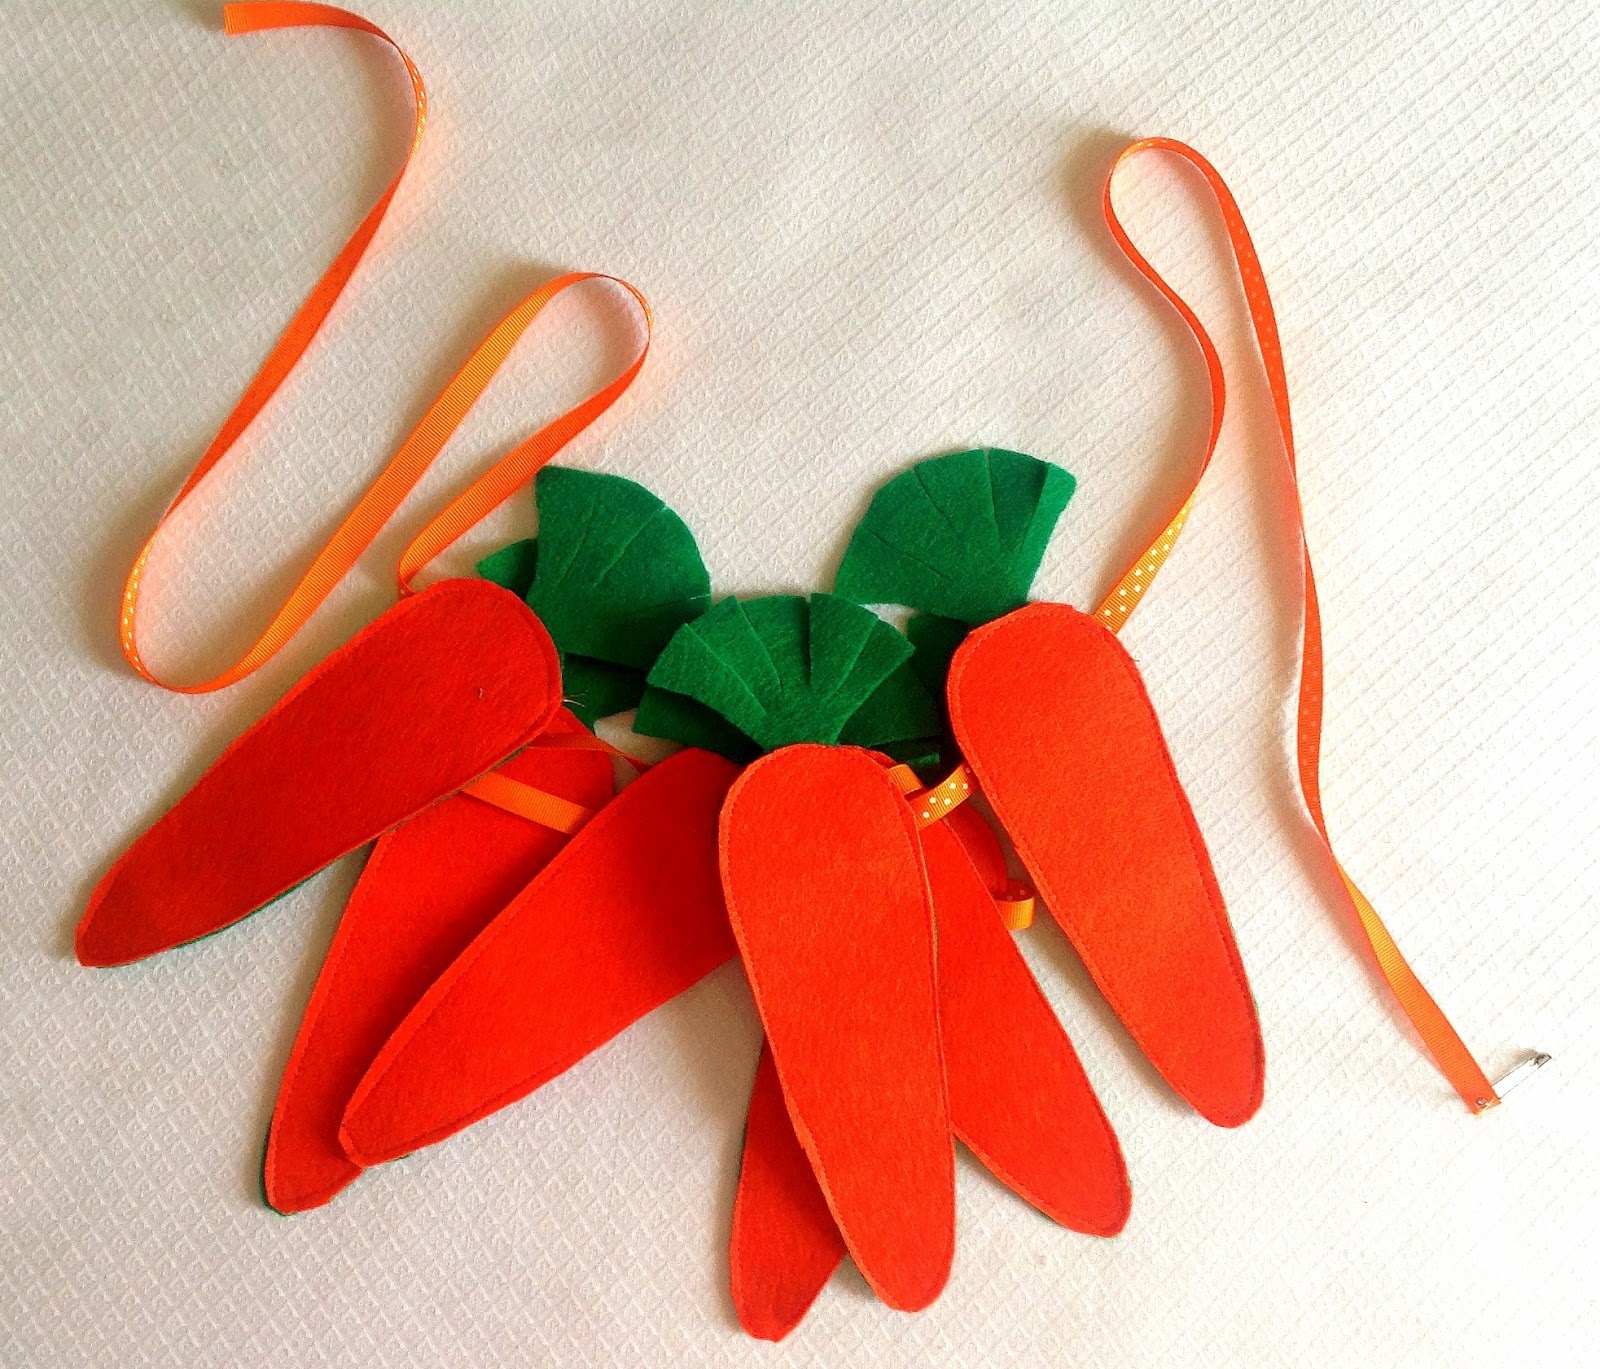
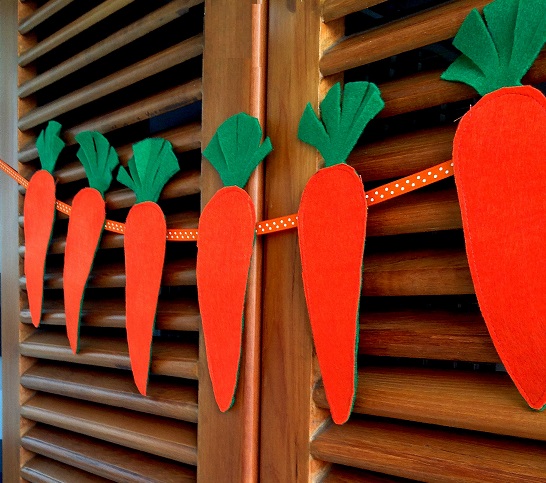
Voila, the banner is done!
Find the webstory for the post here, Easter Fun: Create a Festive Felt Carrot Banner