
Materials Required:
Heavy to medium weight cotton fabric for the purse outer and lining- 1/3 yard
A few contrasting fabric scraps for the bow.
A scrap of satin ribbon, about 2-inches long for the bow center.
Ultra-firm fusible interfacing-1/3-yard.
Velcro.
Sewing Notions.
Sewing
- The clutch is made by joining two parts; a larger outer piece and a smaller outer piece
- All seam allowances are ¼-inch unless otherwise specified

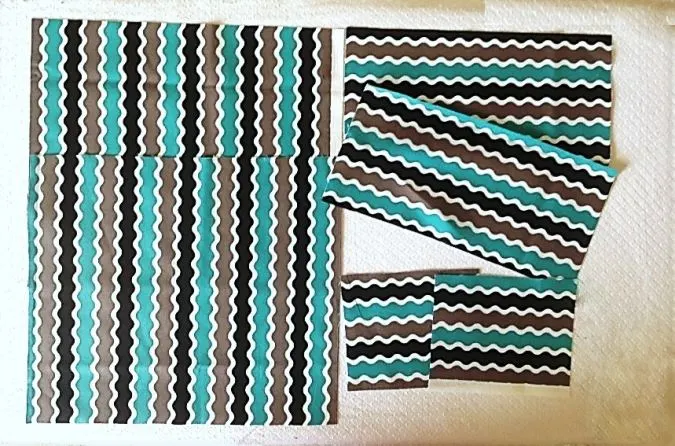
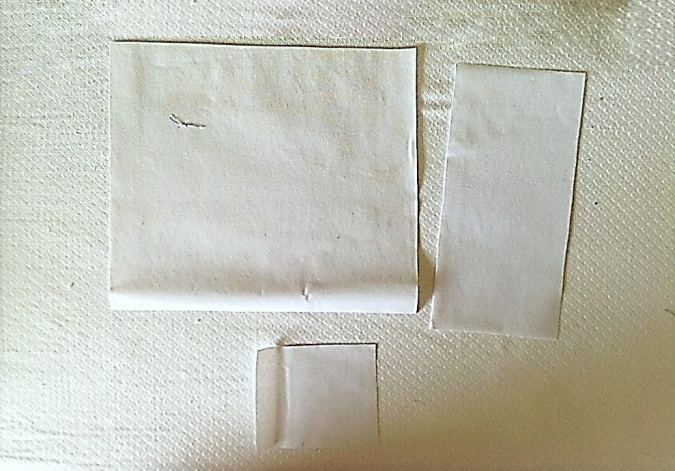
Cut your fabric in the following dimensions:
2 pieces, 10.5” long and 9.25” wide for the larger purse outer.
2 pieces, 4.5” long and 9.25” wide for the smaller purse outer.
2 pieces, 4” long and 5” wide for the inner pocket.

Cut your interfacing pieces in the following dimensions,
1 piece, 10” long and 8.75” wide for the larger purse outer
1 piece, 4” long and 8.75” wide for the smaller purse outer.
1 piece 3.5” long and 4.5” wide for the inner pocket.
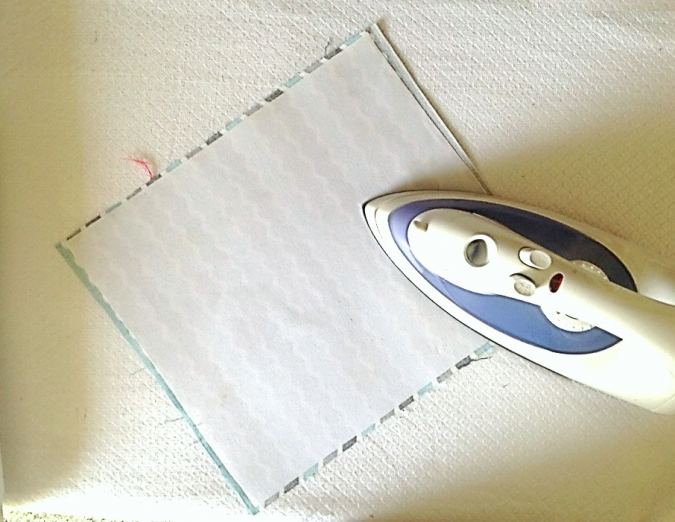

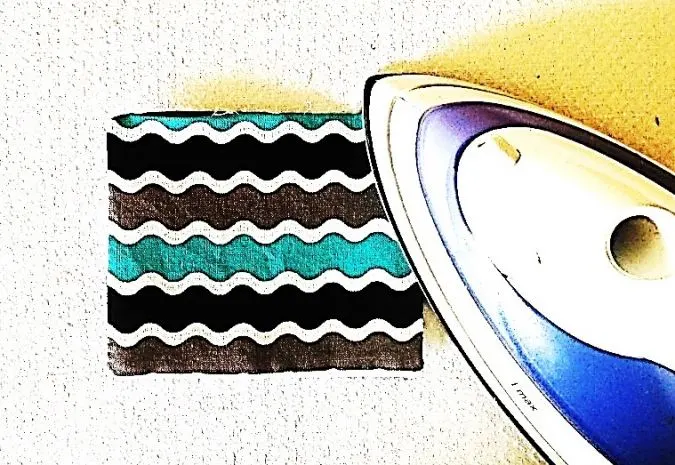
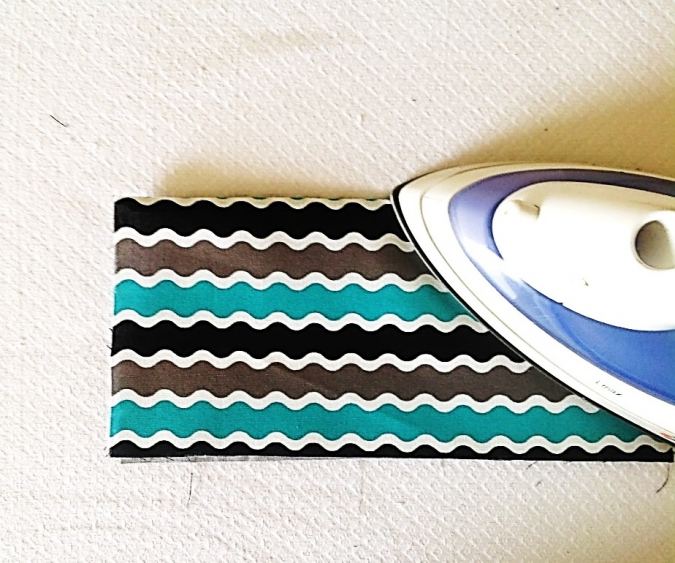
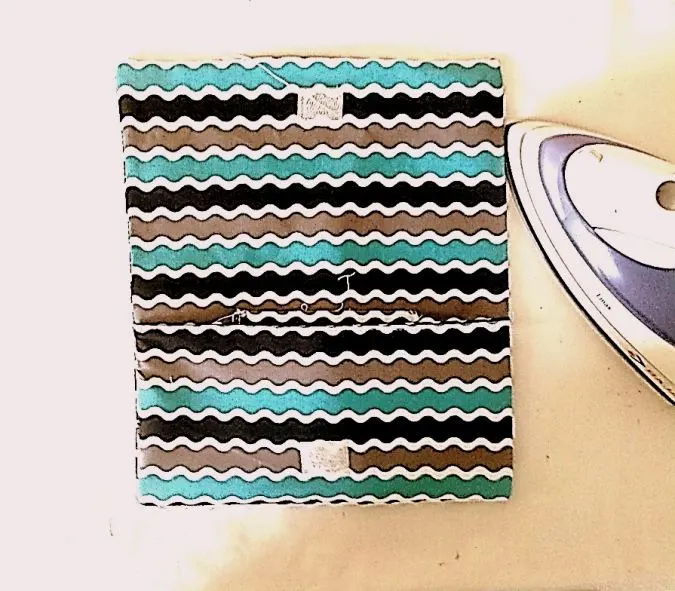
Take one of the pieces for the larger purse outer and the respective interfacing and fuse it on its wrong side, following the manufactures instructions. Take care to leave ¼’ all around the interfacing while fusing.
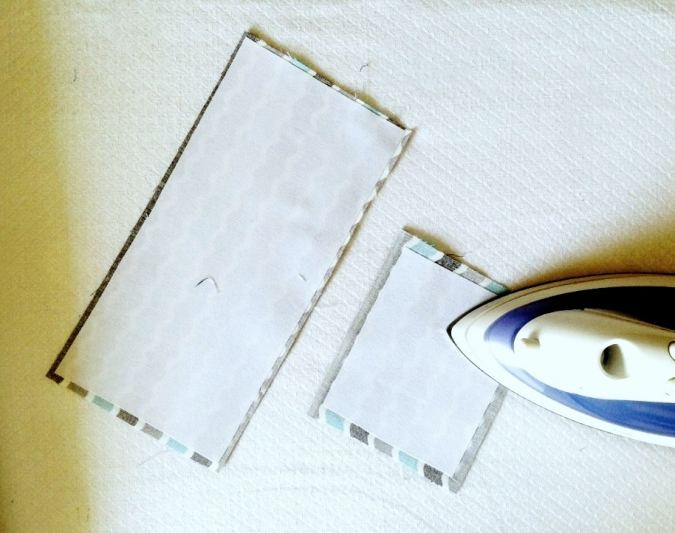
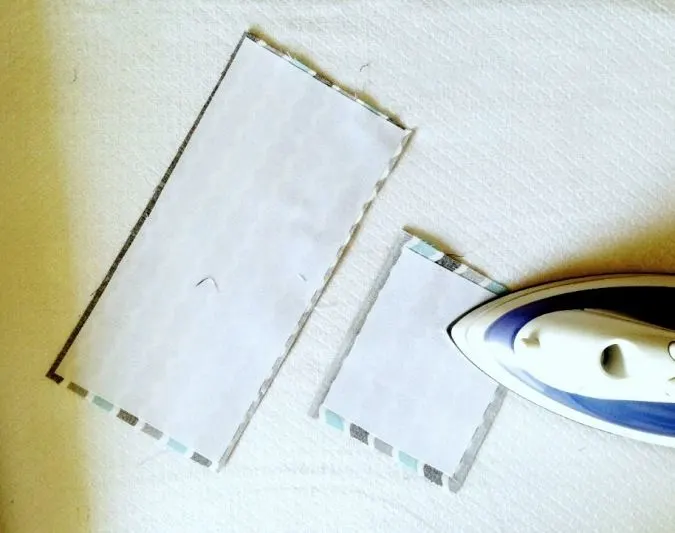
Repeat the steps with smaller outer and smaller interfacing and also with the pocket piece and the interfacing.
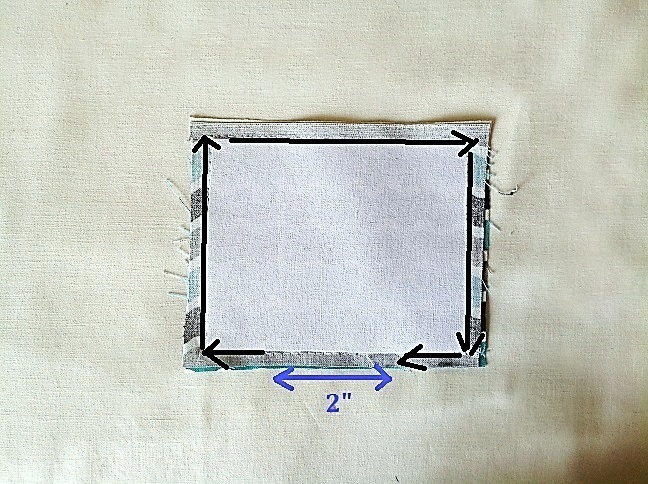

Take the two pocket pieces and keep them layered with the right sides together and aligning the edges. Sew around the edge, leaving a 2-inch gap to turn it inside-out. Clip the corners.

Turn the pocket inside-out, tuck in the raw edges, and press. Topstitch around the edge.
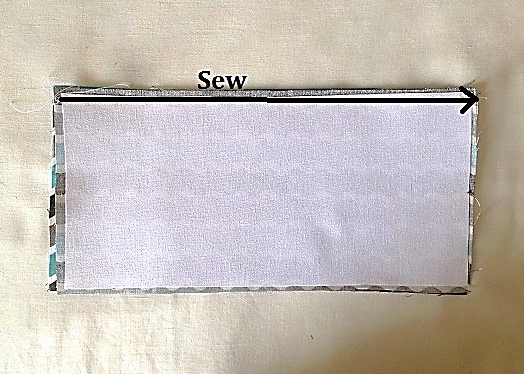
Next, take the two smaller outer pieces, layer them with the right sides, and align the edges. Sew along one of the longer edges to join.

Open it and fold it over to the right side. Press along the seam line to make it neat and crisp.

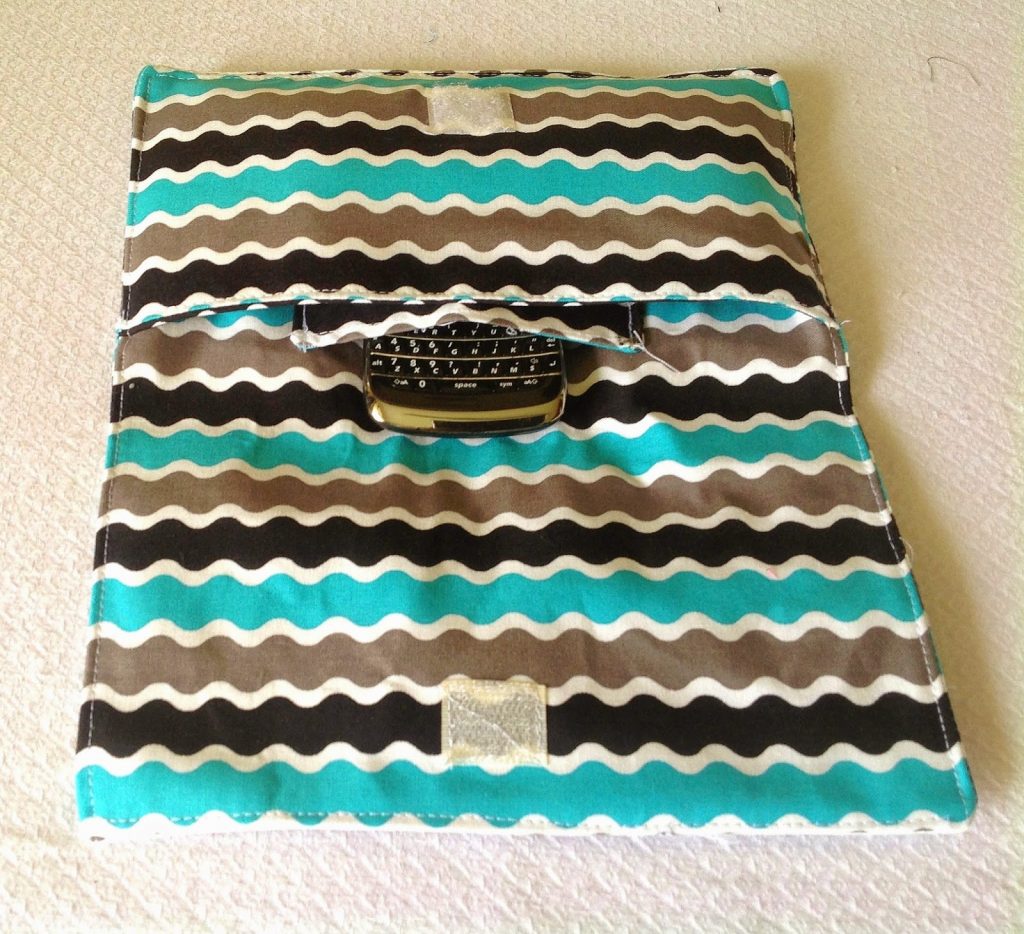
Take one of the Velcro pieces and secure it about 2-inches from the raw longer edge and at an equal distance from its two shorter edges.
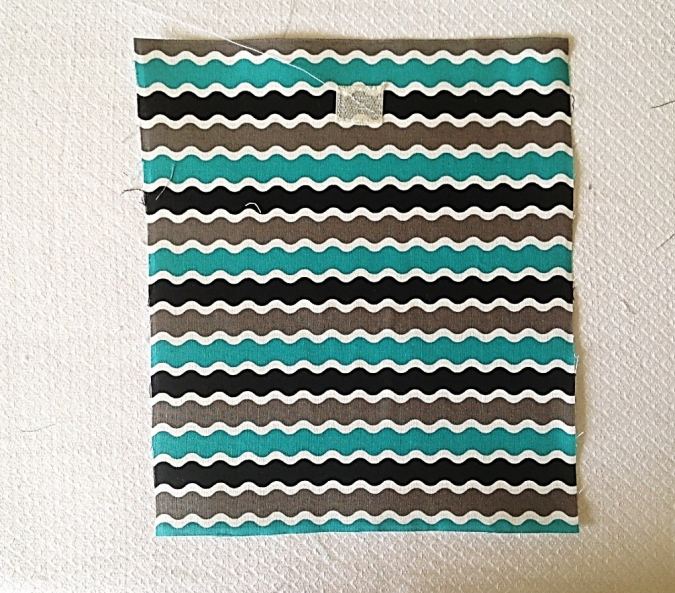
Next, take the larger fused outer piece and secure the complimentary Velcro piece at 2-inches from one of its shorter edges and equidistant from the two longer edges.
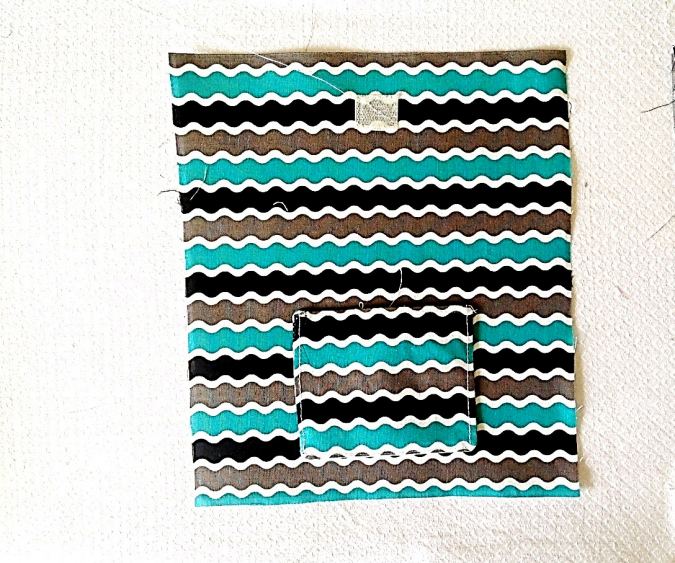

Place the inner pocket piece at about 1-inch from its other shorter edge and at an equal distance from the two longer edges. Sew the pocket onto the outer, leaving the top edge open.
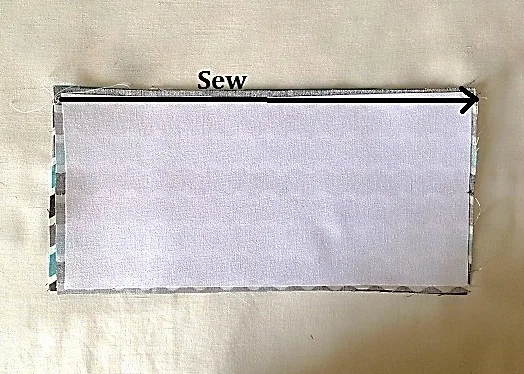
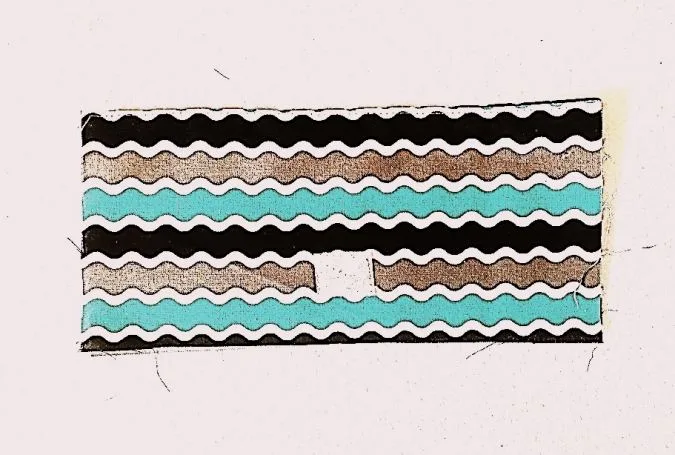
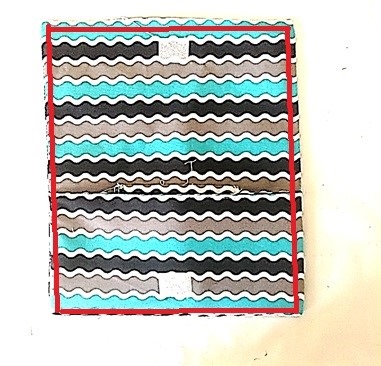
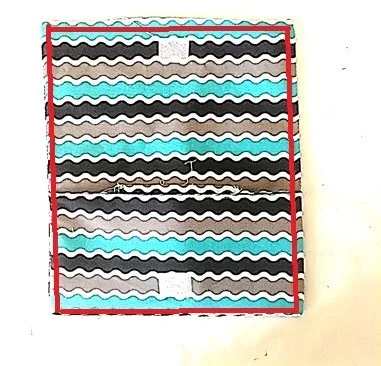
Next, we join the larger and smaller outer pieces together.

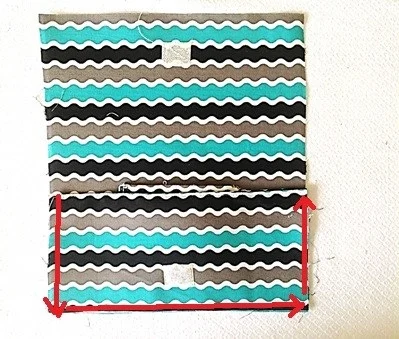
Place the smaller outer over the larger outer piece, with the Velcros facing out and aligning the edges. Sew the smaller outer onto the larger piece, leaving the upper edge open as marked by the red line above.
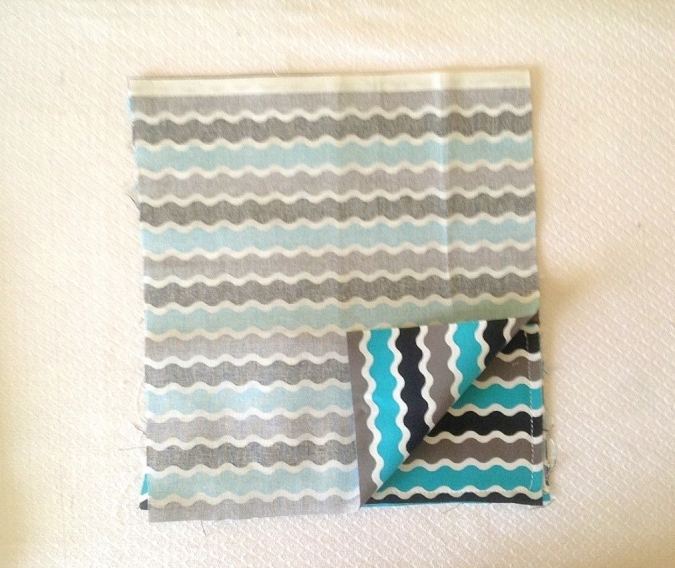

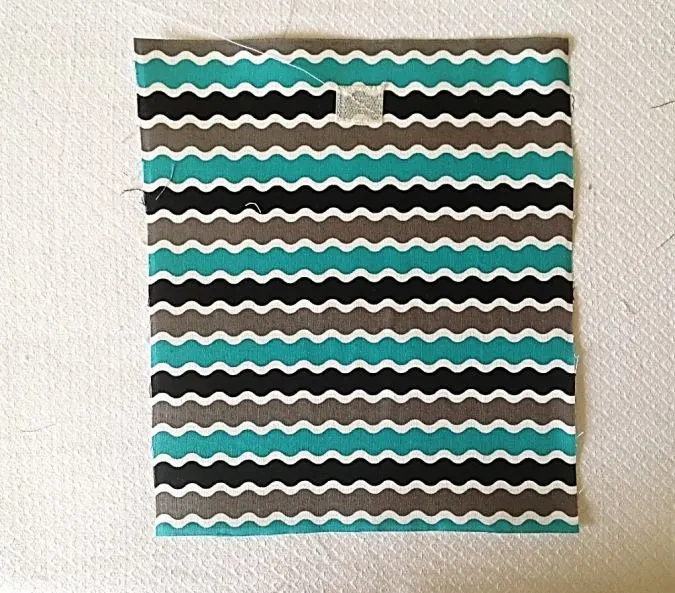
Keep the two larger outer pieces layered, with the right sides together and aligning the edges.

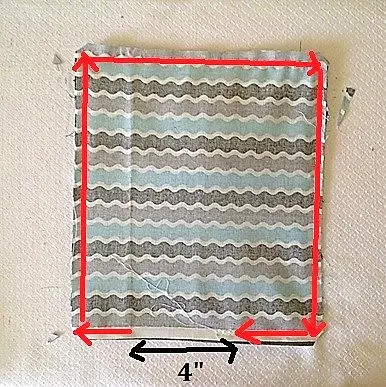
Sew around the edges, leaving a 4-inch gap to turn it inside-out. Clip the corners.

Turn it inside-out and poke out the corners with a wooden dowel. Press it neat and taut, tucking in the raw edges.
Topstitch all around the edge.
Next, we need to make the bow. To make the bow, refer to my tutorial here,
https://sewcraftyme.com/bow-sewing-pattern-free-bow-sewing-tutorial/
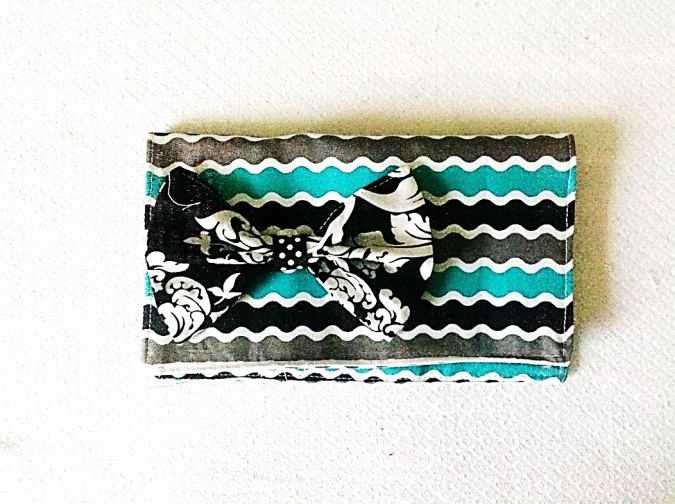
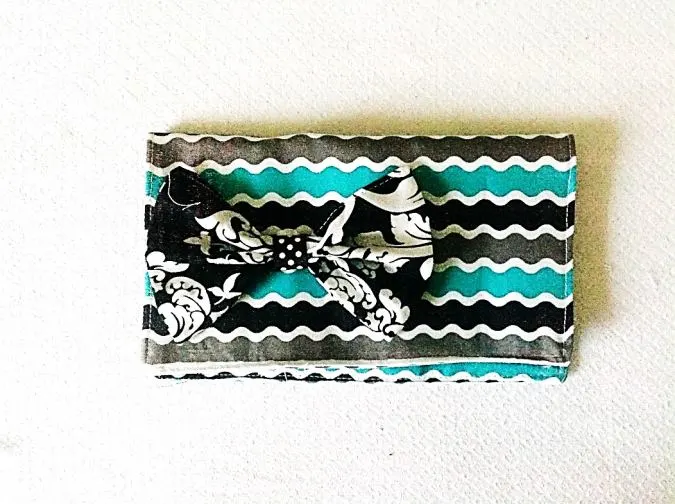
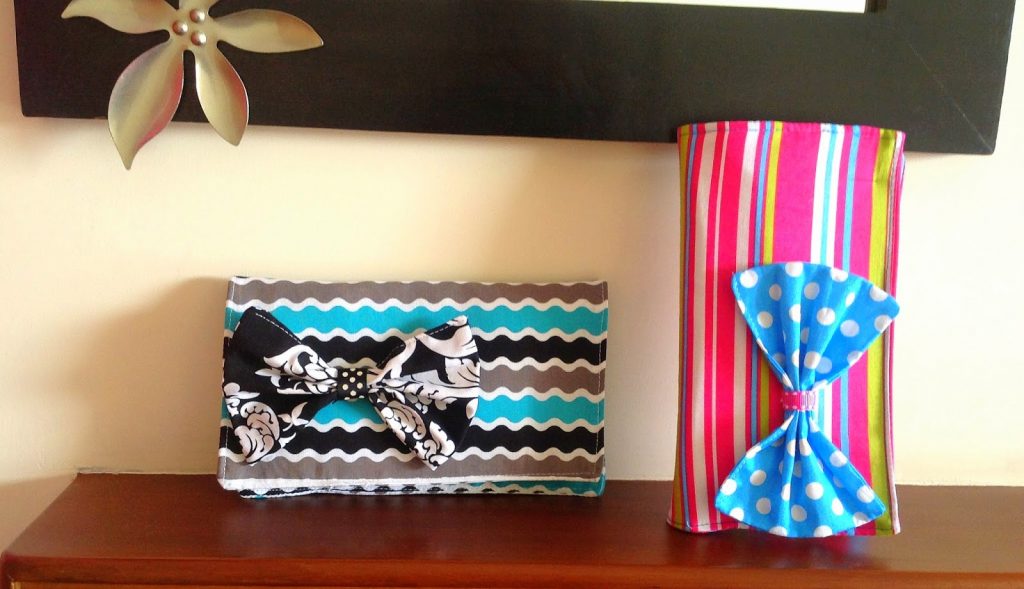
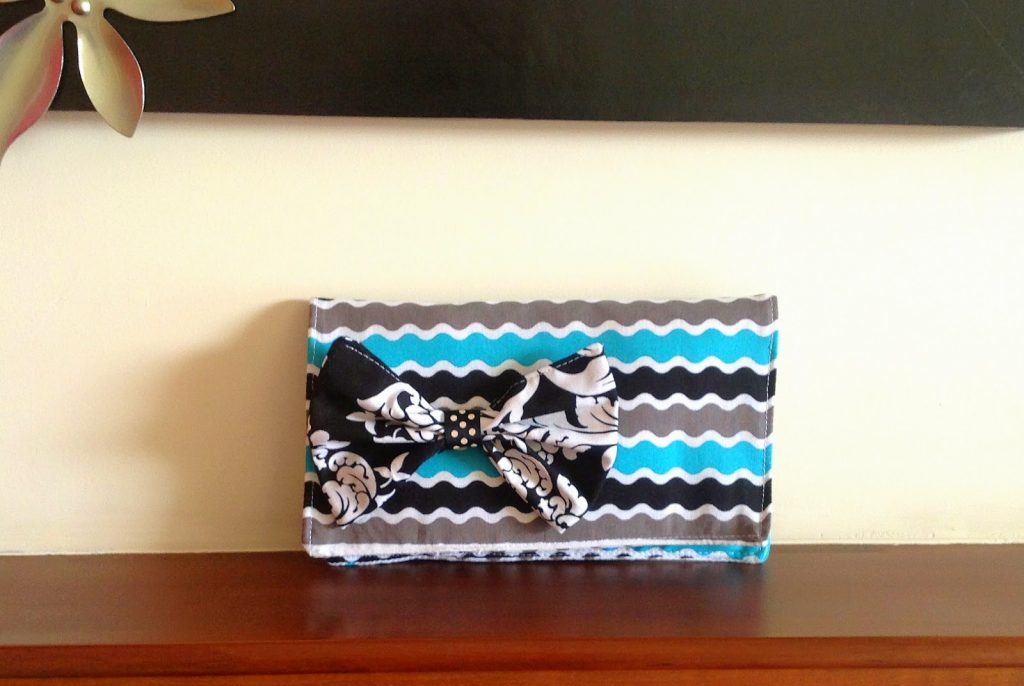
Fold the clutch over and hot glue the bow onto the front of the clutch at the desired position and we are done!