

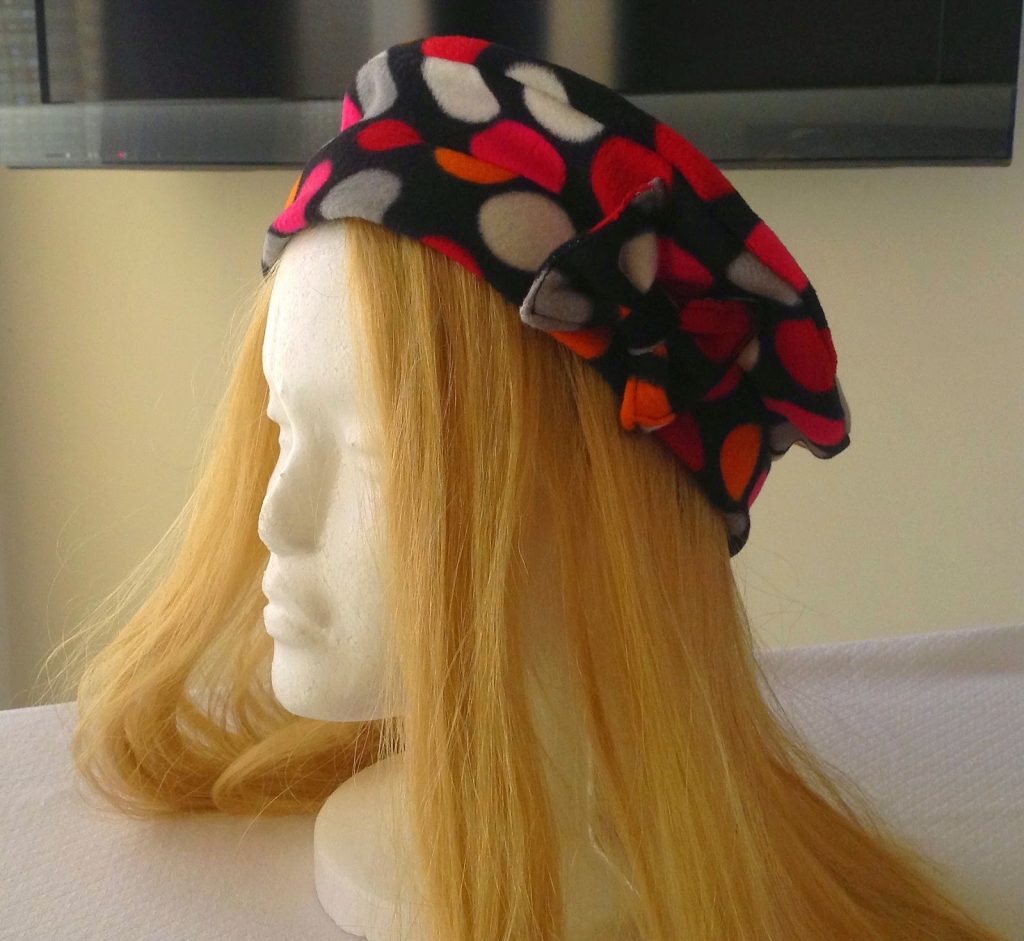


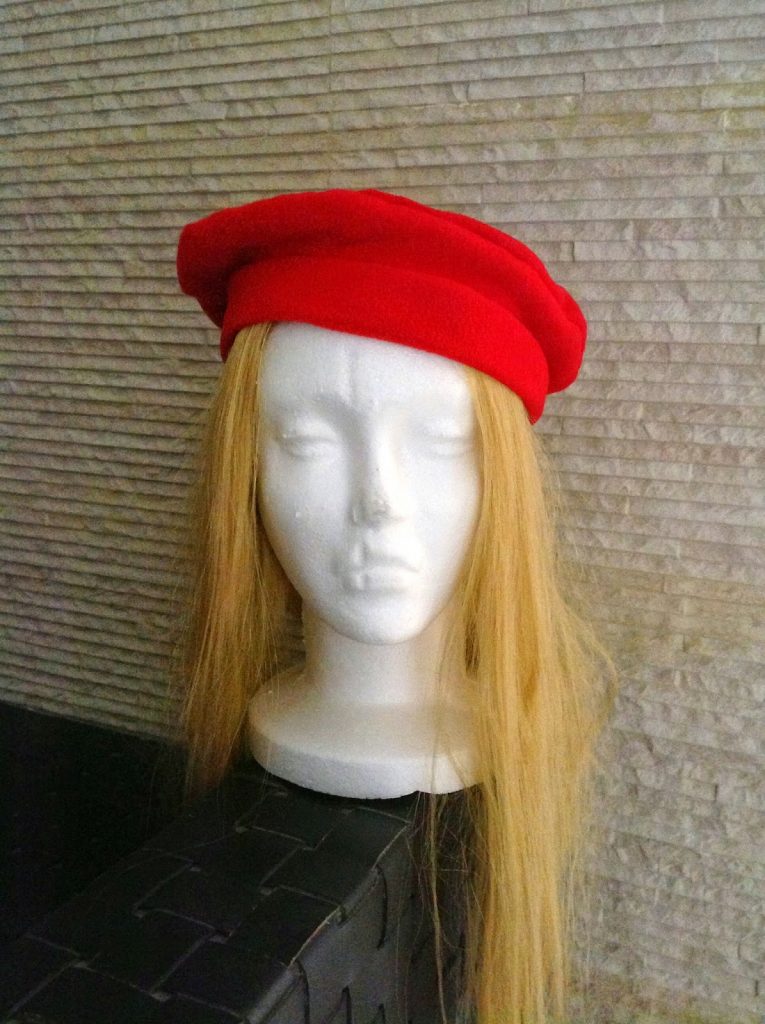
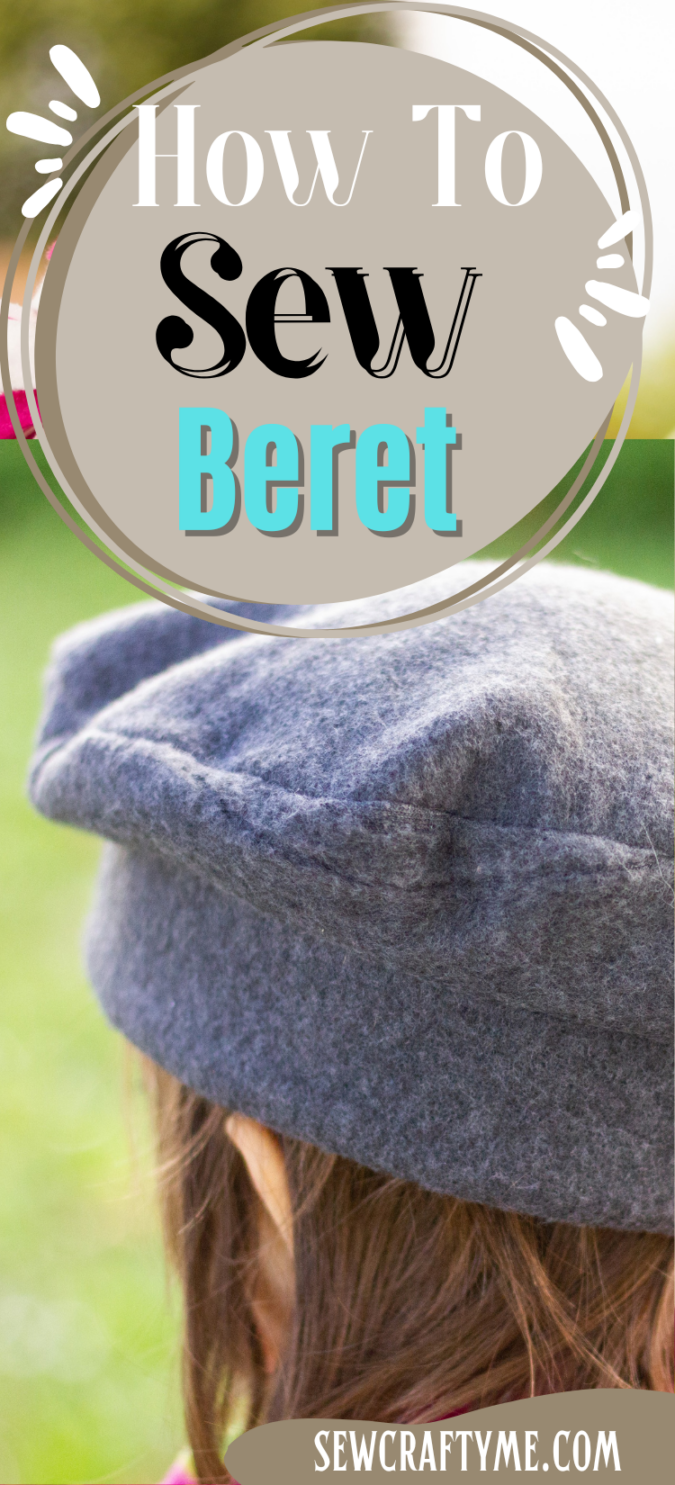
Beret Sewing Pattern
* Fleece for the beret body and cuff- 1/3 yards.
* Sewing Notions.
* Enter your e-mail address in the box provided below to download the template.
Size Chart:
Table-1
| Ages | Finished Cuff Circumference (inches) |
| 0-3 months | 13 |
| 3-6 months | 15 |
| 6-12 months | 17 |
| 1-3 years | 18 |
| 3-10 years | 19.5 |
| Pre-teen to Adult | 21 |
Instructions for sewing with fleece:
- Use a straight stitch or a narrow zigzag stitch.
- Longest stitch length works the best with fleece.
- Stitch slowly and carefully without stretching the fleece.
- You may use a regular sewing machine needle.
- Seam allowance is ¼-inch throughout unless otherwise specified.
- The fabrics shown here are only for illustration purposes and as such may vary from the original.
Measurements:
Table-2
| Ages | Cuff Piece
Length x Width (inches) |
| 0-3 months | 13.5 x 2.5 |
| 3-6 months | 15.5 x 2.5 |
| 6-12 months | 17.5 x 3.5 |
| 1-3 years | 18.5 x 3.5 |
| 3-10 years | 20 x 4.5 |
| Pre-teen to Adult | 21.5 x 5.5 |
Sewing:

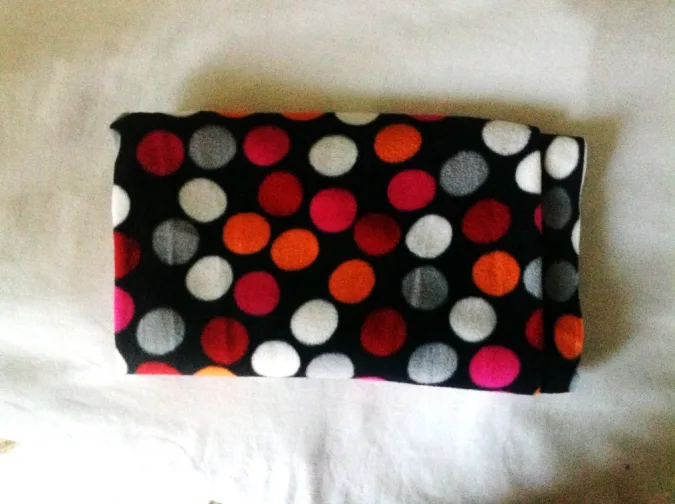
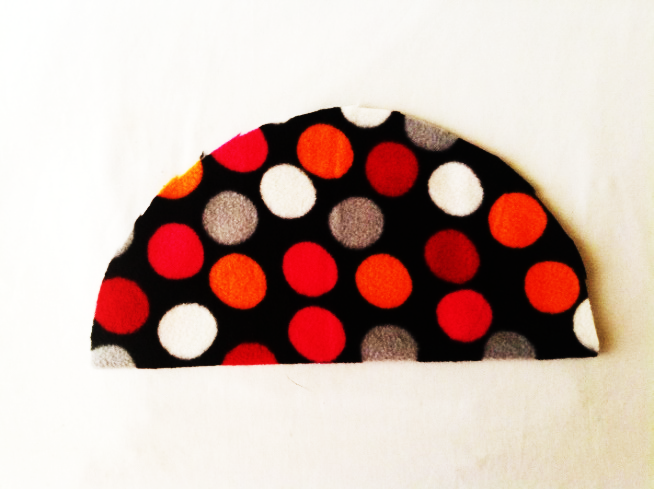
Take the fleece fabric required for the beret.

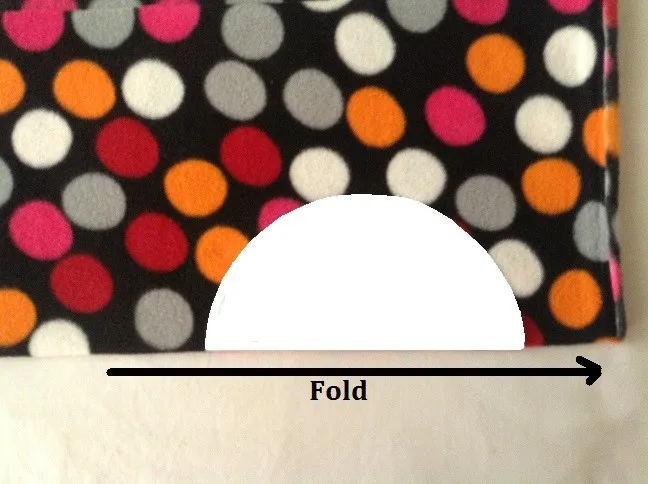
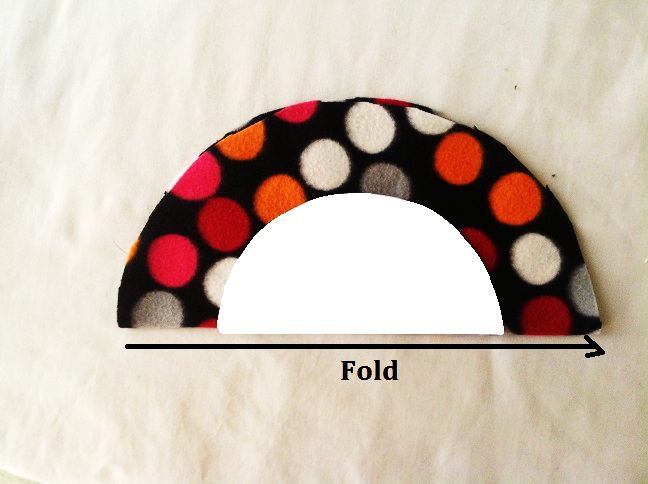
Cut the pattern template for the larger circle from the given PDF. Fold the fleece and place the template on the fold as shown above.
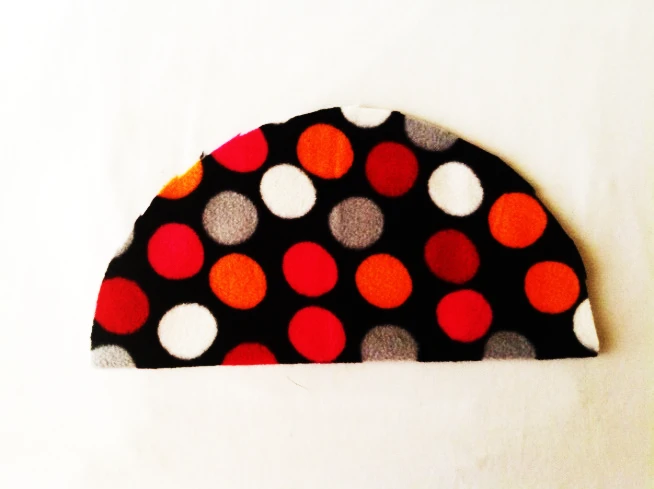

Mark around the template and cut out the larger circle. Repeat the steps to get one more of the same piece. Now we need to cut out the smaller circle from the center of one of the larger circles.
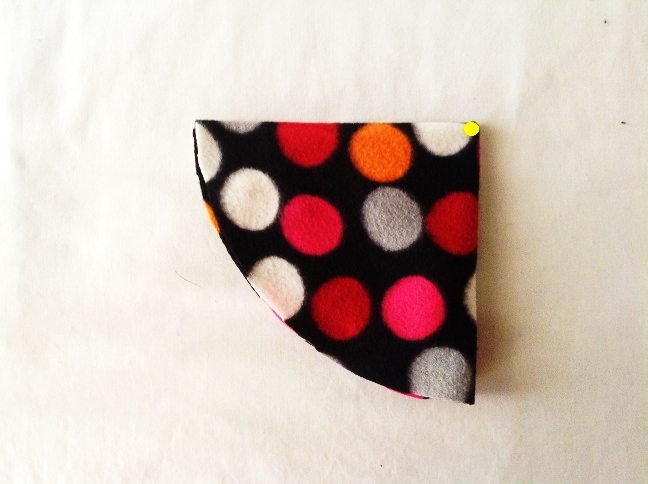
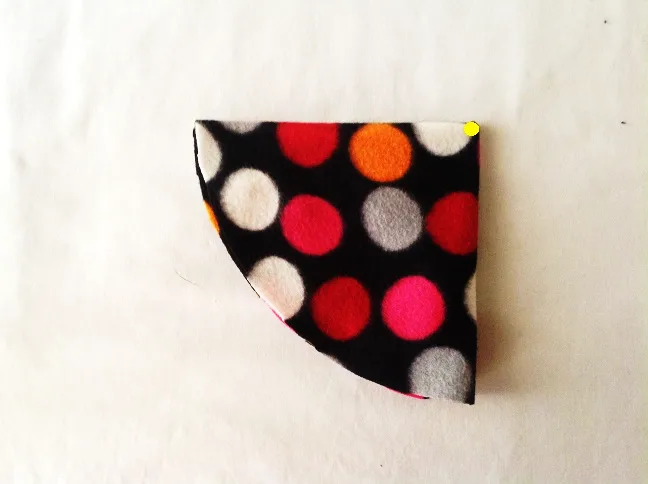
Fold one of the larger fleece circles in quarter, aligning the edges and mark the center as shown above.
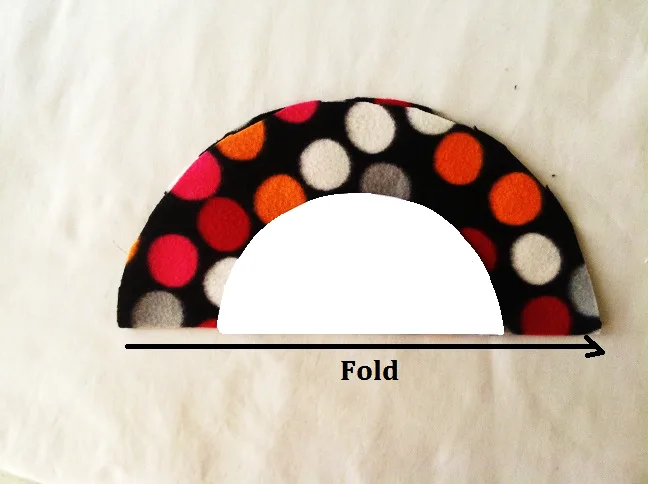
Next, keep the above fleece circle folded in half aligning the edges. Cut out the template for the smaller circle from the above PDF and keep the center of the template matching the center of the fleece circle. Mark around the template.
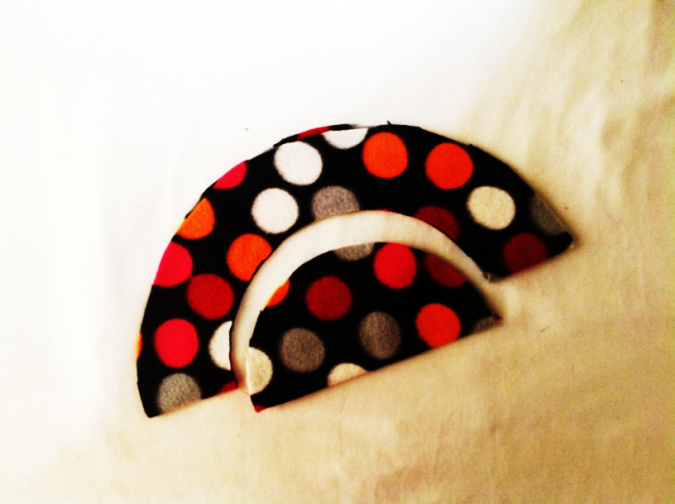

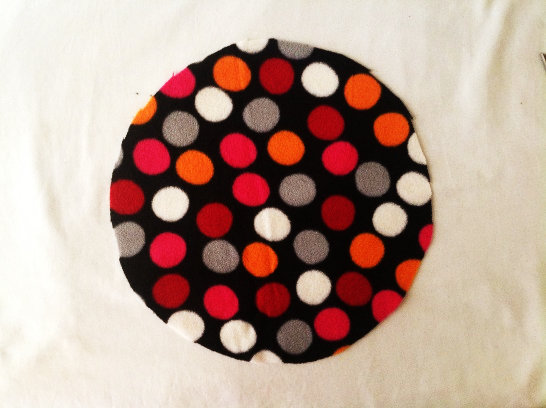
Cut the small circle out.
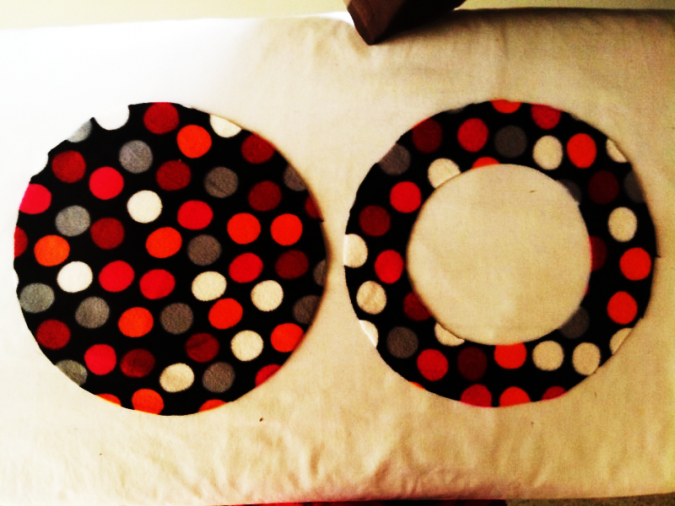

Now you have a large solid circle and an “O”.
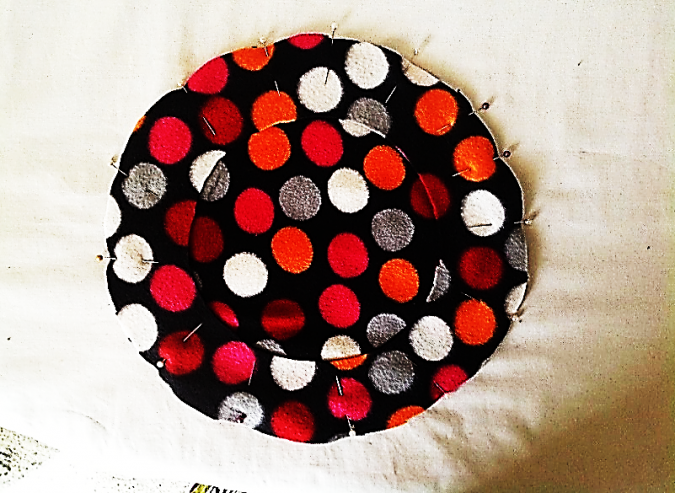

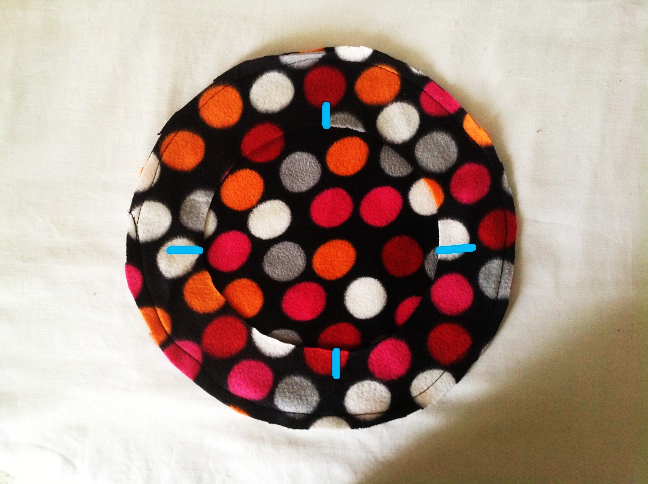
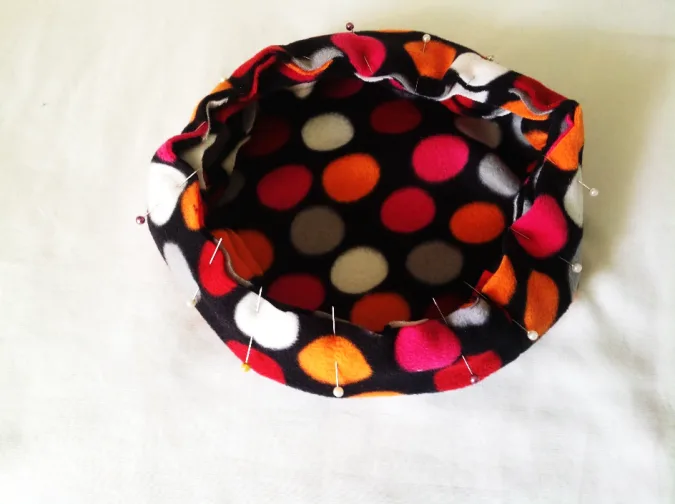
Keep the “O” over the solid circle with the right sides together and aligning the edges. Pin around the edge.

Sew them together, removing the pins as you go.
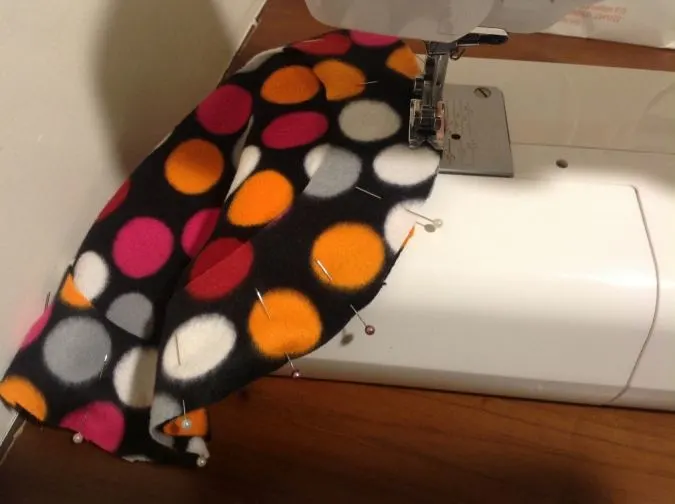
Next, we do the cuff for the beret.
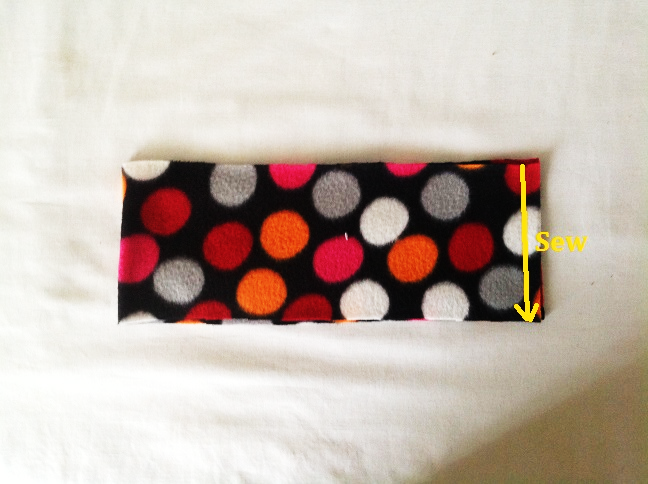

Take the fabric strip for the cuff, referring to the table-2 above. Fold it in half widthwise with the right sides together and aligning the edges. Sew the shorter sides shut as marked above. You get a tube.

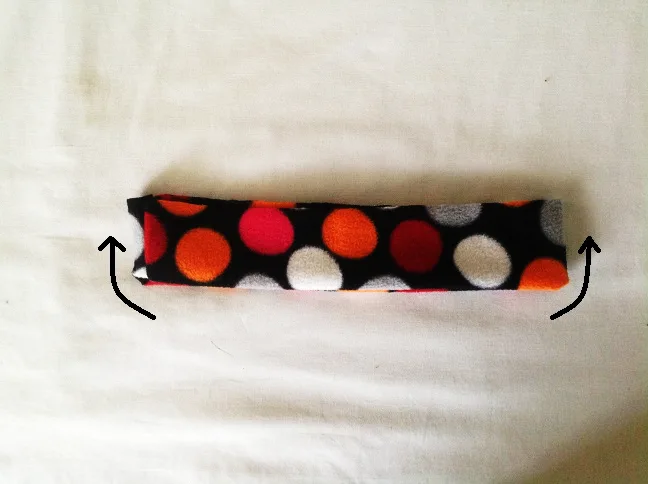
Next fold the tube halfway up, bringing the raw edges together and exposing the right side.
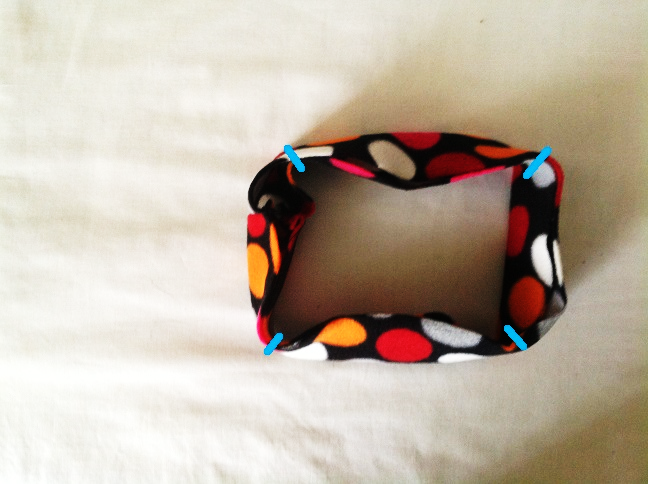
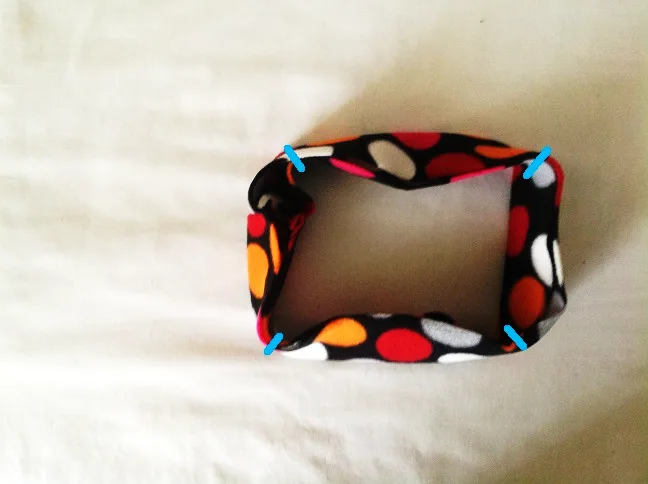

Make marks on the four quarters of the cuff. Do the same on the inner circumference of the hat also.

Turn the beret over to the right side and slip it inside the cuff. Align the raw edge of the cuff with that of the beret and pin all around, matching the four marks on the beret and cuff.
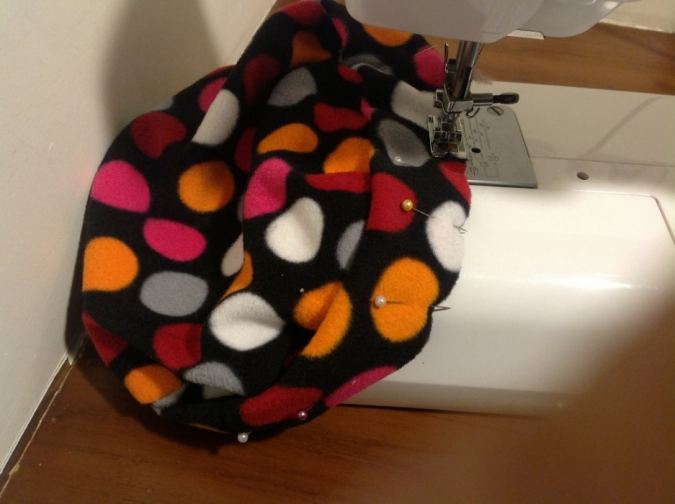

Sew the cuff onto the beret, making sure to catch both the edges of the cuff, as you go.


Flip the cuff onto the right side and our beret is done!
If you opt to add the bow, find the pattern here,
https://sewcraftyme.com/bow-sewing-pattern-free-bow-sewing-tutorial/
Just use fleece fabric instead of cotton and make the bow in a smaller size!
Pin it for later here,

Find the webstory for the post here, Beret Bonanza: Free Sewing Pattern for All Ages
For more of my free patterns, click here.
For hundreds of free patterns and DIYs, visit allfreesewing.com.
gb
Wednesday 22nd of January 2025
Hi, looking forward to making this beret. where can i download the pattern?
CHRISTELLE DEWULF
Sunday 16th of October 2022
bonjour j aimerais avoir le patron du beret merci pour vos precieuse aide christelle
Louisa
Tuesday 23rd of November 2021
I'm so excited to try this pattern. I have a 3 year old granddaughter and a 6 month old. Would you please email the pattern to me. With so much thanks, Louisa
Cheryl
Friday 9th of April 2021
Hello, I was wondering if any difference to make this beret in cotton? Also what is the measurement of the initial circles? If it is listed, I missed it. Oops Thanks for sharing this pattern.
Lynette
Thursday 24th of December 2020
Hi, thank you for this awesome pattern. I'm making one for my 3 year old granddaughter and one year old niece. I'm a little confused by the band part, not sure how to fold it. I sewed both short ends and read the instructions, but I'm stuck...can you help me? I'm sure it's me...thank you so much
Surayya
Thursday 24th of December 2020
You are welcome! I have e-mailed you the instructions, please check your inbox!