

.jpg)
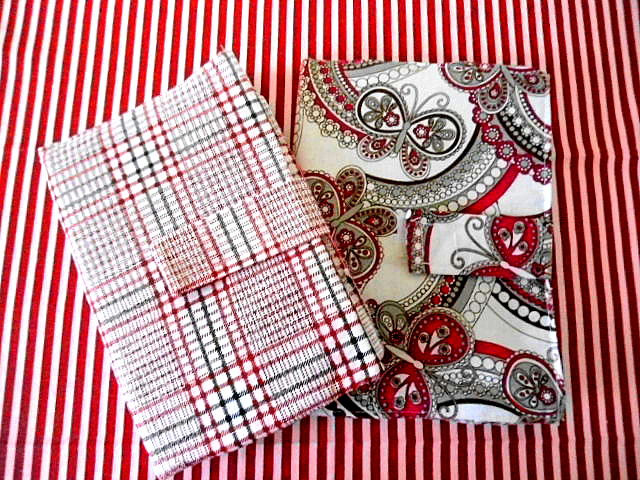
Dress up your e-reader in this cute fabric cover. This sewing pattern will help you make an e-reader cover, which is a perfect replacement for any store-bought one. This padded cover helps to keep your e-reader free from dust, dirt, and scratches. When you are not reading, the inner pocket offers the perfect storage solution for your e-reader and the Velcro strap ensures perfect safety from falling off during travel.
This tutorial provides measurements to sew fabric covers for various e-readers like Kindle Fire, Kindle Keyboard, Kindle 3G, Kindle Touch, and Sony Pocket.
Materials Required
1) Cotton Fabric – 1/4 yard
2) Medium weight fusible interfacing- 1/4 yard
3) Batting (optionally, you can use felt, here I have used so)- 1/4 yard
4) Velcro
5) Sewing Notions
Sewing
The table below gives the measurements for the main piece, pocket piece and interfacing for various e-readers. Note that “L” stands for the length of the fabric and “W” stands for the width of the fabric cut.

*Note: The seam allowance is 3/8-inch throughout.

Cut the fabric pieces for the main piece, pocket piece, main interfacing, pocket interfacing, main batting, and pocket batting, referring to the table above. Note that the batting pieces are of the same measurements as the interfacing pieces.
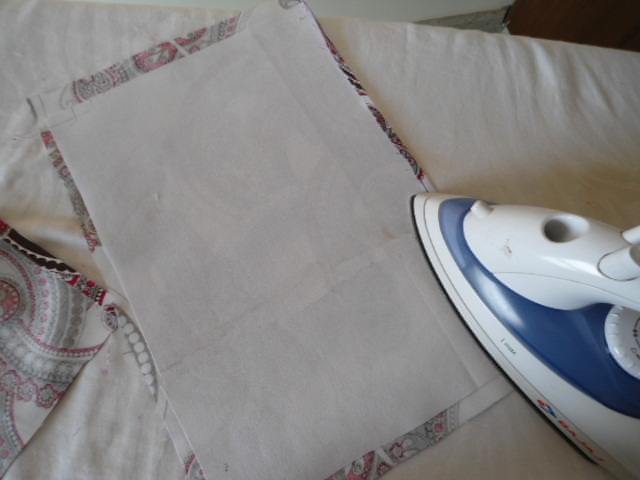
Take the pocket piece and the pocket interfacing and fuse the interfacing onto the wrong side of the fabric following manufacturers instructions. Note that you have to leave 3/8 -inch space all around while fusing.
Let’s do the triangular corner pieces that would hold the e-reader in place while reading.

Cut four fabric squares and two interfacings of 3″ x 3″ dimension.

Take two of the above-mentioned squares and fuse the interfacing onto the wrong side. Cut the two fused squares along the diagonal to get four equal sized triangles as shown above. Cut the other two fabric squares also to get four fabric triangles.

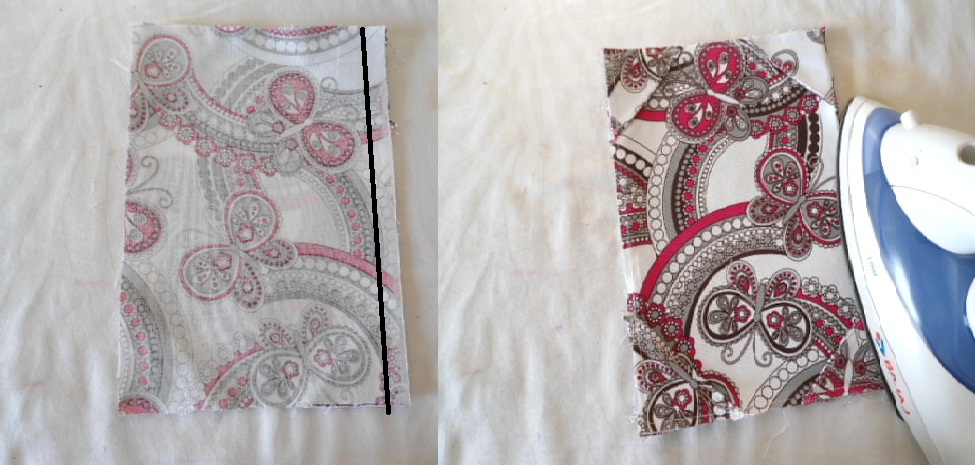
Take a fused triangle and a plane one, layer them with the right sides together and aligning the edges. Sew along the longer edge as marked above.

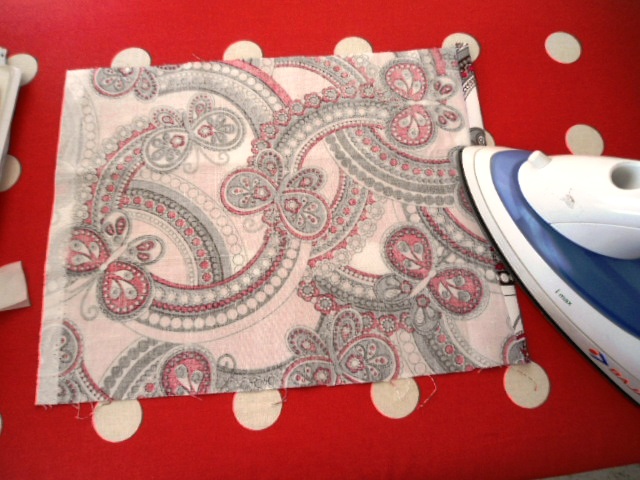
Turn over to the right side and press. Topstitch along the longer side to make the triangle neat and crisp. Clip the protruding corners. Repeat the steps with the other triangles to get the four corner pieces of the pocket.

Pin the four triangles onto the four corners of the pocket, on the right side, aligning the edges. Sew the triangles onto the pocket, removing the pins as you go.
Take the other pocket piece (not fused with interfacing) and keep it over the done pocket piece, with the right sides together and aligning the edges. Sew along one of the longer edges, as marked above. Turn over to the right side and press. Top stitch along the seam line of the two pieces to make it neat and crisp.

Sew the two raw edges together on the right side as marked above to keep it in place.
Now we need to insert the batting. The two shorter sides of the pocket are left open.

Take the batting for the pocket and insert it through one of the openings till it reaches the other end, keeping it straight and without wrinkles, as you go.
Now we need to attach the pocket onto the main piece of the cover.

Take the main fabric piece and the interfacing and fuse the interfacing onto the wrong edge of the fabric, leaving a 3/8 -inch space all around, as shown above.

Fold one of the shorter edges of the main piece by 3/8 -inch and press.

Now take the done pocket and keep it on the right side of the main body of the cover, aligning the raw edges and with the finished side of the pocket along the center as shown above and pin. Sew the pocket onto the main body along the black line as marked in the picture.
Now we need to add the strap and the velcro for closure.

Take a piece of fabric, 4 & 1/2-inches long and 3 & 1/2- inches wide. Fold it in half lengthwise and sew along the marked line above.

Turn it inside out, press taut and top stitch around the edges to make it look neater. Now take the velcro piece, of about 1″ x 1″ dimension and place it at a distance of 2& 1/2-inches from the raw edge of the strap. Secure the Velcro piece by sewing around its edges.
Let’s attach the strap and the corresponding velcro piece onto the other main cover piece (without pockets and interfacing).
Take the other piece meant for the main body, fold one of its shorter edges inwards by 3/8-inch and press.

Now keep the piece on its right side and mark the center of the two of its shorter edges. Place the Velcro piece 2 -inches from the folded shorter edge of the fabric piece and sew around its edges to secure. Now place the strap at the marked point on the other side in such a way that the Velcro is exposed and secure it by sewing along its shorter edge.

Take the two main body pieces, layer them with the right sides together and aligning the edges (the folded edges of the two pieces should come together) and sew along the marked line as shown above. The folded shorter edge is left open to insert the batting.

Turn the cover inside-out. Poke out the corners with the tip of your scissors and press taught.

Take the batting with the required dimension and insert it through the opening till the other shorter edge as shown above.

Sew the opening shut along the marked line (blue).

Your e-reader cover is ready in less than an hour!
Pin it for later here,

U&Q...
Thursday 12th of March 2015
Hi! Just a quick question: why did you cut the squares in half and re-sew the triangles? Would it be easier to just iron on the fusible triangle and fold and topstitch the fabric diagonally on top? I guess, what's the purpose in creating the seam? Thickness?Thanks so much for your hard work making this tut, beautiful fabric and very clear writing. I will be following soon to make my own.
BlissfulSewing
Thursday 3rd of April 2014
For the width of the main piece, its 2 times the width of the kindle+ 0.75" seam + 0.5 for ease and for the pocket pieces its width of the kindle + 0.75" seam + 0.5" for ease. In the case of length, just add the 0.75" seam to the length of the kindle.
linda
Wednesday 2nd of April 2014
I really like this pattern. I was wondering how much to add to make a bigger one. for a kindle tablet dh 8.9?
Diane (djuseless)
Tuesday 11th of March 2014
This is a great tutorial for making a new kindle cover! I have been wanting to change mine but I didn't want to sped $20 when there was nothing wrong with mine. Thanks for the instructions!
Viki Redway
Wednesday 25th of December 2013
I was lucky enough to receive a Kindle fire HD for xmas and have just completed a case with modified measurements to the Kindle fire measurements given. I just added quarter of an inch to the lengths given and half an inch to the widths given. This worked perfectly and I am thrilled with the results! Thank you so much for your generosity in supplying this pattern for free.