If you have been hoarding scraps of fabric in the hope that you will someday be able to put them to use, you will love this cloth headband sewing pattern!

This takes less than 1/8 yard of fabric and is a very good way of using the leftover fabric from a dress to make a matching accessory. It will keep the hair out of your face while adding a touch of style.

With just a few quick steps involved, this project is sure to delight beginner and experienced seamstresses alike.
This cloth headband can be seen in a wide variety of fabrics like cotton, eyelet fabric, chiffon, and even knit fabric. You can experiment with the width of the headband to get interesting results that suit your style.

Choose from different patterns like floral, polka dot, zebra prints or stripes. So what are you waiting for? Grab your sewing notions and join me as I walk you through every step of this BlissfulSewing project!

Sewing Pattern
Materials
1. 1/8 yard of any medium weight fabric of your choice. If you want to make it wider,
choose one that is flowing like chiffon or lightweight cotton.
2. 3/8 inch elastic – you will need a strip that is 6 ½ inches long
3. Sewing Machine and sewing notions.
Size
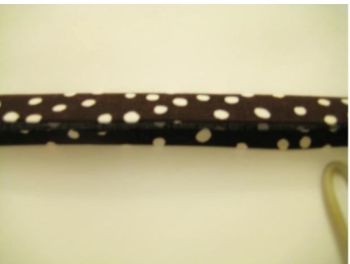
Finished size is 21 inches. Fits teen to adult head. You can make it wider too as shown in
pink polka dot above.
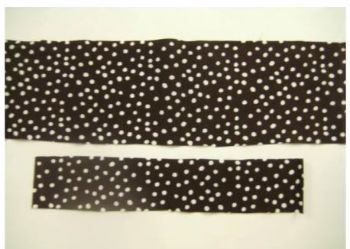
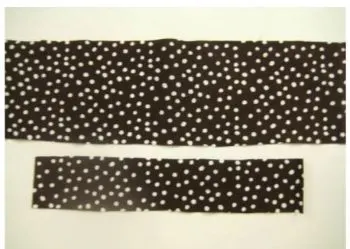
Cut two strips of fabric. The bigger one is 16 ½ inches long and 4 ¼ inches wide. The smaller one is 2 ¼ inches wide and 12 inches long. If making the wider version shown in pink polka, cut the bigger one 16 ½ inches long and 8 ½ inches wide

Take the smaller band, fold in the two longer edges by 1/4 of an inch and iron it down

Fold the band lengthwise along the middle again and iron it down.

Your band will look like this now.

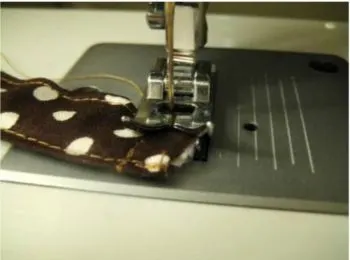
Sew the fold shut close to the edge. Sew along the other longer side too to make your band look uniform.
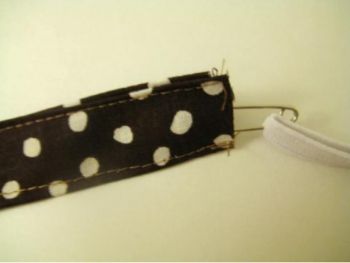

Using a safety pin start inserting the elastic into the band you just made
When the elastic reaches the level of the opening, sew back and forth to hold it in place using a 3/8 inch seam.
Now continue inserting the elastic till it emerges through the opening on the other side, sew back and forth with a 3/8 inch seam.
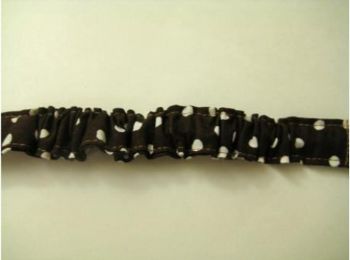
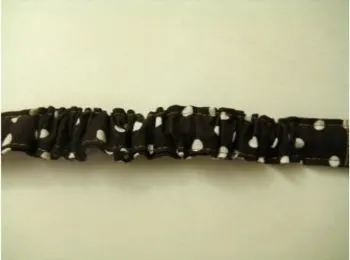
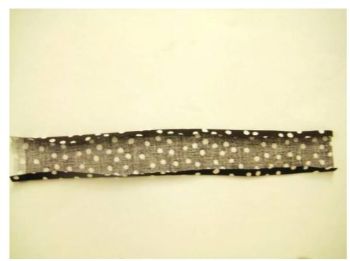
Your elastic band is now complete

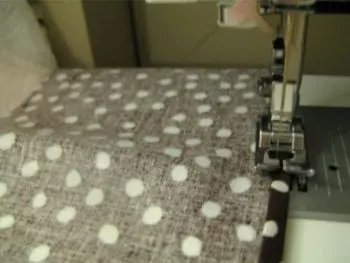
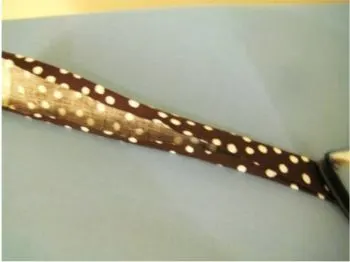
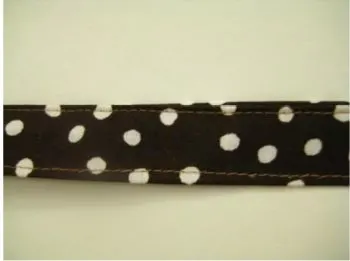
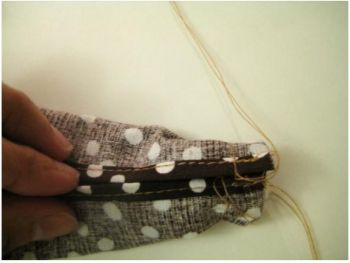
Take the bigger band and fold the longer edge by 1/8 inches, fold again by 1/8 inches and sew it down. Repeat the same with the other long edge.
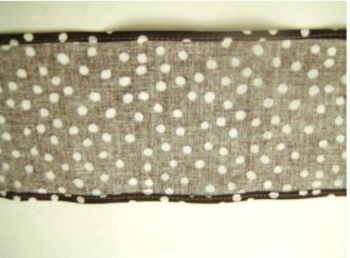
Your band looks like this now after sewing down both the longer sides
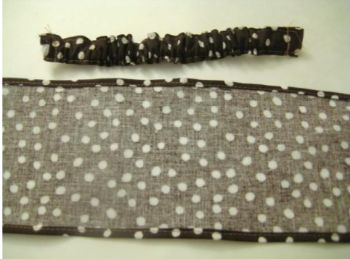
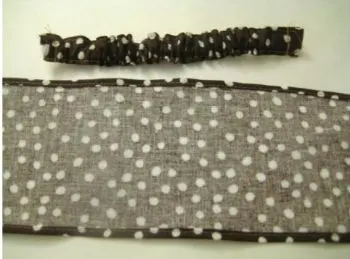
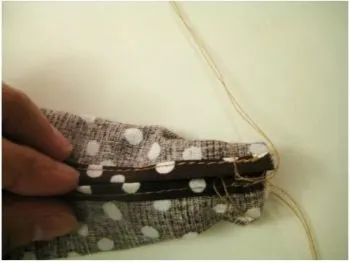
The bands are now ready to be joined together
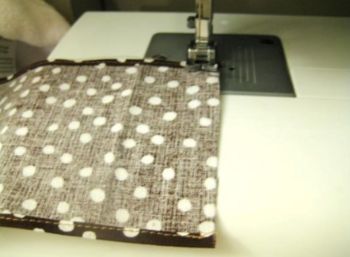

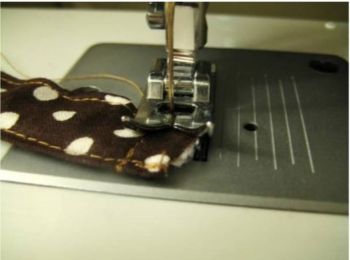
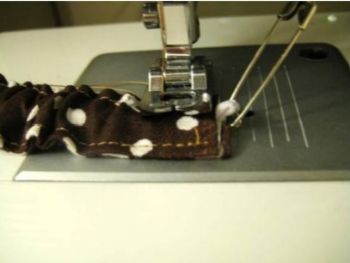
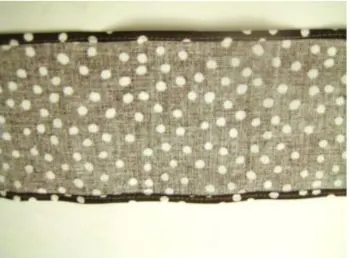
Take the bigger band and sew a basting stitch ( the longest stitch on your machine) along one of the shorter raw edges taking care not to stitch back and forth at the beginning and end. Cut the thread after leaving a 6-inch tail. Repeat with the other shorter edge

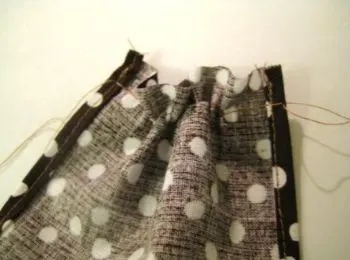
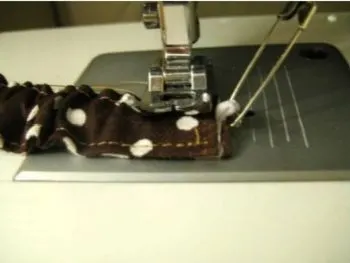
Pull the thread gently to gather the side. Repeat on the other side too.
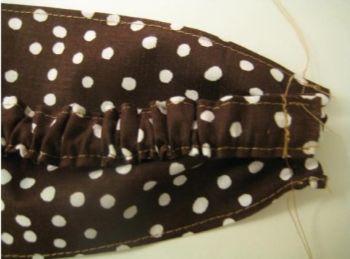

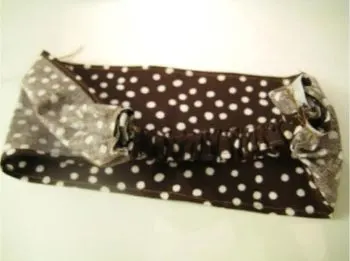
Keep the elastic band on the right side of the wide band.
Wrap the wide band around the elastic band. You might have to adjust the gathers on the bigger band to make it fit around the elastic band.
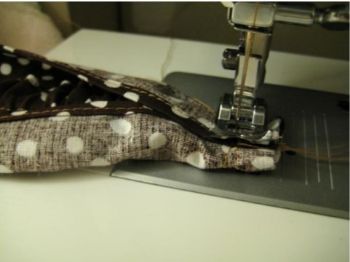

Sew leaving a ½ inch seam. Repeat the same steps on the other side.

Your band will now look like this. You can trim the seam to reduce the bulk.

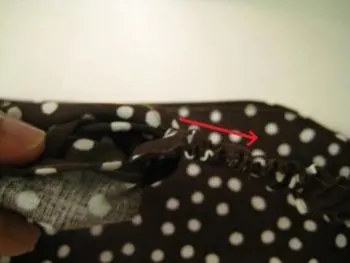
Pull the elastic band as shown to make the seam go inside and stay concealed. Repeat on the other side too

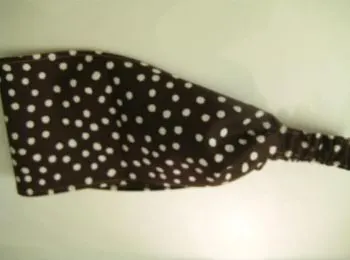
Your headband is now complete!
Find the webstory for the post here, Simple DIY Fabric Headband Pattern
Louise
Tuesday 20th of June 2023
Like it can’t wait to make some
Anonymous
Thursday 25th of April 2013
Heya i'm for the first time here. I came across this board and I find It truly useful & it helped me out a lot. I hope to give something back and aid others like you aided me.
My website; weight loss diet plan for women
Porsha Deun
Friday 2nd of November 2012
I was planning on making some similar to these this weekend for my shop!!!! Great!!!
westie-mom
Saturday 15th of September 2012
TY...I made one and it actually stays down in the back and the reason I don't wear them often...I make have to hit my fabric stash as these took very little. Ty again
westie-mom
Saturday 15th of September 2012
TY ...I may have to make me some more cuz these stay down in the back and the reason I don't wear headbands often...